Advertisement
If you have a new account but are having problems posting or verifying your account, please email us on hello@boards.ie for help. Thanks :)
Hello all! Please ensure that you are posting a new thread or question in the appropriate forum. The Feedback forum is overwhelmed with questions that are having to be moved elsewhere. If you need help to verify your account contact hello@boards.ie

My garden Room Build

Options
13468914

Comments

  • Closed Accounts Posts: 395 ✭✭Class MayDresser


    Is tape and skimming the joints not done any more? Worked on a few commercial sites where huge dividing walls would just be treated like so and then painted white, I'm assuming it was primer.


  • Registered Users Posts: 1,134 ✭✭✭maxamillius


    Great job, as long as you are happy with the finish that’s all that really matters. It’s a DIY job and a bloody good one at that, you learn every step of the way and if you ever decide to build another one it’ll be better again.

    Fair play for gettin out and doing it!


  • Registered Users Posts: 15,322 ✭✭✭✭Supercell


    Where did you learn the plastering?
    I tried my hand at it covering a hole in some plasterwork and left a mountain :( , couldn't get a smooth finish at the joint, put me right off ever attempting something like you are doing.

    Have a weather station?, why not join the Ireland Weather Network - http://irelandweather.eu/


  • Registered Users Posts: 1,301 ✭✭✭The Mulk


    Supercell wrote: »
    Where did you learn the plastering?
    I tried my hand at it covering a hole in some plasterwork and left a mountain :( , couldn't get a smooth finish at the joint, put me right off ever attempting something like you are doing.

    I'm not sure what the OP used, but I find the powdered stuff from gyproc(easifill/joint filler) really easy to sand. I've e never tried the ready mix version of this.
    I can never get a good finish with ready mix pollyfilla


  • Registered Users Posts: 5,862 ✭✭✭RobAMerc


    Supercell wrote: »
    Where did you learn the plastering?
    I tried my hand at it covering a hole in some plasterwork and left a mountain :( , couldn't get a smooth finish at the joint, put me right off ever attempting something like you are doing.


    I "learned" from youtube - In fairness it isnt the best job ever done, but its passable, I am saved somewhat by the fact I am using downlights which dont reflect the light on the ceiling - where it really isnt a good job on the plasterboard and I had to compensate on the jointing.

    But some good advice I got here (thanks iwillthefu) was to coat and sand, coat and sand and more sanding to get it back flat.

    The walls are actually fairly good bar the odd corner spot (again particularly the ceiling join )

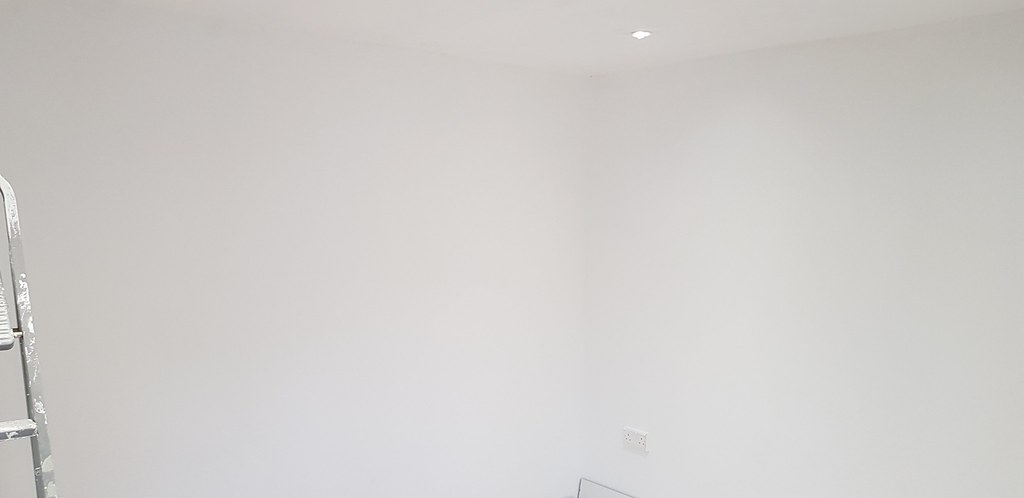
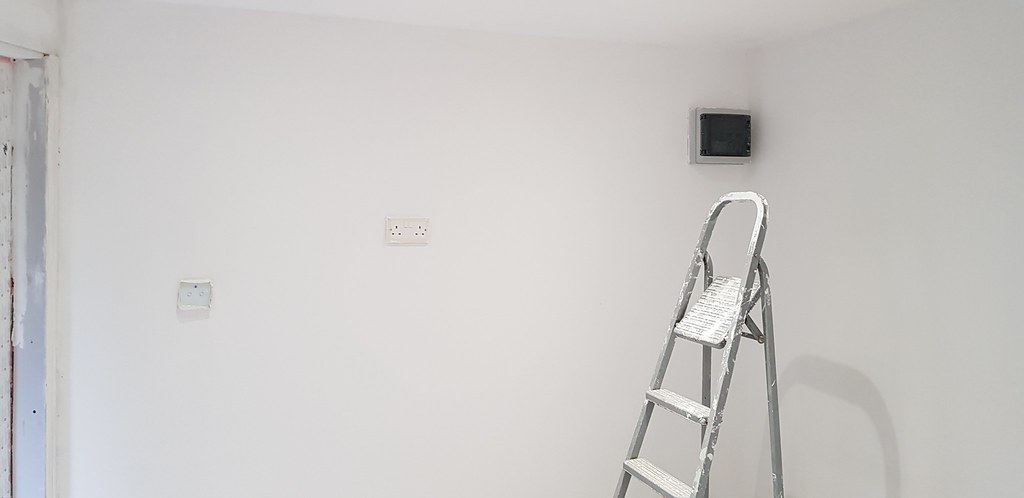
    Here is a load of photos but I am not sure you'll see it that clearly -

    50020453396_075bdaf78f_b.jpg
    50020453081_671089a457_b.jpg
    50020709747_5cfb16b97f_b.jpg
    50020711112_45a6eec26d_b.jpg

    The corners do look a little darker in some photos. But I have just put a coat of paint on them.


  • Advertisement
  • Registered Users Posts: 7,836 ✭✭✭Rows Grower


    That's very impressive work to be fair and for a one man band you are going at a savage pace, God bless the work.

    "Very soon we are going to Mars. You wouldn't have been going to Mars if my opponent won, that I can tell you. You wouldn't even be thinking about it."

    Donald Trump, March 13th 2018.


  • Registered Users Posts: 5,862 ✭✭✭RobAMerc


    please excuse the grunting !


  • Registered Users Posts: 1,134 ✭✭✭maxamillius


    What’s the plan for the room usage wise? Now you know you can build one you prob wish you had gone bigger 😂


  • Registered Users Posts: 5,862 ✭✭✭RobAMerc


    What’s the plan for the room usage wise? Now you know you can build one you prob wish you had gone bigger ��

    Its an office - Its more than big enough I think


  • Posts: 0 [Deleted User]


    RobAMerc wrote: »
    Its an office - Its more than big enough I think

    Main thing is you're happy with it. Looks great and coming together very quickly!


  • Advertisement
  • Registered Users Posts: 5,672 ✭✭✭seannash


    Just posting to say great work. You should be very proud of what youve accomplished


  • Registered Users Posts: 5,862 ✭✭✭RobAMerc


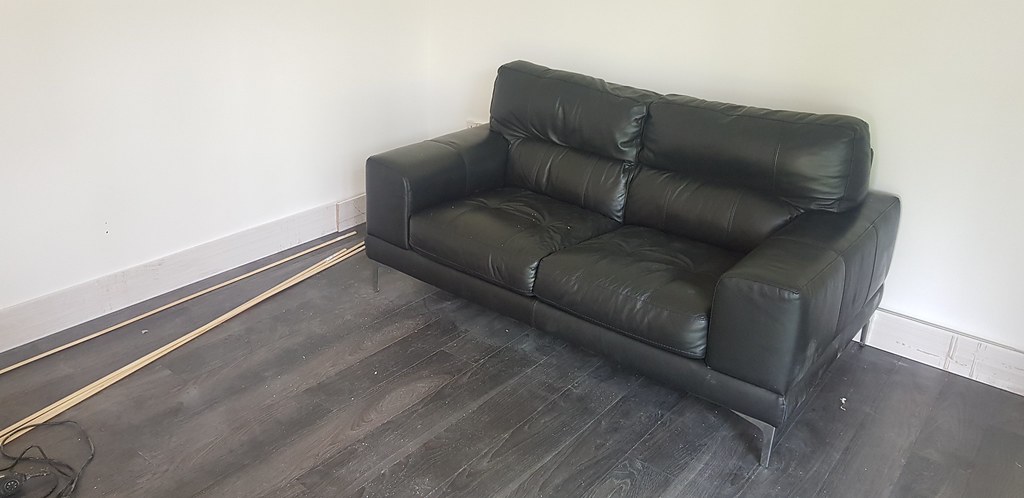
    right - so floors in yesterday. I also had a second set of hands round the place so I got him to help throw the couch in too.

    Both need a good clean !

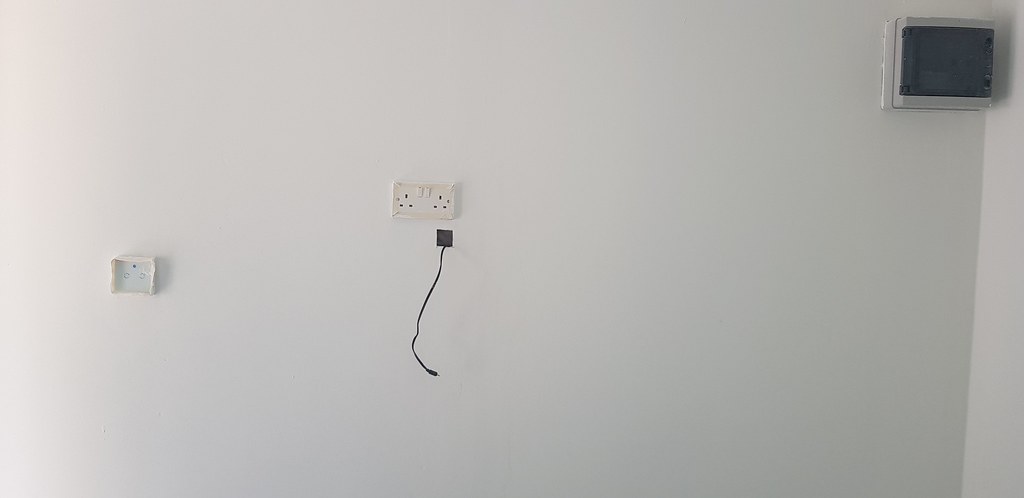
    I also took the opportunity to throw in the wiring for the surround sound system -

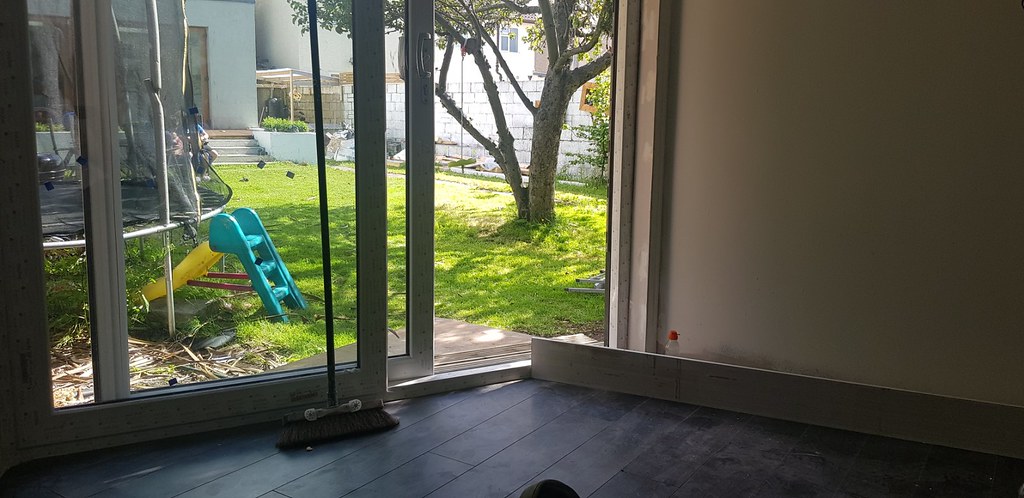
    Last photo is the view from the couch - and also the next DIY job I have ( fixing that view ! )

    50030904636_680a651d20_b.jpg
    50031166777_1e801e400d_b.jpg
    50030905656_a90d62134b_b.jpg
    50030367398_6676143e18_b.jpg


  • Posts: 0 [Deleted User]


    Ah yes the purpose of the room all makes sense now with the couch :pac:;):pac:;):pac:


  • Closed Accounts Posts: 395 ✭✭Class MayDresser


    "Job" interviews?


  • Registered Users Posts: 2,645 ✭✭✭krissovo


    Ah yes the purpose of the room all makes sense now with the couch :pac:;):pac:;):pac:

    It took a while but I have just twigged what you meant by your comment and now have tea streaming down my nostrils due to laughing out loud and being unable to contain myself. I even woke the kids up so the wife is not too happy.

    I cannot unsee it now, hey OP please do not put a brown desk in next. :eek:


  • Posts: 7,499 ✭✭✭ [Deleted User]


    Looking good.
    My one criticism is that consumer unit!
    You can get flush mounted ones and they look much better!


  • Registered Users Posts: 5,862 ✭✭✭RobAMerc


    Looking good.
    My one criticism is that consumer unit!
    You can get flush mounted ones and they look much better!
    Agreed. But i was worried the Green party would have me for thermal bridge or some sh1te.
    i could have mounted this one outside. Its IP65 but by the time id found out such thing existed i had the wiring in place for it to go here.


  • Registered Users Posts: 5,862 ✭✭✭RobAMerc


    Ah yes the purpose of the room all makes sense now with the couch :pac:;):pac:;):pac:

    Ah, i see all of your time on the internet is not spent on boards sir! :D


  • Registered Users Posts: 9,927 ✭✭✭dodzy


    Nice job so far. I've started something similar myself this week. 22'x8'x8'.

    Out of interest, the rainwater - where are you running it to ?


  • Registered Users Posts: 24,647 ✭✭✭✭punisher5112


    I was thinking man cave but then thought to myself it's a casting couch....

    Amazing job done and as an office it's a great idea to keep the home and work separate.

    I'm guessing you are going to be working from home more?
    If yes this is exactly what all others need if possible and in the same boat as working from home.

    Plenty of room for a bar in the corner...


  • Advertisement
  • Registered Users Posts: 713 ✭✭✭Darando


    A few are starting similar so the more photos the better!


  • Registered Users Posts: 521 ✭✭✭Shaunoc


    I was thinking man cave but then thought to myself it's a casting couch....

    you want to punish a man cave on that couch

    its Friday :eek:


  • Registered Users Posts: 5,862 ✭✭✭RobAMerc


    dodzy wrote: »
    Nice job so far. I've started something similar myself this week. 22'x8'x8'.

    Out of interest, the rainwater - where are you running it to ?

    Pics pics and more pics pls !

    As to where the water is going ... my intention is to dig a sink in the corner and any run off can go into the neighbours ( he's a pi*ck, if i could re-route the soil pipe from the house into his garden I would :eek: )


  • Registered Users Posts: 6,367 ✭✭✭iwillhtfu


    RobAMerc wrote: »
    Pics pics and more pics pls !

    As to where the water is going ... my intention is to dig a sink in the corner and any run off can go into the neighbours ( he's a pi*ck, if i could re-route the soil pipe from the house into his garden I would :eek: )

    Was he giving out about the height or the noise? :D


  • Registered Users Posts: 5,862 ✭✭✭RobAMerc


    no, he's been a bit aggressive towards us previously and then threatened to kick the sh*t out of me for daring to cut his side of the grass verge outside our house, and proceeded to destroy the flower bed I built around the tree there ( prompted by the local neighbourhood committee )


  • Registered Users Posts: 6,367 ✭✭✭iwillhtfu


    RobAMerc wrote: »
    no, he's been a bit aggressive towards us previously and then threatened to kick the sh*t out of me for daring to cut his side of the grass verge outside our house, and proceeded to destroy the flower bed I built around the tree there ( prompted by the local neighbourhood committee )

    Sounds like a real charmer :rolleyes:


  • Registered Users Posts: 39,031 ✭✭✭✭Mellor


    Looks nice but I donno why you didn't just pour a concrete slab.
    The arse is going to rot out from under that in a few years. Guaranteed. and the space beneath will harbour vermin.

    Ah years, because suspended timber floors famously only last a few years. :rolleyes:
    Supercell wrote: »
    Where did you learn the plastering?
    I tried my hand at it covering a hole in some plasterwork and left a mountain :( , couldn't get a smooth finish at the joint, put me right off ever attempting something like you are doing.
    In your case you were trying to sand a joint with the existing skim coat. So you were likely wearing away the skim at the joint, or trying to flatten just the patch. Not easy.

    In OPs case, he is feathering back to the paper face of the board. So he filling compound is sanded back to micro thickness to blend into the face. The sander is also wider than the joint, so it ends up bridging board to board. easy enough.

    It's not done often in Ireland, which means its not done well. But it's the norm overseas, even on high end commercial.
    RobAMerc wrote: »
    Pics pics and more pics pls !

    As to where the water is going ... my intention is to dig a sink in the corner and any run off can go into the neighbours ( he's a pi*ck, if i could re-route the soil pipe from the house into his garden I would :eek: )

    Hopefully he not too saavy in terms of planning laws. Don't want a prick of a neighbour getting council around.

    Looks great. One concern that crossed my mind that that the flooring sheet internally and externally in the triangle is the same sheet which could be a water ingress path. But maybe you flashed it with the door.


  • Registered Users Posts: 33,640 ✭✭✭✭listermint


    RobAMerc wrote: »
    Pics pics and more pics pls !

    As to where the water is going ... my intention is to dig a sink in the corner and any run off can go into the neighbours ( he's a pi*ck, if i could re-route the soil pipe from the house into his garden I would :eek: )

    Water butt for watering the garden or washing the car. rainwater is best for both applications.


  • Registered Users Posts: 9,927 ✭✭✭dodzy


    listermint wrote: »
    Water butt for watering the garden or washing the car. rainwater is best for both applications.

    I suppose the irony there is that if you're in a position to harvest water to a butt, it's probably pissing down, so you won't need to water the flowers......and washing the car is a waste of time, so the butt fills quickly ;)

    The floor on my build is 20'x8' so the roof will be approx 22'x11', virtually flat, with EDPM covering. Height will be approx 8' at the front reducing slightly towards the rear.
    I've invested 3 days at this point:
    Day 1: clear site and install footings (12xsolids on hardcore and cement base)
    Day 2: Subframe assembly (6x2 treated)
    Day 3: Insulation (50mm PIR) with a 1200 gauge polythene over-cover and then 18mm OSB flooring
    Doing it in between working FT so just have to do it when I can. I'll be keeping all spend details and running it in 5 phases.
    Floor
    Walls
    Roof
    Doors/external cladding
    Internal furnishing
    In terms of elec supply, I'm not going back to the CU at this point. I've a functional spur that I'll repurpose to supply light and a few sockets (no major power items will be in the finished build - largest of which will be a 500w panel heater - the remaining draw will be for insignificants such as some LED lighting, and perhaps a TV, phone charging etc - nothing near a combined 13amps)

    It'll be a 60:40 split for my daughter and a shed for moi. The 60% will be a functional room where I will put in the effort in terms of finishing complete (plasterboard/painting/lam flooring/panel heater etc) and the shed will get a little less attention. Hoping to get out for 3K less furnishings on the daughters side. I'll throw up a few pics as I go.


  • Advertisement
  • Registered Users Posts: 5,862 ✭✭✭RobAMerc


    dodzy wrote: »
    and washing the car is a waste of time, so the butt fills quickly ;)

    :eek::eek:
    dodzy wrote: »
    I suppose the irony there is that if you're in a position to harvest water to a butt, it's probably pissing down, so you won't need to water the flowers......and washing the car is a waste of time, so the butt fills quickly ;)

    The floor on my build is 20'x8' so the roof will be approx 22'x11', virtually flat, with EDPM covering. Height will be approx 8' at the front reducing slightly towards the rear.
    I've invested 3 days at this point:
    Day 1: clear site and install footings (12xsolids on hardcore and cement base)
    Day 2: Subframe assembly (6x2 treated)
    Day 3: Insulation (50mm PIR) with a 1200 gauge polythene over-cover and then 18mm OSB flooring
    Doing it in between working FT so just have to do it when I can. I'll be keeping all spend details and running it in 5 phases.
    Floor
    Walls
    Roof
    Doors/external cladding
    Internal furnishing
    In terms of elec supply, I'm not going back to the CU at this point. I've a functional spur that I'll repurpose to supply light and a few sockets (no major power items will be in the finished build - largest of which will be a 500w panel heater - the remaining draw will be for insignificants such as some LED lighting, and perhaps a TV, phone charging etc - nothing near a combined 13amps)

    It'll be a 60:40 split for my daughter and a shed for moi. The 60% will be a functional room where I will put in the effort in terms of finishing complete (plasterboard/painting/lam flooring/panel heater etc) and the shed will get a little less attention. Hoping to get out for 3K less furnishings on the daughters side. I'll throw up a few pics as I go.

    Ok, all the bits about the electric .. well I can see they are written in Engish but that all means absolutely zip to me.

    I'll attach my full build materials list in a minute. I optimistically thought I could do it for 4 ish when I started, I didnt. You might fair better !

    Best of luck with it and publish pics please !


Advertisement