Advertisement
If you have a new account but are having problems posting or verifying your account, please email us on hello@boards.ie for help. Thanks :)
Hello all! Please ensure that you are posting a new thread or question in the appropriate forum. The Feedback forum is overwhelmed with questions that are having to be moved elsewhere. If you need help to verify your account contact hello@boards.ie
Please note that it is not permitted to have referral links posted in your signature. Keep these links contained in the appropriate forum. Thank you.

https://www.boards.ie/discussion/2055940817/signature-rules

Today I did something to my car (volume 2)

1224225227229230327

Comments

  • Registered Users, Registered Users 2 Posts: 4,317 ✭✭✭lafors


    That alternator is looking pretty grimey :(
    IMG20160501121305_zpsckewjjdn.jpg

    Torx T60 to back off the belt tensioner, and an allen key used as a pin to hold :o Belt off :)
    IMG20160501131136_zpst7ash4f3.jpg

    Old belt, bit of wear, not too bad I think.
    IMG20160501135301_zpszdj7i4hm.jpg
    IMG20160501135307_zpstgvi7lpn.jpg

    Next bit is very important if you don't want to be replacing a rad too!
    Get a box from lidl ;) and put it in front of the rad so you don't damage the fins when you tugging on/cursing at the alternator.
    IMG20160501131608_zpsoanvu0kk.jpg

    Alternator....very dirty down there :(
    IMG20160501132115_zpstxbs6kki.jpg
    IMG20160501133151_zps4lcd1kyl.jpg

    Alternator out. To get it out remove the two 16mm bolts and rotate it until it starts to slide out, it will be stiff.
    The bottom bolt (longer one) goes through two holes at the front and back of the alternator. You can't pull it straight out because of this so you need to shift it down towards the wheel to get it to free up, then slide it out.
    When you're sliding it out you need to be careful as there isn't much slack in the 2 connections. One is a click in and the other is held on with a nut.
    IMG20160501134807_zpsfcq4kbwj.jpg

    The back of it with the two places on the left in this picture for the connectors I was talking about. Very dirty.
    IMG20160501134814_zpsk4slzuw5.jpg


  • Registered Users, Registered Users 2 Posts: 4,317 ✭✭✭lafors


    Now to replace the voltage regulator. Take the 3 8mm nuts off to remove the back cover to expose it.
    IMG20160501135933_zpsqxveglhr.jpg

    Voltage Regulator exposed, it's very dirty, loads of carbon.
    IMG20160501140125_zpsvy0u9m3q.jpg

    And I was right, the brushes on the regulator are worn and the top one (there's two) had completely broken off and disintegrated leaving a mess of carbon everywhere.
    IMG20160501140715_zpsaug1tqok.jpg

    There should be two brushes here but the one below is gone.
    IMG20160501140726_zpsjorvdbmq.jpg

    Cleaned (slightly) and new voltage regulator fitted.
    IMG20160501141845_zpsbsebvplb.jpg
    IMG20160501142200_zpseiapilnb.jpg

    To get a better look at the mess in there I jacked up the car and this is the only point I could put the stand.
    IMG20160501150953_zpszfs8yejr.jpg

    Remove the wheel arch lining, a bucket load of screws...that's not even all of them!
    IMG20160501151004_zps4igqqdnd.jpg
    IMG20160501150958_zps5hh4zfyk.jpg


  • Registered Users, Registered Users 2 Posts: 4,317 ✭✭✭lafors


    With the alternator out, it's a mess in there
    IMG20160501134836_zpsgx3tjldu.jpg

    And here's exactly what I was afraid of. It's not just the alternator bracket gasket its the chain cover gasket. They all tend to go around the same time.
    IMG20160501152851_zpsp24npred.jpg
    IMG20160501152937_zps10a9xmvn.jpg

    So once I saw this I decided to stop, refit everything and reassess for another day. I think I'll end up dropping this into motor confidence to get all the gaskets done, get the valve stem seals done at the same time and they're bound to go at some stage.

    So putting it all back together, it's like most guides say, just do the reverse.....EXCEPT....if you're fitting your own alternator back in then you need to do one thing.
    The threaded hole at the back of the alternator that the long bolt goes through actually pulls itself toward the front of the alternator when it's being fitted, it's to make sure its a snug fit and doesn't move. Now this is a complete PITA if you didn't spot this and could lead to 2 hours of trying to get the alternator back in and loads of swearing and huffing and puffing.
    So what you need to do before refitting is to screw the long bolt in slightly and get a rubber mallet and give it a good few tappy tappys until it slides back in. Now you can refit!
    IMG20160501180757_zps9eososjf.jpg
    IMG20160501180801_zpshxf731kx.jpg

    Back in with new pulley fitted.
    IMG20160501182939_zpszxymdmes.jpg

    Replacement pulley on bottom of alternator (INA number if anyone is interested).
    IMG20160501131336_zps1taiwz92.jpg

    Belt on
    IMG20160501183747_zpsu02iyfrs.jpg

    Bit of a clean underneath
    IMG20160501185409_zpspvfbknw4.jpg

    All back together
    IMG20160501192743_zpsjucmrxoi.jpg

    (Video) Started...dunno why it sounds like I'm in a swimming pool :)
    http://vid205.photobucket.com/albums/bb12/lafors/Mobile%20Uploads/VID20160501193103_zps8hytturp.mp4


  • Registered Users, Registered Users 2 Posts: 9,661 ✭✭✭Voodoomelon


    Fair play, a lot of hard work there!


  • Registered Users, Registered Users 2 Posts: 8,532 ✭✭✭JohnBoy26


    Nothing worse than a worn out box.

    A broken timing belt and engine damage is worse. The box in those Toyotas isn't the worst to repair tbh.


  • Advertisement
  • Closed Accounts Posts: 817 ✭✭✭iano.p


    Changed the oil and all filters on the passat for 66. 6 months tax for 373. Two new tyres and tracking for 290. New wipers 37. My wallet is alot lighter all set for summer now.


  • Closed Accounts Posts: 2,880 ✭✭✭shietpilot


    Cleaned up and greased the brake pads all around as they started to squeal during braking since the track day. All good now, the grease on the sliding pins was like glue from the heat probably :p

    Messed about with the diagnostics too and enabled automatic door locking once the car is moving and automatic double-locking when you press the lock button on the key fob.


  • Registered Users, Registered Users 2 Posts: 8,719 ✭✭✭Hal1


    Did you try to disable the auto locking feature? try this: https://www.youtube.com/watch?v=GdEw2kWuZFA


  • Registered Users, Registered Users 2 Posts: 12,917 ✭✭✭✭Toyotafanboi


    Another month, another oil and filter.

    Generally I use Mobil oil and a Blueprint filter... Not any more :pac:

    IMG_20160502_152722.jpg


  • Closed Accounts Posts: 2,880 ✭✭✭shietpilot


    Hal1 wrote: »
    Did you try to disable the auto locking feature? try this: https://www.youtube.com/watch?v=GdEw2kWuZFA

    Nah it was already disabled. I enabled it :o


  • Advertisement
  • Registered Users, Registered Users 2 Posts: 8,532 ✭✭✭JohnBoy26


    Another month, another oil and filter.

    Generally I use Mobil oil and a Blueprint filter... Not any more :pac:

    IMG_20160502_152722.jpg

    Nothing wrong with the blueprint filter tbh. They are actually good filters.


  • Registered Users, Registered Users 2 Posts: 4,792 ✭✭✭Ded_Zebra


    JohnBoy26 wrote: »
    Nothing wrong with the blueprint filter tbh. They are actually good filters.

    I would second that. Very impressed with their stuff. Used them on the Levin for a while but then changed to Toyota. Used blueprint stuff on the Primera too.


  • Registered Users, Registered Users 2 Posts: 5,925 ✭✭✭GvidoR


    How can you tell the difference between those filters after you've put them on?


  • Registered Users, Registered Users 2 Posts: 8,532 ✭✭✭JohnBoy26


    GvidoR wrote: »
    How can you tell the difference between those filters after you've put them on?

    The different name is all you'll see if you have a look at the filter. One will say Toyota and the other will say blueprint.


  • Registered Users, Registered Users 2 Posts: 5,925 ✭✭✭GvidoR


    That's why I said "after you put them on". How can you tell if a filter is "good" or better than another one?


  • Registered Users, Registered Users 2 Posts: 8,532 ✭✭✭JohnBoy26


    GvidoR wrote: »
    That's why I said "after you put them on". How can you tell if a filter is "good" or better than another one?

    You can't really. Cutting them in half and comparing them might give you an idea. I never had a problem with blueprint filters though and I have used them on all my cars.


  • Registered Users, Registered Users 2 Posts: 6,845 ✭✭✭Noccy_Mondy


    How does shell helix ultra compare to others?


  • Registered Users, Registered Users 2 Posts: 4,866 ✭✭✭fancy pigeon


    How does shell helix ultra compare to others?

    I used to use it exclusively before it became unavailable, I found it to be top notch. Nowadays I use Millers/Comma/Mobil


  • Registered Users, Registered Users 2 Posts: 12,917 ✭✭✭✭Toyotafanboi


    Wasn't suggesting that Blueprint were bad, I never felt they performed badly, personally.

    I do the oil and filter every 4-5k miles. The car takes 4.5 liters to change and then I use the spare 500ml to top up usually around 2k-2500 miles after the change

    After 5k the Mobil is usually still very clean looking (whether that's good or bad is debatable).

    I guess the proof of the Shell will be how it looks after 5k and if I need to top up before or after the usual 2k ballpark.

    Nice to be back in the trade, got the genuine filter and the gallon of Shell for less than what i'd usually pay for oil alone.


  • Registered Users, Registered Users 2 Posts: 19,920 ✭✭✭✭MetzgerMeister


    The only reason for oil turning black is due to heat oxidation. Nothing to do with how well/badly it works in your engine.


  • Advertisement
  • Registered Users, Registered Users 2 Posts: 5,875 ✭✭✭Foxhole Norman


    Quick job this evening but made a massive difference to the car, new fogs lamps and surrounds :)

    Old:

    IMG_20160504_191654_zps610cmums.jpg

    IMG_20160504_191701_zpsc3iba9ll.jpg

    IMG_20160504_191707_zps9y6bouuw.jpg

    New:

    IMG_20160504_193153_zpsawj3ntlu.jpg

    IMG_20160504_193158_zpsep5ivimv.jpg

    IMG_20160504_193205_zpsfxqo9ejg.jpg

    New genuine headlights next to complete the Front end refresh :)


  • Registered Users, Registered Users 2 Posts: 8,480 ✭✭✭YbFocus


    How much and where? :pac:


  • Registered Users, Registered Users 2 Posts: 5,875 ✭✭✭Foxhole Norman


    YbFocus wrote: »
    How much and where? :pac:

    They came with the spurious bumper I got for the Imola E39 :pac:


  • Registered Users, Registered Users 2 Posts: 8,480 ✭✭✭YbFocus


    They came with the spurious bumper I got for the Imola E39 :pac:

    Damn :)
    Mine are looking a bit tired too!


  • Registered Users, Registered Users 2 Posts: 9,661 ✭✭✭Voodoomelon


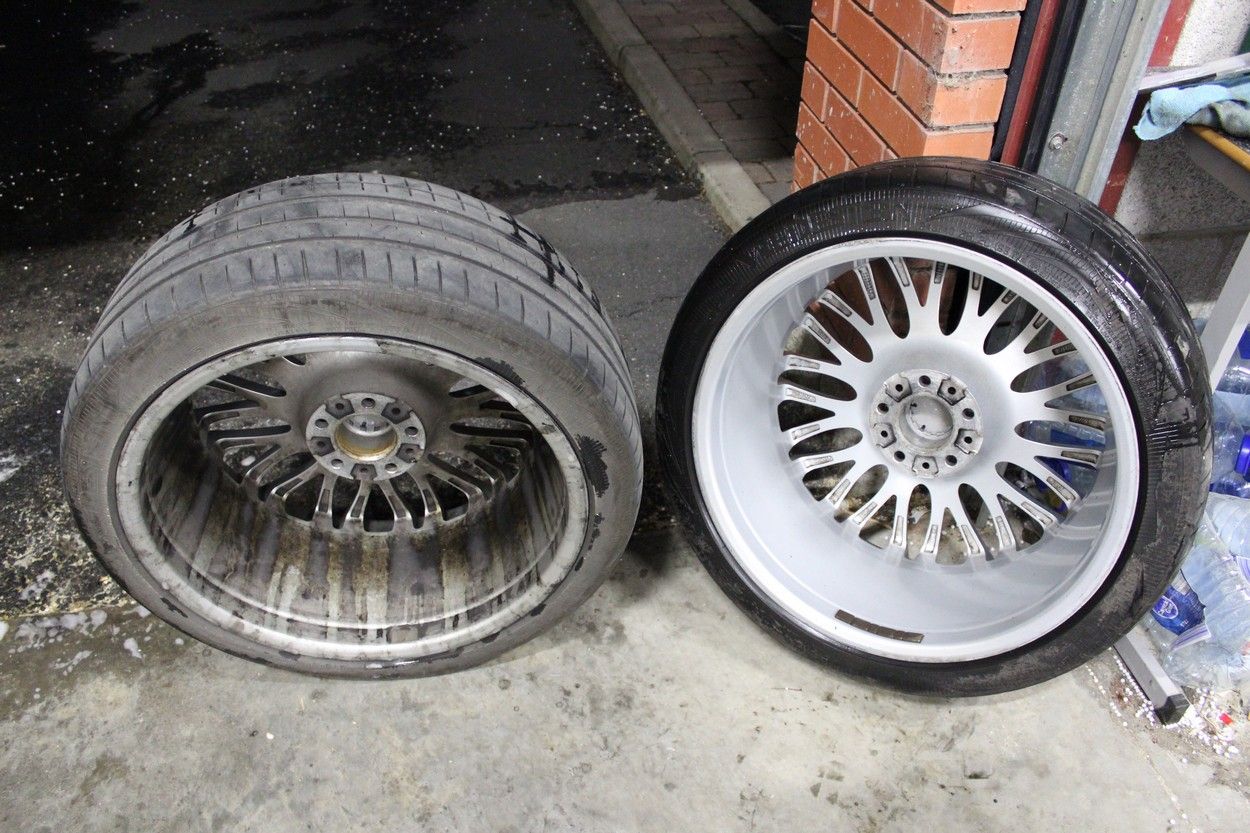
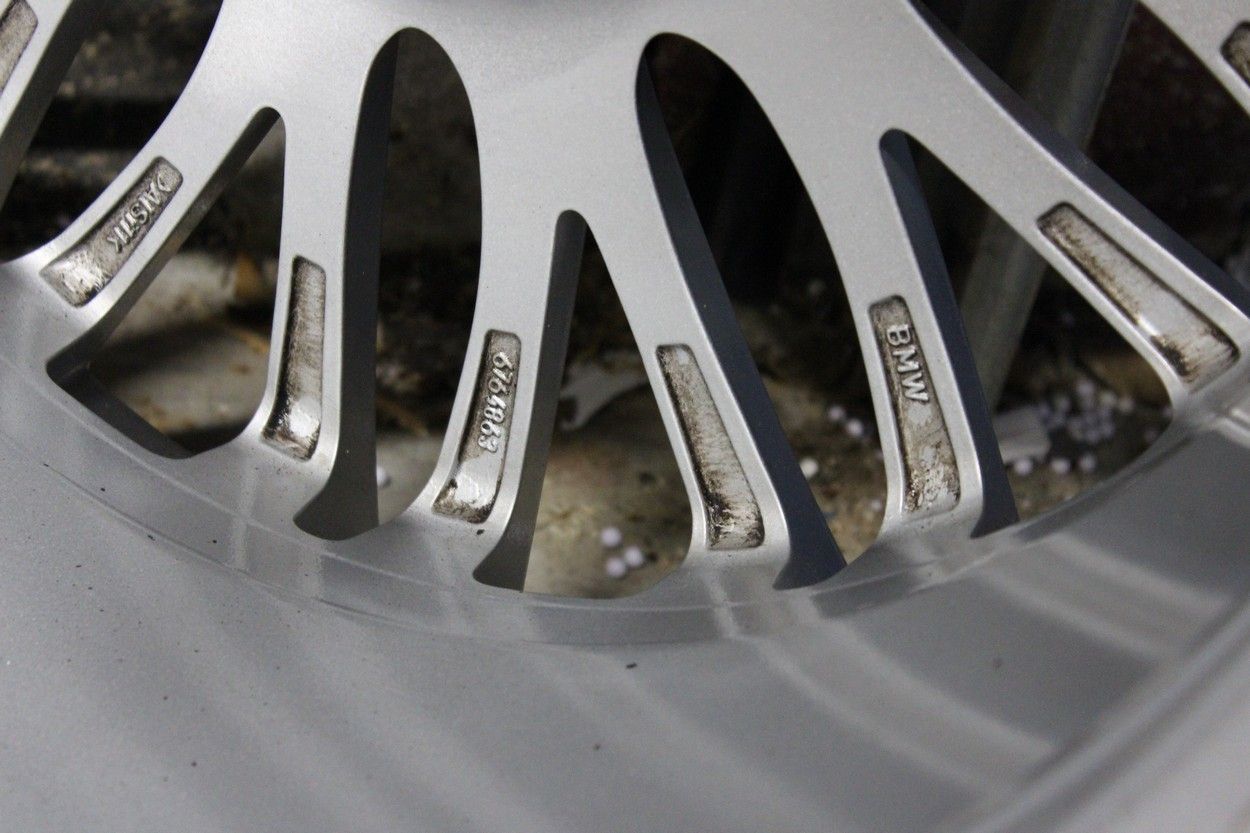
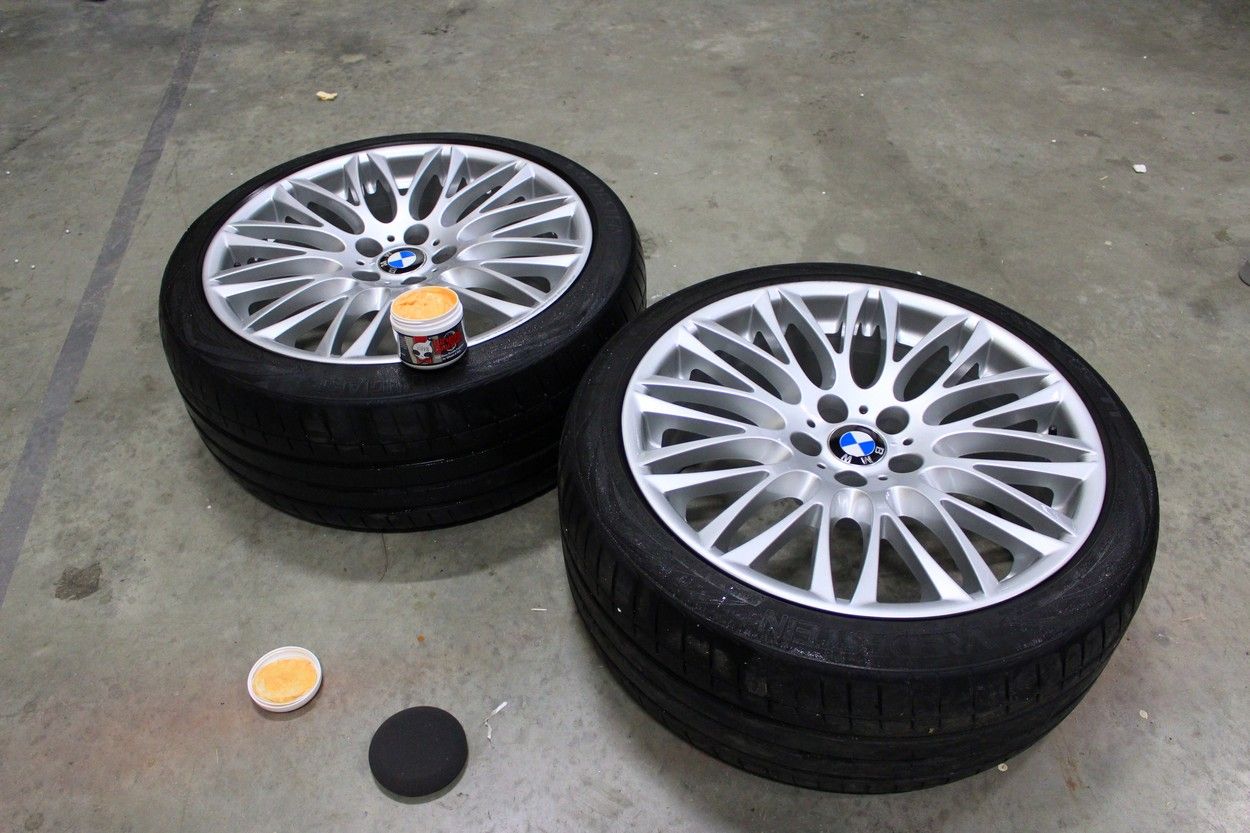
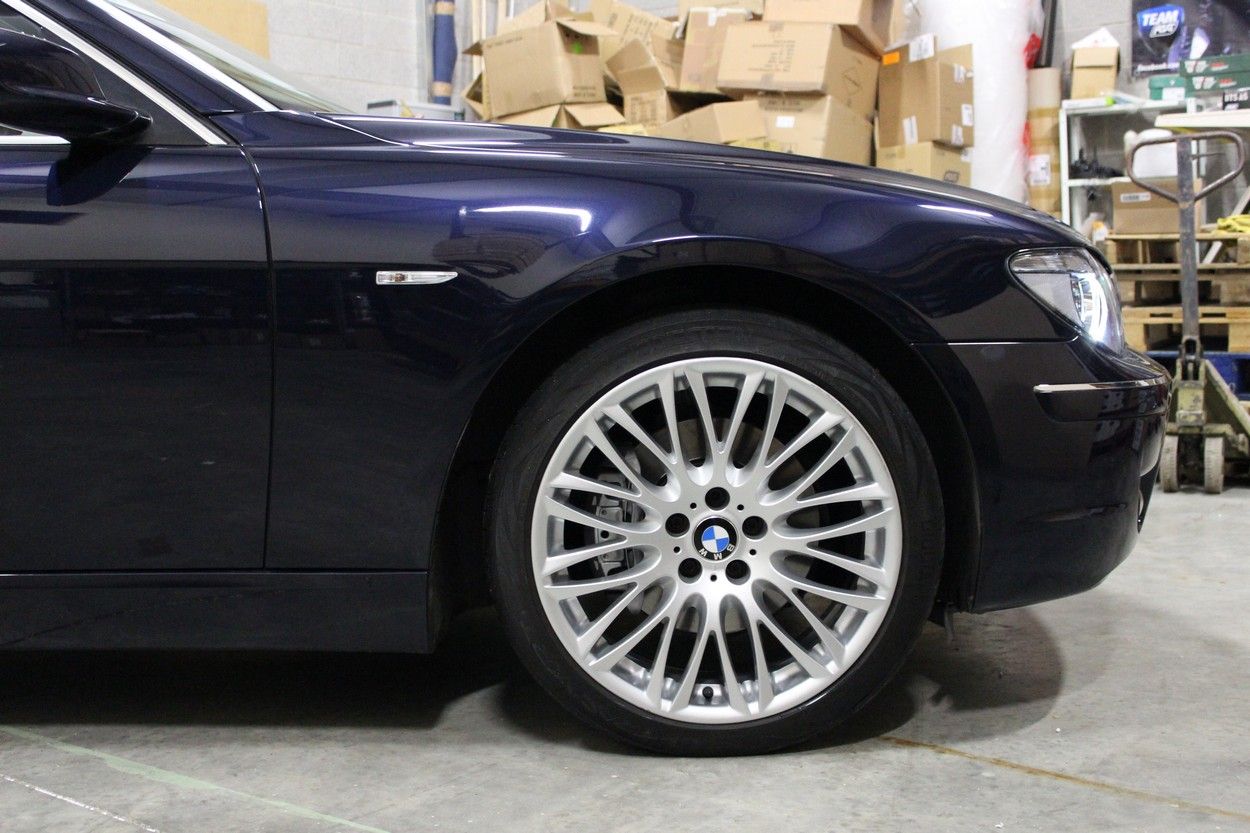
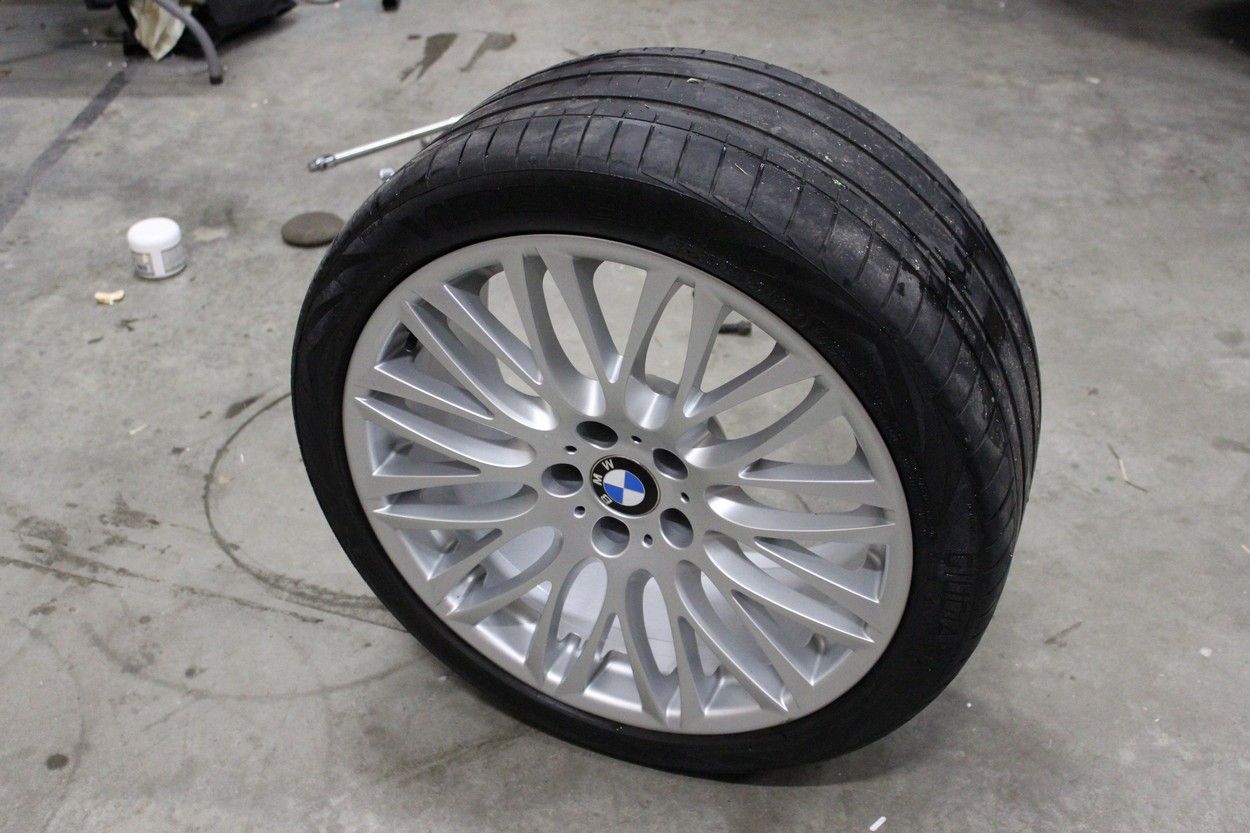
    Some wheel cleaning and sealing.

    IMG_3968_zpswgmuq4dw.jpg~original

    IMG_3969_zpsohba431o.jpg~original

    IMG_3970_zpsclnf8xyh.jpg~original

    IMG_3972_zpsq6fjtctk.jpg~original

    IMG_3974_zpssutddjqx.jpg~original

    IMG_3975_zpsu8ihogpz.jpg~original

    Spot the shard of metal stuck in the tyre? It didn't penetrate through thank god. I didn't realise the rears were so bad either, there's only about 14,000 miles on this set.

    Have a full set of Continental Sport Contact 5's arriving next week. :)


  • Registered Users, Registered Users 2 Posts: 15,183 ✭✭✭✭Atavan-Halen


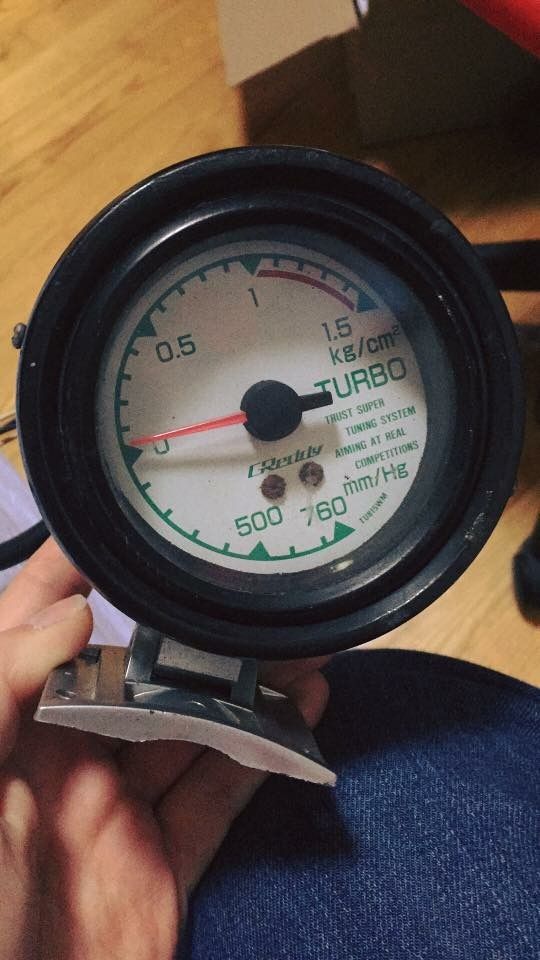
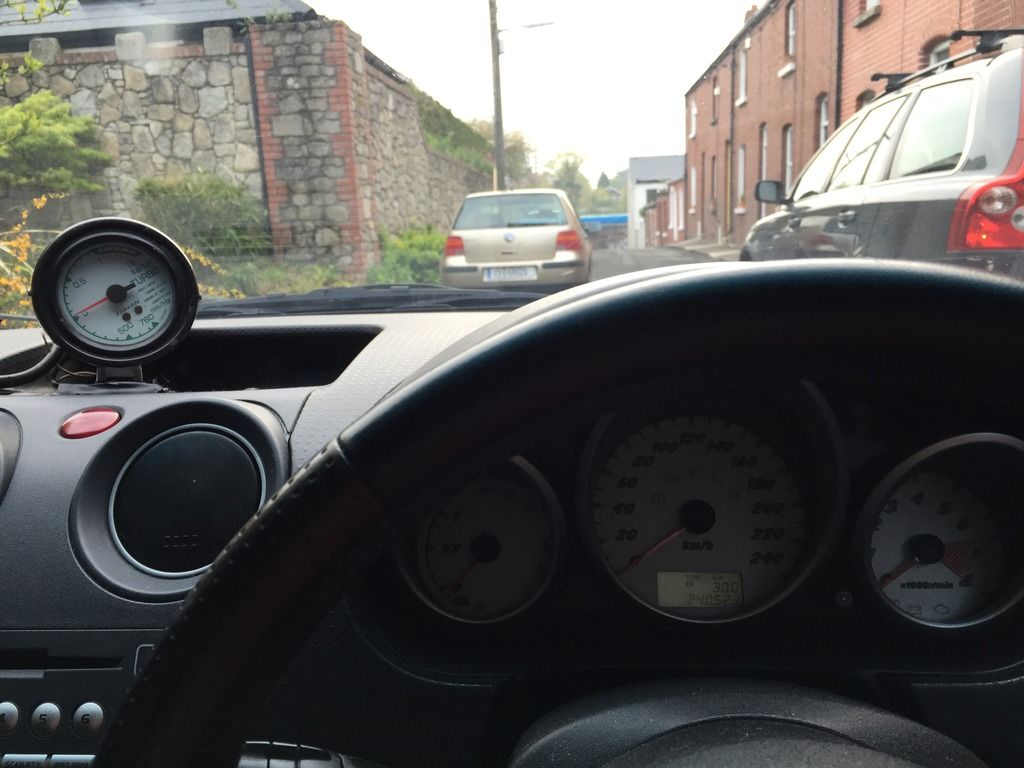
    Decided to stick a boost gauge in the Colt. Went for a mechanical one as I picked it up cheap off eBay and wanted a greddy one.

    89C3A9F4-D490-490F-AD8E-739D96C5BF5B_zpssi0ip5u1.jpg

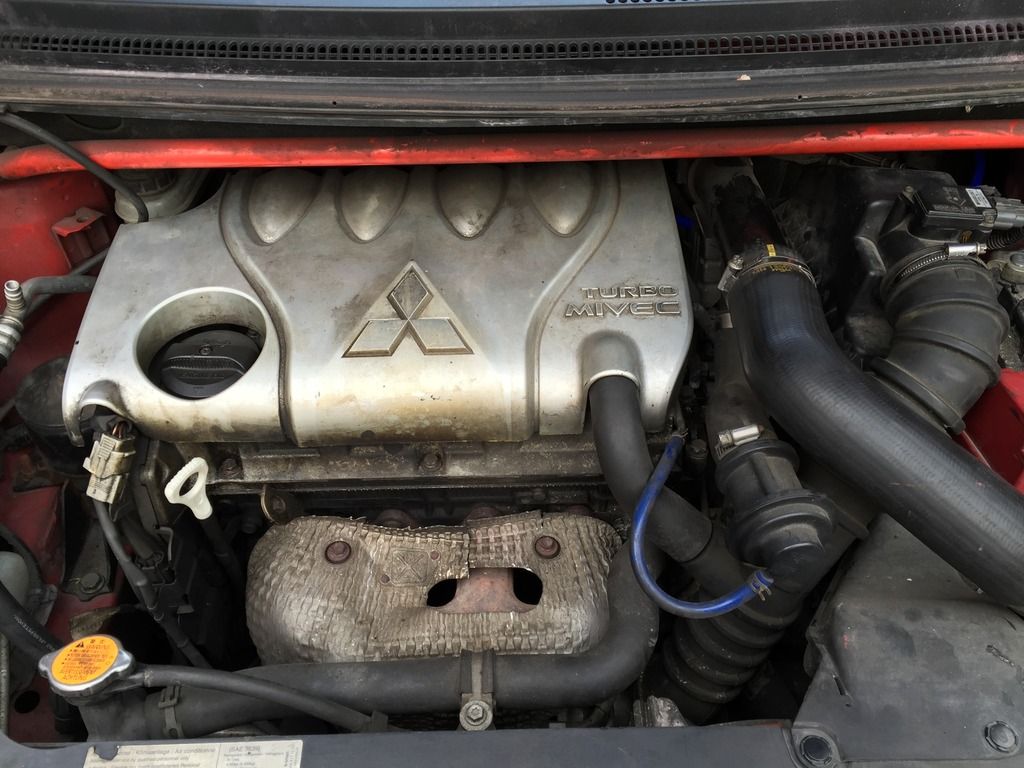
    One filthy engine bay

    A1DEFCB6-96AB-4F85-AA86-20BFAD5CF934_zpstqf1s0rn.jpg

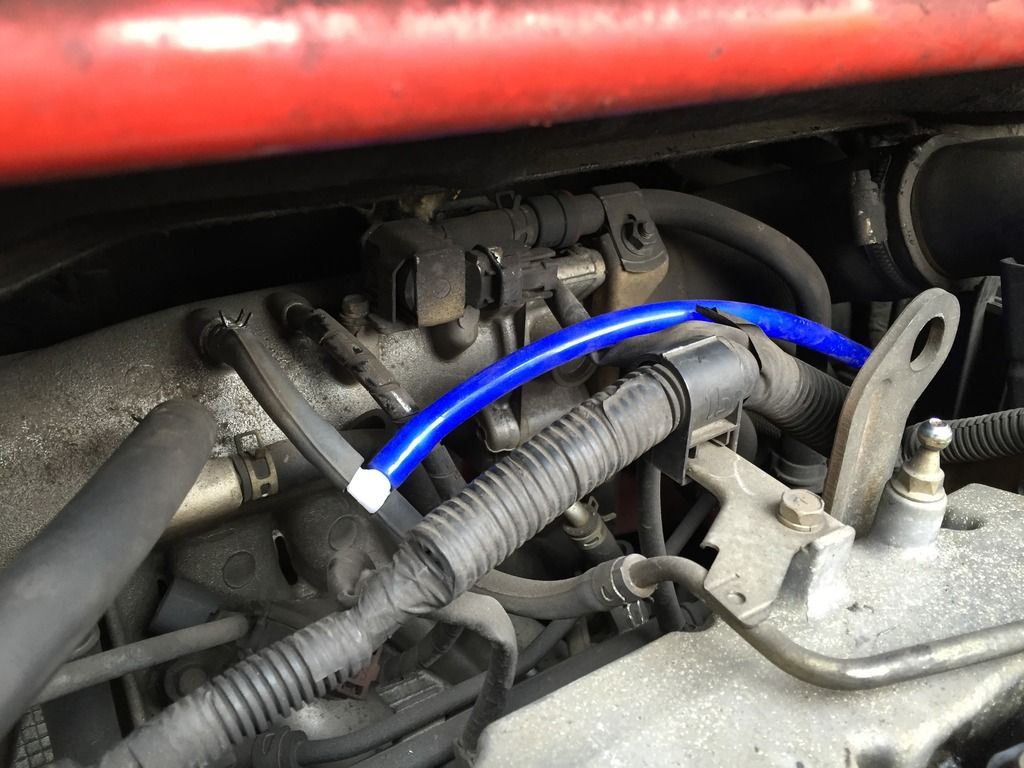
    From reading other forums, most people with the ralliart colts tap into the vacuum source here. Seeing as it's the same engine decided to do the same.

    A67C1850-61C3-424A-9288-62FFB39DC736_zpsseoumnrb.jpg

    Was an absolute pain in the Arse trying to get the hose through the firewall without drilling a hole as there are no blank grommets to go through, but managed to get it in the existing hole with the main wiring loom.

    FA15D936-A5F3-4991-8CAD-A1D5FA3E756A_zpsme0ffvwd.jpg

    Temporarily mounted on the dash via electrical tape until I decide where I want to properly mount it :pac:


  • Registered Users, Registered Users 2 Posts: 8,480 ✭✭✭YbFocus


    I know what facebook group you are part of :)


  • Registered Users, Registered Users 2 Posts: 3,505 ✭✭✭Interslice


    Would it fit into that air vent on the left of the wheel?


  • Registered Users, Registered Users 2 Posts: 15,183 ✭✭✭✭Atavan-Halen


    Interslice wrote: »
    Would it fit into that air vent on the left of the wheel?

    That's what I was thinking but its just slightly too big to fit without hacking up the dash.


  • Advertisement
  • Registered Users, Registered Users 2 Posts: 4,866 ✭✭✭fancy pigeon


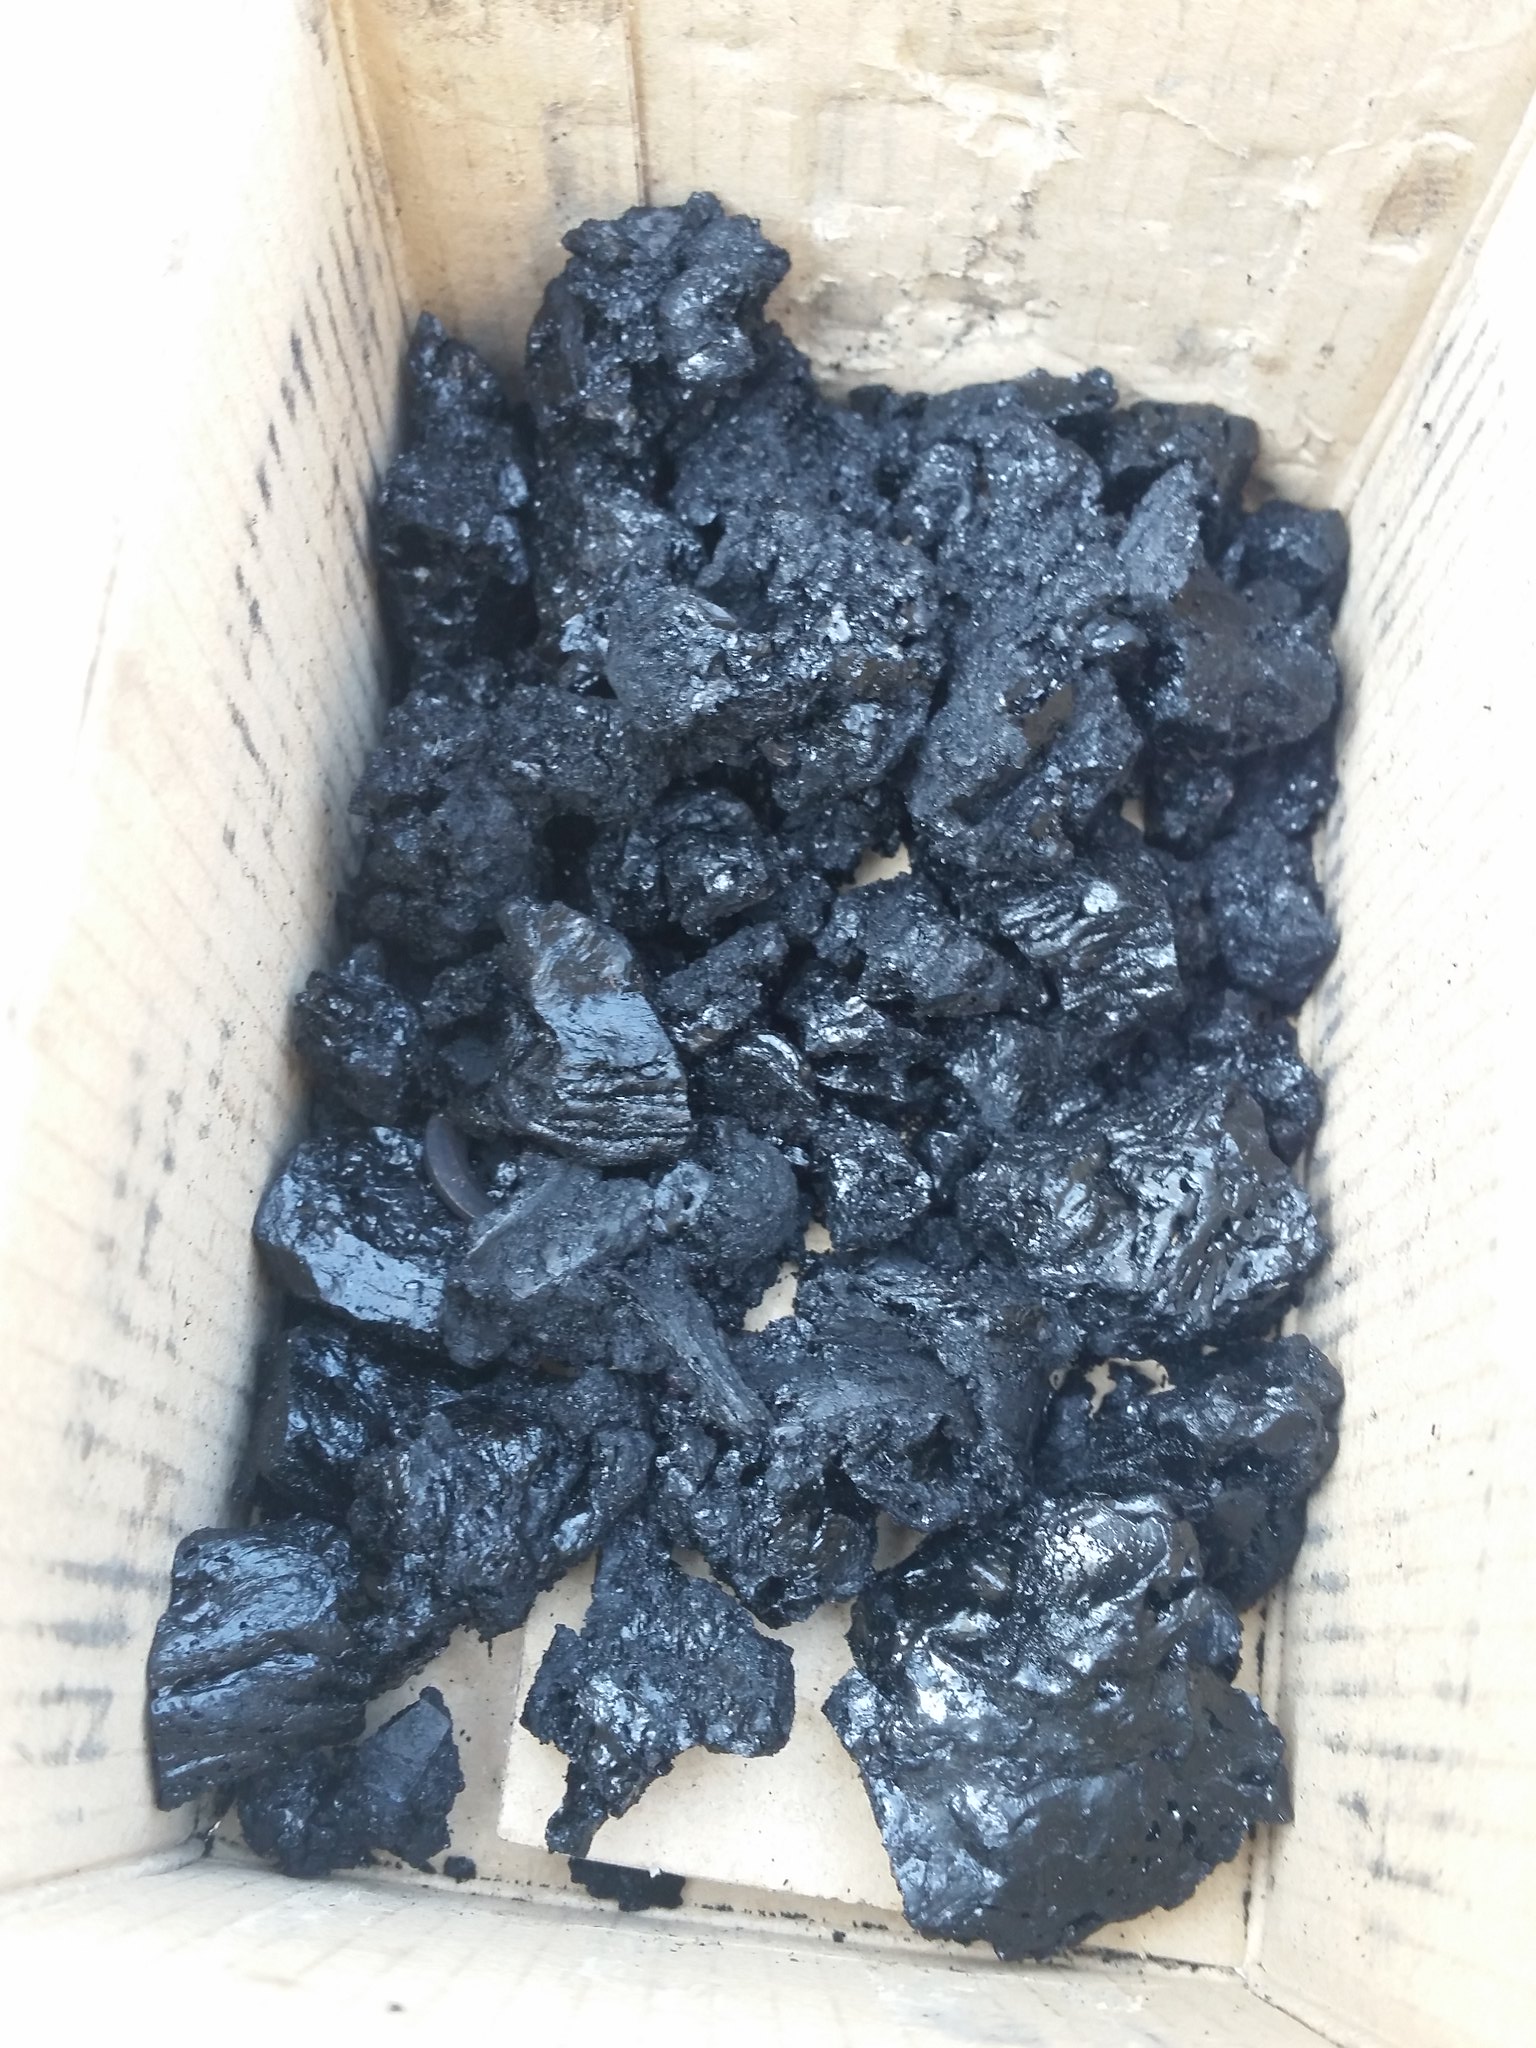
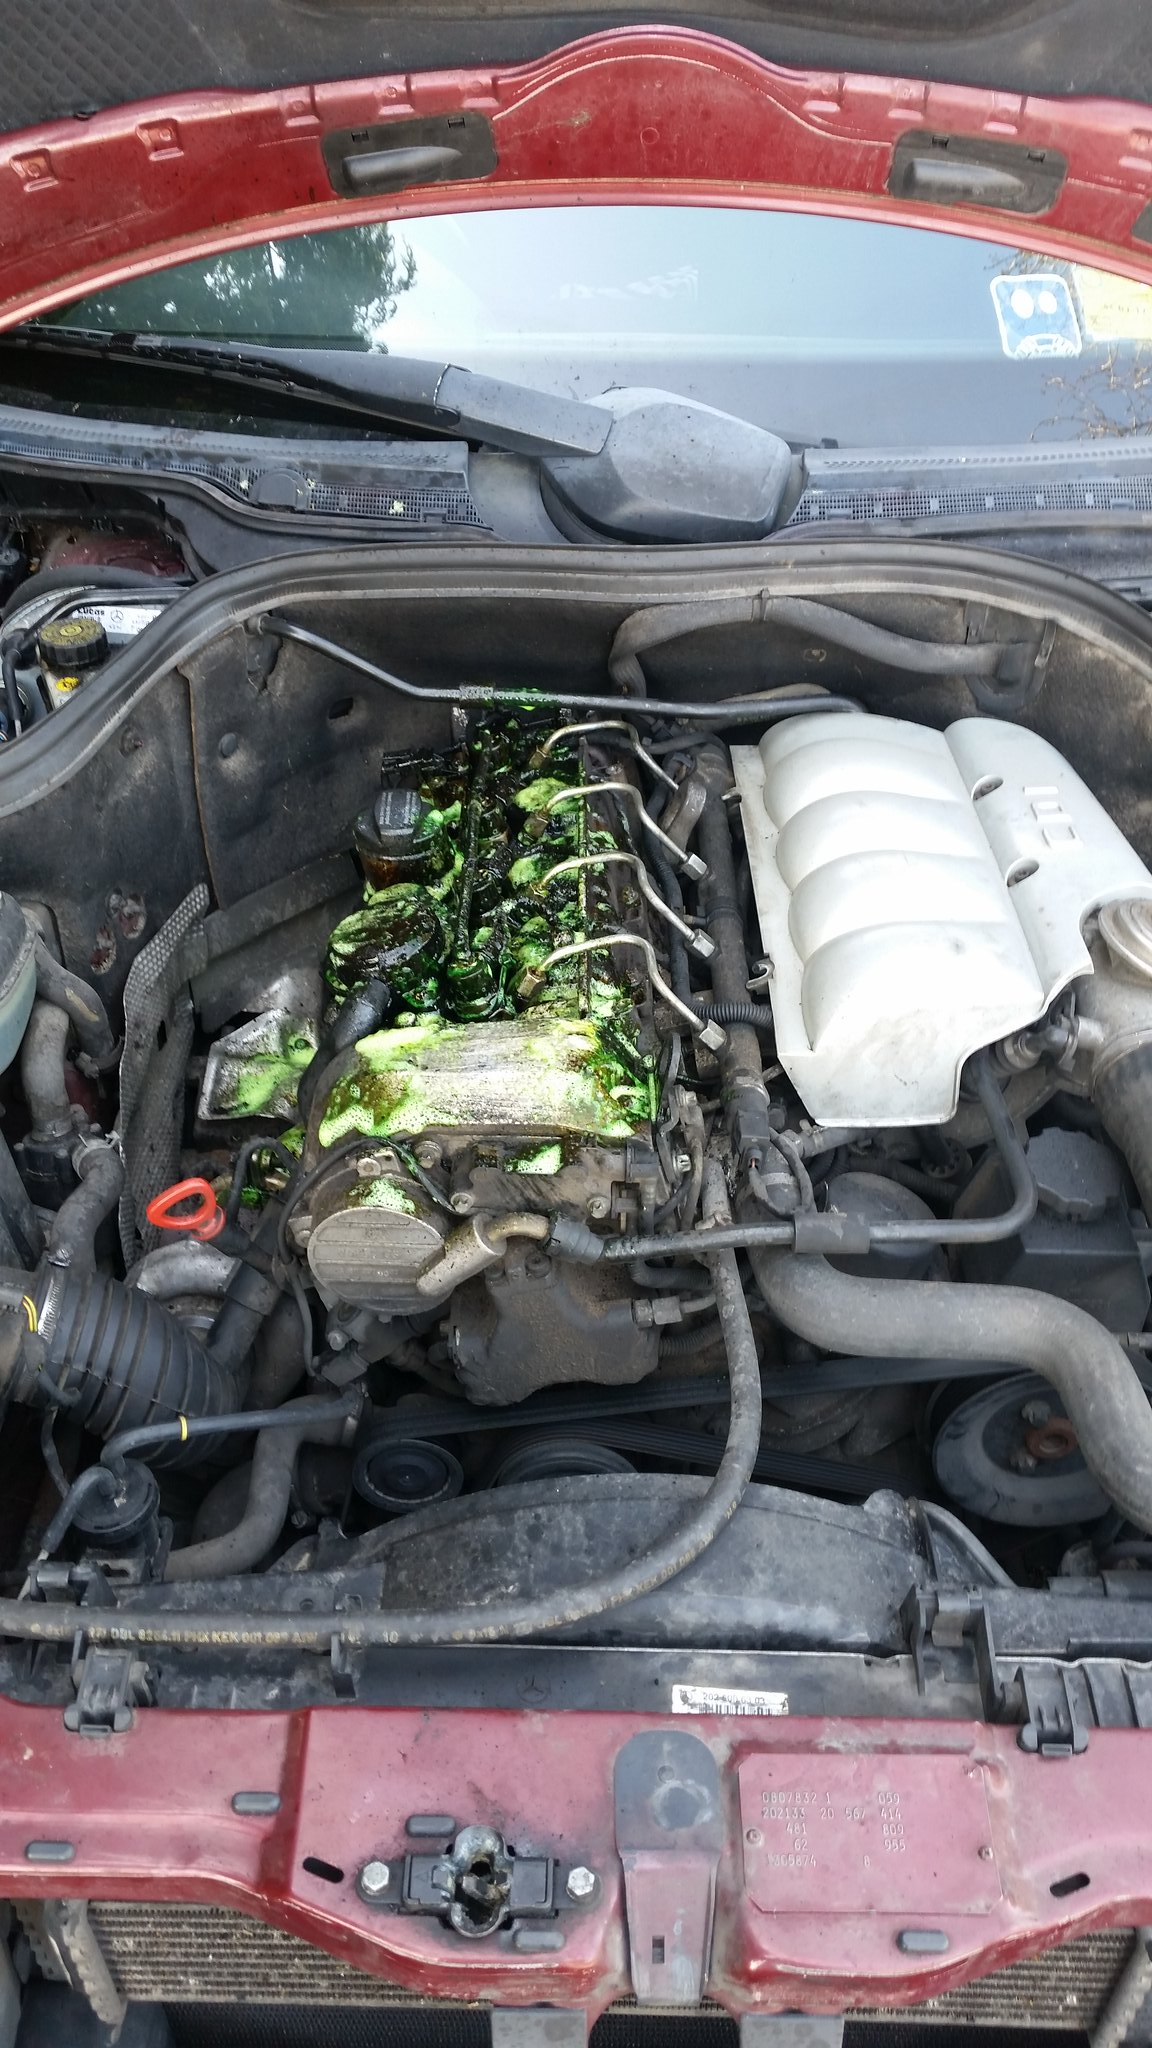
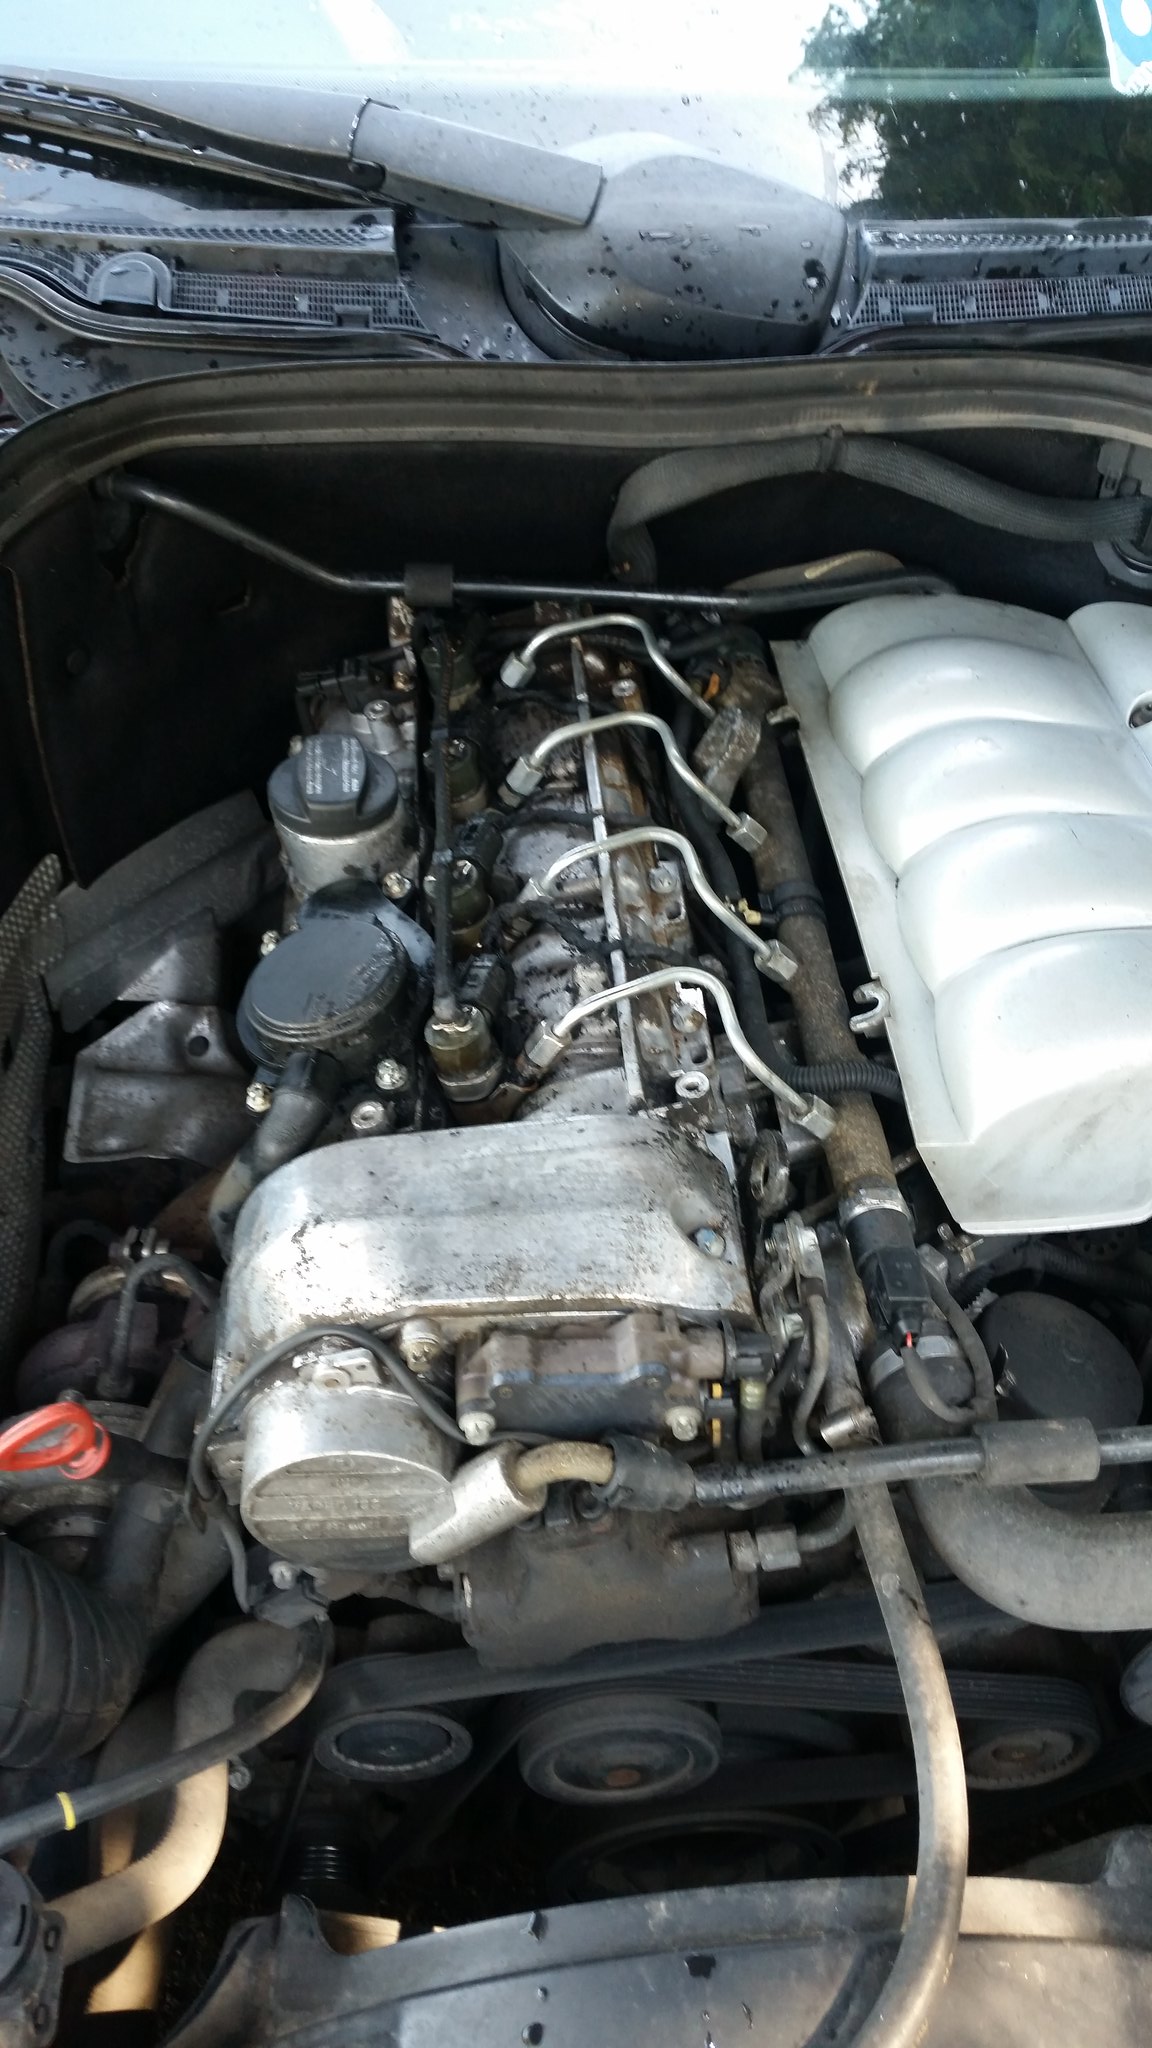
    After getting the washers done, the soot/carbon needed to be washed away

    26858144236_dc657cdffa_k.jpg

    26619221830_8bc165bfd8_k.jpg

    26286621364_07b120e8cc_k.jpg

    Functional rather than cosmetic. No more soot smell :)

Advertisement