Advertisement
Help Keep Boards Alive. Support us by going ad free today. See here: https://subscriptions.boards.ie/.
https://www.boards.ie/group/1878-subscribers-forum

Private Group for paid up members of Boards.ie. Join the club.
Hi all, please see this major site announcement: https://www.boards.ie/discussion/2058427594/boards-ie-2026

The "Today I did something to my bike" thread

1134135137139140195

Comments

  • Registered Users, Registered Users 2 Posts: 12,045 ✭✭✭✭blade1


    Emmersonn wrote: »
    blade 1 What big ears you've got. :eek:;)

    Ears.jpg

    Not me.
    I wish I was that good at welding.
    I have to rely on my good looks to get through life :pac:


  • Registered Users, Registered Users 2 Posts: 2,067 ✭✭✭H_Lime


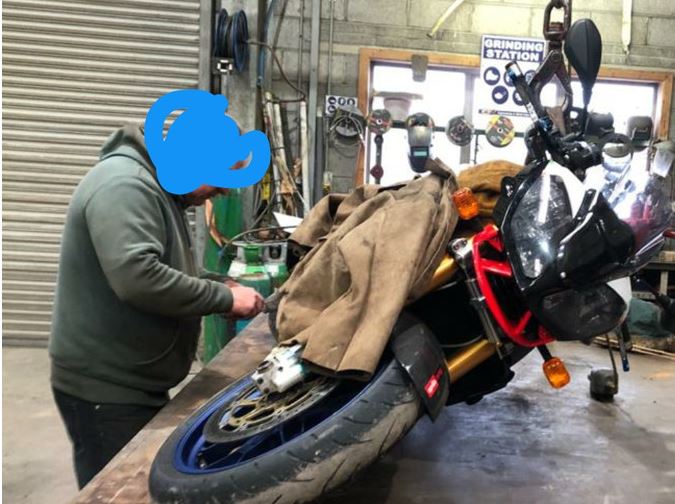
    Blade,was that welding done in little isl engineering by any chance? Be handy to know as the last place that tigged for me was a little ropey.

    Where do you bring the oz wheels for tyres, you must trust them?


  • Registered Users, Registered Users 2 Posts: 12,045 ✭✭✭✭blade1


    H_Lime wrote: »
    Blade,was that welding done in little isl engineering by any chance? Be handy to know as the last place that tigged for me was a little ropey.

    Where do you bring the oz wheels for tyres, you must trust them?

    Screenshot-20200222-084541.jpg

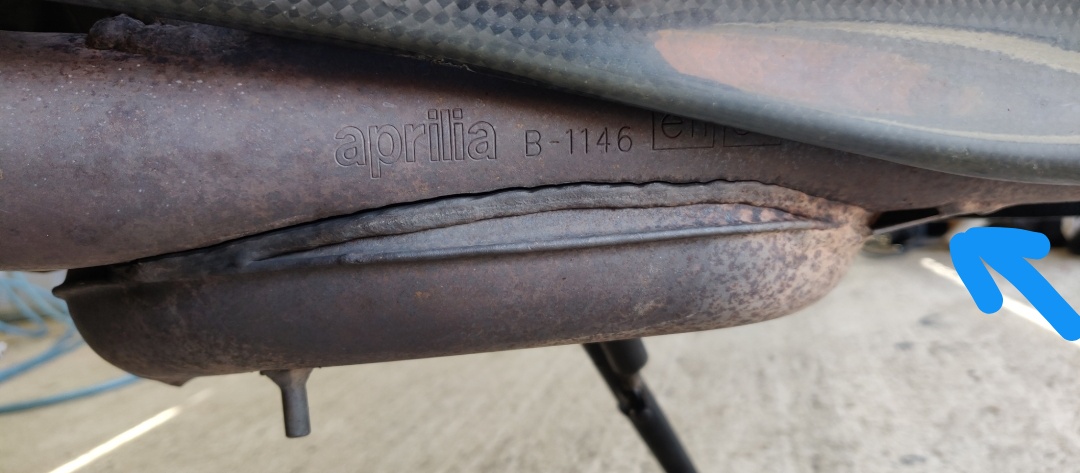
    Welding done in B&C engineering Youghal.
    He even cut off this bracket to get in around with the Tig and put it back on after.


    Mick Flynn between Youghal and Dungarvan does my tyres.
    Yeah I would trust him.

    Metzler go on ok.
    I'd be sweating a bit more fitting Bridgestone.


  • Registered Users, Registered Users 2 Posts: 2,067 ✭✭✭H_Lime


    blade1 wrote: »
    Screenshot-20200222-084541.jpg

    Welding done in B&C engineering Youghal.
    He even cut off this bracket to get in around with the Tig and put it back on after.


    Mick Flynn between Youghal and Dungarvan does my tyres.
    Yeah I would trust him.

    Metzler go on ok.
    I'd be sweating a bit more fitting Bridgestone.

    Handy to know re the welding, I occasionally need stuff tigged and cahir engineering are grand but more suited to agricultural kinda vibes.

    Good to have a fella you can trust rims with, I gave up there and do me own.


  • Registered Users, Registered Users 2, Paid Member Posts: 39,891 ✭✭✭✭Hotblack Desiato


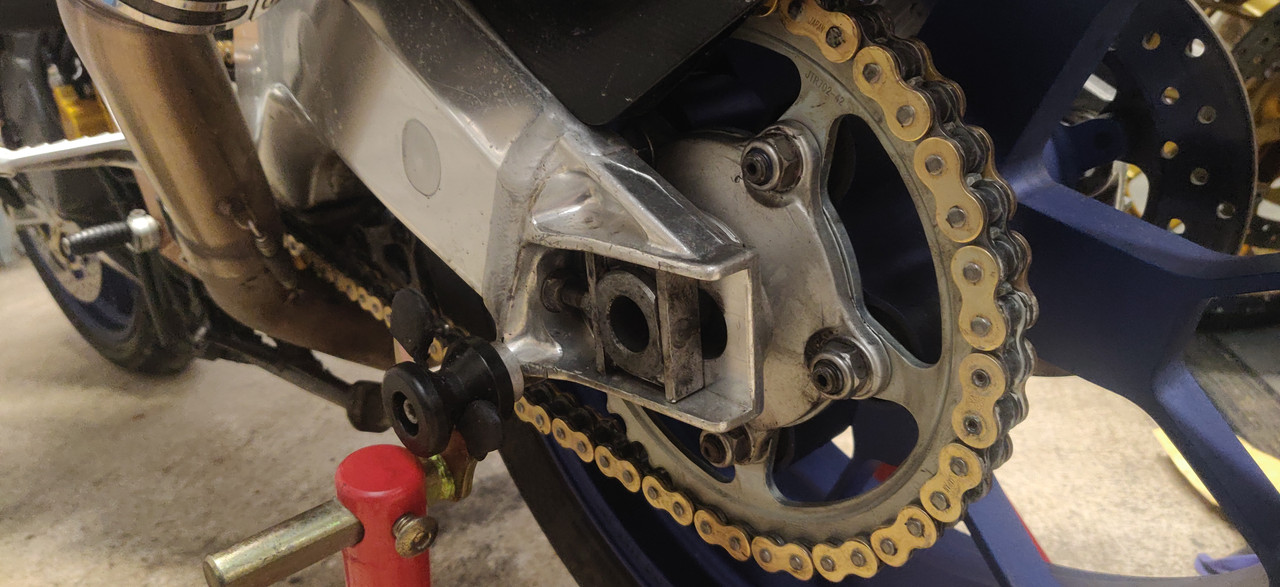
    Is the rear sprocket really as narrow as it looks in that pic?

    Anything to save a few grams, you'd be better off having a good sh!te before going for a spin :pac:

    I'm partial to your abracadabra
    I'm raptured by the joy of it all


  • Advertisement
  • Registered Users, Registered Users 2 Posts: 12,045 ✭✭✭✭blade1


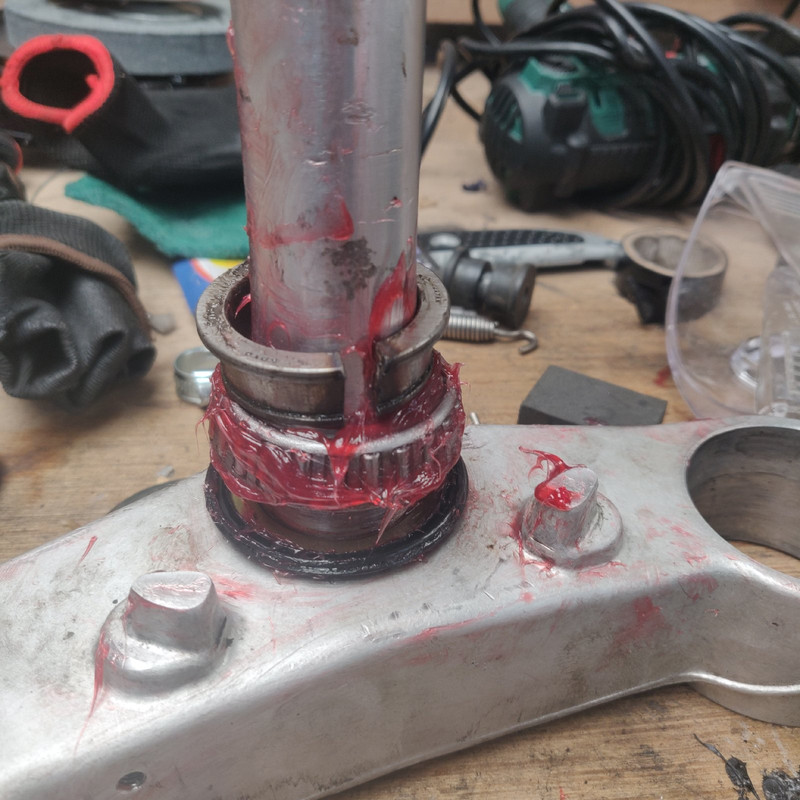
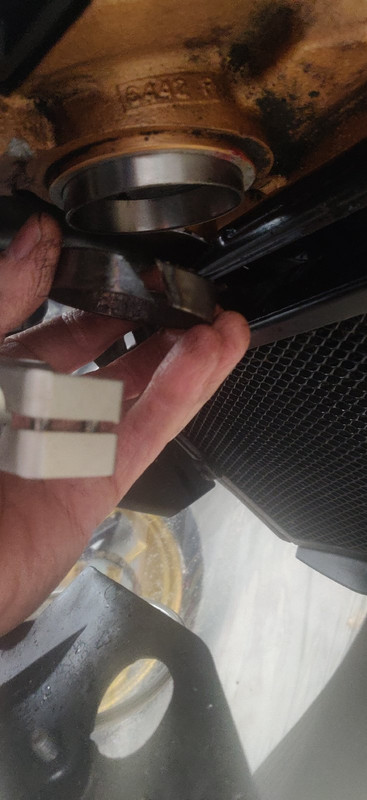
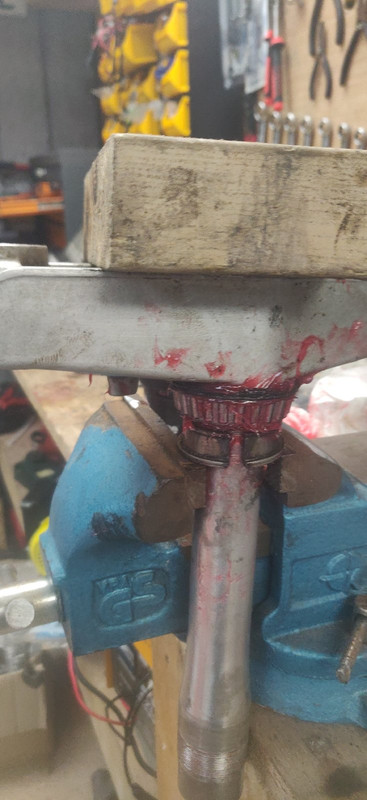
    Headstock bearings today

    IMG-20200224-141814.jpg

    IMG-20200224-142439.jpg


  • Closed Accounts Posts: 279 ✭✭The QuietMan


    blade1 wrote: »
    Headstock bearings today

    IMG-20200224-141814.jpg

    IMG-20200224-142439.jpg

    Looks interesting! I’m getting my fork seals done in 2 weeks, would it be wise to get these done as well while the forks are off?


  • Registered Users, Registered Users 2 Posts: 2,067 ✭✭✭H_Lime


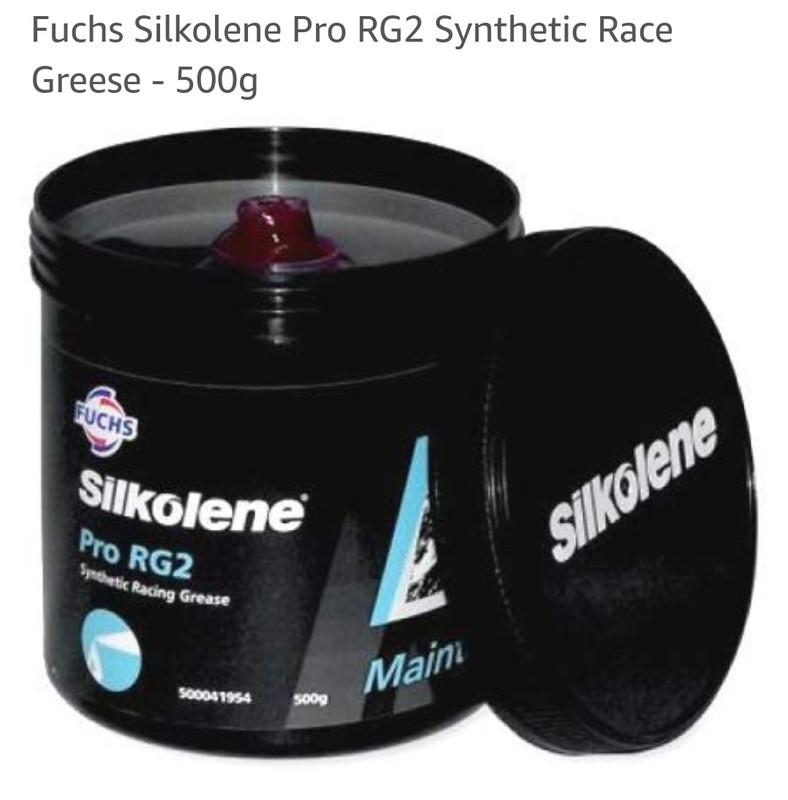
    What's yer goo of choice.
    You used the welder I see:) can't beat it.
    EDIT I'm going blind you cut the race in half, nice idea!


  • Registered Users, Registered Users 2 Posts: 12,045 ✭✭✭✭blade1


    Looks interesting! I’m getting my fork seals done in 2 weeks, would it be wise to get these done as well while the forks are off?

    Maybe if u think they weren't done.

    Btw, I sent u an email about a bike.
    Not sure if you got it or not.


  • Registered Users, Registered Users 2 Posts: 12,045 ✭✭✭✭blade1


    H_Lime wrote: »
    What's yer goo of choice.
    You used the welder I see:) can't beat it.
    EDIT I'm going blind you cut the race in half, nice idea!

    We're jammin' :pac:

    Screenshot-20200224-165402.jpg

    I cut the old bearings after I removed them just so when I used them to push in the new ones they were easy to remove.

    This is how I put the new one in place.
    IMG-20200224-142143.jpg


  • Advertisement
  • Closed Accounts Posts: 279 ✭✭The QuietMan


    blade1 wrote: »
    Maybe if u think they weren't done.

    Btw, I sent u an email about a bike.
    Not sure if you got it or not.
    Be no harm to err on the side of caution i guess.
    Just checked, got no email, you probably sent it to the one ending in .com it's now .ie thanks to microsoft and their fcuking security policy.

    k**********l@outlook.ie is the email


  • Registered Users, Registered Users 2 Posts: 12,045 ✭✭✭✭blade1


    Chain and sprockets fitted today.
    IMG-20200225-163627.jpg


  • Registered Users, Registered Users 2 Posts: 1,920 ✭✭✭zubair


    Shine!

    Tell me this, do you find the plating comes off after a while or am I scrubbing to hard lol


  • Registered Users, Registered Users 2 Posts: 2,067 ✭✭✭H_Lime


    blade1 wrote: »
    Chain and sprockets fitted today.
    IMG-20200225-163627.jpg

    Lookin fresh my friend and the pins look spot on!


  • Registered Users, Registered Users 2 Posts: 12,045 ✭✭✭✭blade1


    zubair wrote: »
    Shine!

    Tell me this, do you find the plating comes off after a while or am I scrubbing to hard lol

    No issue with that Zubair but I clean by rubbing a.cloth with kerosene usually.
    H_Lime wrote: »
    Lookin fresh my friend and the pins look spot on!

    Link probably wouldn't come off if you did nothing to the pins but always better to be safe than sorry.
    Its not going anywhere and the link is moving freely so all good.


  • Registered Users, Registered Users 2 Posts: 2,067 ✭✭✭H_Lime


    blade1 wrote: »
    No issue with that Zubair but I clean by rubbing a.cloth with kerosene usually.


    Link probably wouldn't come off if you did nothing to the pins but always better to be safe than sorry.
    Its not going anywhere and the link is moving freely so all good.

    Walk down a row of parked bikes you will regularly see rivet links on the lower chain run kinked after going past the tight radius of the front sprocket. Bad mojo. Fair dues man on that detail that even shops screw up on and is the reason I learnt how.
    Super eager to use me new whale tool too after reading that :)


  • Registered Users, Registered Users 2 Posts: 12,045 ✭✭✭✭blade1


    H_Lime wrote: »
    Walk down a row of parked bikes you will regularly see rivet links on the lower chain run kinked after going past the tight radius of the front sprocket. Bad mojo. Fair dues man on that detail that even shops screw up on and is the reason I learnt how.
    Super eager to use me new whale tool too after reading that :)

    The thing about doing your own stuff is you can double check it after.

    I got a loan of a d.i.d. tool to do it.
    It was fine but not in the same league as a whale.
    A lot of cash for such a tool.
    You must be going at chains for a living :pac:


  • Registered Users, Registered Users 2 Posts: 2,067 ✭✭✭H_Lime


    blade1 wrote: »
    The thing about doing your own stuff is you can double check it after.

    I got a loan of a d.i.d. tool to do it.
    It was fine but not in the same league as a whale.
    A lot of cash for such a tool.
    You must be going at chains for a living :pac:
    Not as expensive as you might think
    https://www.ebay.co.uk/itm/Chain-Extractor-Riveter-520-to-632-Chain-Whale-Brand-Japan-Each-/114024436173
    My tools are basic enough but over time I'm trying to replace the fundamentals with good quality ones. Yrs and yrs ago the lads in ndm in dublin replaced my c&s and they took the whale tool out of its box like bread from the tabernacle lol. Those boys knew their sh1t so it was ear marked.


  • Registered Users, Registered Users 2 Posts: 2,067 ✭✭✭H_Lime


    Head and barrel back from Murphys. Light (0.1mm) skim, decoke, valve stem seals and lapped in. Barrel honed.
    With the upgraded CCT installed she's good to go back together.
    IMG-20200222-105033.jpg

    IMG-20200222-105940.jpg


  • Registered Users, Registered Users 2 Posts: 2,067 ✭✭✭H_Lime


    Who else is interfering with their machine?? I can't be the only serial tool abuser here:pac:

    IMG-20200301-172019.jpg
    Hard to get slide guides and magic seals.

    IMG-20200309-170332.jpg
    Polished the needle valve seats. Viton seals again.
    I. Don't. Want. Leaks:eek:

    IMG-20200309-171555.jpg
    Float heights set to 14mm.
    I. Don't. Want. Rich:(

    IMG-20200309-173101.jpg
    Handy pilot screw.

    IMG-20200309-173533.jpg
    Later Bst36 float bowls with overflow tubes so no washing out the oil if she does overflow.

    So that's that (lol!). As I'm fitting a hayabusa oem exhaust and larger di stainless header I've upped the mains to a saucy 127.5.


  • Advertisement
  • Closed Accounts Posts: 279 ✭✭The QuietMan


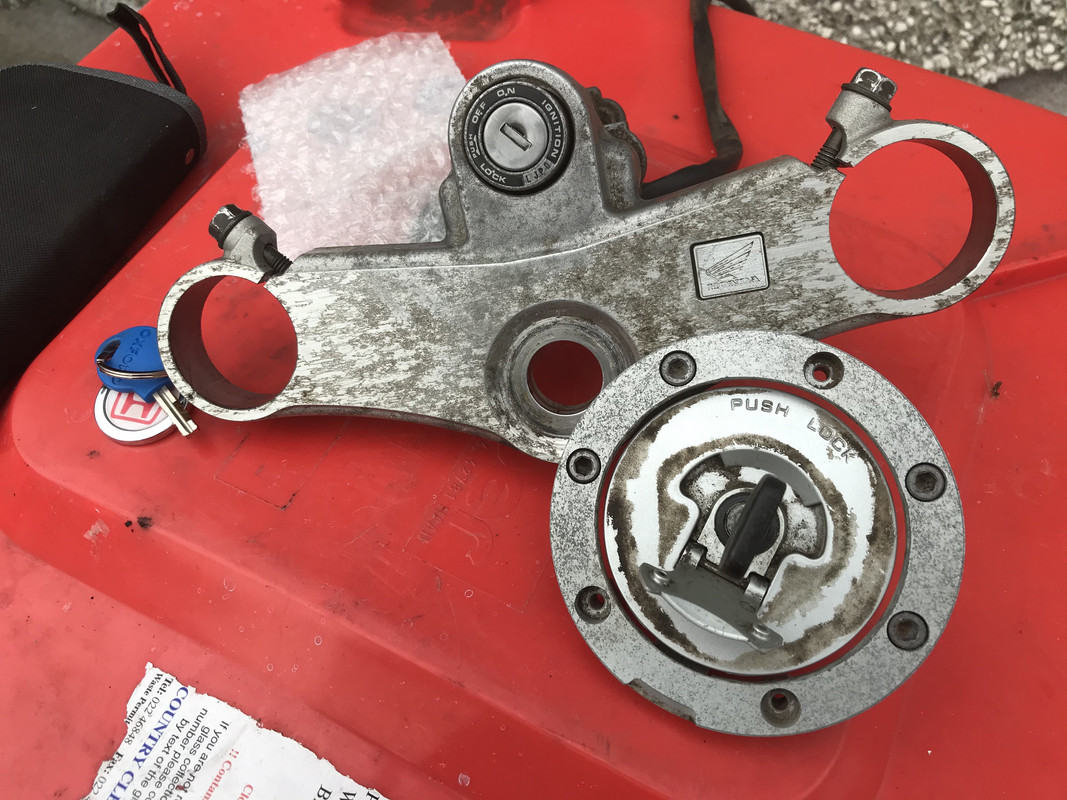
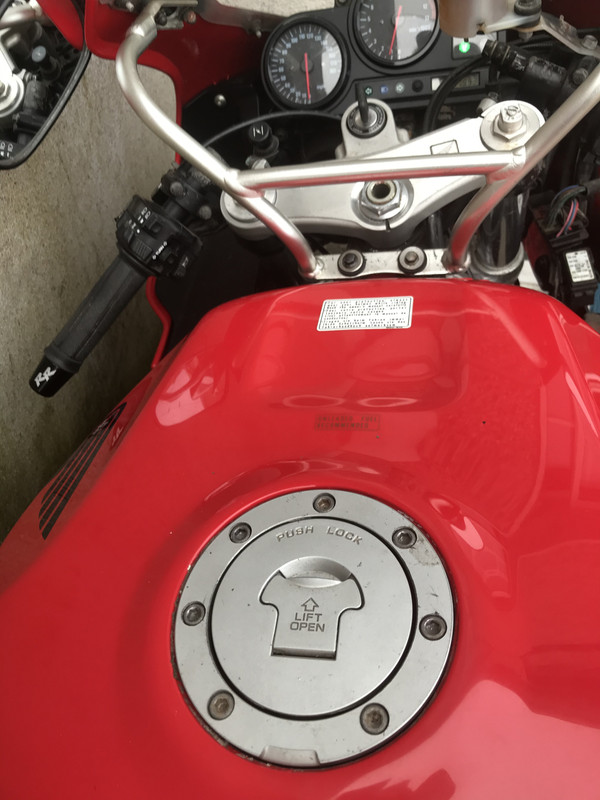
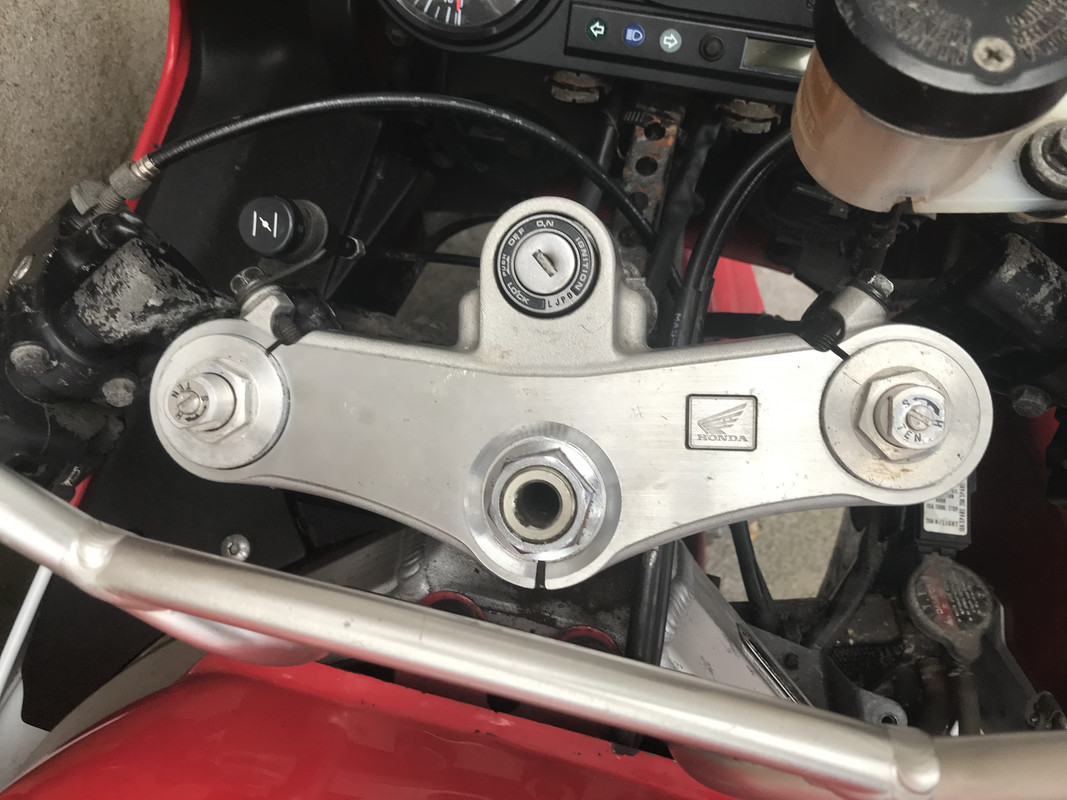
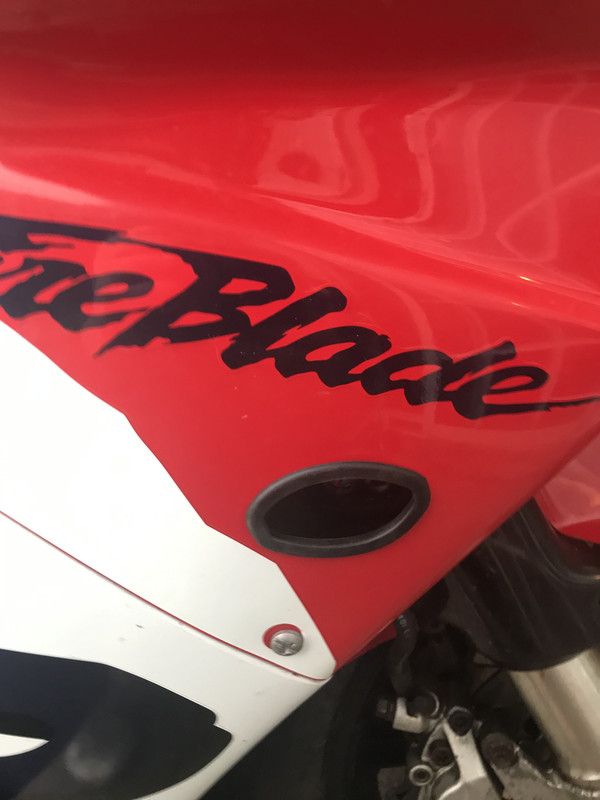
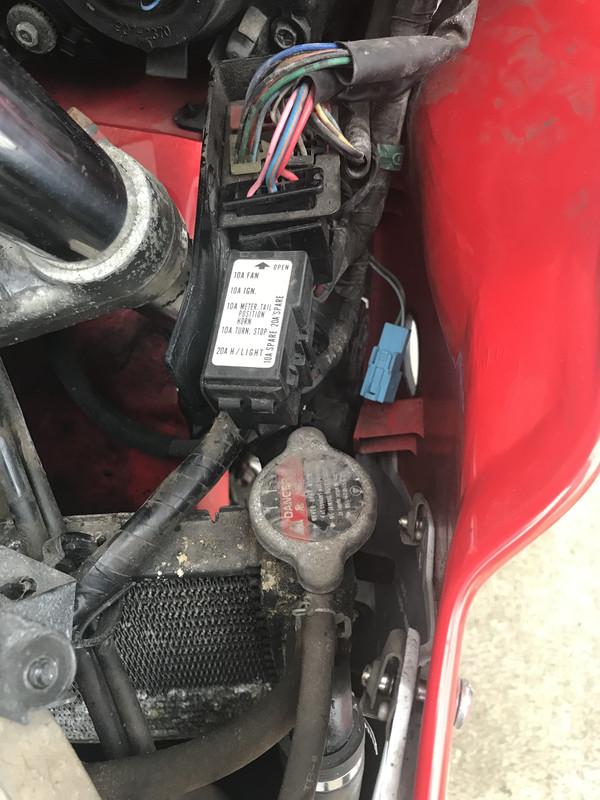
    This is a major achievement for me :D plus all the locks on the bike :D

    8-C54-AAA4-8901-4335-8-A5-D-DE58-CEB34647.jpg

    66-A21-C60-4-AAF-488-B-AD87-310-B85-D4289-E.jpg

    56-B6-B516-D8-A9-4996-A194-24-BA64-CFED68.jpg


  • Registered Users, Registered Users 2 Posts: 12,045 ✭✭✭✭blade1


    This is a major achievement for me :D plus all the locks on the bike :D

    8-C54-AAA4-8901-4335-8-A5-D-DE58-CEB34647.jpg

    66-A21-C60-4-AAF-488-B-AD87-310-B85-D4289-E.jpg

    Much better.
    Did it come off ok in the end?
    Polish up the other ones in your spare time and sell them.
    Get your money back that you spent on the new ones.


  • Closed Accounts Posts: 279 ✭✭The QuietMan


    blade1 wrote: »
    Much better.
    Did it come off ok in the end?
    Polish up the other ones in your spare time and sell them.
    Get your money back that you spent on the new ones.

    It did to be be fair, straight off! I don’t think they’ll polish out at all though.


  • Closed Accounts Posts: 279 ✭✭The QuietMan


    I’ve started my next challenge

    FC84-D066-24-DB-46-EF-8-B6-E-DF25-C2871-A34.jpgl

    32-DDE79-A-EFCE-4-A78-BA9-A-61-A2-CCB6-D1-B9.jpg


  • Closed Accounts Posts: 279 ✭✭The QuietMan


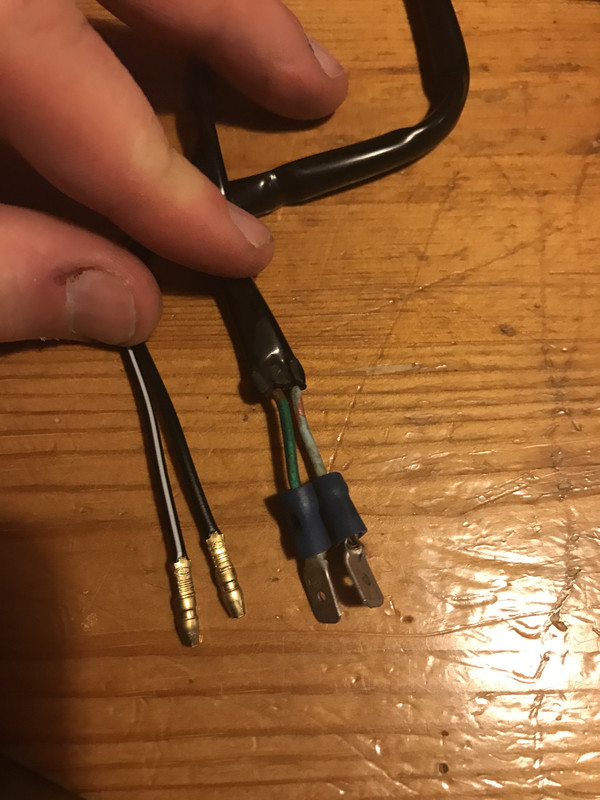
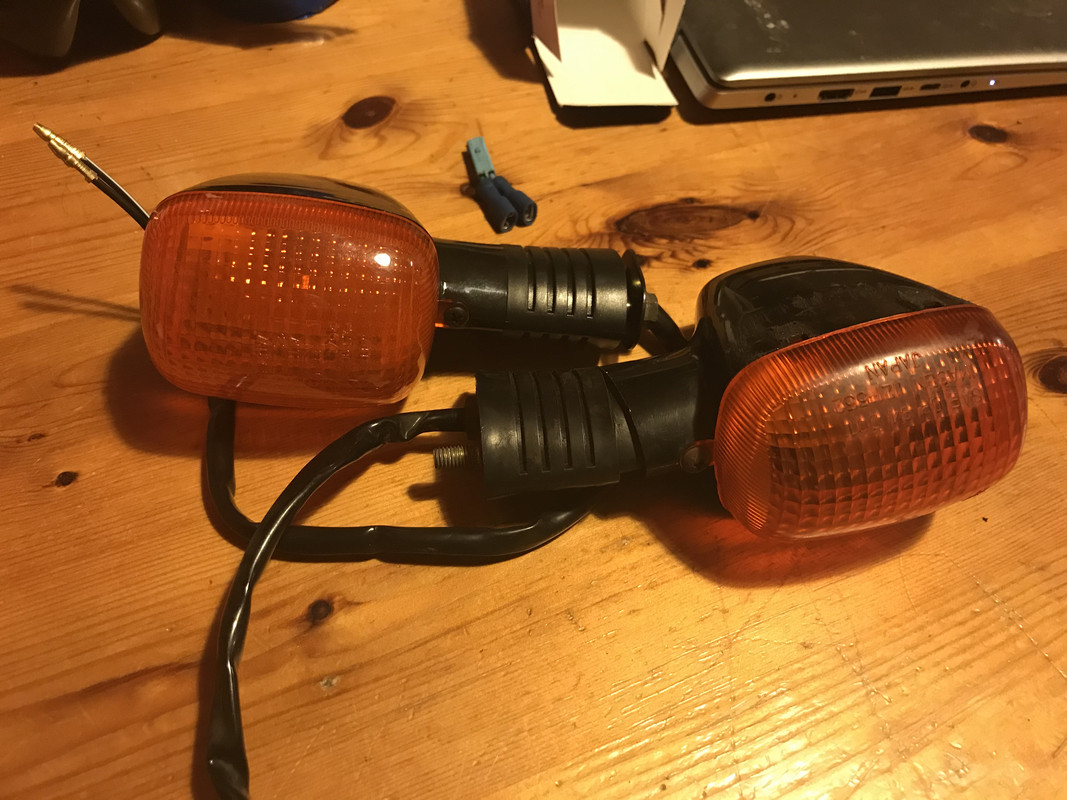
    The joys of aftermarket fúcking parts :mad:

    C5-FE3-D4-D-DF26-4491-95-FE-DEF5-A2-E22-D80.jpg

    68-EBC442-2-F3-F-43-B1-9670-90753-DE325-C5.jpg


  • Registered Users, Registered Users 2 Posts: 12,045 ✭✭✭✭blade1


    Possibly the green = Black/White
    and Grey = Black.
    Was there a green on both left and right originally?

    Have you got bullet connectors so you can connect and disconnect if they don't work.
    They'll either work or they won't.


  • Closed Accounts Posts: 279 ✭✭The QuietMan


    blade1 wrote: »
    Possibly the green = Black/White
    and Grey = Black.
    Was there a green on both left and right originally?

    Have you got bullet connectors so you can connect and disconnect if they don't work.
    They'll either work or they won't.

    Might take a trip to the local auto sparks and ask him to fit bullet connections to the other wire, I cut it off the old light. There was a green wire on the outside of the bulb housing, blue one went into it.


  • Closed Accounts Posts: 122 ✭✭airhead_eire


    Might take a trip to the local auto sparks and ask him to fit bullet connections to the other wire, I cut it off the old light. There was a green wire on the outside of the bulb housing, blue one went into it.

    The wire with the white stripe is most likely positive i.e. 12v and the other earth. You could easily swap the connector types yourself with a soldering iron.


  • Registered Users, Registered Users 2 Posts: 12,045 ✭✭✭✭blade1


    Might take a trip to the local auto sparks and ask him to fit bullet connections to the other wire, I cut it off the old light. There was a green wire on the outside of the bulb housing, blue one went into it.

    Sounds like the blue one is positive so.
    Can you remove the lens's and see where the wires are and match them like that?


  • Advertisement
  • Closed Accounts Posts: 279 ✭✭The QuietMan


    blade1 wrote: »
    Sounds like the blue one is positive so.
    Can you remove the lens's and see where the wires are and match them like that?

    Got it soldered by the local sparks for a fiver. The thing still doesn’t work! Fuse is fine, both left side and right rear indicator with, no idea where to look now

    I’ve tried changing the connections around and still nothing. It did work when I got it, one of the kids knocked off it and it hasn’t worked since


Advertisement