Advertisement
If you have a new account but are having problems posting or verifying your account, please email us on hello@boards.ie for help. Thanks :)
Hello all! Please ensure that you are posting a new thread or question in the appropriate forum. The Feedback forum is overwhelmed with questions that are having to be moved elsewhere. If you need help to verify your account contact hello@boards.ie

A Lean-To Tale (with pics & maybe vids)

Options
123457

Comments

  • Registered Users Posts: 748 ✭✭✭It BeeMee


    +1
    Also it save you the hassle of cutting the last sheet.
    And it's not as though the bit you cut off will be of any use anywhere else.


  • Registered Users Posts: 28,403 ✭✭✭✭vicwatson


    personally i'd do this. gives a good coverage, and allows for a uniform finish

    +1

    Plus the fact that it will give it extra strength there where you'll need it most - at the end. Should be stronger because of potential updraft.

    Overlap is good.


  • Registered Users Posts: 787 ✭✭✭Samoa Joe


    Over lap it as you will be able to use the extra peaks in case you damage the end of the sheet.


  • Closed Accounts Posts: 407 ✭✭LLU


    +1 for overlap.

    That would be a very long cut to have to make and if you're talking about 6 inches then it's only a few more peaks. Do you still have to cut a bit out of the upper end to accomodate the down pipe?


  • Registered Users Posts: 28,113 ✭✭✭✭looksee


    How long before a washing line appears under it?

    Great job btw!


  • Advertisement
  • Registered Users Posts: 519 ✭✭✭harry21


    The overlap idea seems the best.

    Just to be different, and thinking back to the perspex windows on the boat, I wonder if it would be possible to return the sheeting downwards along the outer rafter to give it extra protection.

    But how would you bend the sheet?


  • Registered Users Posts: 3,411 ✭✭✭dnme


    Stand by for breaking news.......:cool:


  • Registered Users Posts: 2,921 ✭✭✭2 stroke


    You've reached the stage that would have me kicking myself. If you had doubled your overlap on each sheet, you may have worked out better at the end, and your screws would have been evenly spaced I think. (I'm just home from the pub).
    Best thing to do now is overlap and trim timber to suit.


  • Registered Users Posts: 3,411 ✭✭✭dnme


    Day 13

    newsflash.jpg

    My new(ish) Lenovo laptop was falling apart. The left hinge broke away and started to rip the plastic around it. So I rang Lenovo during the week and they came and carted it off for repair. That means I have had to dig out my old Acer. This thing is on it's last legs. It has suffered 4 years of living with me. In that time I have had it completely apart three times. Last time was to install a third wi-fi antenna inside the screen casing. When I opened it up that time, I broke the coupling that accepts the keyboard ribbon. So last night, I had a go at repairing that. It's now held in with a piece of card covered in tape. It works ok but every now and then it misses a key press:D so bear with me on this post.

    Well the job is done. There's now a flaming lean-to hanging around at the back of my house. Where the hell did that come from? It's wierd! Like a dream. I didn't do it, or so it seems.

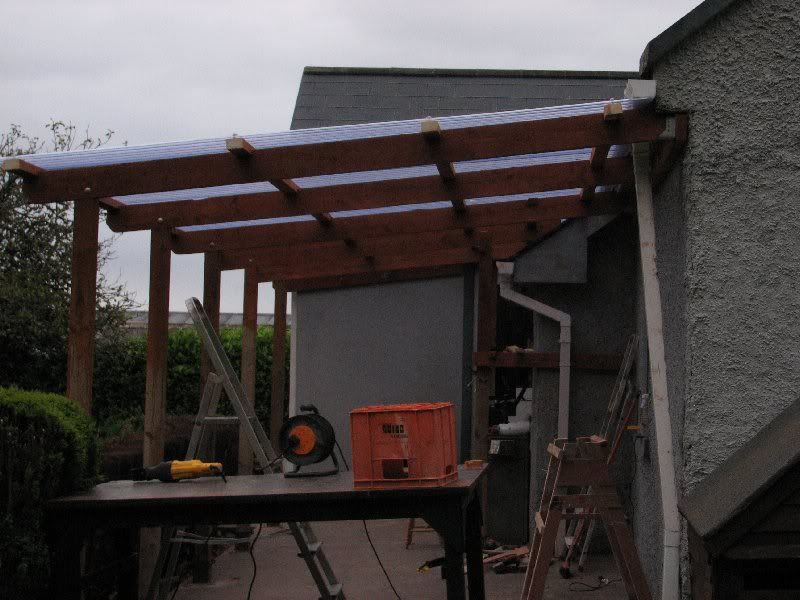
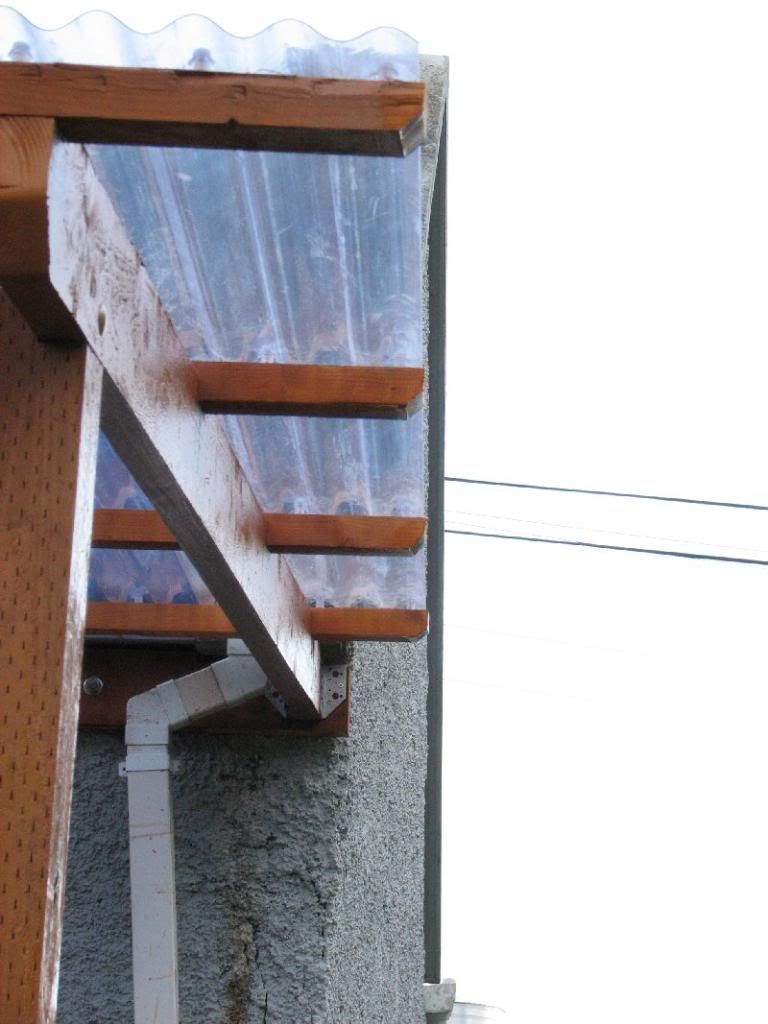
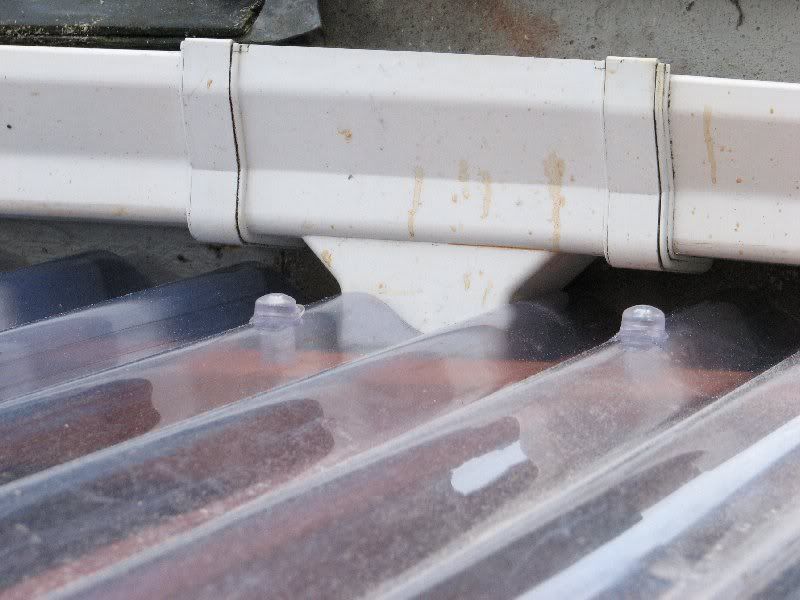
    In the end I went for the overlap. The last sheet overlaps the predecessor by about 4 or 5 rows. It sticks out about 6-8 inches from the gable wall which is very exposed so I went to town with the fixings. One every second peak across all four runners (20). Someone above asked if I had to cut around the down pipe. Yes indeed I did. It was very simple. I just offered up the sheet as far as the down pipe. Then marked it at each side of the pipe. Measured the difference between this sheets depth, and it's neighbours, and that gave me my cut line. The dremmel made the cut itself a breeze.

    It occurred to me today that I should have doubled up on the overlaps right across the job. I should have overlapped two rows instead of one. I read a pdf today recommending this for my particular fall-off angle. It would have cost an extra 3 sheets or so but maybe I should have done it that way regardless. As it is, I'll see how the single overlaps behave. I did double the overlaps for the sheets today, the ones getting near the gable where it is extra exposed to the wind, and of course the last one is as discussed above.

    Lessons:
    ========
    Research, Read up on the product. I failed to do this and it remains to be seen if I am lucky.

    Buy the heavy duty sheets. The ones in the large chain stores are very thin (0.8mm). From working with the heavier stuff (1.3mm) I am really glad that I ended up with that weight (a happy accident).

    Cut the sheets with a dremmel and those small cutting discs, trust me!

    Use silicone with the fixings.

    Some Builders providers are not nice places. Don't take any shjt! You're a customer spending your hard earned cash.

    Keep everything clean and retail packed. At the end of the job, you can bring unused materials back for a refund. (I got 40 quid back yesterday).

    Good ladder(s), and tie them up top with a bungee chord.

    Plenty of tea.

    Don't work in the rain or bad weather, work quality plummets as does your mood.

    Shop around and haggle the be-jesus out of everyone.

    Never trust women!:cool:

    Get a dog.:p

    Give up the fags.:mad:

    Stop reading boards.ie:confused:

    Do it yourself!!!!!:)


    This is where I left you
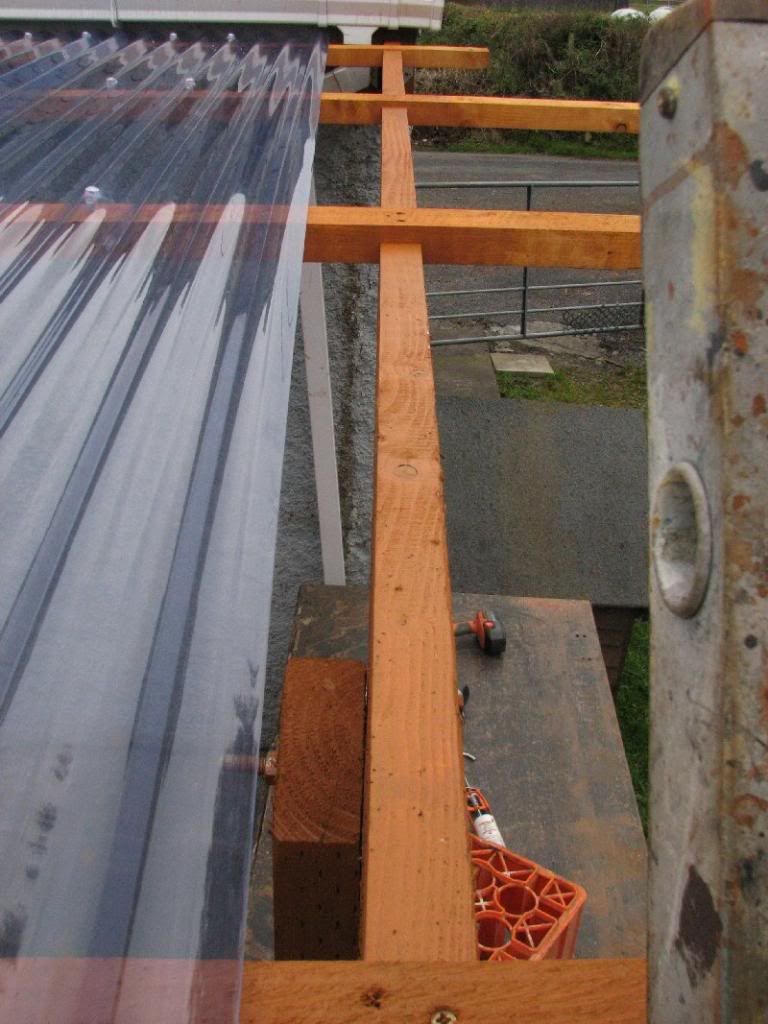
    Img_7965.jpg


    I decided to overlap the last sheet deep into its predecessor, this gave me this edge and negated the need for any cutting.
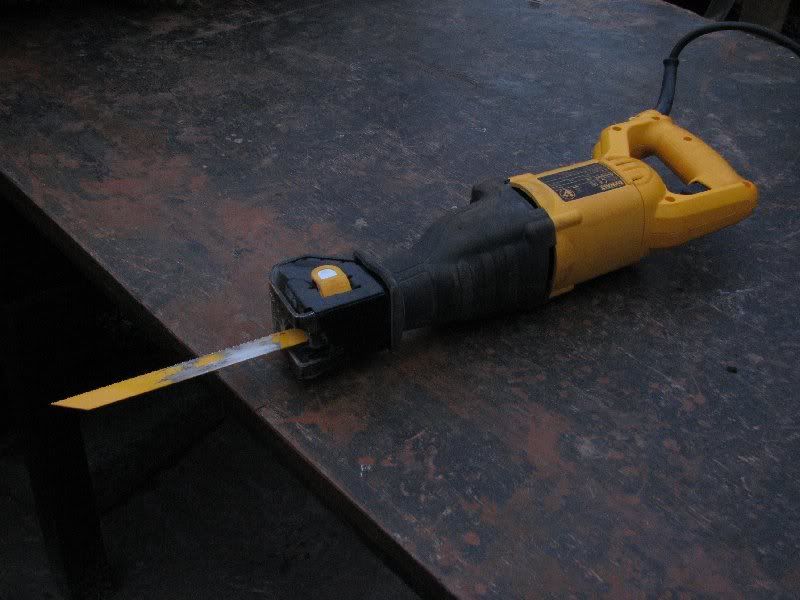
    Img_7966.jpg


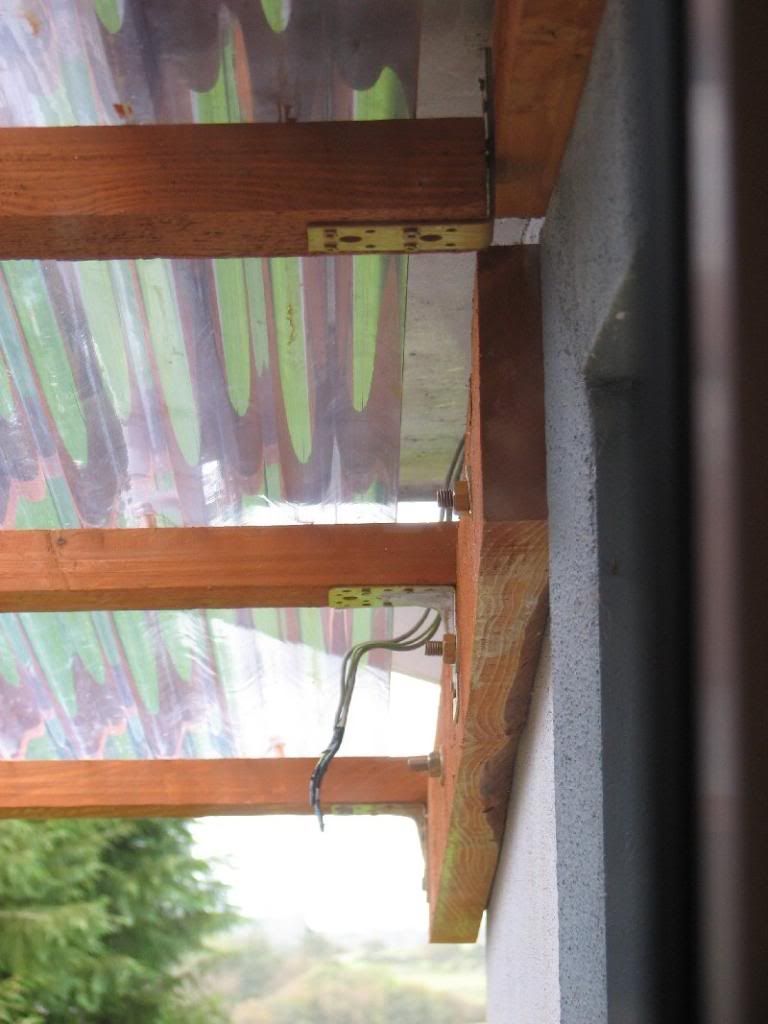
    Used this puppy to lob off the runner ends flush to the pvc shet. I love that tool!
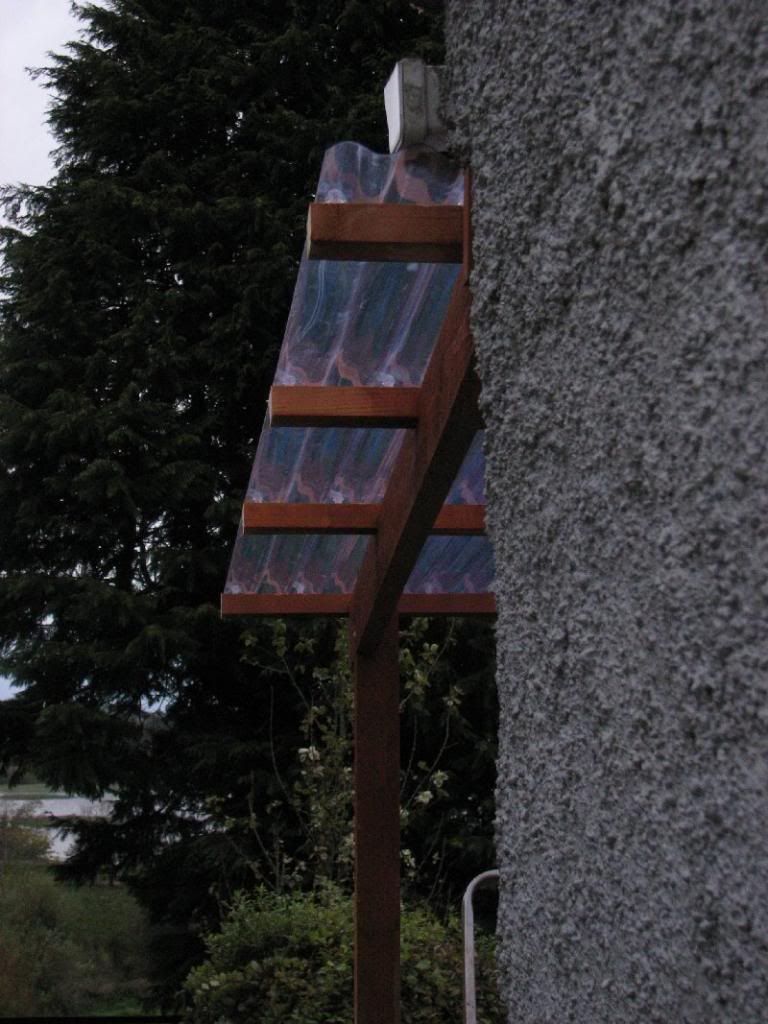
    Img_7969.jpg


    As you can see, the roof extends beyond the gable by 6-8 inches. You cannot notice the taper at all. It would look better with a rafter trim along the outer edge but this will have to do for now. I used 20 fixings in the last sheet. If it goes, the house goes!
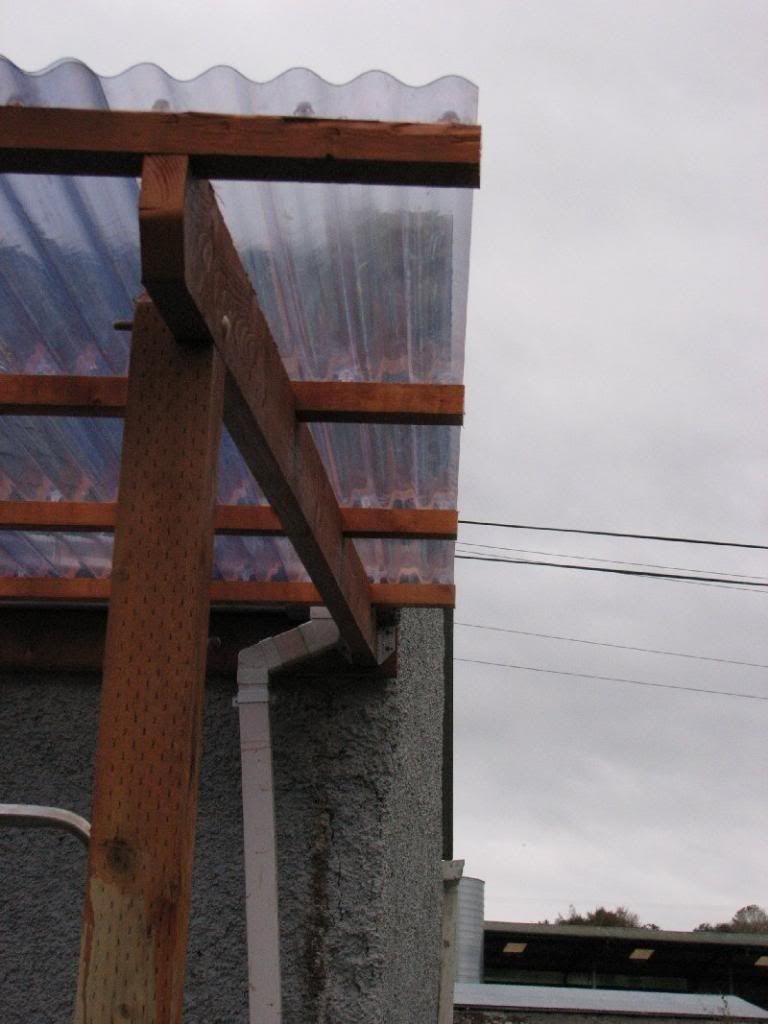
    Img_7968.jpg


    Look at it there! I have since dolloped the runner end grain with preservative
    Img_7967.jpg


    It was too dark for any more photos. I might take a few tomorrow or perhaps a video to show the final look. All I have left to do now is get the gutters re-fitted properly. I'll probably have to buy one or two extension pieces to make them fit. I bought a standard outside bulkhead light today along with an exterior junction box. I'll fit that near the back door and then eventually get a 4ft double fluorescent light for over the boat.


  • Registered Users Posts: 1,257 ✭✭✭Pete67


    Superb job dnme, looking forward to seeing the boat tucked in there!


  • Advertisement
  • Registered Users Posts: 688 ✭✭✭wush06


    Looks great dnme well done.


  • Registered Users Posts: 3,411 ✭✭✭dnme


    Just looking at the 9oc news. Heavy rain on the way.....I can't wait! Bring it on. :D:D:D


  • Registered Users Posts: 1,167 ✭✭✭TopTec


    Nice neat job dnme. Job satisfaction eh!

    You are like a kid with a new bike. smile.gif

    Promise that you will do a recording of a rainstorm hitting that?


    TT


  • Registered Users Posts: 2,182 ✭✭✭alexlyons


    Really, really great job.
    After all the on going work on the boat, the pain, hassle and frustration, no to mention the extremely successful work so far, it's really brilliant to see this project complete, or at least 98% complete. It's usable almost to the max, it needs a light etc like you said and there may be a small snag list, but its done.

    Now, transfer this feeling and great sense of achievement and pride over to the boat thread, and imagine what that will feel like when you get the boat done. You have a great asset now to make the restoration much more enjoyable and easier to achieve. It's really great to see this complete and as professionally done as it is.

    You're some man, and well done again.


  • Registered Users Posts: 748 ✭✭✭It BeeMee


    dnme wrote: »
    Just looking at the 9oc news. Heavy rain on the way.....I can't wait! Bring it on. :D:D:D

    Be careful what you wish for...:D

    Great job, dnme.

    On behalf of Honey, I would ask you move the kennel back in before the rain hits...


    TopTec wrote: »
    Promise that you will do a recording of a rainstorm hitting that?

    A new intro to "In from the cold" perhaps...
    Just don't reverb the bejaysus out of it :cool:


  • Registered Users Posts: 3,411 ✭✭✭dnme


    It BeeMee wrote: »
    On behalf of Honey, I would ask you move the kennel back in before the rain hits...

    She's never used that kennel. She only sheepishly goes into it if I tell her to, and at that, shes back out again after 10 seconds. She's too clever. The house is much warmer and more comfy. That dam kennel is in the way tbh. Might put it on adverts.


  • Registered Users Posts: 519 ✭✭✭harry21


    Well done dnme, great job....


  • Registered Users Posts: 219 ✭✭ScabbyLeg


    Well you flew through that, some job.

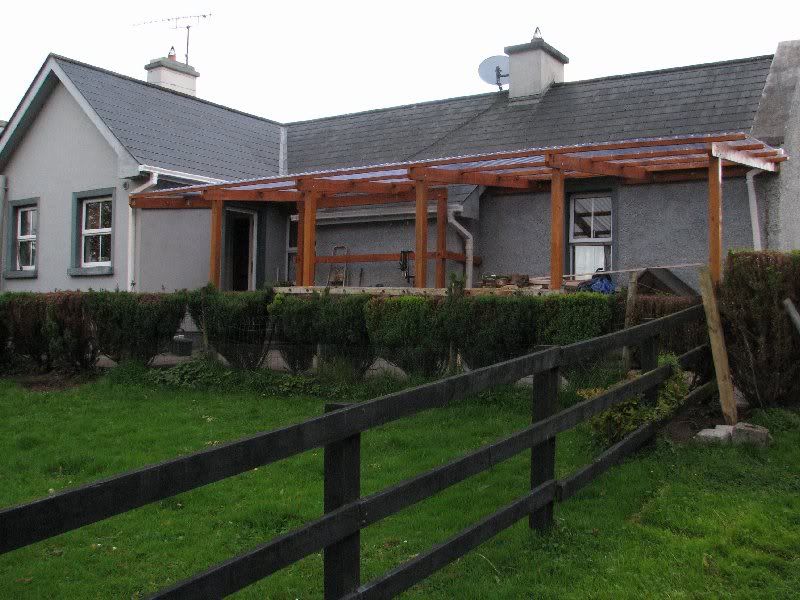
    You should post a photo of the new setup from down the garden like in the first photo in the thread so we can compare! It's only when I look at the PVC roof of it that I realise what big an area you have covered now, fair play.


  • Registered Users Posts: 28,403 ✭✭✭✭vicwatson


    You should post a photo of the new setup from down the garden like in the first photo in the thread so we can compare!

    Yes +1

    Would love to see the before and after pic.

    Congrats on a job well finished dnme. You can have a party ANYtime now - no excuses ! Don't forget us all :D

    Edit - also dnme - does it feel really solid? to give it a shake - does it feel rock solid? It looks it anyways


  • Registered Users Posts: 2,921 ✭✭✭2 stroke


    Well done, but I think to finish the job the ends of those runners need a little decorative chamfer.


  • Advertisement
  • Registered Users Posts: 28,403 ✭✭✭✭vicwatson


    Well done, but I think to finish the job the ends of those runners need a little decorative chamfer

    Give the man a break....:D:D:D:D:D:D


  • Registered Users Posts: 519 ✭✭✭harry21


    Did you get the weather for next week.... You will be using the lean-to for shade from the sun instead of cover from the rain!!!

    Might be the perfect weather for you to re-ignite your passion for the boat.


  • Registered Users Posts: 3,411 ✭✭✭dnme


    Day 14 (well we couldn't let it end on a 13 now could we)

    My god what a great day. It was like a good summers day. Sunshine and warmth. Isn't that typical; The minute I build a dam shelter! I took it fairly easy today. Got up at 12:30. Me and mutley had a good 'ol breakfast and that I lazed about until qualifying from Singapore (zzzzzzzzzzz).

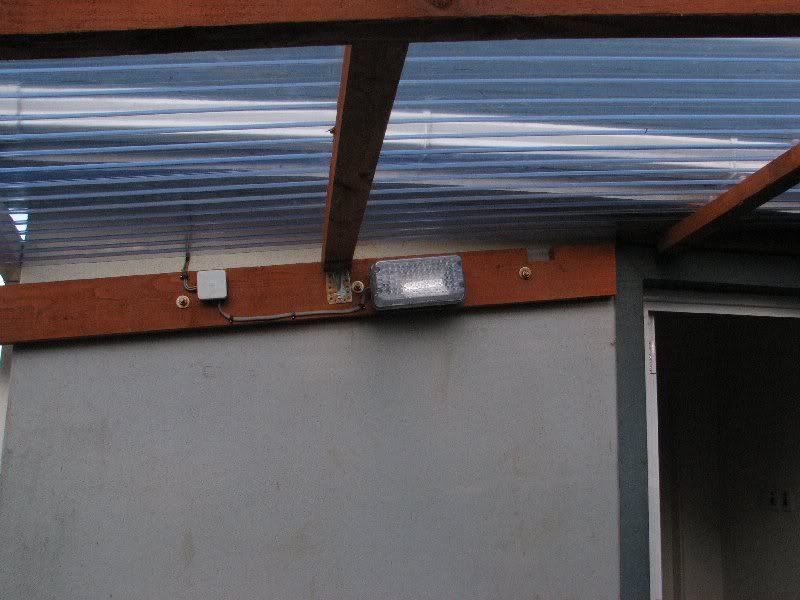
    This afternoon, I did a few touch ups outside. I painted the uprights. Tightened down all bolts. Chamfered off the runners at the outside. Then I installed a simple bulkhead light up at the back door. I will eventually go with a fluorescent light over the boat but I definitely need a light at the backdoor that comes on instantly. So that really is that. The job is really and truly finished now......I hope. Even managed to get grass mowed this evening....weird.


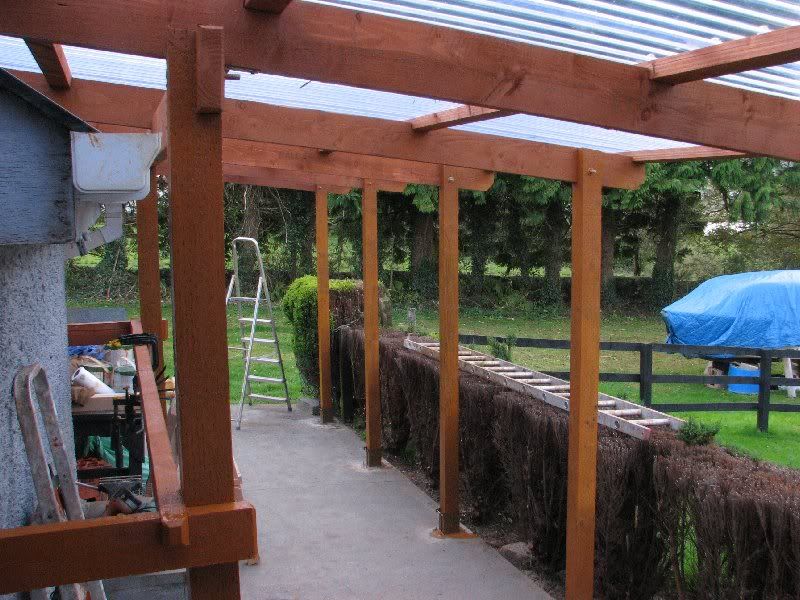
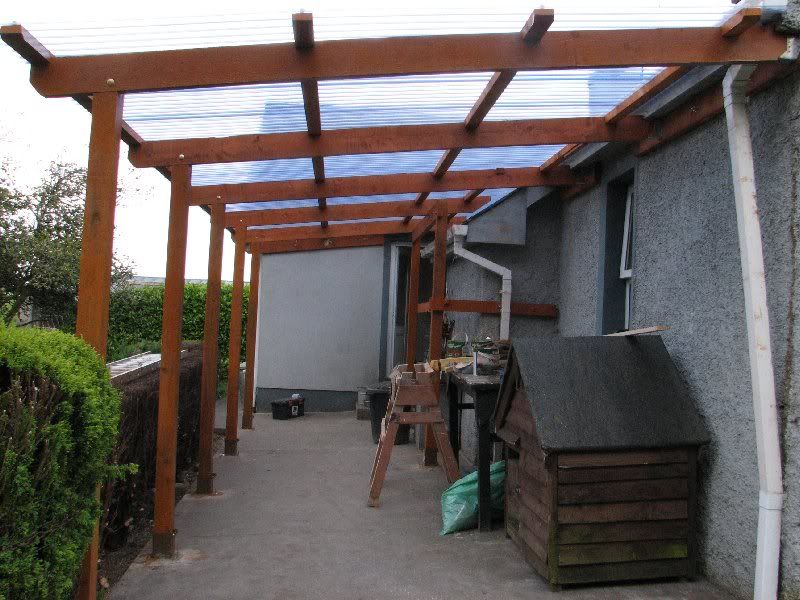
    Here's the before and after shots as requested.
    Img_7708.jpg
    Img_7994.jpg


    From back door.
    Img_7992.jpg


    From gable
    Img_7993.jpg


    Runners chamfered, although you'd hardly notice them.
    Img_7995.jpg


    Someone was asking about this yesterday. The last sheet cut around the down pipe.
    Img_7996.jpg


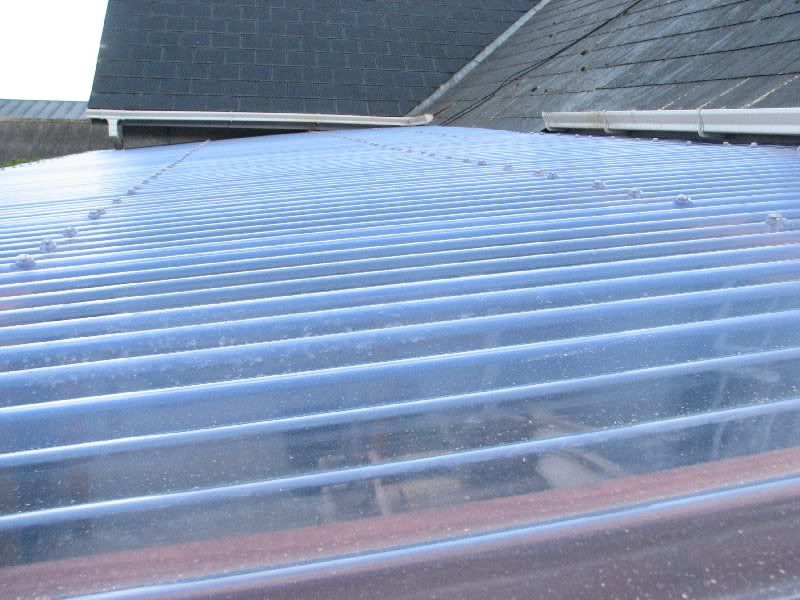
    Das ruuf
    Img_7997.jpg


    Simple light for back door
    Img_7999.jpg


    This shows where I ran the sheet along the L wall. I left a gap of about 3". The fascia, soffit and gutter extend out about 1ft over the sheet so it should provide reasonable shelter. I actually left a gap all round, i.e. the sheets go in half way under the gutter but leave a gap of an inch or two. I'm hoping this will alleviate air pressure build up and stress loading in high winds.
    Img_7987.jpg


    A final video, taken earlier before final touch ups etc.


  • Registered Users Posts: 2,921 ✭✭✭2 stroke


    dnme, you mention in the video that you'd like to have another bolt into the end wall, there's no reason why you can't other than buying more chemical fix. Just drill through the timber into the wall, then chemical fix.
    (I like the chamfer)


  • Registered Users Posts: 3,411 ✭✭✭dnme


    2 stroke wrote: »
    dnme, you mention in the video that you'd like to have another bolt into the end wall, there's no reason why you can't other than buying more chemical fix. Just drill through the timber into the wall, then chemical fix.
    (I like the chamfer)

    I cant chemical fix on that wall, it's hollow block and a very shallow surface area. The other three bolts are expanding rawl bolts.


  • Registered Users Posts: 1,081 ✭✭✭Stove Fan


    Excellent job done there:)

    Great thread and so rewarding:)

    Stove Fan:)


  • Closed Accounts Posts: 902 ✭✭✭DoneDL


    Whens the boat coming in.


  • Closed Accounts Posts: 407 ✭✭LLU


    great job, well done. might be a bit late to suggest this, but the feed into the weatherproof junction box would be better to enter through the bottom of the box rather than the side to ensure that moisture doesnt run down the cables and get into the box. although it's probably in a reasonably dry position.


  • Registered Users Posts: 3,411 ✭✭✭dnme


    LLU wrote: »
    great job, well done. might be a bit late to suggest this, but the feed into the weatherproof junction box would be better to enter through the bottom of the box rather than the side to ensure that moisture doesnt run down the cables and get into the box. although it's probably in a reasonably dry position.

    Not enough cable left to do that. Did the best with what I was left with.


  • Advertisement
  • Registered Users Posts: 219 ✭✭ScabbyLeg


    dnme wrote: »
    Das ruuf

    :D Fantastic! Lüking great!

    Overall fantastic. I don't know how I'm feeling so enthusiastic about a lean-to. It's great to see the though that went into it and the end result. And it looks like such a nice structure on its own. A great achievement.

    A great spinoff from a great programme thread


Advertisement