Advertisement
If you have a new account but are having problems posting or verifying your account, please email us on hello@boards.ie for help. Thanks :)
Hello all! Please ensure that you are posting a new thread or question in the appropriate forum. The Feedback forum is overwhelmed with questions that are having to be moved elsewhere. If you need help to verify your account contact hello@boards.ie

Live self-Builds - mod warning in post no. 1

Options
1737476787988

Comments

  • Banned (with Prison Access) Posts: 86 ✭✭Tom Hagen


    FiOT wrote: »
    Initial plan was block walls upstairs but unfortunately due to timing issues and having to get a slab changed we had to let our blocklayers move on. The other half is a carpenter so the stud walls weren't an issue. Ended up changing a few things too so all has worked out quite well!

    We used hollow core for a number of reasons though; sound proofing, underfloor heating upstairs and the original block wall plan. Still glad we did, house feels really solid.


    nice arch too what type arch are ye going for? limestone?


  • Closed Accounts Posts: 1,186 ✭✭✭stickybookmark


    Great photos all.
    Speaking of limestone arches, ours was delivered and when the guy we hired went to install it he found out it is the wrong size.
    Salesman took the measurements in the field and arch was made to measure as far as I was concerned. Sales man tried ot claim they always make the arches oversized for the customer to cut to the correct size in the field! Comedy.....anyway I went over his head and hopefully it's getting sorted now, small claims court if it isn't!


  • Banned (with Prison Access) Posts: 86 ✭✭Tom Hagen


    Great photos all.
    Speaking of limestone arches, ours was delivered and when the guy we hired went to install it he found out it is the wrong size.
    Salesman took the measurements in the field and arch was made to measure as far as I was concerned. Sales man tried ot claim they always make the arches oversized for the customer to cut to the correct size in the field! Comedy.....anyway I went over his head and hopefully it's getting sorted now, small claims court if it isn't!


    i sent in my blocklayers timber arch template which they used to make the door archway, made from plywood so hopefully the limestone should be bang-on off of that.


  • Registered Users Posts: 149 ✭✭FiOT


    Great photos all.
    Speaking of limestone arches, ours was delivered and when the guy we hired went to install it he found out it is the wrong size.
    Salesman took the measurements in the field and arch was made to measure as far as I was concerned. Sales man tried ot claim they always make the arches oversized for the customer to cut to the correct size in the field! Comedy.....anyway I went over his head and hopefully it's getting sorted now, small claims court if it isn't!

    That's the stuff of nightmares... Hope you get sorted soon!

    We're going with a granite arch. Hopefully getting a rep out to measure everything next week to make sure it's all right when ordered. We also have what's left of the template for the arch so can give them that too if they like!


  • Registered Users Posts: 1,504 ✭✭✭BarneyMc


    'Primer' paining on all interior walls done.
    Yet to get time to apply finished paint coats.
    Laminate floors on all upstairs rooms.
    Downstairs laminates to arrive soon.
    Tiling virtually finished.
    Stairs ordered.
    Kitchen to go in week after next.
    Kitchen appliances all bought.
    Outside drains, percolation, etc. to be done week after next.
    Waiting on one quote from carpenter.
    Yet to select doors, skirting, etc.

    Phew, tough going!


  • Advertisement
  • Registered Users Posts: 9,660 ✭✭✭Voodoomelon


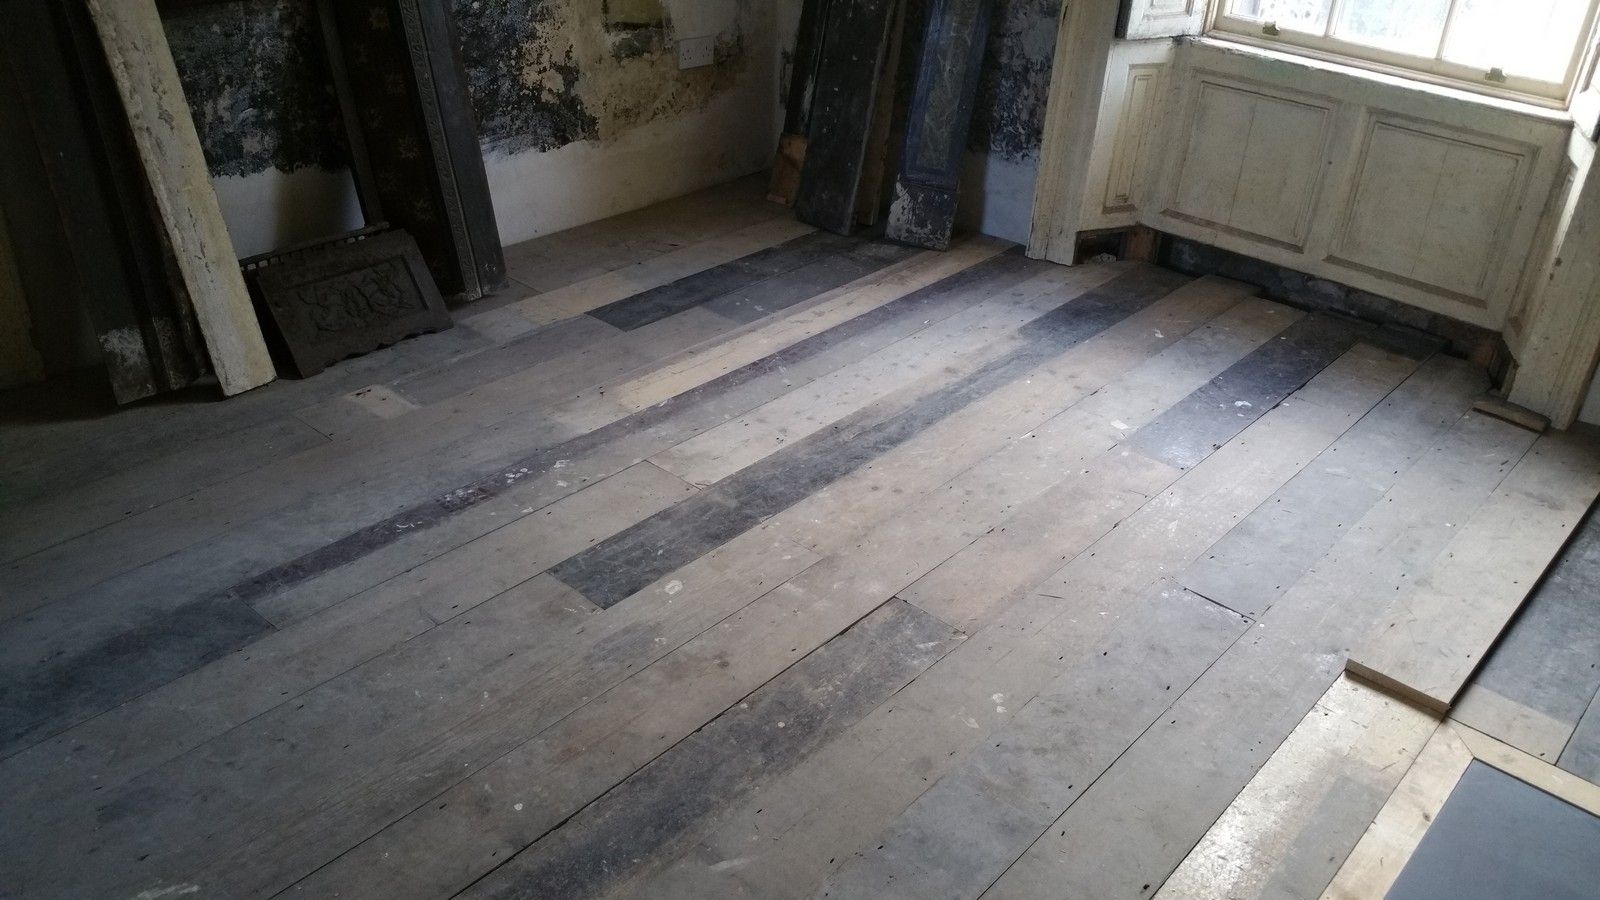
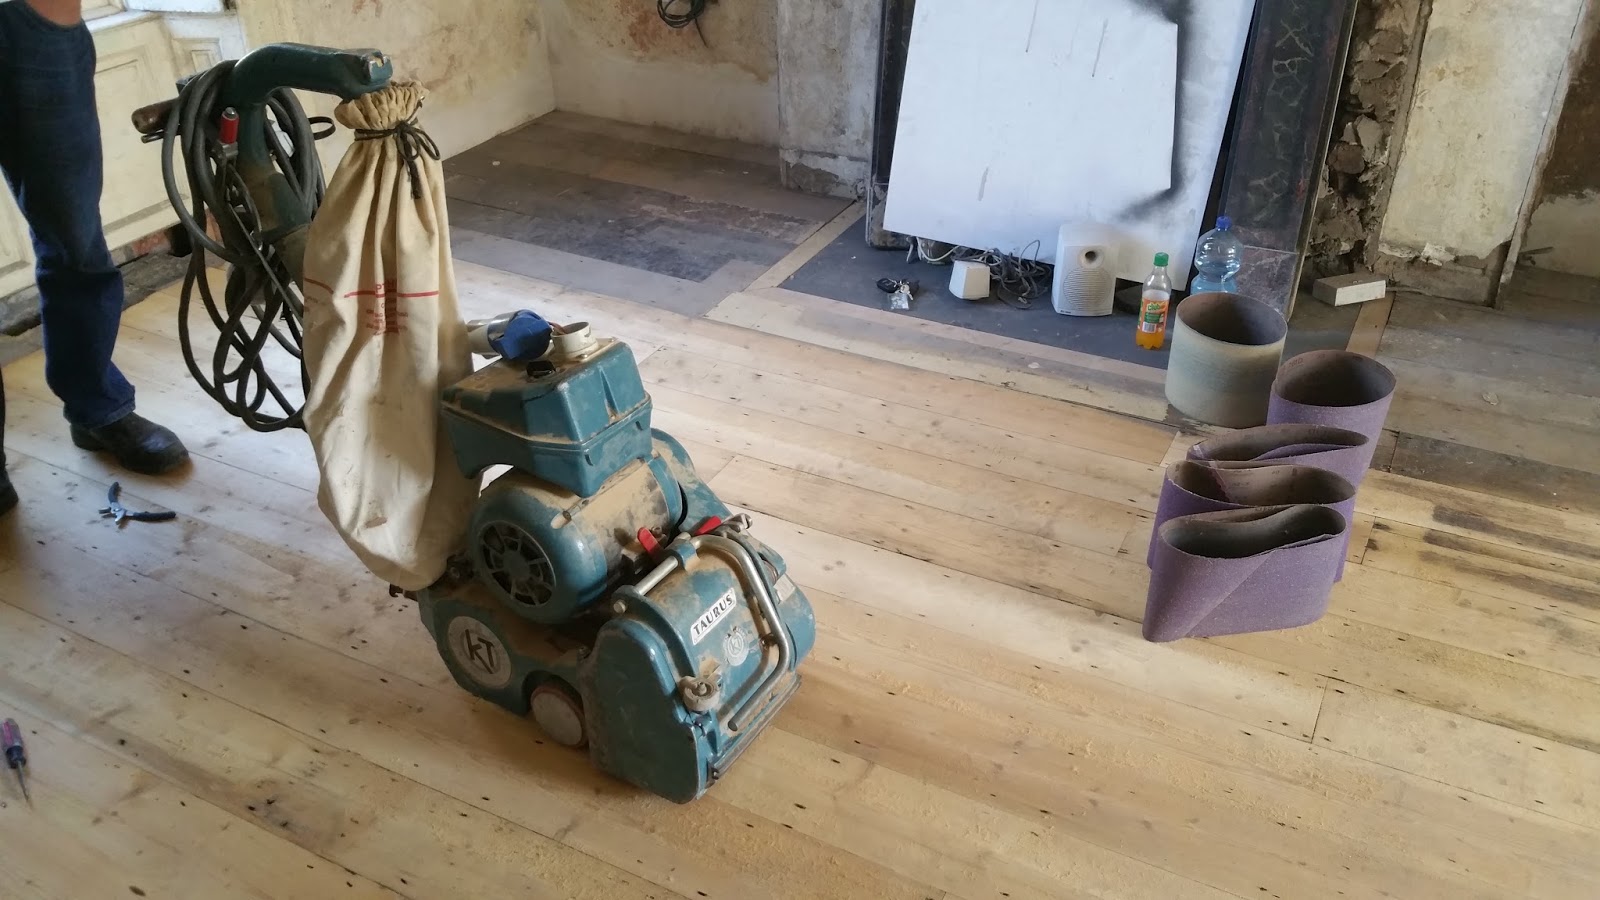
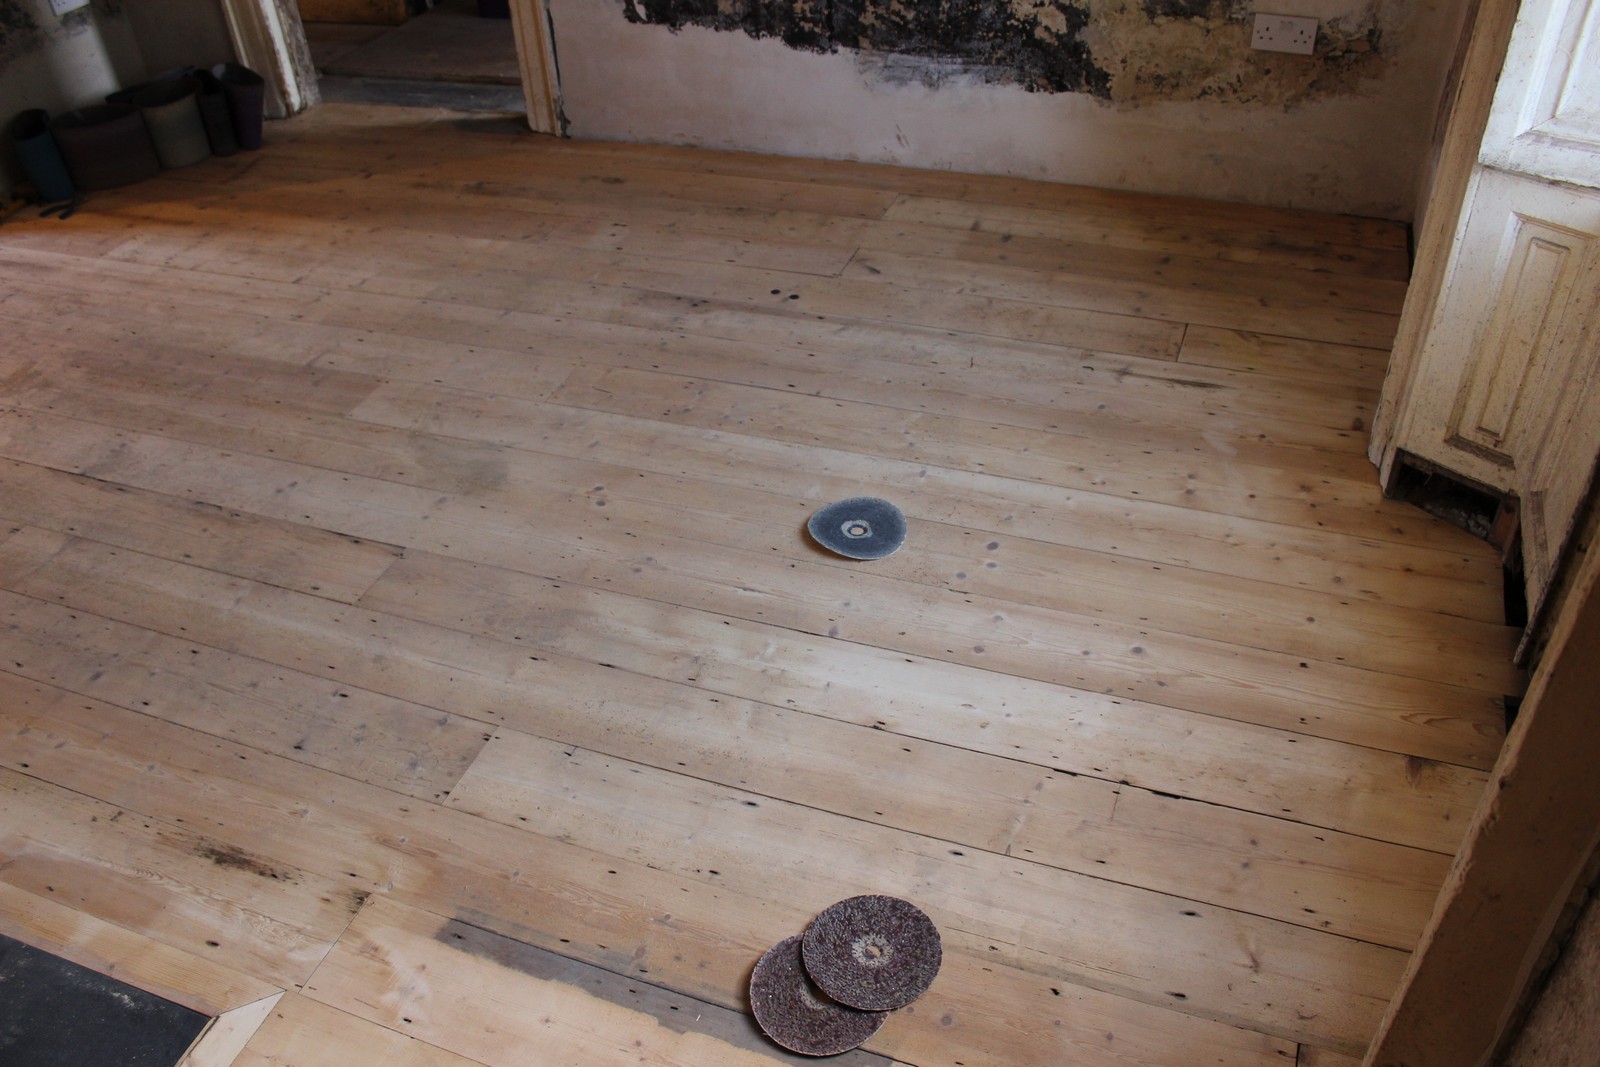
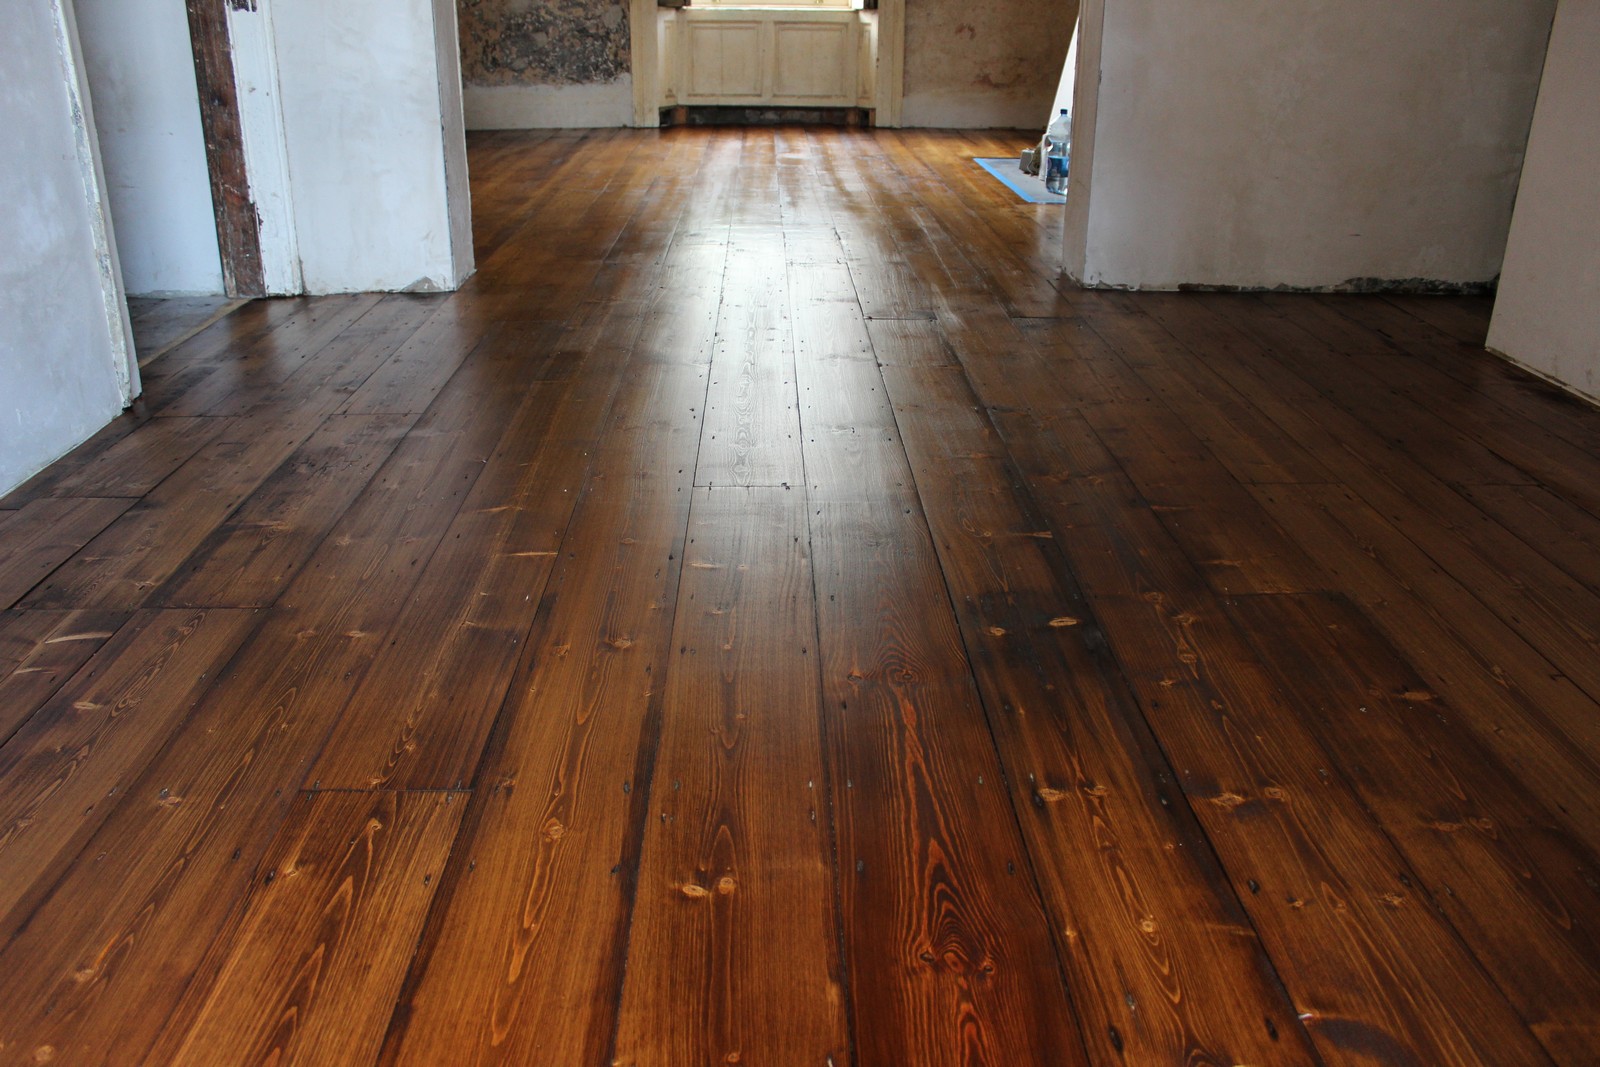
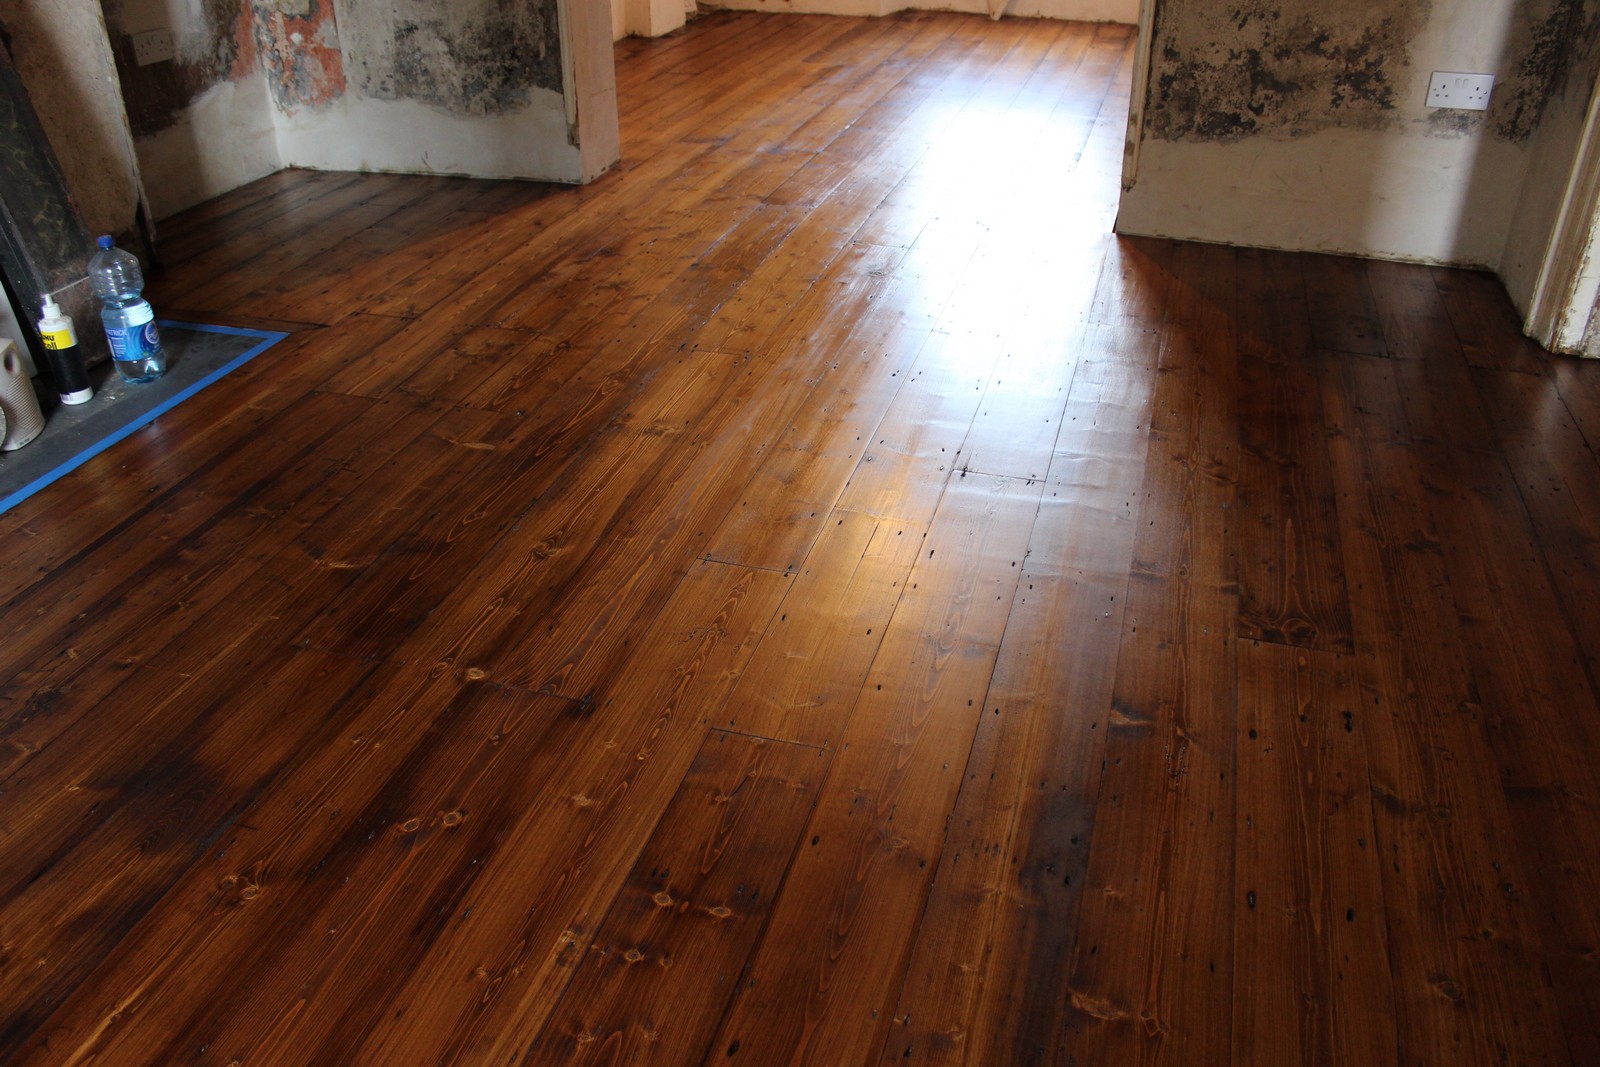
    My reclaimed boards from a Victorian rectory have been sanded and stained, came out great. Kitchen is going in now too.

    23_zpsmcnzsanf.jpg~original

    20160824_111625.jpg

    IMG_4253.jpg

    IMG_4272.jpg

    IMG_4275.jpg

    IMG_4268.jpg

    IMG_4296.jpg

    IMG_4298.jpg

    IMG_4301.jpg

    IMG_4305.jpg

    IMG_4303.jpg

    IMG_4304.jpg

    IMG_4306.jpg

    IMG_4299.jpg.

    IMG_4300.jpg

    http://georgianrenovation.blogspot.ie/


  • Closed Accounts Posts: 1,186 ✭✭✭stickybookmark


    FiOT wrote: »
    That's the stuff of nightmares... Hope you get sorted soon!

    We're going with a granite arch. Hopefully getting a rep out to measure everything next week to make sure it's all right when ordered. We also have what's left of the template for the arch so can give them that too if they like!

    The wooden template was sent up to them. That part is ok. It's the overall height of the arch that is nearly 1 foot too high. So it needs to be cut in 8 places to fix it! (due to internal chamfer on the pillar part) Hard to believe it's company policy.....smells more like the rep that took the measurements fecking up & then trying to cover his tracks to me. The rep claiming that I should be able to cut it in the field, oh yeah coz we all have specialised stone cutting equipment just lying around! Anyway why wouldn't you just make the arch to the exact right size? It's bricks and mortar like, it's not going to grow or shrink!
    Anyway I rang the owner of the company and he agreed to sort it out. It's still in progress though so I'll believe it when I see it.

    Vodoomelon wow, just wow!


  • Registered Users Posts: 19,018 ✭✭✭✭murphaph


    After a lot of elbow grease filling and sanding and painting (though admittedly this wasn't too bad as I bought an airless sprayer) the ground floor is ready for tiling...

    Those single sockets will all get replaced with double or triple ones. The electrician wanted silly money and it's all dry lined with an installation void so it's dead easy to push cables along horizontally too if extra sockets are needed a few feet from an existing one.


  • Registered Users Posts: 1,504 ✭✭✭BarneyMc


    murphaph wrote: »
    After a lot of elbow grease filling and sanding and painting (though admittedly this wasn't too bad as I bought an airless sprayer) the ground floor is ready for tiling...

    Those single sockets will all get replaced with double or triple ones. The electrician wanted silly money and it's all dry lined with an installation void so it's dead easy to push cables along horizontally too if extra sockets are needed a few feet from an existing one.

    Love the first room in your pics. Are those built in blinds in your windows? Tall windows look great!


  • Registered Users Posts: 19,018 ✭✭✭✭murphaph


    BarneyMc wrote: »
    Love the first room in your pics. Are those built in blinds in your windows? Tall windows look great!
    Cheers. That bloody bay window was a pain the the rear end to do with all the corners but the missus wanted it. I agree in retrospect it is an interesting feature.

    All the windows have built in external roller shutters. It's pretty common here. Internal blinds are a waste of time for keeping the heat of the sun out as the energy is already past the glass at that stage. The external ones keep the rooms cool. At present they are all manually operated but I have a 5 core conductor run from the distribution board in the cellar to each window so when I have the dollars I can gradually add motors and automation. Too many bills right now!


  • Advertisement
  • Closed Accounts Posts: 1,186 ✭✭✭stickybookmark


    My reclaimed boards from a Victorian rectory have been sanded and stained, came out great. Kitchen is going in now too.


    http://georgianrenovation.blogspot.ie/

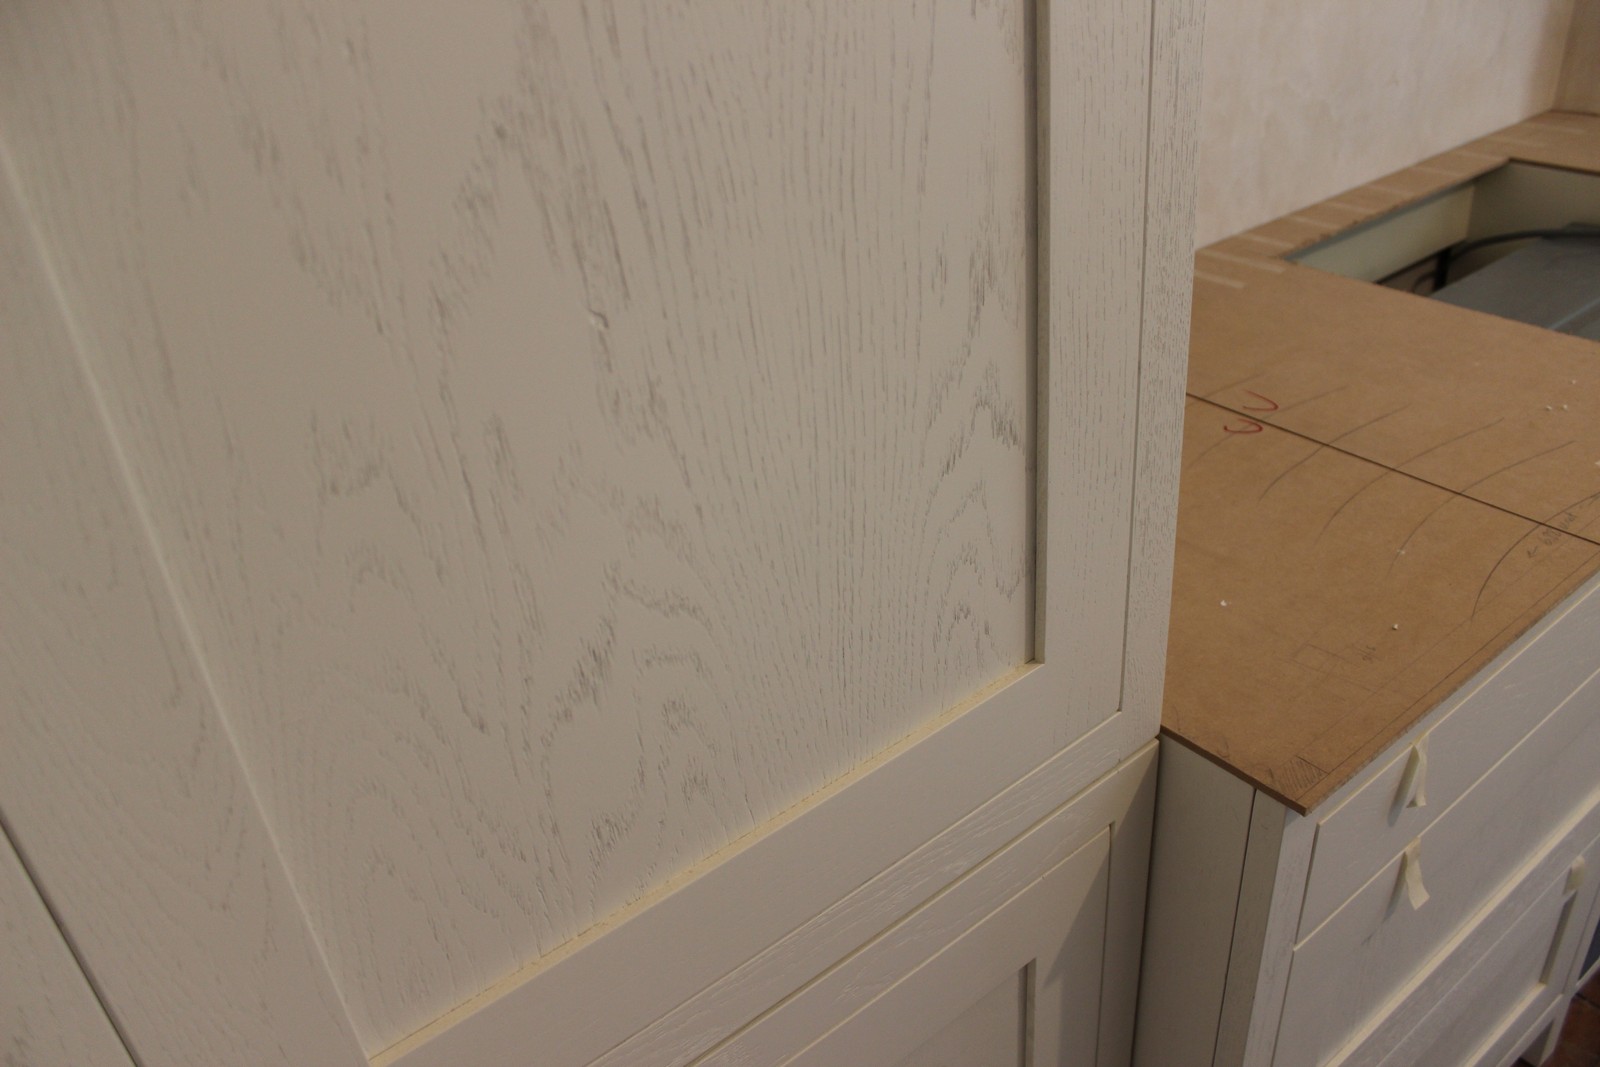
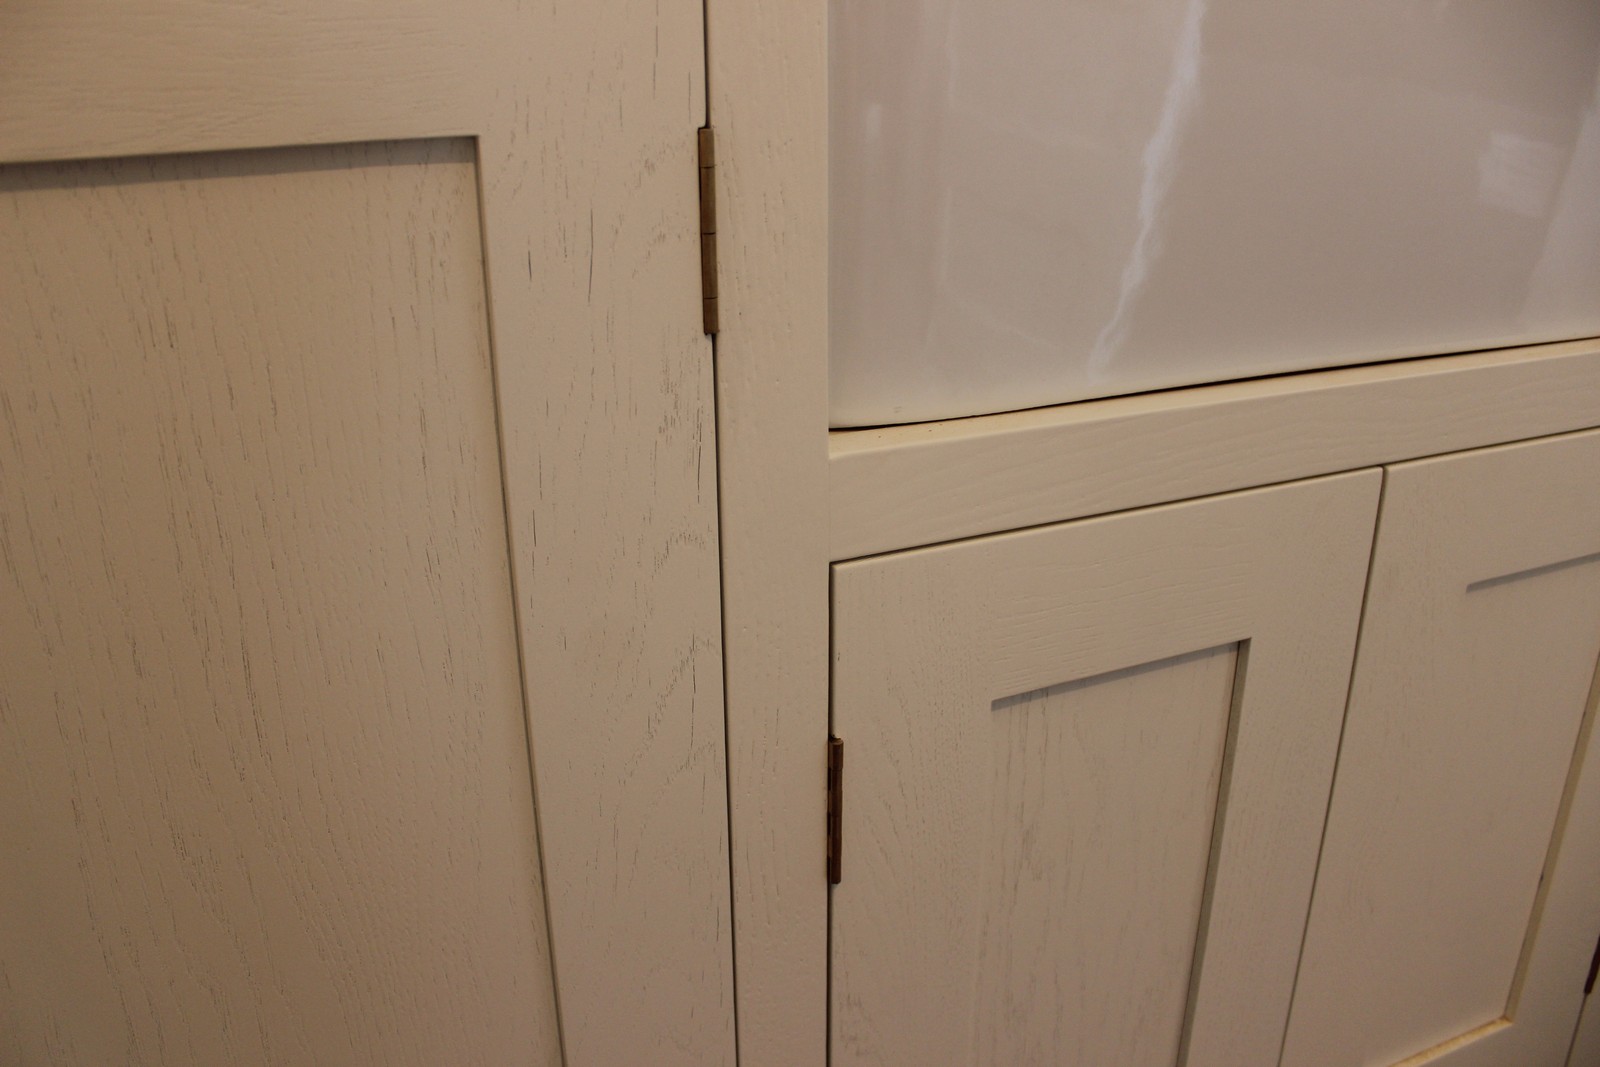
    I think we have some similar features in our kitchens, is that painted Ash wood (you can see the grain)?
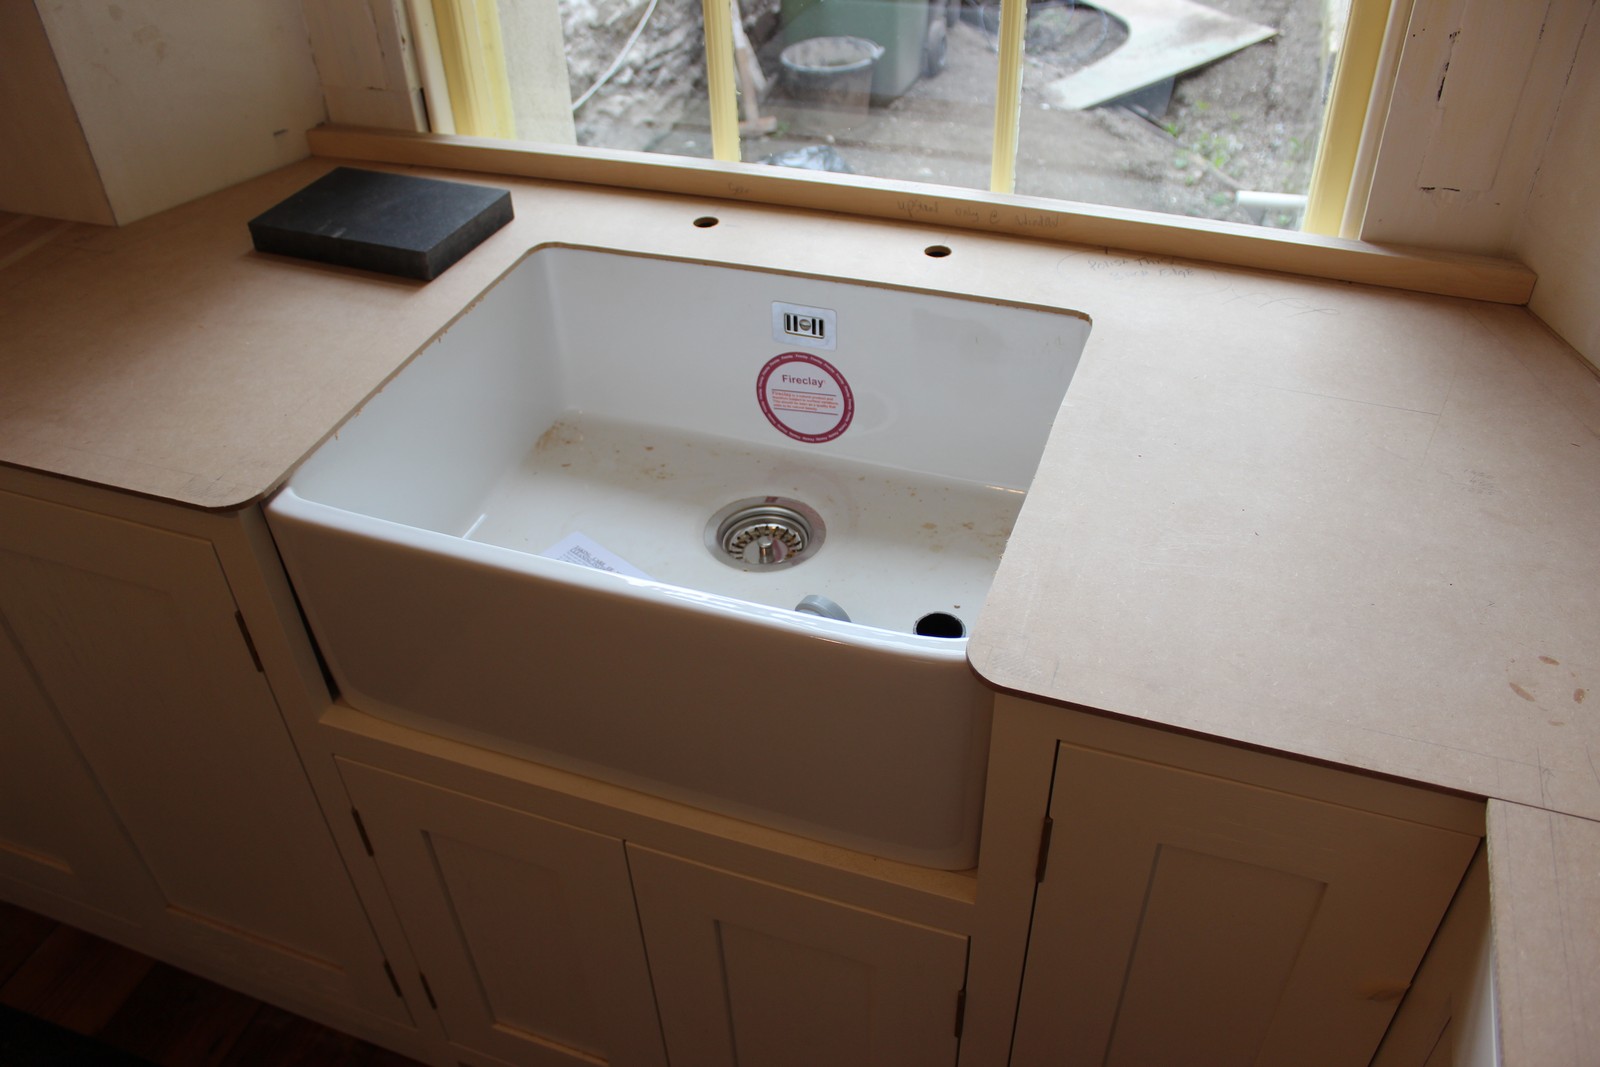
    I also have a belfast sink. Went for the Franke VBK710 with Caple taps (buckingham). Put a round shaped Caple sink in the island then. What kind of worktop are you going for?

    Re staining the wood, any tips on that? We are putting exposed decorative wood on the vaulted ceiling in the kitchen. Priced oak, mahogany or other hardwoods but pricey. Joiner recommended just using white deal and staining it. We'll be doing the staining ourselves so any advice welcome?


  • Closed Accounts Posts: 1,186 ✭✭✭stickybookmark


    BarneyMc wrote: »
    'Primer' paining on all interior walls done.
    Yet to get time to apply finished paint coats.
    Laminate floors on all upstairs rooms.
    Downstairs laminates to arrive soon.
    Tiling virtually finished.
    Stairs ordered.
    Kitchen to go in week after next.
    Kitchen appliances all bought.
    Outside drains, percolation, etc. to be done week after next.
    Waiting on one quote from carpenter.
    Yet to select doors, skirting, etc.

    Phew, tough going!

    Interesting to read, I didn't realise tiling and painting come before stairs, kitchen & internal doors/skirting?
    But then again ye guys poured your concrete floors after roof went on, my floors were poured when the walls were built so I guess there's more than 1 way to skin a cat
    What did you use as selection process for the kitchen appliances, are there online reviews somewhere?


  • Registered Users Posts: 19,018 ✭✭✭✭murphaph


    We were also advised to paint and tile the hall, stairs and landing before the stairs itself was fitted. Actually we were advised to tile the hall, but not the landing as the stairs sits on the tiles in the hall but not upstairs, there it finishes 1cm above screed level to allow for the tiles to be laid flush afterwards.


  • Registered Users Posts: 1,504 ✭✭✭BarneyMc


    Interesting to read, I didn't realise tiling and painting come before stairs, kitchen & internal doors/skirting?
    But then again ye guys poured your concrete floors after roof went on, my floors were poured when the walls were built so I guess there's more than 1 way to skin a cat
    What did you use as selection process for the kitchen appliances, are there online reviews somewhere?

    I think it can be done in whatever order you like. There's pros and cons with either I suppose. The advantage of tiling your kitchen and hall is that the kitchen units and stairs sit on top of the tiles rather than tiling up to them. If you ever change you kitchen then you never have to worry about where the tiles end. Stairs obviously won't be changed but same idea I suppose.

    Painting walls before skirting etc. means you doint have to start masking them when you go to paint. Disadvantage is they might be scuffed with the carpenter moving doors, skirting etc.

    I assume painting the landing and hallway before the stairs go in is the best way forward? Firstly you don't need to worry about paint dripping onto the stairs below. Also trying to manage a ladder with a staircase in place would be tricky. Any thoughts?

    For the kitchen appliances I signed up to www.Which.co.uk for a trial period and got some ideas there. www.Reevoo.com was also a good site to check on appliances.


  • Registered Users Posts: 19,018 ✭✭✭✭murphaph


    I had to build a timber scaffold to paint our stairwell because the cellar stairs is there too and it's a fair drop.


  • Registered Users Posts: 8,867 ✭✭✭893bet


    Stairs varnished!

    image.jpg

    image.jpg


  • Registered Users Posts: 19,018 ✭✭✭✭murphaph


    Love that stairs. I see you tiled continuously from hall through to wc. Was there no expansion joint in the floor screed in the door threshold?


  • Registered Users Posts: 8,867 ✭✭✭893bet


    murphaph wrote: »
    Love that stairs. I see you tiled continuously from hall through to wc. Was there no expansion joint in the floor screed in the door threshold?

    I got an incredible price from a very good friend! And he still made money!

    No expansion joint. Should there have been?:eek:

    House is closed in and heated for 12 months or more so hopefully all ok. There is no underfloor heating. Screed was laid with foundations!


  • Registered Users Posts: 900 ✭✭✭homewardbound11


    We did NT leave an expansion joint either from kitchen to bathroom to utility . No cracks 5 years later . I think leaving the screed to dry properly helped . I think we had close to 5 moths before tiling and heat was on for at least 3 of that .


  • Registered Users Posts: 19,018 ✭✭✭✭murphaph


    Ah sorry I just assumed UFH. Can't see any problems if there's no UFH. It just jumped out at me as I'm tiling our floors right now and every single door has an expansion joint in the screed, but we've UFH so that's why.

    They should always be present where 2 UFH zones/loops meet as a solenoid failure can unintentionally cause 2 slabs to have very different temperatures and rates of temperature change, causing cracking.


  • Advertisement
  • Registered Users Posts: 28,896 ✭✭✭✭Quazzie


    That stairs is incredibly steep, or is it just the way the photo is. In the photo it looks like it'd struggle to meet regs


  • Registered Users Posts: 8,867 ✭✭✭893bet


    Quazzie wrote: »
    That stairs is incredibly steep, or is it just the way the photo is. In the photo it looks like it'd struggle to meet regs

    I think it is my photos skills but you are not the first to say.
    What's the maximum angle allowed?

    Google seems to indicate 42 degrees?


  • Registered Users Posts: 28,896 ✭✭✭✭Quazzie


    893bet wrote: »
    I think it is my photos skills but you are not the first to say.
    What's the maximum angle allowed?

    Google seems to indicate 42 degrees?
    Yea 42degrees is the maximum angle. Doing a quick calculation, based on your tiles being 600x600 and taking approximations, I think you are ok, so it must be just the photo


  • Registered Users Posts: 19,018 ✭✭✭✭murphaph


    The first of many....first time using the newish Metod cabinet system from IKEA. The rail thing wasn't there with Faktum IIRC. I find IKEA kitchens hard to beat in value for money terms and because they retain the cabinet range for years on end you can change the whole look of the kitchen buy just buying new doors. You can even get expensive aftermarket doors if you're into that sort of thing.


  • Closed Accounts Posts: 1,186 ✭✭✭stickybookmark


    murphaph wrote: »
    Ah sorry I just assumed UFH. Can't see any problems if there's no UFH. It just jumped out at me as I'm tiling our floors right now and every single door has an expansion joint in the screed, but we've UFH so that's why.

    They should always be present where 2 UFH zones/loops meet as a solenoid failure can unintentionally cause 2 slabs to have very different temperatures and rates of temperature change, causing cracking.

    I have UFH throughout the house adn don't have expansion joints between rooms BUT I am doing all GF as 1 zone and all FF as 1 zone so 2 zones in total. So hopefully this won't affect me?


  • Registered Users Posts: 695 ✭✭✭JimmyMW


    I have UFH throughout the house adn don't have expansion joints between rooms BUT I am doing all GF as 1 zone and all FF as 1 zone so 2 zones in total. So hopefully this won't affect me?

    When you say one zone, do you mean one plumping loop for each floor or do you mean one thermostatic controlled valve controlling each floor of multiple loops?


  • Registered Users Posts: 19,018 ✭✭✭✭murphaph


    I have UFH throughout the house adn don't have expansion joints between rooms BUT I am doing all GF as 1 zone and all FF as 1 zone so 2 zones in total. So hopefully this won't affect me?
    Jimmy's question is pertinent here. I suspect a whole ground floor in a single hydraulic loop would mean a loop of at least 200m or 300m in length....far too long. I suspect you have 1 heating zone per floor and multiple hydraulic loops per zone. If that's the case and a solenoid to one loop fails to open when you turn the heating on and the loop next to it heats up then you may be in for trouble some day, especially if you tile the floor.

    Do you have any pictures of your UFH installation in progress?


  • Registered Users Posts: 1,504 ✭✭✭BarneyMc


    Got the kitchen in last week. Must get the granite/quartz worktops picked soon.


  • Registered Users Posts: 695 ✭✭✭JimmyMW


    murphaph wrote: »
    I suspect you have 1 heating zone per floor and multiple hydraulic loops per zone. If that's the case and a solenoid to one loop fails to open when you turn the heating on and the loop next to it heats up then you may be in for trouble some day, especially if you tile the floor.

    To avoid that you could have two manifold systems one for the ground floor and one for the first floor controlled by a solenoid valve before the manifold.


  • Advertisement
  • Registered Users Posts: 19,018 ✭✭✭✭murphaph


    JimmyMW wrote: »
    To avoid that you could have two manifold systems one for the ground floor and one for the first floor controlled by a solenoid valve before the manifold.
    Yeah agreed. This should be the way it's done if it isn't already if there are no expansion joints between loops on different solenoids. I would definitely take a look inside the cabinet to see which way it's been plumbed/wired and ensure that a failed solenoid can't cause one area of the screed slab to have a significantly different temp to another.

    It should also be mentioned that solar gains can seriously heat up the slab in summer and if you have say a sun room adjoining a dark room then you can get the same effect. I mean, even concrete footpaths have expansion joints for the same reason.


Advertisement