Advertisement
If you have a new account but are having problems posting or verifying your account, please email us on hello@boards.ie for help. Thanks :)
Hello all! Please ensure that you are posting a new thread or question in the appropriate forum. The Feedback forum is overwhelmed with questions that are having to be moved elsewhere. If you need help to verify your account contact hello@boards.ie
Hi all,
Vanilla are planning an update to the site on April 24th (next Wednesday). It is a major PHP8 update which is expected to boost performance across the site. The site will be down from 7pm and it is expected to take about an hour to complete. We appreciate your patience during the update.
Thanks all.

What are you working on currently?

Options
18911131438

Comments

  • Registered Users Posts: 22,002 ✭✭✭✭Esel


    Japanese saw?

    Not your ornery onager


  • Registered Users Posts: 549 ✭✭✭chillyspoon


    just working on a simple three legged stool. will earn my chops in the morning if i can pare off the ends of the tenons without marking the top of the stool.

    did you get that stool finished in the end?


  • Moderators, Category Moderators, Arts Moderators, Sports Moderators Posts: 48,321 CMod ✭✭✭✭magicbastarder


    i did. i need a more elegant way of mounting the top on the lathe, though. a better way to hide the mounting point.

    paring off the ends of the tenons was not easy, the legs are made of oak.

    468963.jpg


  • Registered Users Posts: 549 ✭✭✭chillyspoon


    I think that's lovely and the mounting point looks like a design feature!


  • Registered Users Posts: 669 ✭✭✭bamayang


    Why not reverse the piece and put the mounting mortise on the underside.
    Screw the faceplate into the top and use the screw holes as the eventual leg holes.


  • Advertisement
  • Registered Users Posts: 1,577 ✭✭✭Bonzo Delaney


    bamayang wrote: »
    Why not reverse the piece and put the mounting mortise on the underside.
    Screw the faceplate into the top and use the screw holes as the eventual leg holes.

    Everyday's a school day 👍


  • Moderators, Category Moderators, Arts Moderators, Sports Moderators Posts: 48,321 CMod ✭✭✭✭magicbastarder


    the only faceplate option i had on hand leaves a ring of screw holes on a circle not much bigger than the mortise on the top, so they're currently visible underneath.


  • Registered Users Posts: 549 ✭✭✭chillyspoon


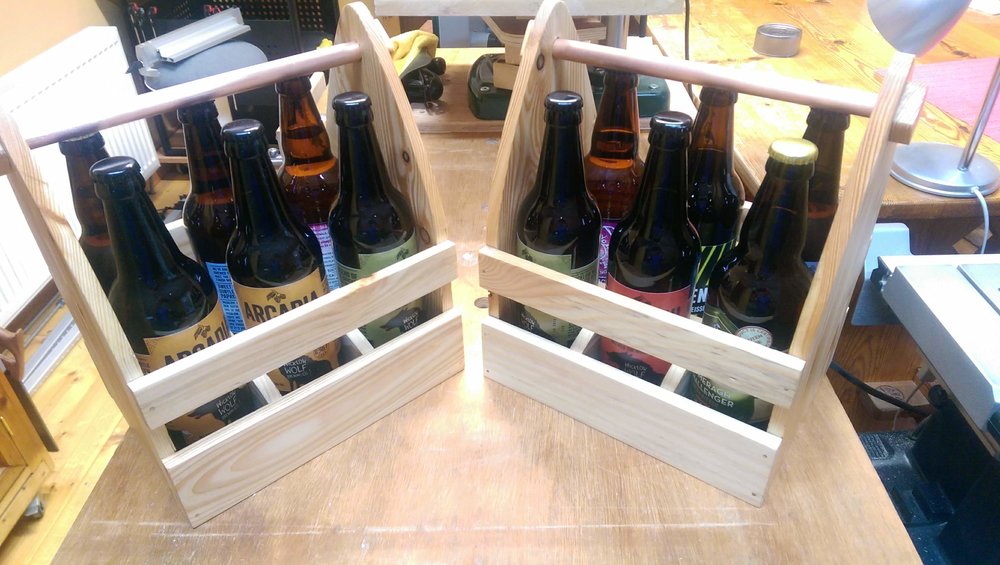
    Made a couple of beer totes for my two brothers-in-law for Christmas:

    IMAG2903.jpg


  • Moderators, Category Moderators, Arts Moderators, Sports Moderators Posts: 48,321 CMod ✭✭✭✭magicbastarder


    i did. i need a more elegant way of mounting the top on the lathe, though. a better way to hide the mounting point.

    paring off the ends of the tenons was not easy, the legs are made of oak.

    468963.jpg
    well, that didn't work out. the legs came loose - it was for my sister, who lives in a sauna, and it seems the legs shrunk (more than the seat) and popped out.

    they're different woods, the legs are oak and the seat was some sort of hardwood rescued from old window boards being thrown out when we had our windows replaced.


  • Registered Users Posts: 2,462 ✭✭✭mayo.mick


    i did. i need a more elegant way of mounting the top on the lathe, though. a better way to hide the mounting point.

    paring off the ends of the tenons was not easy, the legs are made of oak.

    468963.jpg

    You could glue it to a sacrificial block in your chuck using hot melt glue gun?


  • Advertisement
  • Moderators, Category Moderators, Arts Moderators, Sports Moderators Posts: 48,321 CMod ✭✭✭✭magicbastarder


    just finished a tea light holder made from a three way crotch in a piece of applewood.
    the vertical line which looks black was a split that developed as the wood dried, filled with clear epoxy. very simple finish, i just rubbed some lemon oil into it.

    471445.jpg


  • Registered Users Posts: 305 ✭✭copperhead


    Finally finished My computer desk
    Was made to be easily broken down and transported, all parts fit in my car and to assemble / disassemble a size 13mm socket is all that's required,
    All made with mdf and some 2x2 pine
    Top of desk is 7mm laminated mdf glued on 18mm mdf, with a black piece of acrylic and finished with a pour of clear epoxy, 43 ins telly is going to be living on the shelf where the toys are now


  • Registered Users Posts: 1,371 ✭✭✭MickeyShtyles


    copperhead wrote: »
    Finally finished My computer desk
    Was made to be easily broken down and transported, all parts fit in my car and to assemble / disassemble a size 13mm socket is all that's required,
    All made with mdf and some 2x2 pine
    Top of desk is 7mm laminated mdf glued on 18mm mdf, with a black piece of acrylic and finished with a pour of clear epoxy, 43 ins telly is going to be living on the shelf where the toys are now

    Now that is some tasty work.
    Fair play to ya.
    3/4” mdf, heavy enough so?


  • Registered Users Posts: 305 ✭✭copperhead


    Now that is some tasty work.
    Fair play to ya.
    3/4” mdf, heavy enough so?

    thanks very much
    regarding 3/4" being heavy enough i really hope so haha :pac:
    the 18mm on its own spanning that gap id imagine will sag pretty bad, im hoping that my 18mm glued to the 7mm and with the layer of epoxy resin whitch is basically a glue, that it will be enough only time will tell i guess


  • Registered Users Posts: 1,371 ✭✭✭MickeyShtyles


    copperhead wrote: »
    thanks very much
    regarding 3/4" being heavy enough i really hope so haha :pac:
    the 18mm on its own spanning that gap id imagine will sag pretty bad, im hoping that my 18mm glued to the 7mm and with the layer of epoxy resin whitch is basically a glue, that it will be enough only time will tell i guess

    I’ve used 1/2 inch in the past for shelving for tools. Decent bit of weight on top infairness and it managed alright.


  • Registered Users Posts: 40,055 ✭✭✭✭Sparks


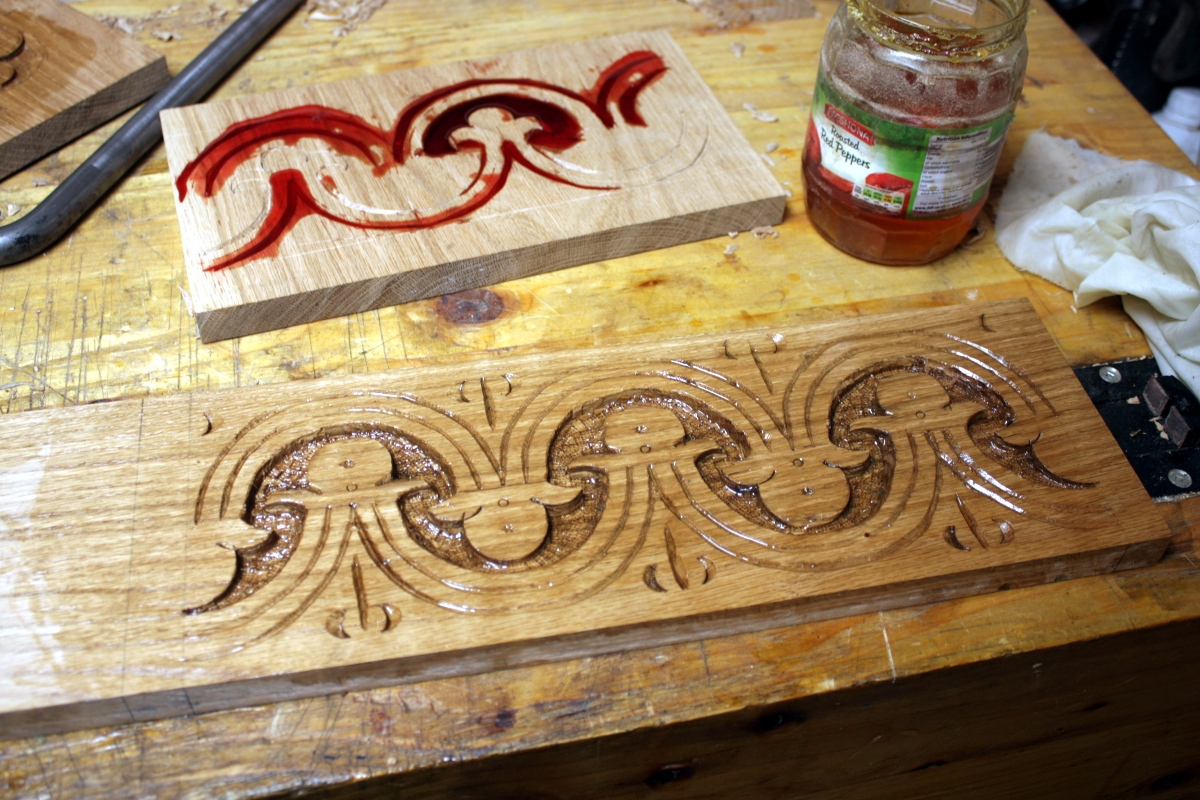
    Working on a carved oak box again.

    IMG_3674a.jpg

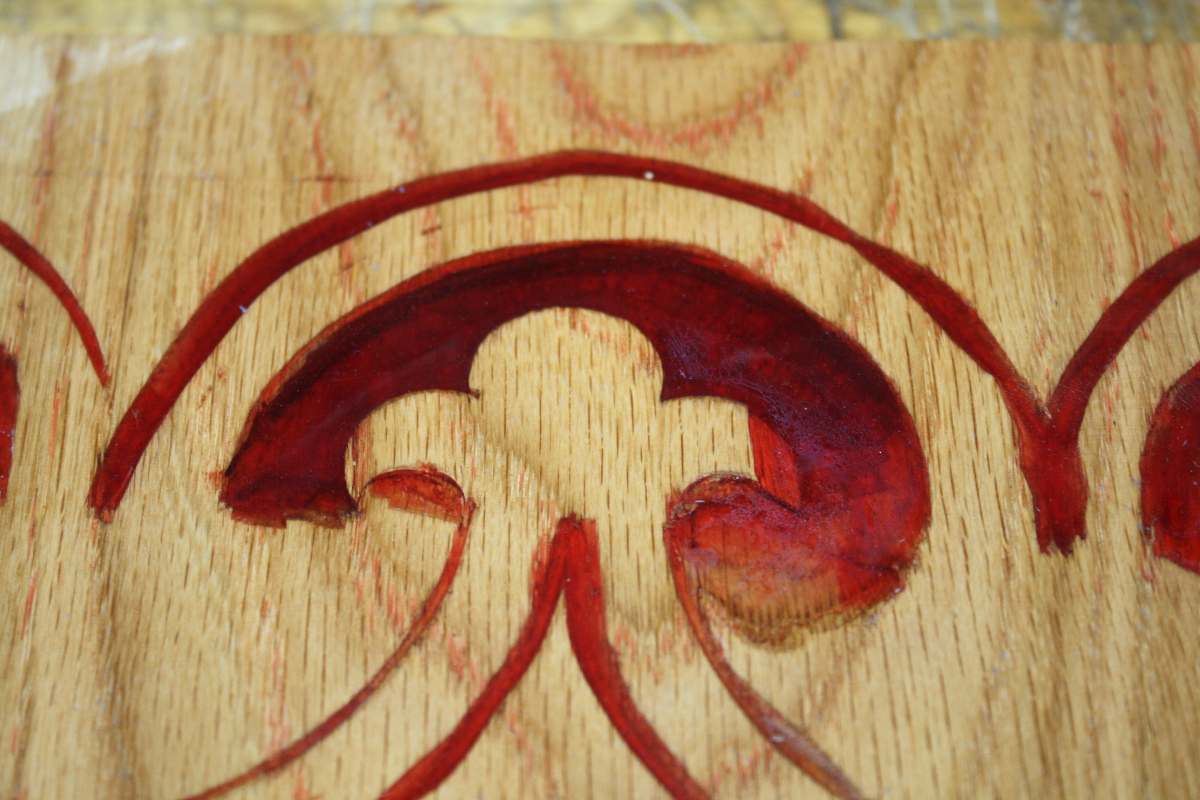
    And playing around with seeing what it looks like when you fill the relief carving with resin.

    IMG_3685a.jpg


  • Registered Users Posts: 549 ✭✭✭chillyspoon


    I'm doing something bizarre at the moment - I'm working on a handle for a seriously crappy and handle-less kitchen knife that my father-in-law left lying around our farm yard!

    I'm at the rough shaping stage and hope to get it finished this weekend. The yew looks amazing and was literally a piece of scrap I pulled from the firewood pile (with permission) at one of our local sawmills!


  • Registered Users Posts: 40,055 ✭✭✭✭Sparks


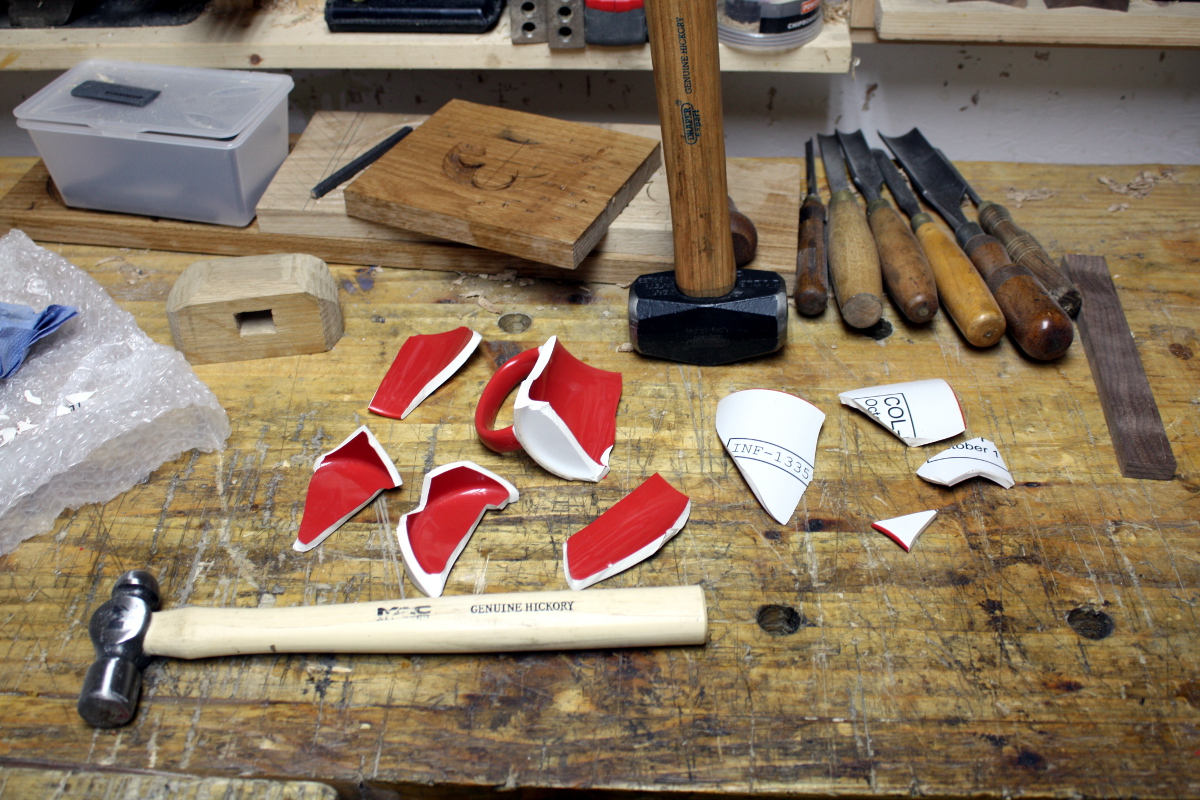
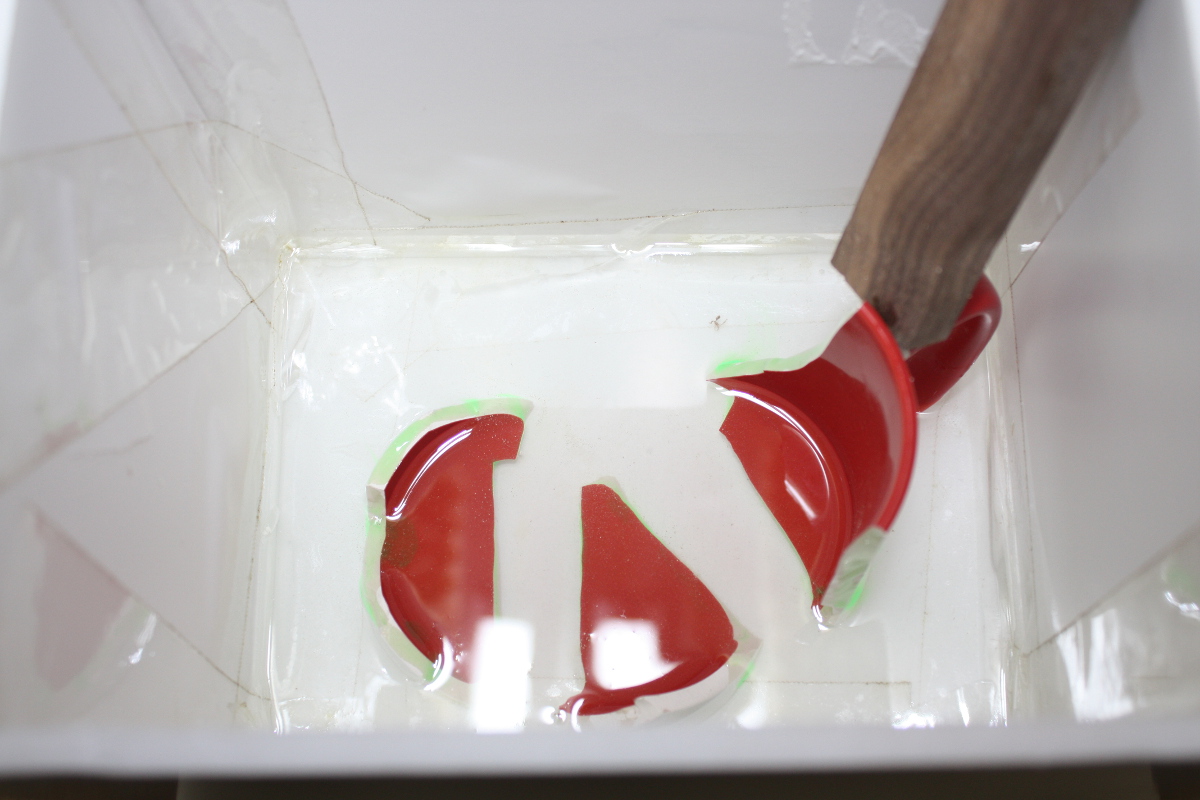
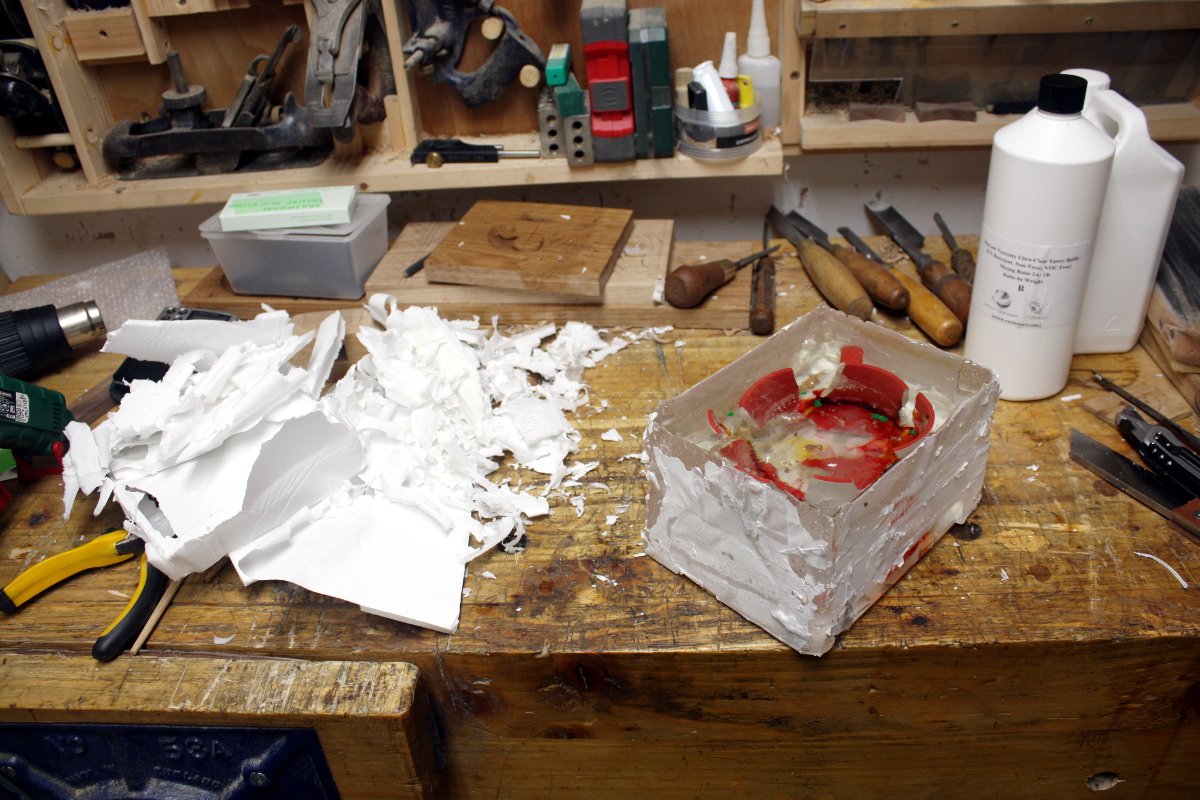
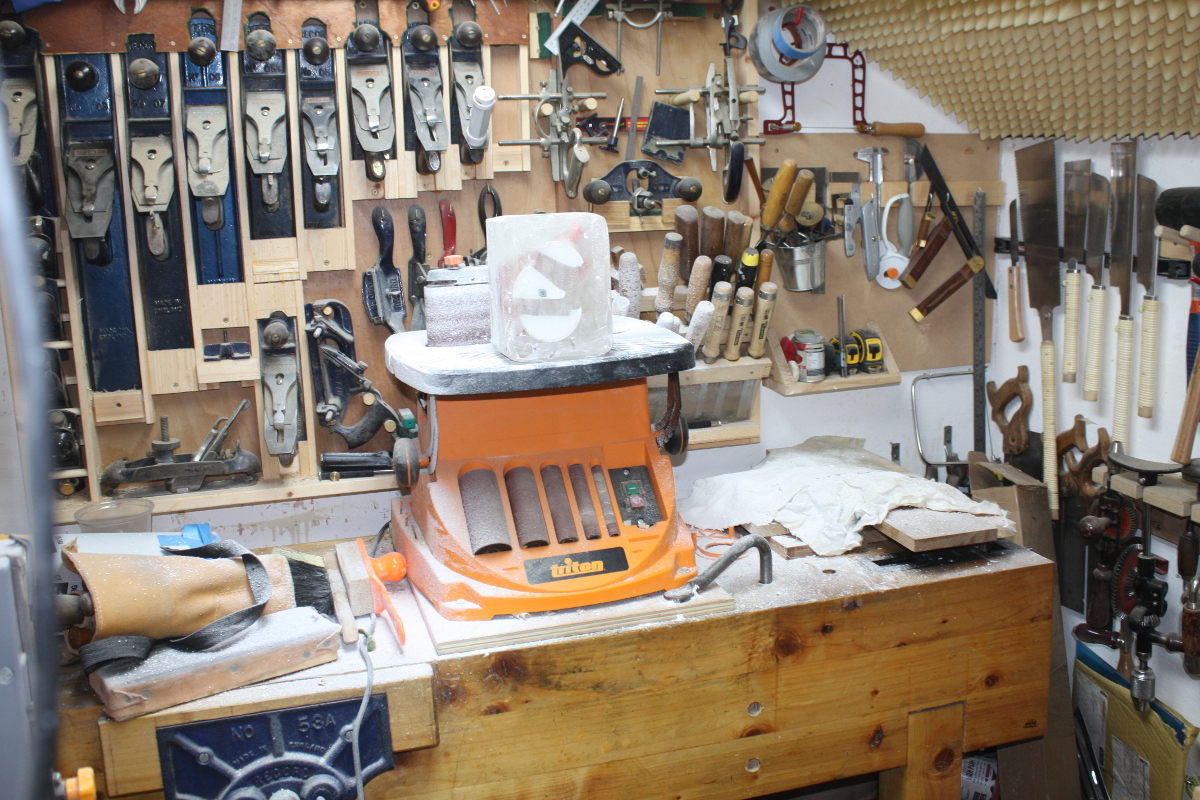
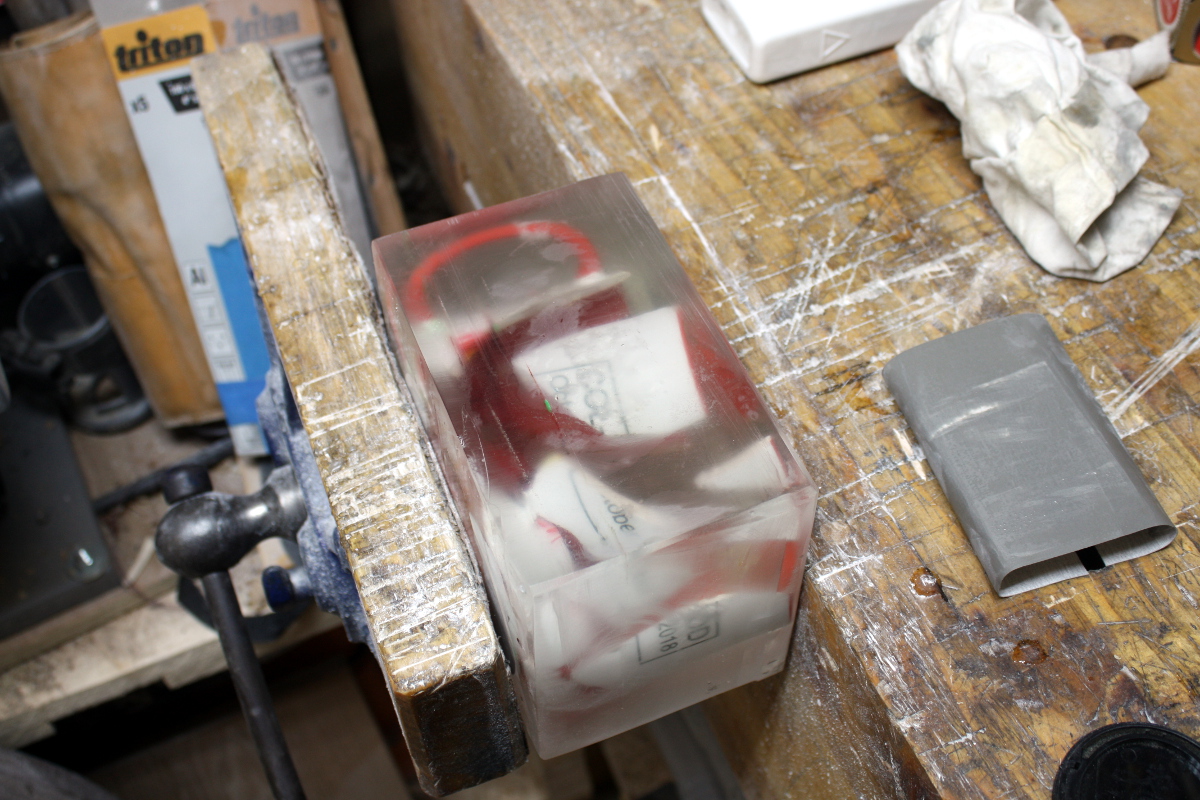
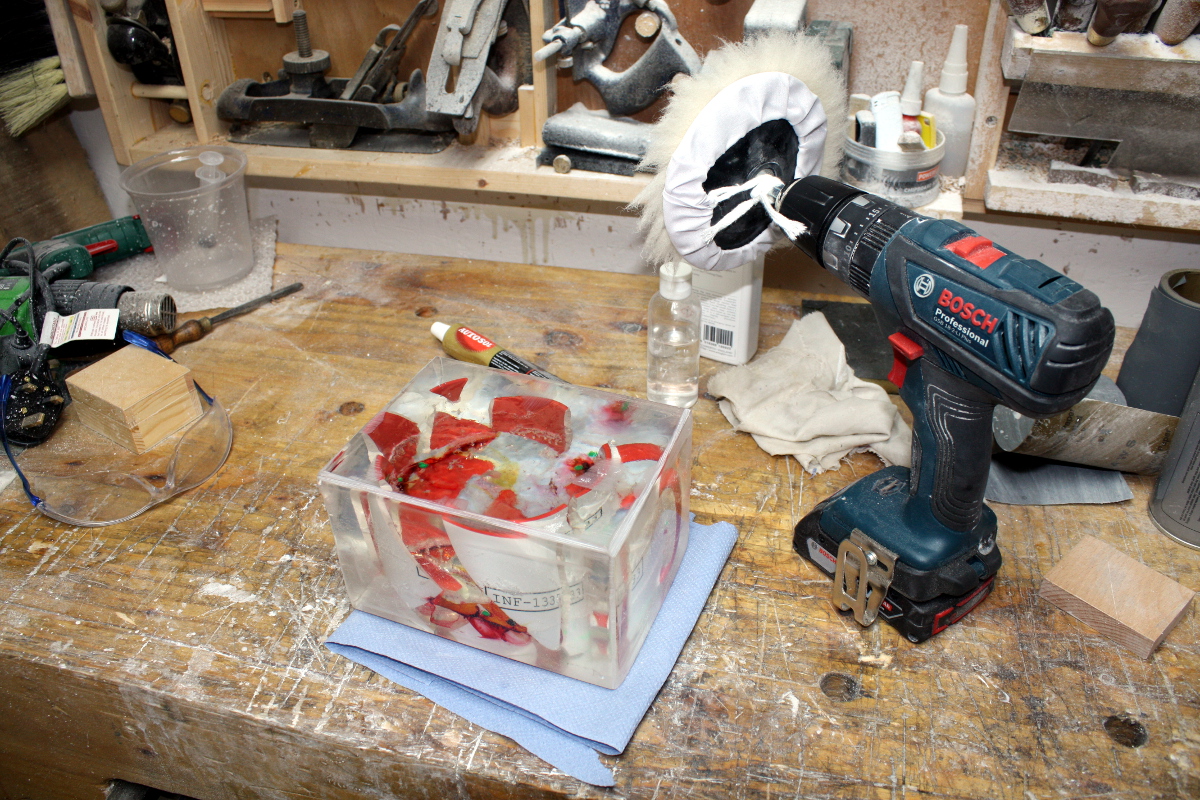
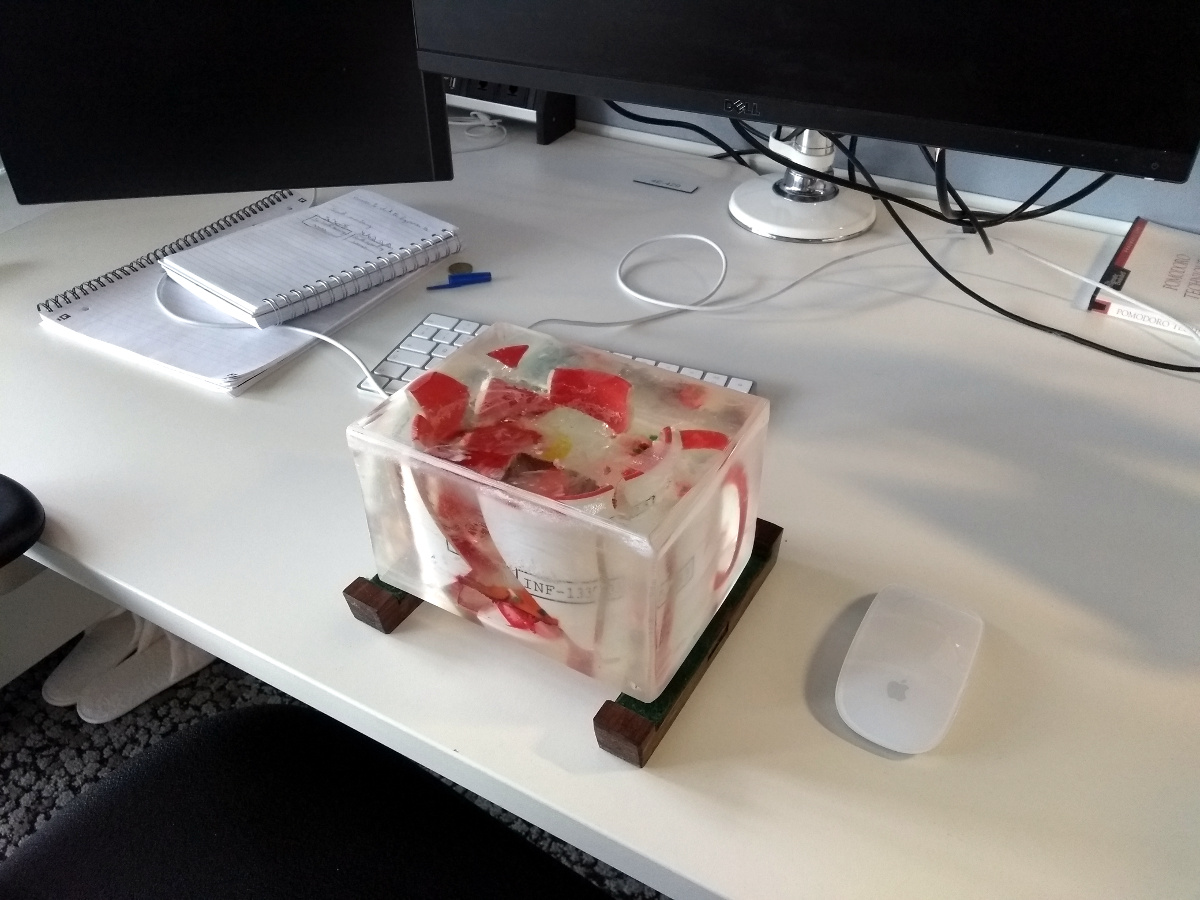
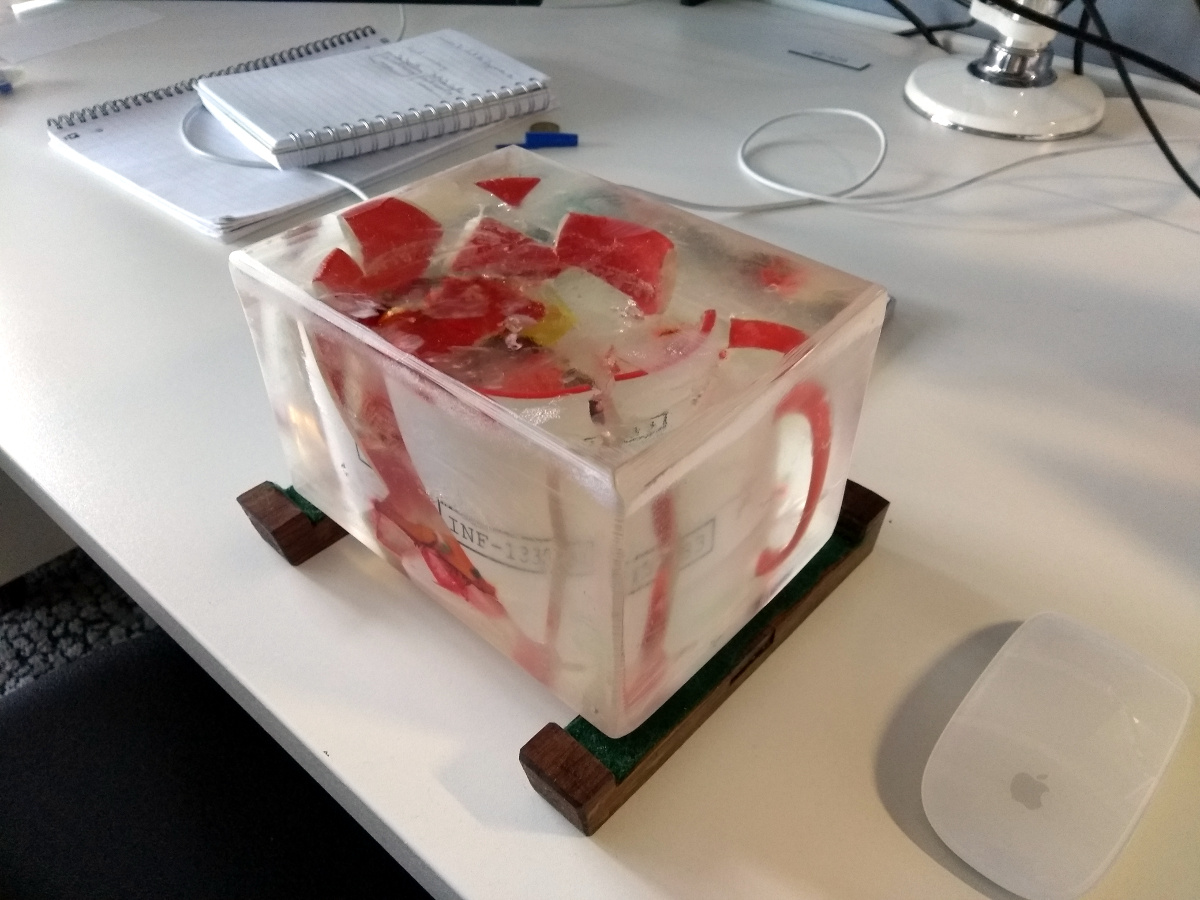
    So I was planning on doing some resin inlay on a desk I'm working on and then one of our team at work went on holiday to Peru and left his mug behind him in Dublin. And was scheduled to return on April 1.

    So what happens next is entirely his fault.

    IMG_3693a.jpg

    IMG_3697a.jpg

    IMG_3706a.jpg

    IMG_3715a.jpg

    IMG_3719a.jpg

    IMG_3723a.jpg

    IMG_3731a.jpg

    2019-03-25-09.57.46a.jpg

    2019-03-25-09.57.52a.jpg


  • Registered Users Posts: 549 ✭✭✭chillyspoon


    Sparks wrote: »
    So I was planning on doing some resin inlay on a desk I'm working on and then one of our team at work went on holiday to Peru and left his mug behind him in Dublin. And was scheduled to return on April 1.

    So what happens next is entirely his fault.

    Classic, love it!


  • Registered Users Posts: 2,361 ✭✭✭jack of all


    This is a very simple project, a small tool charging station, with a drawer for spare batteries, chargers go on top. Great way to use up some scraps of 1/2" pine shuttering ply that were lingering in the scrap pile. Design lifted from a youtube instructional.


  • Advertisement
  • Moderators, Category Moderators, Music Moderators Posts: 14,308 CMod ✭✭✭✭The Master


    Some new guitars I finished recently

    Ash body, Maple neck and fingerboard.
    body finished in shou sugi ban style

    476868.jpg


    Poplar body with flame maple top, Maple neck and fingerboard
    Body stained and lacquered

    476869.jpg


  • Registered Users Posts: 549 ✭✭✭chillyspoon


    I finally got around to finishing the handle on the partially done knife I posted a while back - still haven't given it away yet because I decided to make a saya with some internal magnets at the last minute; which is now in progress.

    Here's the knife anyway - I'm happy with it; sanded to 1200 so it's smooth and tactile, with a nice balance.

    By the way - the tiny dark line on the handle where the sharp part of the blade meets the handle is actually bark - so technically it's a "live edge" knife handle. I was really up against limits to get a handle out of the bit of scrap yew that I used :D;)


  • Registered Users Posts: 81 ✭✭brane.nikic87


    Last summer I built this garden table from scrap wood I found laying in the yard of my last company. I only had lidl foldable workbench, battery drill, recip saw, rotary sander and set of cheap chisels.

    i38k0k.jpg

    bgo6k9.jpg

    Since then I acquired plenty of tools and equipment and now I have designed this benches to match the table and I am working on them every day for an hour or two.

    73p8hl.jpg

    sllova.jpg

    x3wdw0.jpg


  • Registered Users Posts: 2,361 ✭✭✭jack of all


    Finished tool charging station.


  • Registered Users Posts: 238 ✭✭mankteln


    Nearly finished laying reclaimed floorboards (Canadian maple from an old orange hall lol) in my kitchen. Next step sanding and then skirting boards. Anyone any tips for where to pick up skirting boards?


  • Posts: 3,637 ✭✭✭ [Deleted User]


    mankteln wrote: »
    Nearly finished laying reclaimed floorboards (Canadian maple from an old orange hall lol) in my kitchen. Next step sanding and then skirting boards. Anyone any tips for where to pick up skirting boards?

    How did you fare with removing all the spittle/phlegm from those boards? :D


  • Registered Users Posts: 238 ✭✭mankteln


    JayZeus wrote: »
    How did you fare with removing all the spittle/phlegm from those boards? :D

    Haha they're going to be great for marching on!


  • Moderators, Category Moderators, Arts Moderators, Sports Moderators Posts: 48,321 CMod ✭✭✭✭magicbastarder


    i could have timed this better, given this evening's events; first time trying a decent burn on a bowl.

    477896.jpg


  • Registered Users Posts: 2,361 ✭✭✭jack of all


    Another simple one- I need a lead dresser/ bossing stick to do a small bit of lead work in the next few weeks so I made this from a nice piece of dense hardwood I had. Not sure what wood it is, it's good and dense though at 833 kg/ cu. m.


  • Advertisement
  • Posts: 3,637 ✭✭✭ [Deleted User]


    i could have timed this better, given this evening's events; first time trying a decent burn on a bowl.

    Glad you got out safely all the same. You'll have to put an extra few quid in the collection basket in future. :p

    Interesting idea. Do you wire brush it afterwards? Seal it somehow?


Advertisement