Advertisement
If you have a new account but are having problems posting or verifying your account, please email us on hello@boards.ie for help. Thanks :)
Hello all! Please ensure that you are posting a new thread or question in the appropriate forum. The Feedback forum is overwhelmed with questions that are having to be moved elsewhere. If you need help to verify your account contact hello@boards.ie

Fiat Ducato camper build

Options
1568101114

Comments

  • Registered Users Posts: 73,390 ✭✭✭✭colm_mcm


    You can also get chipboard in there. The likes of Egger board looks the same and is also 15mm.
    Finsa also do a chipboard called Superpan that has some class finishes on it.

    Chipboard is obviously heavier and not as strong and doesn’t react well to water but it’s a lot cheaper.


  • Registered Users Posts: 73,390 ✭✭✭✭colm_mcm


    Ref chipboard they also to a 15mm U shaped profile that might be useful if you wanted to protect edges from knocks/moisture.

    I wouldn’t say you could use the knock-in T trim. Chipboard mightn’t be strong enough and would probably split.


  • Registered Users Posts: 6,250 ✭✭✭Buford T Justice


    Personally I planned to make the panels out of 5mm ply and possibly 2 x 1 timber lats. Most likely I'd end up with circa 30mm thick panels but shouldn't be overly heavy.

    Chipboard would be far too heavy I think


  • Registered Users Posts: 73,390 ✭✭✭✭colm_mcm


    Wouldn’t 5mm be a bit rattly?


  • Registered Users Posts: 6,250 ✭✭✭Buford T Justice


    colm_mcm wrote: »
    Wouldn’t 5mm be a bit rattly?

    5mm inside and out, with a 2x1 on its side is around 30mm thick. Also lined with carpet


  • Advertisement
  • Registered Users Posts: 2,818 ✭✭✭Silent Running


    colm_mcm wrote: »
    Wouldn’t 5mm be a bit rattly?

    Too many years ago I built a c class body on a transit chassis cab. Used 4mm beech faced ply on a wooden frame with moulded corners and 1" cross battens. I stuck the ply with Sikaflex. No rattles in the good few years I drove it... Apart from the engine. :)


  • Registered Users Posts: 2,818 ✭✭✭Silent Running


    I meant to say, you're doing a fantastic job on the van. Nice to see the modern build materials. I would have loved that aluminium moulding for thr Transit in the mid eighties. Back then there was no LED stuff, no flat screens. We did have a cassette port a potti though.

    I'm mad jealous. I haven't owned a camper since I sold my Chevy Roadtrek in 2001. Some great memories of many years campering. :)


  • Registered Users Posts: 73,390 ✭✭✭✭colm_mcm


    40327-FC7-AC67-44-DD-8-D11-E559245-A4-B3-B.jpg

    919-E7144-43-B5-44-CA-94-CC-85395-C126-CFF.jpg

    D014-B2-C2-F221-4384-B542-D33-F610-C5-E2-B.jpg

    Another cupboard thing started


    Next job; the ones over the bed
    D07-BBDCA-7-B79-46-E8-97-AD-E176-F3-EF34-EE.jpg


  • Registered Users Posts: 6,250 ✭✭✭Buford T Justice


    colm_mcm wrote: »
    Bit of work started on the rear seats. They’ll sit about 3” back from where they are now.

    FAF70-B31-0557-497-E-BB5-A-5-A92-C73-D7362.jpg

    The seats are from a Merc Sprinter which means there’s under-seat storage, the base flips up. Have to add more to the frame which will be done next week.
    colm_mcm wrote: »
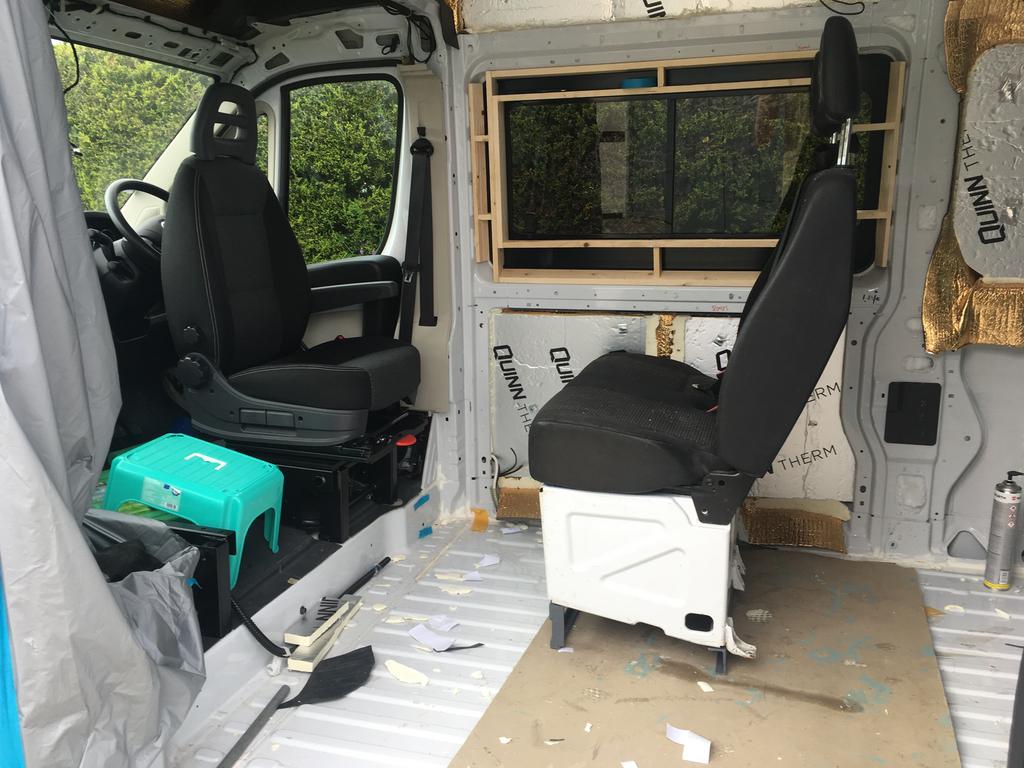
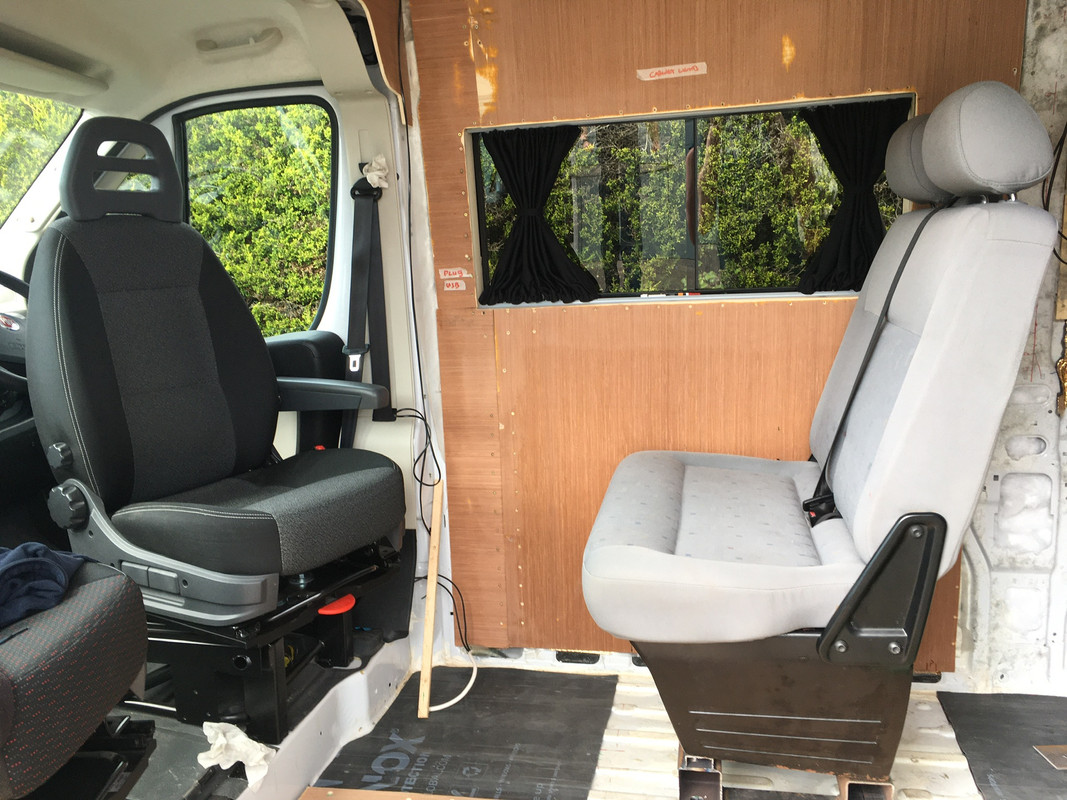
    Moving back the van, we made a start on the rear passenger seat.
    The seat is from a VW Transporter Shuttle, and is just the right width to have a nice sized kitchen and walkway.

    We needed to raise it to be in line with the front seats, and also be at the right height for the false floor we we will be building in front of it.

    Frame is welded together. some more reinforcement is going in, and 10 high-strength bolts going through.


    It also folds flat. More on that later.

    DC70-E0-BC-4994-4-CF9-A974-E17665435-C70.jpg


    I'm curious as to why you didn't use the sprinter seats?


  • Registered Users Posts: 73,390 ✭✭✭✭colm_mcm


    I'm curious as to why you didn't use the sprinter seats?

    Few reasons


    Too wide for what we wanted (wanted nice room around the kitchen)

    They don’t fold down, there will be a bed there. Once we figure out how!

    The base on the vw tapers in at the bottom which is better for the walkway

    The base is smaller which needs a bigger frame which suits because we can get the heating ducts underneath

    The base is nowhere near square and was a total pig to work with.


  • Advertisement
  • Registered Users Posts: 6,250 ✭✭✭Buford T Justice


    colm_mcm wrote: »
    Few reasons


    Too wide for what we wanted (wanted nice room around the kitchen)

    They don’t fold down, there will be a bed there. Once we figure out how!

    The base on the vw tapers in at the bottom which is better for the walkway

    The base is nowhere near square and was a total pig to work with.

    Indeed, my drawings have indicated that the twin seats in the back will leave it to narrow to have the kitchen beside it and to fit up and down the van easily.

    These are reasonably to scale, but not 100% accurate, but a good indicator

    image.png


  • Registered Users Posts: 14,906 ✭✭✭✭CJhaughey


    colm_mcm wrote: »
    Few reasons


    Too wide for what we wanted (wanted nice room around the kitchen)

    They don’t fold down, there will be a bed there. Once we figure out how!

    .
    Adria's solution for the extra bed is to turn the front seat backwards and drop the table into the gap between the double seat and the front seat.
    528947.jpg


  • Registered Users Posts: 73,390 ✭✭✭✭colm_mcm


    That’s very similar to what we tried but it wasn’t quite long enough. I’d say our toilet wall is maybe further forward.
    Looking at option of folding drivers seat flat too.


  • Registered Users Posts: 73,390 ✭✭✭✭colm_mcm


    Bit of ‘CAD’
    6-F4-B1291-C937-4-A74-B525-0-CCC84680-D43.jpg

    Transfer the shape onto the ply
    399-B5393-4-BEB-46-ED-80-AC-71-C54-BCEC92-A.jpg

    This will form the sides for the cabinets over the bed and also tidy up the area over the back doors
    B44-AEA77-E9-CE-4698-AF05-C156758-CF97-E.jpg


  • Registered Users Posts: 6,250 ✭✭✭Buford T Justice


    CJhaughey wrote: »
    Adria's solution for the extra bed is to turn the front seat backwards and drop the table into the gap between the double seat and the front seat.
    528947.jpg

    Kinda what we have planned too. Given that we're flexible with everything at the minute, we got this from wish, with the idea of going across the two driver seats, sorta thing. Aside from that this plan is a good one too, since I may well be using the bed transversely to save space in the van.


  • Registered Users Posts: 73,390 ✭✭✭✭colm_mcm


    The main bed transversely?


  • Registered Users Posts: 6,250 ✭✭✭Buford T Justice


    colm_mcm wrote: »
    The main bed transversely?

    Yes. The van is just short of standard bed length but only an inch give or take.

    On the very floor of the van, its 1755mm, and at the widest point its 1775.
    Standard mattress length is 1900.

    I'm not the shortest person in the world, but we've talked about it and given that it'll only be used a a campervan and the fact that I never sleep straight out flat on my back it's a compromise that we can live with.

    Such is the plan at the minute anway.


  • Registered Users Posts: 73,390 ✭✭✭✭colm_mcm


    It definitely saves space anyway. The Ducato is that bit wider at bed height so we got the standard mattress in.


  • Registered Users Posts: 73,390 ✭✭✭✭colm_mcm


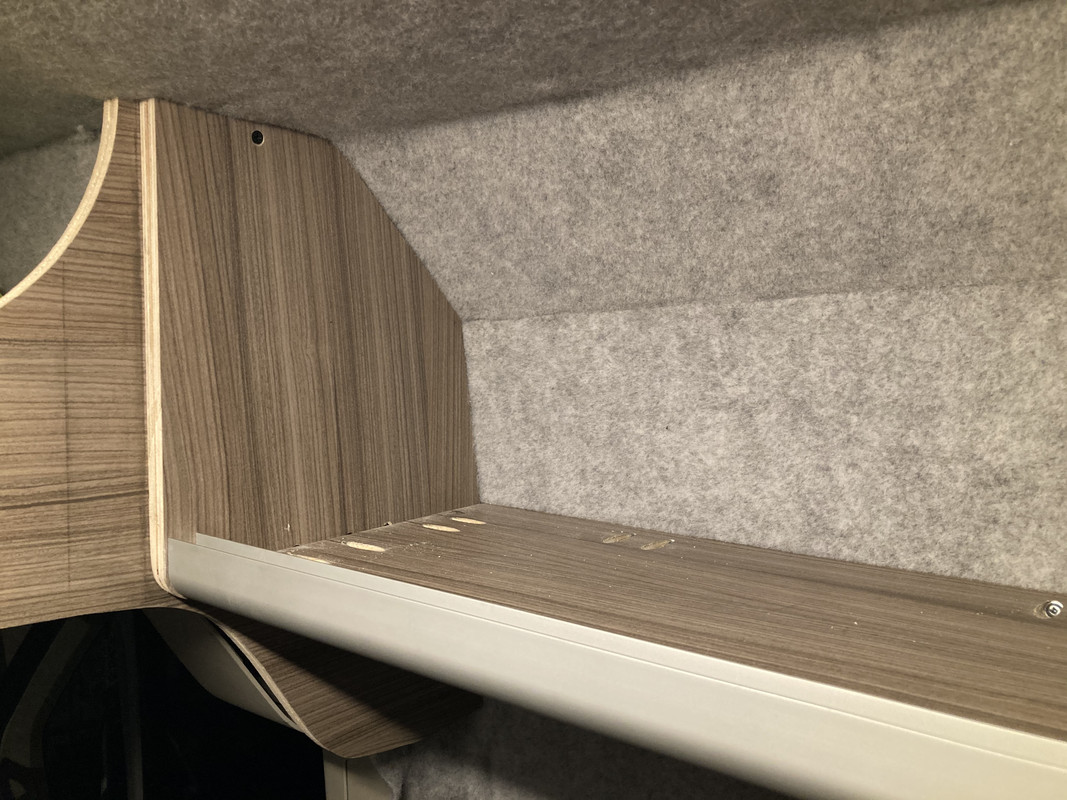
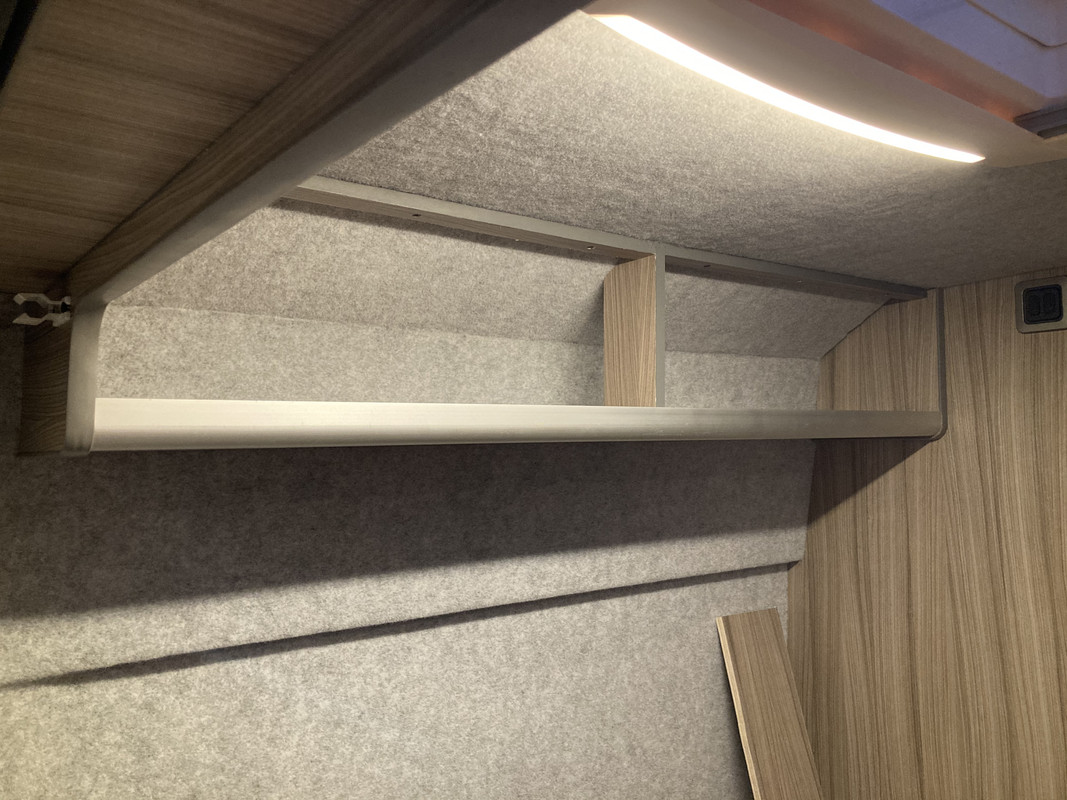
    We have one bed cabinet ready for doors

    8-AD9-F99-F-1661-4-E22-B3-A9-E02962-F8268-A.jpg


  • Registered Users Posts: 6,250 ✭✭✭Buford T Justice


    When you're fixing to the ceiling, are you screwing to just the ply, or have you marked where the ribs are in the ceiling and fixing into those?


  • Advertisement
  • Registered Users Posts: 73,390 ✭✭✭✭colm_mcm


    When you're fixing to the ceiling, are you screwing to just the ply, or have you marked where the ribs are in the ceiling and fixing into those?

    It depends....

    For the over bed cabinets - On the outer edges of the cabinets at the front (top of the doors essentially) those are just screwed into the ply which also has timber behind it to spread the load and give extra meat for the screws.

    The bases of the rear cabinets are screwed directly into the sides of the fridge/toilet on one side, and onto the rear panel on the other. Most of the load is taken by the walls (you can see an angle at the top of the cabinet, that’s got timber behind which is fixed to the van ribs) and some by the roof. At the back door end there is timber behind the ply which is screwed into the body of the van.

    Up front, the panel over the seats takes the weight of the cabinet, this panel is screwed into the wall/ceiling/supporting timber and also to the side of the overhead cabinet over the van seats (which is sitting on the crossmember behind the seats)

    Where we did the toilet/fridge walls, we put support timbers behind the ceiling ply for strength.
    We aren’t screwing anything you can see directly to the ribs as such, but we put support timbers attached to the ribs to take specific things.

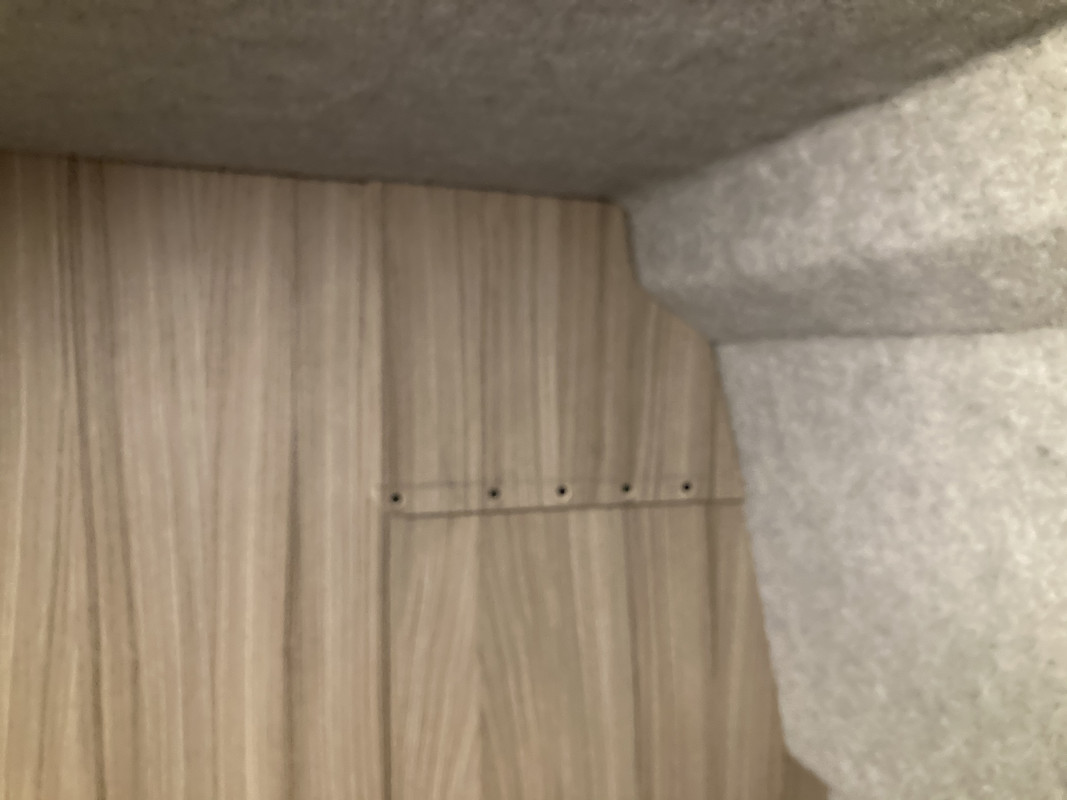
    So, there’s lots and lots of screws holding everything together. They will be hidden soon, but you can sort of see in the older photos how everything goes together. It’s very solid, the pocket hole screws are great.


  • Registered Users Posts: 73,390 ✭✭✭✭colm_mcm


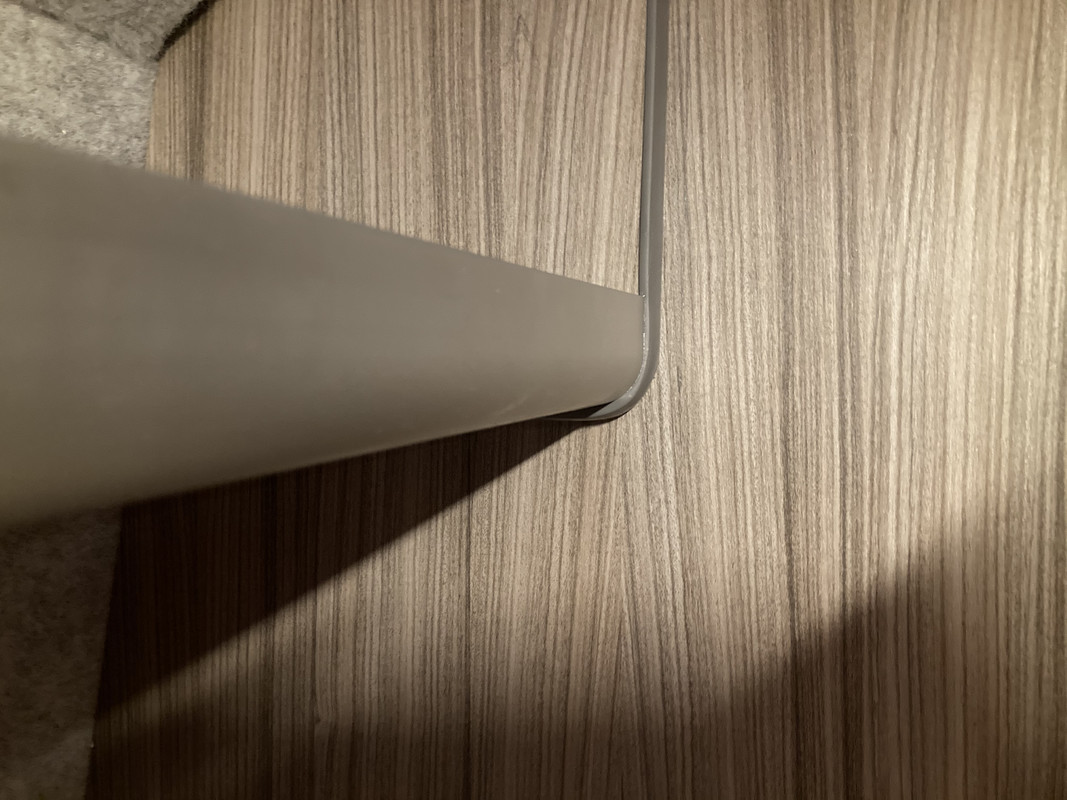
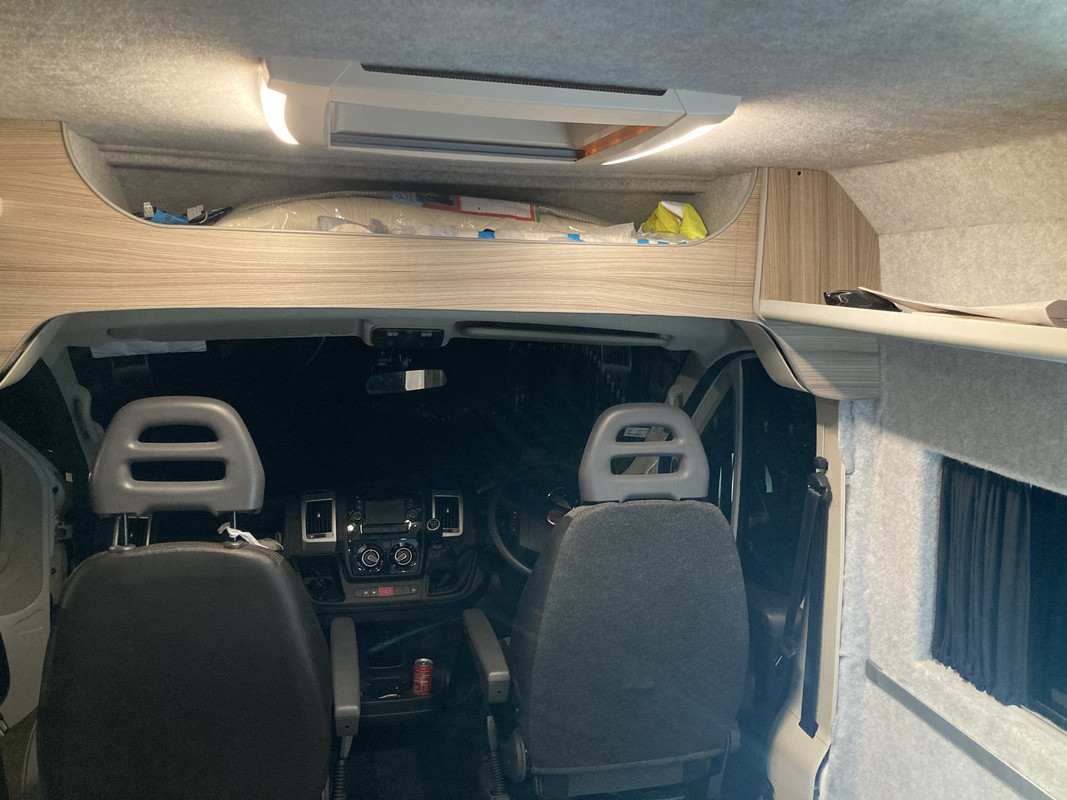
    We got the T-trim we were missing, so we finished the cabinets from the last few weeks

    D10-D10-C7-161-D-4673-AE31-C65-AD45-C72-E0.jpg
    6-D0-C79-E4-1-C12-4072-8-BF6-B485-E8-A5-D27-D.jpg
    7-B5-DC958-50-CC-4-DF9-BDD9-CAAE97716827.jpg

    The awning handle finally gets a home
    E03-E8-A62-5607-4-CB5-A403-831053-A1-C77-F.jpg

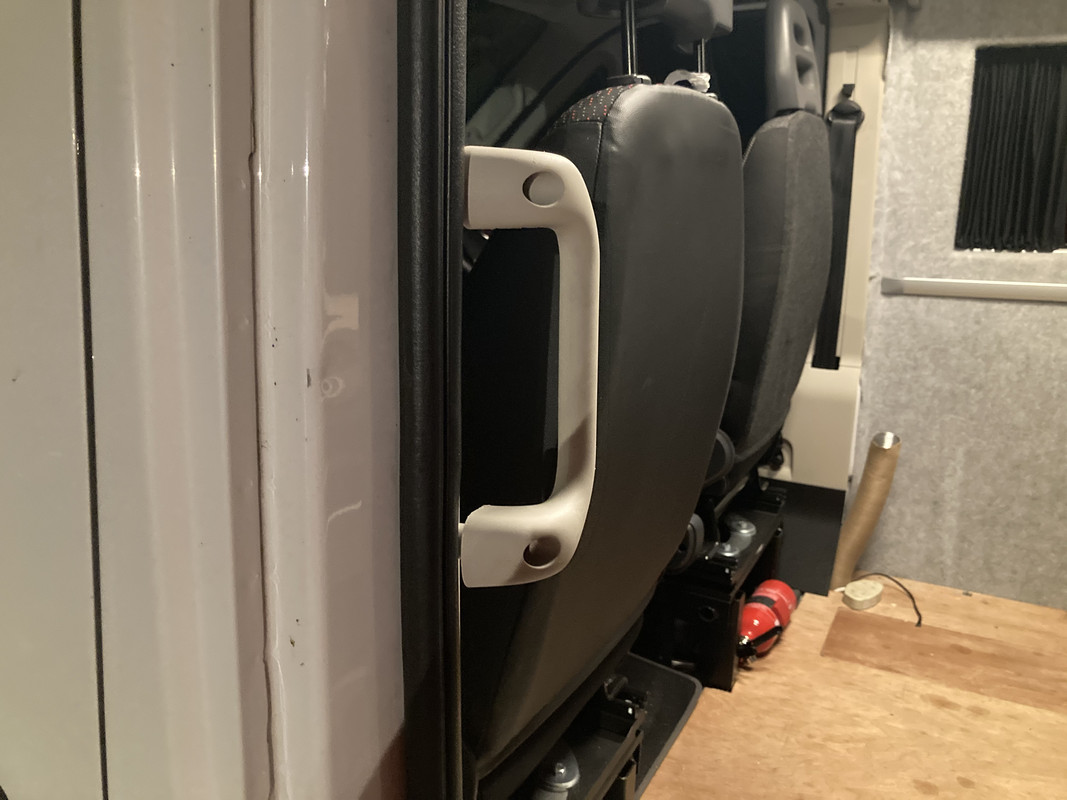
    And we got another Ducato grab handle and put it in the entrance
    A31558-D9-44-A3-4-FB9-B0-D7-D6318-ED00020.jpg

    Long day but great fun!


  • Posts: 5,238 ✭✭✭ [Deleted User]


    colm_mcm wrote: »
    It’s very solid


    Several times in the many rebuilds I've done on my daily/liveaboard after knocking the livin' bejaysus outtov the atrophying suspension members of my old yolk before welding I've been marvelling.."What is actually holding her together anymore?!"


    12mm internal box birch ply-lining has saved the day more than once.


    I've officially run outtov steel to weld to after this last attempt.


    Patching patches....it's a sign...:o


  • Registered Users Posts: 73,390 ✭✭✭✭colm_mcm


    Did a small bit of plumbing

    1-C2-EECF6-EDFB-4-E69-86-E2-3-C29-DE0689-A7.jpg


  • Registered Users Posts: 73,390 ✭✭✭✭colm_mcm


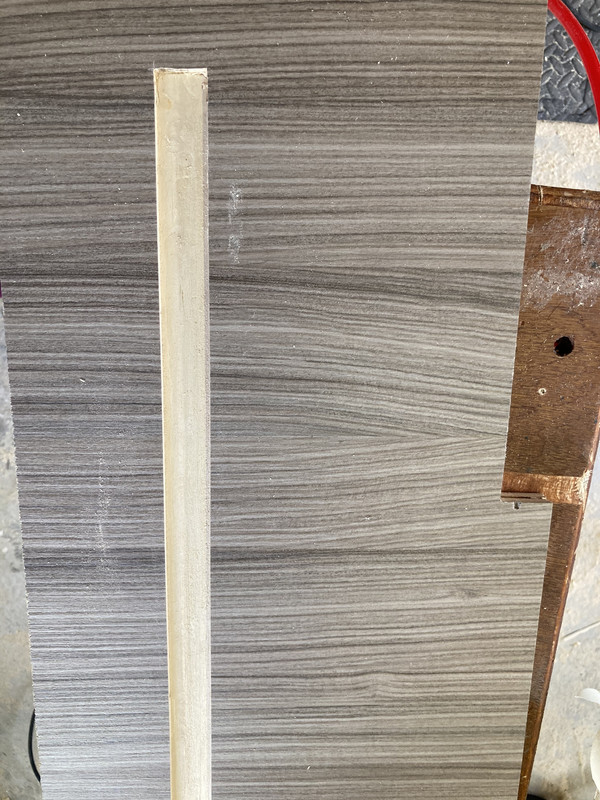
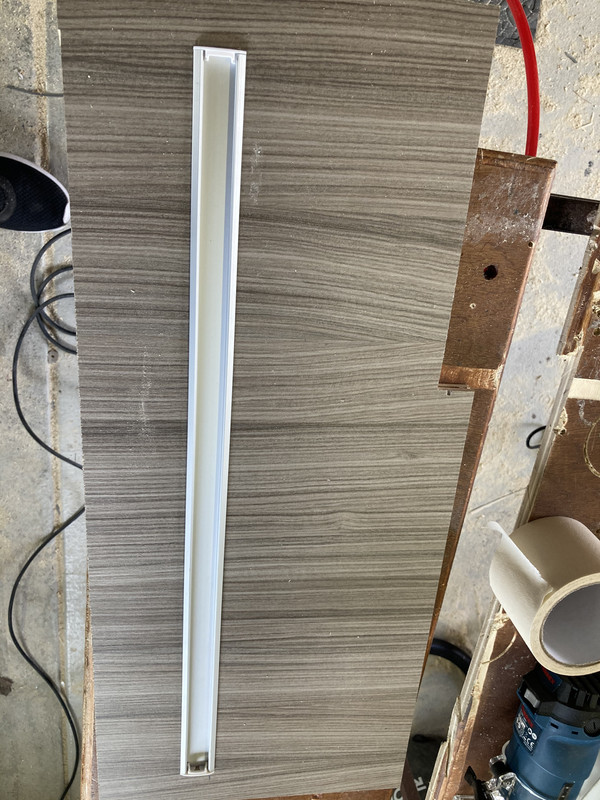
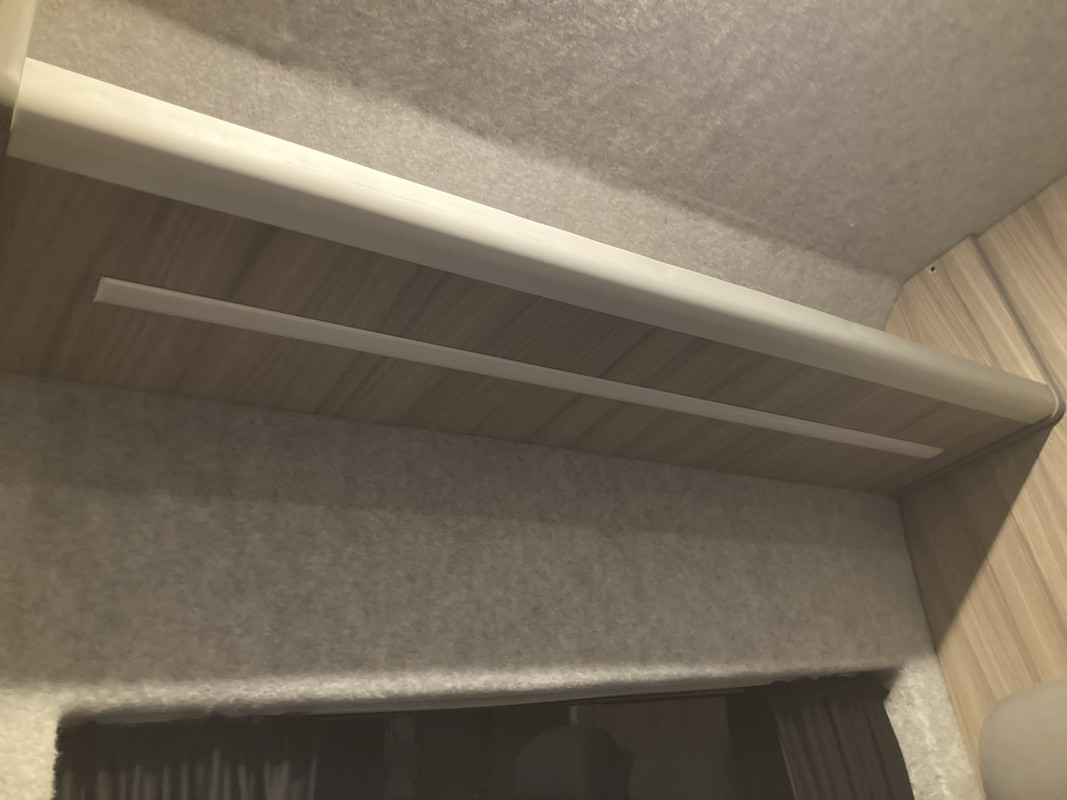
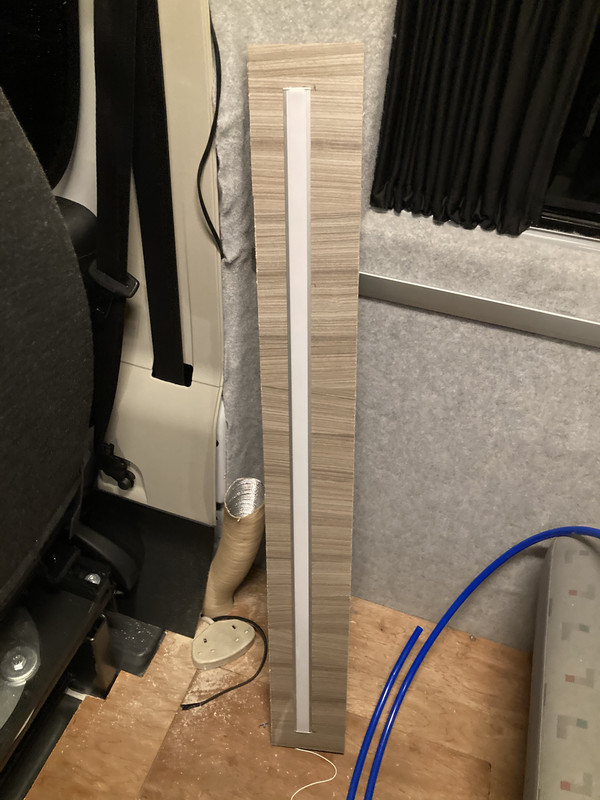
    Routered out under the cabinets for LED lights

    CBA3-FA1-F-989-E-45-C0-ADDC-00-CF373-A659-D.jpg

    52-E84-F56-417-E-4-BEA-AE02-6-E8988-FEB4-FC.jpg

    9-C0-D789-D-4413-4-A0-E-B610-94573-AD4-F256.jpg

    FAA6-F38-E-91-F8-4177-A41-E-FA2-FFC1-DDC25.jpg

    2-F7-F0-EED-99-D0-4-AA1-9-E20-790-BF7-FB8-E56.jpg

    B3877246-D05-E-4701-8-CFA-1491813-E359-F.jpg

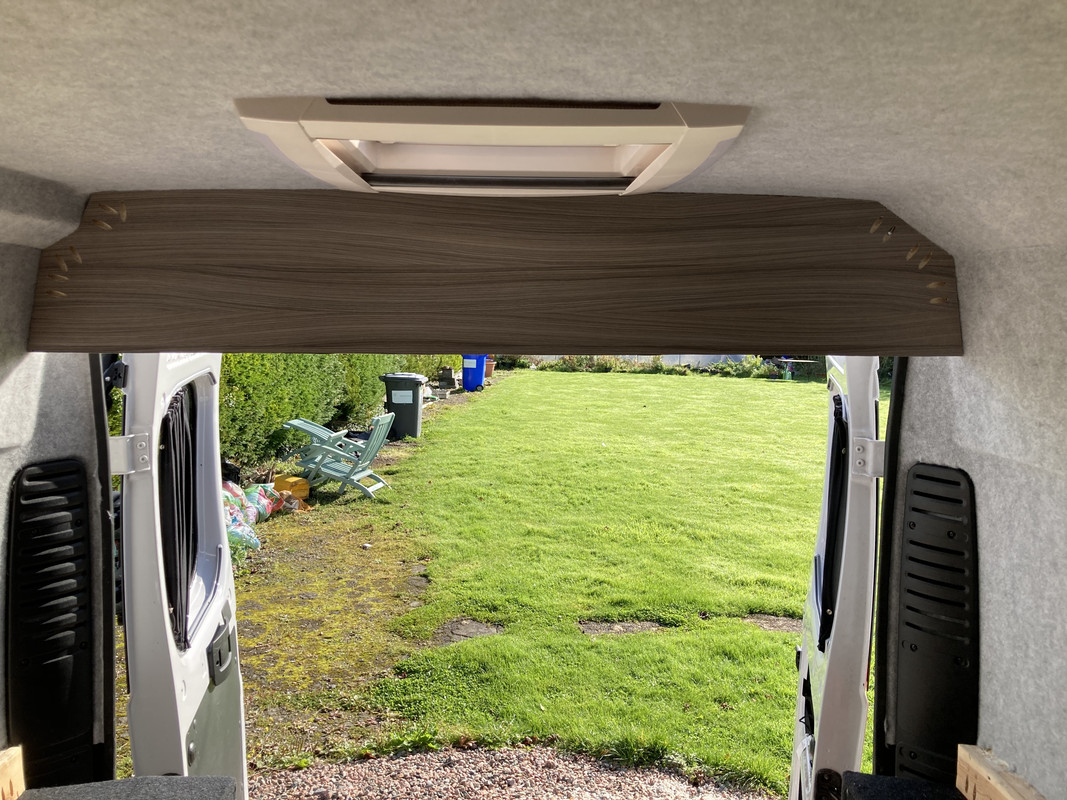
    Panel over sliding door ready to go up another day
    19-D3-F7-D7-CF75-4698-9-EFF-50-DEB126-B7-E6.jpg


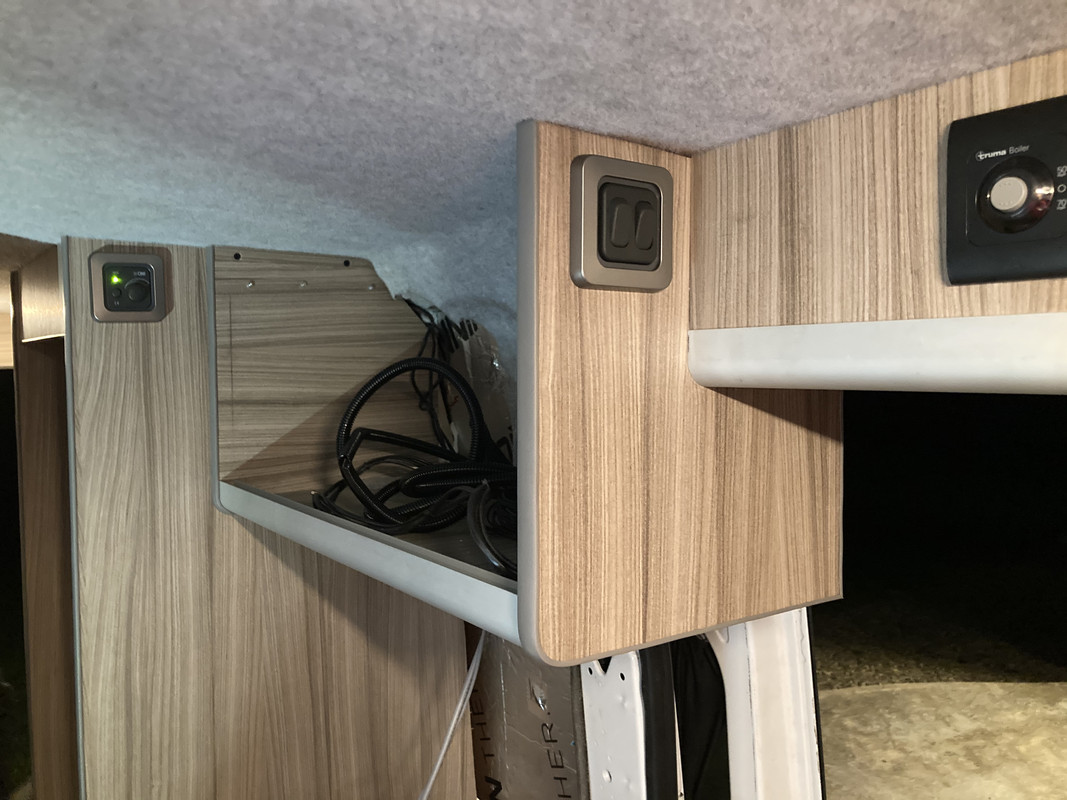
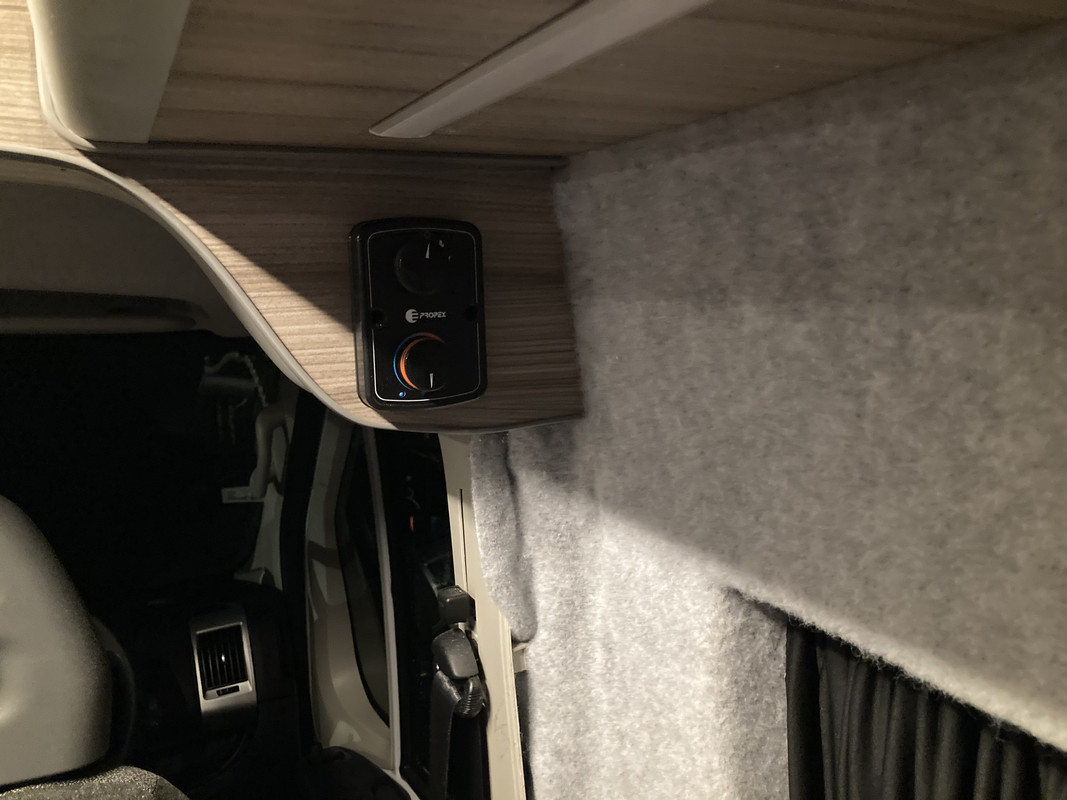
    Heater controls are in too. Not a huge fan of these but there is a digital version you can get instead which we could swap to if it’s bothering us too much. It has a thermostat on it and it kinda limits where you can put it.
    6289-C144-48-A4-40-F9-BBA3-C07947-DBE87-B.jpg


  • Registered Users Posts: 73,390 ✭✭✭✭colm_mcm


    Cabinets ready for doors now

    098497-C5-2505-4468-9163-1-DE98-CE8969-C.jpg

    592-D8308-525-F-4764-80-FB-BEC417-A32299.jpg


  • Registered Users Posts: 73,390 ✭✭✭✭colm_mcm


    9-E815364-594-C-4-CE6-B94-D-F43-FFF8-B5337.jpg

    Testing the hinges


  • Registered Users Posts: 614 ✭✭✭TheQuietBeatle


    How much is it all costing? (New to thread)


  • Posts: 5,238 ✭✭✭ [Deleted User]


    Ha!
    Quadruple what you thought...


  • Advertisement
  • Registered Users Posts: 14,721 ✭✭✭✭CianRyan


    Ha!
    Quadruple what you thought...

    It totally depends on the build but I've seen some amazing finishes on Van's that have only cost about €2000, and about another €2000 for the van.

    You can go balls to the wall or you can hide your time and be inventive, neither is correct or wrong but simply personal preference.


Advertisement