Advertisement
If you have a new account but are having problems posting or verifying your account, please email us on hello@boards.ie for help. Thanks :)
Hello all! Please ensure that you are posting a new thread or question in the appropriate forum. The Feedback forum is overwhelmed with questions that are having to be moved elsewhere. If you need help to verify your account contact hello@boards.ie
Please note that it is not permitted to have referral links posted in your signature. Keep these links contained in the appropriate forum. Thank you.

https://www.boards.ie/discussion/2055940817/signature-rules

Today I did some detailing...

Options
15455575960203

Comments

  • Registered Users Posts: 7,815 ✭✭✭stimpson


    After yesterday's fiasco I figured I better do some work on the car. I have the Volvo about 6 months and it's not seen anything more than a wash. I was planning on buying a DA to sort out the paint. But between one thing and another it didn't happen until now. There is a DAS6 Pro in the post along with white and orange Hex Logic pads and Megs 105 and 205. So I got preping this afternoon:

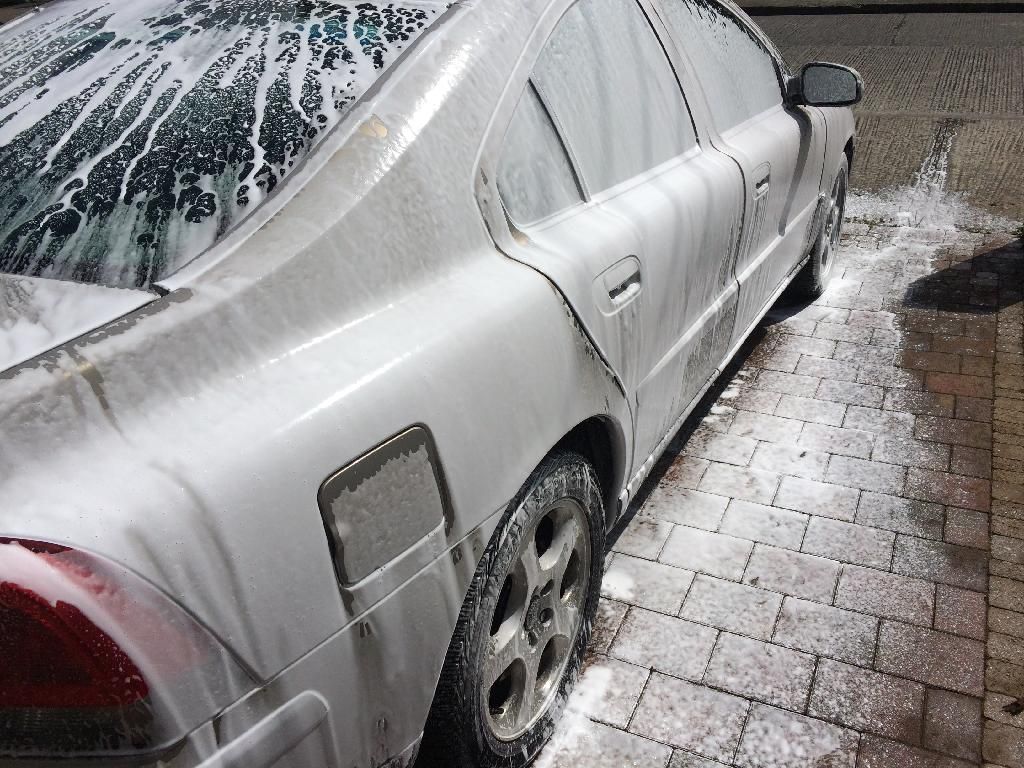
    Snowfoam first. I didn't bother with TBM as the paint is pretty badly swirled as it is. It wasn't particularly dirty either. I just agitated it with a MF mitt and rinsed.

    324C63E7-9B99-4A23-8340-71F8A2698071_zpslw2svw5c.jpg

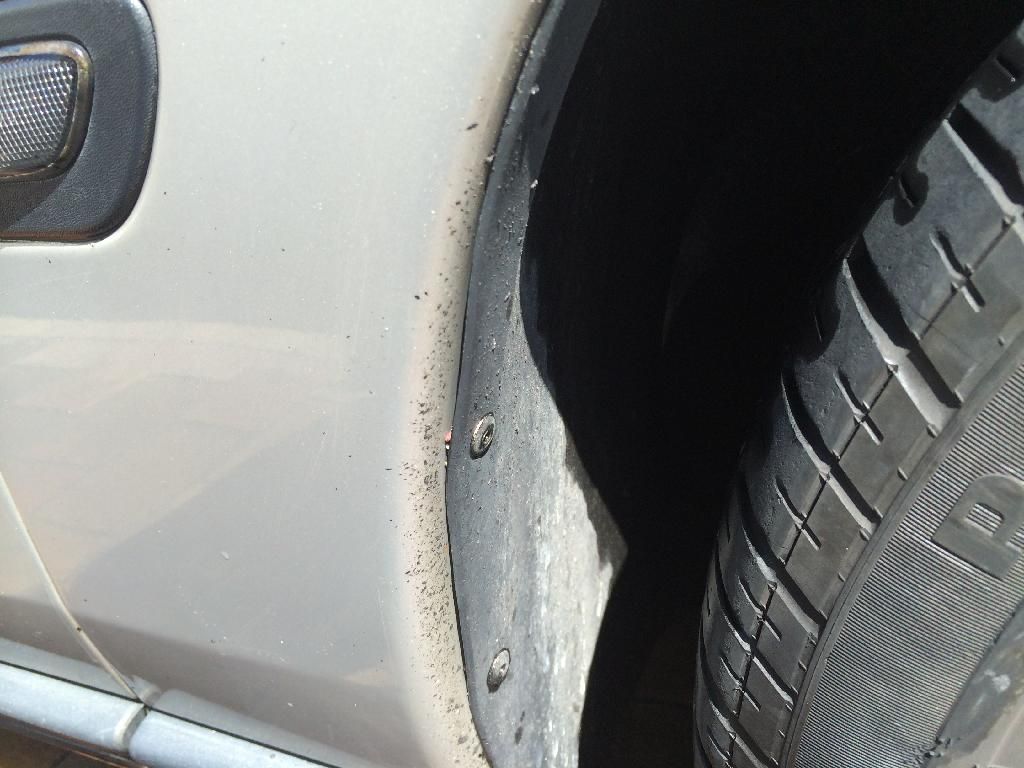
    Iron cleansed and detared. Still can't find my tar cleanse so I used a tip from on here and used a drop of petrol and a cheap chinese foam applicator. Results were pretty good:

    58390751-5AFD-46F6-8E23-F61EA4A90143_zpsgmrfbdw4.jpg

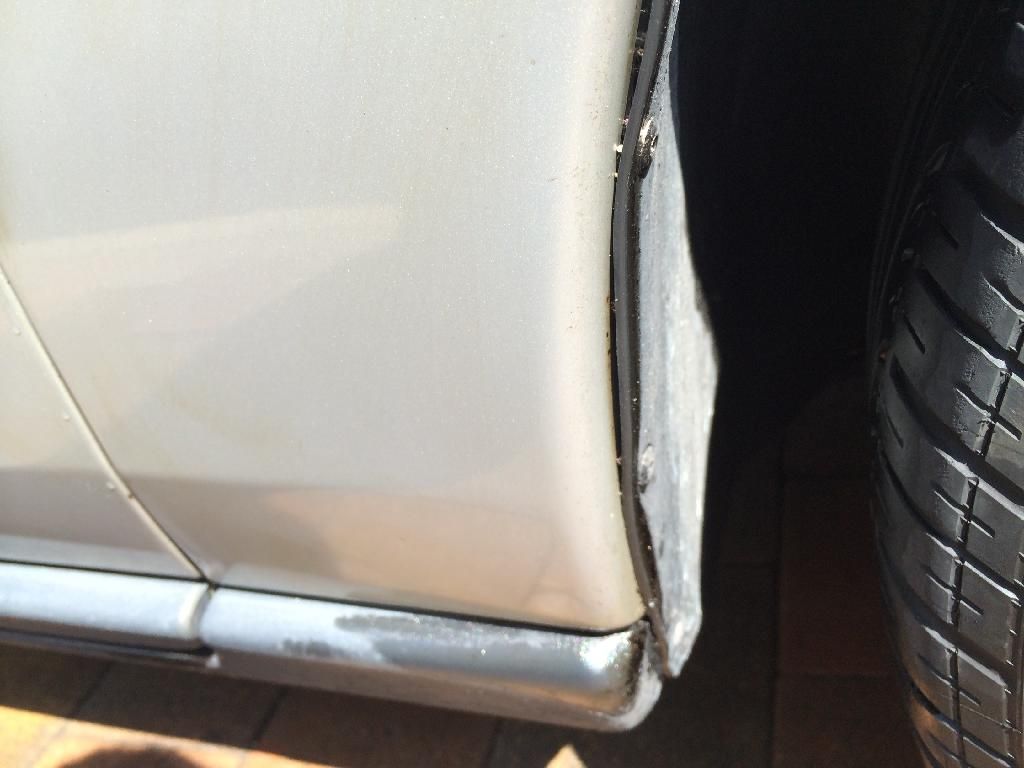
    After:
    6A99C91F-45E3-4C0B-8133-3AF25F092AE9_zps77awvkae.jpg

    This was followed by a couple of hours of claying the shite out of the car. I used most of a bottle of cheapo Aldi QD as lube. Worked a treat too. I did everything above the bump strip except the roof. I'd rather do a couple of sessions than do a crappy job. I know the car has 10 years of grime on it, but I'm still amazed at how much crap came off it.

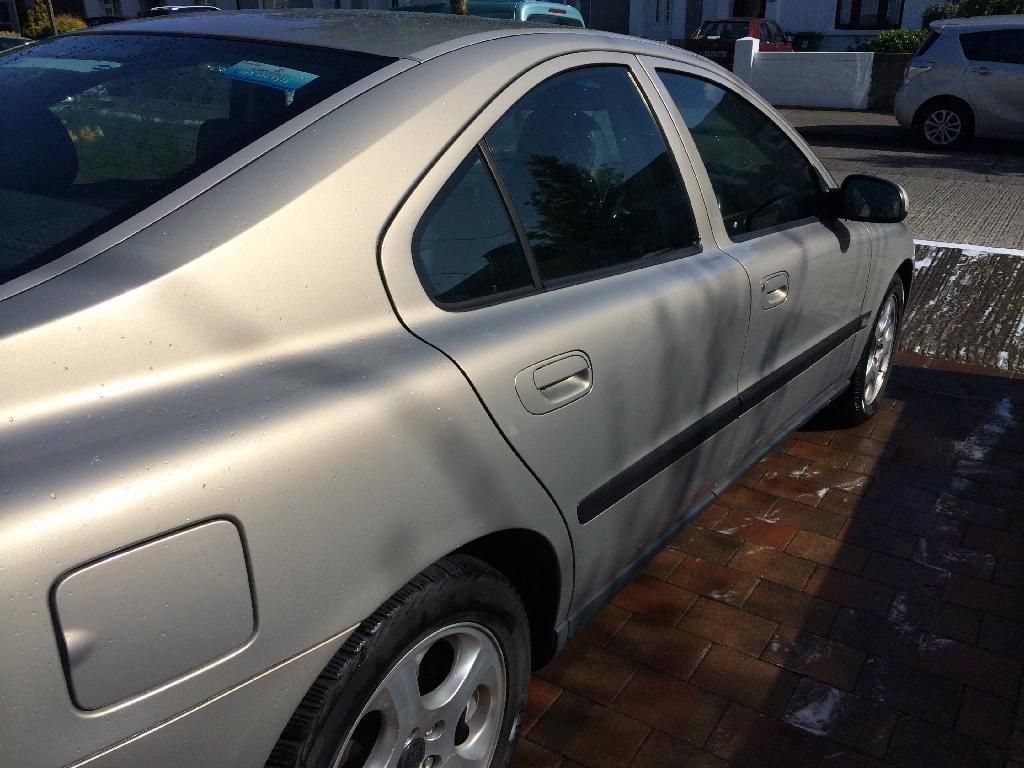
    Another foam and mitt session and I sprayed it in demon shine because I had to go out and I didn't want to put anything in that was going to be a problem to take off next week.

    D86B25C0-FFB0-4E08-9EEF-93590672A4CA_zpsmy6xgydi.jpg

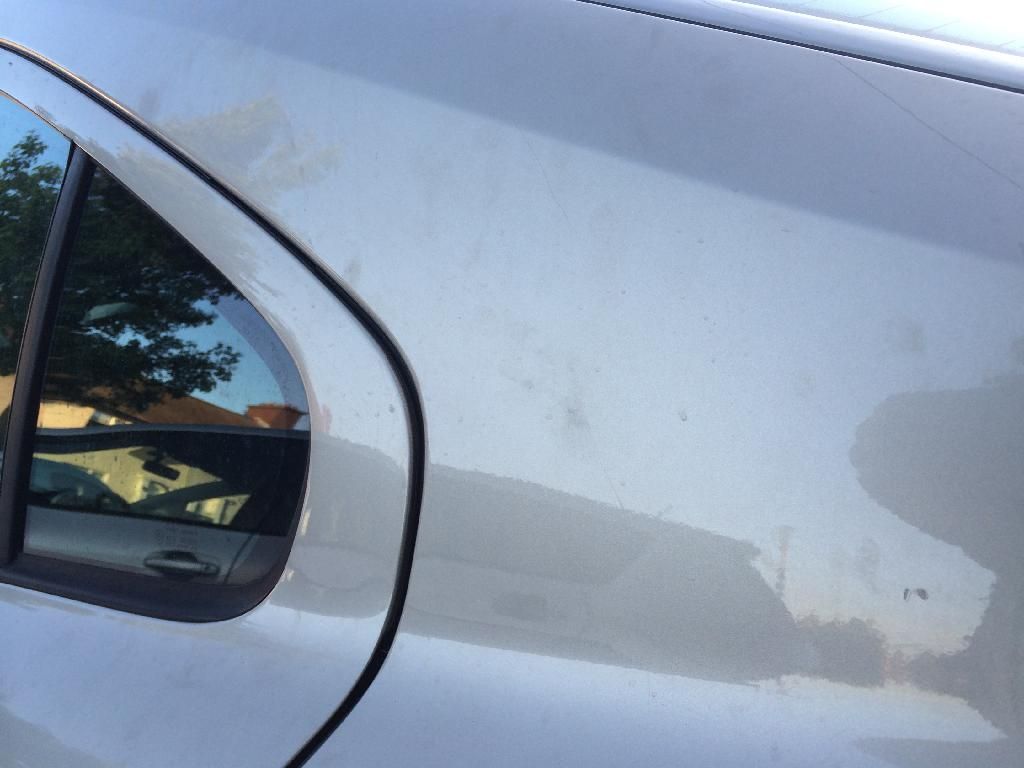
    Not particularly shiny, but good and clean. Surveying the work that has to be done next week, there are a couple of large deep scratches that may need wet sanding. Also the suncream marks are much more visible after the clay:

    635AD85F-DE4B-4AB2-9E0F-82AEB61860F0_zpss40btjzz.jpg

    Seems to be all over the car - not just a couple of isolated spots. The good news is that marks that looked like crappy stone chip repairs were in fact bonded contaminants and are all now gone.

    Anyway, watch this spaced for some hot DA action soon.


  • Registered Users Posts: 9,002 ✭✭✭mad m


    Ok so the car I have is new, got it couple weeks back. You may say I'm mad but wanted to get some type of better protection on it other than what you get.

    I've no before photos but it wasn't particularly that dirty. Got some great advice from here and thanks to Vectra also. But a special thanks to Curran for great advice, I wanted to get good stuff to wash car. Went to Halford and they had their 3 for 2 special on. Got a few things but having read on here afterwards and only a couple of euro in the difference I brought stuff back and got some great stuff from Detailingshed (Curran). Have to say the drying towel is fantastic (worth the money), can't believe how much water it can hold and car was dry in no time.

    Wash car with microfiber madness incredimitt and with two bucket method and rinsed, clayed, washed ,rinsed again and dried ,couple tiny tar specks,put some Collinite 845 on.The micro fibre towel also from detailing shed was great, you can cut it into 3 as it's big. Sealed wheel with Chemical guys wheel guard. I'm totally new to all this so go easy on me....

    Many thanks to all again for help and great advice.


  • Registered Users Posts: 9,002 ✭✭✭mad m


    Sorry don't know how to put all photos in one post.:rolleyes:


  • Registered Users Posts: 9,002 ✭✭✭mad m


    Last one


  • Registered Users Posts: 7,815 ✭✭✭stimpson


    That's some shiny paintwork right there.

    If you upload your pics to photobucket you can post IMG links up here and they show inline.


  • Advertisement
  • Registered Users Posts: 9,002 ✭✭✭mad m


    stimpson wrote: »
    That's some shiny paintwork right there..

    Will keep that in mind next time I'm uploading stuff, kids were looking at me with ten head spending 3 hours cleaning it...:D


  • Registered Users Posts: 4,377 ✭✭✭Curran


    You did a good job on it!! Its a great colour...was impressed by it earlier!


  • Registered Users Posts: 326 ✭✭mfergus


    Some nice finishes on here!

    Has anybody experience with the ag hd wax?
    Thinking of purchasing but it's quite expensive. However I don't mind paying out if it's that good.

    Is it much better than some of the cheaper brands? Is the ag egp not as effective?

    My plan would be to wash, clay, wash, srp and then whichever wax I buy...


  • Registered Users Posts: 15,507 ✭✭✭✭vectra


    That Golf is looking sharp.
    Glad you got there in the end.
    I think you must agree with me on the Collinite 945
    Easy on
    Easy off
    Excellent results.

    Well wear with the car.


  • Registered Users Posts: 9,002 ✭✭✭mad m


    vectra wrote: »
    That Golf is looking sharp.
    Glad you got there in the end.
    I think you must agree with me on the Collinite 945
    Easy on
    Easy off
    Excellent results.

    Well wear with the car.

    The Collinite went on like a dream, that was the easy part. But buying the proper stuff like Chemical guys shampoo, microfiber towels, drying towels all made it much more easier and a pleasure to do a job most of us dread. The drying towel I got from Detailing shed was the dogs, wife wanted to get her hands on it for house work plus the microfiber towels. Will have to hide them:D


  • Advertisement
  • Registered Users Posts: 4,377 ✭✭✭Curran


    mad m wrote: »
    The drying towel I got from Detailing shed was the dogs, wife wanted to get her hands on it for house work plus the microfiber towels. Will have to hide them:D

    Thats actually a very common complaint from lads that have Microfiber Madness towels.
    Another is Chemical Guys Fabric Clean...one fella said to hid mother to try it on a stain on the couch and she took the bottle and went mad with it...had to buy two more; one for himself and her! :P


  • Registered Users Posts: 1,652 ✭✭✭Chimaera


    Yesterday, I finally got around to using the CarPro CeriGlass I got in November. Both front and rear 'screens were quite badly scuffed from the wipers so it was going to be interesting to see how I'd get on.

    Out with the DA and a felt pad. I started gently, with the DA on 2-3 and not too much pressure. Not much cutting either. Some experimentation and I ended up with the machine at 6 and a good deal of pressure. I found the pad drying out very quickly, so I got a trigger bottle and filled it with water to spray on the pad every 2 passes.

    I did the windscreen first. It had a good deal of general fine scratches from the wipers sweeping across, plus some much deeper ones at the points where the wipers changed direction. These were easily seen from inside, but still difficult to see outside: I stuck some bits of masking tape on the inside to map out the tracks of the deep ones so I could give them some extra attention later. I started by doing it in 6 sections and took out a certain amount of the fine scratches, though not so much of the deeper ones. I probably spent 2 hours on this. Next, I taped off the rough path of the really deep ones and went nuts on those for about half an hour. The final run on the windscreen was to take off all the tape and give it a final working over in two halves, I think I spent about another half to three-quarters of an hour on this.

    Next onto the rear windscreen. Also quite badly scratched, and some lessons learned from doing the front :) It was easier to do the rear since I could lean into it while standing up (estate car) and I'd done enough in the space of an hour to have all but the deepest scratches removed. I finished with a quick rub across the side windows - they're not badly scratched, but I had other plans once I was done (more on this in a bit).

    Quick wash and dry to get rid of all the polish residue from the car.

    You might be wondering by now why I bothered going to this much trouble on the glass? I also bought some Gtechniq G1 in November, and didn't want to apply it to a badly scuffed windscreen, hence the polishing. Final step before applying G1 was to wipe down the glass with an isopropanol/water mix. I got the G1 onto all the external glass. I finished my day's work by cleaning the inside of the windows with a mixture of isopropanol and water.

    Things I learned from the experience:
    Polishing glass is much harder work than polishing paint. You can afford to be very aggressive on glass with a DA polisher. Hand application of CeriGlass is unlikely to remove scratches but I think it'd be enough to get a good clean surface for applying surface treatments to.

    It hasn't rained since I applied the G1 so I haven't had a good impression of beading yet, but the dew on it this morning had beaded (tiny little ones) and it pretty much fell off the screen with one sweep of the wipers. There's nothing so satisfying as seeing little balls of water running up the 'screen when you're driving along :D Brief experience of nighttime driving is that there's a lot less glare now with the scratches gone, though it's also shown up the fact that I need new glasses (they're quite badly scratched too). One of the other driving scenarios that had shown up problems with the scratches was low sunlight, so it'll be interesting to see what happens there.

    I tried taking pics of the scratches on the 'screen, but the glass is too reflective to show them at all.


  • Registered Users Posts: 2,994 ✭✭✭Taylor365


    Where does everyone pick up this tar stuff?

    Never see a spec of it on mine....


  • Registered Users Posts: 4,377 ✭✭✭Curran


    Chimaera wrote: »
    Polishing glass is much harder work than polishing paint. You can afford to be very aggressive on glass with a DA polisher.

    Definitely a different ball game to polishing paintwork. However, one thing to be aware of when polishing glass, is not to generate far too much heat, it can result in warping the glass, resulting in distortion when you are driving.
    Probably not too much of a concern with a DA, but definitely with a rotary.


  • Registered Users Posts: 4,377 ✭✭✭Curran


    Taylor365 wrote: »
    Where does everyone pick up this tar stuff?

    Never see a spec of it on mine....

    Is your car black! :D


  • Registered Users Posts: 15,507 ✭✭✭✭vectra


    Taylor365 wrote: »
    Where does everyone pick up this tar stuff?

    .


    Usually from the roads :P


  • Registered Users Posts: 24,647 ✭✭✭✭punisher5112


    vectra wrote: »
    Usually from the roads :P


    Always thought the tar fairy:p as it does be everywhere but when roads get hotter with the sun this happens more and does be sprayed up from the tyres.


  • Registered Users Posts: 2,994 ✭✭✭Taylor365


    Hmmmm..... maybe i need to drive into $hite more often so.

    Zero tar on bodywork and wheels for that matter.


  • Registered Users Posts: 4,792 ✭✭✭Ded_Zebra


    Taylor365 wrote: »
    Hmmmm..... maybe i need to drive into $hite more often so.

    Zero tar on bodywork and wheels for that matter.

    Is your car black?

    I find it hard to believe that it has no tar on it unless it's only a few weeks old or has been clayed and/or de-tarred a few weeks ago. Run your hand along the paint on the front wing just in front of the front door and see if you can feel roughness.


  • Registered Users Posts: 19,854 ✭✭✭✭MetzgerMeister


    His car isn't black lads, it's a blue Subaru ;)


  • Advertisement
  • Registered Users Posts: 1,302 ✭✭✭Harcrid


    I thought there was very little tar on my car until I sprayed on the tar remover and suddenly spots started appearing everywhere!


  • Registered Users Posts: 3,506 ✭✭✭Interslice


    Taylor365 wrote: »
    Did the wheels today.

    Wash with wheel cleaner
    Detar and scrub
    APC and rinse.
    2 coats of FK 1000.
    Tyre dressing.

    Done before the rain :D

    Before:
    d4Ct1h2l.jpg
    ...
    UqozAa0l.jpg

    :confused::pac:


  • Registered Users Posts: 2,994 ✭✭✭Taylor365


    Yea...i used it. Didn't see any tar to begin with though on the bodywork...

    After a wash (wash only), there were only 2 specs of tar on the entire wheels. I see peoples wheels covered in tar and going all sorts of colours using a detarerererere. Doesn't happen on mine..?

    Difference of coating on the wheels maybe?


  • Registered Users Posts: 4,377 ✭✭✭Curran


    The wheels turning purple you mean??
    Thats a de-iron product they are using to remove tiny iron particles embedded in the wheels surface or the paintwork. Hot particles from brake pads would be a source of this, along with various other sources.


  • Registered Users Posts: 2,994 ✭✭✭Taylor365


    I'll take a pic the next time i do my wheels (give it 2 months say) and we can ponder at the 1 or 2 specs of tar which they accumulate.

    Iron particles? Aren't these removed with a good scrub and cleaner?


  • Registered Users Posts: 4,377 ✭✭✭Curran


    [quote="Taylor365;90159164
    Iron particles? Aren't these removed with a good scrub and cleaner?[/quote]

    Sure, if you want the surface of your wheels destroyed.

    A good scrub shouldn't be used on any part of the car, bar maybe the undercarriage


  • Registered Users Posts: 7,815 ✭✭✭stimpson


    My early birthday present to myself arrived today - a DAS6 Pro and I'm looking for some advice...

    I got HexLogic Orange and White pads and Meguiars #105 and #205

    As the paint on the Volvo is fairly bad with swirls, suncream marks and quite a few RDS's I'm tempted to start with Orange and 105. However, I've no idea how hard the paint on the Volvo is. When I did some research I didn't get very far except for this gem: Nobody's ever polished a Volvo before so nobody knows :) One piece of advice was to use the orange and 105 and don't go over speed 3 - apparently it can dry out quickly.

    So what do yis think? Start off with the white and 205 and see how it goes, or go for broke with the big guns?


  • Registered Users Posts: 4,792 ✭✭✭Ded_Zebra


    stimpson wrote: »
    My early birthday present to myself arrived today - a DAS6 Pro and I'm looking for some advice...

    I got HexLogic Orange and White pads and Meguiars #105 and #205

    As the paint on the Volvo is fairly bad with swirls, suncream marks and quire a few RDS's I'm tempted to start with Orange and 105. However, I've no idea how hard the paint on the Volvo is. When I did some research I didm;t get very far except for this gem: Nobody's ever polished a Volvo before so nobody knows :) One piece of advice was to use the orange and 105 and don't go over speed 3 - apparently it can dry out quickly.

    So what do yis think? Start off with the white and 205 and see how it goes, or go for broke with the big guns?

    in my (limited) experience, no matter what polish you use and no matter how soft the paint might be you won't do anything with the white pad in terms of correction. If you are worried about it you might invest in a green hex logic pad or something similar but TBH I would say you're fine to work away with the orange pad :)


    Oh and happy early birthday!!! :D


  • Registered Users Posts: 15,507 ✭✭✭✭vectra


    If you are unsure,
    Start with the orange pad and 205


  • Advertisement
  • Registered Users Posts: 4,377 ✭✭✭Curran


    Best plan of action is to mask out a 1ft x 1ft surface and do a few tests. Start with the least cut and work your way up is the general advice, but sometimes you just know that a combo wont have enough cut.
    Remember that using a DA you cant expect to get amazing correction with just one set, so try two or three sets, inspected after each set, and remember that the polish oils will hide some of the lighter defects. If you arent getting good correction with a certain combo, move up to a more agressive one, bearing in mind you might want to start a new test area to see what effect that combo is having on the unpolished surface. When you find a combo that works, use that for the whole car. Certain areas might need a bit of extra attention, generally the near side of the car will be worse than the offside and the bonnet will be worse than the roof or boot lid.

    If there's one tip: patience - don't expect miracles on your first attempt. A lot of your time using it for the first time will be spent becoming accustomed to how the pad, polish, machine, etc will react under various circumstances....pressure, duration, speed, environment, etc...perfecting your technique really. You probably wont have a good technique sorted until you are near finished the car!


Advertisement