Advertisement
If you have a new account but are having problems posting or verifying your account, please email us on hello@boards.ie for help. Thanks :)
Hello all! Please ensure that you are posting a new thread or question in the appropriate forum. The Feedback forum is overwhelmed with questions that are having to be moved elsewhere. If you need help to verify your account contact hello@boards.ie
Please note that it is not permitted to have referral links posted in your signature. Keep these links contained in the appropriate forum. Thank you.

https://www.boards.ie/discussion/2055940817/signature-rules

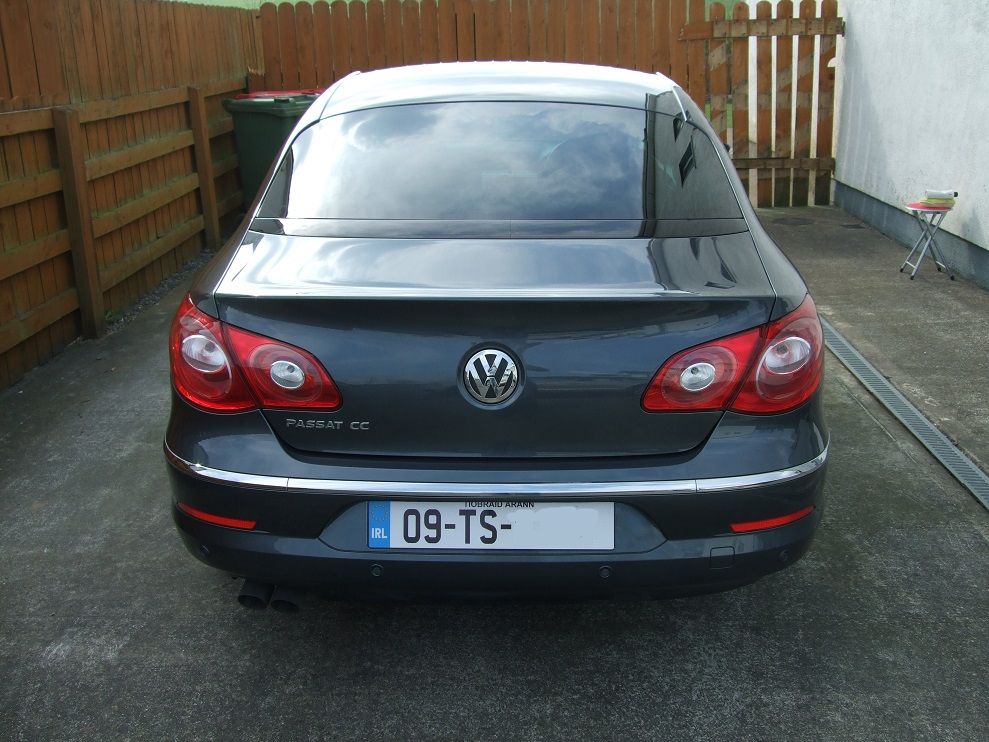
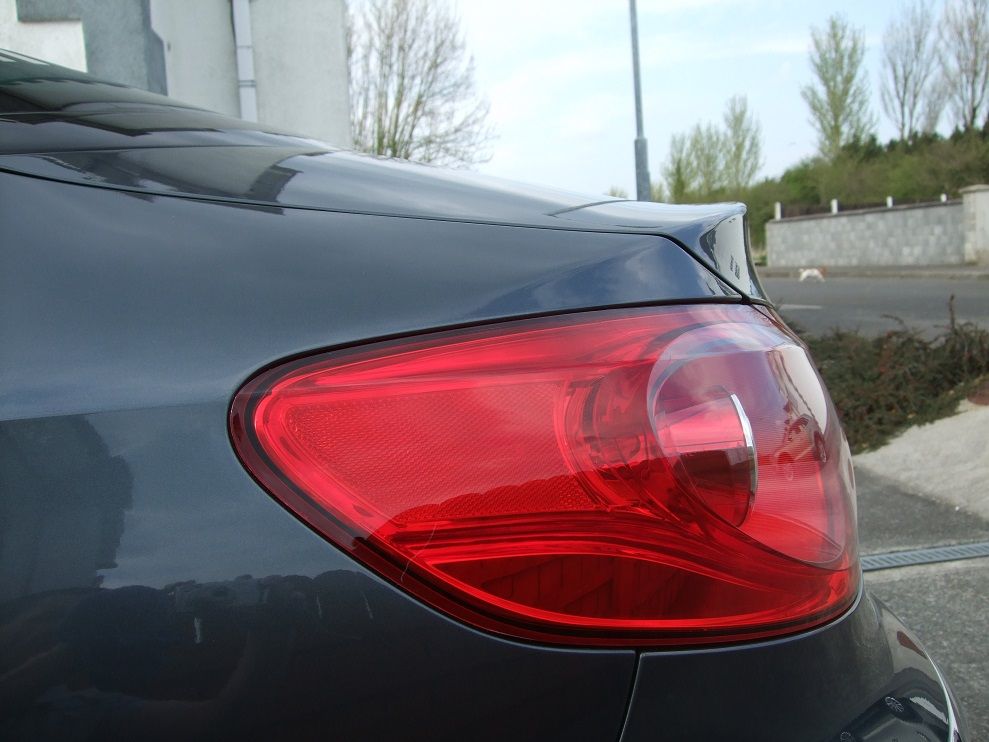
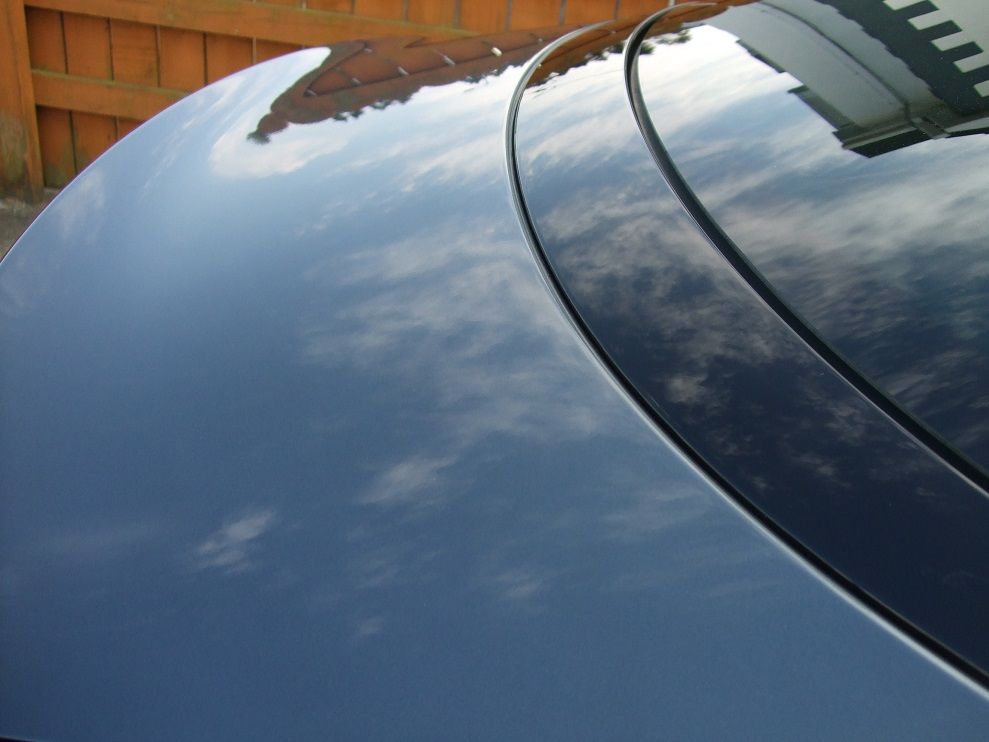
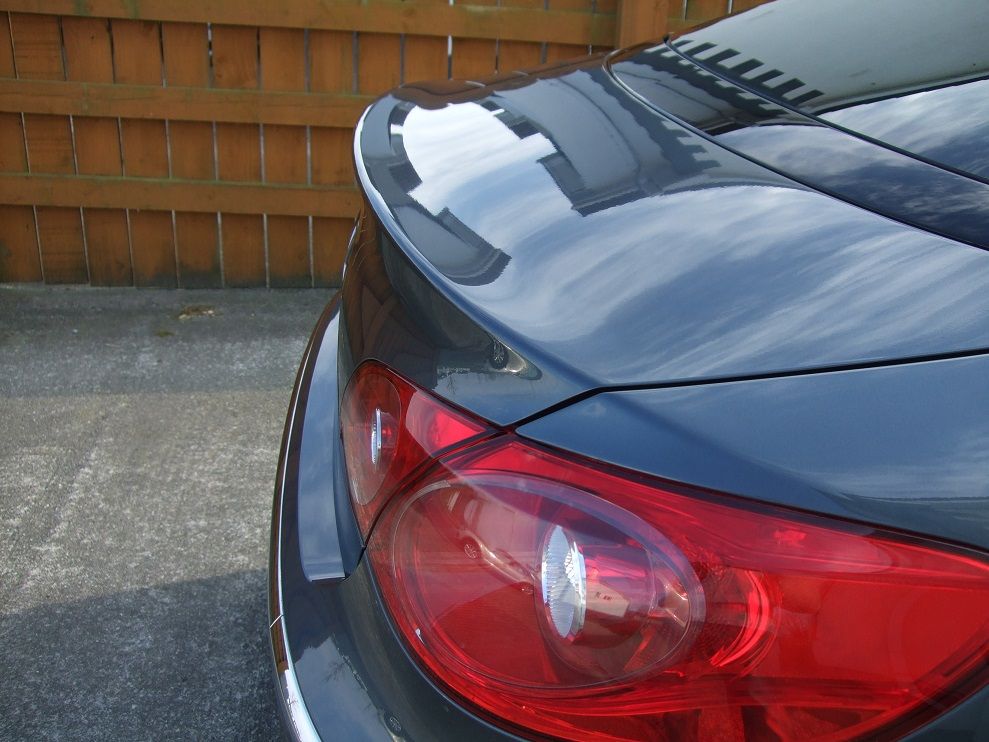
Today I did some detailing...

15152545657203

Comments

  • Registered Users, Registered Users 2 Posts: 635 ✭✭✭BillJ


    I can vouch for it too it's great stuff!

    I did a full deep clean and finished with a later of 845, just one layer. Would I have been best off putting 2-3,layers on?


  • Registered Users, Registered Users 2 Posts: 19,920 ✭✭✭✭MetzgerMeister


    Mine's better though because it's on top of EXO :P


  • Registered Users, Registered Users 2 Posts: 15,690 ✭✭✭✭vectra


    BillJ wrote: »
    I can vouch for it too it's great stuff!

    I did a full deep clean and finished with a later of 845, just one layer. Would I have been best off putting 2-3,layers on?

    I would always put on 2 coats in case patches would be missed on first coat.
    Mine's better though because it's on top of EXO :P


    I though Exo was this super duper stuff that looks after itself?
    You are not trying to tell us that you need good old 845 to mind it LOL :D


  • Registered Users, Registered Users 2 Posts: 19,920 ✭✭✭✭MetzgerMeister


    EXO is super duper stuff but I missed applying wax :D


  • Registered Users, Registered Users 2 Posts: 15,690 ✭✭✭✭vectra


    EXO is super duper stuff but I missed applying wax :D


    As you do :P


  • Advertisement
  • Registered Users, Registered Users 2 Posts: 791 ✭✭✭georgefalls


    Its a love/hate thing. I hate polishing, and waxing all those spokes, but I love the finished result :)

    SRP followed with a coating of AG HiDef

    Must get the kerb scuffs sorted (not my doing, I hasten to add)

    DSCF0475_zps0bca46ff.jpg


  • Registered Users, Registered Users 2 Posts: 1,935 ✭✭✭randy hickey


    ^ George, I hate to break it to you - but I think your garage might be on fire!


  • Registered Users, Registered Users 2 Posts: 791 ✭✭✭georgefalls


    Just a bit of artistic processing, is all.....LOL


  • Posts: 14,266 ✭✭✭✭ [Deleted User]


    I'd been putting it off for ages and ages. The ultimate 'long finger' job, but I finally machine polished the Rav4. I don't really have any photos of it's before and afters, because I just wanted it done and I knew if i started messing with the camera, tripod, etc. i'd never finish, so apologies for lack of pictures.


    A lot of the light swirls came out, but a lot of marks and scratches remain. It would seem my best offence on these is to just keep the car polished and waxed on a more-than-regular basis. Seems to be the only way, going forward, that I can keep my sanity and not nit pick too much.

    My chemical guys microfiber pad got so much of a work out that it's been reduced to a hand applicator after I nearly burned a hole in it.


    3362A1FDF9D1412DAB8BD1613D5CDB37-0000333410-0003542478-00640L-BF0012E19B4249BBBAF665E5FCA8FE6F.jpg


    I used Meguiar's Ultimate Cut Compound to polish, and I literally ran out just at the end. I had enough in the bottle that I polished the bonnet twice just to use it up, but there was nothing left then (which suited me grand). I then used Pete's 53 as a wax to finish it off. Gave the bonnet two coats for the sake of it.

    I know the photos are craptactular, but i didnt have the proper camera on me, so was using the phone and it was dark enough by this stage, so... :/


    EE20F3BA27F9421299DCB01CC8D93406-0000333410-0003542477-01024L-0261EA0E1D434CB5A03F9E863B22F63B.jpg

    70167129D78A45A09F524006E83AA2A5-0000333410-0003542476-01024L-1990FE4CCE9F44C4B1CAE7AAA9204EC0.jpg


    It looks pretty average in the photos, I know, but I have to say, although I wish i'd gotten more of the scratches out of the paintwork, when you actually stand looking at it, it's a very deep black, and you can't really see any defects until you're within around 2-3 feet (which I can certainly live with!) (although that said, I've not seen it outside in daylight just yet, so.. my opinion could be very different tomorrow).


    Tomorrow I plan to do the trim, glass, wheels and tyres. Trim and glass are fairly self explanatory, but does anyone have any advice for the wheels/tyres?

    I aim to take one wheel off at a time (spare wheel going last, as it's the cleanest), and spending time actually doing whatever I can to make it look as good as it can (on both sides). I was wondering if anyone could advise on a way of doing things to make life easier? My wheels are always relatively nice looking, but they never 'pop' like a lot of the wheels that appear on here.

    My (assumed) plan was:

    1) Iron cleansed and left to sit for 5 minutes. Agitated and washed off with a 2BM method and clean wash mitt (rather than pressure washing?).
    2) Dry the wheel
    3) Repeat the above with Tar Cleanse.
    4) Repeat again with a wheel cleaner (probably not let it sit for so long. Thinking of OAC's Wheel Cleanse or Wonder Wheels Alloy Cleaner).
    5) Polish by hand with applicator pad and microfiber cloth (Chemical Guys Pro Polish 3N?) - Repeat twice for the craic?
    6) Wax by hand
    7) Repeat four more times with the other wheels

    (guessing the tyres are obviously APC and Scrubbing brush, rinsed with water regularly, dried off and doused in tyre shine repeatedly?).


    Anyone care to comment on that? Am I fooling myself?


    EDIT: I plan to do the wheel wells thoroughly too (when each wheel comes off). APC, microfibre, bumper and trim to blacken and that's them I assume?)

    EDIT 2: I also plan to buy mudguards!! :mad:


  • Registered Users, Registered Users 2 Posts: 2,846 ✭✭✭discombobulate


    Just as a quick one on the wheels I usually use the wheel cleaner first which gets rid of the majority of the dirt etc. and then use tar and iron. I find the power of the iron products gets exaggerated a lot when people spray it onto dirty wheels and theres loads of purple dripping off which is generally stuff that the standard wheel cleaner would remove anyway.

    Did a bit of a job on my own at the weekend following the above (although I didn't take them off)


  • Advertisement
  • Posts: 14,266 ✭✭✭✭ [Deleted User]


    Cheers for that, Discombobulate. I'll heed your advice.

    To be honest, I'm only planning to take them off cos I know they were never really given any love before, and the insides of them are filthy. I know they'll get dirty again rapidly fast, but I'd like to just ultimately reduce the amount of dirt on them, if I can. :o


  • Posts: 14,266 ✭✭✭✭ [Deleted User]


    I have some Armourall wheel shield. Great product.

    Is it worth using if I'm gonna wax the wheels, though (As a final step, post-wax)?


  • Registered Users, Registered Users 2 Posts: 7,864 ✭✭✭stimpson


    4) Repeat again with a wheel cleaner (probably not let it sit for so long. Thinking of OAC's Wheel Cleanse or Wonder Wheels Alloy Cleaner).

    Wonder Wheels is dilute Hydrochloric acid. They will destroy your wheels - my old man used to swear by it on his Land Criuser. The wheels ended up so pitted he just left the brake dust on them. He had to pick up a set of reconditioned alloys recently.


  • Registered Users, Registered Users 2 Posts: 1,630 ✭✭✭Newtown90


    Finally got to use my DA Polisher this evening!

    Changing jobs and have a week off to get the two cars glittering!

    Started on my own this evening.

    Cleaned the Engine bay which was mank from parking in a limestone car park at work!!

    Snowfoamed the car.

    Rinsed

    Sprayed on Tar Remover that I got off Brian in Spirit Detailing! Was a citrus based one and worked brilliantly!

    Rubbed in and washed off.

    Washed with Shampoo and dried!

    Clay the roof. Rinsed off and dried!

    And cranked up the DA :D

    I have a lot of cat clay marks on the roof of the car from the past owner. The polish filled in the paint work lovely leaving it nice and smooth! Used the roof as a test and hopefully I'll get the full car clayed, polished and waxed tomorrow!

    Just a stupid question for the experts. When your applying the Wax? Do you use the DA or just do it by hand?


  • Registered Users, Registered Users 2 Posts: 635 ✭✭✭BillJ


    I'm no expert but for what it's worth I apply by hand with a foam applicator.

    It doesn't take long by hand so no huge advantage to doing it by machine in my eyes.


  • Registered Users, Registered Users 2 Posts: 1,935 ✭✭✭randy hickey


    Believe it or not it's quicker and easier to apply wax by hand.


  • Registered Users, Registered Users 2 Posts: 33,709 ✭✭✭✭Cantona's Collars


    Eventually got to fully de-tar the car after a trip along a road that had just been tarred & chipped.I have industrial strength tar remover which works wonders,the rep told me it's ok to use on paintwork but I washed it off asap just in case.
    I was getting stuck into an impromptu detailing session when the kids interrupted.Anyhow I'm happy enough with having removed enough tar to fill a pothole from my car.


  • Posts: 14,266 ✭✭✭✭ [Deleted User]


    Feckin' wheels!


    Before:


    BB0F90185E4A46A18AB404EC1F2A6D77-0000333410-0003544383-00800L-CB2F42F74B3948BB8CC1E89D4F109168.jpg


    After:

    C1A19DF700A049839998022F5DAD586F-0000333410-0003544382-00800L-3E7EE39DFE20460E9E44F2C56790F899.jpg


    The other dirt just would not budge! I used every product under the sun!


    I then polished it, waxed it etc. and it looked like this:


    6B655265A66943D5A741ADEA9EF59FEF-0000333410-0003544381-00800L-BDEB13A6FFA24E96922E6CECB68A29B7.jpg


    Impressive, yeah? This is the back wheel from the same side, too:


    4B301774D6F34D5CBA28934C866C3ADF-0000333410-0003544380-00800L-D2C2281583AF46AB8CD7CD3B9F3AD71D.jpg


    Both pretty nice, I'm sure you'd agree... but I didn't touch the back wheel! :mad: and I spent an hour and a half on the front one.. and they're identical!!! :(

    Lesson learned. But I'll still take off the front one on the passenger side and do the back of that anyway. Now that the driver side one is so clean behind the spokes, the passenger front wheel looks filthy. :(


    As an aside, I applied a coating of AG's Instant Tyre Dressing (or Shine.. not sure which it's called). Let it sit for a minute and then wiped off with a microfibre. It gave me similar results to a dose of glitz on the wheel. So I figured maybe it's just my tyres not taking to it too well (as the Glitz did a great job to that VW Golf from last week).


    However, I then applied a coat of AG's tyre dressing, again, to each wheel and just let it sit (used a microfibre to wipe it off the alloys). I then got into the car and reversed back a bit to turn the wheels 180 degrees, and reapplied another a coat.

    I let it sit (this time i actually read the instructions which says to let it dry off itself) and I went off and had a cup of tea. I came back and the tyres were feckin' brilliant looking. A great, great shine off them (but not a plasticky type of shine, either). Absolutely unreal the difference.

    The finish is a bit patchy in some spots as it runs a bit (though doesn't 'sling' when you drive) so you've to apply a decent bit of it, but it's a very impressive finish, I have to say. I haven't any photos (as the camera phone didnt pick it up properly) but I'll get some tomorrow with the DSLR (or in the bright daylight with the phone, as it was getting dark when i had it on properly).

    I probably over-applied it, but still - night and day difference. My new favourite product.


    I also used the AG leather cleaner and care balm products on my front seats, and it could be placebo, but they actually feel a bit softer under my gigantic ass, and they look a lot better too. Lovely, crisp, matte finish. Look really expensive.

    AutoGlym have yet to fail me (I think). Loving them at the moment.


  • Registered Users, Registered Users 2 Posts: 336 ✭✭bazery


    impressive work kkv, i'd love to see more pics of the paintwork after your machine polishing, but up close!
    I envy the amount of time you get to work on your car!


  • Registered Users, Registered Users 2 Posts: 1,652 ✭✭✭Chimaera


    The Autoglym leather care products are quite good - I've used them on the leather sofas inside and been pleased with the results.


  • Advertisement
  • Registered Users, Registered Users 2 Posts: 2,846 ✭✭✭discombobulate


    Wheels look great KKV. Need to do the same myself and remove them one of these days.

    Did a bit of work on the car last weekend. Had some Muc-off products I got an an Amazon special so gave them a go along with other bits I had.

    Washed the wheels with Muc-off Frequent Wheel Wash, Autoglym Tar remover and Iron Cleanse. Put Chemical Guys New Look trim gel on the tyres which I find looks and lasts well.

    May end up getting a refurb done if I decide to keep the car for a good while as there have always been a few kerbing marks that have annoyed me.

    yXqXBQp.jpg

    I'd been away from where all my cleaning products were since the Saharan sand so car was caked in the stuff. On my last wash I had clayed, polished with SRP and sealed with EGP. Gave the car a good powerhosing first and then washed down with Muc-Off Ubershine Shampoo.

    Went over the black trim with Chemical Guys New Look trim gel and then applied a layer of Muc-Off Uber Wax as I didn't have time the last day. Easy to apply the product but buffing was tough enough likely due to the car being outside and the panels getting some sunlight on them.

    Overall was very impressed with the results from it though. Only took a couple of pictures from distance. Should have taken more as they don't do it complete justice. Looked better in the sun too. Haven't had any water on the car since to see how it beads.

    u7EVX4a.jpg

    DR3GxeU.jpg

    Interior this week hopefully which doesn't need too much work.


  • Registered Users, Registered Users 2 Posts: 4,377 ✭✭✭Curran


    Nice motor - great work; she looks very well indeed! ;)


  • Posts: 14,266 ✭✭✭✭ [Deleted User]


    bazery wrote: »
    impressive work kkv, i'd love to see more pics of the paintwork after your machine polishing, but up close!
    I envy the amount of time you get to work on your car!


    I'll get some close ups and general all-round photos sorted out today hopefully.

    Maybe it's because I'm a photographer, but taking photos, even though I'm very proud of the car, is a bit of a chore at times :o Kinda have to be 'in the mood'.

    But I've a few hours free today, so I'll get something done. Have to scout a location for a portrait session so will hopefully get somewhere scenic (always helps :P ).


  • Posts: 14,266 ✭✭✭✭ [Deleted User]


    Sorry, I know I said i'd get photos ages ago, but i will tomorrow. I super duper promise. (my last few days were fairly empty, but then filled up very quickly! :( )


  • Registered Users, Registered Users 2 Posts: 2,947 ✭✭✭Taylor365


    Did the works yesterday:

    Wash
    Detar
    Clay
    Polish
    Wax

    5 hours in total, got a sun tan too :D

    Before:
    xLu9Rs0l.jpg

    After:
    oOH5QdCl.jpg

    Before:
    nC0OIRrl.jpg

    After:
    UZEHVyLl.jpg

    Before:
    iGTos3Bl.jpg

    After:
    vGdqdSwl.jpg

    The sun was a nightmare when waxing. Wax on then wax off immediately or end up scraping it off and turning it into chalk.

    Now to tackle the wheels today....or tomorrow :P


  • Registered Users, Registered Users 2 Posts: 1,312 ✭✭✭Harcrid


    So with today being the lovely day that it was it was time for my first proper clean of a car. Washed, de-tarred (twice!) clay bar, washed again and then polished and sealed.

    5 hours in total and my arms are about to fall off but very happy with the end result. Now to park it up and never drive it again for fear of ruining all the hard work.


    DSC1_zpseb8083d1.jpg

    DSC2_zps127db505.jpg

    DSC3_zps3b73ccdf.jpg

    DSC4_zpsbc36599b.jpg

    DSC5_zpse307dd1d.jpg

    DSC6_zps0a848d2f.jpg

    DSC7_zps036ff594.jpg


  • Registered Users, Registered Users 2 Posts: 6,845 ✭✭✭Noccy_Mondy


    Missed the exhausts ;)


  • Registered Users, Registered Users 2 Posts: 1,652 ✭✭✭Chimaera


    So I spent yesterday evening and today cleaning the interior of the car.

    Thorough vacuuming yesterday evening.

    Today, I shampooed the two front seats before taking them out of the car. The sun helped them dry faster, and I wanted to clean the carpets underneath them. Next stage was a thorough shampooing of the carpets - the water I tipped out of the vacuum cleaner after this was a sight to behold.

    The final job was a thorough cleaning of the interior plastics with APC. Once again, by the time I was done the water was a rather special shade of brown. I've got some pics that I'll post later in the weekend.


  • Registered Users, Registered Users 2 Posts: 1,312 ✭✭✭Harcrid


    Missed the exhausts ;)

    I knew someone would mention that. :-). Enough work done for one day The last thing I wanted to do was scrub exhaust tips for ages.


  • Advertisement
  • Registered Users, Registered Users 2 Posts: 1,855 ✭✭✭nd


    Is it odd that one or two watermarks on the outside drives me mad, while inside rubbish doesn't bother me?


Advertisement