Advertisement
If you have a new account but are having problems posting or verifying your account, please email us on hello@boards.ie for help. Thanks :)
Hello all! Please ensure that you are posting a new thread or question in the appropriate forum. The Feedback forum is overwhelmed with questions that are having to be moved elsewhere. If you need help to verify your account contact hello@boards.ie
Hi all,
Vanilla are planning an update to the site on April 24th (next Wednesday). It is a major PHP8 update which is expected to boost performance across the site. The site will be down from 7pm and it is expected to take about an hour to complete. We appreciate your patience during the update.
Thanks all.

My Ford Transit Hi-Cube Conversion

Options
135678

Comments

  • Registered Users Posts: 6,250 ✭✭✭Buford T Justice


    Thanks Defike. What did you use as a drum. Anything in particular or just a normal drum?


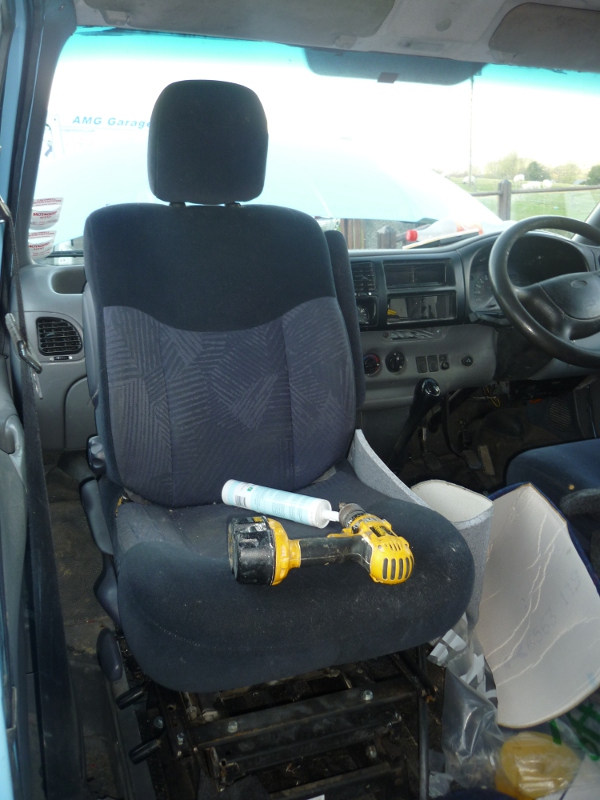
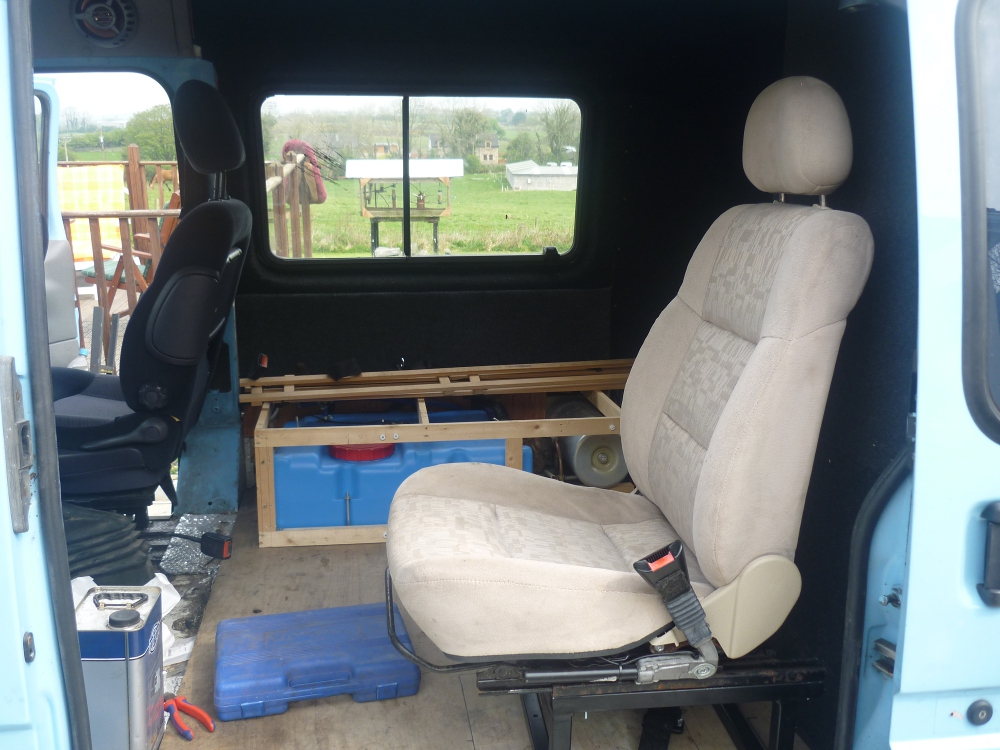
    Anyhoo, I've been back at the van again at last after a break of a few months. I've added in the second swivel seat in the front, using a base from the driver seat of another transit. I fixed the height issue on the drivers seat by removing the adjustment rails from the seat base, as there is already an adjustment on the seat itself.

    Passenger Seat in place.
    P1020612_1.jpg


  • Registered Users Posts: 6,250 ✭✭✭Buford T Justice


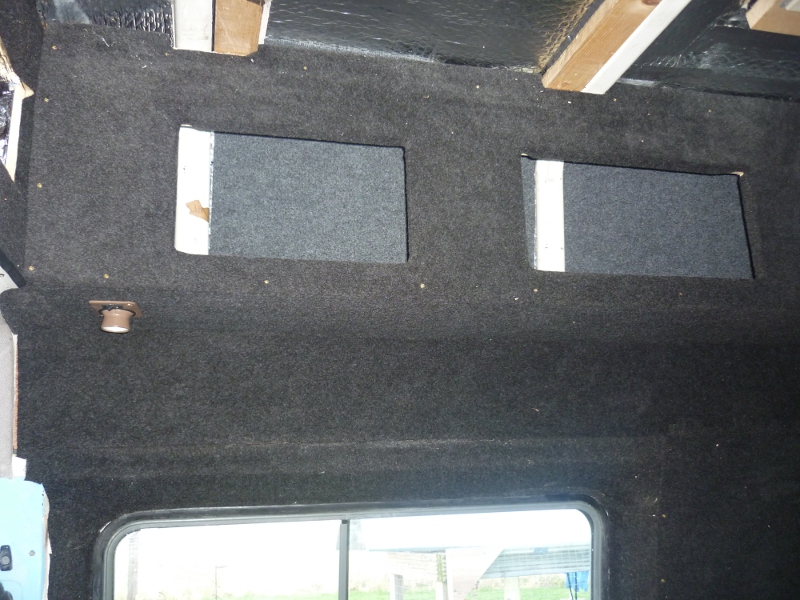
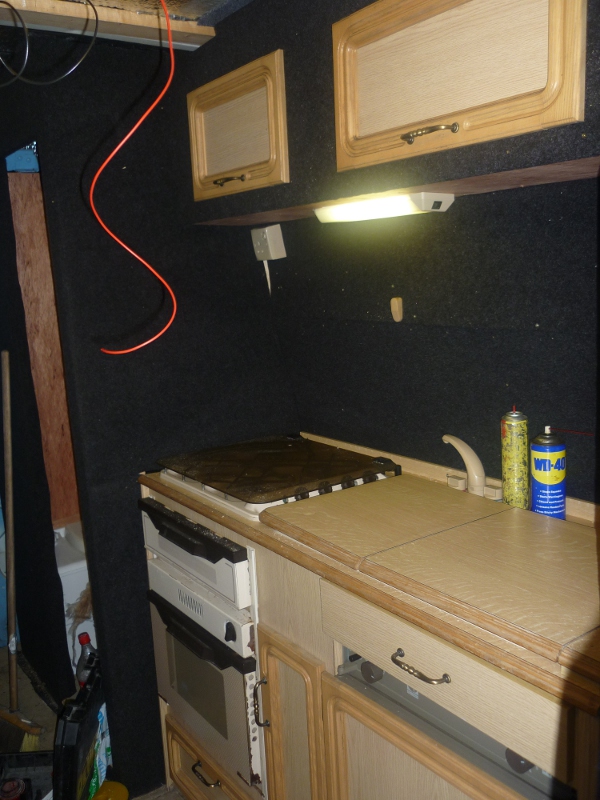
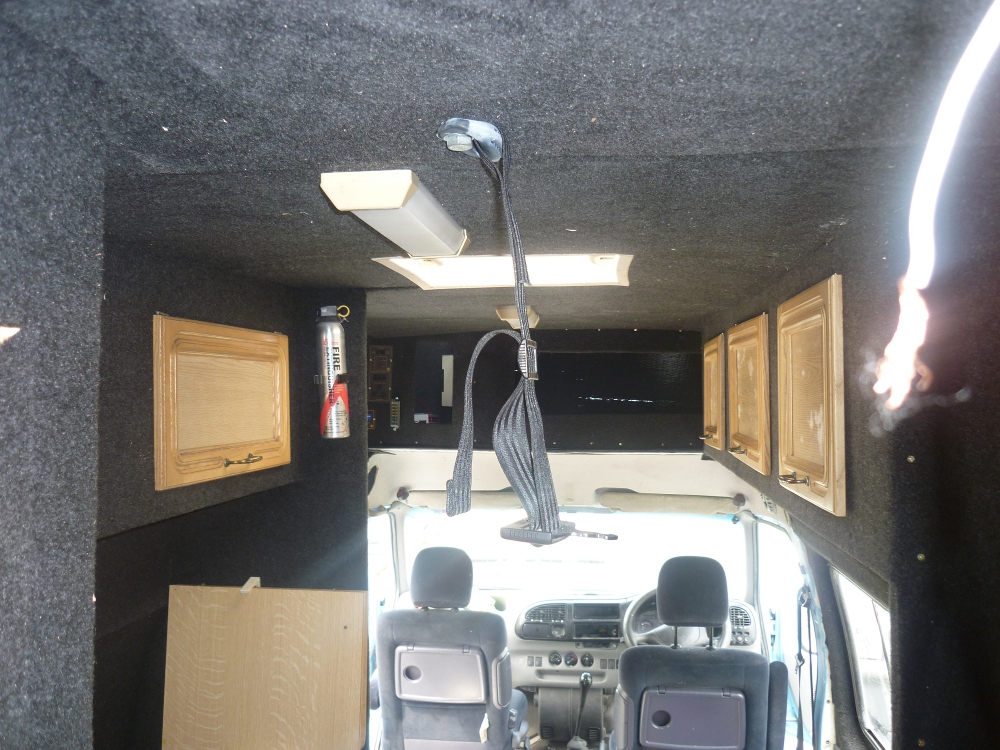
    I've built the cupboards over the main seating area and lined them. Have doors but just not put them in yet.

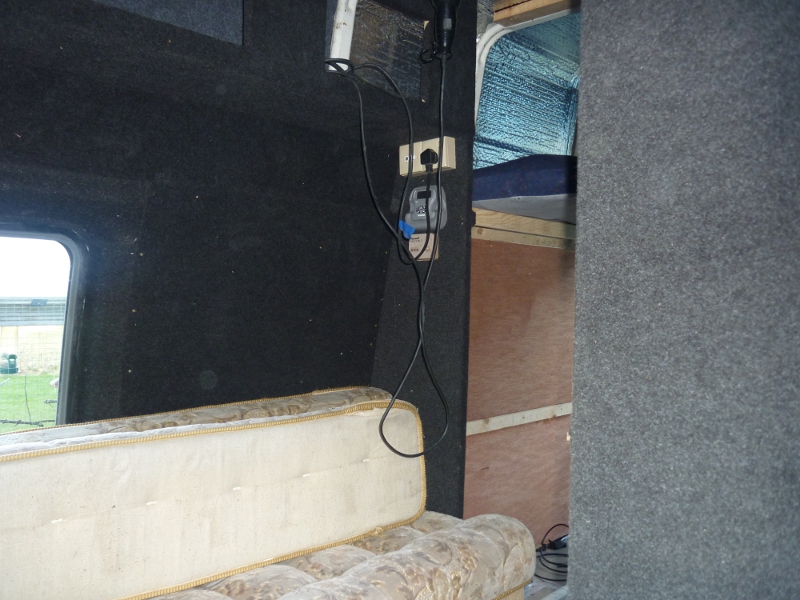
    I've also installed a 12V & Coax Socket, 240V Socket, Night Heater controls and the water heater controls on the side of the panels.
    This section is now complete down as far as the panels at the end of the bench

    P1020611.jpg

    P1020609.jpg


  • Registered Users Posts: 6,250 ✭✭✭Buford T Justice


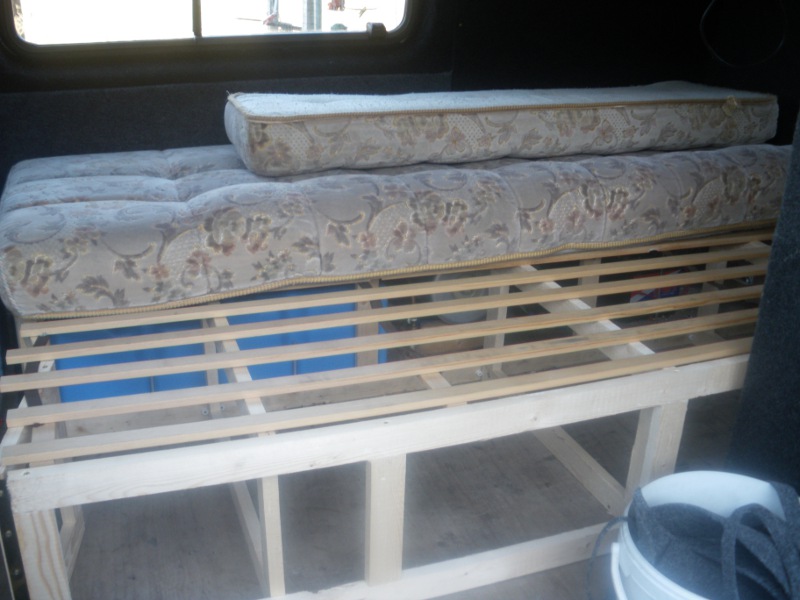
    Ok, so for the main bed I made another length of frame the same length as the existing one. I cut the side frames in half and hinged them.

    This way, the frame can stay in situ and just pull out / in and move the lats across it.

    P1020613.jpg


  • Registered Users Posts: 6,250 ✭✭✭Buford T Justice


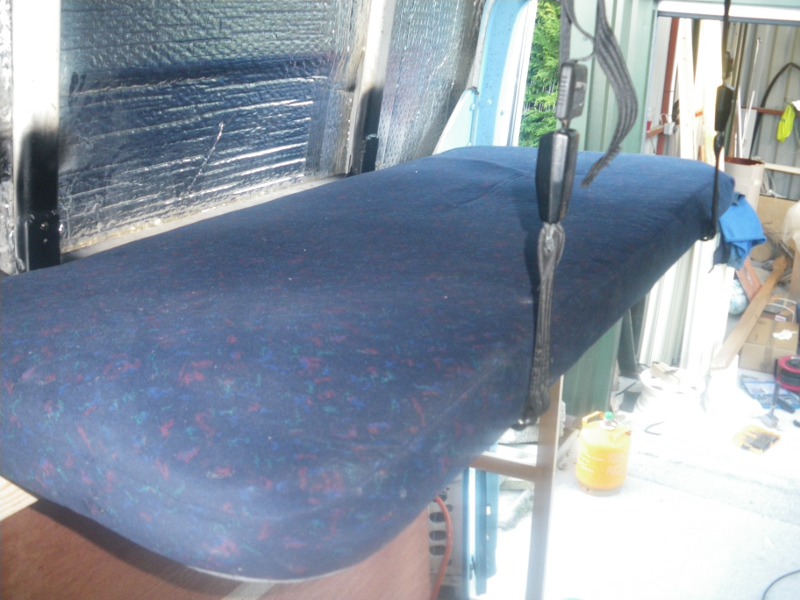
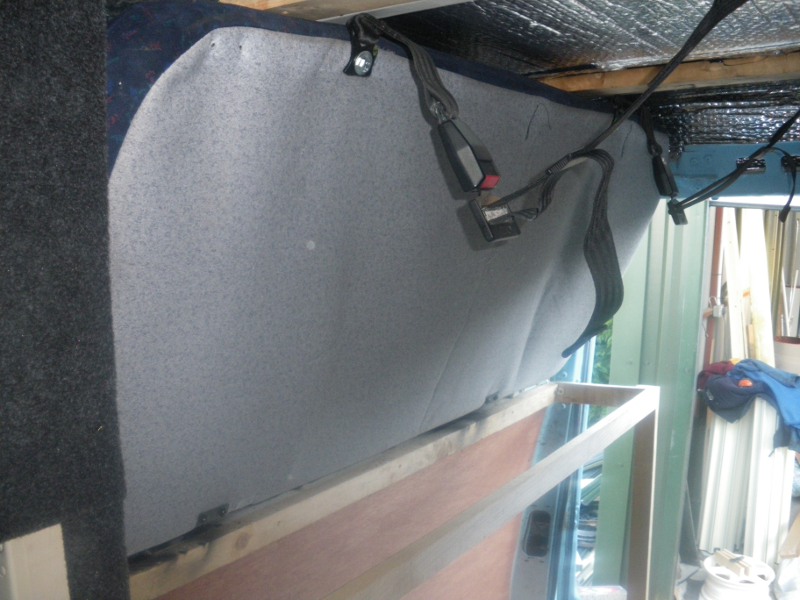
    I was thinking a lot about what I could do with the back bed in the van. I decided that I'd go with a bunk from a truck as it would have everything I needed.

    Gotta say thanks to Slidey on here who hooked me up with a bunk from a Volvo. Was just the job.

    I ended up taking about two foot off it to make it fit, and thanks to the trusty skills of my mum's sewing and my brothers welding we made a new and improved bed.

    The hinges were welded to the side frames of the van, but are removable from the bed if there is a need. For the front to hold it up, I used seat belts (lap belts) taken from the collection of scrap cars that my brother has. Again they can be disconnected to remove the bunk if needed. They are fixed to the support bars in the van by bolts which were drilled and tapped into the steel.

    The bunk folds up for the daytime hours, and for bedtime it folds down. Now, I can fit into it, up to my knees and it does support my weight but this bed was only designed for the kids anyway. I'm happy with it.

    Below this is my next job, which will be the storage for the van cupbards etc... with one for the gas that can only be opened from outside.

    Thats it for now.....

    Nearly there......

    P1020614.jpg

    P1020615.jpg


  • Registered Users Posts: 4,726 ✭✭✭meercat


    looking good fingers;)


  • Advertisement
  • Registered Users Posts: 6,250 ✭✭✭Buford T Justice


    Ok, so I've just finished the ceiling now finally, and I'm on the finishing straight with the van. One of my 12V lights packed in on me a month or two ago, so I'm one short for the back of the van.

    I'll add some more pics soon, once I mange to bring the camera with me.

    The image below shows the lights that I currently have. I'm looking to get one for the back of the van thats as similar as possible to the one that's there so it all looks the same. Does anyone have one like it?

    Thanks.

    P1020427.jpg


  • Registered Users Posts: 2,213 ✭✭✭Aidan_M_M


    are you still enjoying the conversion?


  • Registered Users Posts: 6,250 ✭✭✭Buford T Justice


    Enjoying it? Sometimes I am, sometimes its a complete pain in the arse.

    I went through a phase where I couldn't stand the sight of it, around Christmas, so the break when I was working was just the ticket to have some time away from it.

    I'm on the home stretch now, almost there. I have to finish the bathroom,need two new lights & fit the carpet. I'll be posting more pics later this evening.
    It can be a little frustrating at times. You can see the end in sight, so close and then you realise there are other niggling things around that need doing..

    Doing some bodywork now, filling and sanding rust holes and bubbles. Was going fine until the fecking rain!!!!! Typical, just when you need a bit of good weather to get some work done........

    All in all, its been good so far.


  • Registered Users Posts: 4,726 ✭✭✭meercat


    keep going fingers
    nearly there now
    following your progress with interest
    cant wait for your final update;)


  • Registered Users Posts: 2,213 ✭✭✭Aidan_M_M


    Enjoying it? Sometimes I am, sometimes its a complete pain in the arse.

    I went through a phase where I couldn't stand the sight of it, around Christmas, so the break when I was working was just the ticket to have some time away from it.


    All in all, its been good so far.


    aye , went thru that exact same mindset when rebuiding my rally car.


  • Advertisement
  • Registered Users Posts: 6,250 ✭✭✭Buford T Justice


    Meercat, I'd say it'll be a few more posts after the ones tonight before I can call it a final update.

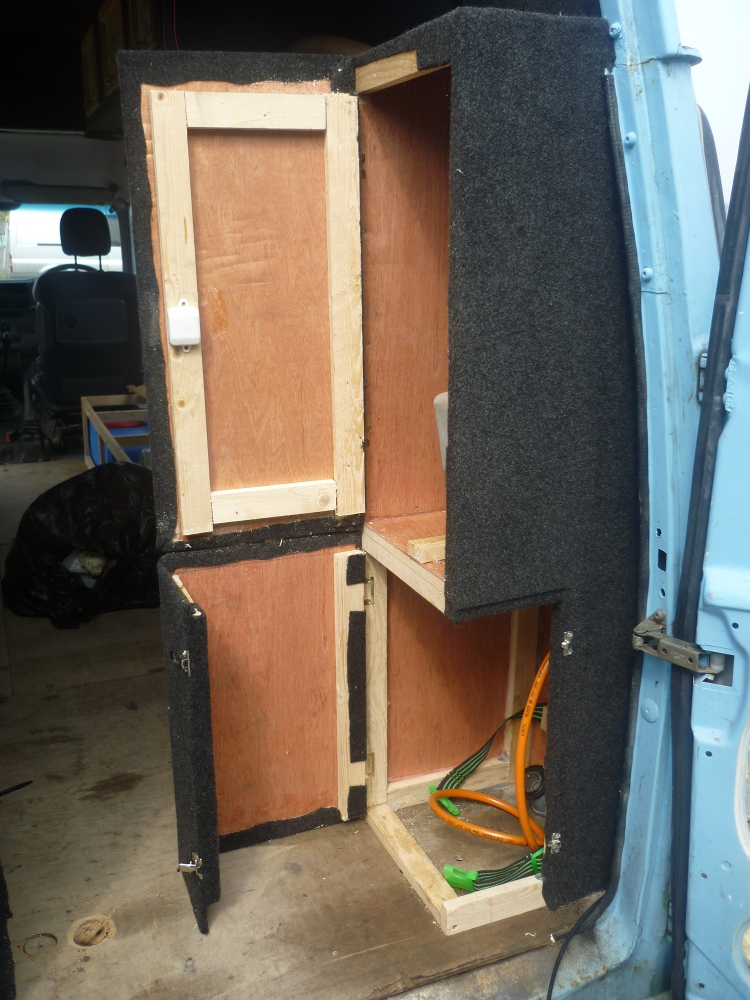
    Now, where was I..... Oh Yeah. Since there was the bunk at the back and such, I spent some more time on the back of the van for the gas storage and such.

    I built a box around the cylinder, but it'll only house a small cylinder. Sealed it off from the rest of the van with a couple of drop holes, and had the door so it could only be opened when the back door of the van is opened.

    The storage box above it is for my diesel tank for the night heater, which is a washer bottle courtesy of my brothers back yard again....... I used one of the old caravan push locks for it. Not perfect, but it does the job perfectly, and it looks nice when its closed.

    P1020663.jpg


  • Registered Users Posts: 6,250 ✭✭✭Buford T Justice


    This is not necessarily in order of the build by the way....

    The Third seat for the back of the van, again courtesy of by brother is from a 99 vectra. Not quite the colour I would have liked but then again you can't complain when its free.
    Made a very simple lap belt for it. The catch and pre-tensioner were already fixed to the seat rail, and i took the lap belt from the back of an older vectra. It bolted straight onto the rail and so it was a simple enough job with no mounting points.

    I made the bracket out of 1 1/2 box steel, and due to my limited knowledge of welding I got a nice tan on my hand as a result of it. Some drilling and bolting later and its done. You can just about see it, but I've also fitted a lap belt in behind the drivers seat for the fourth person to have a secure mount.

    P1020652.jpg


  • Registered Users Posts: 6,250 ✭✭✭Buford T Justice


    As you can see, the roof has been fitted, as with the lights, (but I'm 2 short). I've put back in the two belts to hold up the bunks, and the three doors for the cupboards over the bench have been fitted.


    Today's job was starting the bodywork sorting out the rust. Going ok I guess, bar the fecking rain but Time will tell how it works out in the end. As with everything, the end will turn out a lot better than the start I'd imagine.


    Jobs left: (Useful for me too) Seems like a lot, but its not overly expansive either.

    Line the bathroom walls with 'something' (Not Sure yet)
    Put a roof in the bathroom
    Fit bathroom door
    fit light in bathroom
    fit light in rear of van (need to get them yet)
    Fit a seal kit to the kitchen taps
    Remove all seats, fit carpet, refit all seats.
    Line the outside of the bench
    Have a cushion cut to fit.
    tidy up around the edges, as in the gaps etc... fix all that
    Engineers Report
    Contact Rosslare
    Send info to Dolmen
    Service Van
    Paint Van


    Happy Holidays........
    P1020657.jpg


  • Registered Users Posts: 9,662 ✭✭✭Voodoomelon


    This thread deserves far more interest and thanks, not enough of these DIY jobs. A brilliant thread, loved the electronics bit, very interesting!

    Keep up the good work! :)


  • Registered Users Posts: 714 ✭✭✭WildWater


    Looking good Fingers is the Champers on ice?


  • Registered Users Posts: 6,250 ✭✭✭Buford T Justice


    This thread deserves far more interest and thanks, not enough of these DIY jobs. A brilliant thread, loved the electronics bit, very interesting!

    Keep up the good work! :)

    Cheers VD
    WildWater wrote: »
    Looking good Fingers is the Champers on ice?

    To be fair, it won't have a chance to hit the ice. As soon as its remotely cool, it'll be drank...... Roll on the finish line


  • Registered Users Posts: 20,790 ✭✭✭✭cormie


    This thread deserves far more interest and thanks, not enough of these DIY jobs. A brilliant thread, loved the electronics bit, very interesting!

    Keep up the good work! :)

    Don't worry, there are some observers who aren't actively taking part in the discussions ;)


  • Registered Users Posts: 2,213 ✭✭✭Aidan_M_M


    cormie wrote: »
    Don't worry, there are some observers who aren't actively taking part in the discussions ;)

    like me!;)


  • Registered Users Posts: 4,160 ✭✭✭Top Dog


    Aidan_M_M wrote: »
    like me!;)
    Add me to that list :D


  • Registered Users Posts: 6,250 ✭✭✭Buford T Justice


    Hands up all the lurkers to this thread.... (Thank this post)

    I'd be good to know who's following the build


  • Advertisement
  • Banned (with Prison Access) Posts: 5,737 ✭✭✭MidlandsM


    I just had a lurk there...........Nice work.........happy camping!


  • Registered Users Posts: 6,250 ✭✭✭Buford T Justice


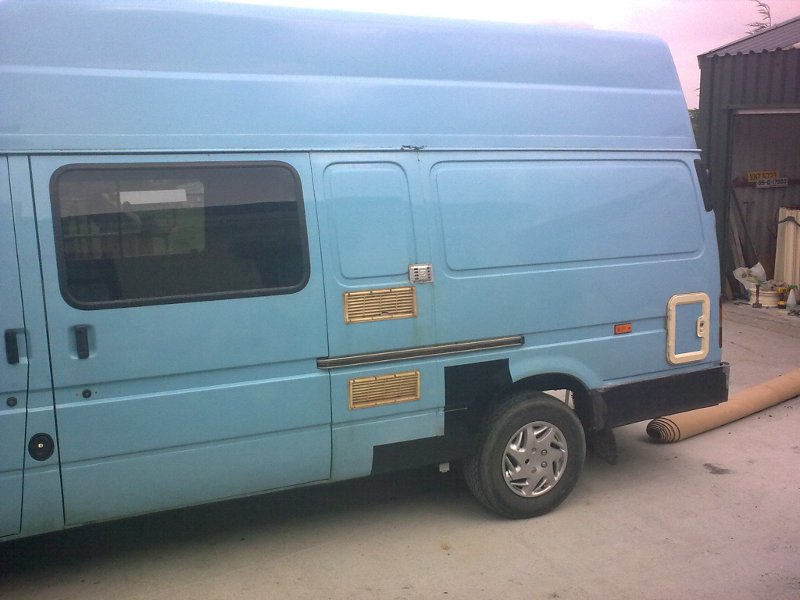
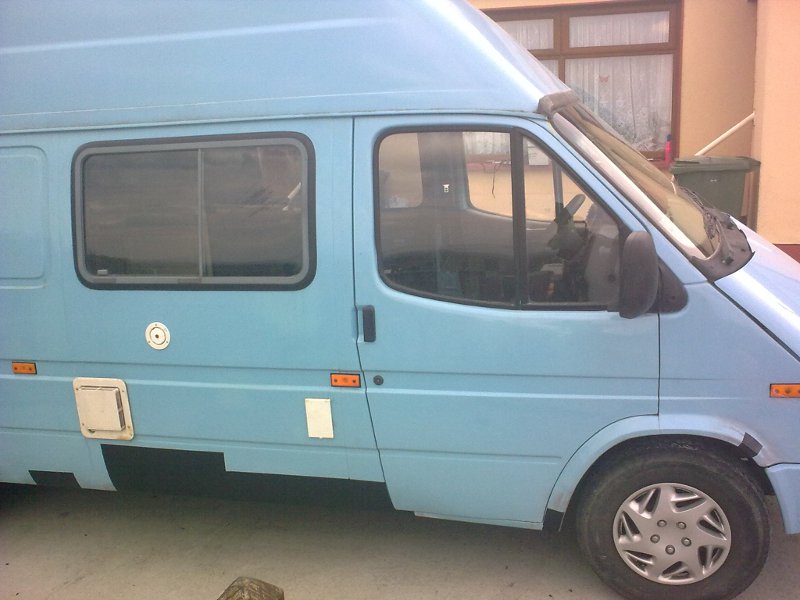
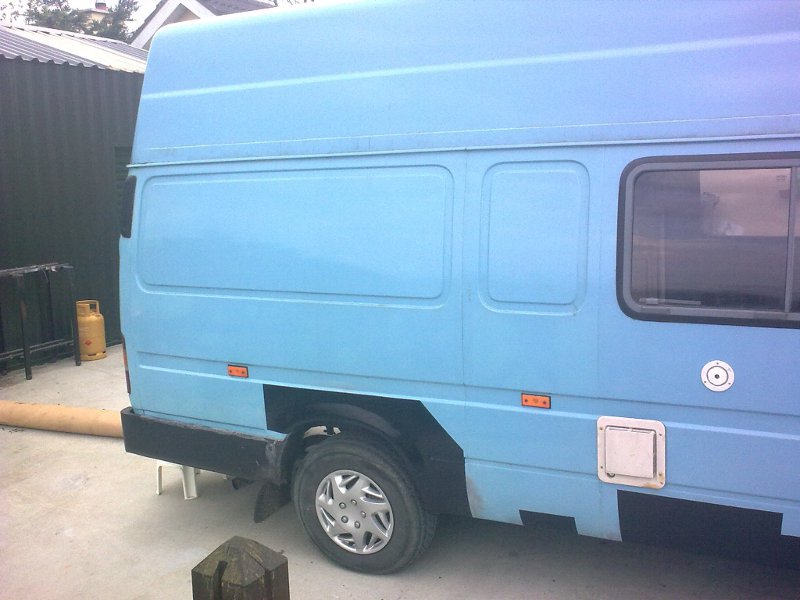
    Have fixed all the rust in the panels. They have all been ground out, and filled three to four times, sanded with 180, sanded with 400 wet and dry, primed and sprayed black.

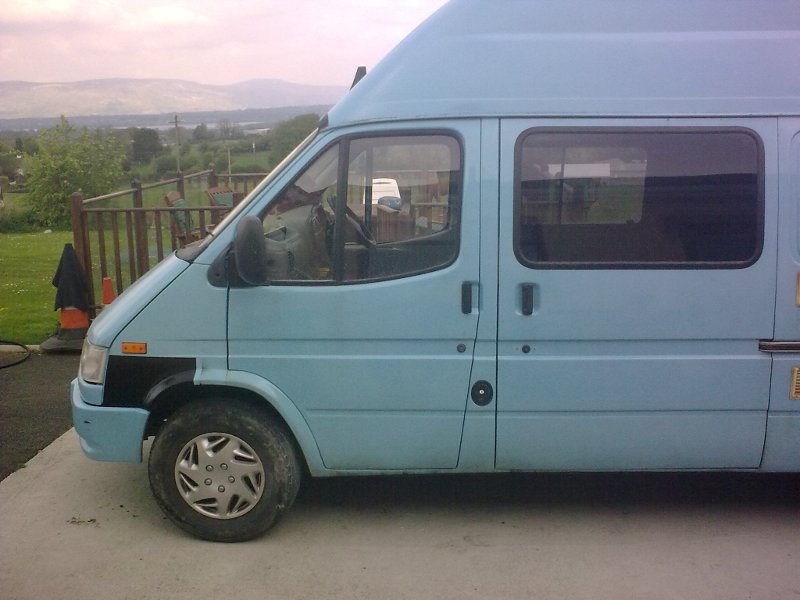
    As you can see I've only covered patches. The way I see it, It'll be fine like this until such time as I can afford to have the bottom half of the van resprayed. The rust is stopped, and I is happy. (Pics from a camera phone)

    Next job, Carpet inside.....

    19122010182.jpg

    19122010183.jpg

    19122010184.jpg

    19122010185.jpg


  • Registered Users Posts: 728 ✭✭✭YourName


    Been watching this for a good while now, really interested in this, would love to learn how to do it all myself someday.


  • Registered Users Posts: 6,250 ✭✭✭Buford T Justice


    K, so both of my sets of taps are leaking :(

    Both are leaking at the base of the spout. they are Whale Elegance taps, and I did get a service kit, but the O ring on the spout didn't seem to be in it.

    Anyone any Ideas as to a fix for this, or are the taps ker-jiggered.


  • Registered Users Posts: 2,213 ✭✭✭Aidan_M_M


    you could always spray the lower section , under the swage line , and put a pinstripe on the paint join?

    re the taps. Seen that with them Whale ones , I went to the local hardware an got an o-ring.


  • Registered Users Posts: 6,250 ✭✭✭Buford T Justice


    Aidan_M_M wrote: »
    you could always spray the lower section , under the swage line , and put a pinstripe on the paint join?

    Was thinking of black up to the line where it is at the rear drivers arch. Wouldn't mind a suggestion for the pinstripe though, does anyone have a colour in mind....
    Aidan_M_M wrote: »
    re the taps. Seen that with them Whale ones , I went to the local hardware an got an o-ring.

    Will try that.... Will try to get a slightly thicker O-ring for it...


  • Registered Users Posts: 222 ✭✭defike


    Lurker me.


  • Registered Users Posts: 6,250 ✭✭✭Buford T Justice


    YourName wrote: »
    Been watching this for a good while now, really interested in this, would love to learn how to do it all myself someday.

    Must have gremlins in the laptop, I could have sworn I replied to this post.

    Anyhoo, the leigon of doom (gov't / rsa) are changing the laws next year to require conversions to be completed by a workshop or something like that, so you'd need to get a move on.... (See my rant in another thread)


  • Registered Users Posts: 3,191 ✭✭✭Macspower


    I've been popping in with interest as I have the same van sitting in my back garden :) I did a rough conversion on it a few years back but never finished it.


  • Advertisement
  • Registered Users Posts: 6,250 ✭✭✭Buford T Justice


    Ok, so no updates in the last few days, as I've been flat out trying to get the van finished,

    Its 12:30 on Saturday morning and I've been at the van all day in an effort to get it finished so we can go away this weekend....


    Guess what................. Its finished!!!!!!!!!!!!!!!!!:D:D:D

    Barr a few small little bits the van is done and we're off tomorrow. I have no pics or anything just yet as i've been too busy, but fear not fellow boardsies I will update this thread on tuesday evening with the rest of the build.

    I was driving the van into town this evening getting all dieseld up etc.. and I felt immensly happy, with a great sense of pride.... I did it, I did. Me. Moi, Mise ME. Its a great feeling tbh...... There were some really tough times, but the end has come.......

    That poor old van that had a tough life, will now live again for a good number of years... Wasn't sure I'd see the day....
    Wish me luck on the maiden voyage....


    /nostalgia & reminiscence.


Advertisement