Advertisement
If you have a new account but are having problems posting or verifying your account, please email us on hello@boards.ie for help. Thanks :)
Hello all! Please ensure that you are posting a new thread or question in the appropriate forum. The Feedback forum is overwhelmed with questions that are having to be moved elsewhere. If you need help to verify your account contact hello@boards.ie
Please note that it is not permitted to have referral links posted in your signature. Keep these links contained in the appropriate forum. Thank you.

https://www.boards.ie/discussion/2055940817/signature-rules

Today I did some detailing...

1106107109111112203

Comments

  • Registered Users, Registered Users 2 Posts: 15,690 ✭✭✭✭vectra


    Glenviewjf wrote: »
    A3 looks unreal!

    Just bought a clay towel to see what its like!

    Have a family wedding in August and have a few cars to do so can't wait to try some of the liquid elements order I received a few weeks back aswell :D


    Which L.E. products did you buy?


  • Registered Users, Registered Users 2 Posts: 1,630 ✭✭✭Newtown90


    vectra wrote: »
    Which L.E. products did you buy?

    I got some of their snow foam, fallout remover, wheel furbys and the sample range of the protection (paint freeze, carnauba creme and gloss boost).

    Also got some collinite off Curran which I can't wait to use ;)

    Have a week off before the wedding so my DA will be flat out!

    Need to stop buying now though have so much I could open a shop.


  • Registered Users, Registered Users 2 Posts: 15,690 ✭✭✭✭vectra


    Make sure you use the Collinite on bare paint.


  • Registered Users, Registered Users 2 Posts: 119 ✭✭charcosull


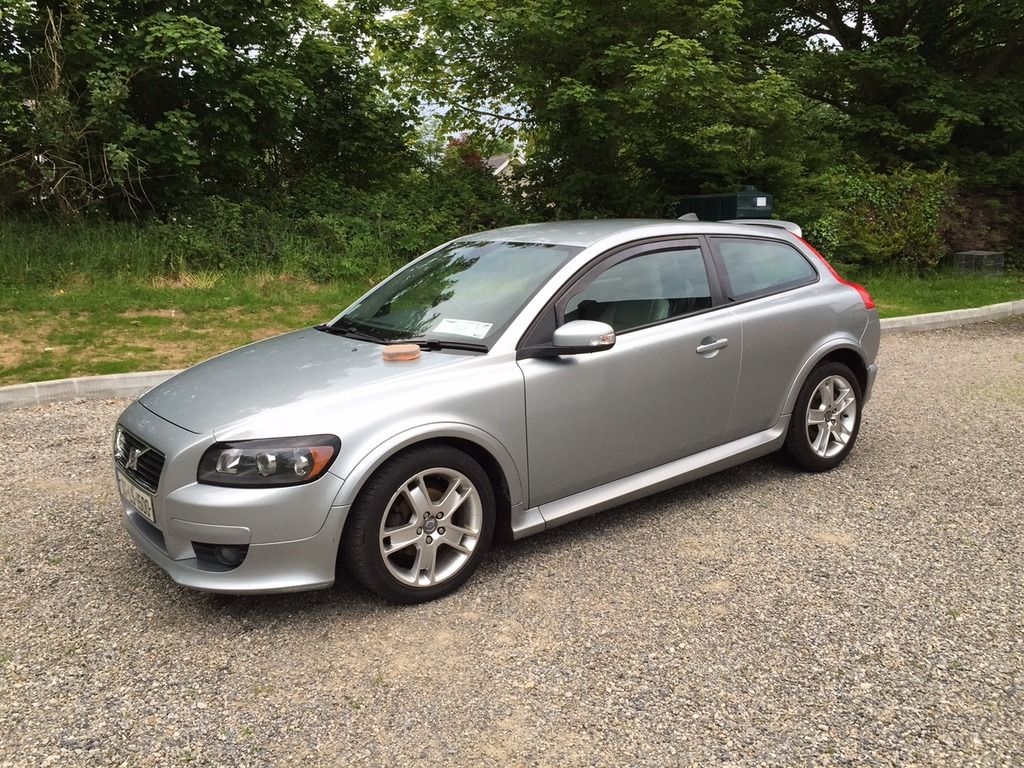
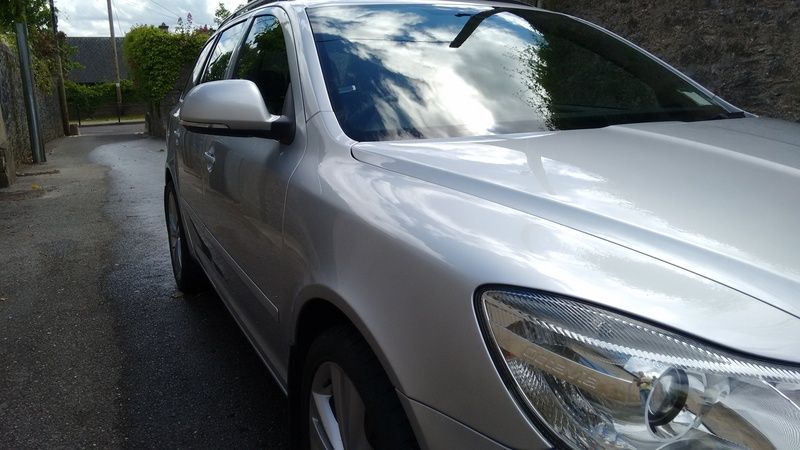
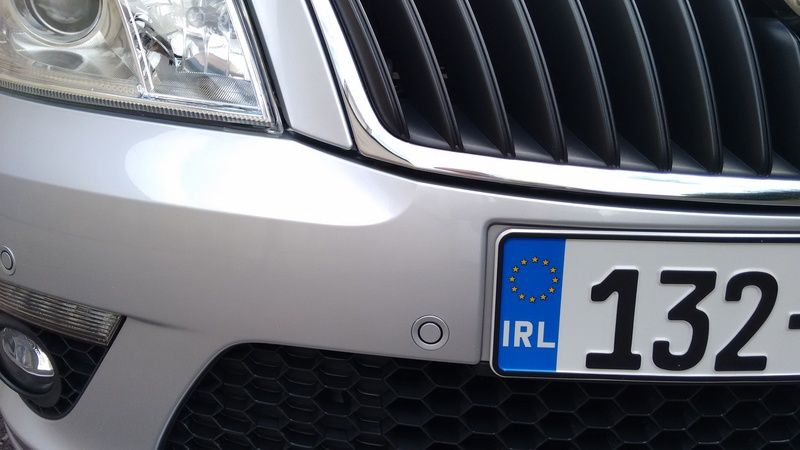
    6 hours Friday evening. I need to work on the photo skills.

    Wash, Detar, Wash, Clay, Wash, AG SRP, Seal, Carnuba wax.
    Pics are pre-wax

    First time doing this so was delighted with the results. Car was covered in spots of tar before and the paint felt gritty.


    [IMG][/img]Car%201_zpswklxwgze.jpg

    Car%202_zpselfaumak.jpg


  • Registered Users, Registered Users 2 Posts: 2,755 ✭✭✭ianobrien


    Curran wrote: »
    Looking good Ian!

    I must have a chat with you about polishes. The AG SRP is almost finished and I want one to work on silver & black VAG paints. A matching wax might be needed also.


  • Advertisement
  • Registered Users, Registered Users 2 Posts: 15,690 ✭✭✭✭vectra


    Clay and 2 coatf of Collinite 845 ^^^


  • Registered Users, Registered Users 2 Posts: 2,089 ✭✭✭JAMES VTI S


    jacksie66 wrote: »
    You wanna come over to New Zealand and give my legacy a clean :rolleyes:

    Do i turn left or right at the airport doors ?
    Glenviewjf wrote: »
    A3 looks unreal!

    Just bought a clay towel to see what its like!

    Have a family wedding in August and have a few cars to do so can't wait to try some of the liquid elements order I received a few weeks back aswell :D

    Clay towels are the way forward, for me anyway.

    ya ya ya you can't see the contamination coming off but the feel from the these is way better than clay alone. Hot soapy water and let it sit to get nice, pliable and soft ready to hug the paint clean.


  • Registered Users, Registered Users 2 Posts: 6,845 ✭✭✭Noccy_Mondy


    Polished her up last week. Covered in dust again, but looked good for 5 minutes. Them 5 minutes were totally worth it though.

    http://i.imgur.com/7nzPiTa.jpg


  • Registered Users, Registered Users 2 Posts: 15,690 ✭✭✭✭vectra


    Clay towels are the way forward, for me anyway.

    ya ya ya you can't see the contamination coming off but the feel from the these is way better than clay alone. Hot soapy water and let it sit to get nice, pliable and soft ready to hug the paint clean.


    What towel are you using?
    Might get one in for the Passat when it arrives.


  • Registered Users, Registered Users 2 Posts: 9,215 ✭✭✭micks_address


    i need to pluck up some courage to take pictures of the car outside of the house :)

    Some new supplies last week so washed the car Friday evening.

    1) Snowfoam with Bilt Hamber Auto Wash
    2) Handwash with Meguiars Luxurious Lambs Wool Wash Mitt - bucket with grit guard - 5ml autowash in bucket
    3) Rinse down with nilfisk
    4) Dry with Micro madness dry me crazy (best thing ever)
    5) Hoover inside
    6) Leather wiped with Dr Leather Advanced leather wipes..

    Happy with the results.. car looks great still apart from a some bird attack on the back windsceen..

    Next time I'll take pictures..

    Thanks to curran for the supplies

    I have this dustbuster over a year now and its the first one I've had that does a reasonable job on the carpets

    http://www.amazon.co.uk/BLACK-DECKER-Lithium-Compact-Titanium/dp/B00IUK800O/ref=sr_1_1?ie=UTF8&qid=1434439069&sr=8-1&keywords=black+and+decker+dust+buster+18v

    Easily as good as breaking out the house hoover..

    I've yet to venture into the world of waxing or claying or polishing but I'm sure I'll get there!


    Cheers,
    Mick


  • Advertisement
  • Registered Users, Registered Users 2 Posts: 2,089 ✭✭✭JAMES VTI S


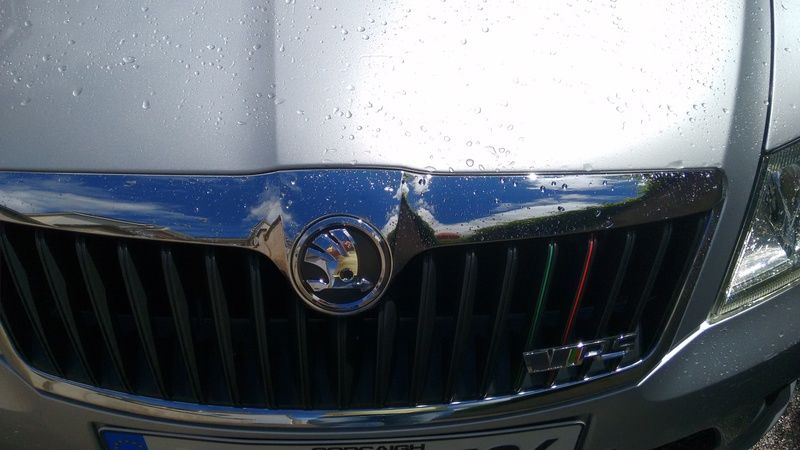
    Liquid elements


  • Registered Users, Registered Users 2 Posts: 6,845 ✭✭✭Noccy_Mondy


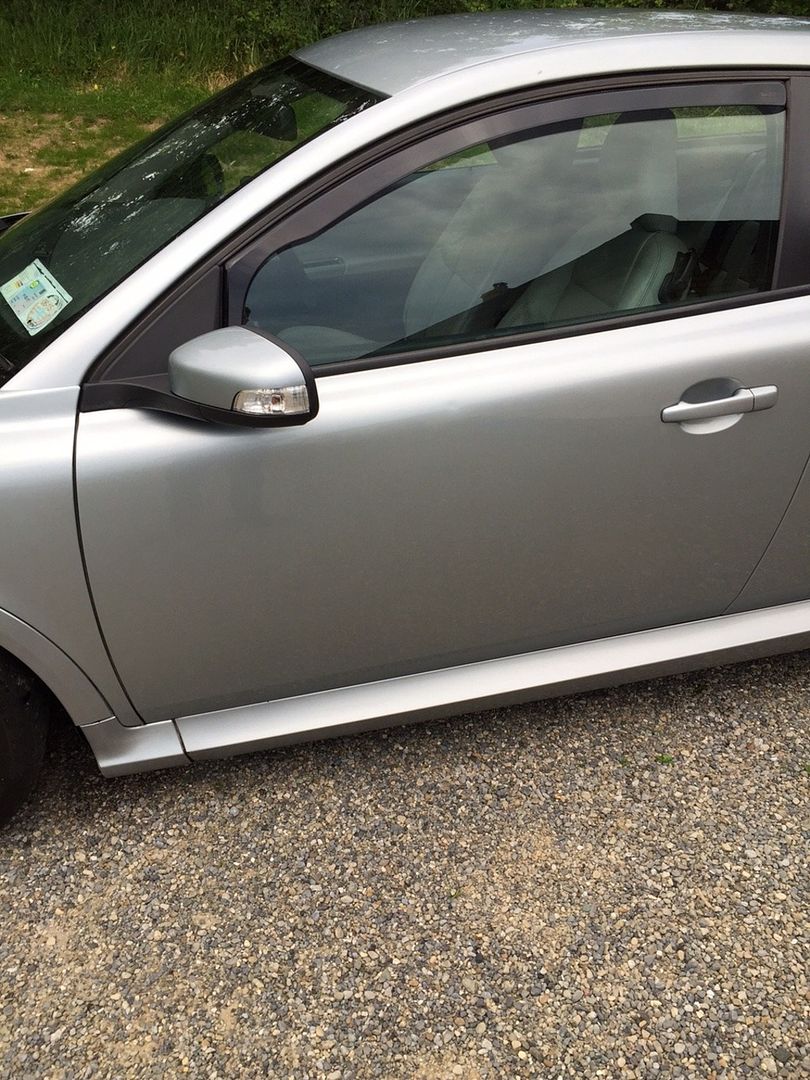
    No sooner has it been nice and polished, and someone does this to it....

    What path do I take here boys? I know the pictures aren't the clearest, but does it appear too deep to polish out? It's on the front passenger door.

    abg3q.jpg

    http://i.imgur.com/qfdEl0I.jpg


  • Registered Users, Registered Users 2 Posts: 4,377 ✭✭✭Curran


    I'd try machine polish it, it might take the nasty look off it, but if it's deep, it will need paint :(


  • Registered Users, Registered Users 2 Posts: 15,690 ✭✭✭✭vectra


    Touch it up with a couple of light coats of paint.
    Wet sand off excess
    Fill with a couple of coats of Lacquer,
    Wety sand again and machine polish


  • Registered Users, Registered Users 2 Posts: 119 ✭✭charcosull


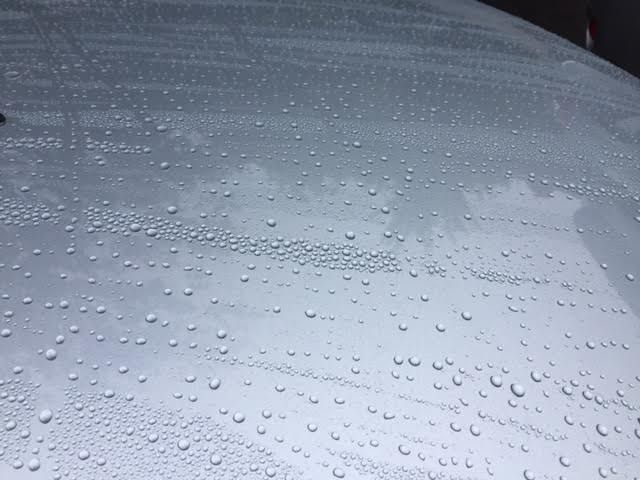
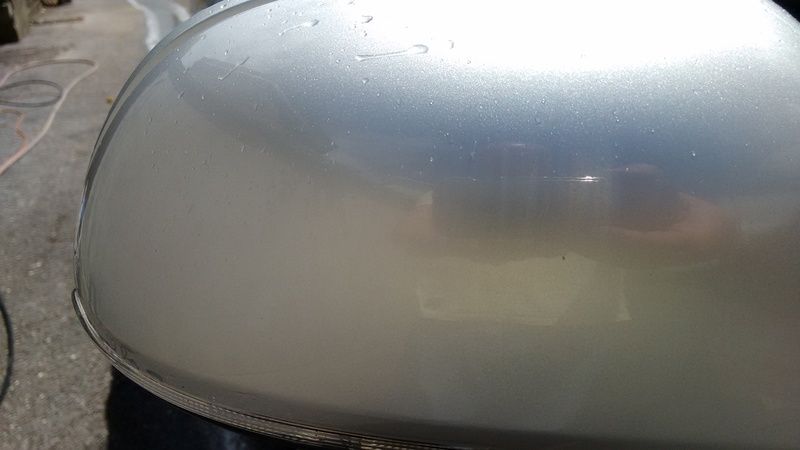
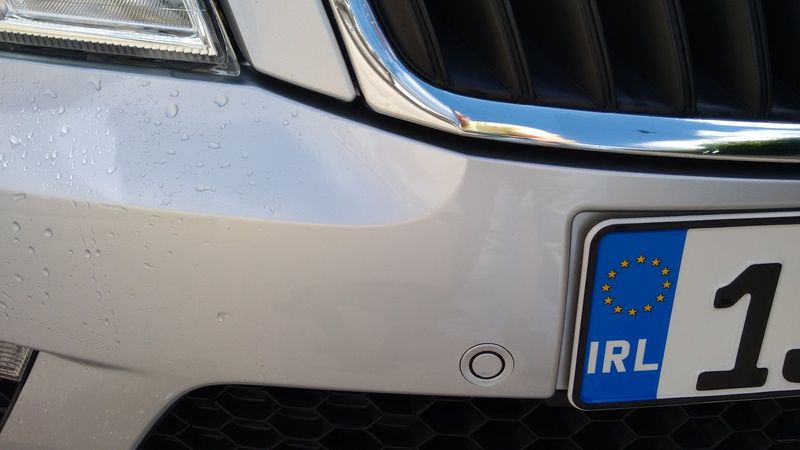
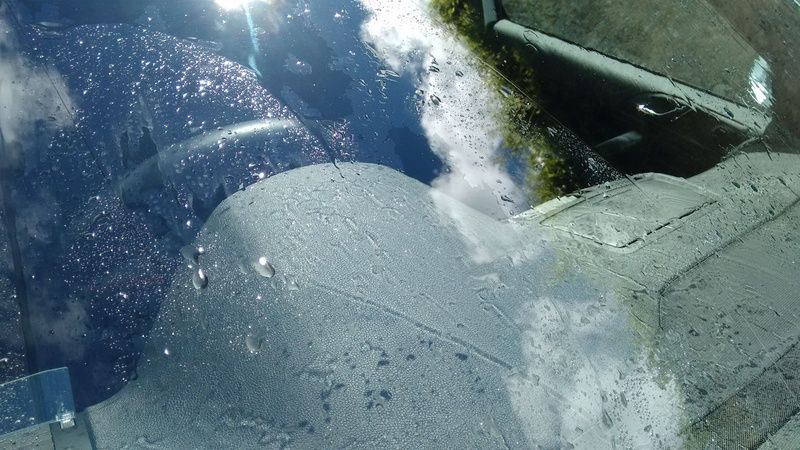
    Finally a bit of rain to check out the beading.


    Image_zpszzz6jwcv.jpg


  • Moderators, Sports Moderators Posts: 28,766 Mod ✭✭✭✭Cass


    Not a big job, but one of those jobs that makes a serious difference when done. A few months ago i noticed the headlights on the Vectra were looking, well, crap. They were faded, dirty looking and really took from the look of the car.

    6034073

    I made an attempt, a poor one at that, to clean them up before, but they did not turn out as good as i would have liked. Not having the right stuff i stopped with the intention of doing them again.

    Roll on today and i had had enough so decided to finally tackle them. I bought 800, 1500 and 2000 grit sand paper. Got a basin of lukewarm water with plenty of fairy liquid in it. I had bought the Meguiars headlight restoration kit so got it ready along with some cloths. I taped off the body work around the side panels, bumper, etc.

    6034073

    I kept the sandpaper/headlight well soaked and worked each grade of sand paper in vertical then horizontal and back to vertical strokes. I continued sanding until i felt little to no resistance then moved onto the next, finer, grade. When i had it all sanded i dried the headlight extremely well. Then moved onto the Meguiars. I used a cordless drill for this, and gave it two coats/going overs. Then polished with a clean terry cloth.

    6034073

    Have to say i'm delighted with the results. Was not a big job at all and makes the front of the car much cleaner and fresher looking. total time from start to finish was about 45 minutes.


    6034073
    Forum Charter - Useful Information - Photo thread: Hardware - Ranges by County - Hunting Laws/Important threads - Upcoming Events - RFDs by County

    If you see a problem post use the report post function. Click on the three dots on the post, select "FLAG" & let a Moderator deal with it.

    Moderators - Cass otmmyboy2 , CatMod - Shamboc , Admins - Beasty , mickeroo


  • Registered Users, Registered Users 2 Posts: 502 ✭✭✭adrianshanahan


    I NEED you to do my car, she is not as new and shiny as that Audi but my E Class would love some of that attention to detail. I doubt I could even buy that kind of service in a vallet center.
    Boy OH Boy this car pops!
    Daytona grey on these diamond cut rims reaches legend status :eek:

    16-IMG_2475-001_zpsaks3vniw.jpg


    17-IMG_2472-001_zpsfn9cfhpk.jpg

    18-IMG_2482-001_zpscb1ydbly.jpg

    19-IMG_2471-001_zpsfs5l56gk.jpg

    20-IMG_2489-001_zps2shpfony.jpg

    21-IMG_2486-001_zpskcuyypip.jpg

    22-DSCF1355-001_zpshesxrfjl.jpg

    23-DSCF1354-001_zpsb652un7u.jpg

    24-IMG_2481-001_zpsr5rtnjqq.jpg

    Thanks for looking.


  • Closed Accounts Posts: 1,487 ✭✭✭Pov06


    Cass wrote: »
    Not a big job, but one of those jobs that makes a serious difference when done. A few months ago i noticed the headlights on the Vectra were looking, well, crap. They were faded, dirty looking and really took from the look of the car.

    I made an attempt, a poor one at that, to clean them up before, but they did not turn out as good as i would have liked. Not having the right stuff i stopped with the intention of doing them again.

    Roll on today and i had had enough so decided to finally tackle them. I bought 800, 1500 and 2000 grit sand paper. Got a basin of lukewarm water with plenty of fairy liquid in it. I had bought the Meguiars headlight restoration kit so got it ready along with some cloths. I taped off the body work around the side panels, bumper, etc.

    I kept the sandpaper/headlight well soaked and worked each grade of sand paper in vertical then horizontal and back to vertical strokes. I continued sanding until i felt little to no resistance then moved onto the next, finer, grade. When i had it all sanded i dried the headlight extremely well. Then moved onto the Meguiars. I used a cordless drill for this, and gave it two coats/going overs. Then polished with a clean terry cloth.

    Have to say i'm delighted with the results. Was not a big job at all and makes the front of the car much cleaner and fresher looking. total time from start to finish was about 45 minutes.

    The result is nice but the problem is the haziness is caused by a bad UV protection coat that has been burned over the years.

    When you sanded these lights you have basically removed anything that was left from the UV protection coat and now these lights will become even more hazed after a while.

    What I recommend is to clean the lights, give them a wet sand, coat the headlight in about 4 coats of clear acrylic lacquer, wet sand with 2000 grit LIGHTLY (to remove the bumpy lacquer coat) and then polish the headlight with normal car polish or using a kit like you have used there.

    I made a guide a while back: http://www.boards.ie/vbulletin/showthread.php?p=95626812


  • Moderators, Sports Moderators Posts: 28,766 Mod ✭✭✭✭Cass


    Cheers for that link.

    I kinda guessed that cleaning them as i did would remove any protection, but my God they were bad. If nothing else the look of them alone made me cringe. Looking at them today and they look far better but i reckon they could do with another going over. I doubt the sandpaper will be needed just the polishing treatment. As the little bit left is so subtle only i would notice it.

    As for laquering i'll be honest that it never really crossed my mind until you mentioned it to re-apply some sort of prrotection. I have the products you mentioned so might just give it a bash today.

    Quick question for ya. Would you suggest i just use your method in the link or would it be okay/recommended to give them another going over with the Meguiars before applyying the coating/protection/laquering?
    Forum Charter - Useful Information - Photo thread: Hardware - Ranges by County - Hunting Laws/Important threads - Upcoming Events - RFDs by County

    If you see a problem post use the report post function. Click on the three dots on the post, select "FLAG" & let a Moderator deal with it.

    Moderators - Cass otmmyboy2 , CatMod - Shamboc , Admins - Beasty , mickeroo


  • Closed Accounts Posts: 1,487 ✭✭✭Pov06


    Cass wrote: »
    Quick question for ya. Would you suggest i just use your method in the link or would it be okay/recommended to give them another going over with the Meguiars before applyying the coating/protection/laquering?

    When I wet-sanded mine I didn't even bother polishing them. I went straight for the lacquer and then sanded it down a tiny bit to smooth the lacquer and then I polished it.

    If you polish it with Meguiars the lacquer may not stick properly.

    Basically just wetsand with 2000, the lights will look horrible, spray 4 coats of lacquer leaving the paint to dry for 15 minutes before a new coat and after the 4th coat let the lacquer dry (it said 2 hours on my can).

    Then do the wetsanding again with the 2000, your goal is to make the lacquer coatings smooth because the surface will be rough after lacquer and it you don't put enough coats of lacquer you could sand the lacquer off.

    After all that polish the lights and job done.


  • Advertisement
  • Registered Users, Registered Users 2 Posts: 15,690 ✭✭✭✭vectra


    Well.
    Had to do a trip to Dublin on Friday. Basically up, Have a bite to eat and return.

    Not sure if it was the protection of Fusso on my car.
    OR
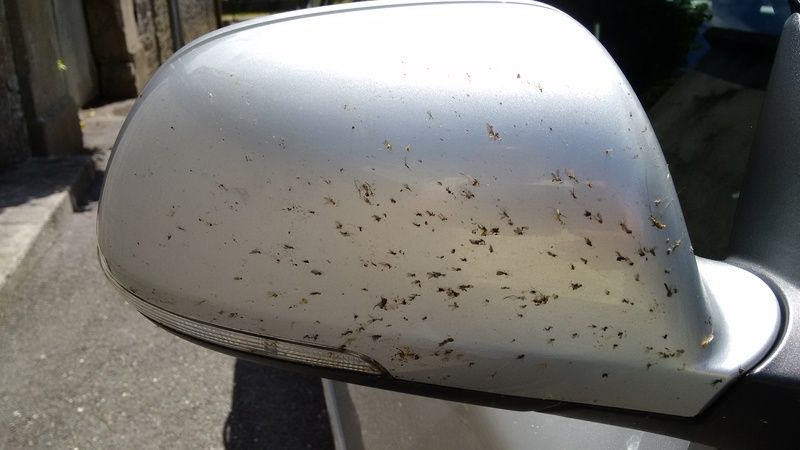
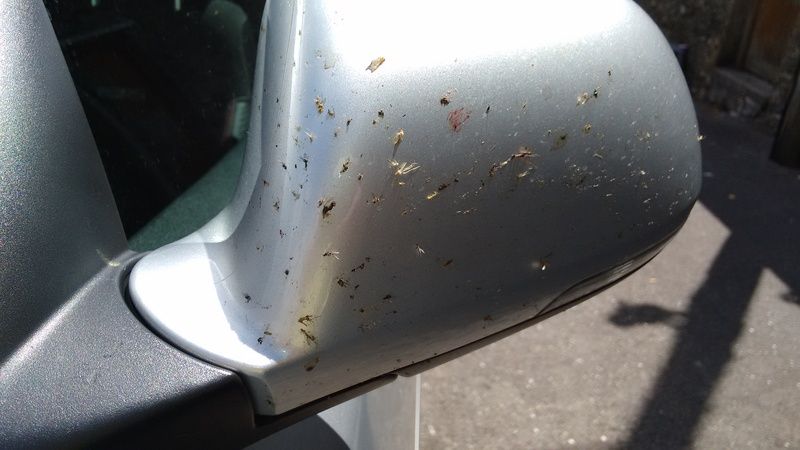
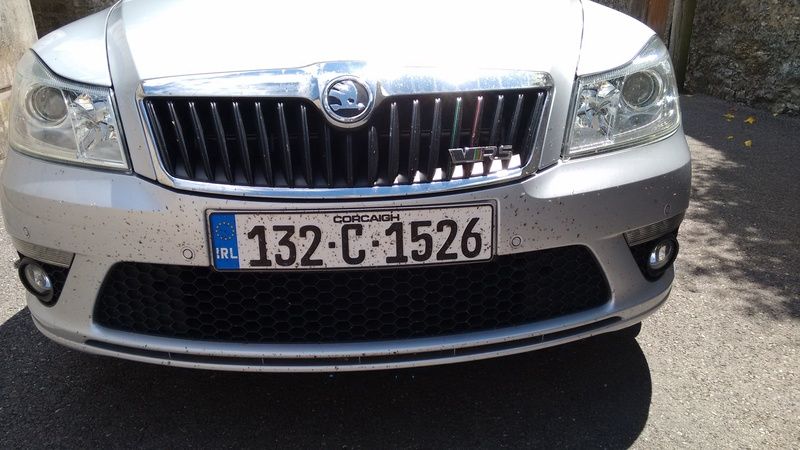
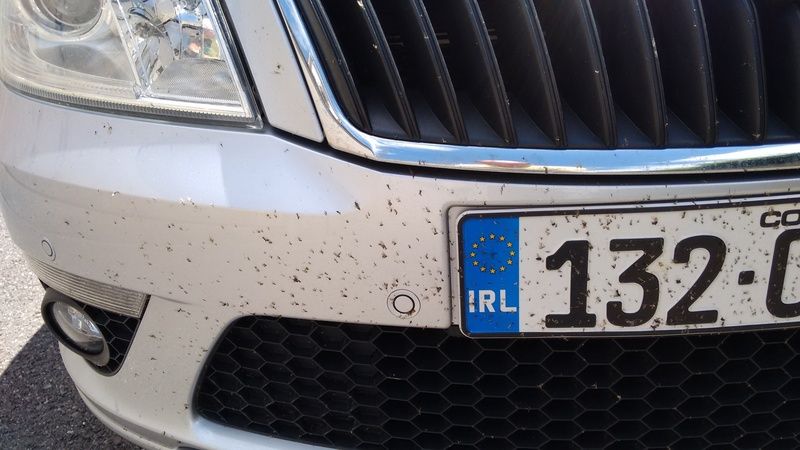
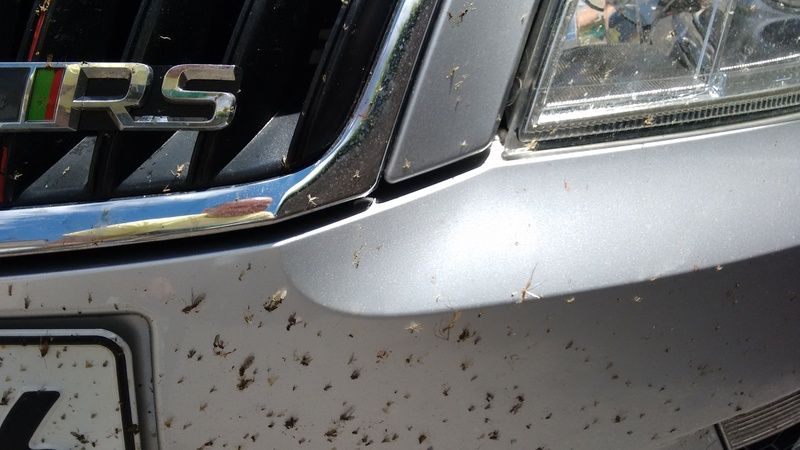
    Is it the effectiveness of the Bilt Hamber Snow foam. But There was a fair amount of flies on the front and the tailgate was black from road spray in the rain.
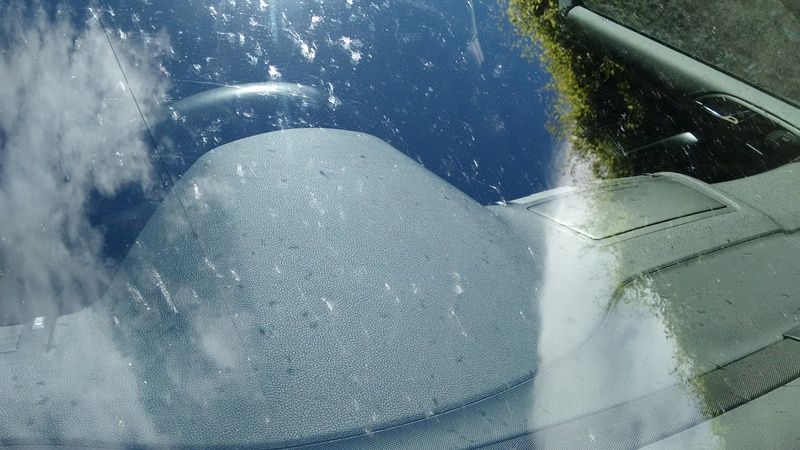
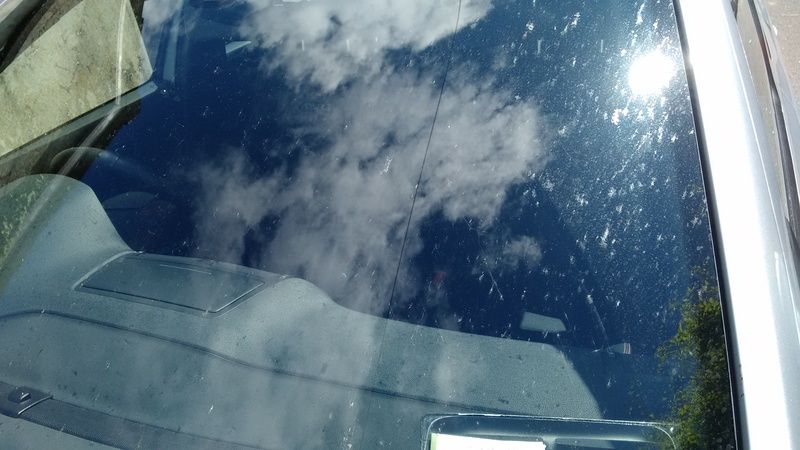
    As you will see in the before pics it was pretty manky.
    Basically foamed.
    Let dwell for 3 or 4 minutes
    Brushed the fly's with a detailing brush.
    Foamed the front again while I brushed the remaining door gaps/badges etc.

    Rinsed with pressure washer.
    Washed with Kristal Klean Shampoo

    Was very pleased at how easy the flys were removed even prior to washing.

    Pics will explain.

    BEFORE

    2015-06-20%2014.13.32_zpsplxbunx9.jpg

    2015-06-20%2014.13.40_zpsa3etvxwc.jpg

    2015-06-20%2014.14.04_zpsmbg4hyqx.jpg

    2015-06-20%2014.14.08_zpsyweoz3jk.jpg

    2015-06-20%2014.14.13_zpsk2i0jtfr.jpg

    2015-06-20%2014.13.52_zpsiqtbjifb.jpg

    2015-06-20%2014.13.44_zpslxxfpjuf.jpg


    AFTER Foam Rinse.

    2015-06-20%2014.44.38_zpshtx31pws.jpg

    2015-06-20%2014.44.46_zpsmheecuuv.jpg

    2015-06-20%2014.44.49_zpsaa63ktep.jpg

    2015-06-20%2014.44.41_zpstvwbobsj.jpg

    2015-06-20%2014.45.05_zpstbfjvsfc.jpg


  • Registered Users, Registered Users 2 Posts: 15,690 ✭✭✭✭vectra


    After wash ~ Dry.

    2015-06-20%2015.15.05_zpscc7nafgh.jpg

    2015-06-20%2015.15.18_zpsf2syda2i.jpg

    2015-06-20%2015.15.28_zpsi4rrdliu.jpg

    2015-06-20%2015.15.21_zpsti0advlz.jpg

    2015-06-20%2015.15.14_zpsgxmz1l5t.jpg

    2015-06-20%2015.15.33_zps17gqbegg.jpg

    2015-06-20%2015.15.31_zpsewsyrwpf.jpg


  • Registered Users, Registered Users 2 Posts: 14,015 ✭✭✭✭Mc Love


    The bloody motorway (literally) - heading to the big smoke myself on Tuesday! Plan to wash the car tomorrow (if its dry) and then it will probably resemble your before pics by the time I come home :(


  • Registered Users, Registered Users 2 Posts: 2,089 ✭✭✭JAMES VTI S


    Looking good, Eugene.


  • Registered Users, Registered Users 2 Posts: 544 ✭✭✭SBPhoto


    Shine up last weekend.

    19079656445_55edcc36b6_h.jpg


  • Registered Users, Registered Users 2 Posts: 15,690 ✭✭✭✭vectra


    Lovely car ^^
    What spec is she?


  • Registered Users, Registered Users 2 Posts: 4,377 ✭✭✭Curran


    vectra wrote: »
    Lovely car ^^
    What spec is she?

    Felt spec


    Only kidding....cracking looking motor!! She cleaned up well! :)


  • Registered Users, Registered Users 2 Posts: 544 ✭✭✭SBPhoto


    vectra wrote: »
    Lovely car ^^
    What spec is she?

    Thanks Vectra, Curran.
    141 Sline TDI Just put a new set of tyres on last week after returning 40.000k on the originals.

    18891907190_71eaedb253_z.jpg


  • Registered Users, Registered Users 2 Posts: 10,144 ✭✭✭✭cena


    The Audi is sweet.


  • Advertisement
  • Registered Users, Registered Users 2 Posts: 14,015 ✭✭✭✭Mc Love


    what tyres on the original, 40k is good


Advertisement