Advertisement
Help Keep Boards Alive. Support us by going ad free today. See here: https://subscriptions.boards.ie/.
If we do not hit our goal we will be forced to close the site.

Current status: https://keepboardsalive.com/

Annual subs are best for most impact. If you are still undecided on going Ad Free - you can also donate using the Paypal Donate option. All contribution helps. Thank you.
https://www.boards.ie/group/1878-subscribers-forum

Private Group for paid up members of Boards.ie. Join the club.

Ducati 916 Build

2»

Comments

  • Registered Users, Registered Users 2 Posts: 1,181 ✭✭✭The Doktor


    LOL... reminds me of when I dont that kit!
    I had a total disaster with one of the side fairings. I made a mess of the spray job and spent 2 evenings sanding it. Then I spilled Cellulose thinners on it and it melted! LOL...
    I ended up leaving the fairing off .. "so ye can see the detail..:D"
    It was actually nice like that


  • Closed Accounts Posts: 195 ✭✭Ciaran_Dub


    Glad my misery has cheered you up :D, not a bad idea with the leaving the side off have thought about something similiar before but if I was doing that I would like to do it as a "Stripped" model so that the panels where still beside the model!If that makes sense.

    Ah might getaround to stripping it on Wednesday and sanding it before the weekend. Might be heading up to Belfast at the weekend so will drop into the model shop hopefully the UK issue with Tamyia sprays has been sorted and they have them back in stock.


  • Closed Accounts Posts: 195 ✭✭Ciaran_Dub


    Just some piccy updates got the side panel stripped will prime tomorrow and order the TS 8 paint over the next week.

    DSCF2297.jpg
    DSCF2296.jpg
    DSCF2295.jpg
    DSCF2294.jpg
    DSCF2293.jpg


  • Registered Users, Registered Users 2 Posts: 2,149 ✭✭✭BFassassin


    Almost finished now Ciaran.
    Looking good.


  • Registered Users, Registered Users 2 Posts: 1,181 ✭✭✭The Doktor


    Lookin very very good.......
    dont forget the valves on the tyres... :p


  • Advertisement
  • Closed Accounts Posts: 195 ✭✭Ciaran_Dub


    Cheers lads yeah i am quite happy with it. Like I said at the start its been a whilesince i built a model so am happy I havent completely lost any of the few skills i had!

    Doktor the valves are done ;) I did them gold for the stem as withthe wheels and used chrome for the valve covers,you just cant see it in the pic. The one thing I have forgotten to do is the black trim on top of the windscreen.


  • Closed Accounts Posts: 195 ✭✭Ciaran_Dub


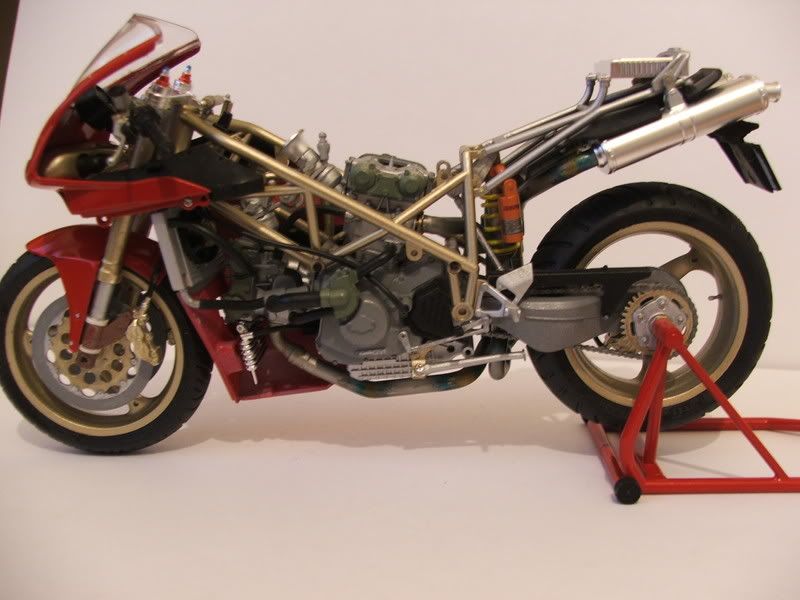
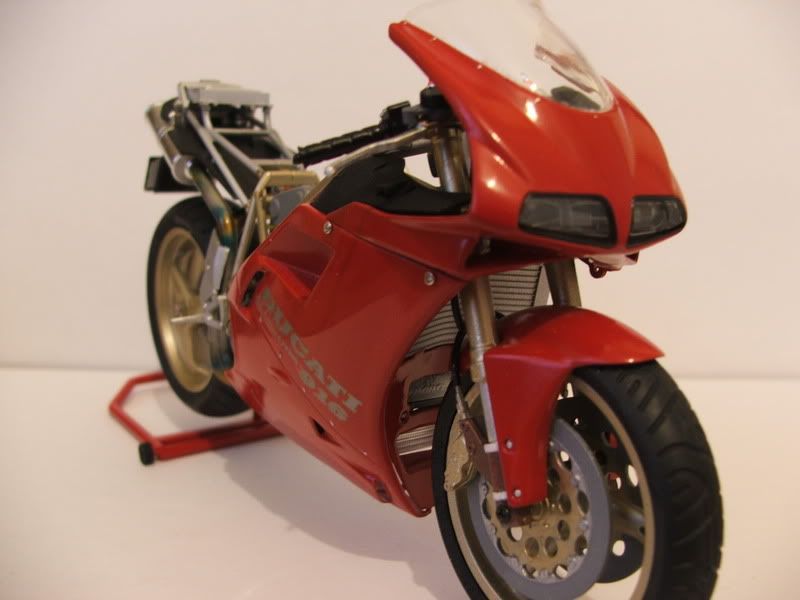
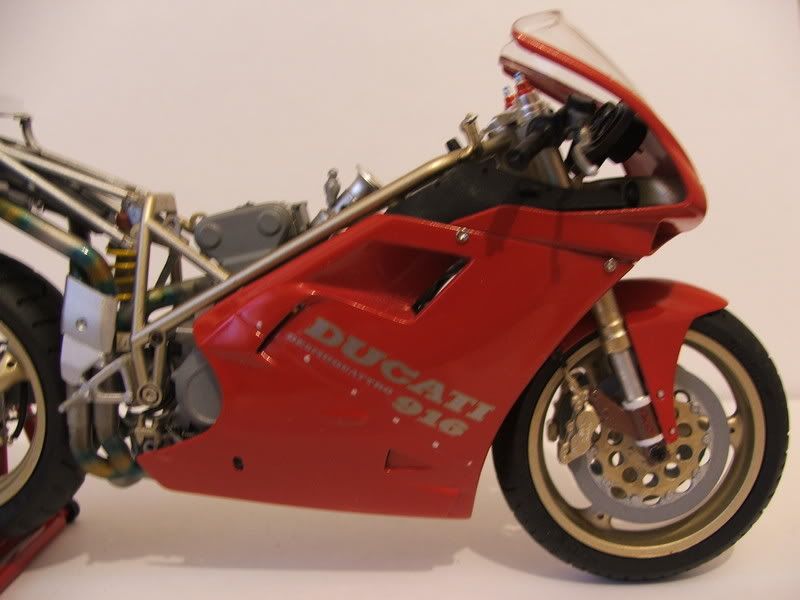
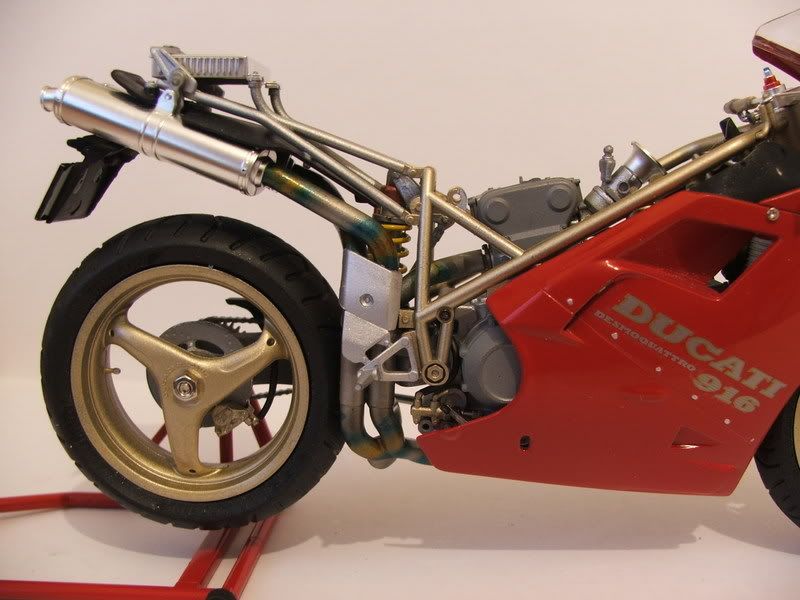
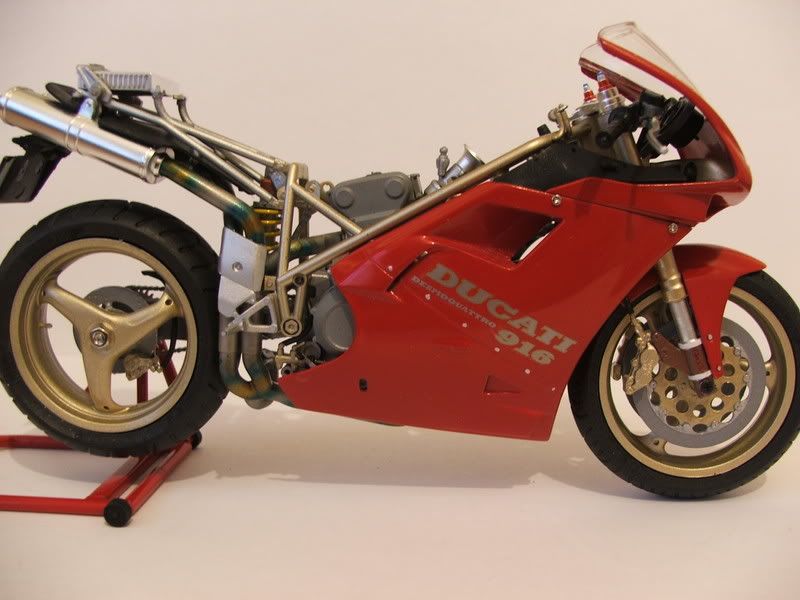
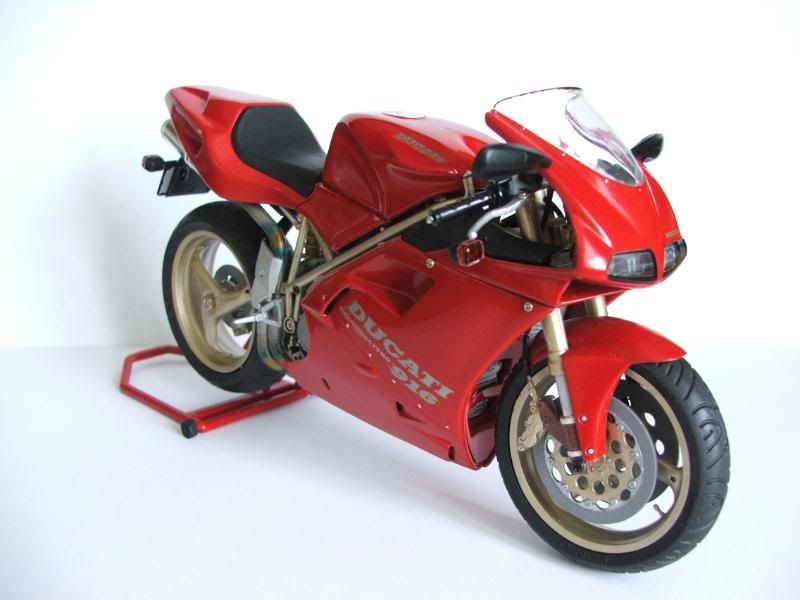
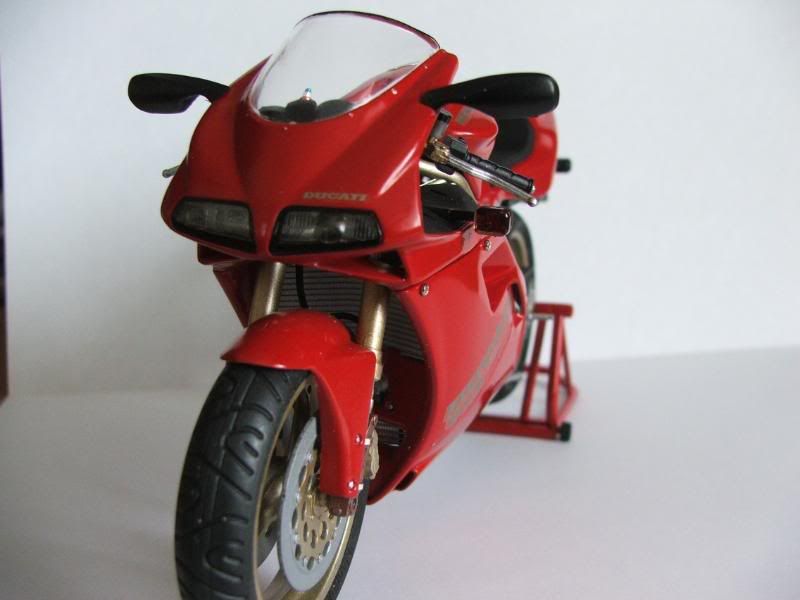
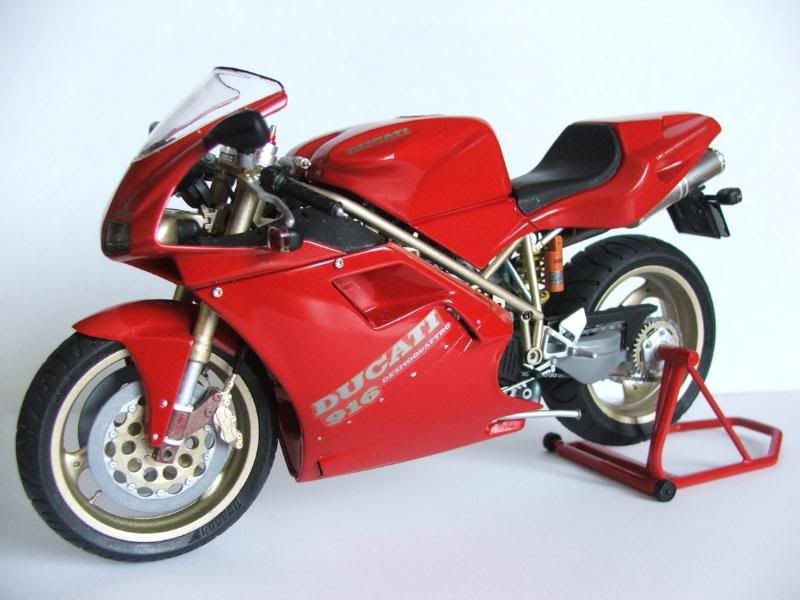
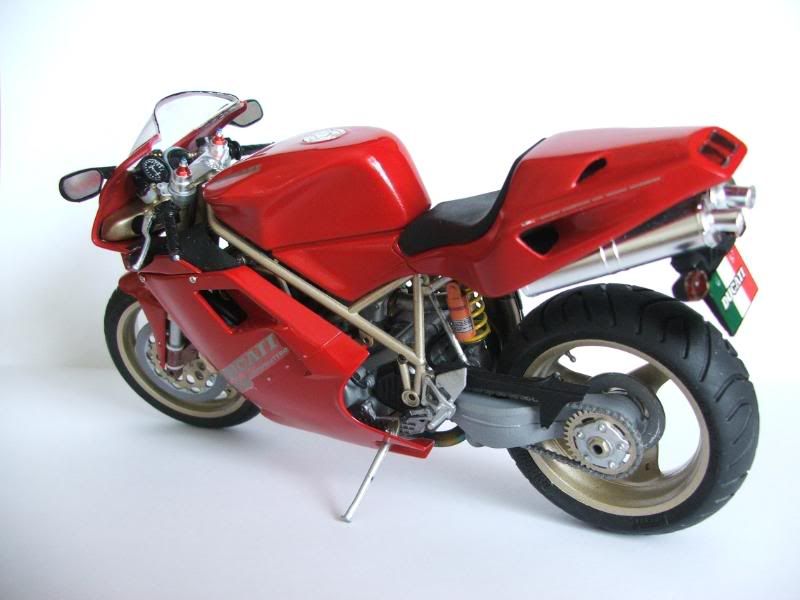
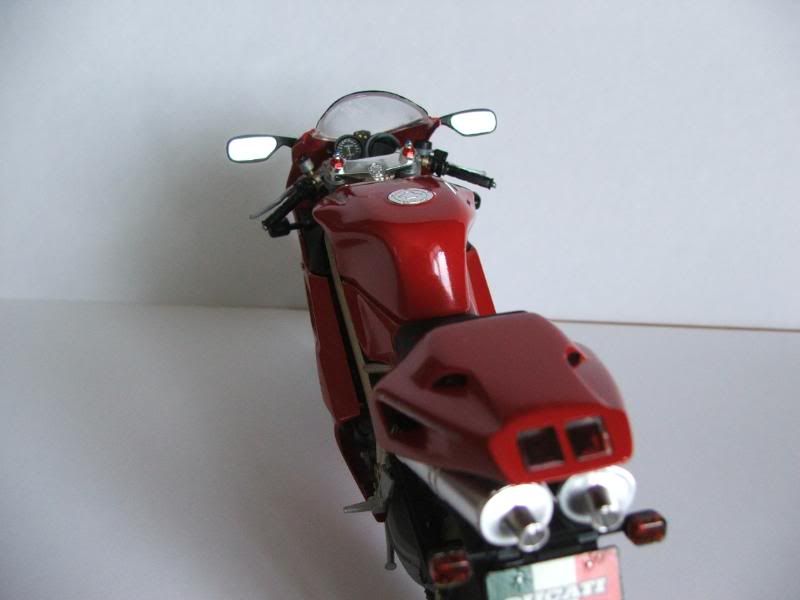
    Ok so after a few delays the paint finally arrived at the same time my baby daughter arrived a week early (Everybody AWWWWWWW!) anyway got the paint done.

    Now a couple of things for the eagle eyed amongst you (Dok I am looking in your direction) you will notice a couple of things. One I had a slight mishap with the left mirror and I destroyed the paint a little, I have brushed paint it for the moment but I will get around to fixing it properly with the airbrush. Nowfor the second issue dippy here painted the indicators clear red instead of clear orange!! What a grade a muppet I am! but other then that it all went together fine. Happy enough with the build and will definately be doing another bike again.

    So the final pics
    DSCF2373.jpg
    DSCF2375.jpg
    DSCF2376.jpg
    DSCF2380.jpg
    DSCF2379.jpg

    So hope u all enjoyed following the build. I think me and Dok will have to keep the plastic model building end of the hobby up!! The reason for the bike build was to reignite my passion in the hobby and I think I have done that. I will keep doing build threads if everyone enjoys them. My next build is an Revell AC Cobra so keep an eye out for the thread.


  • Registered Users, Registered Users 2 Posts: 2,149 ✭✭✭BFassassin


    Congrats on finishing the build and your new daughter.


  • Registered Users, Registered Users 2 Posts: 1,181 ✭✭✭The Doktor


    Lookin really good!
    As for the mirror... tell everyone its a "stone chip":D
    Ill say nothin about the red indicators:p

    Ive started into a diorama, for the tree I made a few weeks ago, see "shakin that tree" thread...
    Still dunno what to put on it.


  • Closed Accounts Posts: 195 ✭✭Ciaran_Dub


    The Doktor wrote: »
    Lookin really good!
    As for the mirror... tell everyone its a "stone chip":D
    Ill say nothin about the red indicators:p

    Ive started into a diorama, for the tree I made a few weeks ago, see "shakin that tree" thread...
    Still dunno what to put on it.

    Sorry did I not mention that it was a "custom" build!! decidedto change the lights!!! :p

    Hmm the diorama not really sure about that one to be honest. Tryingone myself for the infamous DeLorean I keep speaking off. I have the base done to the point where I need to find appropriate groundwork for a desert scene.


  • Advertisement
  • Registered Users, Registered Users 2 Posts: 1,181 ✭✭✭The Doktor


    Ciaran_Dub wrote: »
    Sorry did I not mention that it was a "custom" build!! decidedto change the lights!!! :p

    Hmm the diorama not really sure about that one to be honest. Tryingone myself for the infamous DeLorean I keep speaking off. I have the base done to the point where I need to find appropriate groundwork for a desert scene.

    Desert is easy...
    Just build up the base in the shape you want with polyfilla. Paint it with "sand " paint.
    Then spray on photo mount (glue) and sprinkle on somtimg like Mig pigments "sand". Or, you can just use actual fine sand.


  • Closed Accounts Posts: 195 ✭✭Ciaran_Dub


    That had pretty much been the plan Dok. I got a photo frams and took out the glass. Then used the backing of the frame to make the base from Polyfilla. That is where I am too at this stage. I was going to water down white glue and then put the ground work on top. I noticed in Art & Hobby they had Games Workshop bits and pieces which included groundwork. They had sand which looked very good and it wasnt expensive. I have a few other bits to add into it that will add a bit more to the diorama. But all is on hold for the time being as you can imagine


Advertisement