Advertisement
If you have a new account but are having problems posting or verifying your account, please email us on hello@boards.ie for help. Thanks :)
Hello all! Please ensure that you are posting a new thread or question in the appropriate forum. The Feedback forum is overwhelmed with questions that are having to be moved elsewhere. If you need help to verify your account contact hello@boards.ie
Hi all! We have been experiencing an issue on site where threads have been missing the latest postings. The platform host Vanilla are working on this issue. A workaround that has been used by some is to navigate back from 1 to 10+ pages to re-sync the thread and this will then show the latest posts. Thanks, Mike.
Hi there,
There is an issue with role permissions that is being worked on at the moment.
If you are having trouble with access or permissions on regional forums please post here to get access: https://www.boards.ie/discussion/2058365403/you-do-not-have-permission-for-that#latest

Fiat Ducato camper build

2456789

Comments

  • Registered Users, Registered Users 2 Posts: 73,477 ✭✭✭✭colm_mcm


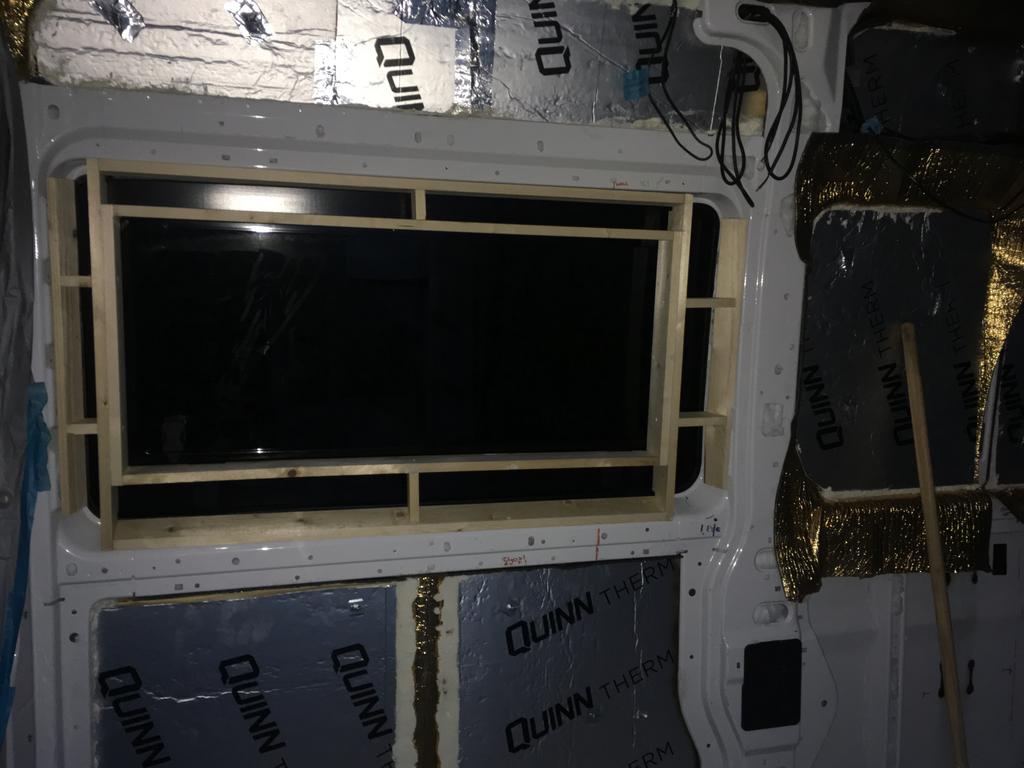
    Made a frame for around the sliding window. If you’ve seen the Transit you’ll know where I’m going with this.

    We’re making provision for a toilet/shower which would have a wall flush with the right hand side of the window aperture.

    CE3-A4-A39-91-BA-4-ABD-8-EF8-4-C6-FAB67-BAF5.jpg


  • Registered Users, Registered Users 2 Posts: 73,477 ✭✭✭✭colm_mcm


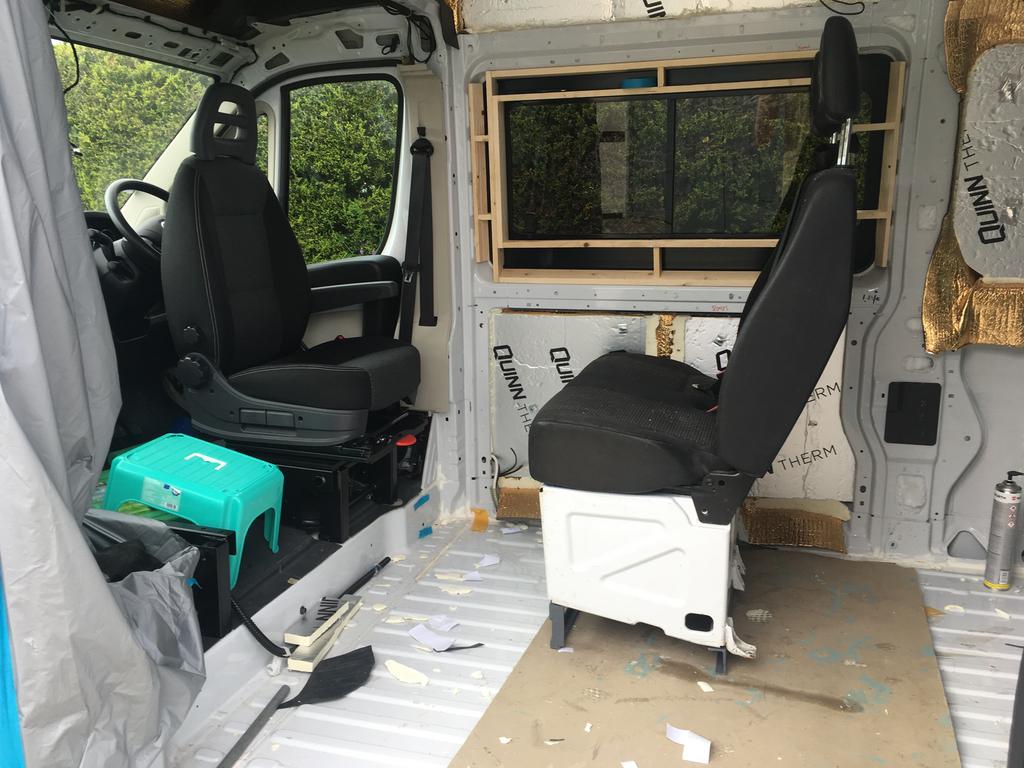
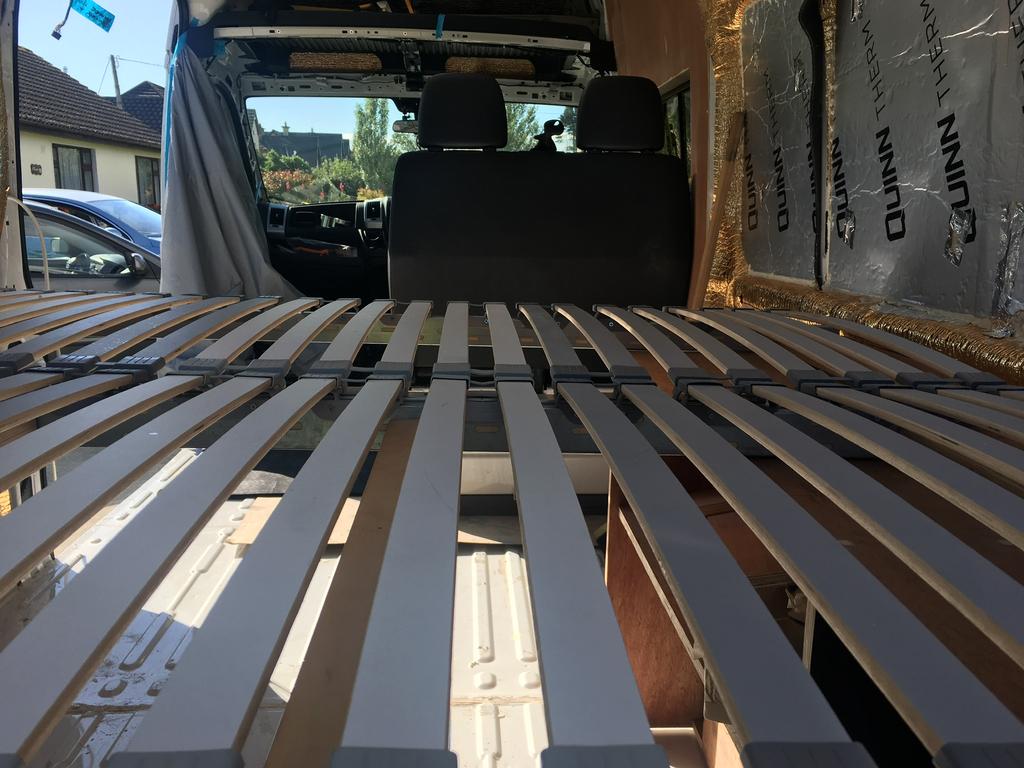
    Bit of work started on the rear seats. They’ll sit about 3” back from where they are now.

    FAF70-B31-0557-497-E-BB5-A-5-A92-C73-D7362.jpg


  • Registered Users, Registered Users 2 Posts: 73,477 ✭✭✭✭colm_mcm


    The seats are from a Merc Sprinter which means there’s under-seat storage, the base flips up. Have to add more to the frame which will be done next week.


  • Registered Users, Registered Users 2 Posts: 1,679 ✭✭✭MAJJ


    colm_mcm wrote: »
    The seats are from a Merc Sprinter which means there’s under-seat storage, the base flips up. Have to add more to the frame which will be done next week.

    Cheers Colm, looking forward to see this coming together. Great to see the details and pics. Best of luck with the build


  • Registered Users, Registered Users 2 Posts: 73,477 ✭✭✭✭colm_mcm


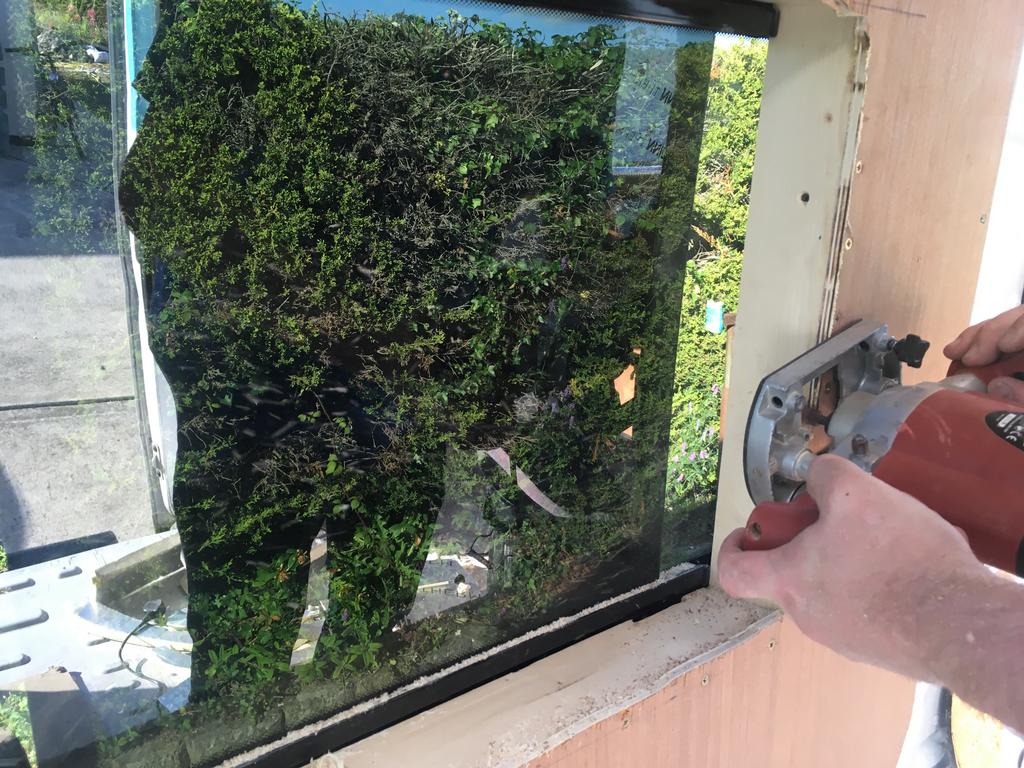
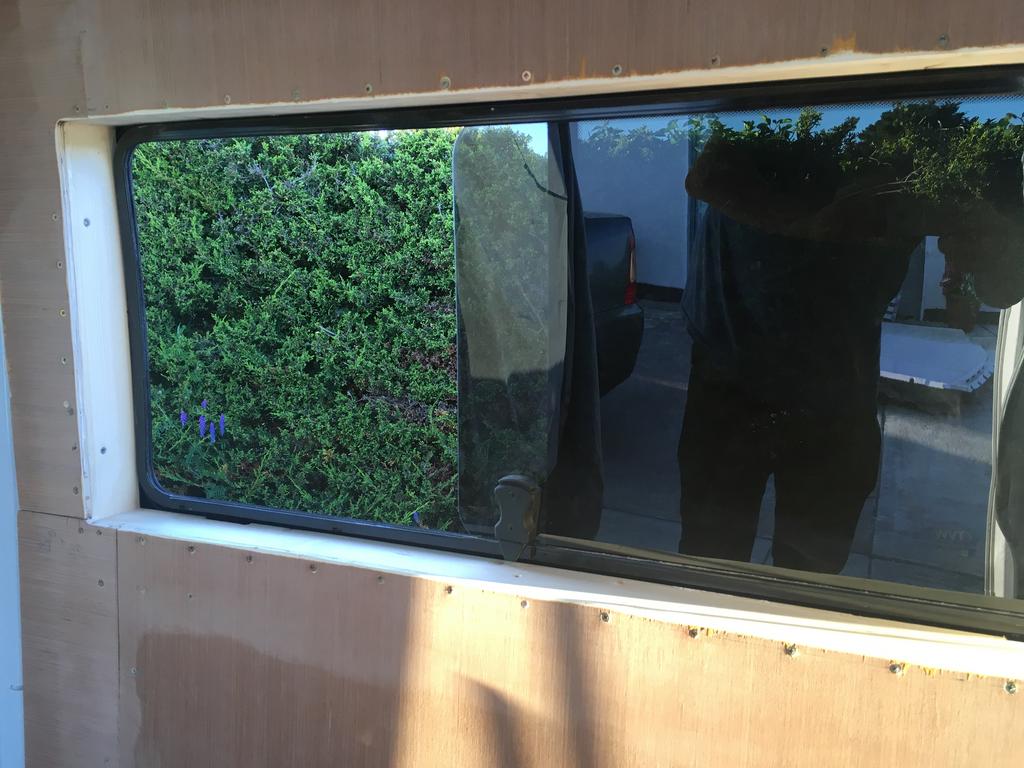
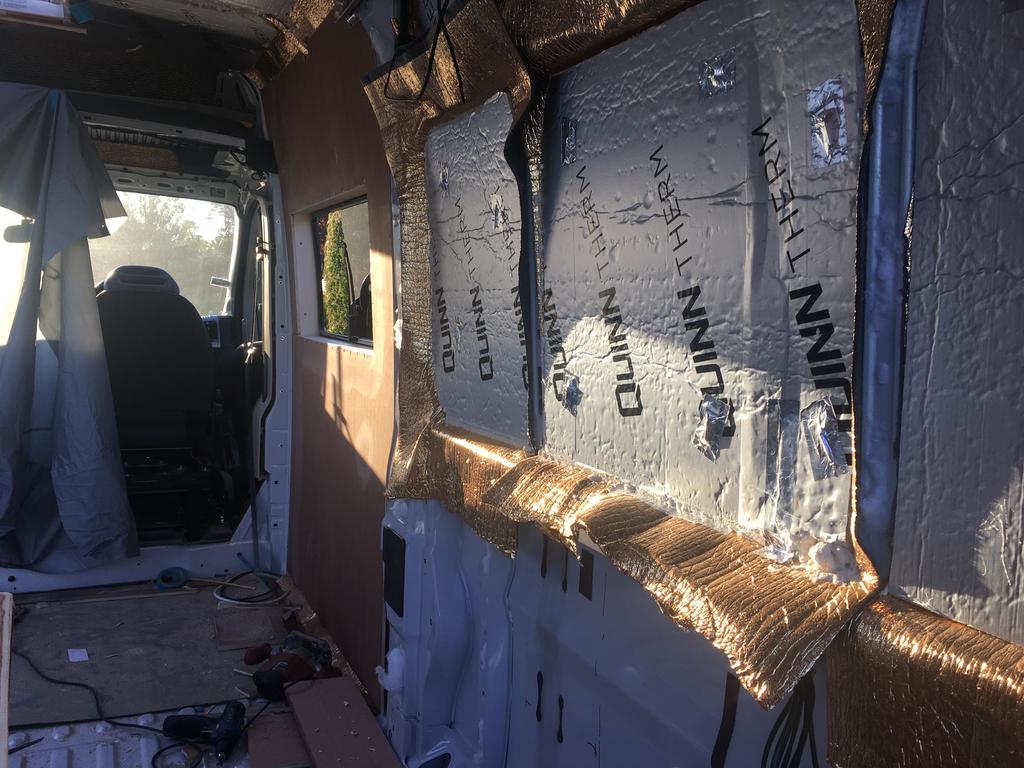
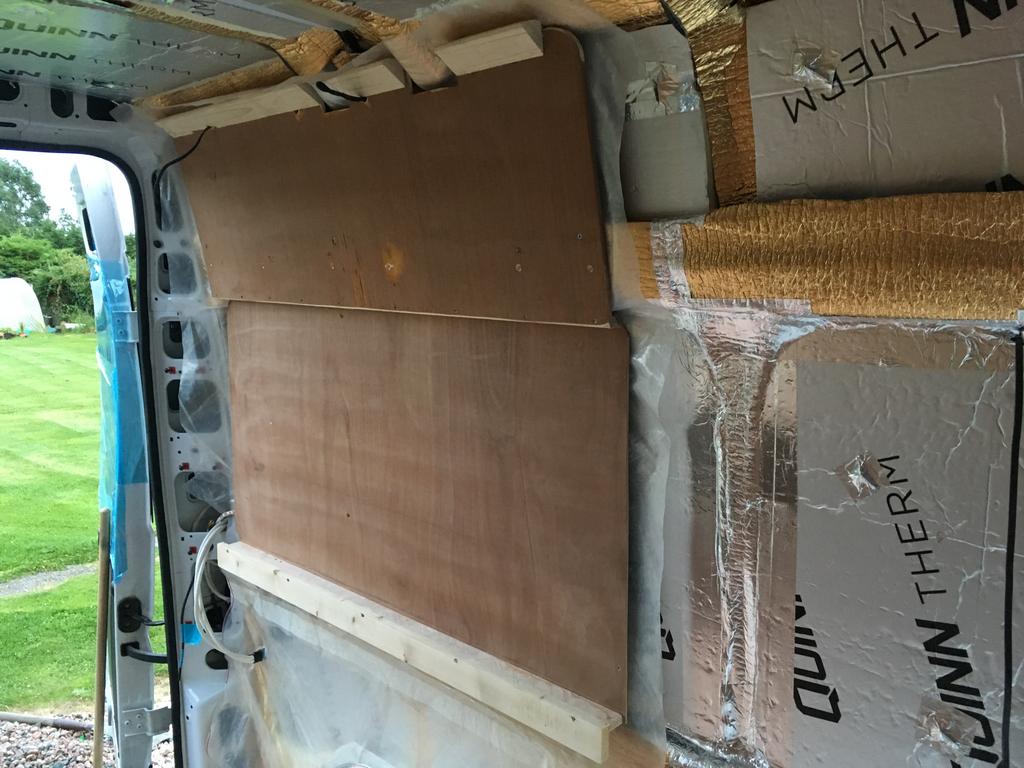
    Next step was to build the walls. Decided to start on the trickiest but most fun one.
    Secured it to the window frame, then routered the opening for the window out.

    8-EDA41-FC-74-FC-4413-BDD6-79522-C6-AAB29.jpg
    7-D8-EE183-8443-4786-8943-306-AE3-C3640-C.jpg
    EA2-BECD1-EA5-C-4-A26-BFA5-78172925-DFDE.jpg

    This will be coming down again as we need to do the vapour barrier, drill for wiring and a small bit more insulation and support for overhead lockers.


  • Registered Users, Registered Users 2 Posts: 73,477 ✭✭✭✭colm_mcm


    274909-B0-450-D-4-E0-C-82-E5-F8-FA50819-F9-F.jpg

    2-E1462-EA-A7-B7-47-F5-B251-99-BCAA8-D9887.jpg


  • Registered Users, Registered Users 2 Posts: 73,477 ✭✭✭✭colm_mcm


    Bit more progress today.

    Made another section of wall
    05-AAACBF-B630-48-C1-8-DBC-2542512-B706-B.jpg
    More of this
    6-B8-E603-B-24-E6-4712-A84-B-ACC496-E4731-A.jpg


    19-E11-D49-6583-48-C6-A016-7739-FBC8339-A.jpg

    Could have gone straight up but want to maximise space in the back


  • Registered Users, Registered Users 2 Posts: 3,055 ✭✭✭GustavoFring


    Only spotted this now, looks great so far.


  • Registered Users, Registered Users 2 Posts: 226 ✭✭Hoof_Hearted


    I've really enjoyed watching this unfold, thanks. You've inspired me to address my own wish to make my Volvo 940 estate into a micro camper. Best of luck with the continuing build. :)


  • Advertisement
  • Registered Users, Registered Users 2 Posts: 73,477 ✭✭✭✭colm_mcm


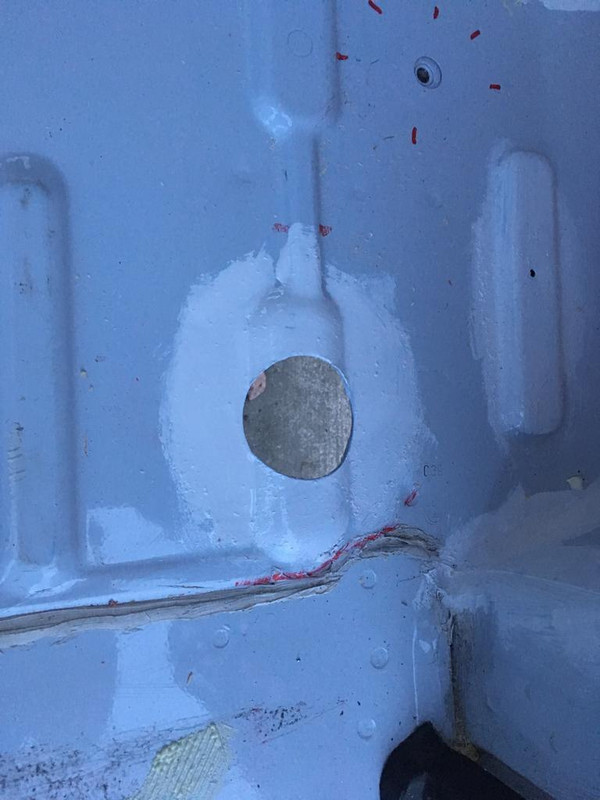
    Bit more done today. Dropout vent drilled out for the gas locker. This means if there’s a gas leak the gas will drop though the vent and not into the cabin.

    C1-F82182-C51-C-4-C8-E-8-EF5-28-FE81-E9-CB26.jpg

    DD7-B7-C83-704-E-4-FFA-907-C-B58-CA8-F93-DCD.jpg

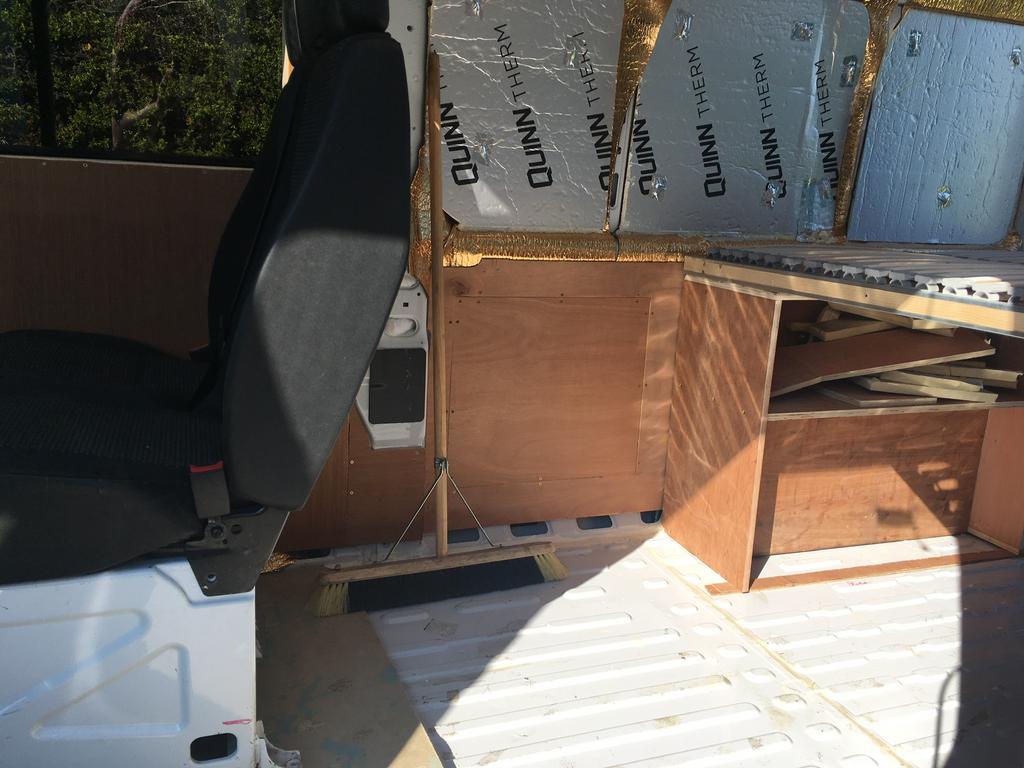
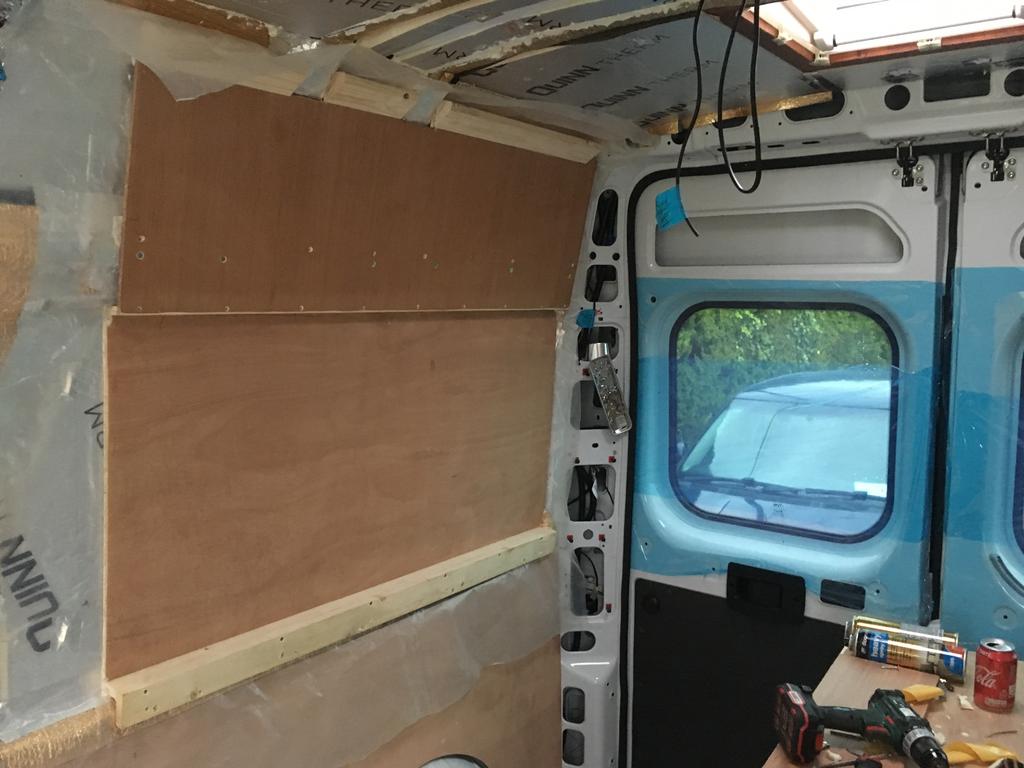
    Also made a start on the passenger side bedroom wall this is basically a mirror image of the other side. Not screwed in the bottom yet.
    CBDF9-A57-1-A00-4650-A4-F6-C177-D5-CDE3-DA.jpg

    Starting the laborious job of drilling out the old screw holes from the old ply lining, and giving them an anti rust treatment

    1-F501065-FFFE-4-F32-B46-F-576-EDD2-A06-B5.jpg


  • Registered Users, Registered Users 2 Posts: 34,104 ✭✭✭✭listermint


    welding them up, or whats the plan ?


  • Registered Users, Registered Users 2 Posts: 73,477 ✭✭✭✭colm_mcm


    listermint wrote: »
    welding them up, or whats the plan ?

    Pop rivets, non-silicone sealant in the hole first and then undersal on the outside.


  • Registered Users, Registered Users 2 Posts: 14,907 ✭✭✭✭CJhaughey


    Thats a nice bottle holder for the gas bottle.
    How are you sealing the gas locker door?


  • Registered Users, Registered Users 2 Posts: 73,477 ✭✭✭✭colm_mcm


    CJhaughey wrote: »
    Thats a nice bottle holder for the gas bottle.
    How are you sealing the gas locker door?

    The last time I used a self adhesive rubber seal on the door and one on the frame.


  • Registered Users Posts: 9 DLady


    Looks so good! Looking forward to more posts.


  • Advertisement
  • Registered Users, Registered Users 2 Posts: 73,477 ✭✭✭✭colm_mcm


    Thanks, it’s taken a bit of a back seat the last few weeks so not much progress.


  • Registered Users, Registered Users 2 Posts: 73,477 ✭✭✭✭colm_mcm


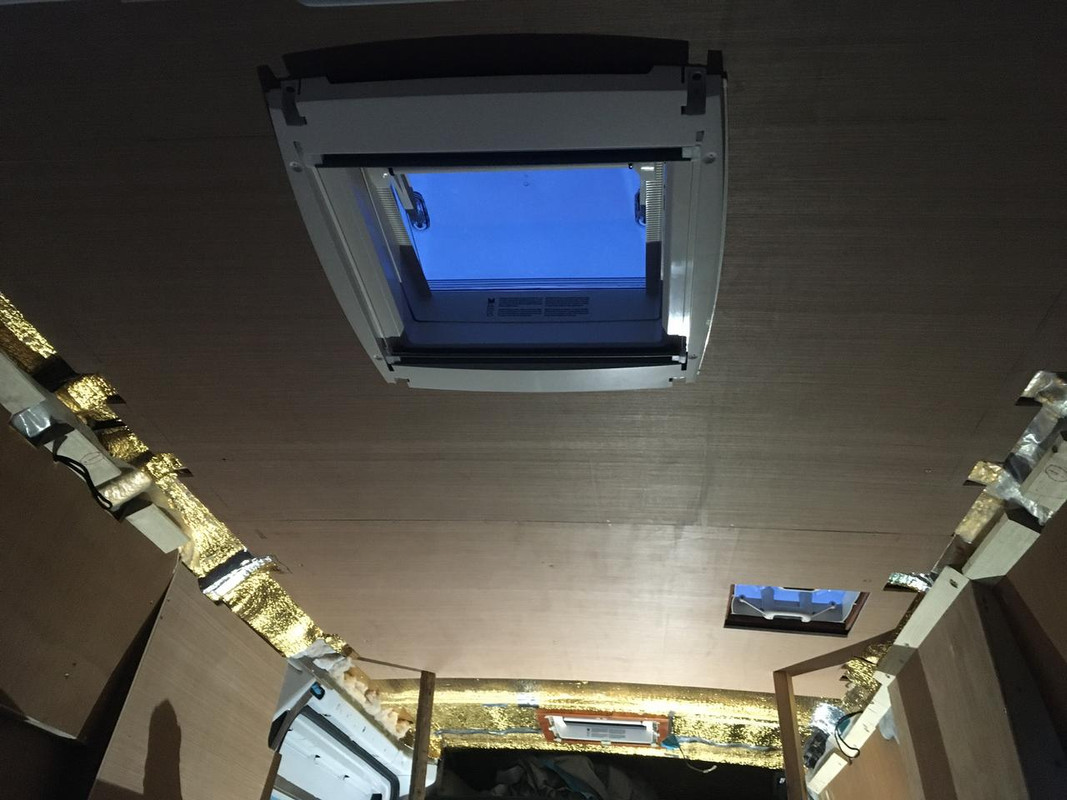
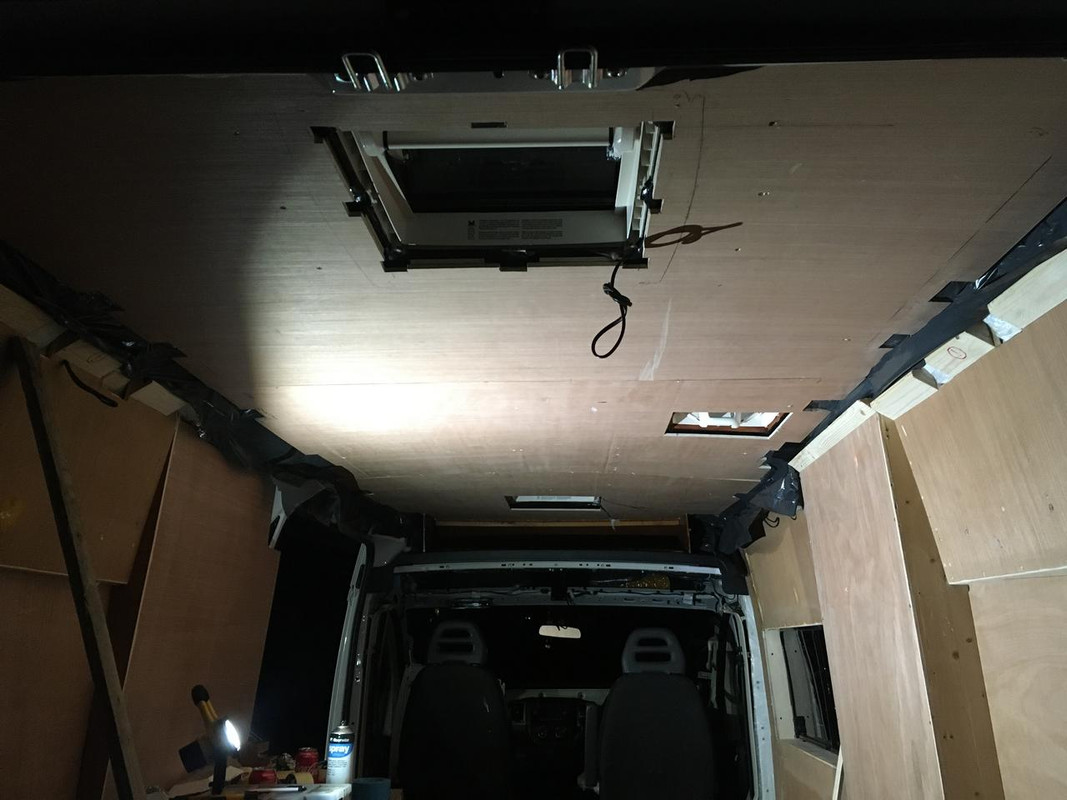
    Did a bit more today. Cut out the ply for the ceiling

    D5-C4-D924-4-B4-D-4848-B244-796-F3319-B8-B9.jpg

    Some packers to meet the frames we bonded to the roof all those months ago
    56-CCFE3-B-FCB3-4-D37-B588-9-AB150-DD1-C1-C.jpg

    First bit of ceiling up.
    327-DAE7-E-8-A17-4-BA4-81-DC-63-ADFB766-FC7.jpg


  • Registered Users, Registered Users 2 Posts: 73,477 ✭✭✭✭colm_mcm


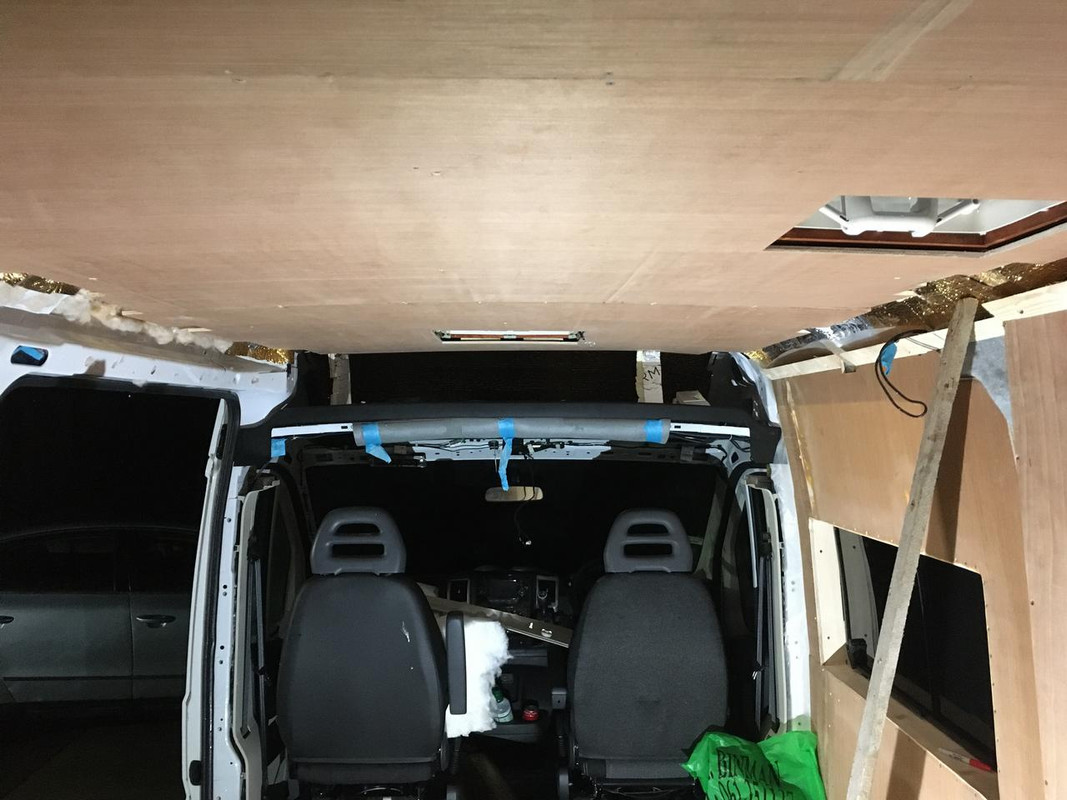
    The last section of ceiling up

    F69-E7-F8-E-B350-4-CF6-B9-FF-9-C057-C0-E4-C75.jpg

    It’ll be all coming down again for the vapour barrier but it’s actually easier to do it this way.


  • Registered Users, Registered Users 2 Posts: 73,477 ✭✭✭✭colm_mcm


    Started on the overhead locker

    B45-F94-E7-14-F1-4-AE9-9-CBF-0-ED47-A9-E2166.jpg

    Right pain of a thing to assemble in sitiu


  • Registered Users, Registered Users 2 Posts: 73,477 ✭✭✭✭colm_mcm


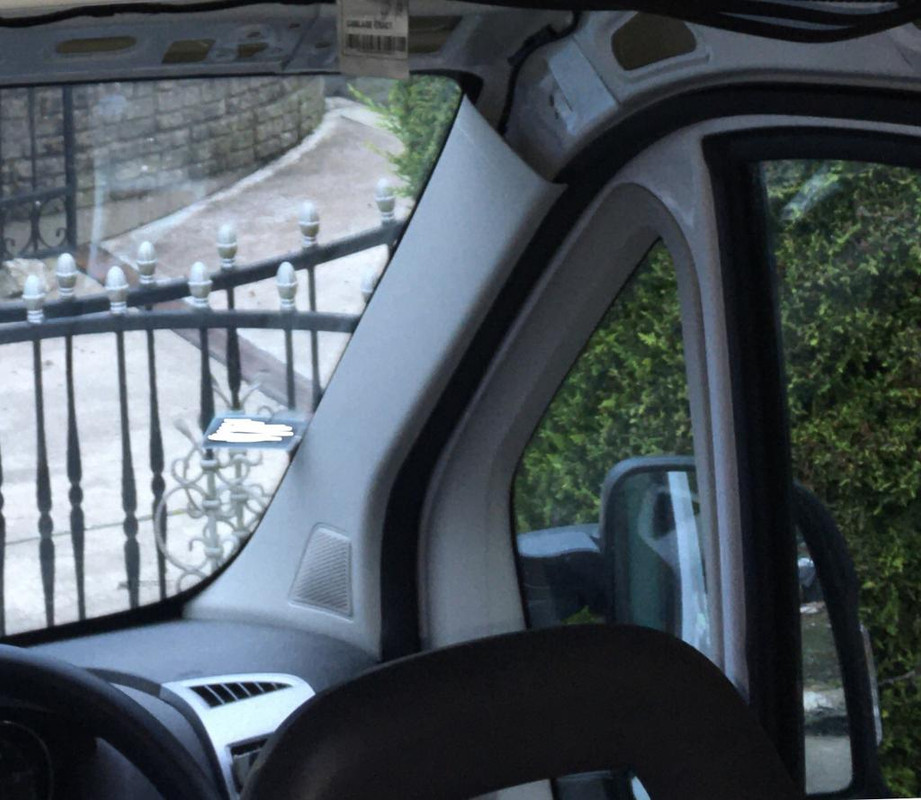
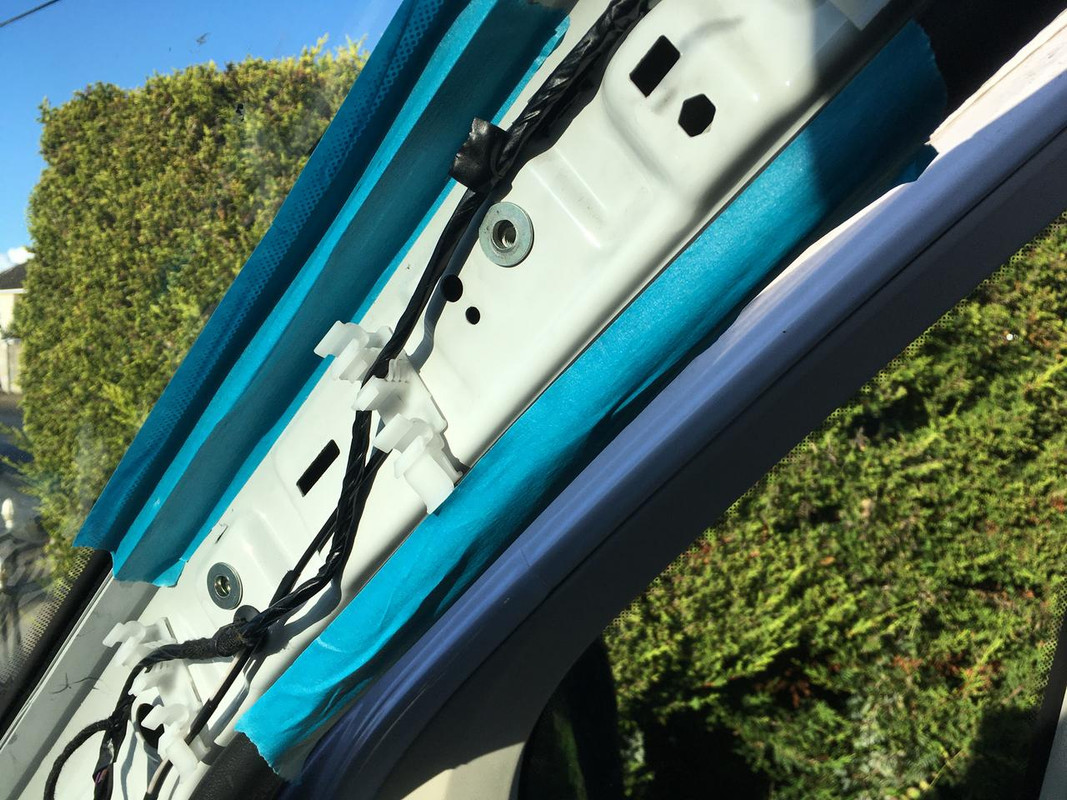
    So despite being one of the higher Ducato specs, the van only has upper grab handles like you’d get on your car, it didn’t come with the handles on the A pillar

    60-D3-D819-7-DB5-4-E6-F-A8-DE-D3309-FF67-A55.jpg

    My friend ordered them online, they’re OEM parts so should be an easy job. Unfortunately there are no markings on the pillar trims as to where the holes go.


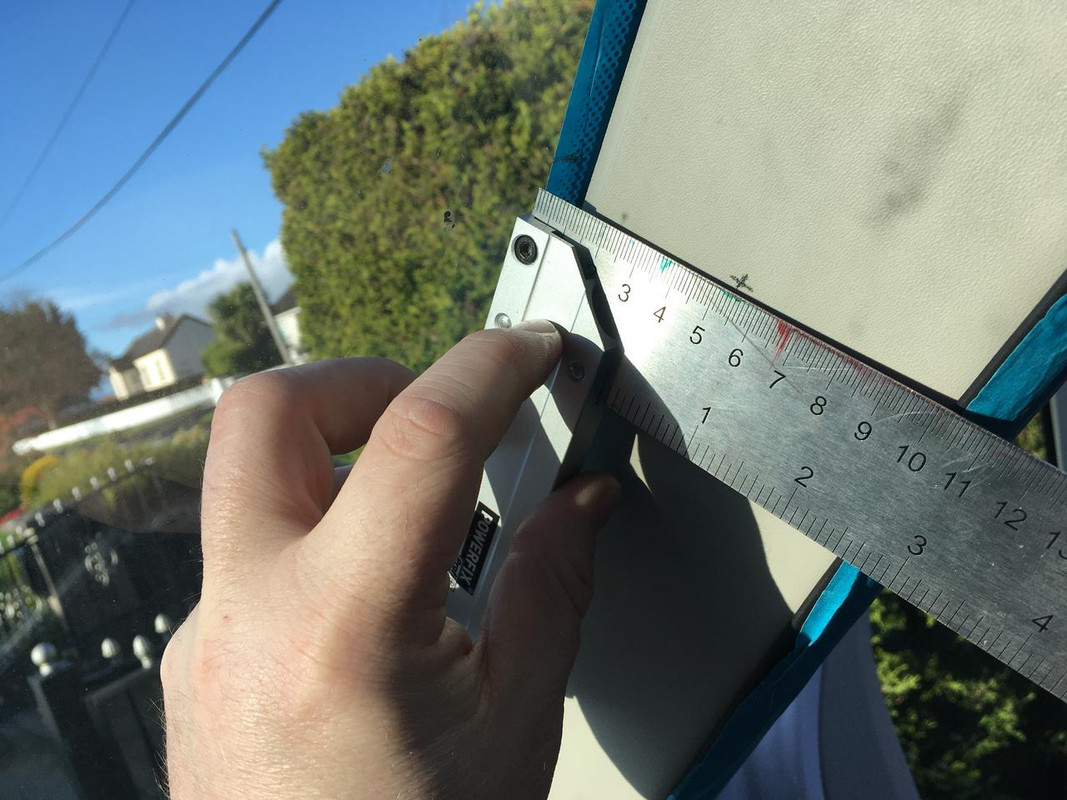
    First job is to fit some rivnuts into the A pillar, then measure their position relative to the windscreen
    6-DBF9-EC9-A73-A-408-F-A521-AC1-D090-A3262.jpg

    Next, transfer those measurements to the pillar trim
    33157655-DD00-4715-AE4-E-B678-EC8-D0-E80.jpg

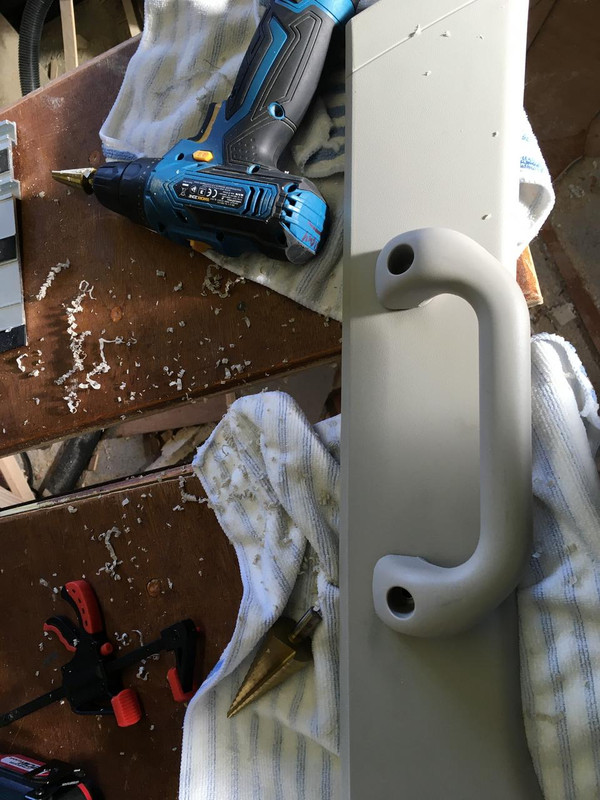
    Drill out the trims so they’re big enough to take the handles
    3-E174-E02-4-E5-F-4-D7-C-A8-D0-C6017-DA74-A7-B.jpg

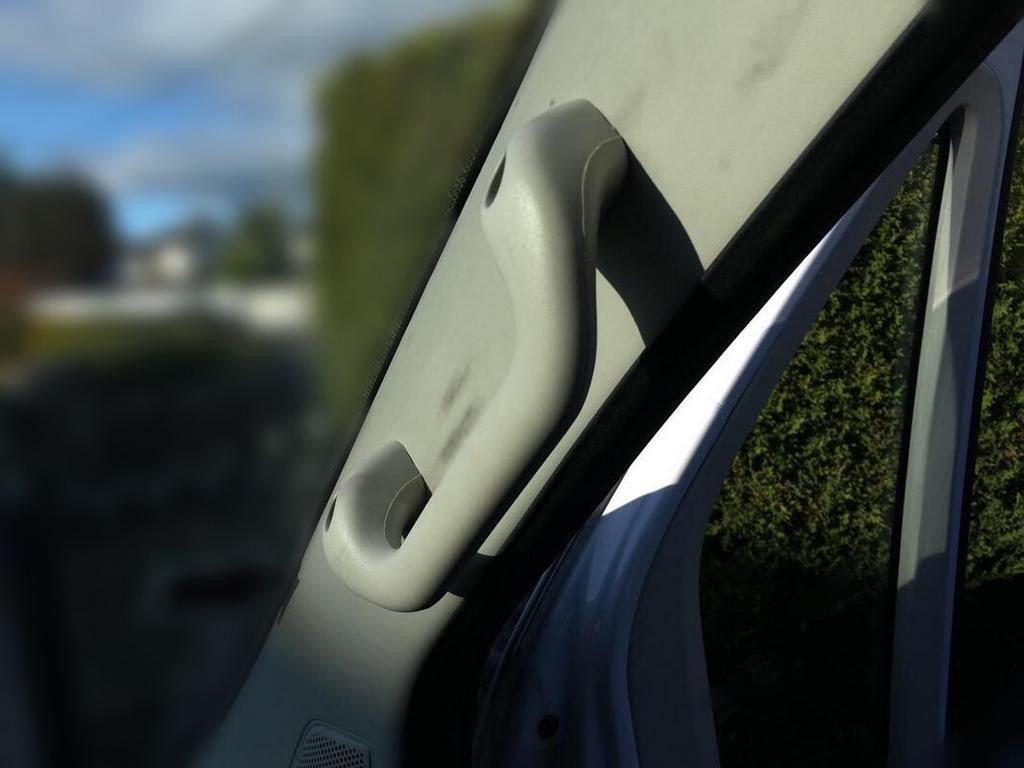
    Luckily it went ok!
    37-ACDD20-007-A-409-E-B19-C-8-E359-D0-F999-B.jpg


  • Advertisement
  • Registered Users, Registered Users 2 Posts: 73,477 ✭✭✭✭colm_mcm


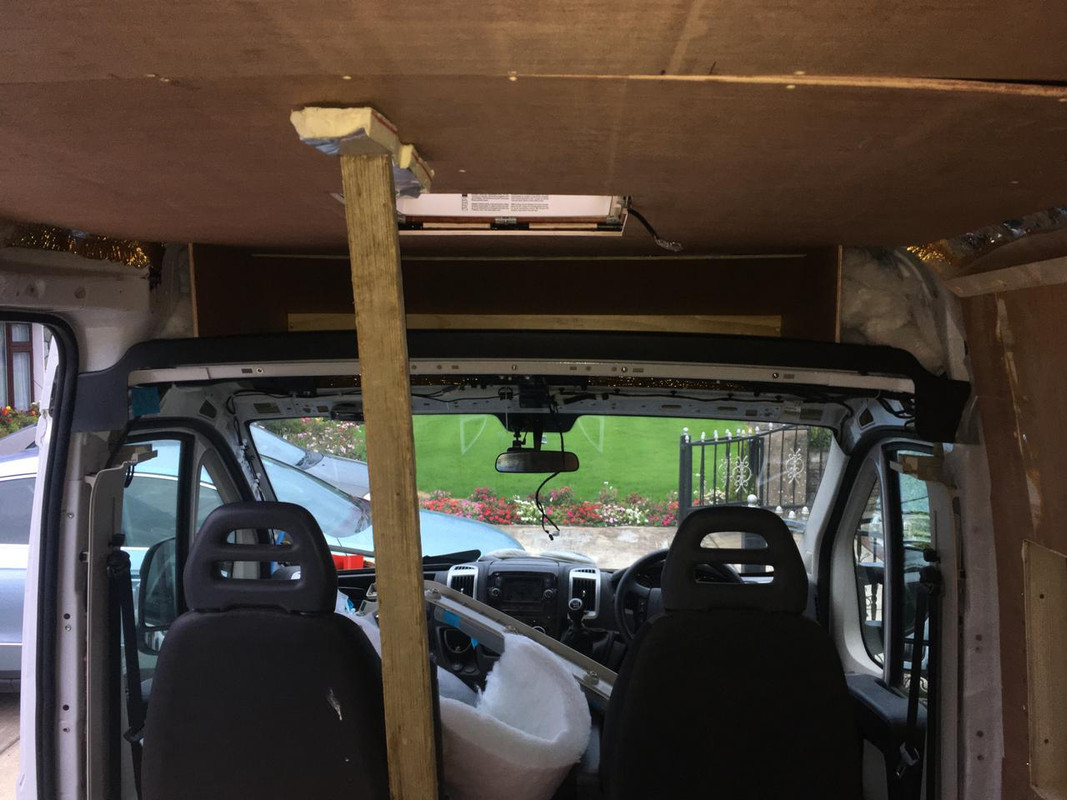
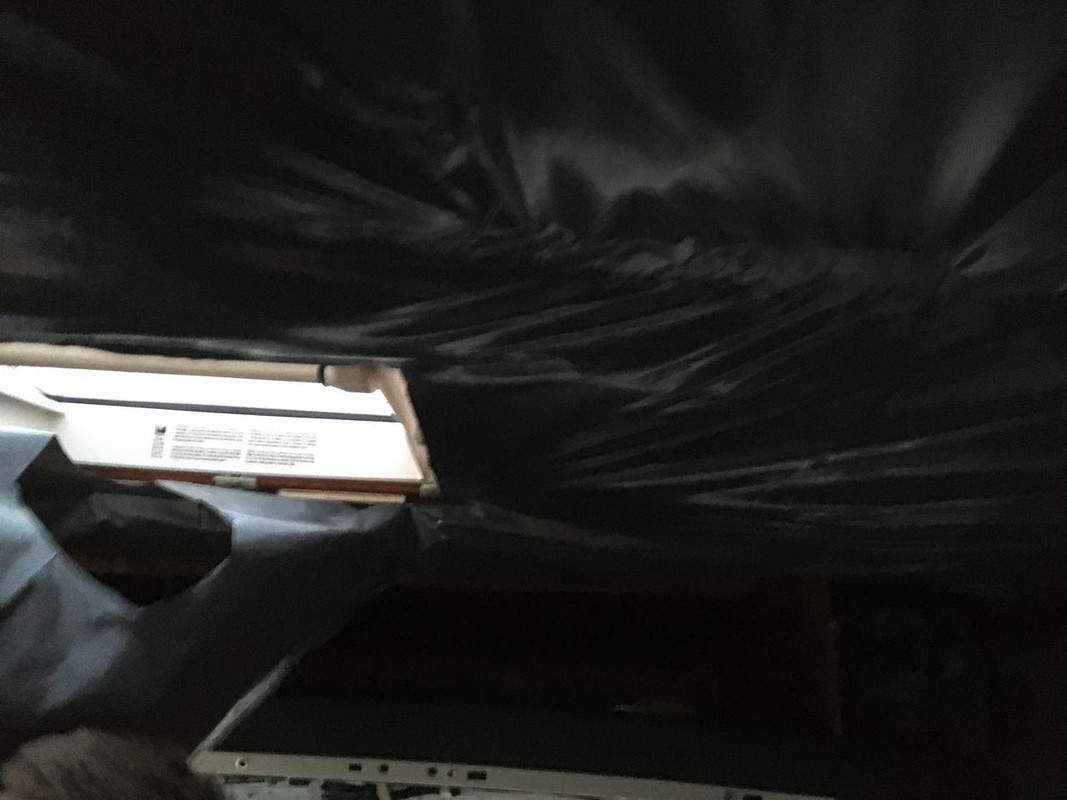
    Put up the vapour barrier today
    99-C47-BEE-04-CB-4795-BDD6-C666-E3-EB23-B2.jpg


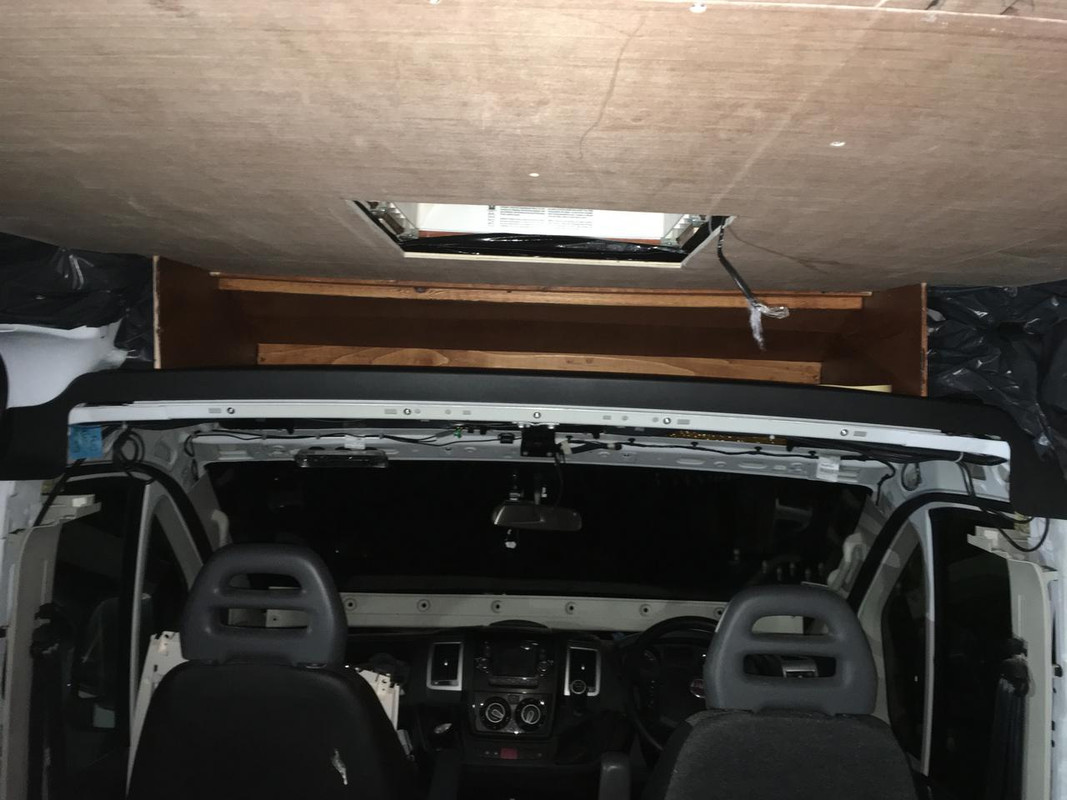
    Refitted the ceiling panels
    067-E0-B7-B-3443-489-B-A284-2081-BD502-BAF.jpg

    And fitted the carcass for the overhead locker
    1103-C210-D1-C0-4779-81-EA-79960-D3-C7-DF2.jpg


  • Registered Users, Registered Users 2 Posts: 2,530 ✭✭✭Car99


    Are you keeping a count of the manhours your conversion is taking?


  • Registered Users, Registered Users 2 Posts: 73,477 ✭✭✭✭colm_mcm


    Car99 wrote: »
    Are you keeping a count of the manhours your conversion is taking?

    No. We would never do anything again if we knew how unproductive we are.


  • Registered Users Posts: 2,128 ✭✭✭Tacitus Kilgore


    colm_mcm wrote: »
    No. We would never do anything again if we knew how unproductive we are.

    Building a van myself at the moment and while I keep track of the money spent, I absolutely never want to know how many hours have gone into it. :eek:


  • Registered Users Posts: 18 BrunoBS


    That is a very nice thread!! Started to follow it today... Great job so far... are there any news on the development of the camper?


  • Registered Users, Registered Users 2 Posts: 73,477 ✭✭✭✭colm_mcm


    It’s been moving very slowly along, other commitments and the weather are what’s being blamed.


  • Registered Users, Registered Users 2 Posts: 19,688 ✭✭✭✭Muahahaha


    Just came across this, great build. Have you had any progress during the lockdown? Presume you'll get it on the road for this summer all going well


  • Registered Users, Registered Users 2 Posts: 73,477 ✭✭✭✭colm_mcm


    Few easy jobs,

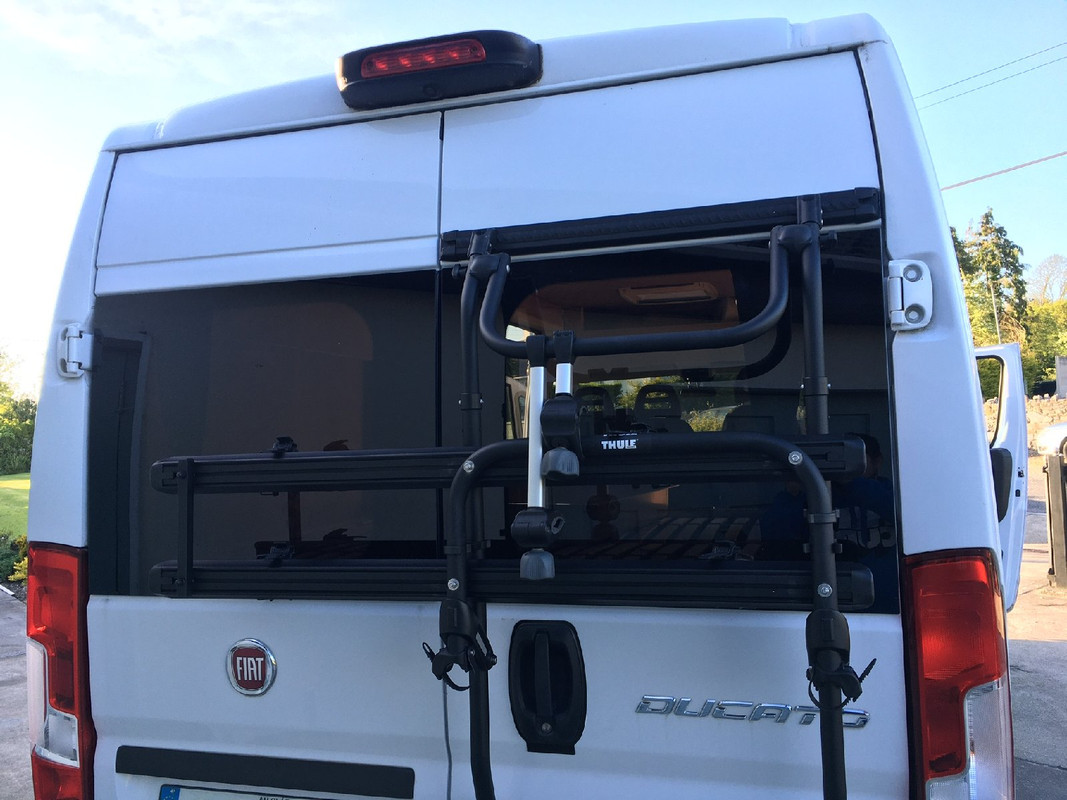
    Thule bike carrier fitted
    538707-D2-38-A0-4-E01-B939-59597-E0-F656-F.jpg


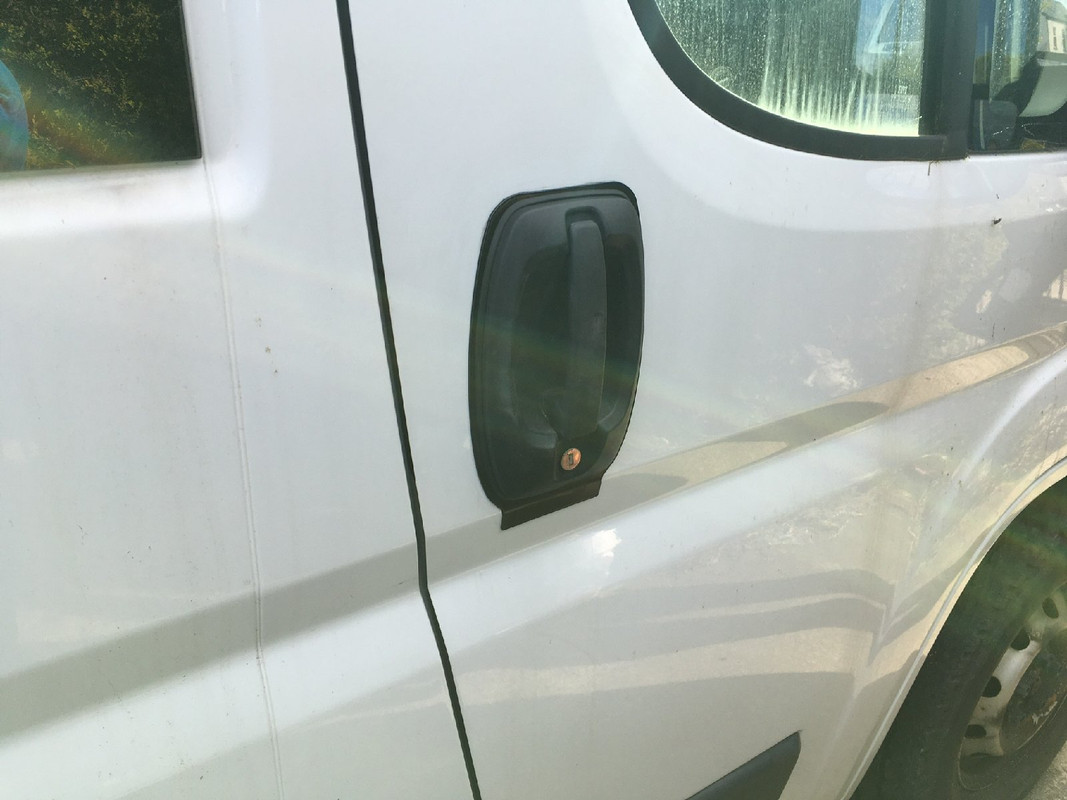
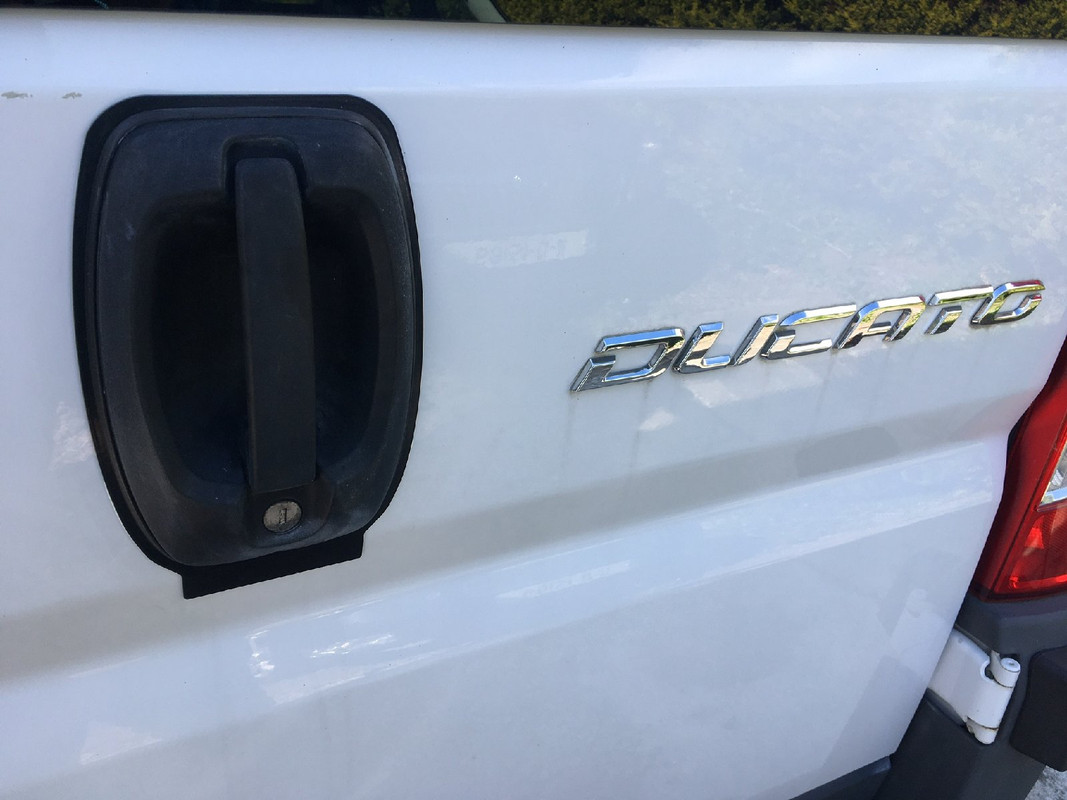
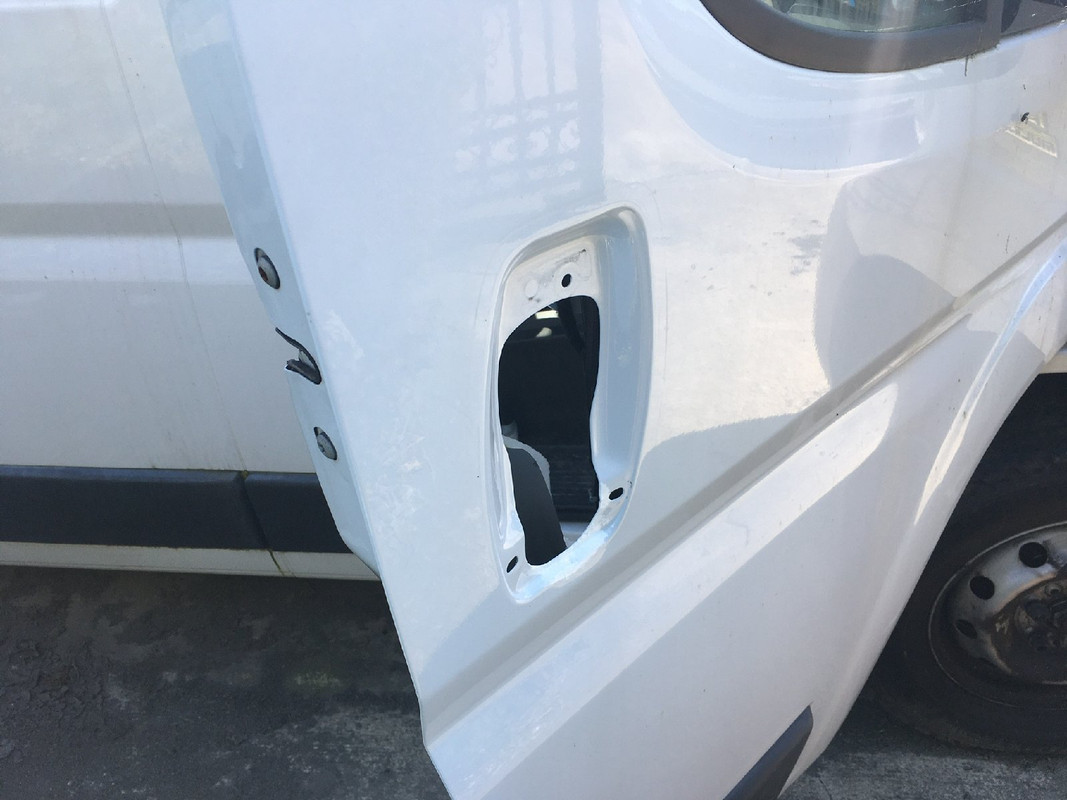
    Also, lock handle protectors, which are a plate inside and outside the drivers and rear door handles which stop screwdriver attacks on the handle.

    1-B8760-E9-0-B78-4-ABA-8429-0187-BA843-BCD.jpg
    C45-F6714-9528-4937-8318-70-FD91-BB69-FE.jpg
    FE4-C55-F3-E6-A3-45-CF-9-E0-A-5266-AE73592-E.jpg

    Hopefully get a little more done, but CV19 not helping.


  • Registered Users, Registered Users 2 Posts: 73,477 ✭✭✭✭colm_mcm


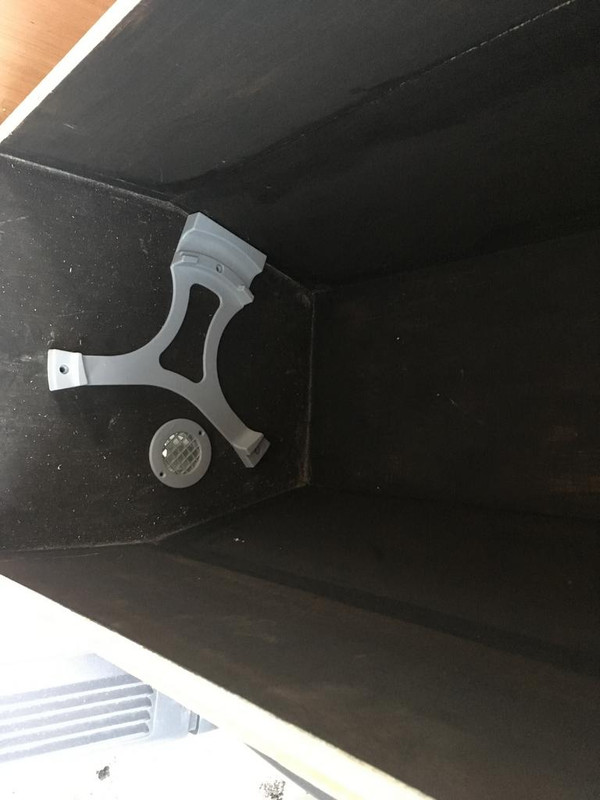
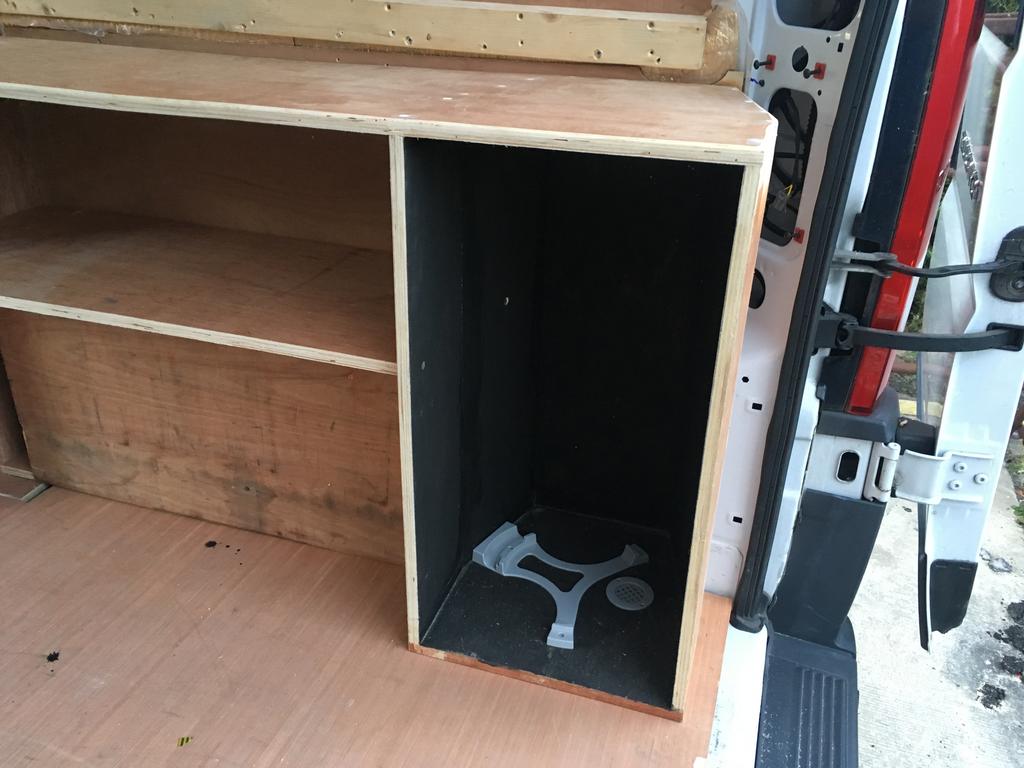
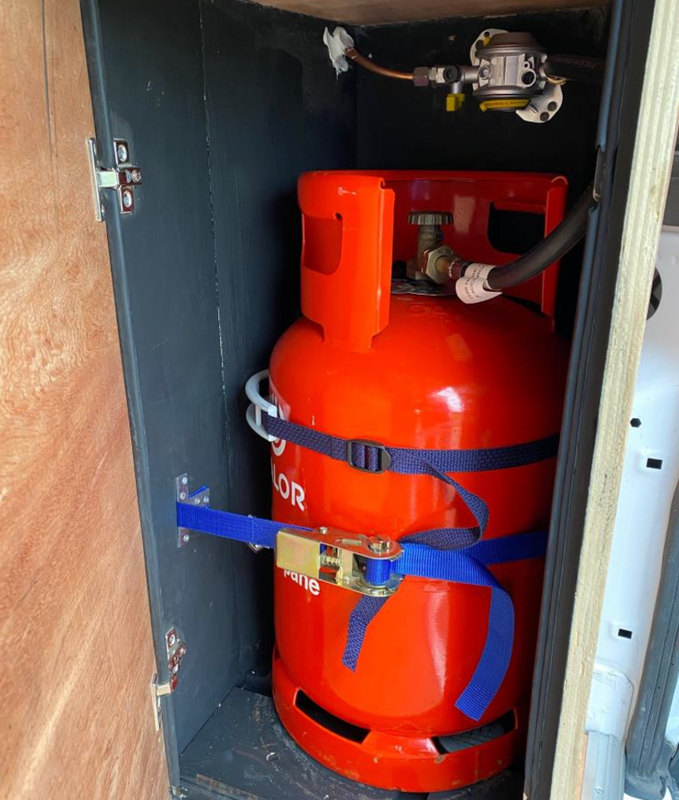
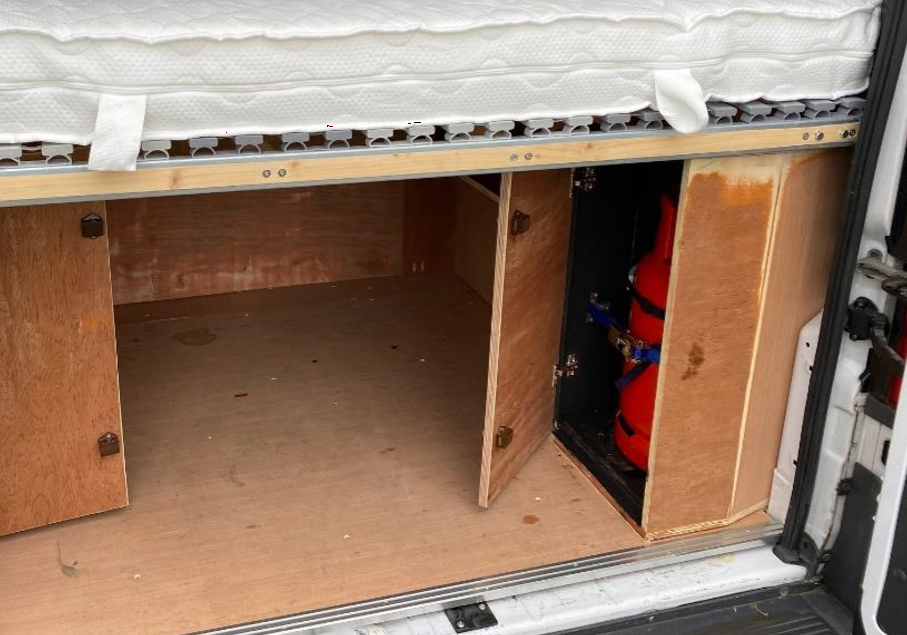
    First version of the gas box. All joints sealed before painting, dropout vent underneath, rubber seals on doors (which will be later swapped for lightweight ply doors and interior will be lined with trim carpet). Bulkhead regulator, large propane bottle, and tie-down straps.

    64211-D50-D537-4372-B3-A4-5730-B890-BB8-D.png

    Exterior of boxes are just bare ply now but will be finished in 4 way stretch carpet as in the Transit.
    B4-D264-D3-1238-431-F-8-DBF-8-C1-CC11-A126-A.png


  • Registered Users, Registered Users 2 Posts: 9,872 ✭✭✭John_Rambo


    John_Rambo wrote: »
    Very clean van!! Lovely looking too... Nice grill.


    As a non-handy DIY family we bought a Ducato RHD coach built van. The home conversion seems very daunting but fascinating and certainly not an option for us!!! I'm sure you're going to do an epic job!! You've probably checked out vans but if you want to check out our van to see how bits and bobs were done send me a PM. North bay Dublin based.


    Thanks for posting, cracking project.

    LOL... looking back at the thread and ^^ Cringing so much at my offer that my ears are meeting at the back of my head... You're obviously a dab hand at this and it looks like a thorough professional refit.

    Hope the lockdown hasn't affected the work. Looking forward to the next photos.


  • Advertisement
  • Registered Users, Registered Users 2 Posts: 73,477 ✭✭✭✭colm_mcm


    Sadly the lockdown has really affected our ability to work on the van, even something as simple as getting small supplies has a big effect.

    We are still learning every day, and we are by no means experts.


  • Registered Users, Registered Users 2 Posts: 73,477 ✭✭✭✭colm_mcm


    Not done today but still!

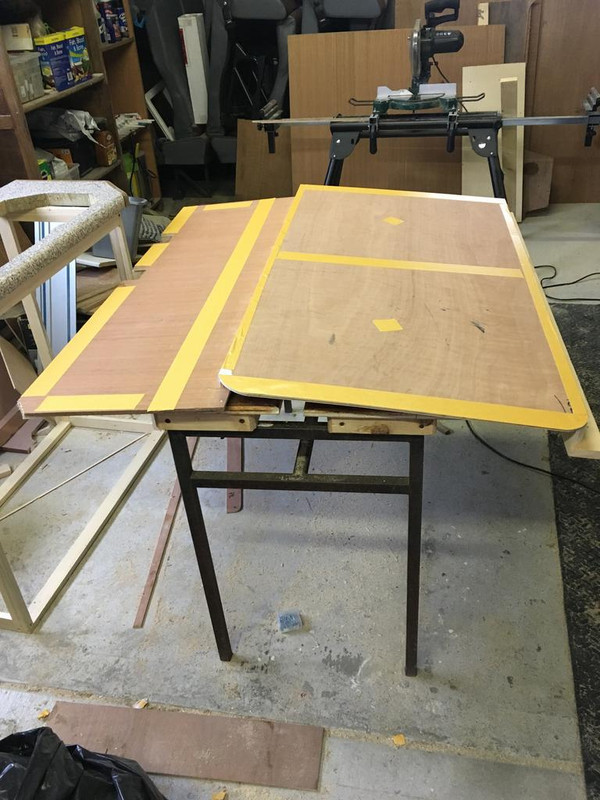
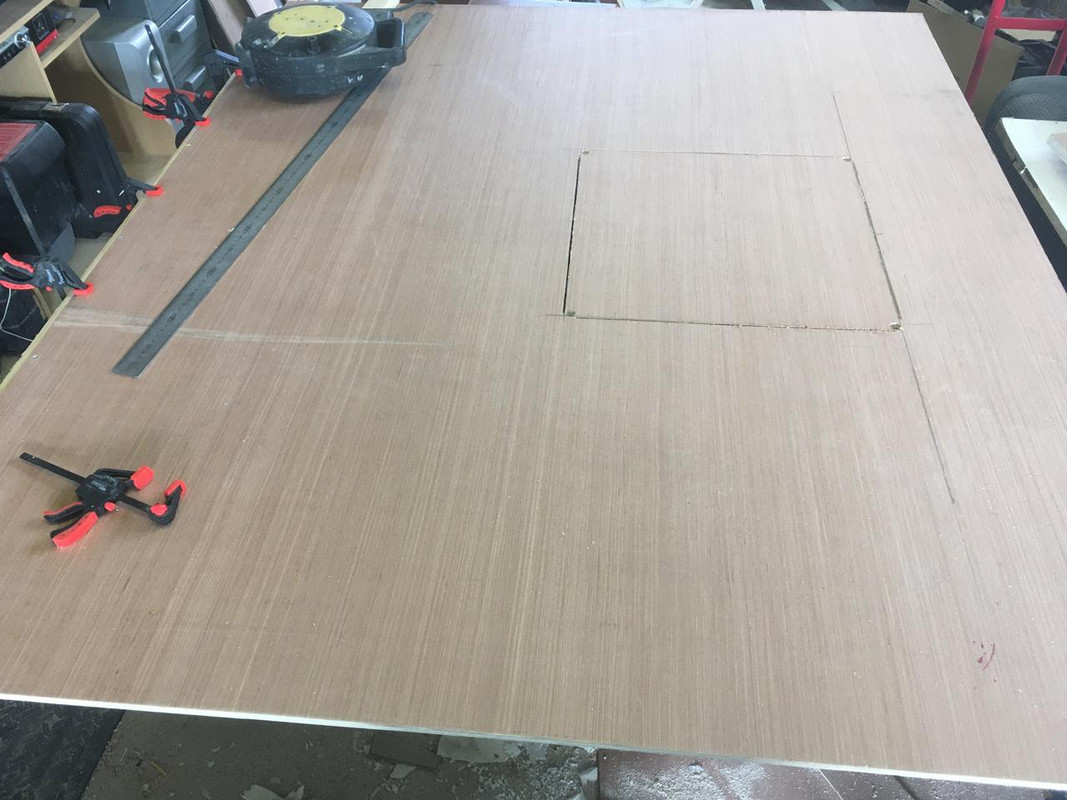
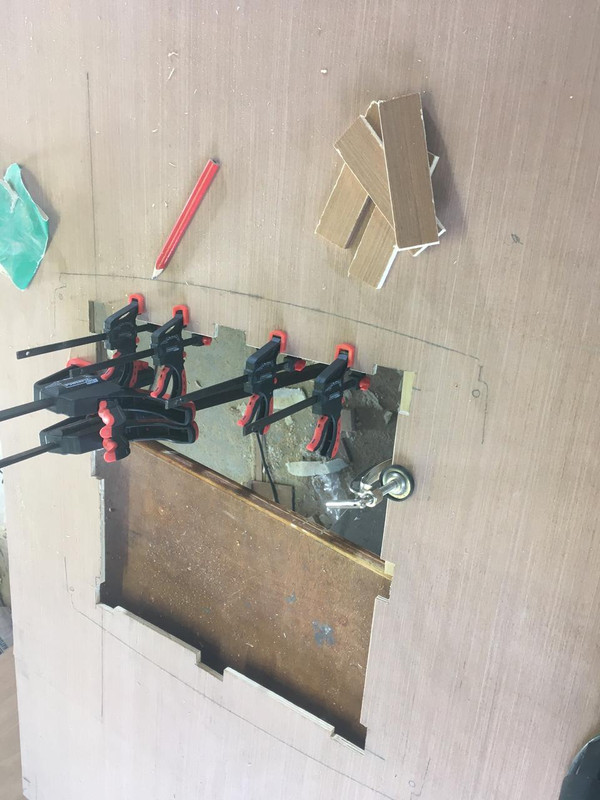
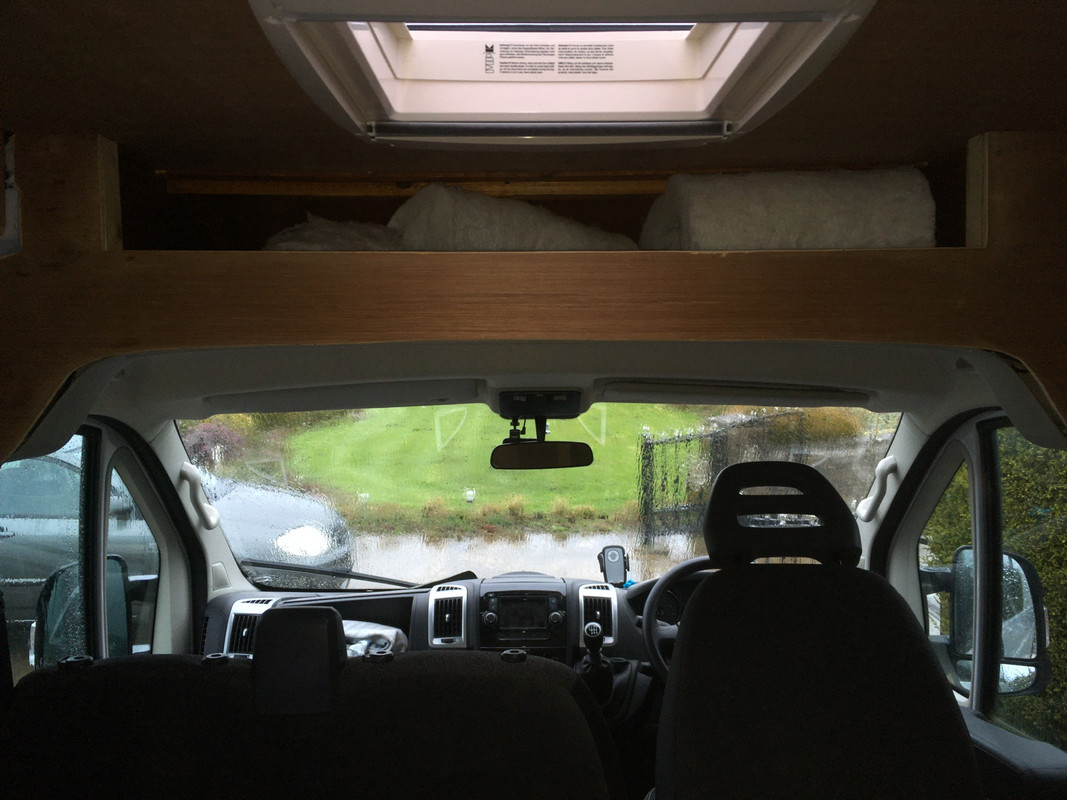
    Made the template for the piece that will meet the factory seat belt and cab ceiling trims. This is a bit of a fiddly job (my favourite) so I’ve done a template in light ply first as the veneered lightweight ply that will be used is eye-wateringly expensive so no room for mistakes!
    There is a slight curve on the bottom edge of the aperture for the cubby box too, just to be awkward.

    This has the opening for the storage area over the cab too. We won’t be putting a door on this.

    D170-A2-C2-A963-4822-9-DE1-C1527-A55-EF27.jpg


  • Registered Users, Registered Users 2 Posts: 73,477 ✭✭✭✭colm_mcm


    Another fun job


    869-B6064-7059-4-F40-9-C7-C-626-C5-C54753-F.jpg

    AA9522-DD-DD5-F-4848-B5-CB-70-B915946744.jpg


  • Registered Users, Registered Users 2 Posts: 14,907 ✭✭✭✭CJhaughey


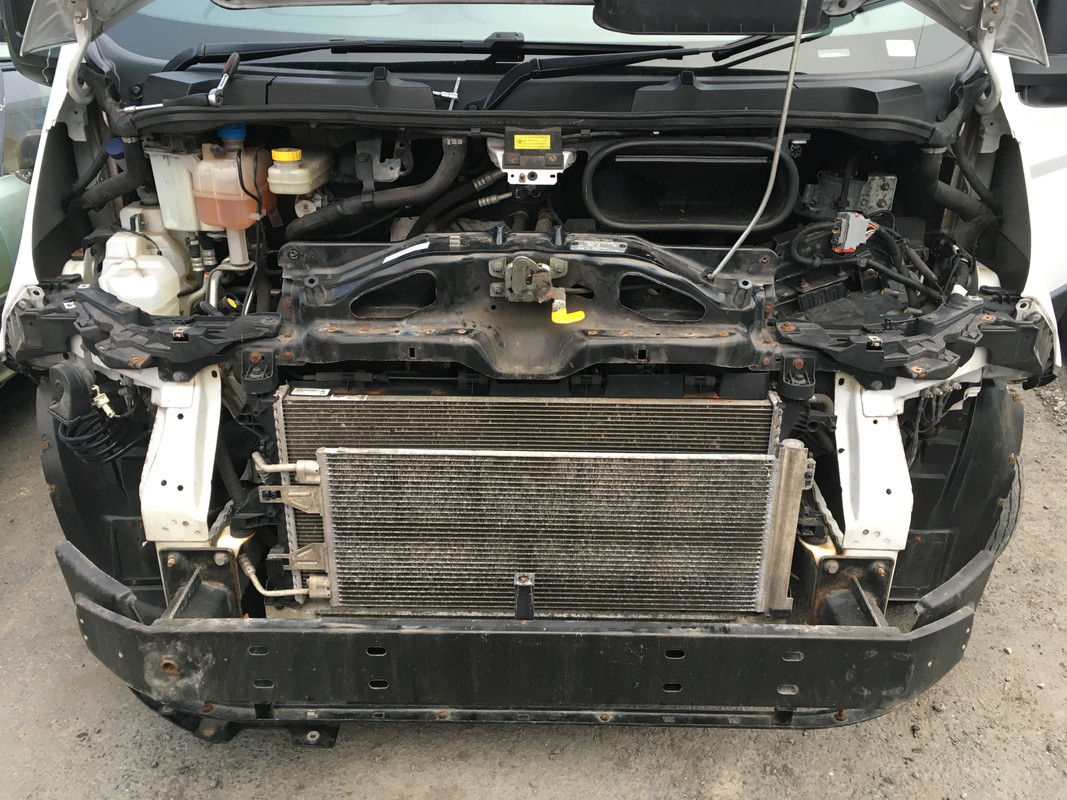
    Bumper comes off in three pieces I think? What are you doing, timing belt?


  • Registered Users, Registered Users 2 Posts: 73,477 ✭✭✭✭colm_mcm


    CJhaughey wrote: »
    Bumper comes off in three pieces I think? What are you doing, timing belt?

    It does yeah, there’s a bazillion bolts on the fecking thing!

    Doing a bit of colour coding. Stay tuned!


  • Registered Users, Registered Users 2 Posts: 14,907 ✭✭✭✭CJhaughey


    I will stay tuned, I'm interested to see how close yours will end up to mine!


  • Moderators Posts: 12,379 ✭✭✭✭Black_Knight


    colm_mcm wrote: »
    It does yeah, there’s a bazillion bolts on the fecking thing!

    Doing a bit of colour coding. Stay tuned!

    Either all white or all black. I'm gonna guess white


  • Registered Users, Registered Users 2 Posts: 73,477 ✭✭✭✭colm_mcm


    Either all white or all black. I'm gonna guess white

    You'd be wrong.


  • Moderators Posts: 12,379 ✭✭✭✭Black_Knight


    colm_mcm wrote: »
    You'd be wrong.

    I'm gonna guess black (or at least the colour of the bumper).

    TBH, the white would probably look a bit crap. Same reason I didn't wrap my front bumper white (hyundai ioniq EV)


  • Advertisement
  • Registered Users, Registered Users 2 Posts: 73,477 ✭✭✭✭colm_mcm


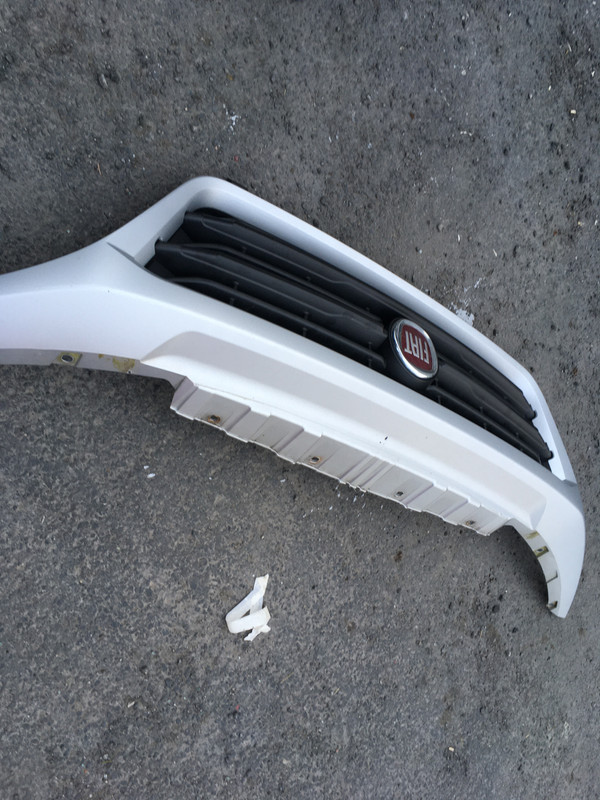
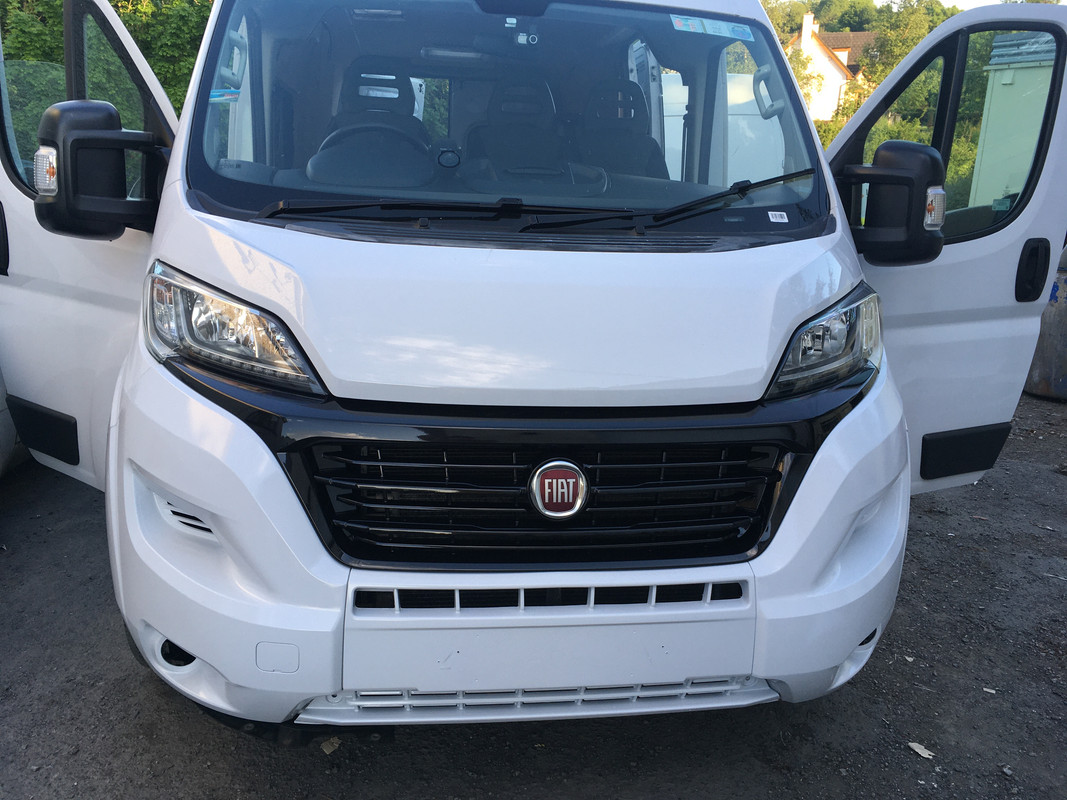
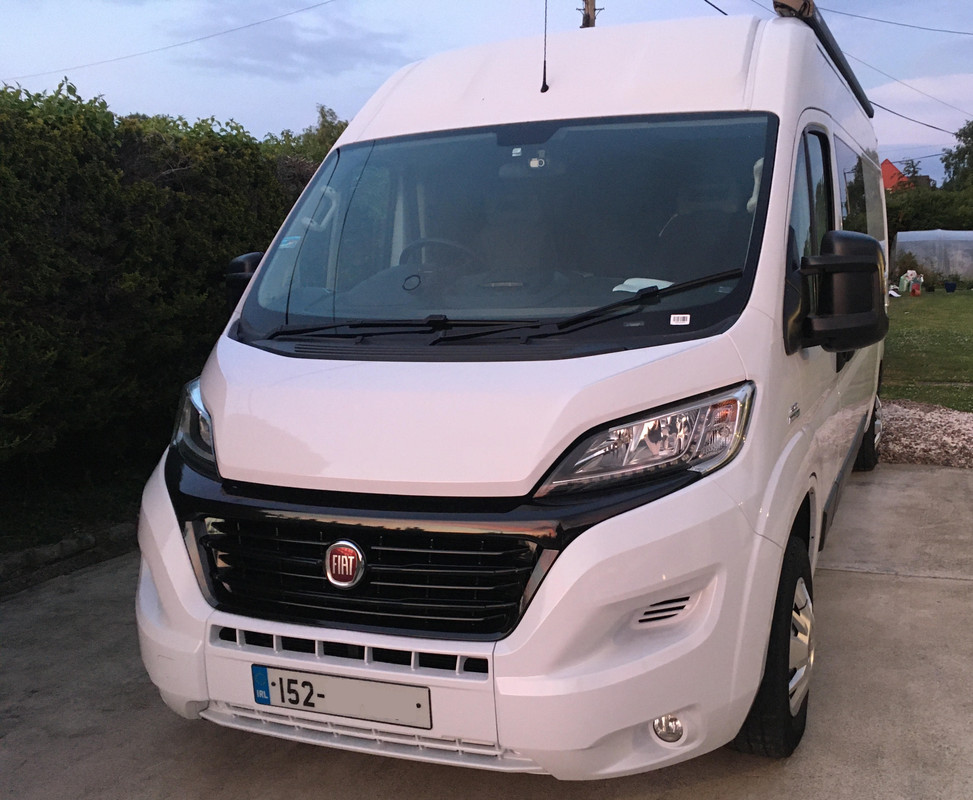
    Grille/silver section in black. Everything else white.


  • Registered Users, Registered Users 2 Posts: 73,477 ✭✭✭✭colm_mcm


    Test fitting

    5-CADCD7-F-595-C-41-D6-98-F7-EE72-F9-FE6310.jpg


  • Registered Users, Registered Users 2 Posts: 3,227 ✭✭✭Kramer


    colm_mcm wrote: »
    Test fitting

    Wrapped or painted?


  • Registered Users, Registered Users 2 Posts: 14,907 ✭✭✭✭CJhaughey


    Smart looking. Mine has a silver bonnet and banana shaped grille section.
    Wrapped bonnet to match the silver grille section.
    Yours looks so much better than the black bumpers.


  • Registered Users, Registered Users 2 Posts: 73,477 ✭✭✭✭colm_mcm


    Kramer wrote: »
    Wrapped or painted?

    Painted


  • Registered Users, Registered Users 2 Posts: 73,477 ✭✭✭✭colm_mcm


    Another fun job.

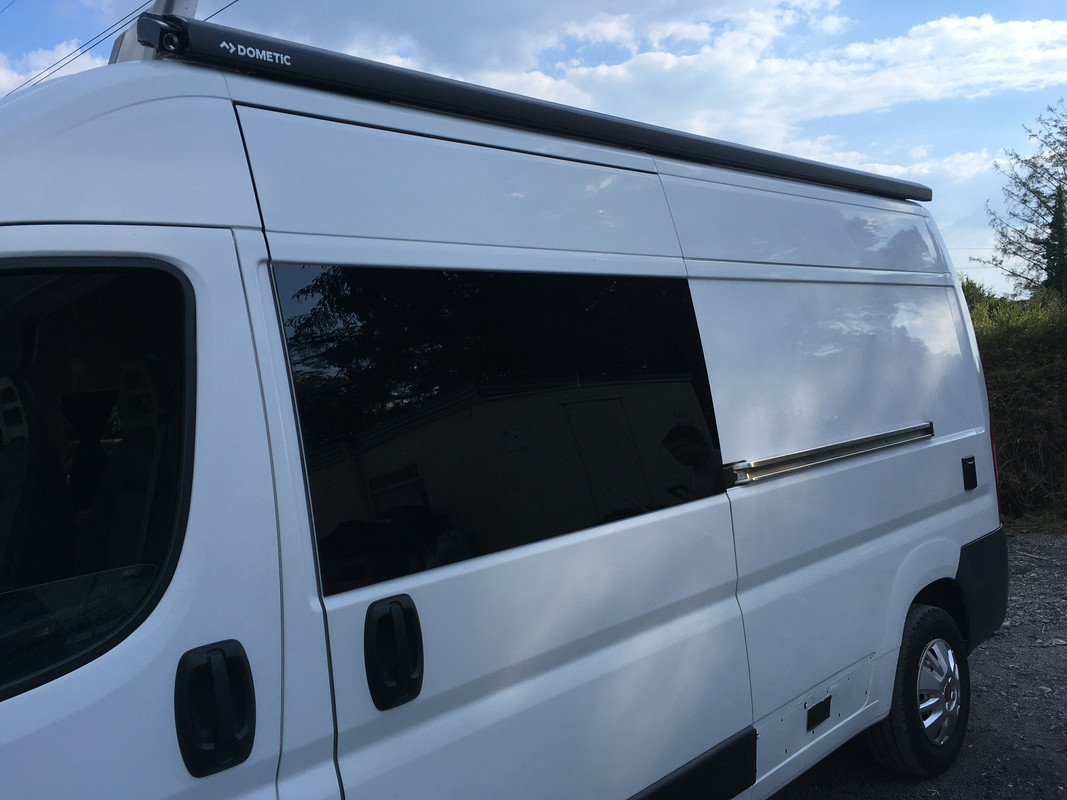
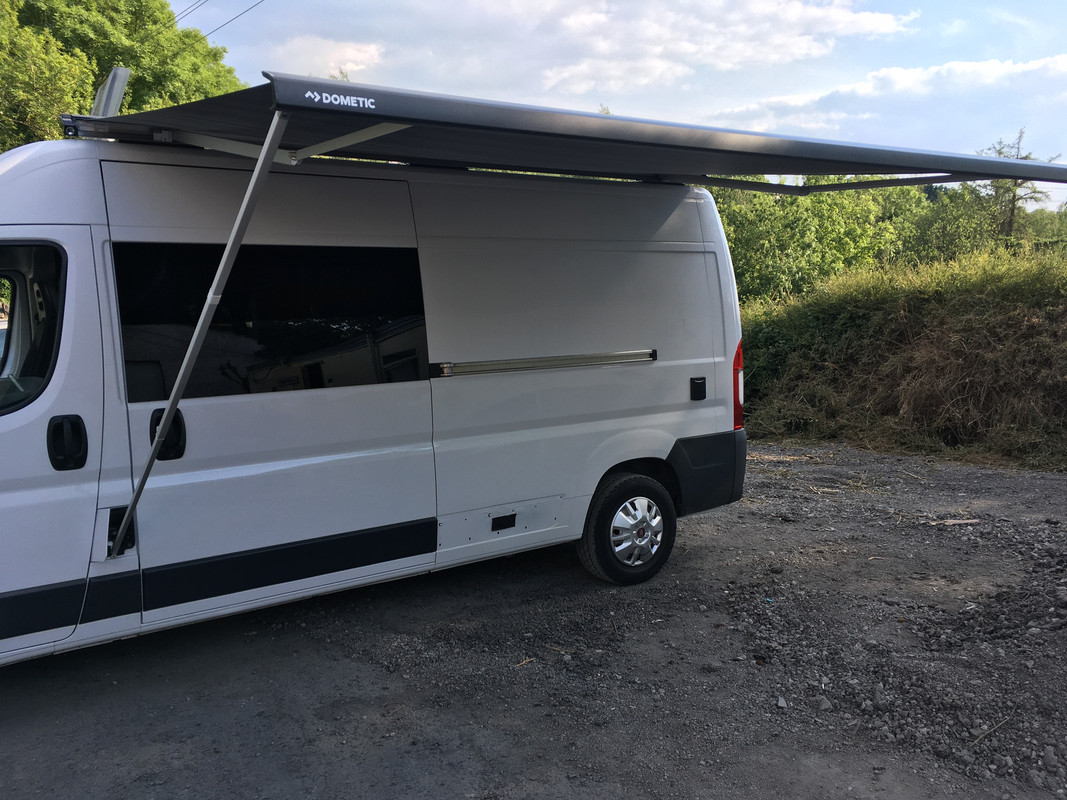
    This dometic awning kit is specifically for the Boxer/Relay/Ducato and is relatively easy to fit. We had the benefit of having fitted an identical one to another Ducato last year, so we were a lot more efficient this time around.

    It uses extruded aluminium brackets which are attached to the roof rack mounting points.

    5-F74-C049-BD0-B-4-D80-8817-7873517-F3-FB2.jpg

    The awning then clips on to the brackets and is bolted in.

    C6-AA13-E9-CEFD-48-B5-9183-C744-C54-E2-E49.jpg

    Blind comes out....
    C7-F8992-A-E339-41-FA-96-A7-FBC8331-AECE9.jpg

    Still need to fix anchoring clips onto the body, sorta debating where exactly to put them at the moment.


  • Advertisement
  • Registered Users, Registered Users 2 Posts: 14,907 ✭✭✭✭CJhaughey


    Those Dometics look slick, a lot neater than the Fiamma.


  • Registered Users, Registered Users 2 Posts: 73,477 ✭✭✭✭colm_mcm


    Bumper and grille properly on


    camper-front.jpg


  • Registered Users, Registered Users 2 Posts: 73,477 ✭✭✭✭colm_mcm


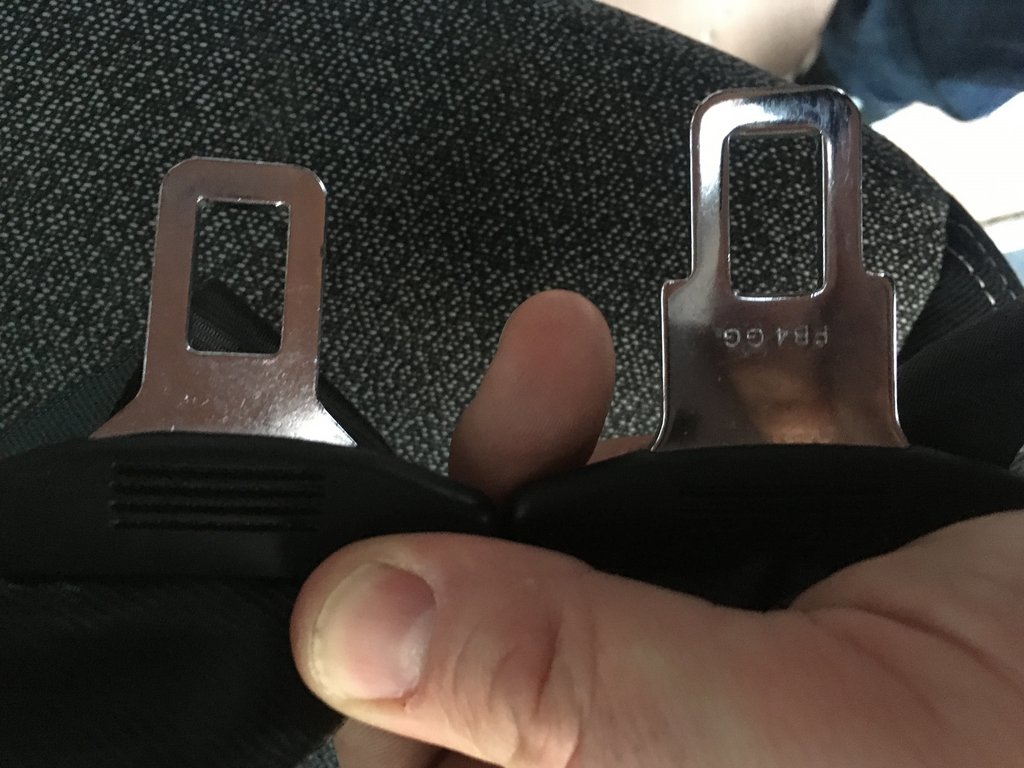
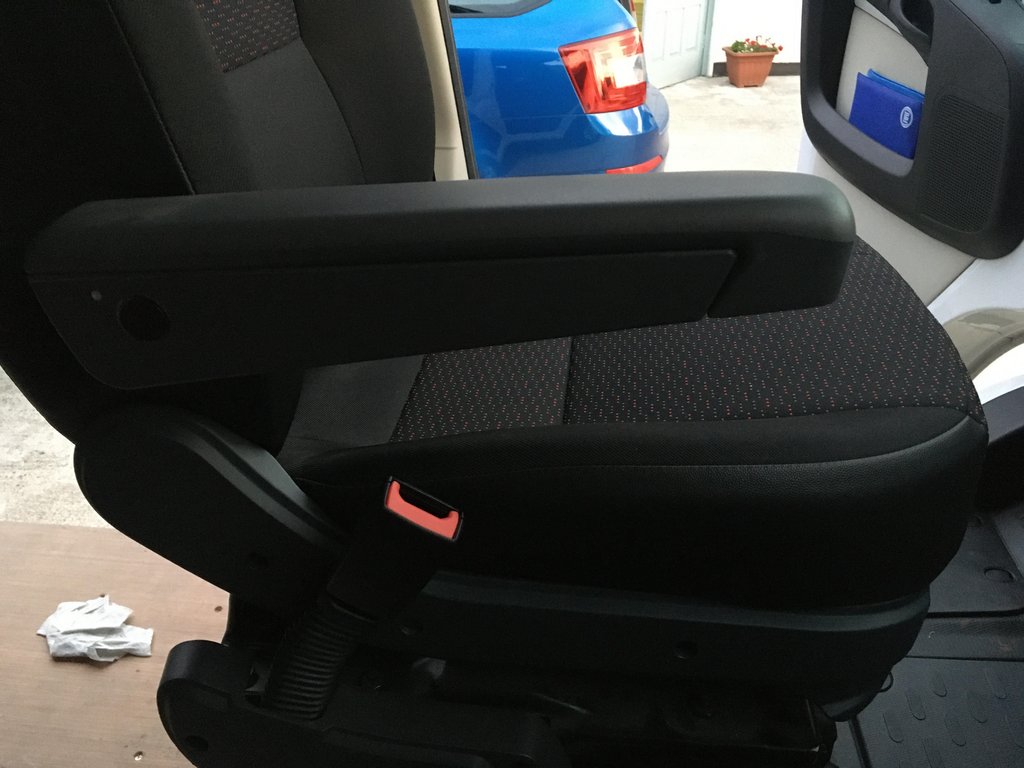
    We got a left hand drive drivers seat for the passenger side way back, but so that the middle passenger and outer passenger on the old double seat didn't get buckles mixed up, Fiat in their wisdom make the drivers buckle and the centre seat buckle the same, and make the passenger one narrower:
    buckles.jpg

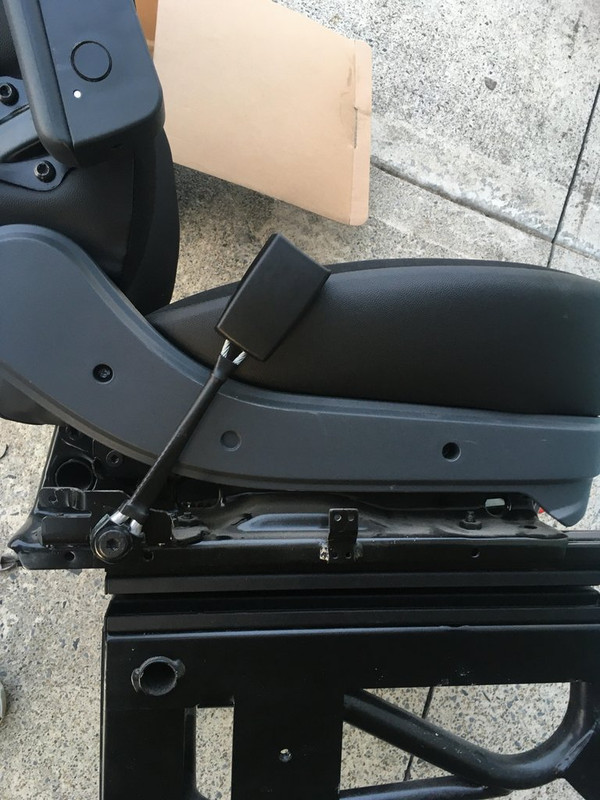
    So it's a fairly straightforward job swapping the buckle from the centre seat across to the new passenger seat:
    Seat-belt-swap.jpg

    And that would normally be the end of it.
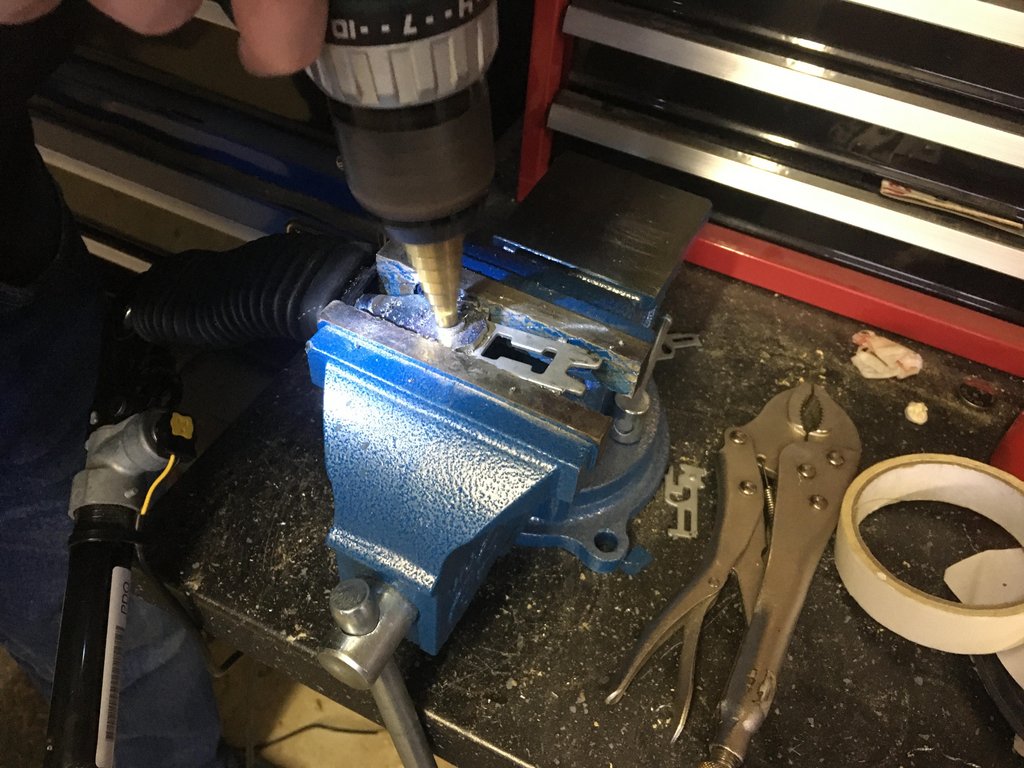
    However, we wanted the nice gaiter the same as the drivers side has. Not as straightforward as sliding it off of course
    buckle-surgery.jpg
    This old mechanism gave up its life for our sillyness. Had to be mindful that pretensioners are explosive and dangerous.

    new-buckle.jpg

    Only a small job, but very satisfying at the same time :)


  • Registered Users, Registered Users 2 Posts: 73,477 ✭✭✭✭colm_mcm


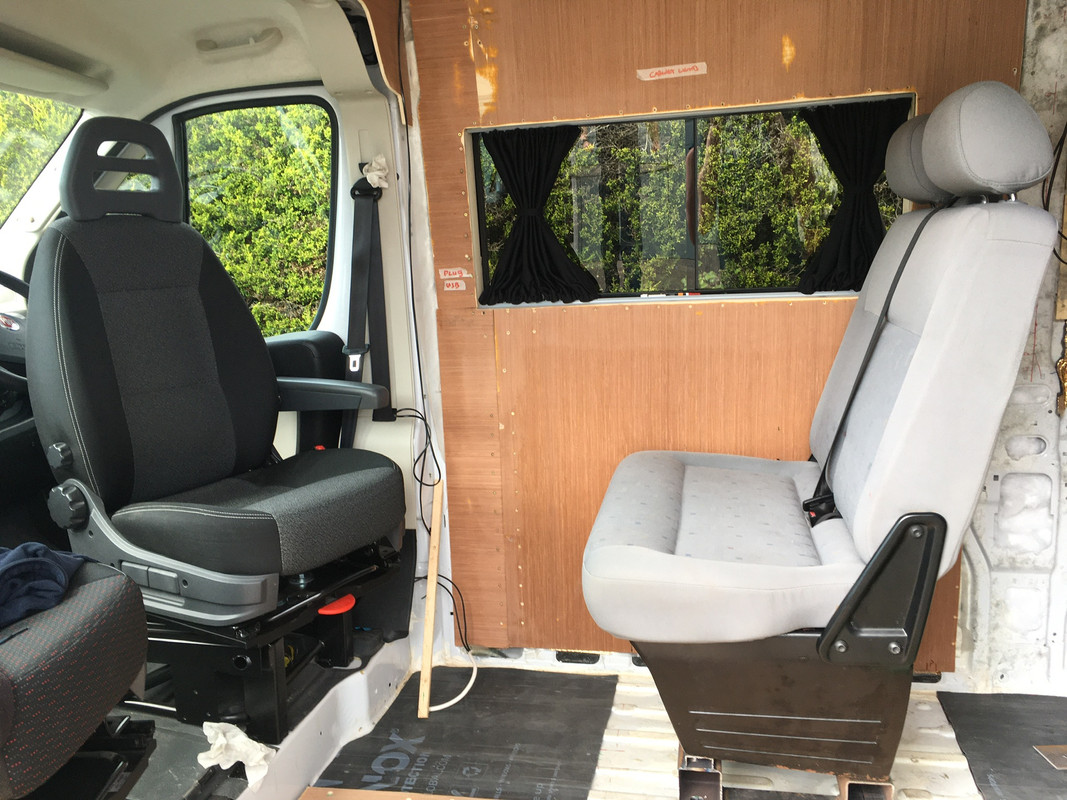
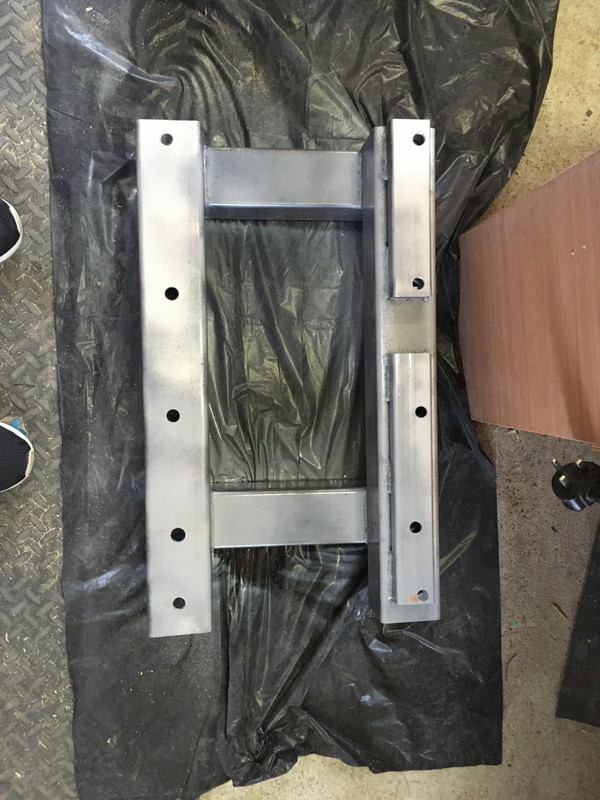
    Moving back the van, we made a start on the rear passenger seat.
    The seat is from a VW Transporter Shuttle, and is just the right width to have a nice sized kitchen and walkway.

    We needed to raise it to be in line with the front seats, and also be at the right height for the false floor we we will be building in front of it.

    Frame is welded together. some more reinforcement is going in, and 10 high-strength bolts going through.


    It also folds flat. More on that later.

    DC70-E0-BC-4994-4-CF9-A974-E17665435-C70.jpg


  • Registered Users, Registered Users 2 Posts: 73,477 ✭✭✭✭colm_mcm


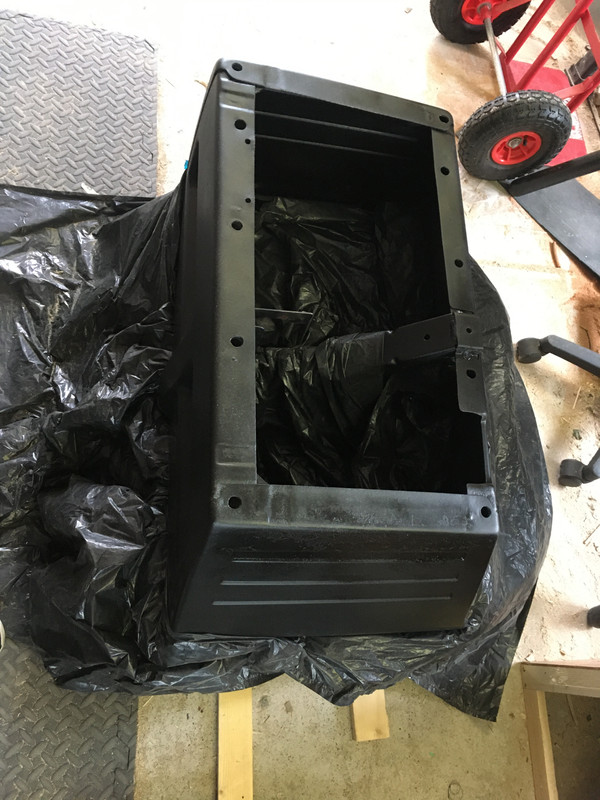
    Doing a bit of painting to protect the frame and underside of the seat. It’ll be all covered up anyway but easier to take an hour out now to do it than be worrying about it later.

    2-BCE3313-3019-433-A-9108-D0-E9-F04-CA6-B0.jpg

    9-B7945-FE-7108-4269-B3-ED-A63-CE59-D86-A3.jpg


  • Advertisement
Advertisement