Advertisement
If you have a new account but are having problems posting or verifying your account, please email us on hello@boards.ie for help. Thanks :)
Hello all! Please ensure that you are posting a new thread or question in the appropriate forum. The Feedback forum is overwhelmed with questions that are having to be moved elsewhere. If you need help to verify your account contact hello@boards.ie
Hi all! We have been experiencing an issue on site where threads have been missing the latest postings. The platform host Vanilla are working on this issue. A workaround that has been used by some is to navigate back from 1 to 10+ pages to re-sync the thread and this will then show the latest posts. Thanks, Mike.
Hi there,
There is an issue with role permissions that is being worked on at the moment.
If you are having trouble with access or permissions on regional forums please post here to get access: https://www.boards.ie/discussion/2058365403/you-do-not-have-permission-for-that#latest

Fiat Ducato camper build

1356789

Comments

  • Registered Users Posts: 4,349 ✭✭✭Jimmy Garlic


    Great thread.


  • Registered Users, Registered Users 2 Posts: 73,477 ✭✭✭✭colm_mcm


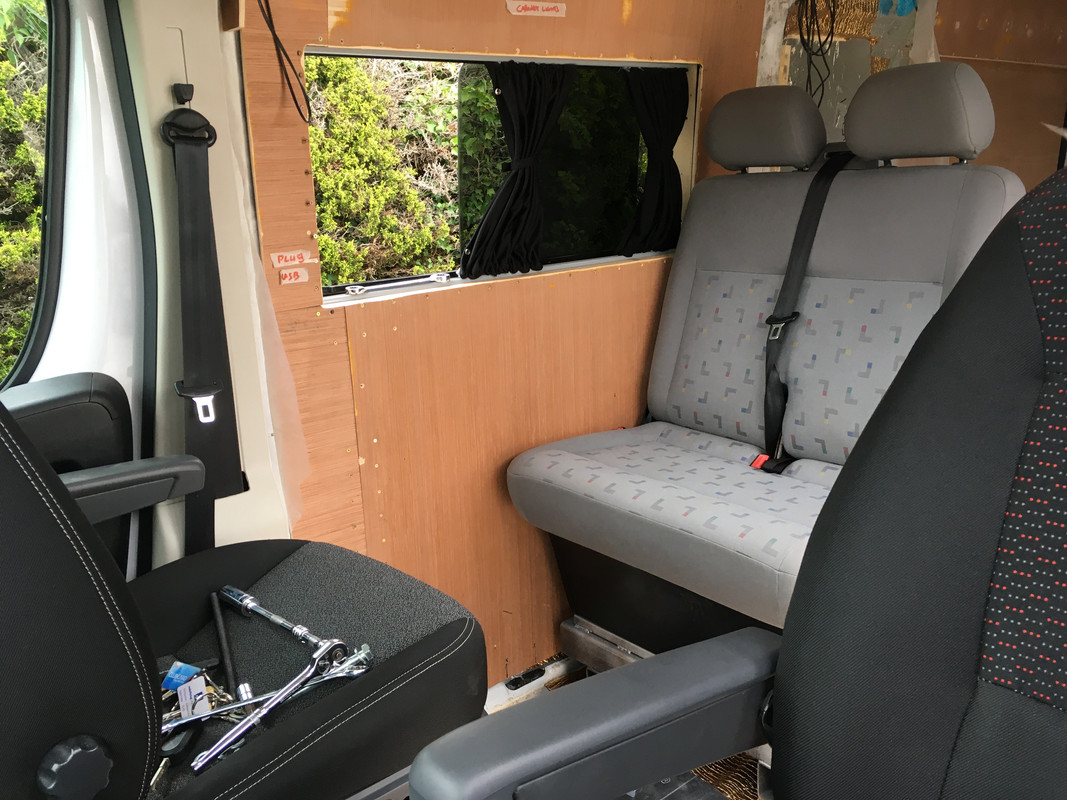
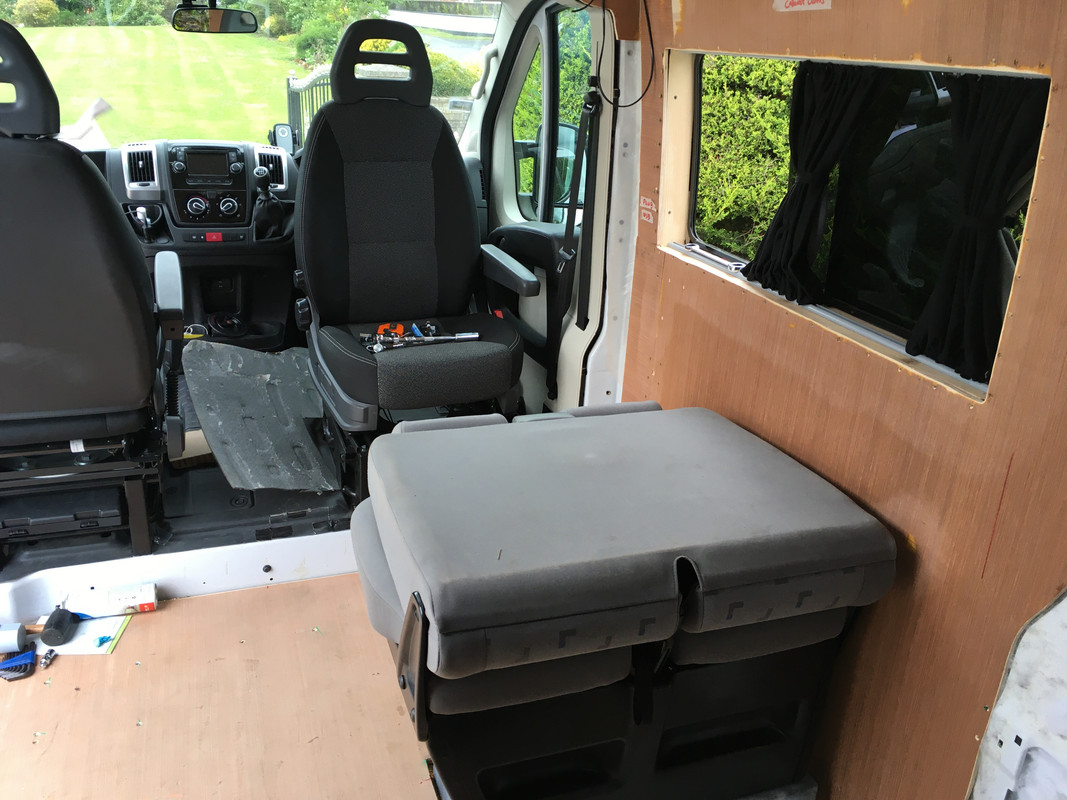
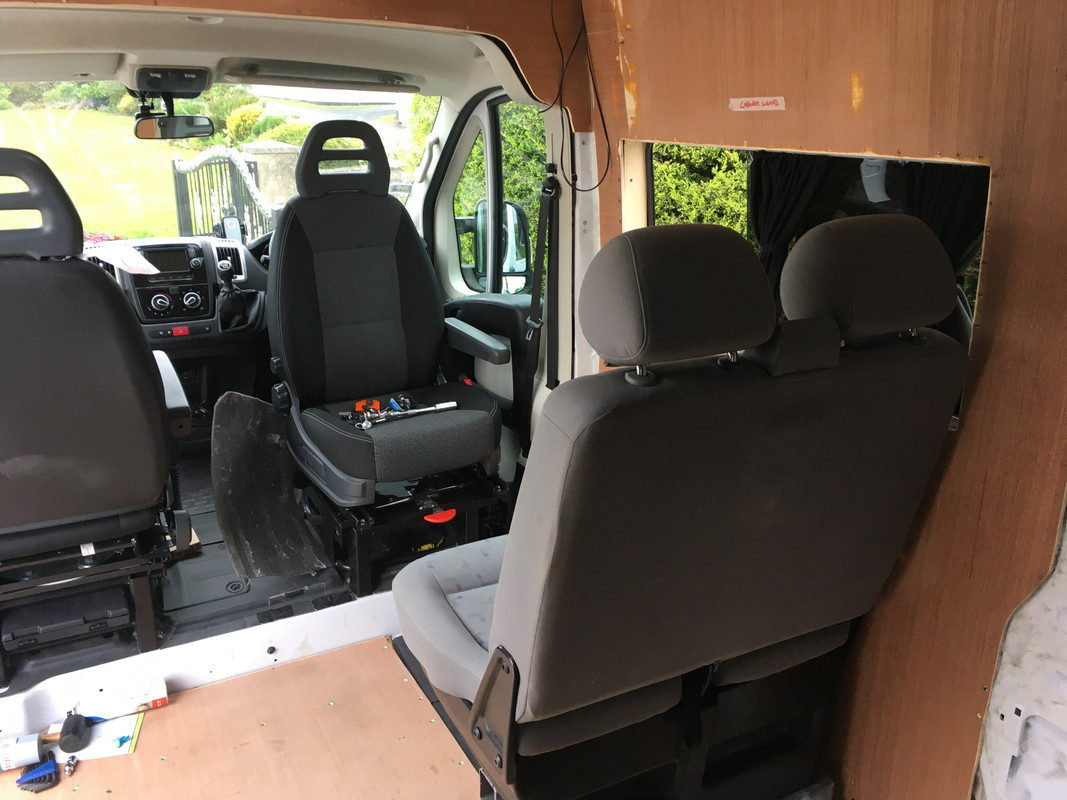
    Seat is now in. Serious amount of planning and measuring and cut hands and broken drill bits to get this to line up with the chassis. We went a bit overboard with securing it, but it feels rock solid.

    363-AC0-F8-3947-4842-9-B76-0-BAA33-C07-F8-E.jpg

    89-A65407-0-BD3-4-F69-87-DF-C980-EBE66-F72.jpg[

    CEBBC29-C-A0-A8-4198-8-AB9-8772-B7-DB1-C43.jpg


  • Registered Users, Registered Users 2 Posts: 2,830 ✭✭✭air


    Great work so far, coming along very nicely.

    Did you install plates under the van to spread the load on the bolts or is that where the silver frame went?

    Have you given any thought regarding how much do you anticipate the VRT will be when the time comes?


  • Registered Users, Registered Users 2 Posts: 73,477 ✭✭✭✭colm_mcm


    Yes, there are spreader plates underneath. It goes through the chassis and through the floor at different points.

    VRT is anyone’s guess.


  • Registered Users, Registered Users 2 Posts: 73,477 ✭✭✭✭colm_mcm


    0-BD9213-D-A8-EC-4039-AF8-A-2-E7-A4-E509662.jpg

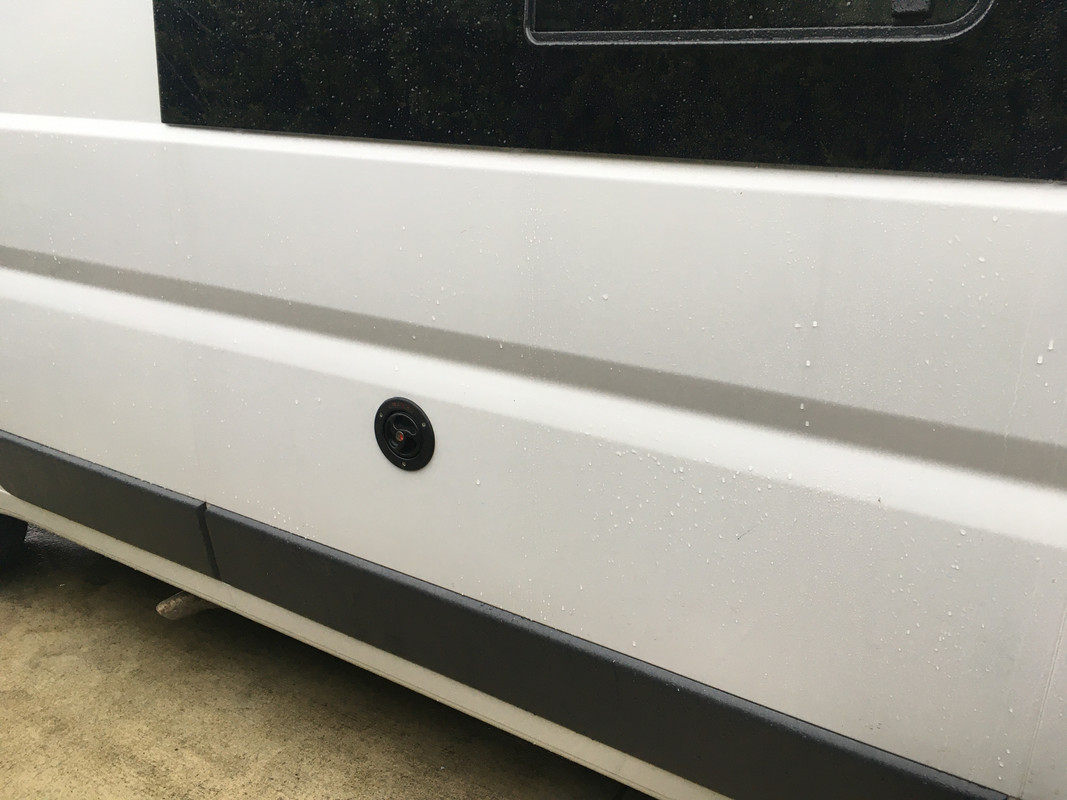
    Water fill gone in.

    Bad timing weather wise.

    9-C1-A53-E6-E491-49-CF-80-C2-97507-B85234-E.jpg


  • Registered Users, Registered Users 2 Posts: 73,477 ✭✭✭✭colm_mcm


    669388-A1-2897-4-DC4-94-A6-0-E95-B51-C51-F9.jpg

    E7092-D1-F-40-DC-4-D68-83-F6-A4-C251-B39-F34.jpg

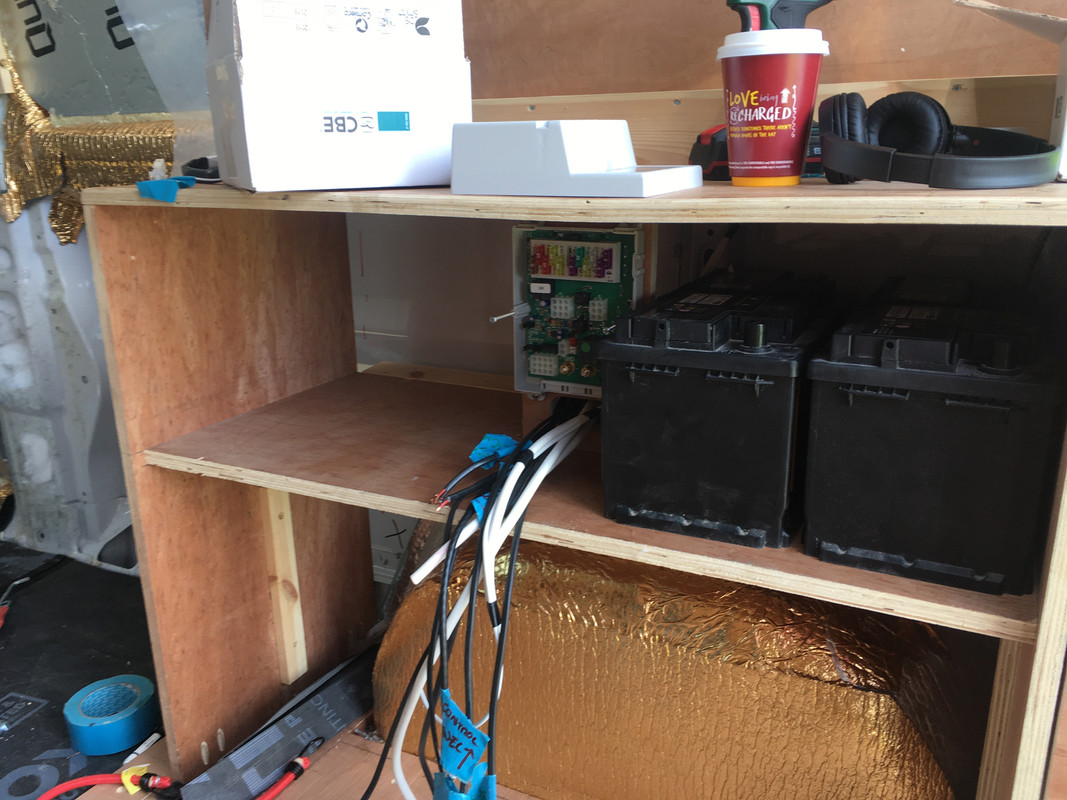
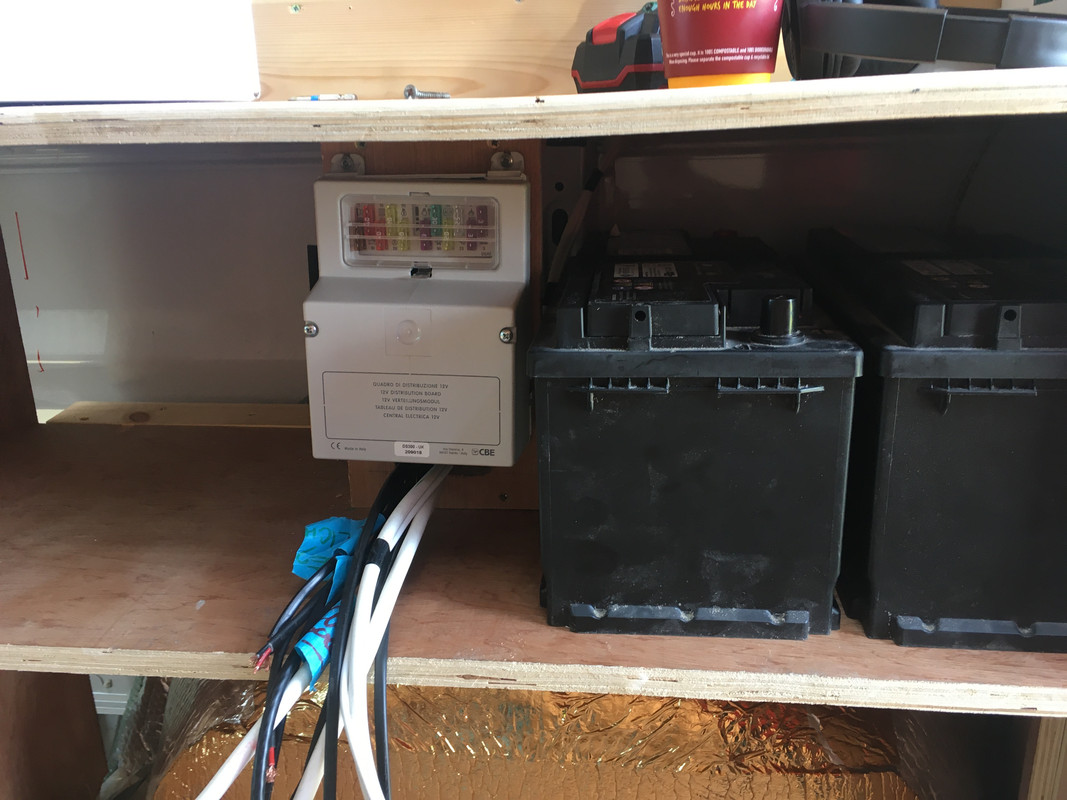
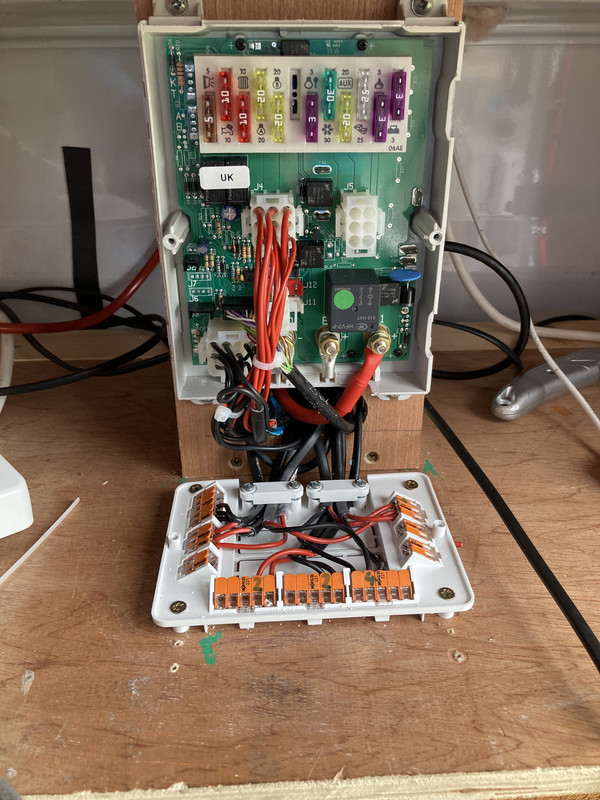
    So this rats nest is mostly 12 volt wiring, which will feed into the CBE panel in the middle.
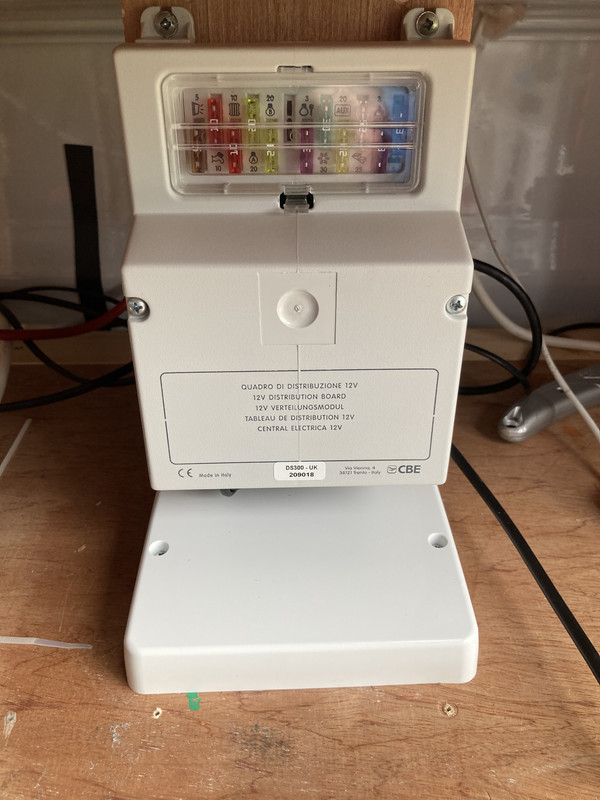
    The CBE panel is a 12v fuse box, split charge relay, takes input from the mains to battery charger, and also takes in signals from various sensors like tank levels, temperature sensors etc, as well as having an external control panel.
    The 230v panel is on the passenger side near the electrical hook-up socket.

    The 2 leisure batteries will live roughly where they are now.


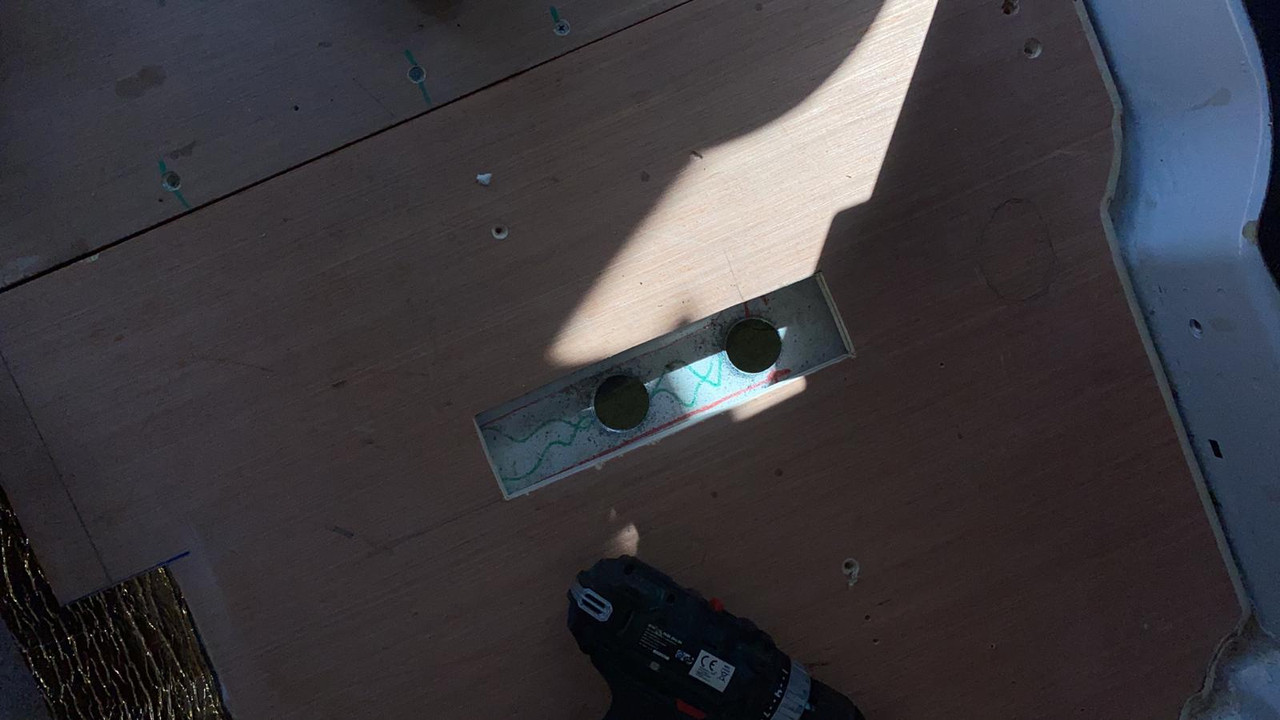
    Holes also cut for the gas space heater inlet and exhaust.
    D7734753-EF75-4-E89-B601-3-B71-A6-C5-FF51.jpg

    Feels like we got a tonne of stuff done in the last while


  • Registered Users, Registered Users 2 Posts: 2,081 ✭✭✭theguzman


    Brilliant thread, you could start a full time business at camper conversions, the amount of people I heard on about campers for travel and caravans and mobile homes for isolating themselves away from elderly parents etc. Best of luck with this.


  • Registered Users, Registered Users 2 Posts: 73,477 ✭✭✭✭colm_mcm


    Organisation of the rats nest.

    D742-D4-C0-EC6-E-475-E-B377-D30-AA74-E7-C08.jpg


    Covering it up for now!
    8-EE97783-C8-CA-4442-A079-5-B5533-AD8-ACA.jpg


  • Posts: 0 [Deleted User]


    colm_mcm wrote: »
    Organisation of the rats nest.

    D742-D4-C0-EC6-E-475-E-B377-D30-AA74-E7-C08.jpg


    Covering it up for now!
    8-EE97783-C8-CA-4442-A079-5-B5533-AD8-ACA.jpg

    Looks tidy. Fair play


  • Registered Users, Registered Users 2 Posts: 73,477 ✭✭✭✭colm_mcm


    It’ll be tidier once I organize how a few of those cables are fed in.


  • Advertisement
  • Registered Users, Registered Users 2 Posts: 73,477 ✭✭✭✭colm_mcm


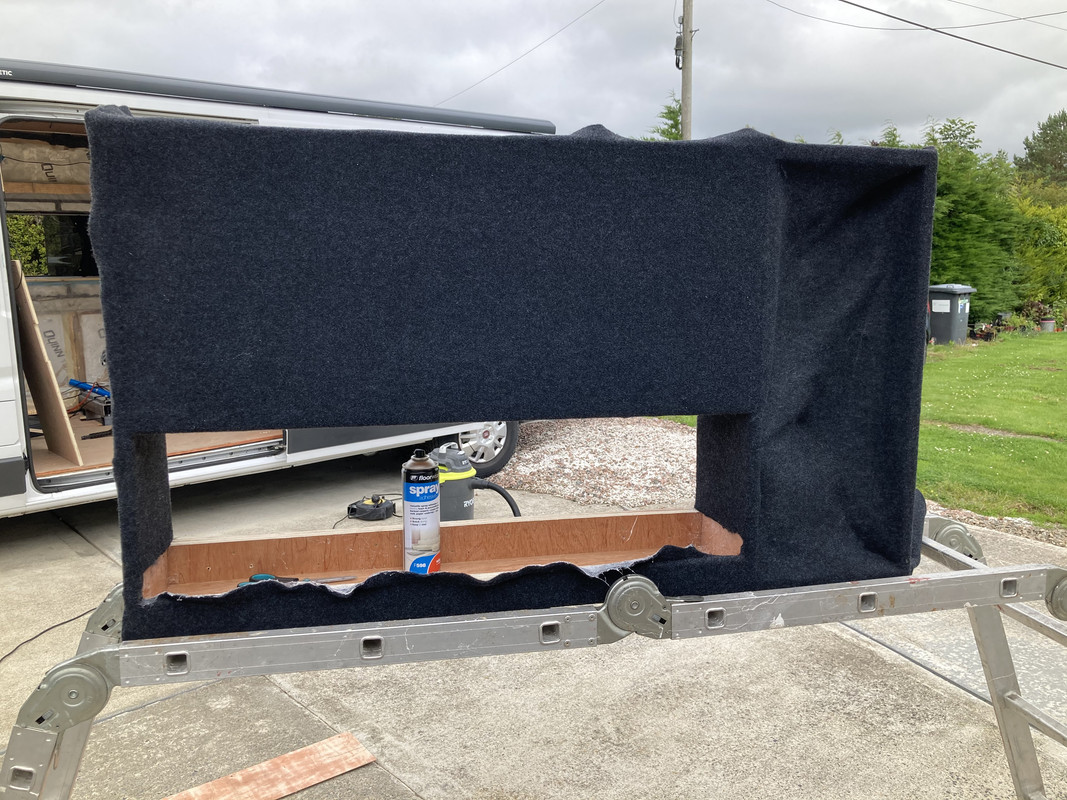
    Started work on trimming the rear boxes.
    6-A9630-B1-D6-DF-4951-952-A-111-A3-D12-E8-AA.jpg

    Very fiddly but oddly satisfying too

    C97-B4-B37-2-C3-F-4-E95-8-CDD-510-D0145-FB58.jpg

    Still have another compartment on it to finish but at least that’s one side done.
    Need to sort the door now.

    Sort of test fitting it here. Floor is kinda in now too but not stuck down.
    302-D5124-7875-4-F45-B735-ACBDEB938578.jpg


  • Registered Users, Registered Users 2 Posts: 6,868 ✭✭✭Alkers


    Which stretch-fit trim did you use? Is it easy to pick up? I'd love to do my van but I'm pretty useless at that kind of stuff


  • Registered Users, Registered Users 2 Posts: 73,477 ✭✭✭✭colm_mcm


    Alkers wrote: »
    Which stretch-fit trim did you use? Is it easy to pick up? I'd love to do my van but I'm pretty useless at that kind of stuff

    Came from the Uk, it’s not the most popular one - Veltrim, it’s a cheaper one, from a company called Vandalised - which is just what we need for this area.
    Found it exactly the same to work with, not as stretchy as Veltrim but not as likely to overstretch at the same time.

    Don’t worry about not being good at it, the material is quite forgiving and you get the hang of it very quickly. If it goes wrong you can just peel it off again.


  • Registered Users, Registered Users 2 Posts: 36,404 ✭✭✭✭BorneTobyWilde


    This is same type van, pretty unique


  • Registered Users, Registered Users 2 Posts: 73,477 ✭✭✭✭colm_mcm


    This is same type van, pretty unique

    Absolutely. Every van is a product of a wish list. She obviously wanted a cosy home and workspace.

    This will be completely different!


  • Registered Users, Registered Users 2 Posts: 73,477 ✭✭✭✭colm_mcm


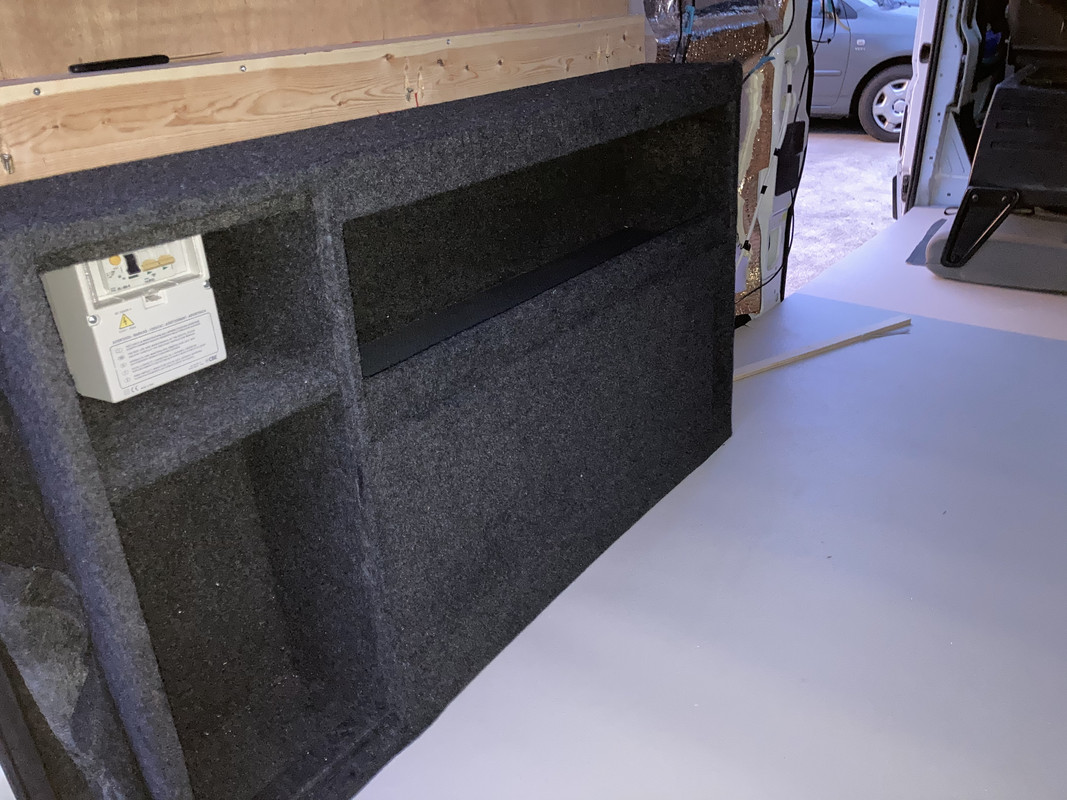
    Made a start on lining the drivers side box

    7-E8-FACC2-9-EAC-4-C60-97-A6-C408-F7-F4-E4-AE.jpg


  • Registered Users, Registered Users 2 Posts: 73,477 ✭✭✭✭colm_mcm


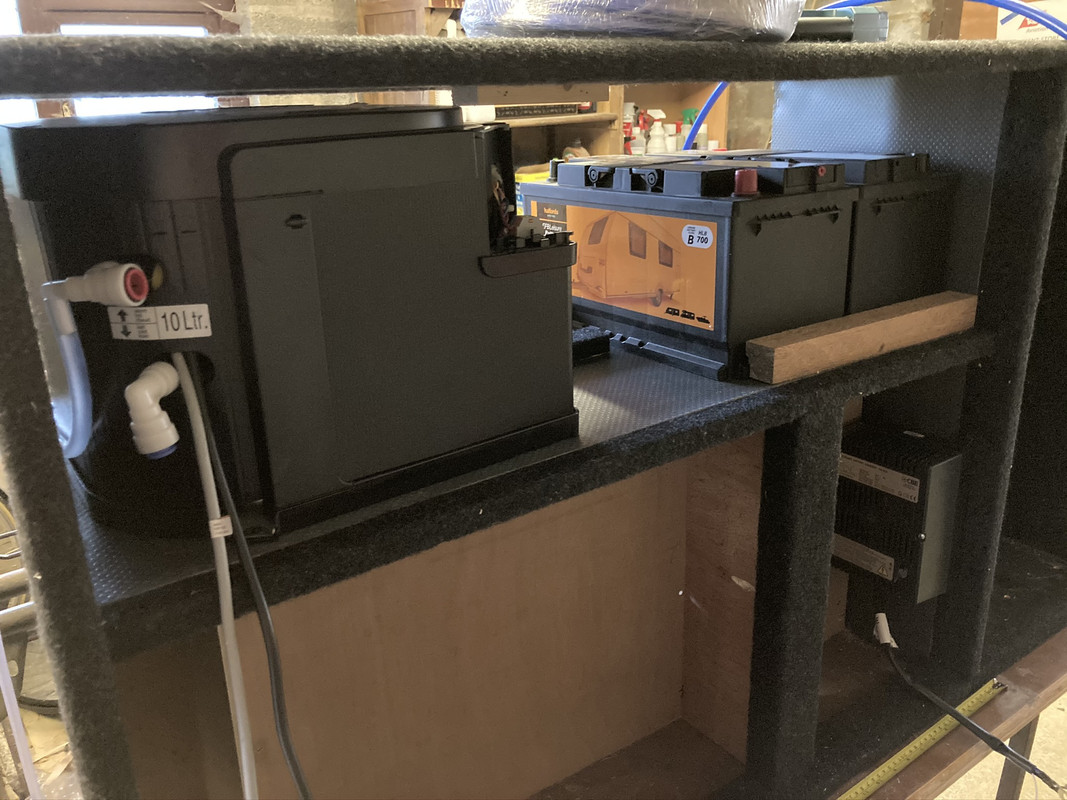
    The black box on the left is a Truma gas boiler. It heats 10l of water for shower/sink. It can be ran on gas or electricity, or both at the same time to heat up faster.

    (Not sure if you can run the gas off the electricity and the electricity off the gas and save 200 pounds per year as per Father Purcel, but sure we might try)

    86-F5-DFA4-119-E-4325-91-D1-73-FF192-CB6-E5.jpg

    The leisure batteries are in position. These will be charged up by the van alternator when the engine is running, and also by the mains charger (bottom right in the picture) when electric hook up is connected.

    The batteries are held in with blocks of teak (there are lugs at the bottom of the battery for this kind of setup) at the moment which is doing the job perfectly well, but we might opt for a more elaborate setup if we think of one.


  • Registered Users, Registered Users 2 Posts: 73,477 ✭✭✭✭colm_mcm


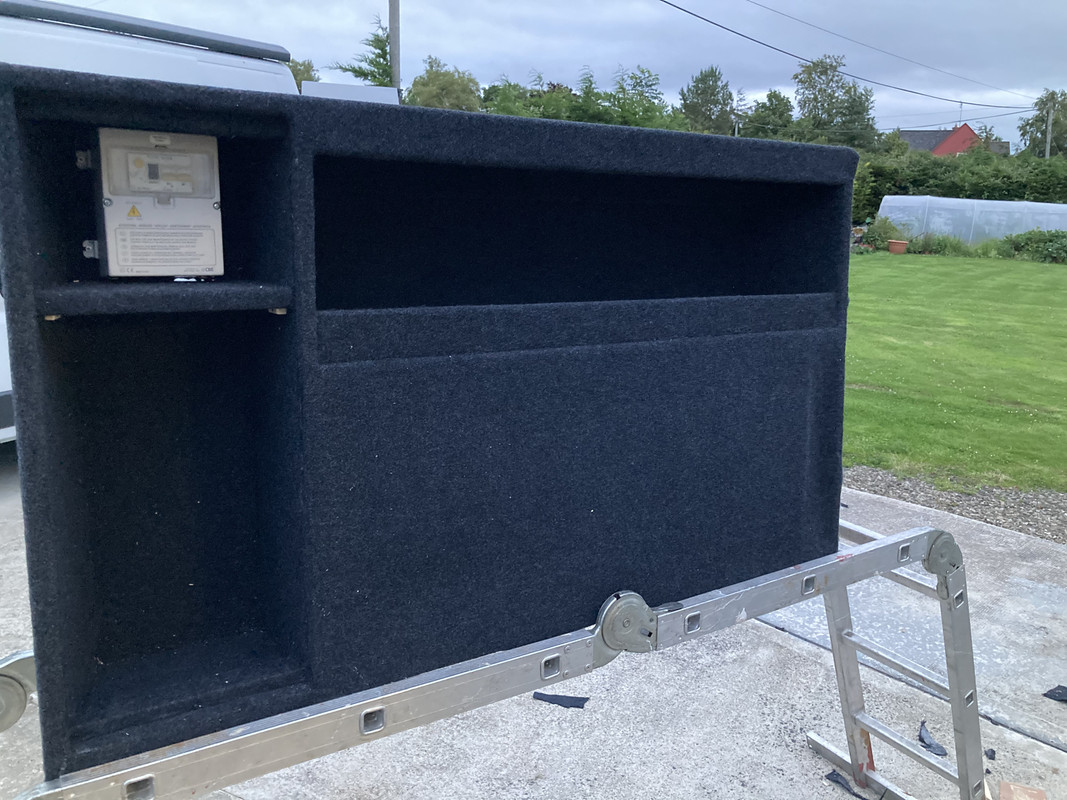
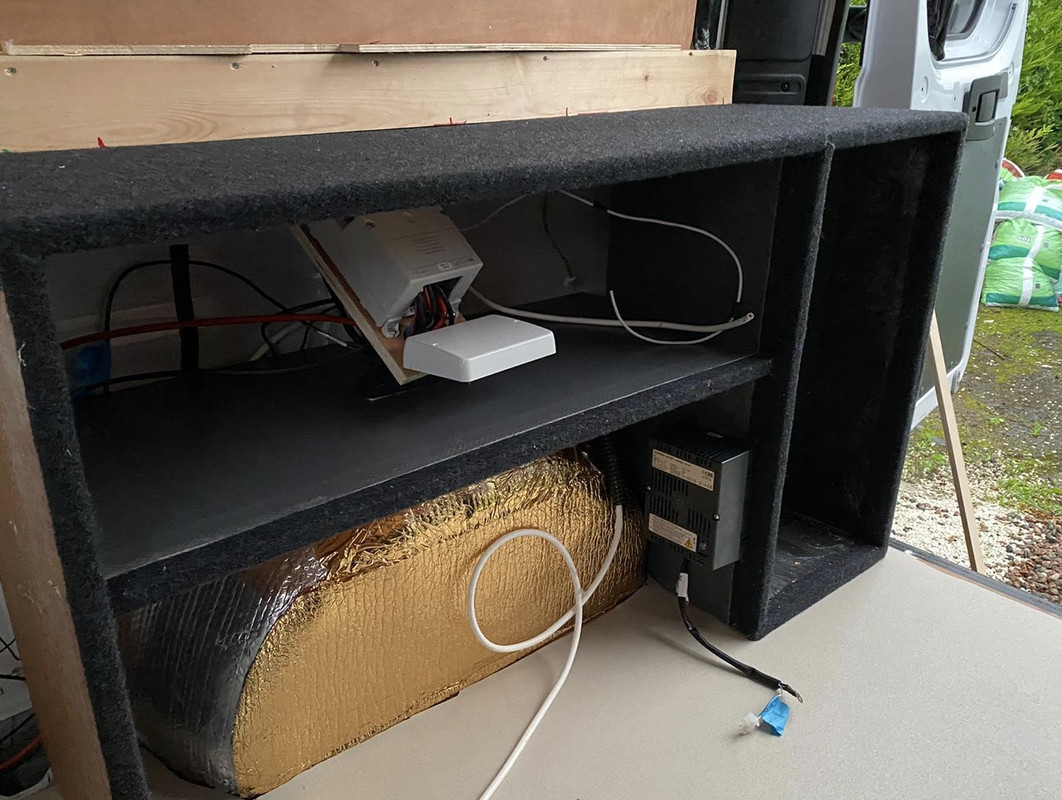
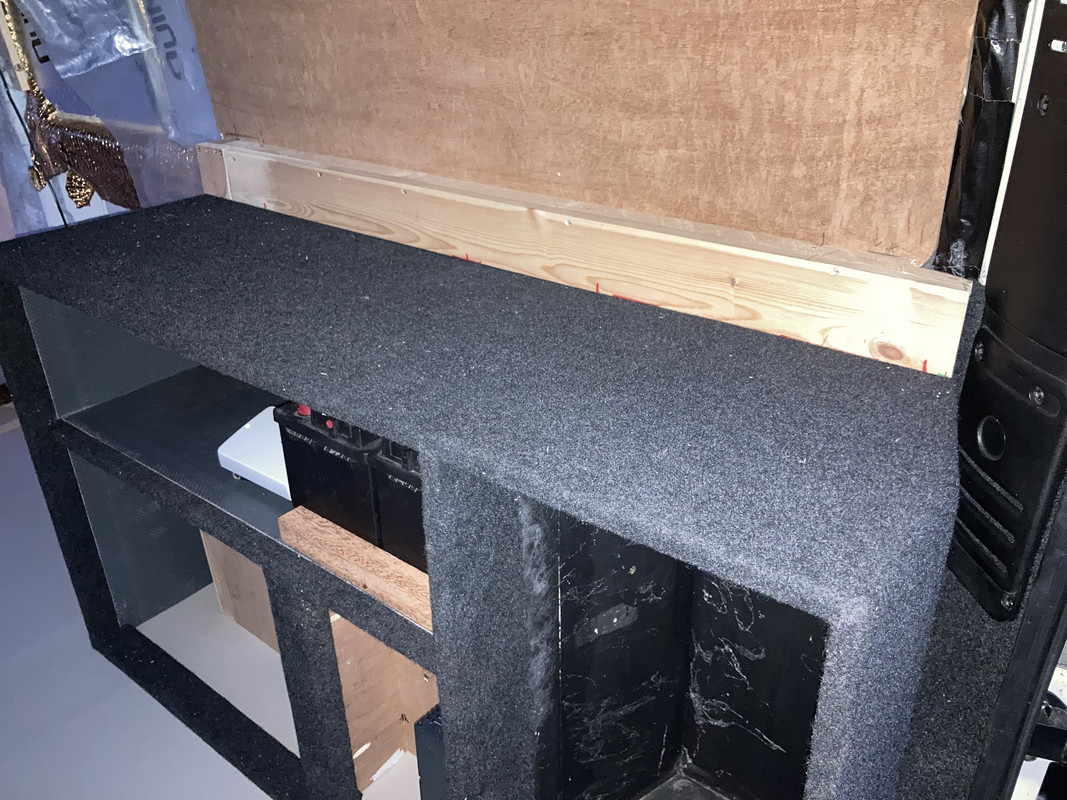
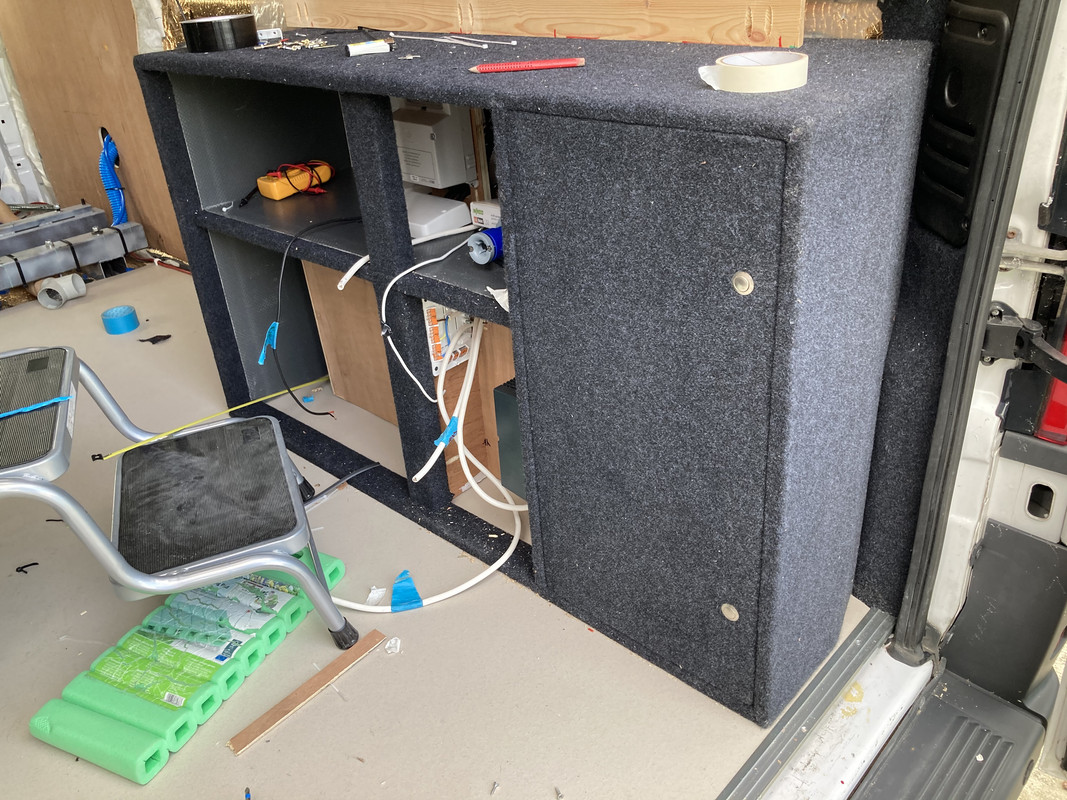
    Did a bit more to the drivers side box, boxed off the wheelarch and added support for the battery shelf.

    This will be the busiest part of the van, in that the water heating, batteries, battery charging, electrical distribution, gas bottle, and plumbing distribution will all be in this one box, in various compartments.
    One of our criteria was to maximize storage space and boot space without getting an under sling gas tank, so a lot of planning has gone into the layout of these things that kill your interior space. Hopefully we have got it right!

    D80-E228-C-677-D-47-DC-9-EB1-48-A6310-E8-A7-C.jpg


  • Registered Users, Registered Users 2 Posts: 73,477 ✭✭✭✭colm_mcm


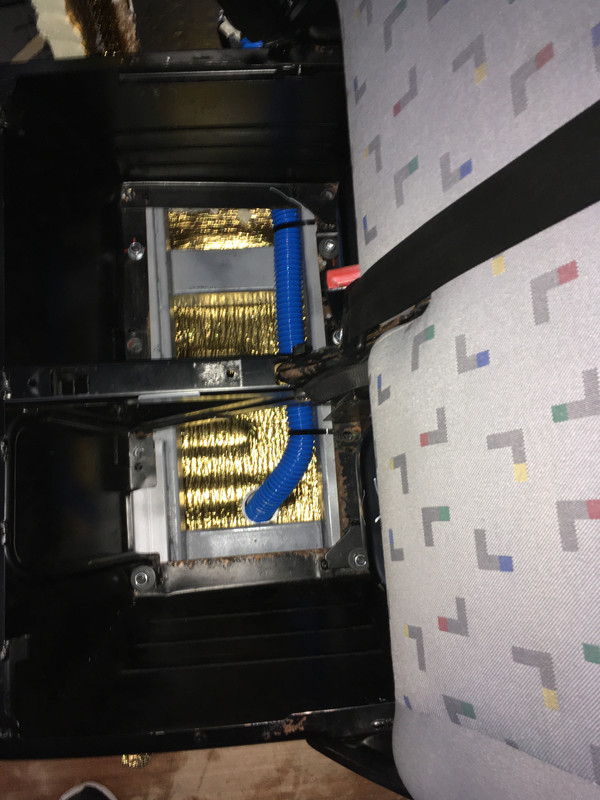
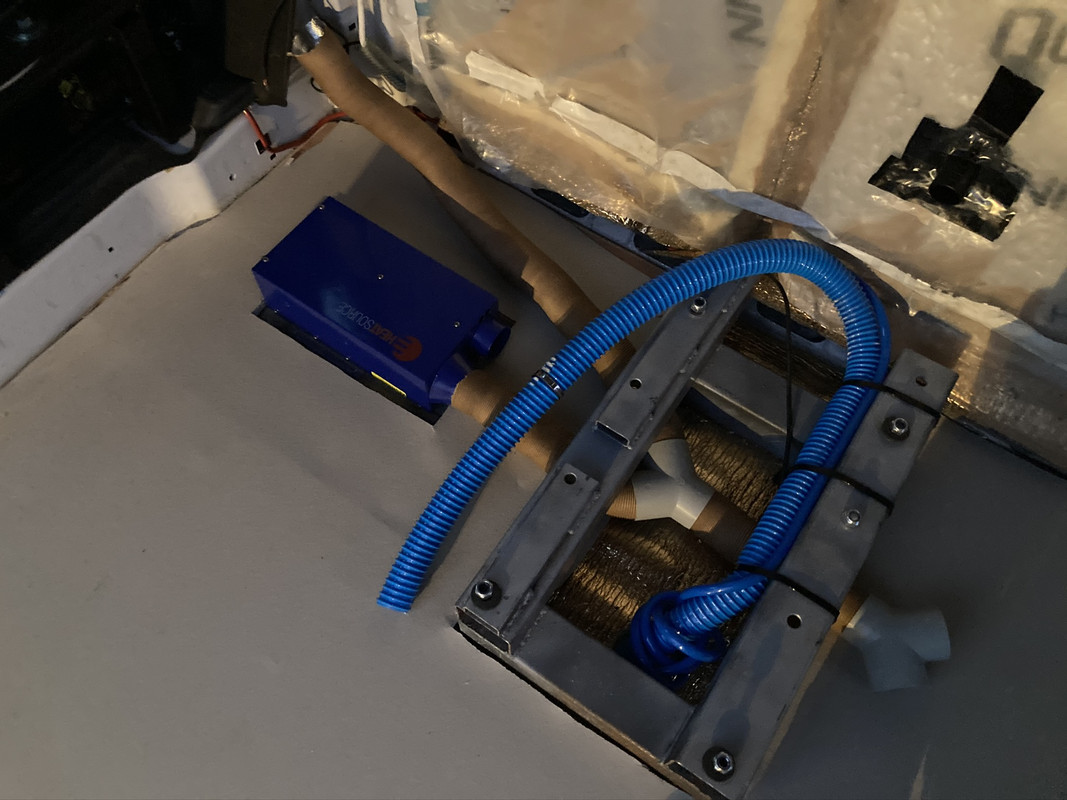
    This is a Heat Source gas air heater, it will blow hot air out 3 different ducts (one in bathroom, one behind seats pointing backwards, and one pointing towards the kitchen)
    6-BC2-DD34-FC85-4-AA5-BE1-C-FAD757-C4-B74-D.jpg

    There will be a false floor build around this, flush with the front cabin floor.

    The brown pipe is the air ducting, the big blue pipe is the water fill, and the small blue pipe is a breather pipe for the tank so it’ll fill easier. They’ve to both be connected to the water filler (top right in the picture) yet.


  • Advertisement
  • Registered Users, Registered Users 2 Posts: 73,477 ✭✭✭✭colm_mcm


    C9366-C73-7560-409-E-B9-DD-F8-BCE02-CFF0-D.jpg
    F84-AF461-E56-C-42-FF-AFF7-3-FC2961626-E4.jpg

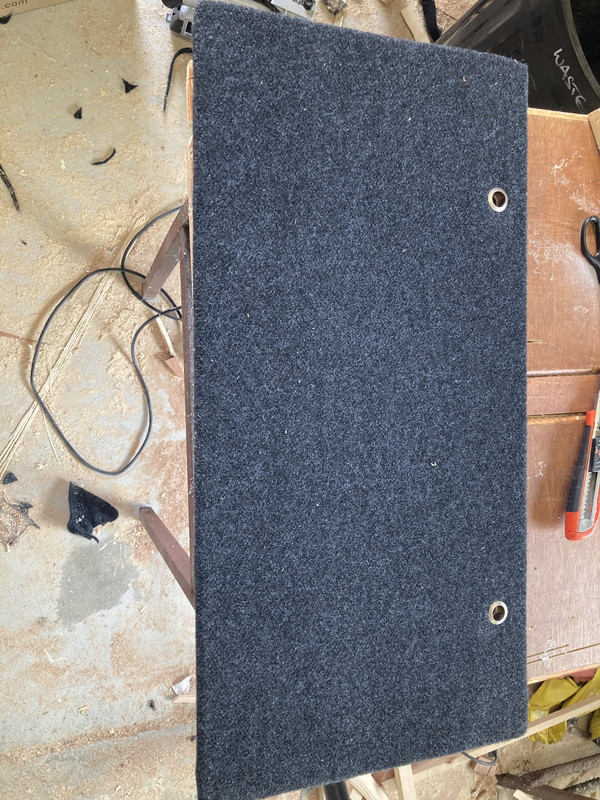
    Doing a bit of work on the storage box doors.
    Stretch carpet is a joy to work with.


    9292-CA75-C321-475-D-A079-E0-B2159-DB1-A5.jpg

    Test fitting the bid. Still fits!

    8-C2-C9247-B674-4594-9-E34-39607-EB278-E0.jpg


  • Registered Users, Registered Users 2 Posts: 73,477 ✭✭✭✭colm_mcm


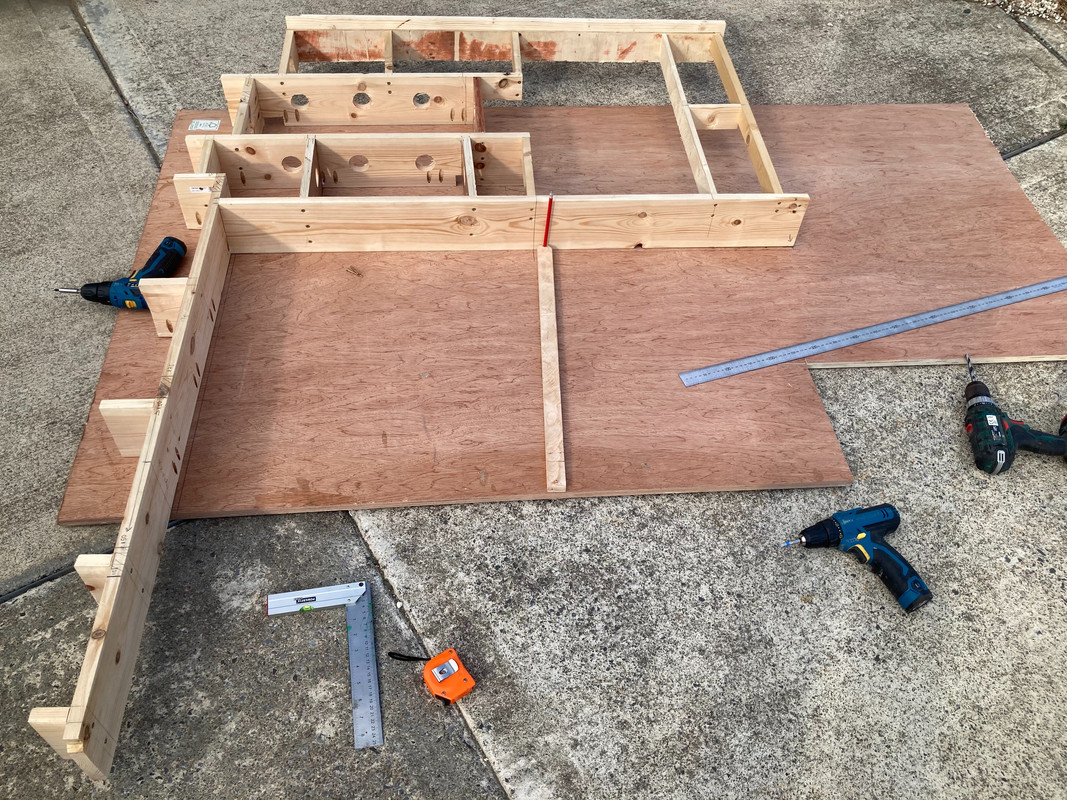
    More fun stuff today. Made the frame for the raised floor, which contains the heating unit, ducting etc, and is also the support for the bottom of the wall.

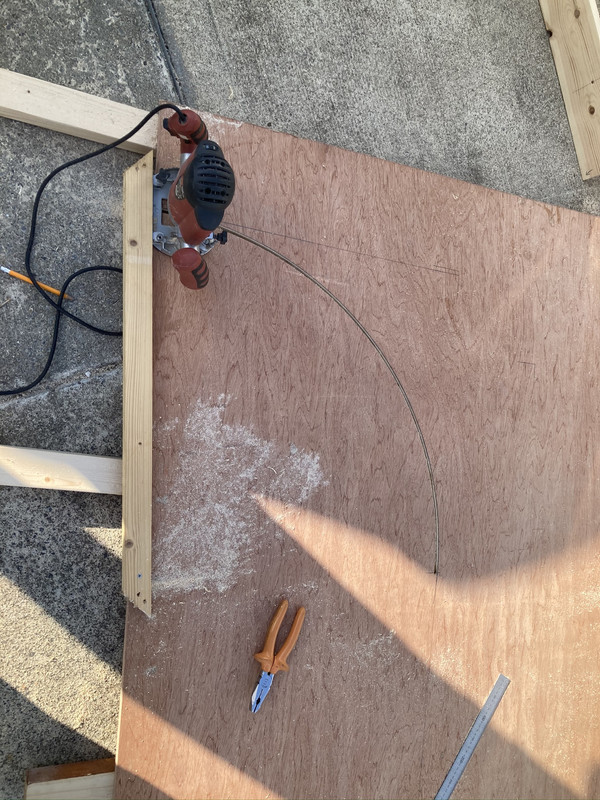
    Marking out the raised curved section with an improvised compass stick thing
    3587-C82-D-F301-44-AC-9-EA2-D9-B7911-F6-BFB.jpg

    Cutting out the shape with the router and more improvised bits of timber (don’t do this!)

    2-EEF41-E5-82-D4-467-D-9-D2-A-4-ED18-AC90881.jpg


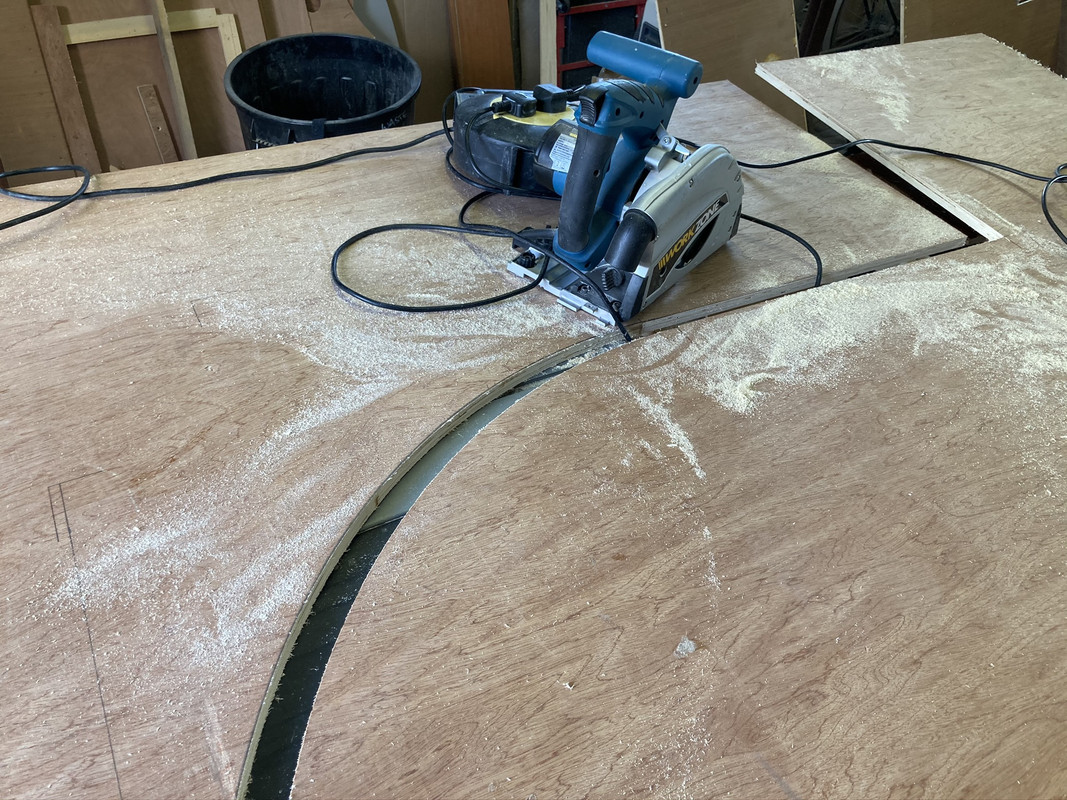
    Finishing off with the track saw
    10-BF702-B-A318-48-A8-B6-B0-76-EEC4926372.jpg


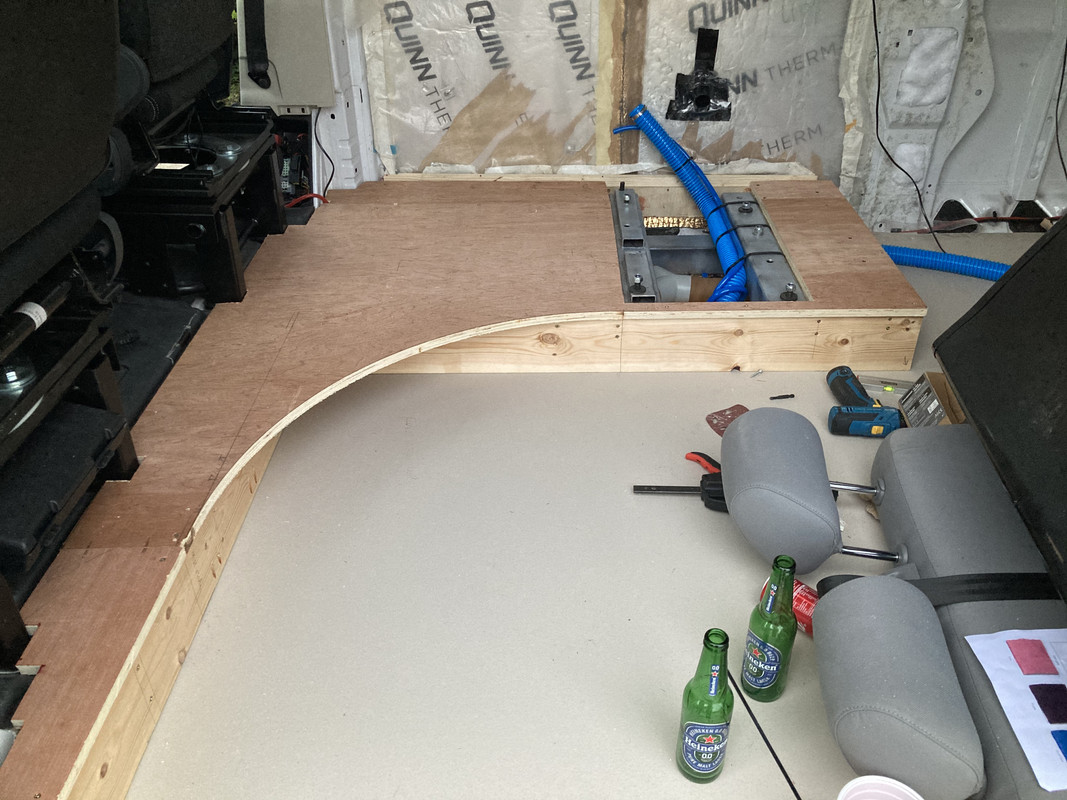
    Amazingly it all fitted first time, with no swearing.
    900-CF86-A-318-D-416-F-94-EF-E2058-D5-DB69-D.jpg

    url]

    Still need to do an access door to the heater, and to face off the curved step.


  • Registered Users, Registered Users 2 Posts: 24,644 ✭✭✭✭punisher5112


    Ah the good auld 0.0%>>> some great work there. Be smashing when done.


  • Registered Users, Registered Users 2 Posts: 73,477 ✭✭✭✭colm_mcm


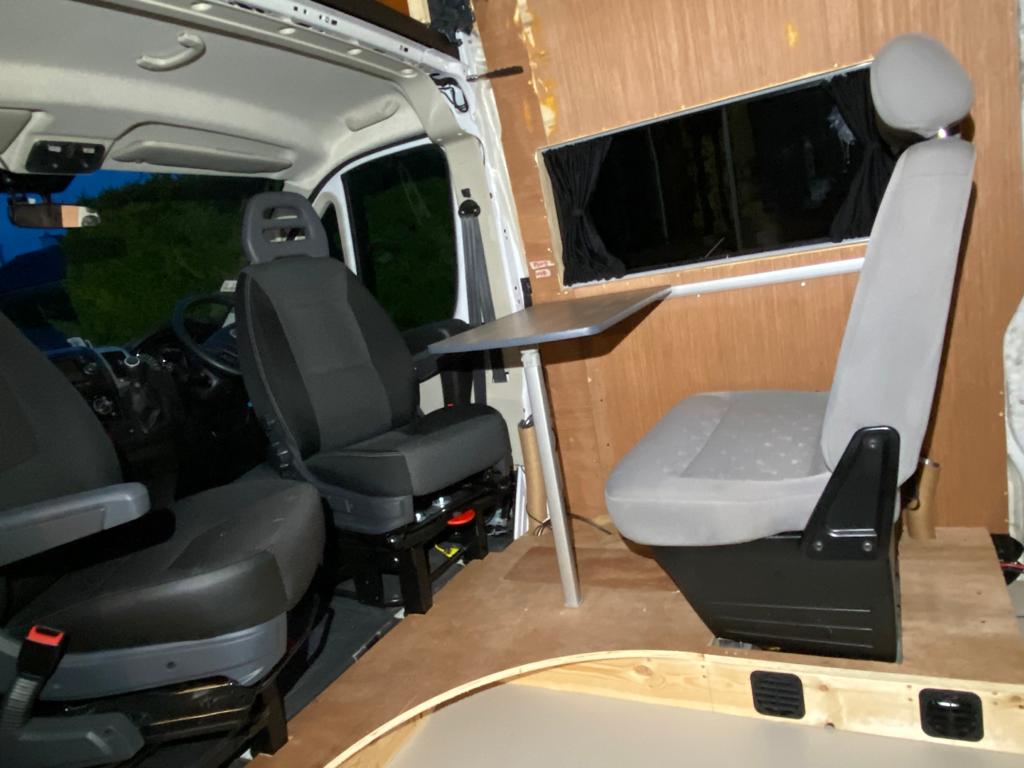
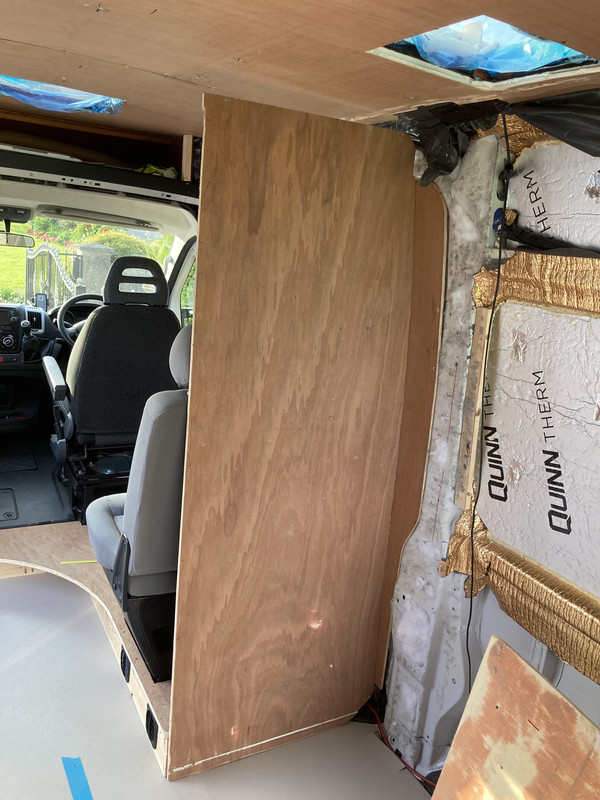
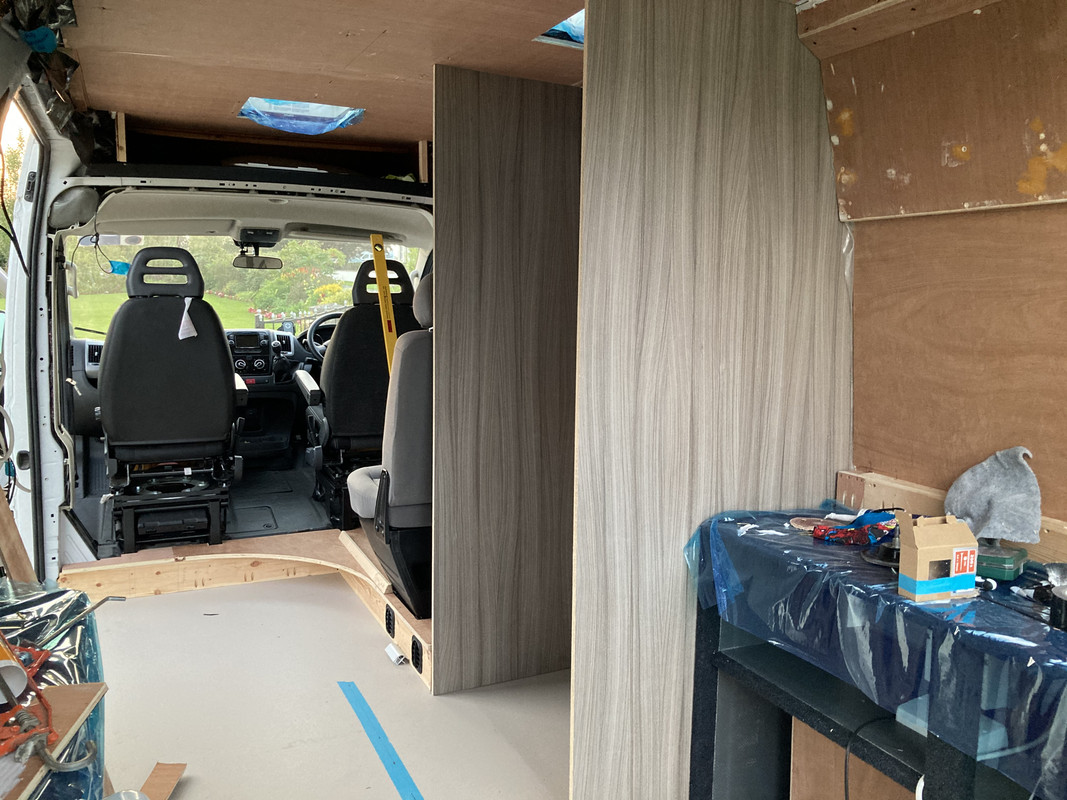
    Did a bit more tidying today, made the hatch in the floor for the heater, but more work on routing cables, and air inlet/outlet and stuff. Floor is permanently fixed down now, wall is done and seat is back in (for now)

    06587442-1375-4490-9110-60-C765-B52745.jpg

    Table is in too!


  • Registered Users Posts: 44 Reggie 365


    Would you have any more details or pics of the metal support under your rear seat. I'm looking for something similar for my Boxer build. Thanks.


  • Registered Users, Registered Users 2 Posts: 73,477 ✭✭✭✭colm_mcm


    PM Sent


  • Advertisement
  • Registered Users, Registered Users 2 Posts: 34,104 ✭✭✭✭listermint


    Single or double rear bench seat ?


  • Registered Users, Registered Users 2 Posts: 73,477 ✭✭✭✭colm_mcm


    listermint wrote: »
    Single or double rear bench seat ?

    It’s a narrow enough double but will be used as a single. We haven’t fitted a second belt and aren’t likely to. I think you can still use lap belts so may fit one if they’re allowed and have 4 belts in total.

    Because of the positioning of the seat relative to the pillar, and where the bathroom will be, we can’t put a 3 point conventionally. Because the seat wasn’t designed to take 2 3 points attached to the seat itself, we aren’t taking that risk (it’s been done by some)


  • Registered Users, Registered Users 2 Posts: 73,477 ✭✭✭✭colm_mcm


    Nothing too exciting today,

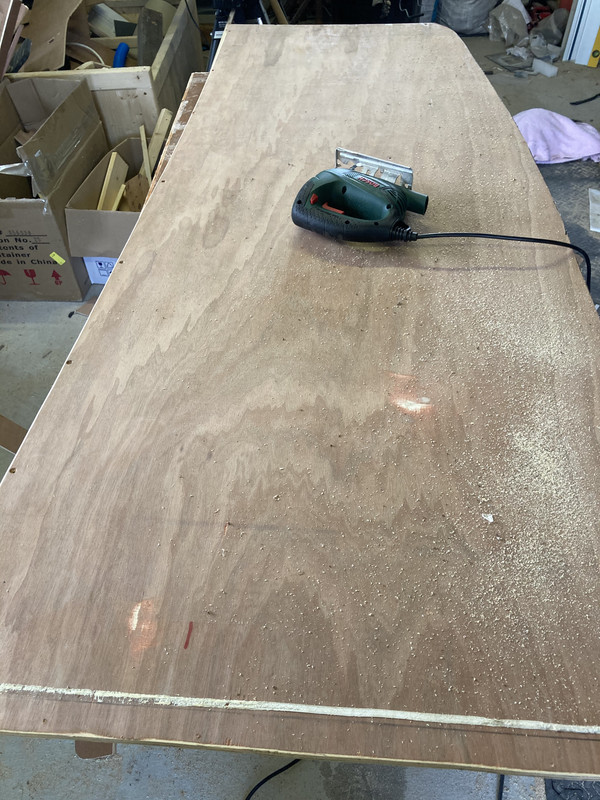
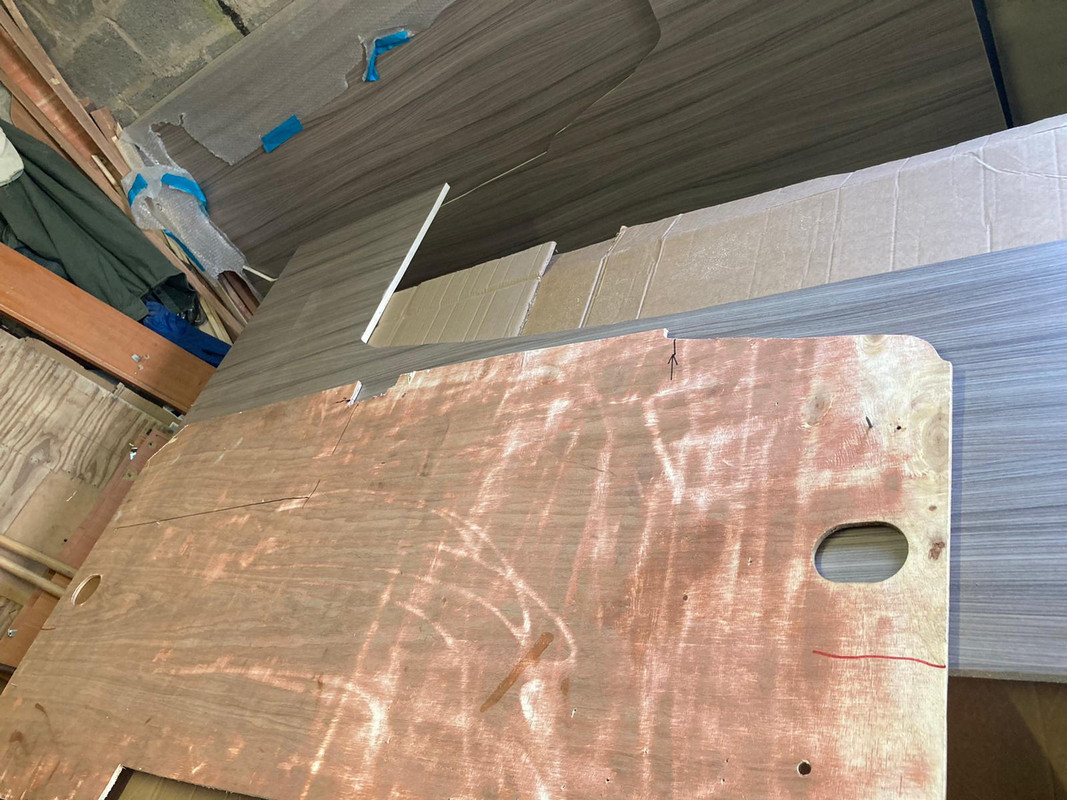
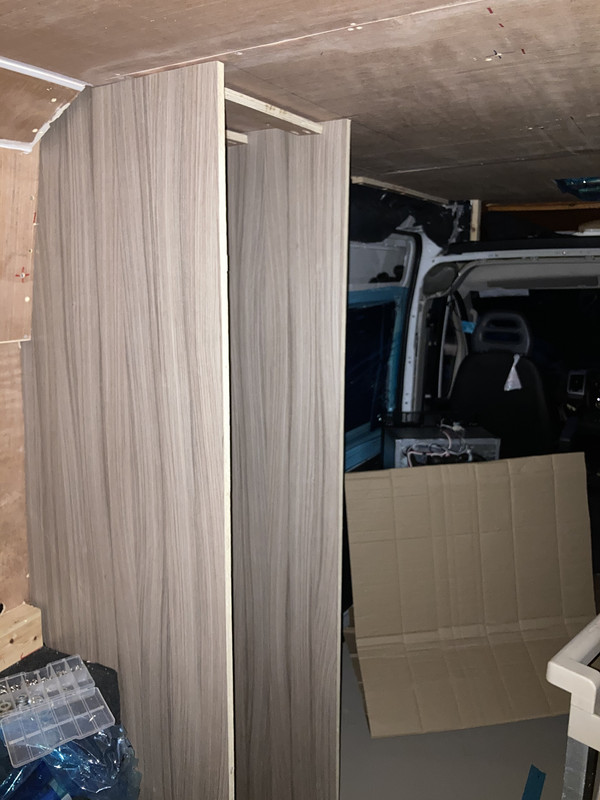
    The lightweight ply is scandalously expensive, so I’m making templates from old old crap ply just in case.


    A7-FF055-A-A4-E6-4-F12-B49-E-58-DB175-CD146.jpg

    A2518-D4-F-FEAF-43-ED-9828-3118-CB73348-D.jpg

    06137-C2-E-4-B2-C-4-F24-B840-F752-AD09417-B.jpg

    7357-CD6-F-C286-4-CC2-8604-D2-C82699-BBC3.jpg


  • Registered Users, Registered Users 2 Posts: 9,872 ✭✭✭John_Rambo


    colm_mcm wrote: »
    PM Sent

    Amazing job, and kudus to CMC for sharing valuable learned info.


  • Registered Users, Registered Users 2 Posts: 73,477 ✭✭✭✭colm_mcm


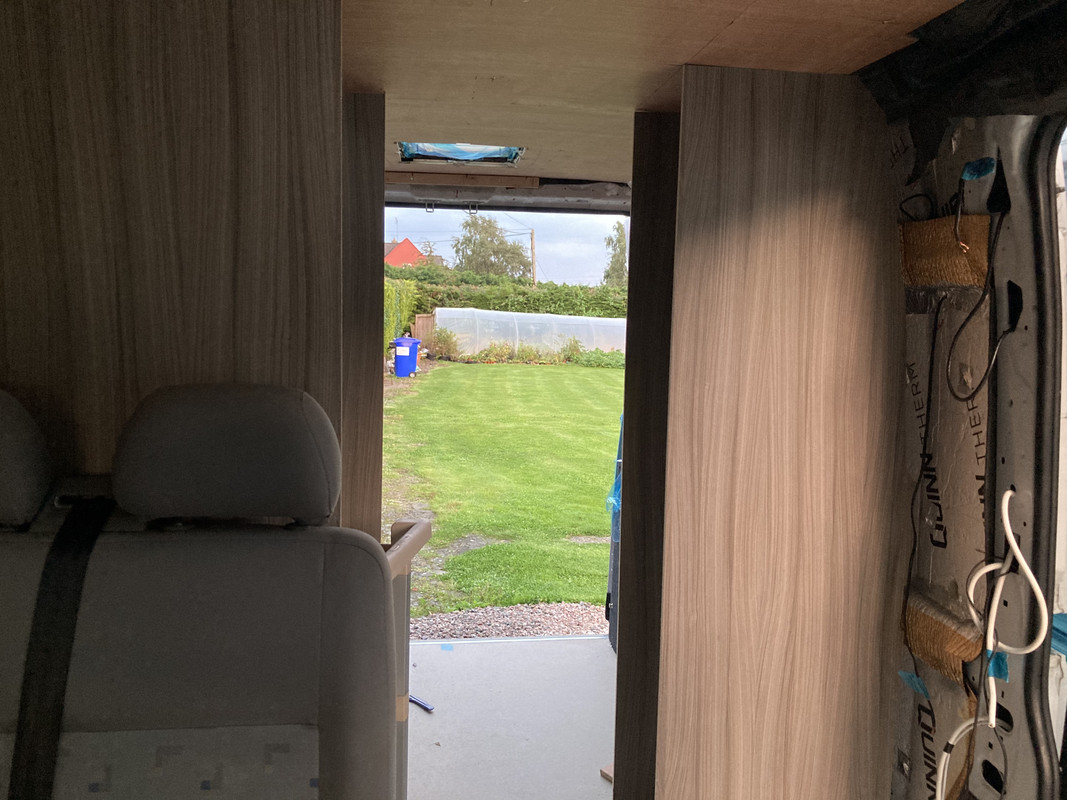
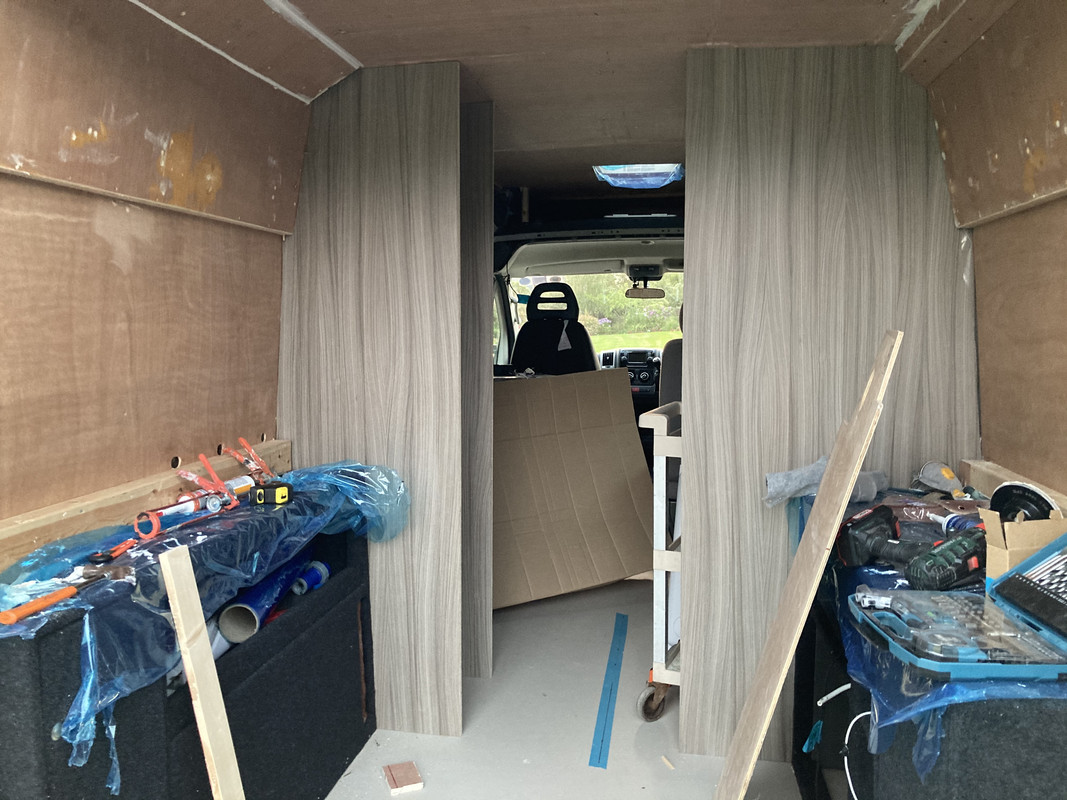
    Transferred the templates from yesterday onto the lightweight ply.
    Amazingly it all went to plan.

    956-FE250-0161-4925-A492-5-F3-FBA5-B8551.jpg

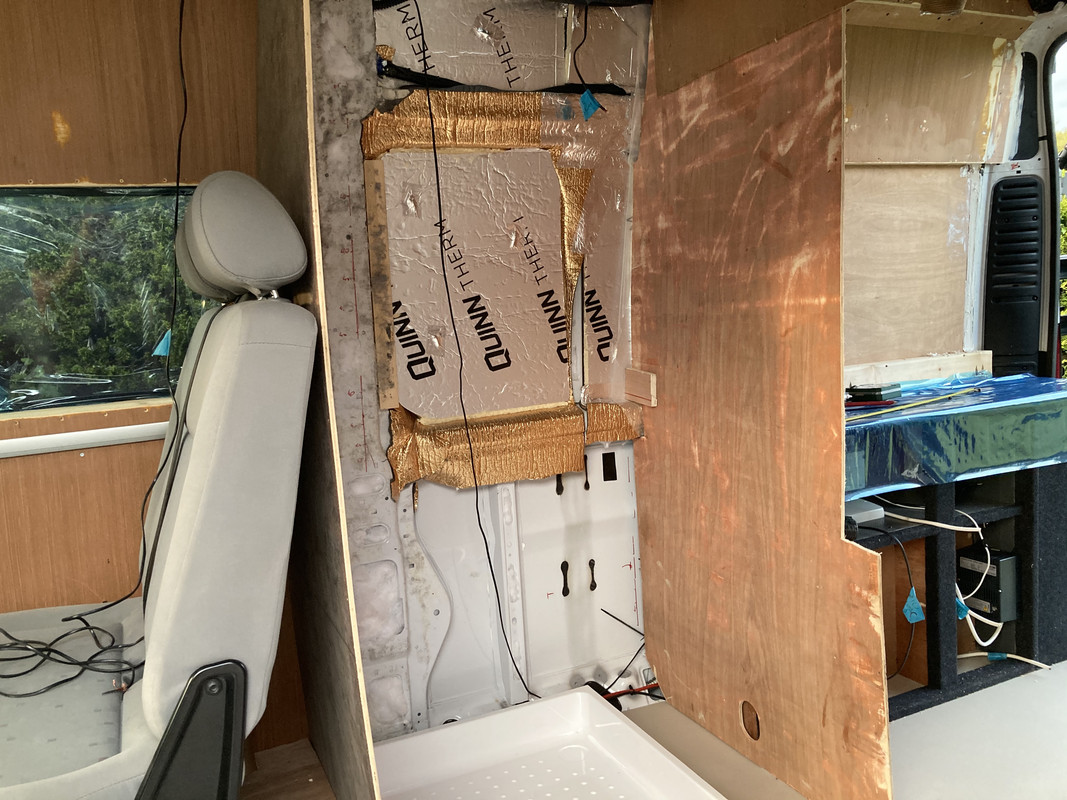
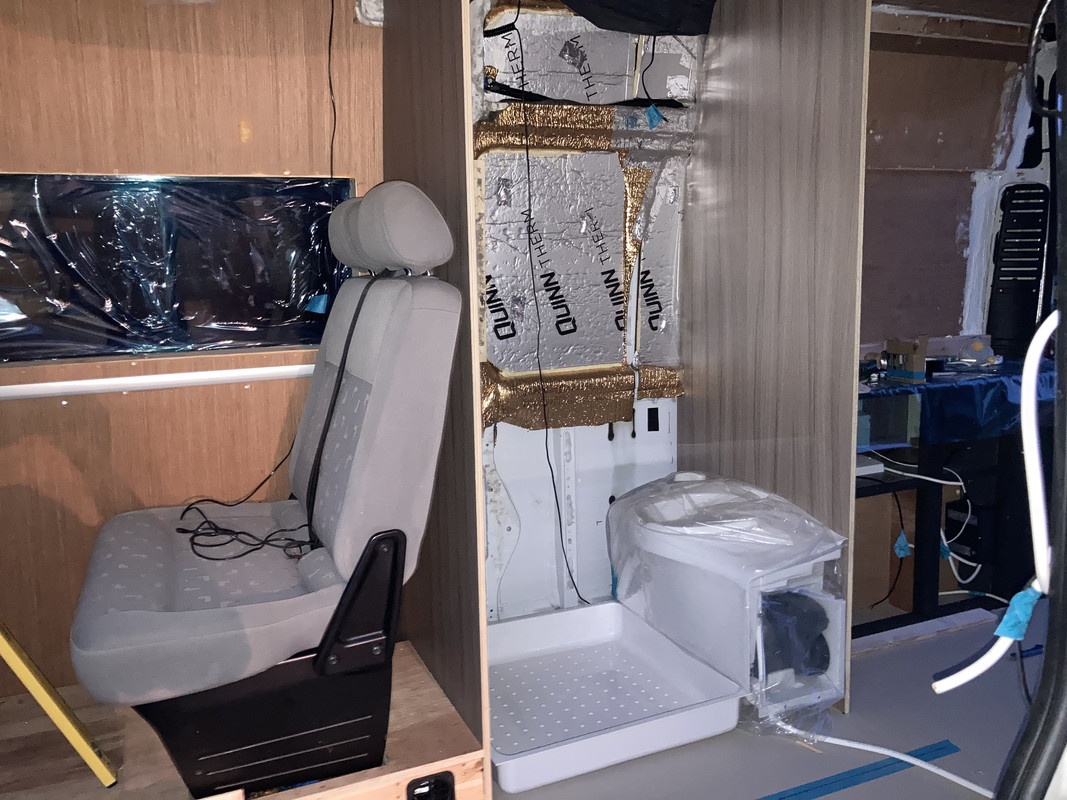
    Test fitting the shower tray and toilet
    4-AB709-F5-BC37-46-DA-85-C6-09-DD5194595-F.jpg

    897-BBCB7-D41-F-4070-8-FA1-B478-BC2072-C8.jpg

    That’s a relief.


  • Advertisement
  • Registered Users, Registered Users 2 Posts: 24,644 ✭✭✭✭punisher5112


    Is that the toilet going in with the shower?
    Looks like it.
    Brilliant how it's coming along.


  • Registered Users, Registered Users 2 Posts: 73,477 ✭✭✭✭colm_mcm


    Is that the toilet going in with the shower?
    Looks like it.
    Brilliant how it's coming along.

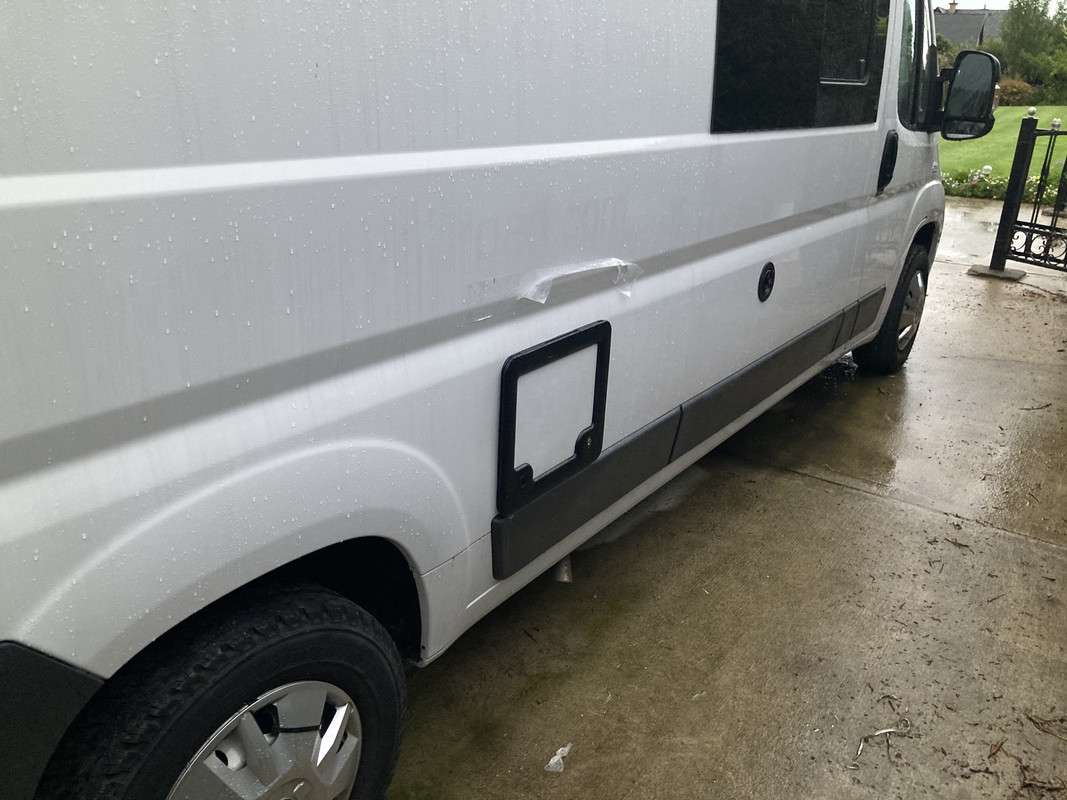
    Yeah, that’s a cassette toilet, there will be a door on the outside of the van for removing the cassette.


  • Registered Users, Registered Users 2 Posts: 73,477 ✭✭✭✭colm_mcm


    The trusty templates came out again

    40-E78273-1435-471-D-BF2-F-6-A00-C393-E0-E1.jpg

    This time it was for the unit that will take the fridge and some drawers.
    BFDC1598-B331-48-A4-BB24-C4-CE4-B0-C0-EFE.jpg

    8-F2-A68-A9-730-F-4-FD7-9653-7-AB2-F104039-B.jpg

    770-D20-EA-4877-4149-80-C7-76-CB16772814.jpg

    Really starting to feel like an actual camper now.


    Next big job is to upholster the ceiling. Stay tuned :)


  • Registered Users, Registered Users 2 Posts: 24,644 ✭✭✭✭punisher5112


    Should really do a tour of Ireland in it.... Do a charity runat least and something worth it...

    Brilliant.


  • Registered Users, Registered Users 2 Posts: 73,477 ✭✭✭✭colm_mcm


    There’s a lot nicer stuff being built! Bigger budgets and different ideas. There’s nothing revolutionary here - it just fits what we wanted a van to be.


  • Registered Users, Registered Users 2 Posts: 24,644 ✭✭✭✭punisher5112


    colm_mcm wrote: »
    There’s a lot nicer stuff being built! Bigger budgets and different ideas.
    This just fits what we wanted a van to be.

    It's going to be a palace....

    Looks deadly


  • Registered Users, Registered Users 2 Posts: 73,477 ✭✭✭✭colm_mcm


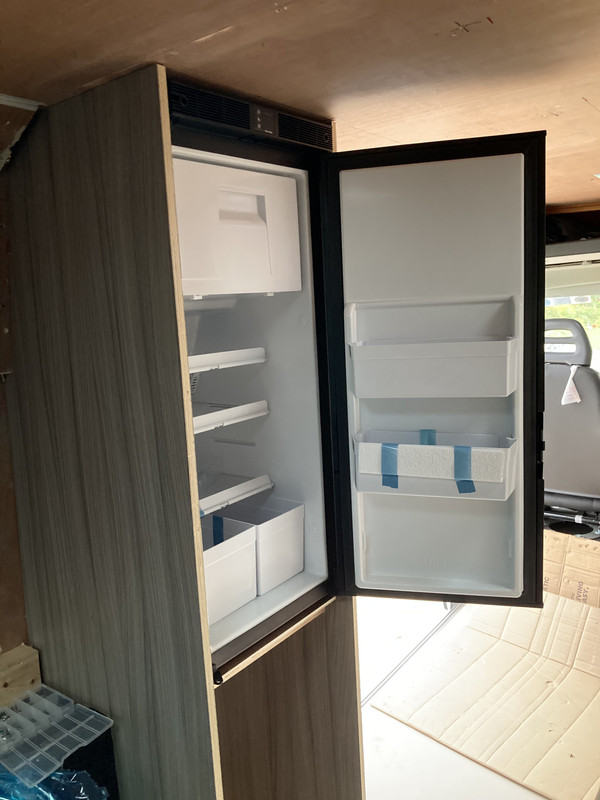
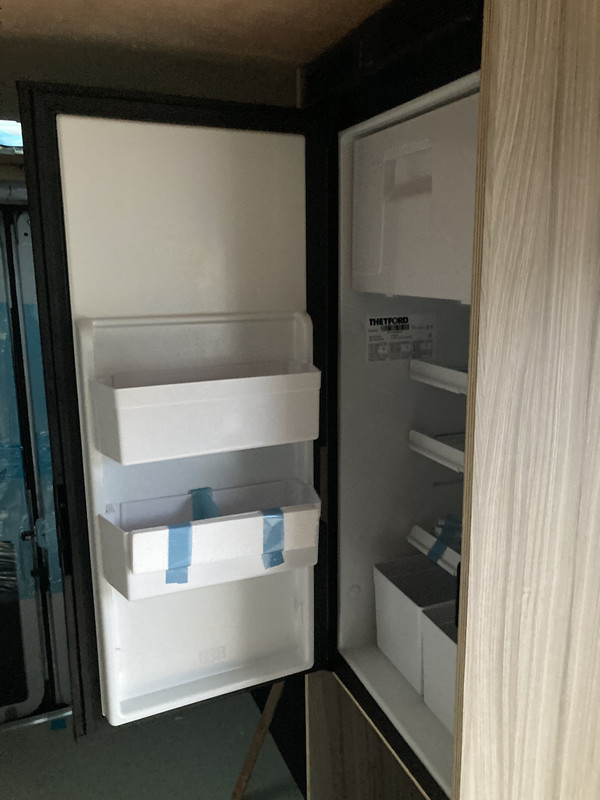
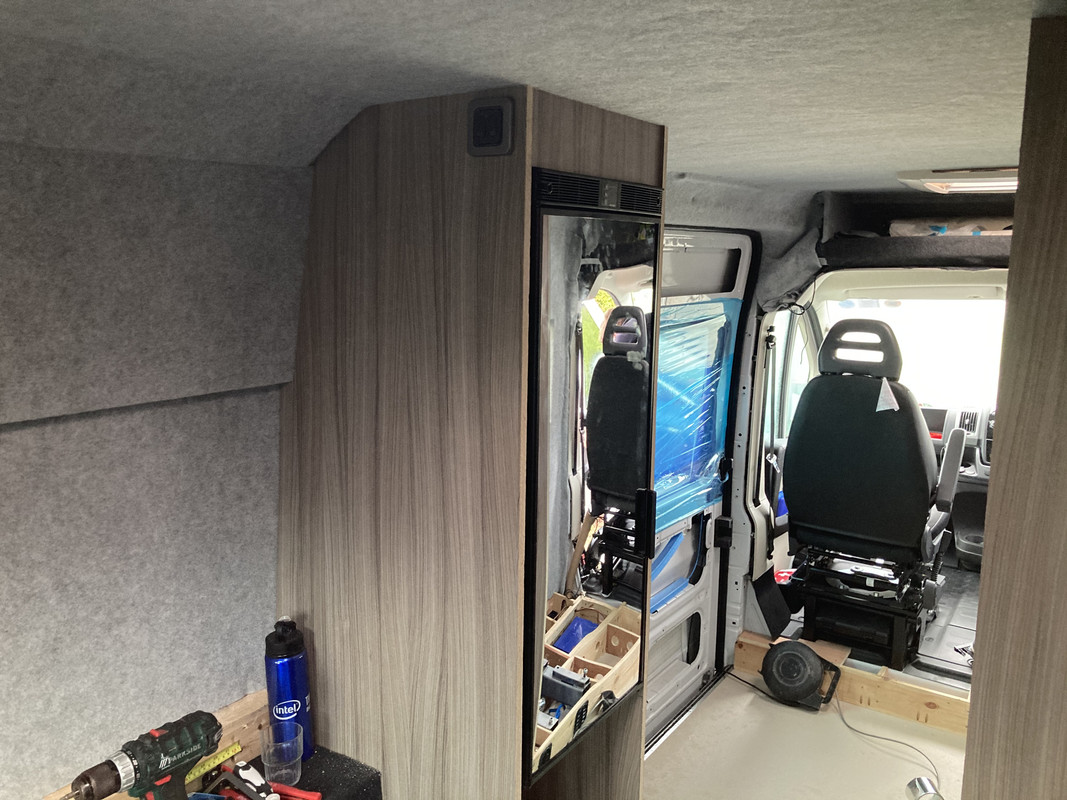
    Fridge in

    5-C0-C7-C9-D-9275-44-FE-A199-9-E247045-A7-B2.jpg
    Except it’s the wrong way round..


  • Registered Users, Registered Users 2 Posts: 73,477 ✭✭✭✭colm_mcm


    That’s better

    0-A3521-D0-43-AA-4-E71-8-F1-D-E4920745-BEDD.jpg


  • Registered Users, Registered Users 2 Posts: 741 ✭✭✭WildWater


    Fantastic job, well done. Is the fridge 3-way or did you go with the newer tech battery option and no gas?


  • Registered Users, Registered Users 2 Posts: 73,477 ✭✭✭✭colm_mcm


    WildWater wrote: »
    Fantastic job, well done. Is the fridge 3-way or did you go with the newer tech battery option and no gas?

    It runs purely on 12v. We have a mains to battery charger too, so if the van is hooked up that will power the fridge.
    I think the newer fridges are quite efficient, this one is a great size and tapers in at the top at the back so it fits quite well.


  • Advertisement
  • Registered Users, Registered Users 2 Posts: 73,477 ✭✭✭✭colm_mcm


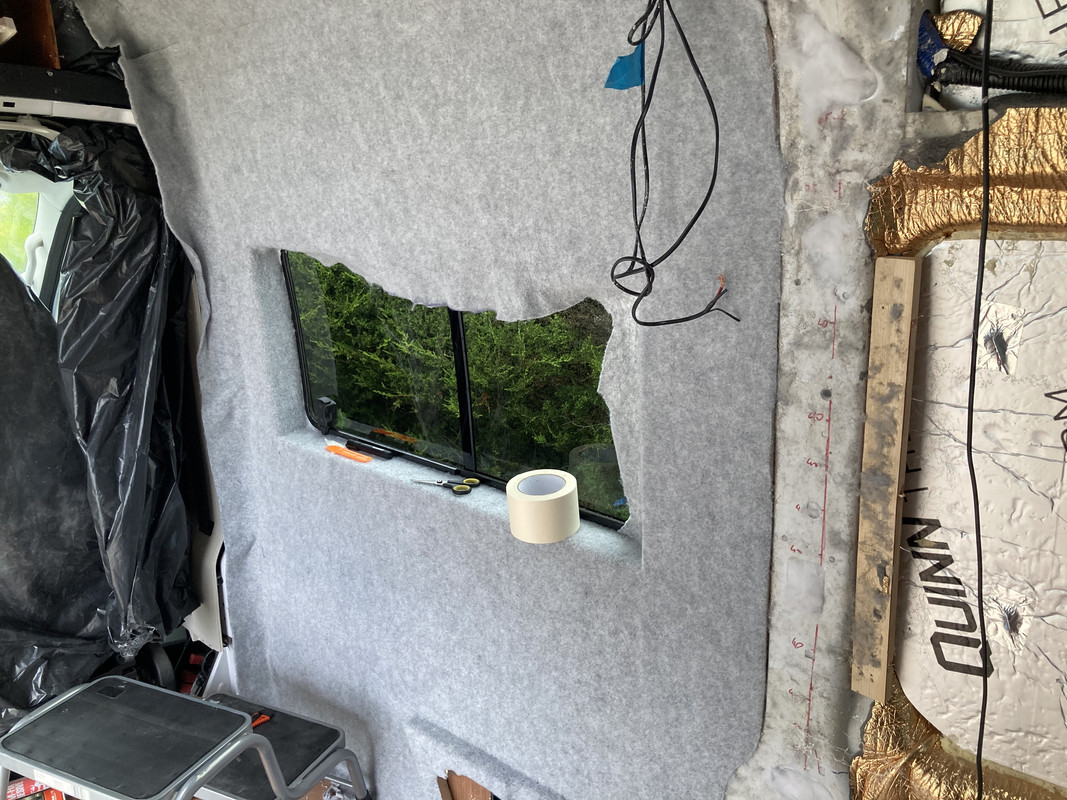
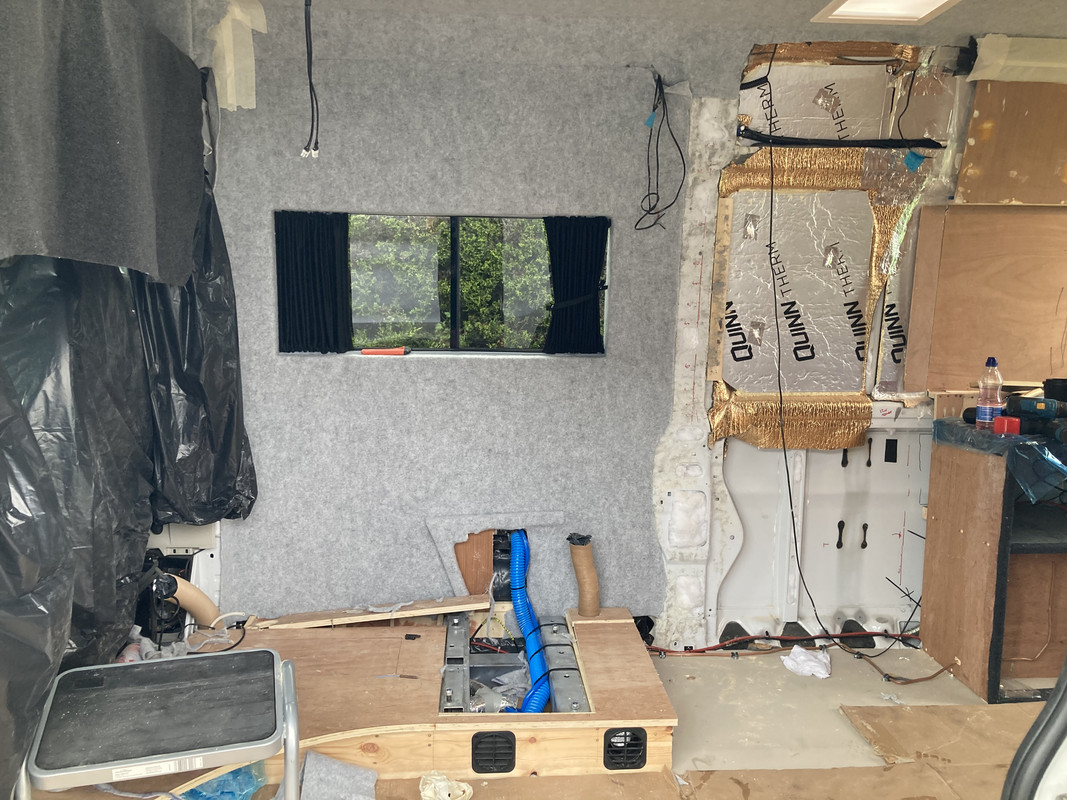
    Did a bit of trimming last night and today

    F2-E36-C26-4-BC2-4341-9-AC7-970001-D503-F6.jpg

    32-B8-E072-88-E6-4085-9-FE5-A77-AAE75-A976.jpg


  • Registered Users, Registered Users 2 Posts: 73,477 ✭✭✭✭colm_mcm


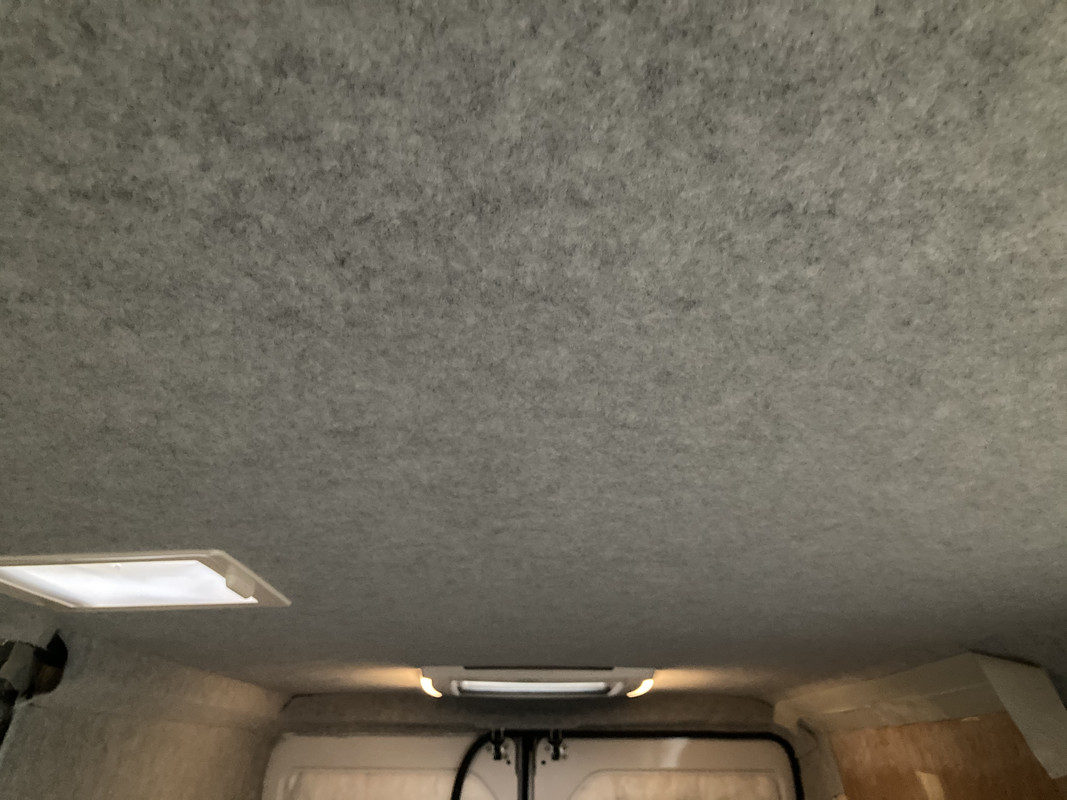
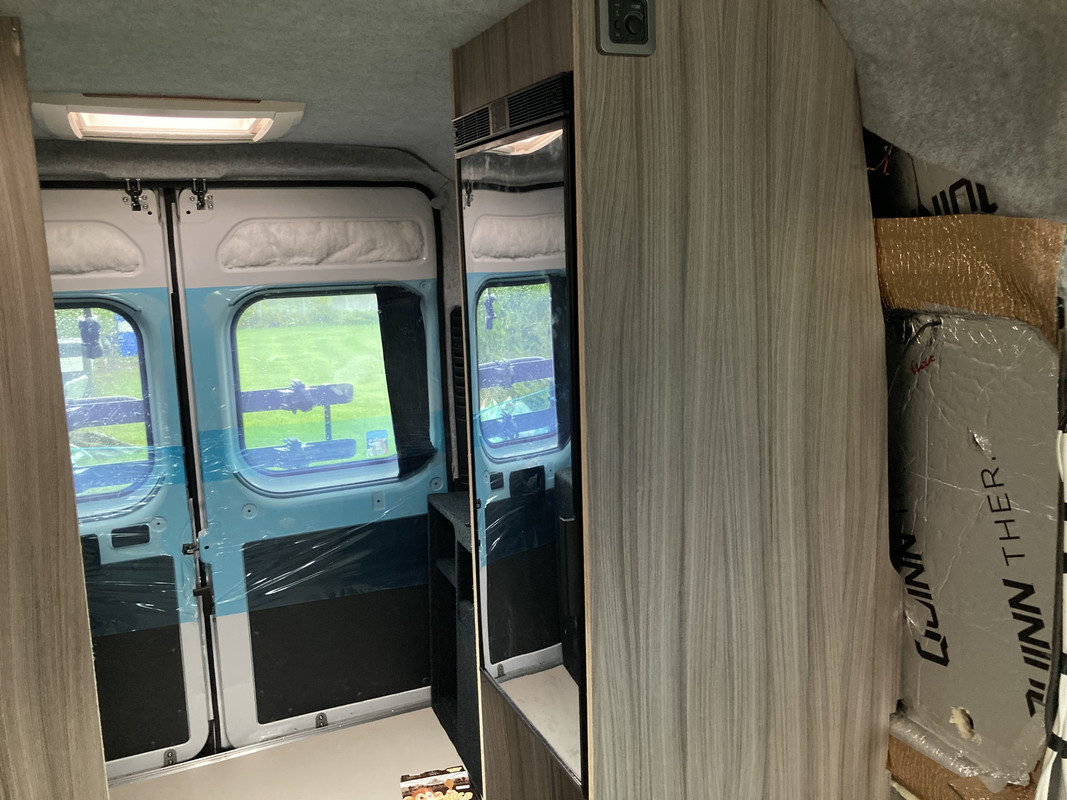
    Ceiling trimmed
    E6-C53749-8-FFA-4-B45-9323-F81-CE64-F6-F17.jpg

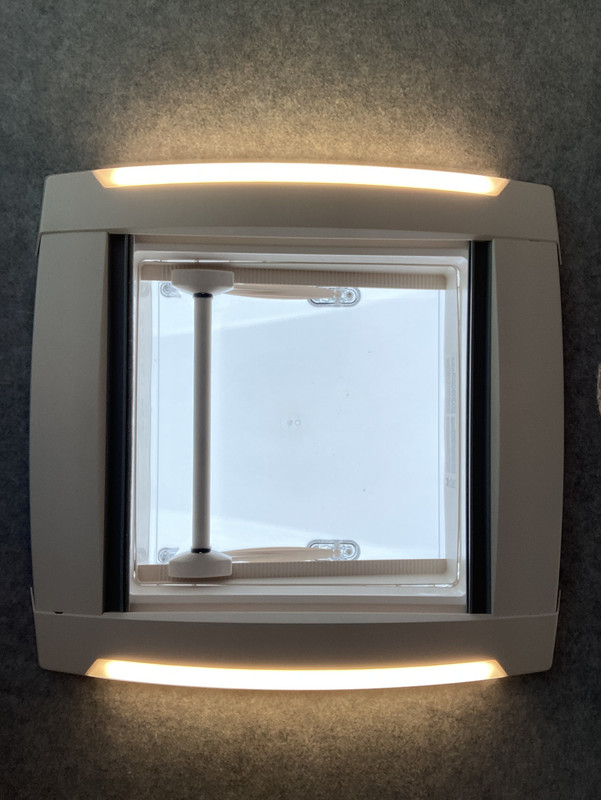
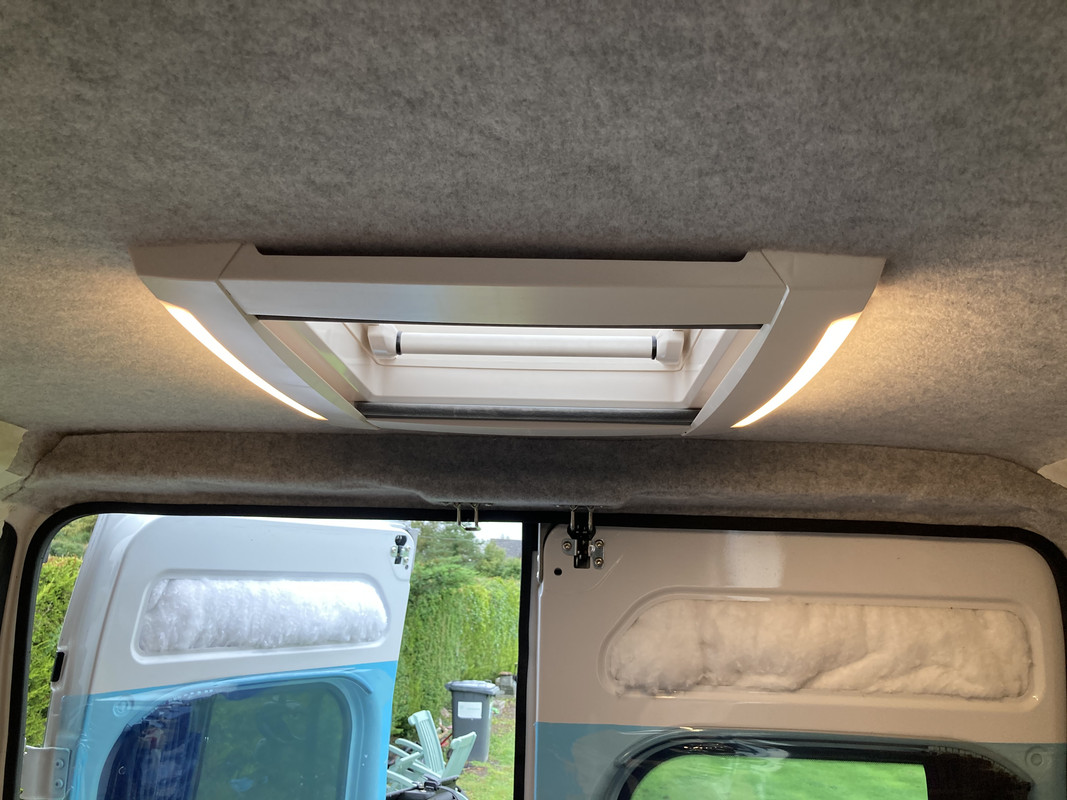
    Roof light trims up. These optional LED lights that clip on to the roof lights are such a neat idea
    92-D9833-F-A4-A7-4573-93-A6-62-DA1-CEFAD58.jpg


    F71-F9697-FA2-C-41-A1-A2-BD-15764215653-F.jpg


  • Registered Users, Registered Users 2 Posts: 73,477 ✭✭✭✭colm_mcm


    E4-ADACB7-9-C50-4-CF9-B15-F-47887-BB88-EB0.jpg

    Jacks hatch in


  • Registered Users, Registered Users 2 Posts: 73,477 ✭✭✭✭colm_mcm


    Bit of tidying up done
    40-CD0-B2-F-253-D-47-E9-ABD3-DE310910-A6-A2.jpg


  • Registered Users, Registered Users 2 Posts: 73,477 ✭✭✭✭colm_mcm


    0-FDA6-D5-D-E7-BF-4-D36-8565-C656-DD511899.jpg

    CAD94874-826-A-43-B2-B26-E-2-FD90-C084751.jpg


  • Registered Users, Registered Users 2 Posts: 8,451 ✭✭✭CharlieCroker


    Colm, have you a link to any sort of a build plan? Myself And my brother in law were saying we'd love to try something like this and between the 2 of us, would have most of the skillset. Just have no idea where to start


  • Registered Users, Registered Users 2 Posts: 6,260 ✭✭✭Buford T Justice


    Where are you sourcing your parts from? In particular things like the electrical distribution and such


  • Posts: 0 [Deleted User]


    Yourself and your buddy could start a small business in the camper conversion game judging by the standard of work here, Colm. Very impressive. Fair play to ye. Love those LED surrounds on the roof lights


  • Registered Users, Registered Users 2 Posts: 73,477 ✭✭✭✭colm_mcm


    Colm, have you a link to any sort of a build plan? Myself And my brother in law were saying we'd love to try something like this and between the 2 of us, would have most of the skillset. Just have no idea where to start

    I’d start by discussing what the van would be used for, then whether you need a shower/toilet/hot water.
    Next whether you need boot space, how many passengers you’d need to carry and how many beds you need.

    At that stage it should be clear whether you need a small van like a Trafic, a big van like a Ducato/Sprinter, or an extra large one with extra long wheelbase, extra high roof etc.

    In terms of layout, we looked at what the likes of Westfalia and Swift were offering, we also visited a big motorhome dealer in Wales and saw how the smaller uk manufacturers finished their vans, and took notes on various measurements like how wide you’d need a doorway to be, what height they do worktops at etc.
    Next is making the layout fit your various parts. That’s the trickiest bit. Luckily there are lots of good Facebook groups where you can get ideas from. There’s a lot of just drawing out plans and covering your walls and floor in tape and marker.


  • Advertisement
  • Registered Users, Registered Users 2 Posts: 73,477 ✭✭✭✭colm_mcm


    Where are you sourcing your parts from? In particular things like the electrical distribution and such

    Electrical system was got from a supplier in the uk, it’s available in Ireland too though, it just suited to get it with some other parts. Other bits were bought locally, and more were just ordered through amazon/eBay, and some from online uk retailers. I used a spreadsheet documenting supplier prices as they can vary a lot.


Advertisement