Advertisement
If you have a new account but are having problems posting or verifying your account, please email us on hello@boards.ie for help. Thanks :)
Hello all! Please ensure that you are posting a new thread or question in the appropriate forum. The Feedback forum is overwhelmed with questions that are having to be moved elsewhere. If you need help to verify your account contact hello@boards.ie
Hi all! We have been experiencing an issue on site where threads have been missing the latest postings. The platform host Vanilla are working on this issue. A workaround that has been used by some is to navigate back from 1 to 10+ pages to re-sync the thread and this will then show the latest posts. Thanks, Mike.
Hi there,
There is an issue with role permissions that is being worked on at the moment.
If you are having trouble with access or permissions on regional forums please post here to get access: https://www.boards.ie/discussion/2058365403/you-do-not-have-permission-for-that#latest

DK build thread

13

Comments

  • Closed Accounts Posts: 33,733 ✭✭✭✭Myrddin


    Wow, amazing stuff. It's gonna be a thing of beauty when done


  • Registered Users, Registered Users 2 Posts: 5,790 ✭✭✭Jack burton


    Excellent stuff indeed!


  • Registered Users, Registered Users 2 Posts: 4,146 ✭✭✭CathalDublin


    Looks brilliant, Would love to do one of these some day. Favourite wooden cabinet by far.
    Mistake?


  • Posts: 7,499 ✭✭✭ [Deleted User]


    The speaker holes are the wrong size by a mile!


  • Registered Users, Registered Users 2 Posts: 3,725 ✭✭✭The Last Bandit


    Brilliant work, going to look fanastic when its done.


  • Moderators, Computer Games Moderators Posts: 5,390 Mod ✭✭✭✭Optimus Prime


    wow great job, that looks brilliant! Nintendo cabs.. best cabs ever.


  • Moderators, Category Moderators, Computer Games Moderators, Society & Culture Moderators Posts: 34,630 CMod ✭✭✭✭CiDeRmAn


    As Sera would say but no 42 year old man should say, ever, So Jelly!
    It's looking great, will be brilliant when complete.
    Damn, but wish I did woodwork!


  • Posts: 7,499 ✭✭✭ [Deleted User]


    Works been pushed back till tomorrow due to easter family stuff!
    I'm eager to get to going!


  • Registered Users, Registered Users 2 Posts: 4,146 ✭✭✭CathalDublin


    Looking forward to the updates this evening


  • Registered Users, Registered Users 2 Posts: 697 ✭✭✭kevin2me


    urbanledge wrote: »
    The speaker holes are the wrong size by a mile!

    Smashing work. Its looks fab. Nintendo cabs are proper art.
    Cant wait to rest rest of it...


  • Advertisement
  • Posts: 7,499 ✭✭✭ [Deleted User]


    Worked on this all day,
    Didn't think I had a lot to do but turns out I did and a few bits took ages.

    Step 7:
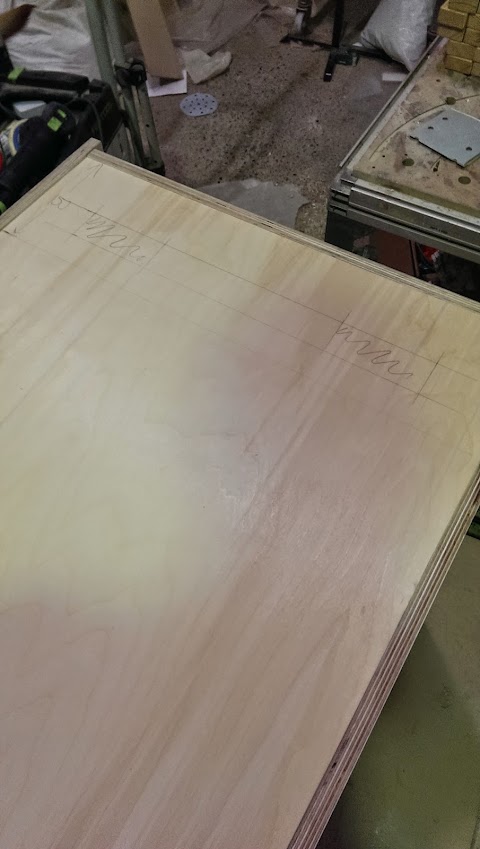
    The back.
    The back has 3 bits,top bit,bottom bit and door.
    Straight forward enough just had to make a few cut outs to match the original.
    Mark out your cuts,
    2014-04-21+11.46.18.jpg2014-04-21+11.46.24.jpg

    Box off your lines and use a router to cut them out.Far better job than a jigsaw.
    2014-04-21+13.00.09.jpg

    and this is your finished cut,as you can the cut is lovely!
    2014-04-21+13.37.23.jpg

    Step 8:
    I drilled the CP and did some routing to let the stick recess and test fitted the latches.
    2014-04-21+14.34.32.jpg2014-04-21+14.34.24.jpg

    Step 9:
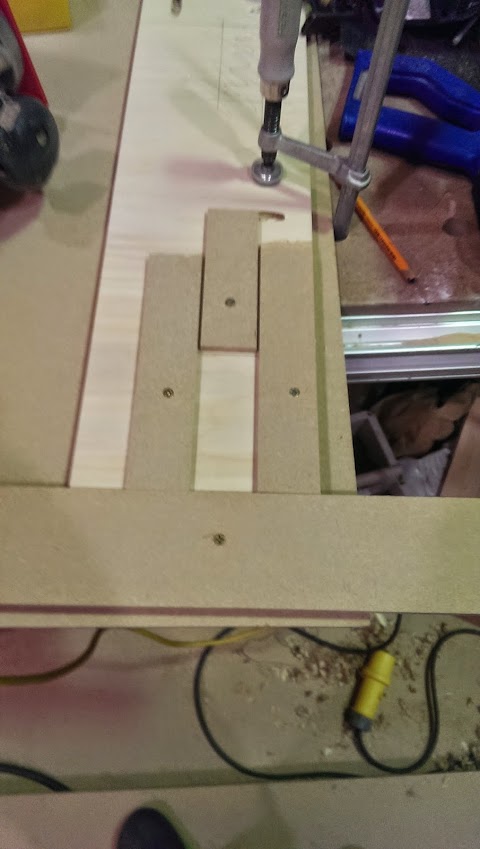
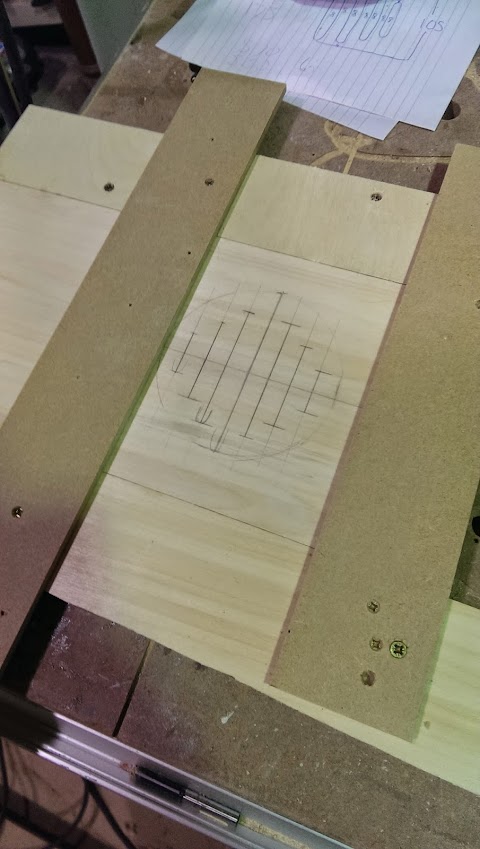
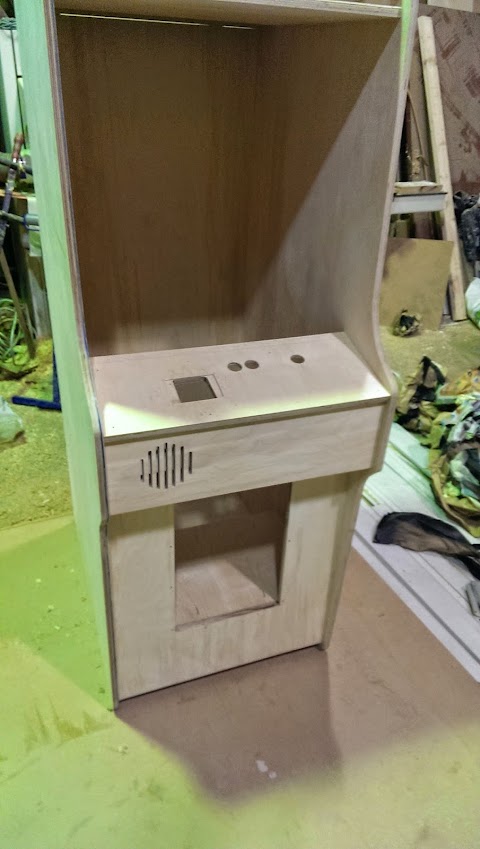
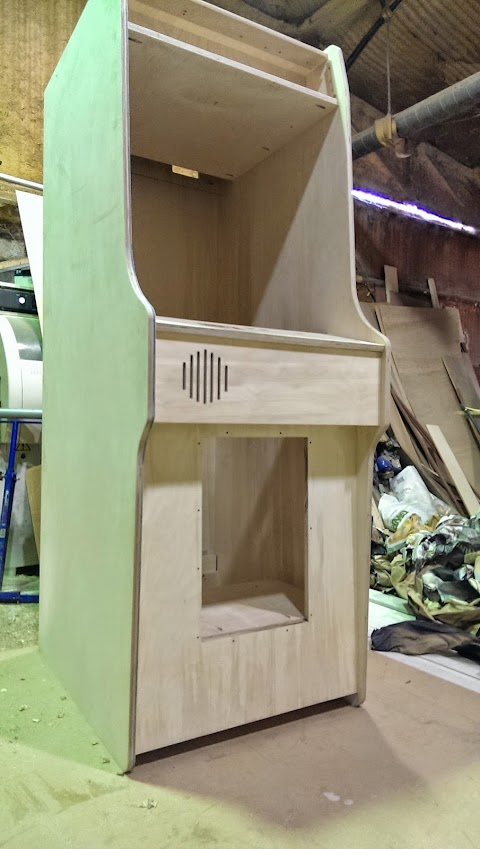
    Back to that speaker grill.
    So I found out I should of used a 8mm slot cutter for this.
    I didnt have one and couldn't get one today so I used a 6.3mm
    I made a gig up on the bench for routing and marked out the lines
    2014-04-21+15.31.39.jpg

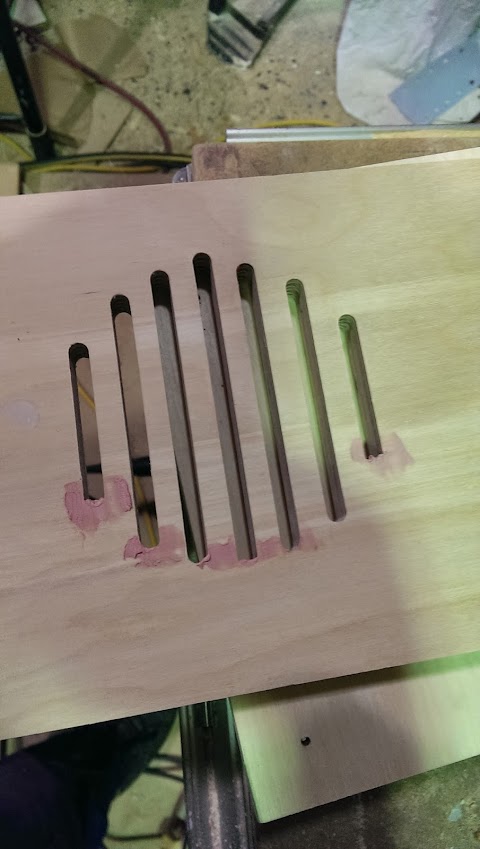
    I actually made a balls of it the second time so ended up doing a third one!
    took ages but it was worth it in the end.

    Small bit of filling to fix a few chips.
    2014-04-21+16.56.48.jpg

    After sanding.Very happy with this
    2014-04-21+17.30.04.jpg

    Step 10:
    Stick all the bits together
    2014-04-21+17.32.43.jpg2014-04-21+17.33.13.jpg

    Step 11:
    This is the bit I was dreading.
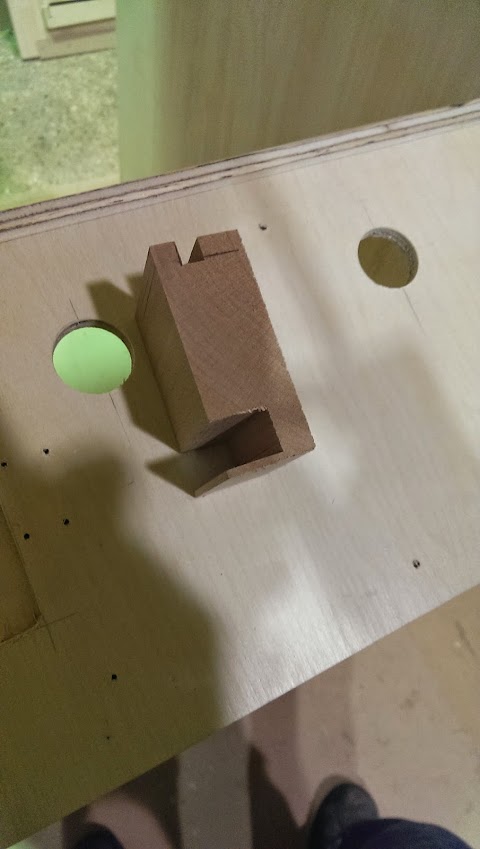
    The lower bezel/cp timber.
    This is made out a massive lump of birch.
    This is a cross section of it.
    2014-04-21+18.32.58.jpg

    As you can see the CP slots into this and the bottom of the bezel so it was a bit of a bastard to get right but luckily my uncle is a pro and wasnt phased by it.
    He made this part
    i was going to strengthen the lower bit but there was no need to in the end.
    Also the top of the CP needs to be flattened off to fit in.
    This was a bastard of a job and again my uncle did this on the panel saw.

    here it is installed.
    2014-04-21+18.40.52.jpg

    At this stage I test fitted all the brackets and the plastics.
    All looked 100%.
    I forgot to take a pic tho!

    Step 11:
    Paint!
    Base coat on .

    2014-04-21+19.47.40.jpg2014-04-21+19.51.17-1.jpg

    And thats it for the moment!
    I've ran into a problem and another possible one.
    I havent got the right slot cutter for the Tmolding.
    cant paint until the slot is cut !
    And I dont want any grain to show through the paint so Im not sure if I have to use a spray filler on it first and sand it all down so going to shoot some blue onto it during the week and see where Im at.

    So deffo wont be painting till next saturday !


  • Posts: 7,499 ✭✭✭ [Deleted User]


    Anybody ever do any tmolding?


  • Moderators, Computer Games Moderators Posts: 5,390 Mod ✭✭✭✭Optimus Prime


    Stick it on a cab? yeh loads of times.

    Edit:
    Think you mean cut the groove? never done it myself, seen a friend do it, looked dead easy to be honest, i just didnt have a router to do it.


  • Posts: 7,499 ✭✭✭ [Deleted User]


    keithgeo wrote: »
    Stick it on a cab? yeh loads of times.

    Edit:
    Think you mean cut the groove? never done it myself, seen a friend do it, looked dead easy to be honest, i just didnt have a router to do it.

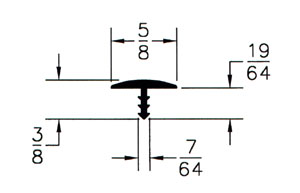
    Yea I mean cut the Grove. My tmolding is 7/64 of an inch wide. Silly silly imperial stuff.
    Don't know what cutter to get :-(


  • Registered Users, Registered Users 2 Posts: 3,725 ✭✭✭The Last Bandit


    7/64 is an odd size ? Seem to be plenty of 1/8" slot cutter bits available though..


  • Posts: 7,499 ✭✭✭ [Deleted User]


    Yea it is odd,
    After a bit of searching it looks like I need a 0.080 of an inch slot.
    Thats 2.032mm in real money.
    tm-58in.jpg


  • Registered Users, Registered Users 2 Posts: 3,725 ✭✭✭The Last Bandit


    So a 2mm cutter then and a hammer !!


  • Moderators, Computer Games Moderators Posts: 5,390 Mod ✭✭✭✭Optimus Prime


    I wouldn't worry about it too much, getting the exact size, ive put tmolding on a load of cabs, some of them where the groove was twice the size it should be in parts due to damage. A hot glue gun and a bit of patience doing it and it will go in and stay on no bothers. Just fire in the glue in sections and hold the tmolding down until the glue drys.


  • Posts: 7,499 ✭✭✭ [Deleted User]


    Well I ordered the slot cutter and shank.
    35 poxy euro delivered from UK.
    Should be the last expense in this project............
    except a marquee light!


  • Advertisement
  • Posts: 7,499 ✭✭✭ [Deleted User]


    Put another full day into this yesterday!
    The slot cutter I was waiting on hasnt come tho :(
    still I was able to get some paint on!

    First up close up of the CP slot thing!
    mw2KBSxkLJibvVCtCT4V6u2dYys7VpRbKxTLGiM-na0=w485-h857-no2014-04-26+10.34.03.jpg

    Oh thats a lovely fit!

    Now the exciting stuff!
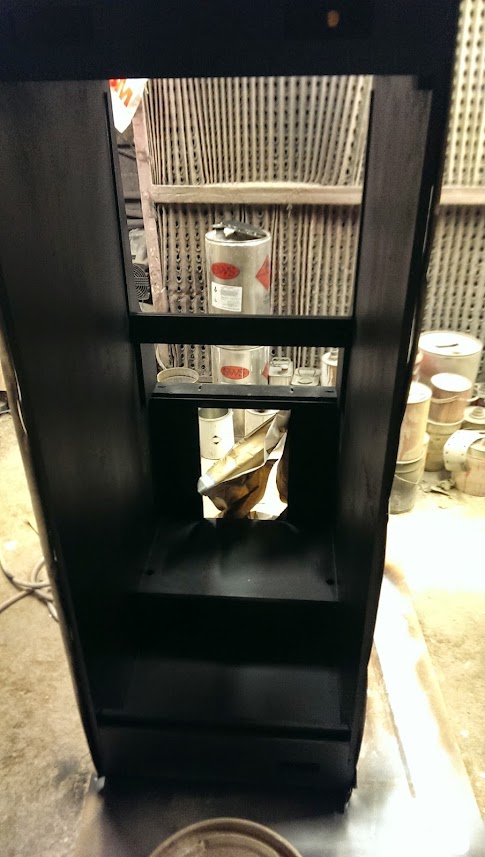
    Black paint!
    2014-04-26+14.47.04.jpg2014-04-26+14.47.13.jpg

    Painted the inside because if you paint one side of ply it'll bend!
    surface tension caused by the paint apparently.

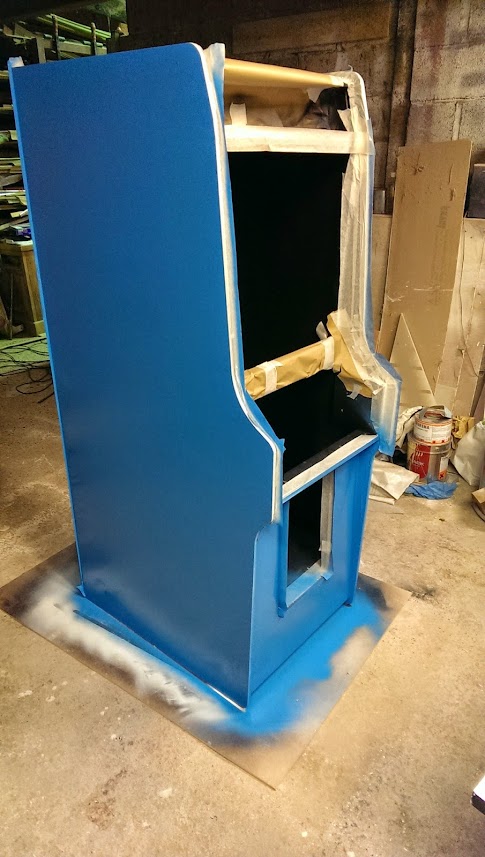
    Then masked up and first coat of blue on!
    Its wet in this pic!I'm very happy with the blue:D
    2014-04-26+17.07.55.jpg

    I still gotta make and paint the black foot thing,cut the T slot and them im going to do 2/3 coats of clear lacquer over everything.


  • Registered Users, Registered Users 2 Posts: 5,790 ✭✭✭Jack burton


    Was that a one coat paint job?!


  • Posts: 7,499 ✭✭✭ [Deleted User]


    2 coats of black on the visible parts,one on the inside.
    Thats the first of two blue coats.
    All on a white base coat of course.
    Spent 2 hours sanding the base coat and filling any little marks with isopon .


  • Registered Users, Registered Users 2 Posts: 5,790 ✭✭✭Jack burton


    Looks amazing, that's with a proper spray gun? I'd hardly think that was a spray can job


  • Posts: 7,499 ✭✭✭ [Deleted User]


    Yea proper spray gun set up.
    Only took 10 mins to paint.
    Prep was the killer tho.
    I painted the CP blue.
    It was only when I got home I remembered it should be black!
    Oh well I can respray it when I'm doing the base.


  • Registered Users, Registered Users 2 Posts: 35,253 ✭✭✭✭o1s1n
    Master of the Universe


    Great to see the level of detail you're putting into this. Sure you'll have the rest together in no time now.

    Did you ever sort out a CRT?


  • Advertisement
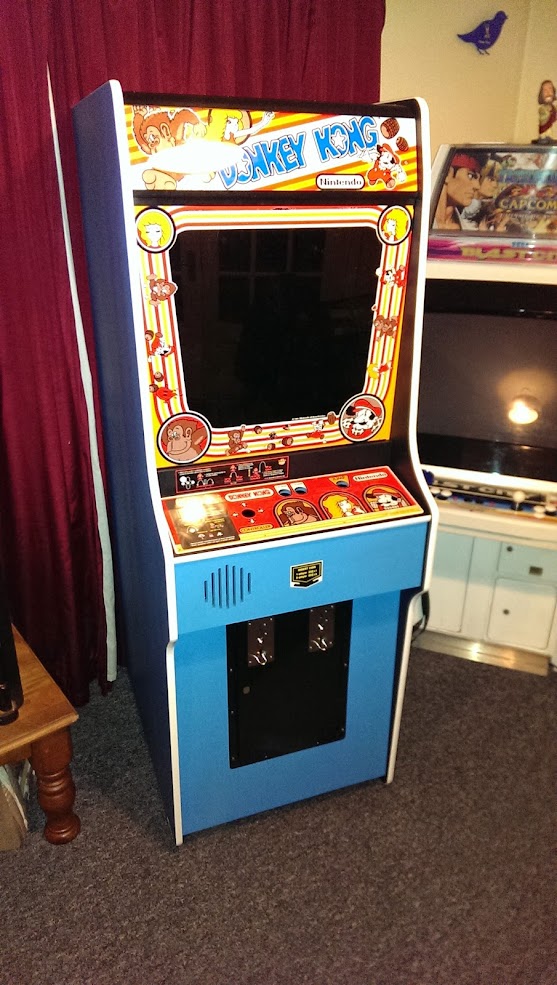
  • Posts: 7,499 ✭✭✭ [Deleted User]


    Yea I sent the 20" polo chassis off to grantspin.
    I had put a 9pin crt socket in it instead of an 8pin :o
    apparently I cant count.It fit perfectly tho in my defense :p

    and he fixed up a few other bits on it.
    60 or 70 quid but should be good for 20 years tho......touch wood!

    The monitor is rotatable too so when funds allow I'll kit out the spare panels with more than one button !
    Will defo have a 1p6b shump panel for it anyway.

    hoping to have it home by the weekend.


  • Posts: 7,499 ✭✭✭ [Deleted User]


    Got a good bit of loot in the post today!
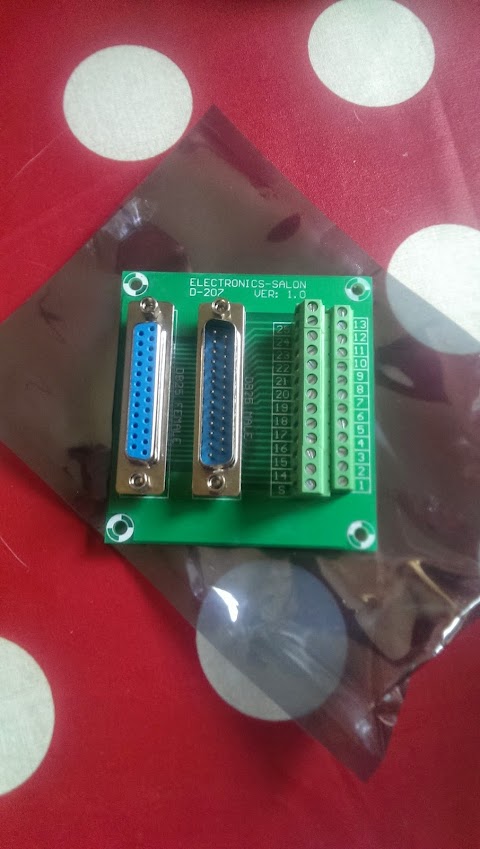
    The tmolding cutter (thanks be to glob!) and the panel board for hot swapping panels :)
    Work continues tomorrow evening!
    2014-04-28+19.20.40.jpg2014-04-28+19.20.33.jpg


  • Posts: 7,499 ✭✭✭ [Deleted User]


    .4mm over at each side!
    Ah here I thought you said you might as well do it properly?

    joking

    So I tried out the tmolding and the .4mm was too much for me.It felt like it was sticking out a mile in my opinion.
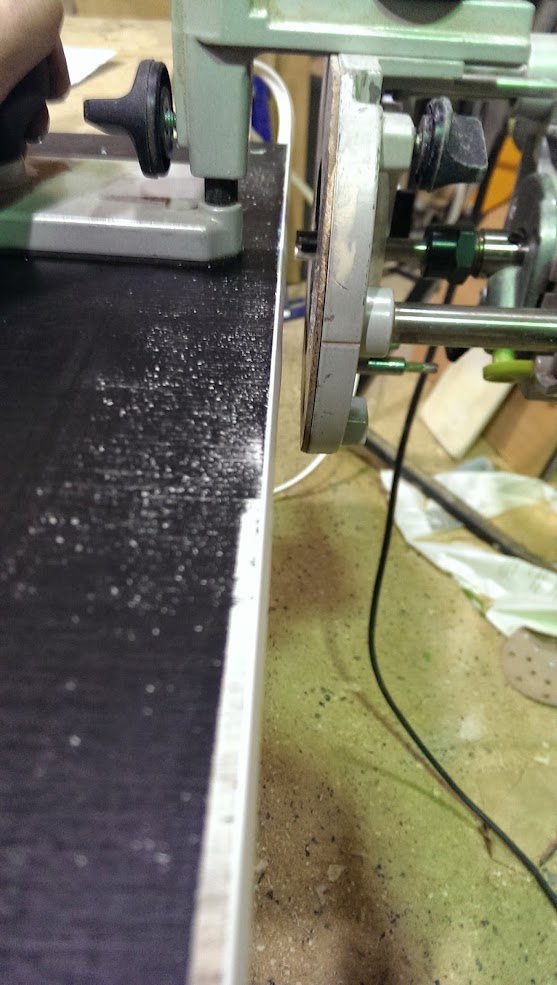
    so only one thing to do.Offset the slot .4mm so one side is flush(the outside) and trim the molding.
    Set up a router on a piece of ply and trimmed the .8mm off half a meter then move the tmolding,rinse and repeat.
    Took an hour to trim and clean up the hairy bits but worth it.
    Lovely slot:
    8ykDuf7muZpkHYN3QVBL2lw1XFi7qakUsQ-iF1YEajU=w557-h985-no

    Trimming the tmould
    2014-04-29+19.28.16.jpg

    Lovely fit!
    2014-04-29+19.54.34.jpg

    Hard to show in pics but it was well worth the effort trimming it off and cleaning it up properly.
    Starting to look like like a nintendo cab now!(no tmolding on till I get it home)
    The blue looks really dark in the pics but I think its spot on!
    2014-04-29+20.06.51-2.jpg

    The foot is done so the wood work is finished!
    All thats left to do is paint the foot/CP black and give every thing one more coat of clear lacquer.Thats all getting done today and I'l be able to bring it home tomorrow evening when its dry.


  • Registered Users, Registered Users 2 Posts: 5,790 ✭✭✭Jack burton


    Looking good. That's a fairly serious workshop by the looks of it


  • Registered Users, Registered Users 2 Posts: 35,253 ✭✭✭✭o1s1n
    Master of the Universe


    You should mass produce these! :eek:


  • Advertisement
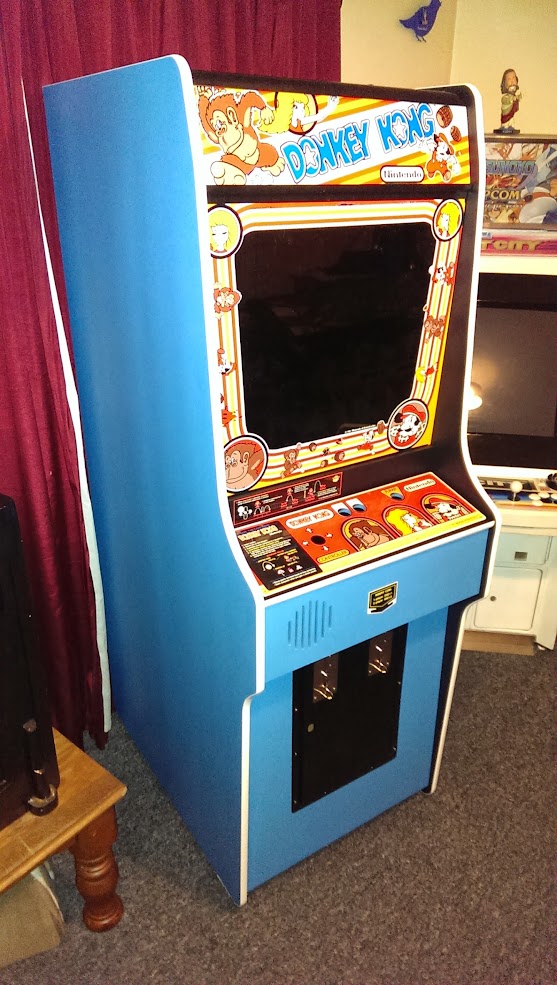
  • Posts: 7,499 ✭✭✭ [Deleted User]


    o1s1n wrote: »
    You should mass produce these! :eek:

    As I said before I considered making 2 (just the woodwork/paint) and selling one to cover my own.
    I'm glad I didnt tho.It was a serious amount of effort!
    I haven't kept track of how longs its taking but its been 3/4 days.
    And too of them were 11/12 hours straight .
    Saying that tho I'm not a pro but still an empty cab build/painted to this standard is going to cost 500e to have made :eek:
    best part of 200 for the timber/screws/paint to start + 2/3 days work.
    I wouldnt see many peoples buying them tbh!


  • Moderators, Computer Games Moderators Posts: 5,390 Mod ✭✭✭✭Optimus Prime


    You kidding? id buy one of those for 500 without thinking twice! There is nothing better than a nintendo cab.


  • Registered Users, Registered Users 2 Posts: 35,253 ✭✭✭✭o1s1n
    Master of the Universe


    I think the €500 is parts though? So you'd need to tack on a few days of labour too! :D


  • Posts: 7,499 ✭✭✭ [Deleted User]


    No If you paid someone to make this cabinet (wood and paint to this standard) they'd charge you 500e.
    200 parts and 300 for labor.
    Massive amount of hours in it inc paint prep,sanding etc

    Then you gotta add your parts!
    I dont even want to think about that..............but I have them all


  • Registered Users, Registered Users 2 Posts: 35,253 ✭✭✭✭o1s1n
    Master of the Universe


    It'll be interested in seeing what the total cost is at the end. For the work you've put into that, €500 does seem like a bit of a bargain.


  • Posts: 7,499 ✭✭✭ [Deleted User]


    o1s1n wrote: »
    It'll be interested in seeing what the total cost is at the end. For the work you've put into that, €500 does seem like a bit of a bargain.

    I dont!
    Its in well into candy territory for sure!
    Ah
    I dont care tbh.
    It'll be a lovely cab and flexable too.
    I might invite Billy Mitchel over for a few cans :D


  • Registered Users, Registered Users 2 Posts: 3,725 ✭✭✭The Last Bandit


    I'll be the best part of 1K by the time its finished I'd guess. And that's for a replica, and it the cost of an original monitor/board and things get scary !!

    Looks great but the cost of building these is a whole lot more then people think :)

    I'll give you €200 next year for it :)


  • Posts: 7,499 ✭✭✭ [Deleted User]


    I doubt I'll ever get a real DK board for it but you never know.
    I'll try to pick up crazy kong and crazy kong part 2 tho.
    maybe one of those 6 slot jamma switchers


  • Moderators, Computer Games Moderators Posts: 5,390 Mod ✭✭✭✭Optimus Prime


    60in1 board with all games except donkey disabled and it will boot straight into DK without a countdown timer, right to the title screen. they are handy those boards for cases like this.


  • Posts: 7,499 ✭✭✭ [Deleted User]


    Got her home earlier.
    Got cracking straight away!
    Coming together nicely :-)

    IMAG0514.jpgIMAG0513.jpg


  • Advertisement
  • Registered Users, Registered Users 2 Posts: 5,790 ✭✭✭Jack burton


    Absolutely smashing


  • Moderators, Computer Games Moderators Posts: 5,390 Mod ✭✭✭✭Optimus Prime


    Amazing Job!!


  • Registered Users, Registered Users 2 Posts: 2,076 ✭✭✭safetyboy


    Nice Dave!


  • Posts: 7,499 ✭✭✭ [Deleted User]


    Thanks lads!
    This evenings plan is to get the side art on and some wiring.
    I have to figure out the mounting angle of the monitor too.This is adjustable anyway so it'll be trial and error.


  • Closed Accounts Posts: 33,733 ✭✭✭✭Myrddin


    Amazing, well done :cool:


  • Registered Users, Registered Users 2 Posts: 35,253 ✭✭✭✭o1s1n
    Master of the Universe


    That is unbelievably good!

    Any issues when fitting the real parts? Looks like they all went on easy :)


  • Registered Users, Registered Users 2 Posts: 2,920 ✭✭✭TechnoFreek


    Looks amazing urban. You should do a build thread over on J+ too. The boys there will be fapping all over this.


  • Registered Users, Registered Users 2 Posts: 8,461 ✭✭✭RedXIV


    Man that thing is amazing!


  • Posts: 7,499 ✭✭✭ [Deleted User]


    No issues at all,
    I had them to hand during the build so the cab was really built to suit them.
    I was eager to get the side art on last night but said I'd do a bit of research on the location first.
    Seems like they were all over the place from the factory.
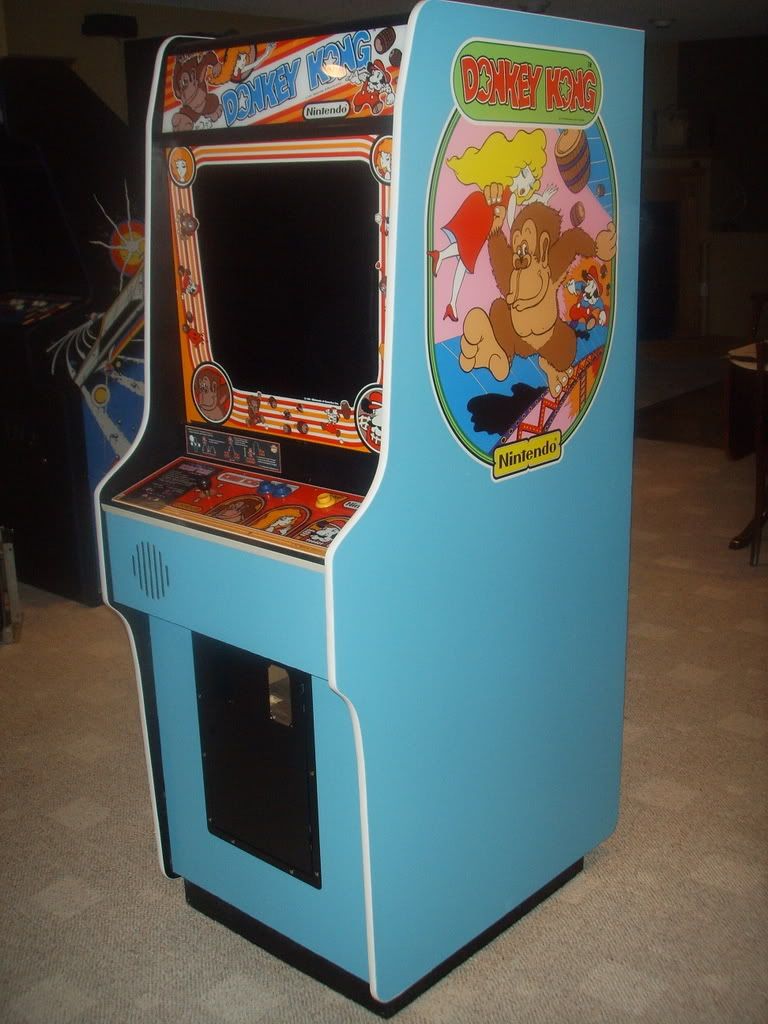
    Im going to keep it nice and high like this one,
    SSL10560.jpg

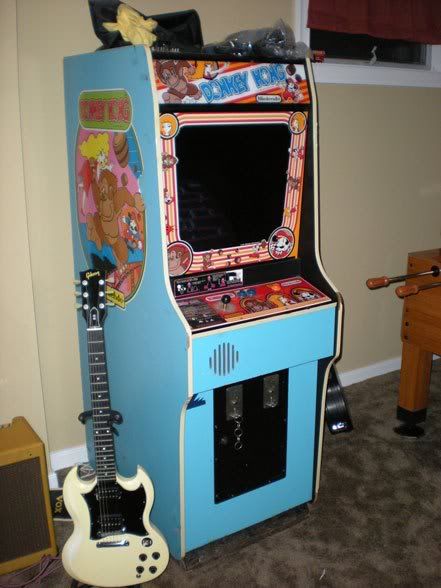
    I think it looks far better than this one

    DK.jpg


  • Advertisement
  • Registered Users, Registered Users 2 Posts: 3,725 ✭✭✭The Last Bandit


    Ya but he's got a Gibson SG :)

    Great job on your one, now can you please get started on building me a Tron cab !!


Advertisement