Advertisement
If you have a new account but are having problems posting or verifying your account, please email us on hello@boards.ie for help. Thanks :)
Hello all! Please ensure that you are posting a new thread or question in the appropriate forum. The Feedback forum is overwhelmed with questions that are having to be moved elsewhere. If you need help to verify your account contact hello@boards.ie
Hi all! We have been experiencing an issue on site where threads have been missing the latest postings. The platform host Vanilla are working on this issue. A workaround that has been used by some is to navigate back from 1 to 10+ pages to re-sync the thread and this will then show the latest posts. Thanks, Mike.
Hi there,
There is an issue with role permissions that is being worked on at the moment.
If you are having trouble with access or permissions on regional forums please post here to get access: https://www.boards.ie/discussion/2058365403/you-do-not-have-permission-for-that#latest

What are you working on currently?

1235723

Comments

  • Registered Users, Registered Users 2 Posts: 1,265 ✭✭✭..Brian..


    Finished the wardrobe and bedside table I was working. The wardrobe is probably the most complex thing I've made so far getting all the reveals etc right. Some mistakes but overall happy with how it turned out!

    IMG_20171101_143745.jpg

    IMG_20171101_143815.jpg


  • Registered Users, Registered Users 2 Posts: 456 ✭✭peter bermingham


    They came out really well nice job just one thing don't put the handles on the center panel next time, it can make them a little hard to grip.Now theirs nothing wrong with where they are.


  • Registered Users, Registered Users 2 Posts: 1,265 ✭✭✭..Brian..


    Thanks and that's definitely one of the mistakes I mentioned! I drilled the holes and the minute I put the first one up I knew it was a mistake, they are very close to each other. Would you just attach them straight into the the panel?


  • Registered Users, Registered Users 2 Posts: 456 ✭✭peter bermingham


    ..Brian.. wrote: »
    Thanks and that's definitely one of the mistakes I mentioned! I drilled the holes and the minute I put the first one up I knew it was a mistake, they are very close to each other. Would you just attach them straight into the the panel?
    Yes the top rail of each drawer is where they normally go. But look it came out really well


  • Registered Users, Registered Users 2 Posts: 431 ✭✭delaney001


    ..Brian.. wrote: »
    Thanks and that's definitely one of the mistakes I mentioned! I drilled the holes and the minute I put the first one up I knew it was a mistake, they are very close to each other. Would you just attach them straight into the the panel?

    I presumed you were talking about the door handles? I wouldn't put them into the panel, I think they'd look funny and possibly weaken quicker. Would it be possible to have that trim wider so the two knobs could be farther apart?


  • Moderators, Category Moderators, Arts Moderators, Sports Moderators Posts: 50,161 CMod ✭✭✭✭magicbastarder


    just turned a small burl bowl the other night - still quite thick, it's full of voids and i wasn't sure how well it would hold together. i may stick it back on the lathe and turn the walls a bit thinner.

    the source of the burl was a little unusual - cycling home from work on griffith avenue about six months ago, i was passed by a high speed car chase where the chasee clipped another car at high speed, spun, and slammed backwards into one of the london planes lining the avenue. and promptly drove off at high speed, i think with both rear tyres blown out. he knocked the burl off the tree in the process, so i took it home.

    432351.jpg


  • Registered Users, Registered Users 2 Posts: 1,265 ✭✭✭..Brian..


    delaney001 wrote: »
    I presumed you were talking about the door handles? I wouldn't put them into the panel, I think they'd look funny and possibly weaken quicker. Would it be possible to have that trim wider so the two knobs could be farther apart?

    I was! I think we got our wires crossed there. Anyway, smaller knobs or wider stiles (or both) would have been better there I think!


  • Registered Users, Registered Users 2 Posts: 7,026 ✭✭✭Wossack


    just turned a small burl bowl the other night - still quite thick, it's full of voids and i wasn't sure how well it would hold together. i may stick it back on the lathe and turn the walls a bit thinner.

    the source of the burl was a little unusual - cycling home from work on griffith avenue about six months ago, i was passed by a high speed car chase where the chasee clipped another car at high speed, spun, and slammed backwards into one of the london planes lining the avenue. and promptly drove off at high speed, i think with both rear tyres blown out. he knocked the burl off the tree in the process, so i took it home.

    not sure I'd risk it..! looks great as is, with loads of character - and a cool story to boot :D


  • Registered Users, Registered Users 2 Posts: 431 ✭✭delaney001


    just turned a small burl bowl the other night - still quite thick, it's full of voids and i wasn't sure how well it would hold together. i may stick it back on the lathe and turn the walls a bit thinner.

    the source of the burl was a little unusual - cycling home from work on griffith avenue about six months ago, i was passed by a high speed car chase where the chasee clipped another car at high speed, spun, and slammed backwards into one of the london planes lining the avenue. and promptly drove off at high speed, i think with both rear tyres blown out. he knocked the burl off the tree in the process, so i took it home.

    432351.jpg

    If it's going to risk breaking leave it as is. But I would definitely try to go thinner. Hard to judge dimensions in that pic but the rim looks too thick for the diameter of the bowl. In my opinion the rim shouldn't be much more than about 8% of the total diameter. But just my opinion or my eye.
    Nice piece though.


  • Advertisement
  • Registered Users, Registered Users 2 Posts: 1,715 ✭✭✭Gryzor


    Another youtube inspired box. Last box for a while I think, all boxed out! This one was all about the joinery, took time but worth it.

    432907.jpg

    432904.jpg

    432905.jpg

    432906.jpg


  • Moderators, Category Moderators, Arts Moderators, Sports Moderators Posts: 50,161 CMod ✭✭✭✭magicbastarder


    nice! you have a link to the video which inspired it?


  • Registered Users, Registered Users 2 Posts: 1,715 ✭✭✭Gryzor


  • Registered Users, Registered Users 2 Posts: 431 ✭✭delaney001


    That is absolutely top grade work. Do you work machine or more hand tools style? A++


  • Registered Users, Registered Users 2 Posts: 1,715 ✭✭✭Gryzor


    delaney001 wrote: »
    That is absolutely top grade work. Do you work machine or more hand tools style? A++

    Thanks! Bit of both tbh, depends on what I'm doing. In this case all the milling done by machine and joinery by hand...


  • Registered Users, Registered Users 2 Posts: 431 ✭✭delaney001


    Gryzor wrote: »
    Thanks! Bit of both tbh, depends on what I'm doing. In this case all the milling done by machine and joinery by hand...

    Lovely stuff. I went mad into hand tools about a year ago, it's very slow but so enjoyable when it works. Kinda faded away from them again now though. Hopefully start something again next year.


  • Advertisement
  • Registered Users, Registered Users 2 Posts: 456 ✭✭peter bermingham


    TL - 23  BARRON TOOLBOX  (MM).pdf
    That's a nice bit of work i like them protruding dovetails something different i know you said you are all boxed out you could have a go at this https://youtu.be/9vqeBoe3y1Y sorry you have to copy and paste the youtube link


  • Moderators, Category Moderators, Arts Moderators, Sports Moderators Posts: 50,161 CMod ✭✭✭✭magicbastarder


    rough turning some cedar. not my first choice in wood for turning, but i promised my father in law (well, i was told to) i'd try to make something from the atlantic cedar storm doris toppled in his garden.
    had to remember that baby oil is a little easier on the skin than acetone, for getting the sap off your hands.


  • Registered Users, Registered Users 2 Posts: 1,577 ✭✭✭Bonzo Delaney


    rough turning some cedar. not my first choice in wood for turning, but i promised my father in law (well, i was told to) i'd try to make something from the atlantic cedar storm doris toppled in his garden.
    had to remember that baby oil is a little easier on the skin than acetone, for getting the sap off your hands.

    Not fine joinery related but does baby oil work ? Sap's a bugger when it gets on your hands find it worse with rough first fix timber and the odd bit of pao 2nd fix .
    Used to find a particular brand of wipes decent for it


  • Registered Users, Registered Users 2 Posts: 450 ✭✭Zebbedee


    rough turning some cedar. not my first choice in wood for turning, but i promised my father in law (well, i was told to) i'd try to make something from the atlantic cedar storm doris toppled in his garden.
    had to remember that baby oil is a little easier on the skin than acetone, for getting the sap off your hands.
    Not fine joinery related but does baby oil work ? Sap's a bugger when it gets on your hands find it worse with rough first fix timber and the odd bit of pao 2nd fix .
    Used to find a particular brand of wipes decent for it

    Cedar's not the worst for sap. Leylandii is the worst in my experience. Once that sap gets on your hands nothing will shift it.


  • Moderators, Category Moderators, Arts Moderators, Sports Moderators Posts: 50,161 CMod ✭✭✭✭magicbastarder


    i chopped down some leylandii about four years ago, and iirc, the baby oil did a good job of getting the sap off my hands too. doesn't work as quickly as acetone, but also doesn't evaporate away on you the acetone does.


  • Advertisement
  • Registered Users, Registered Users 2 Posts: 549 ✭✭✭chillyspoon


    My current project is mounting an Irwin vise on my workbench.

    I ordered one of the light 7" vises (http://www.irwin.co.uk/tools/vices-and-accessories/woodcraft-vices) and one of the much heavier weight ones with the built in dog got delivered (http://www.irwin.co.uk/tools/vices-and-accessories/plain-screw-woodworking-vice), so I'm having to beef up the bench underneath to withstand the leverage!


  • Registered Users, Registered Users 2 Posts: 40,038 ✭✭✭✭Sparks


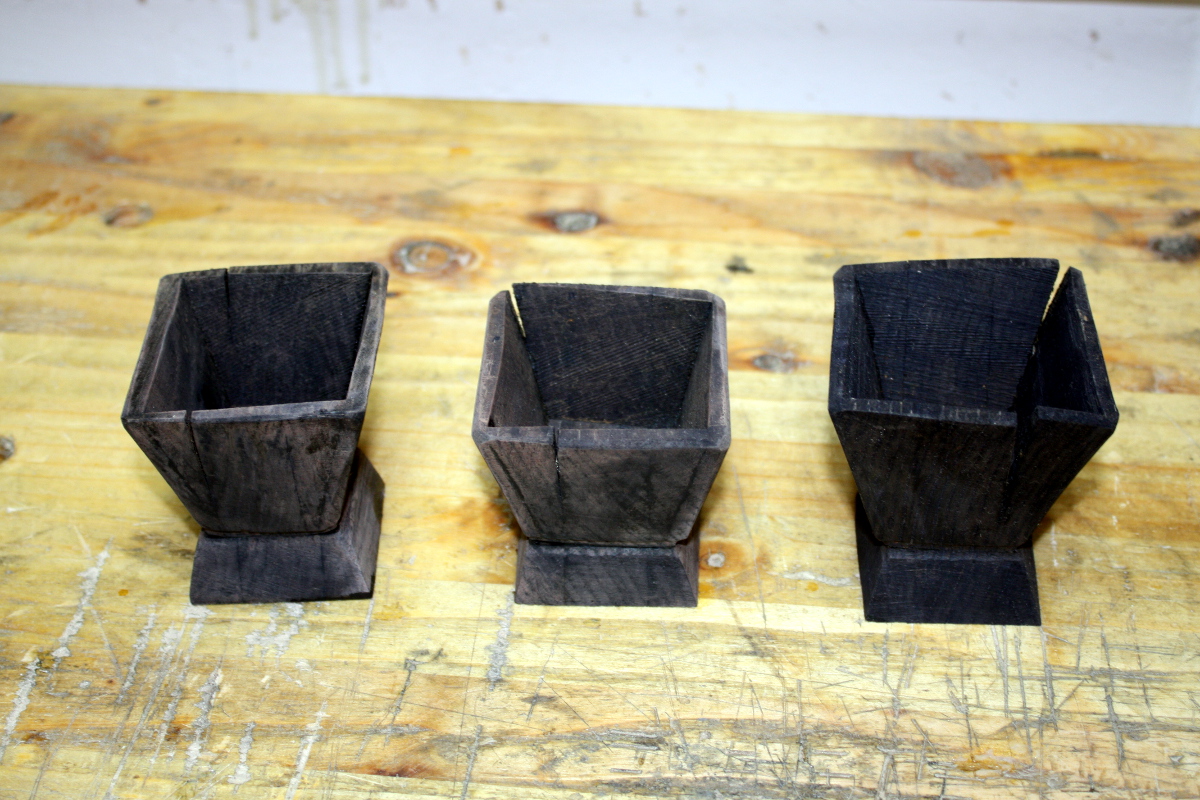
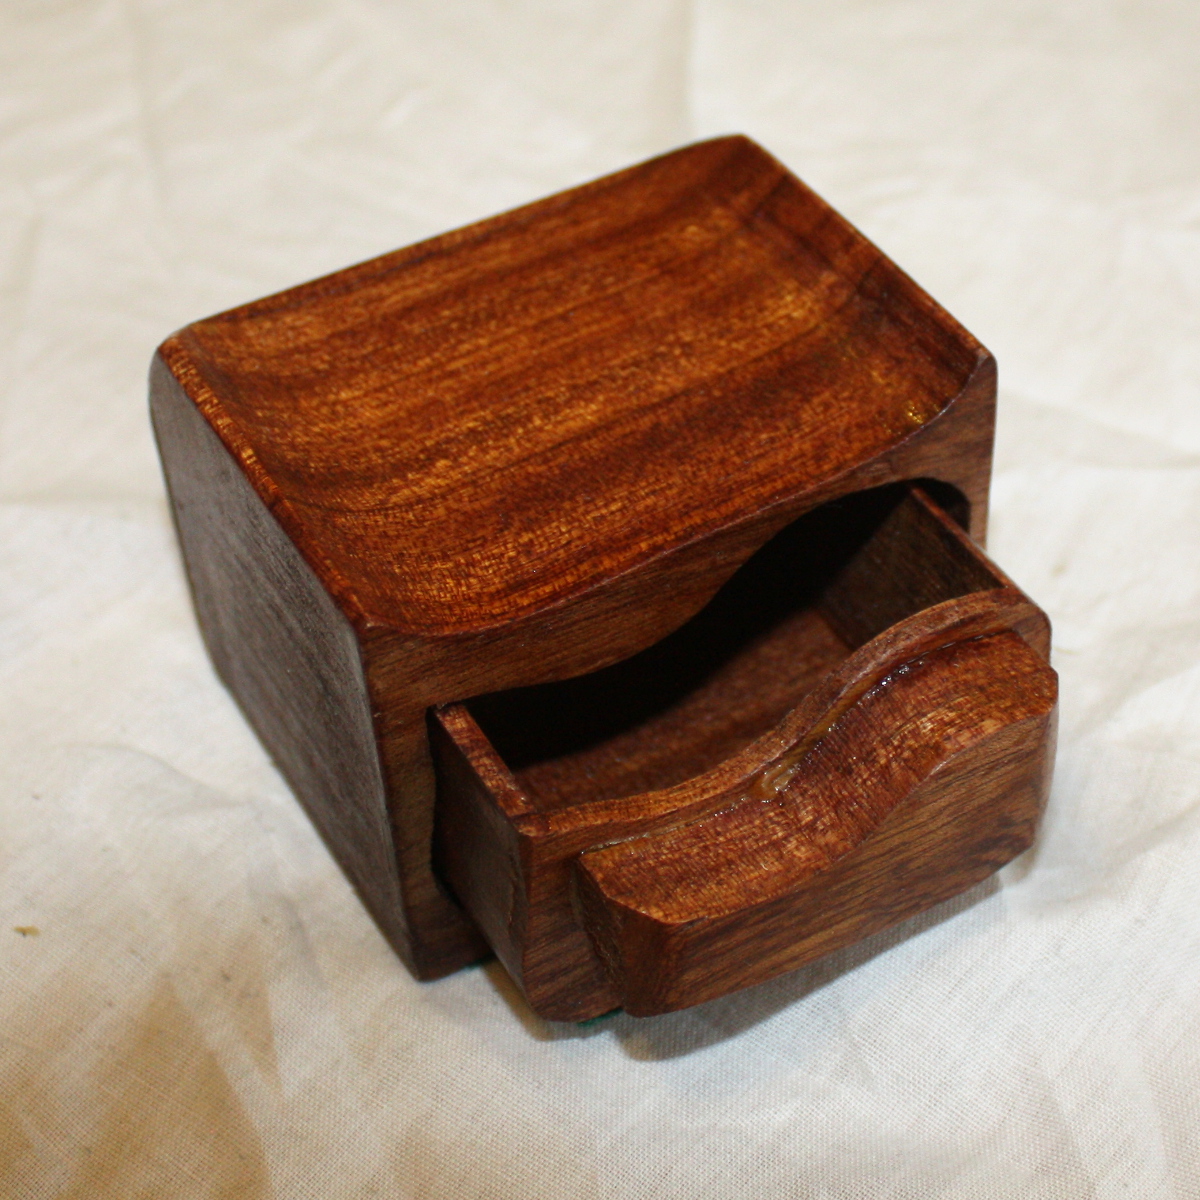
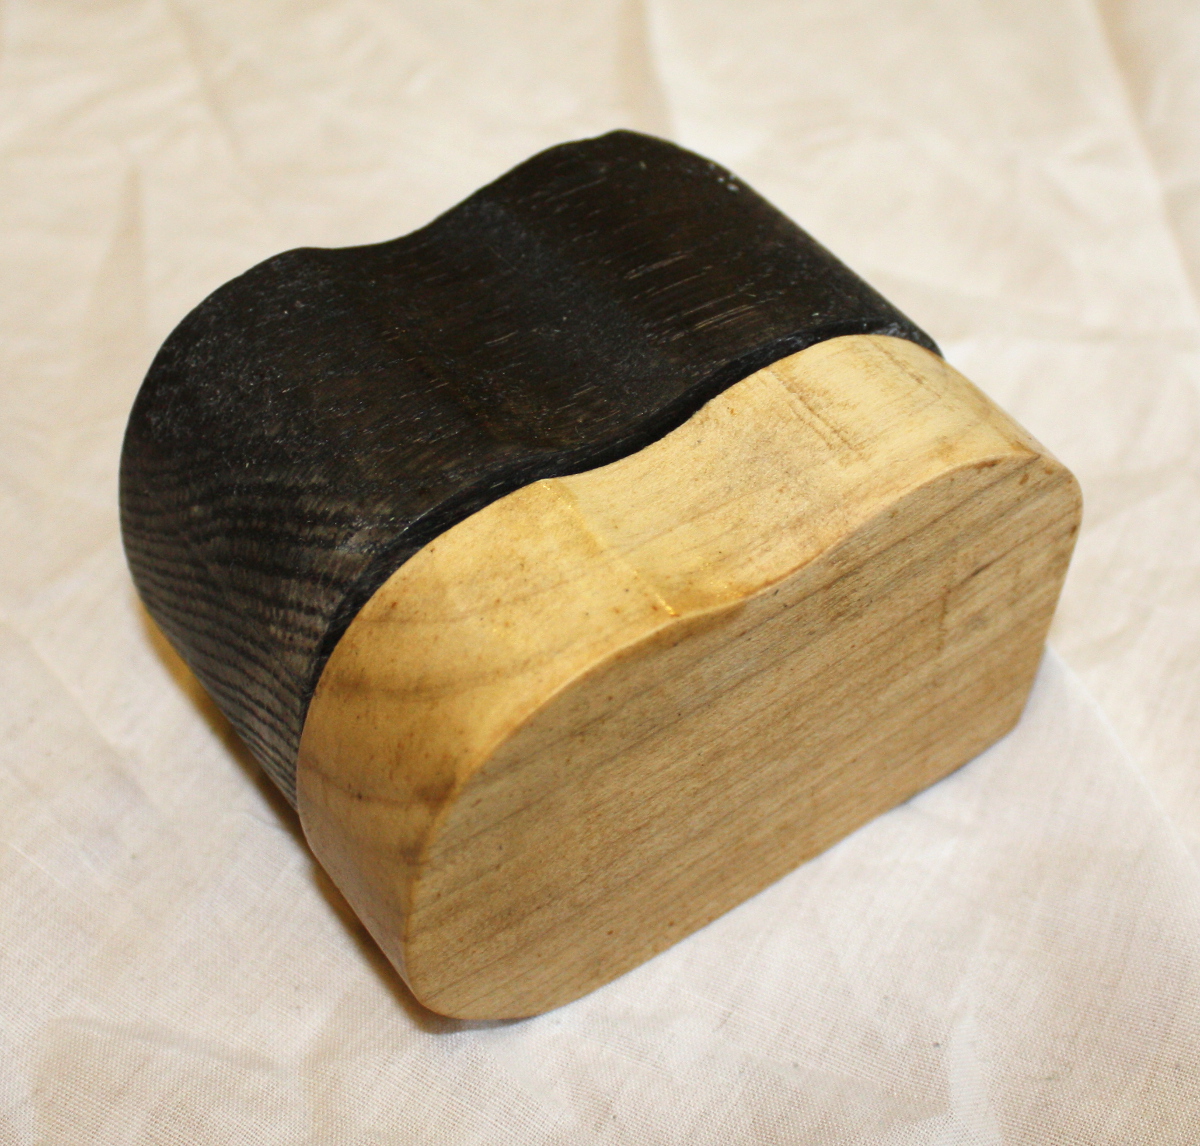
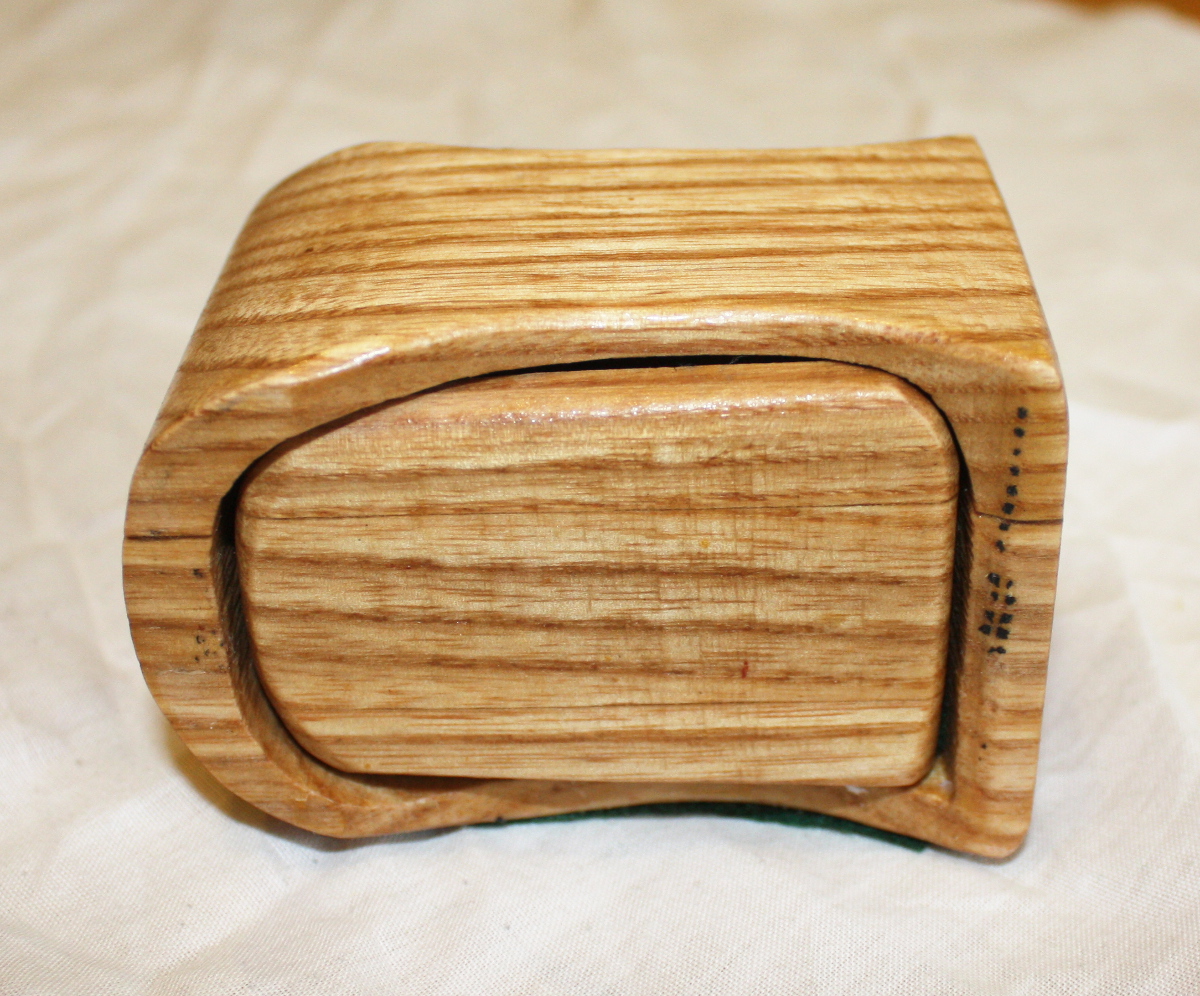
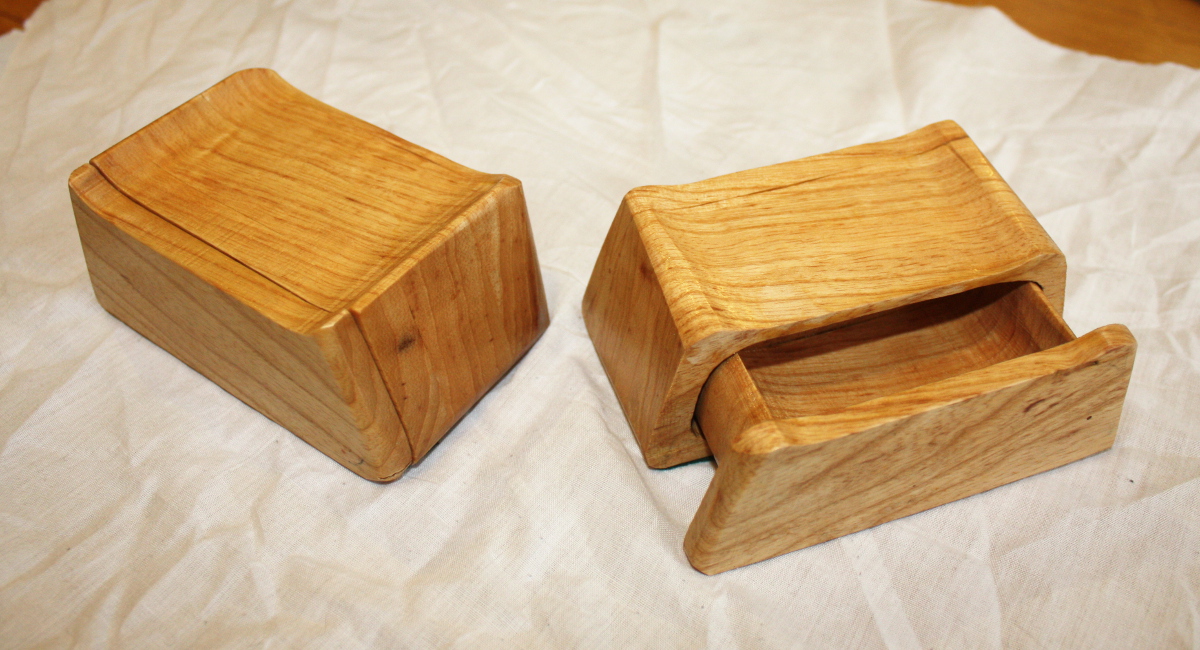
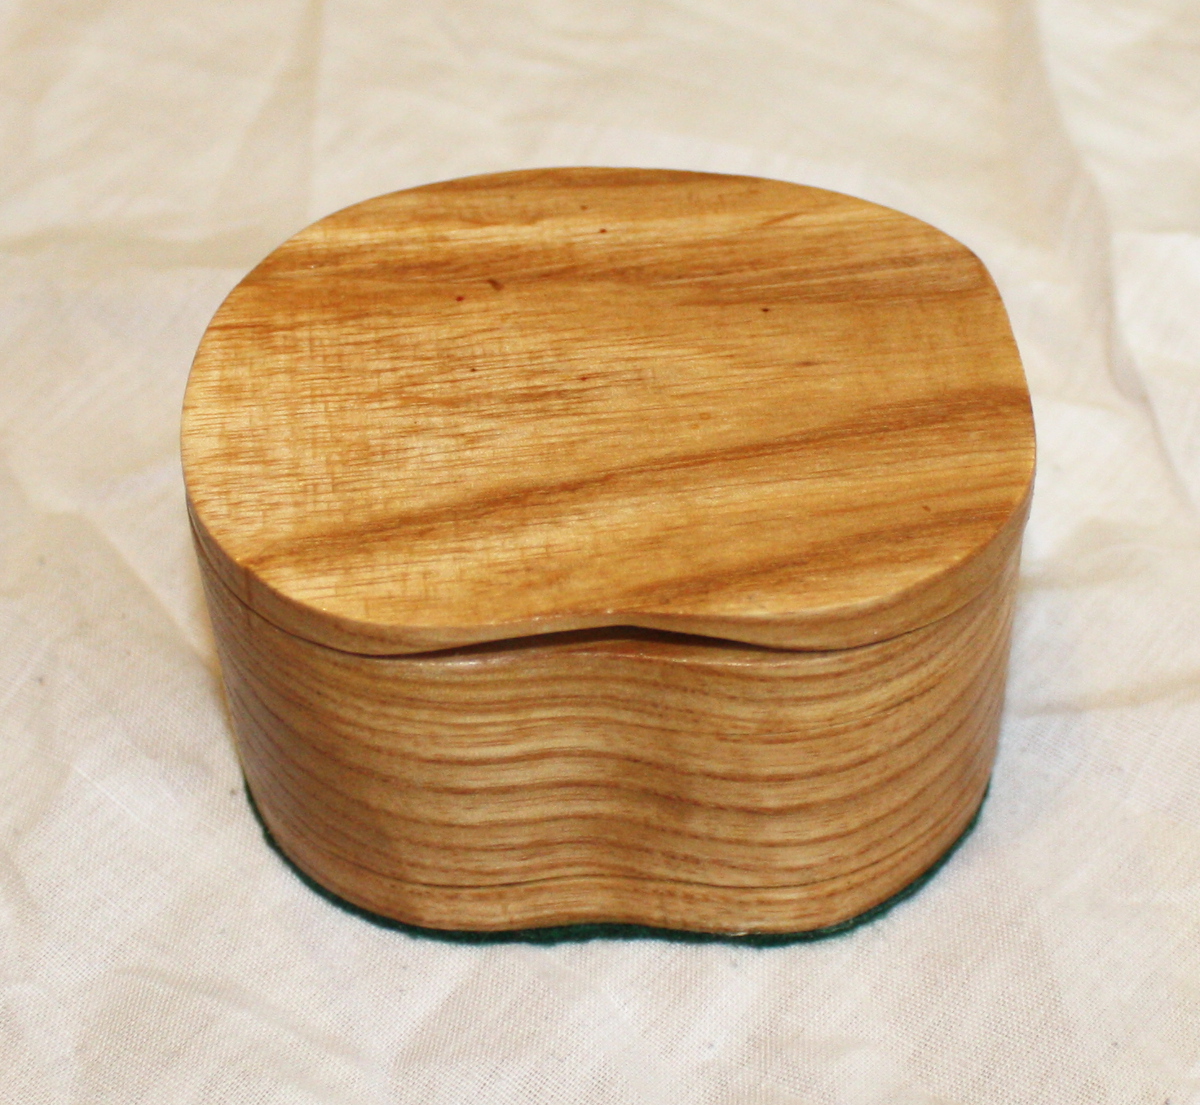
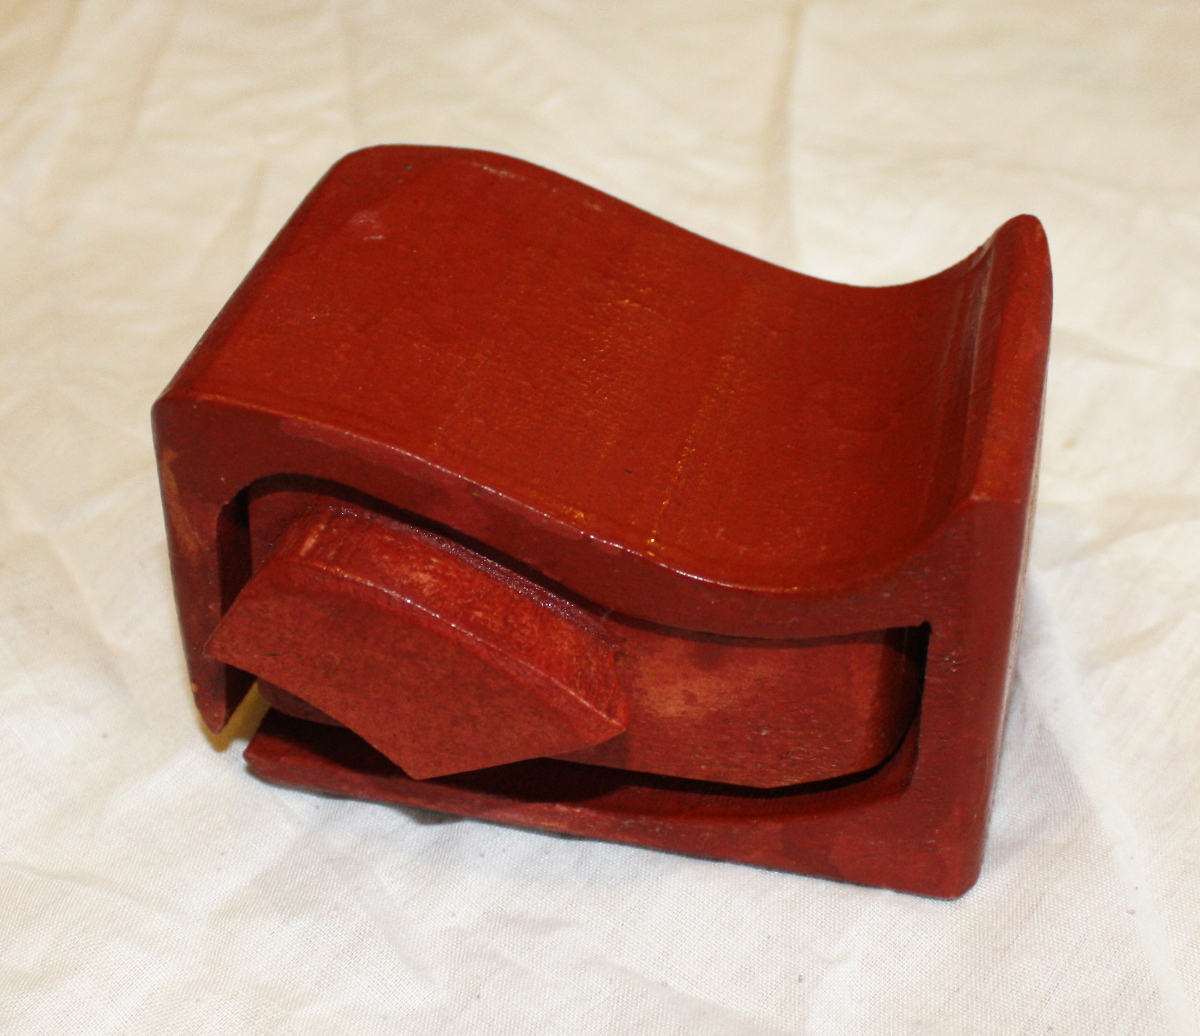
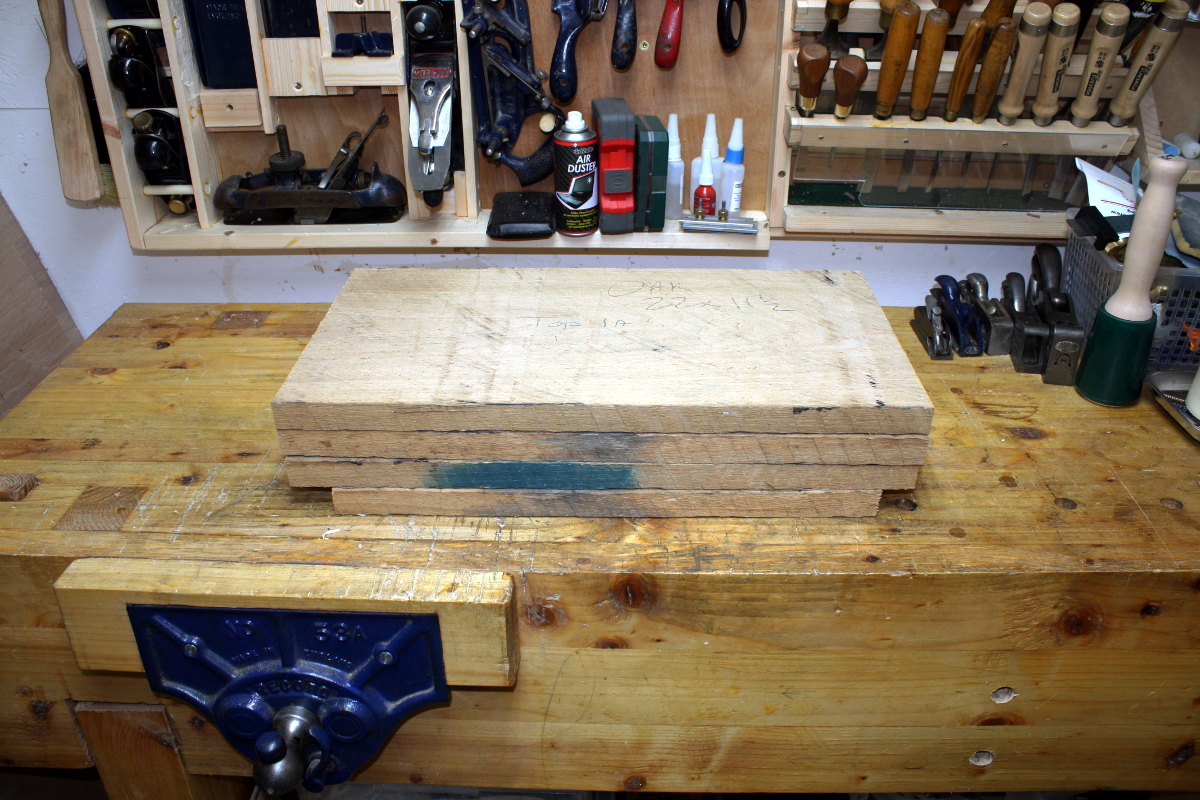
    Finished up a few very quickly made bandsaw boxes for an xmas bazaar being held at my son's school for fundraising. The oak ones were a total disaster, the ebonising went badly wrong and they had to be scrapped:

    IMG_1645a.jpg

    But some of the rest turned out okay, considering they were all made in a week from scraps and ends of boards that had been lying around getting underfoot:

    IMG_1683a.jpg

    IMG_1677a.jpg

    IMG_1674a.jpg

    IMG_1669a.jpg

    IMG_1666a.jpg

    IMG_1660a.jpg


  • Registered Users, Registered Users 2 Posts: 40,038 ✭✭✭✭Sparks


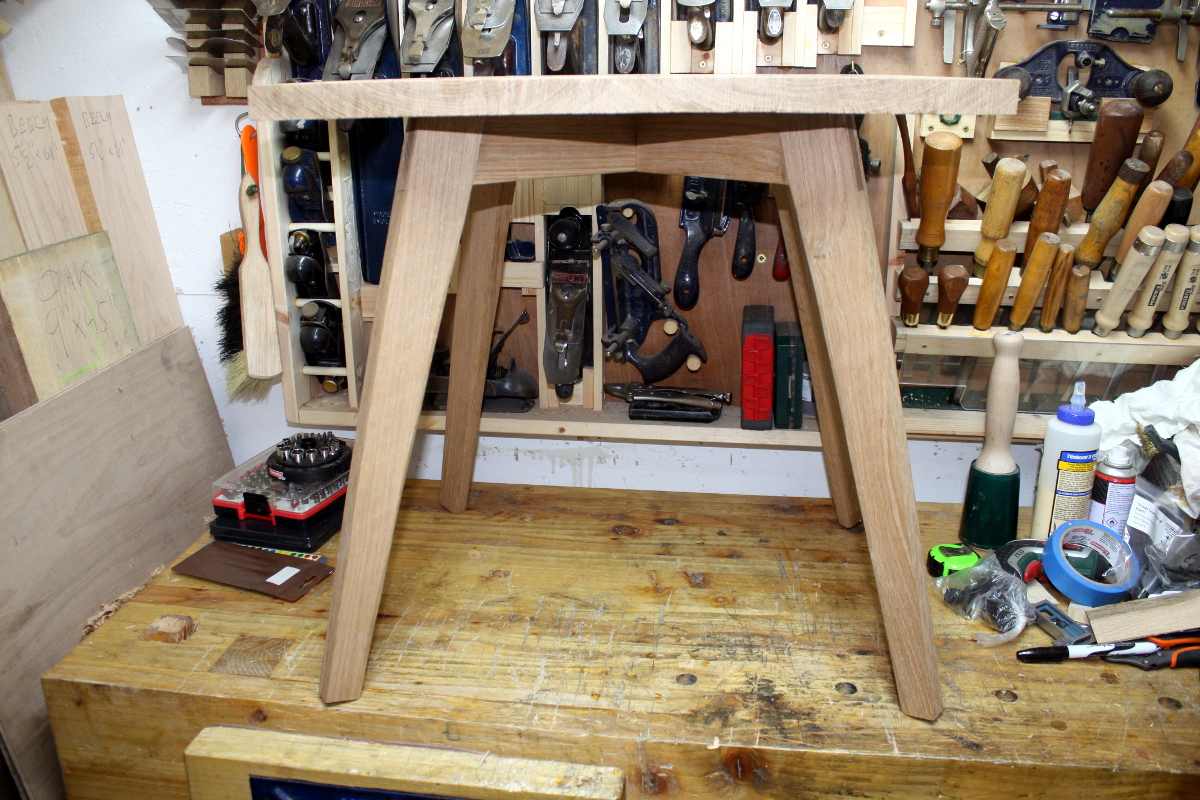
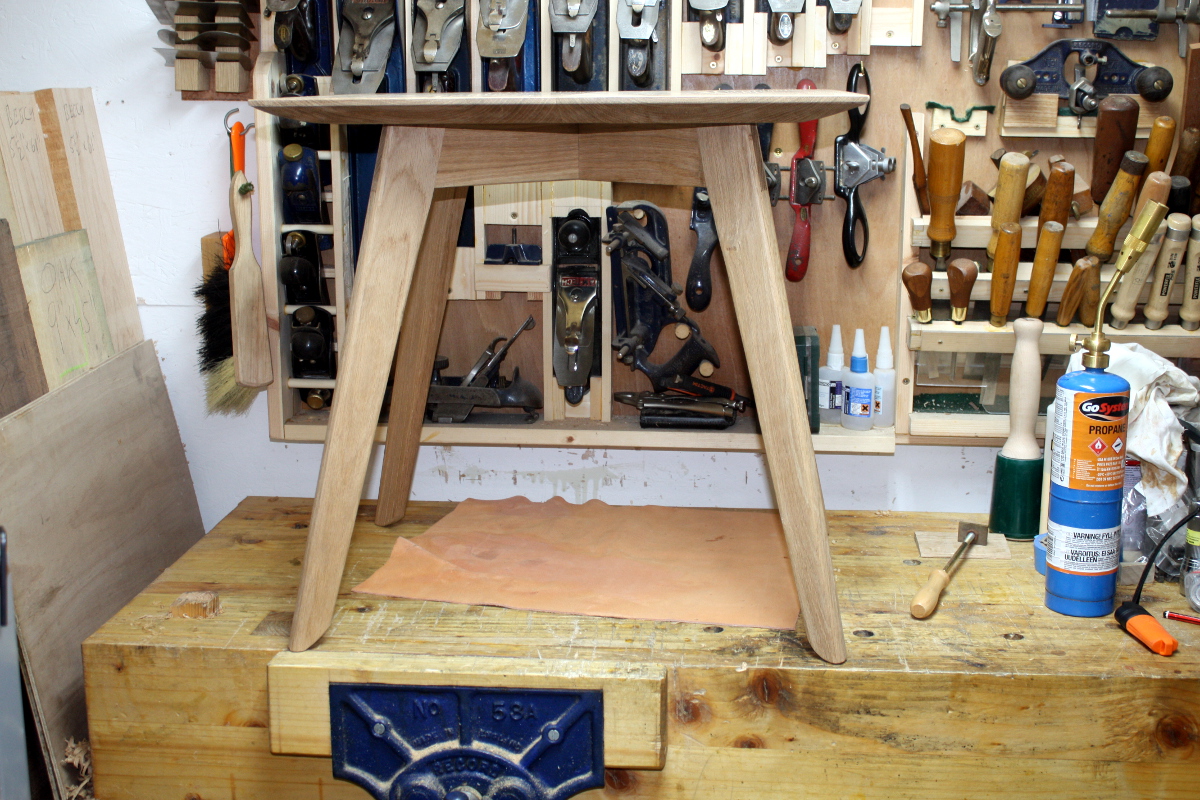
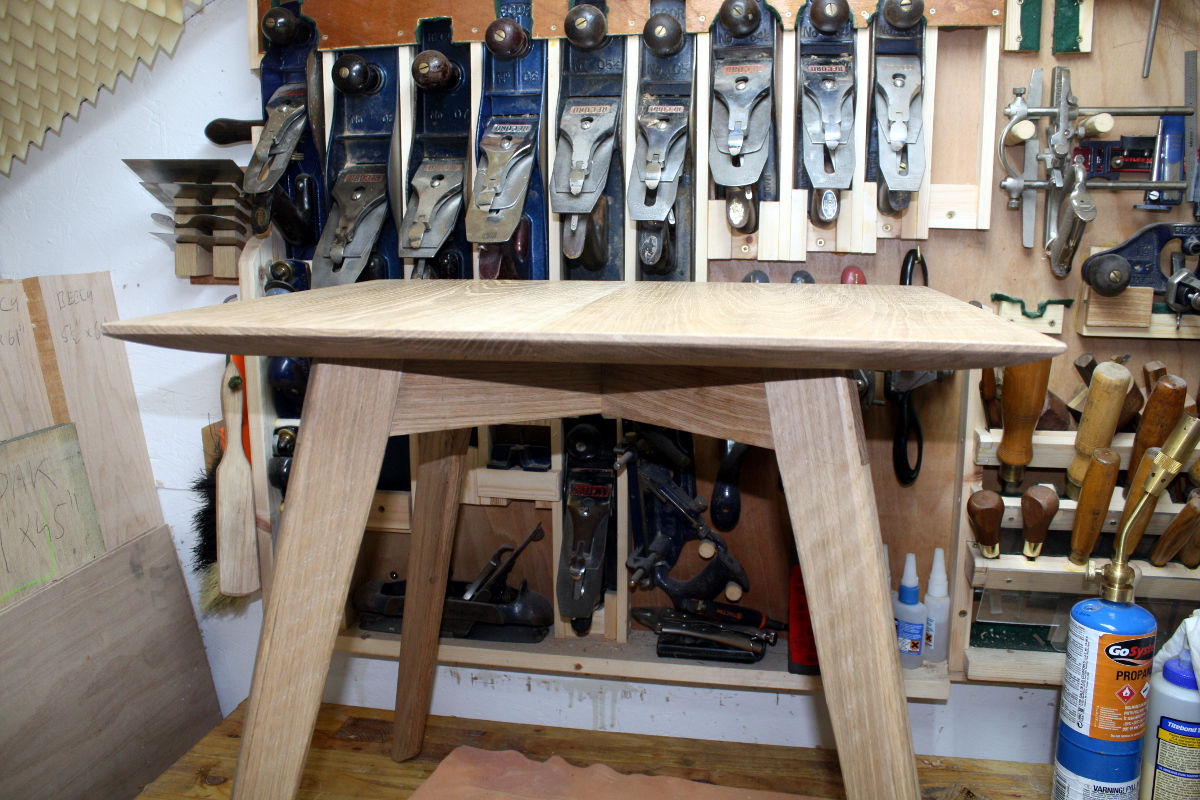
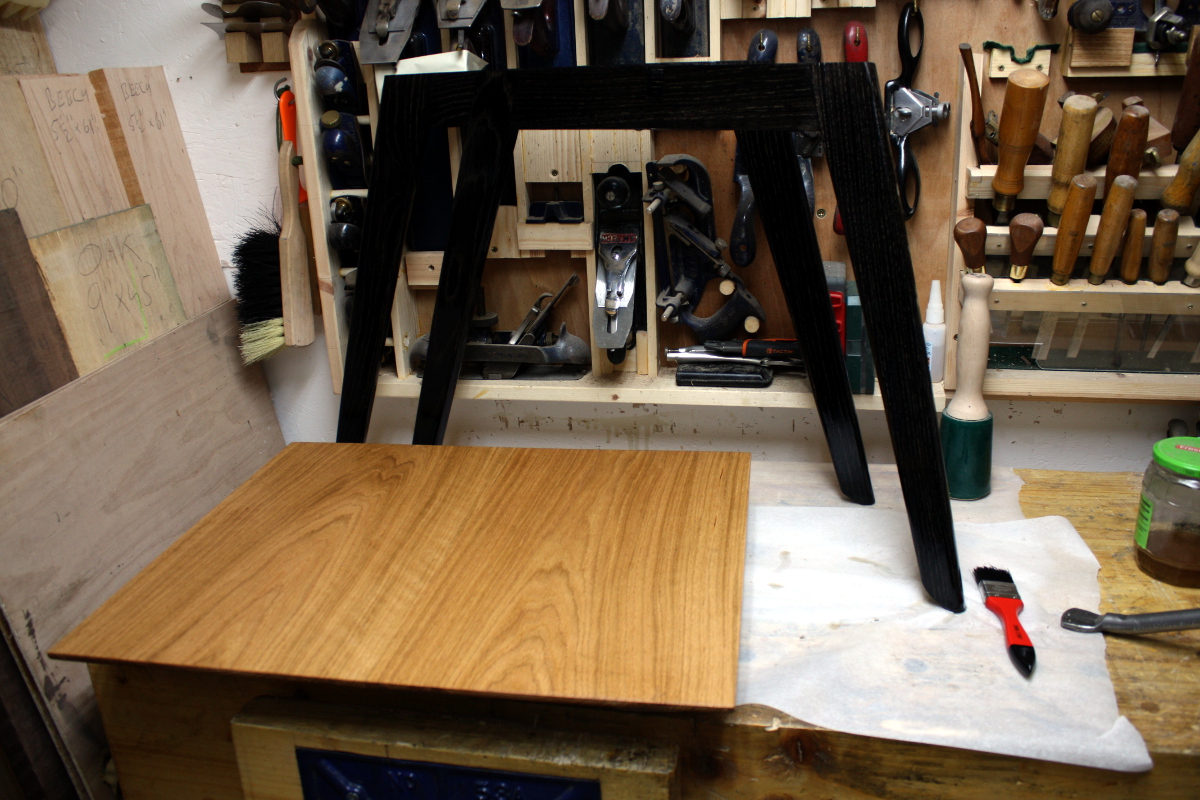
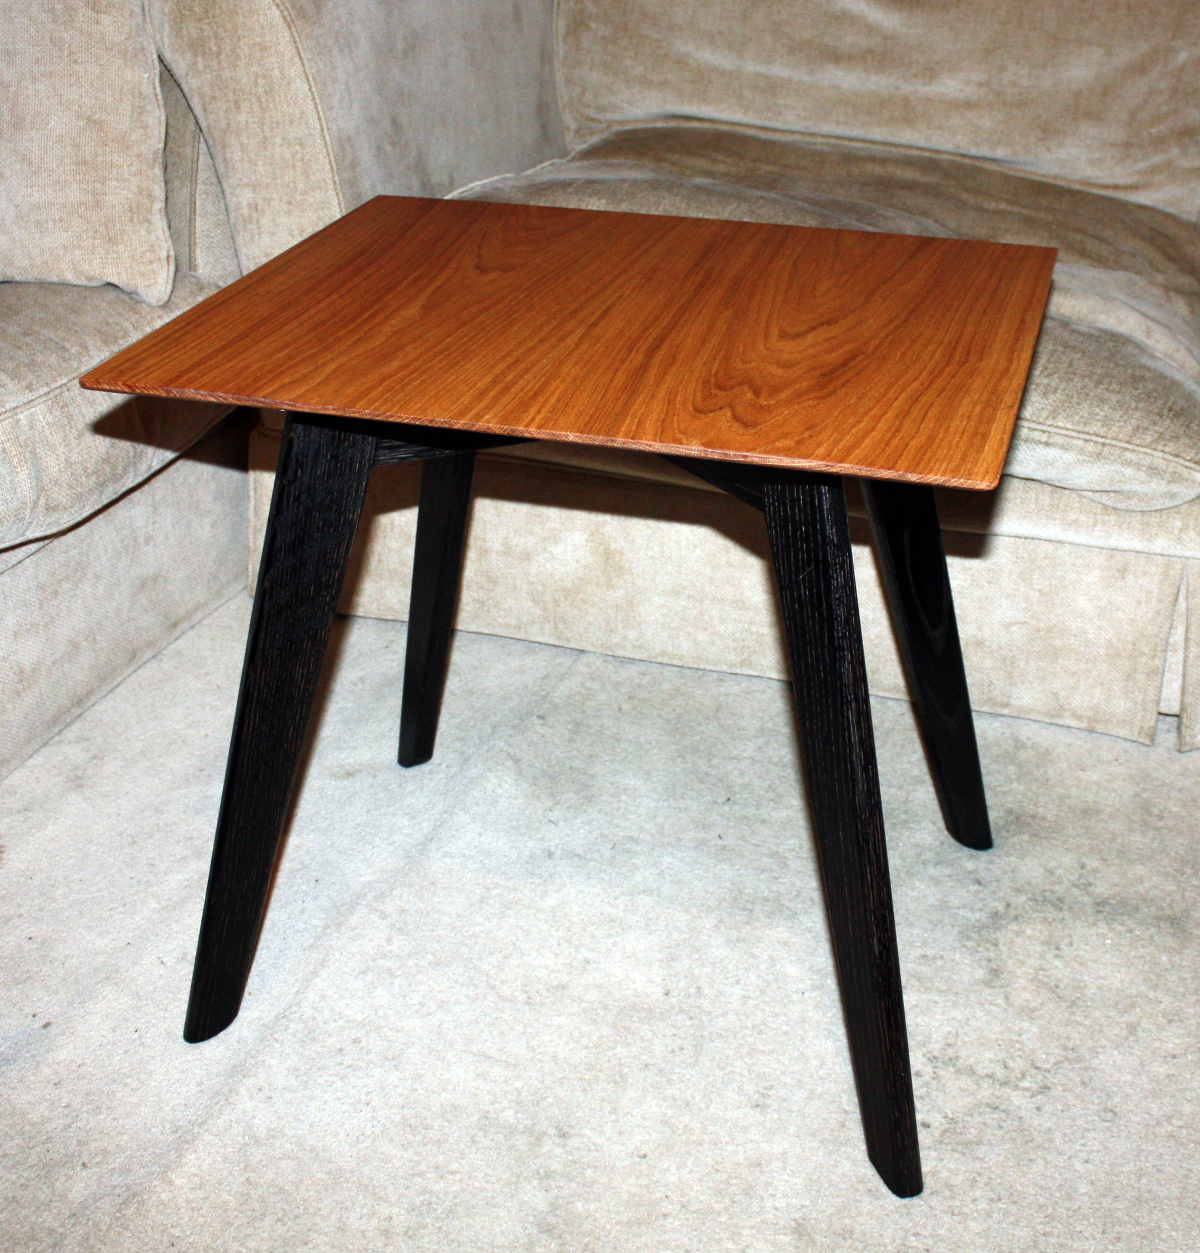
    Finished up one of Richard Maguire's side tables, so... montage!

    IMG_1400a.jpg

    IMG_1444a.jpg

    IMG_1695a.jpg

    IMG_1694a.jpg

    IMG_1699a.jpg

    IMG_1735a.jpg

    IMG_1749a.jpg

    IMG_1755a.jpg

    IMG_1817a.jpg

    IMG_1818a.jpg

    IMG_1836a.jpg

    IMG_1840a.jpg

    IMG_1849a.jpg

    IMG_1897a.jpg

    IMG_1910a.jpg

    Fun build, very satisfying.


  • Registered Users, Registered Users 2 Posts: 40,038 ✭✭✭✭Sparks


    IMG_1966a.jpg
    IMG_1964a.jpg
    IMG_1963a.jpg
    IMG_1962a.jpg

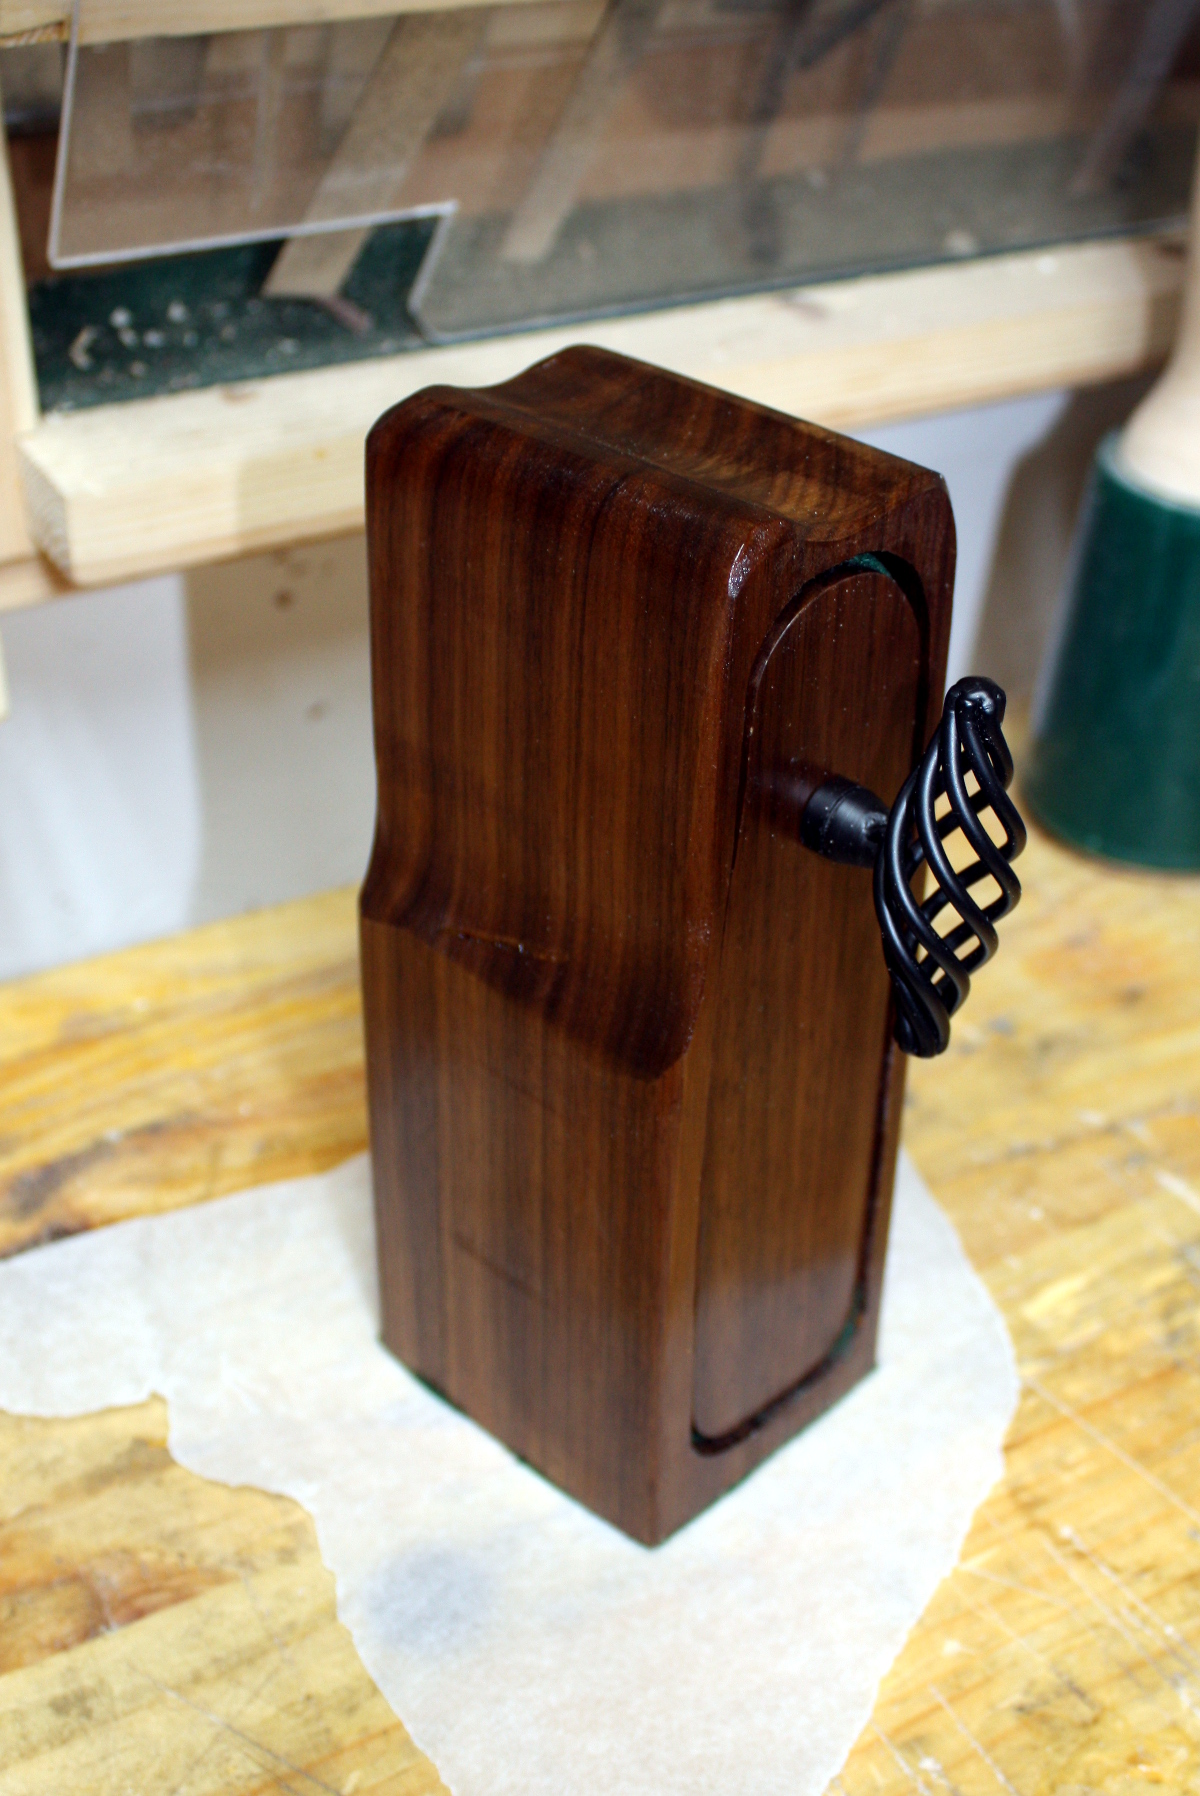
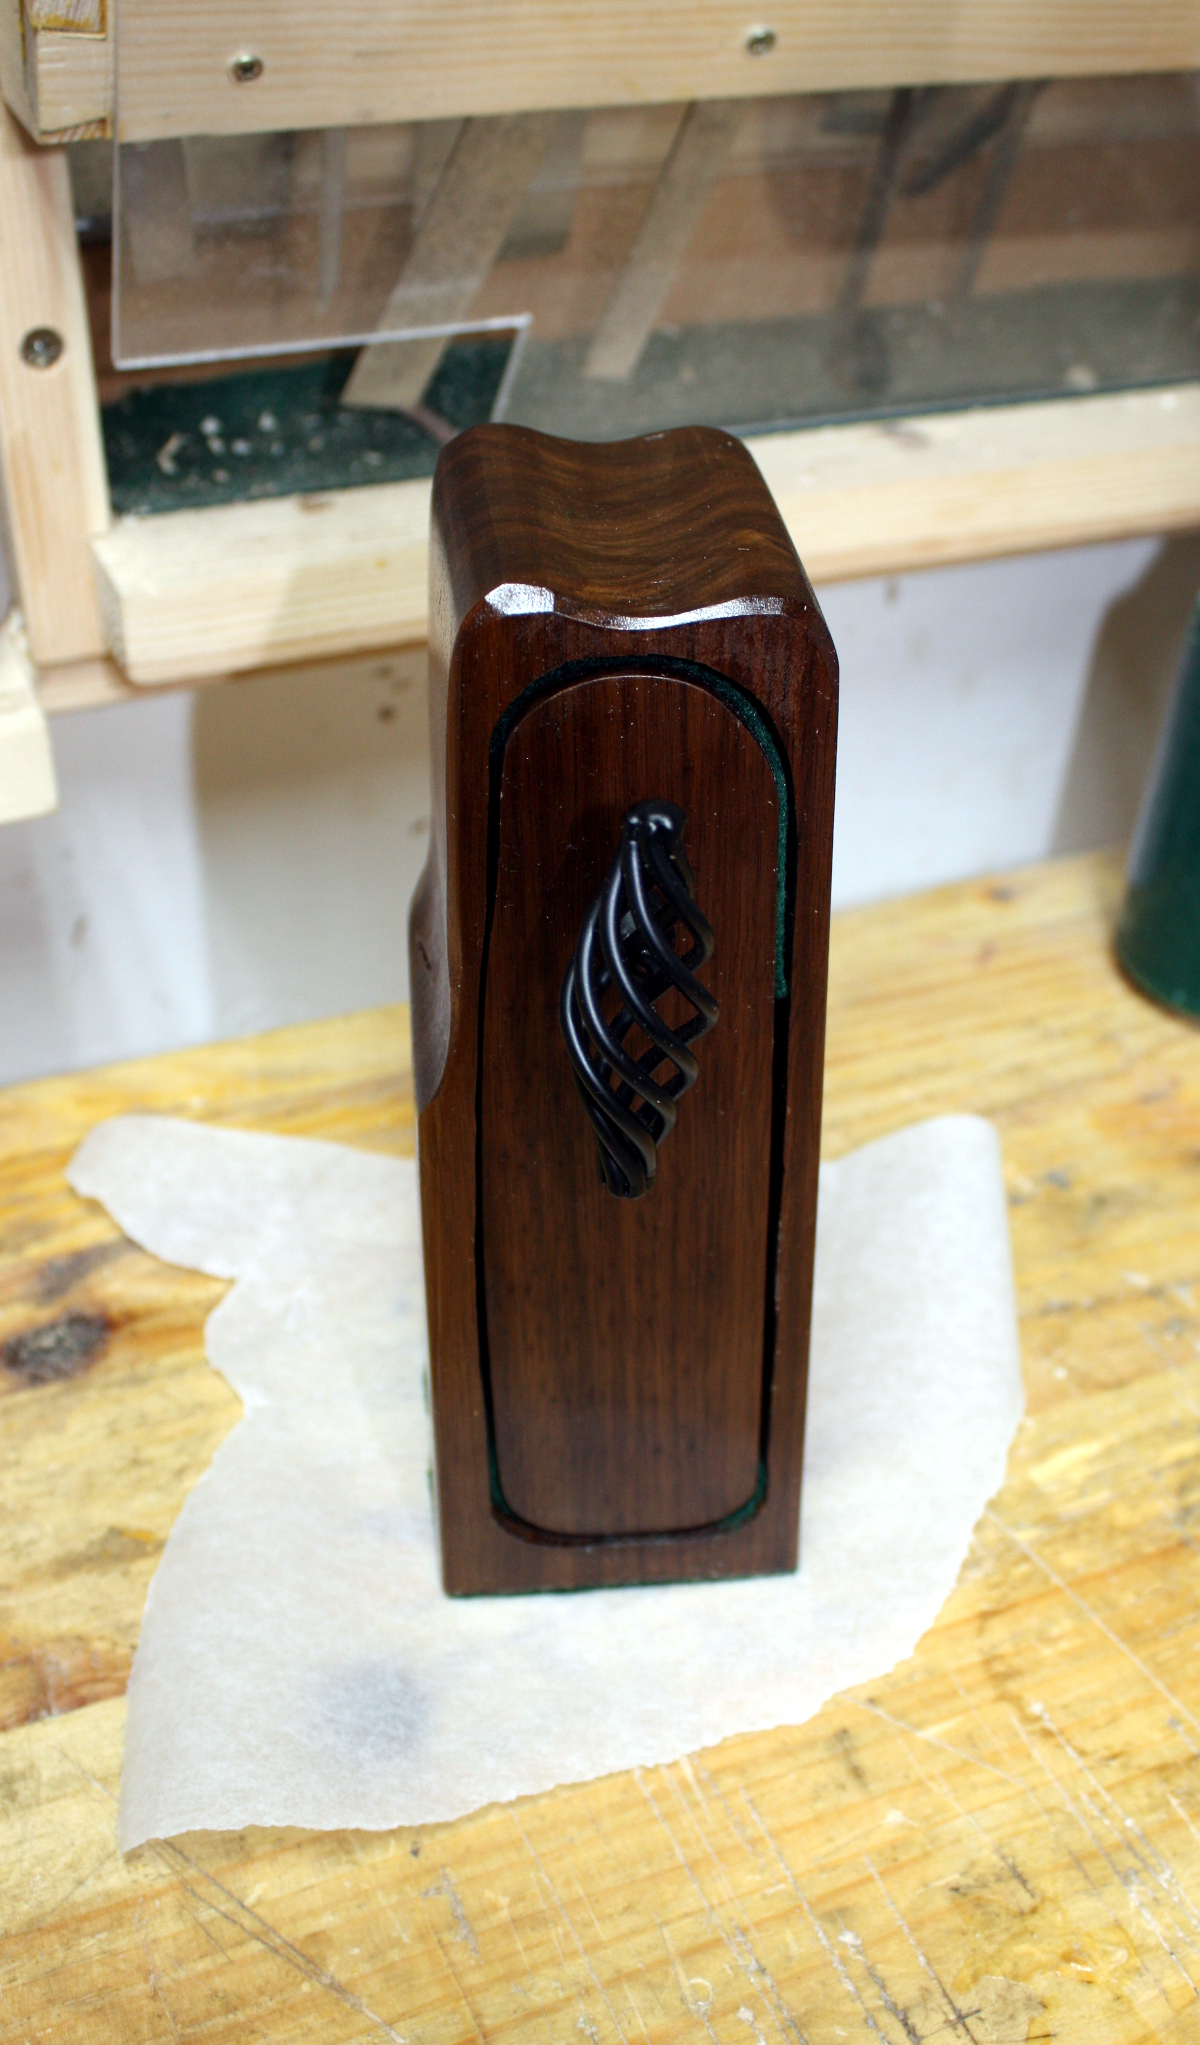
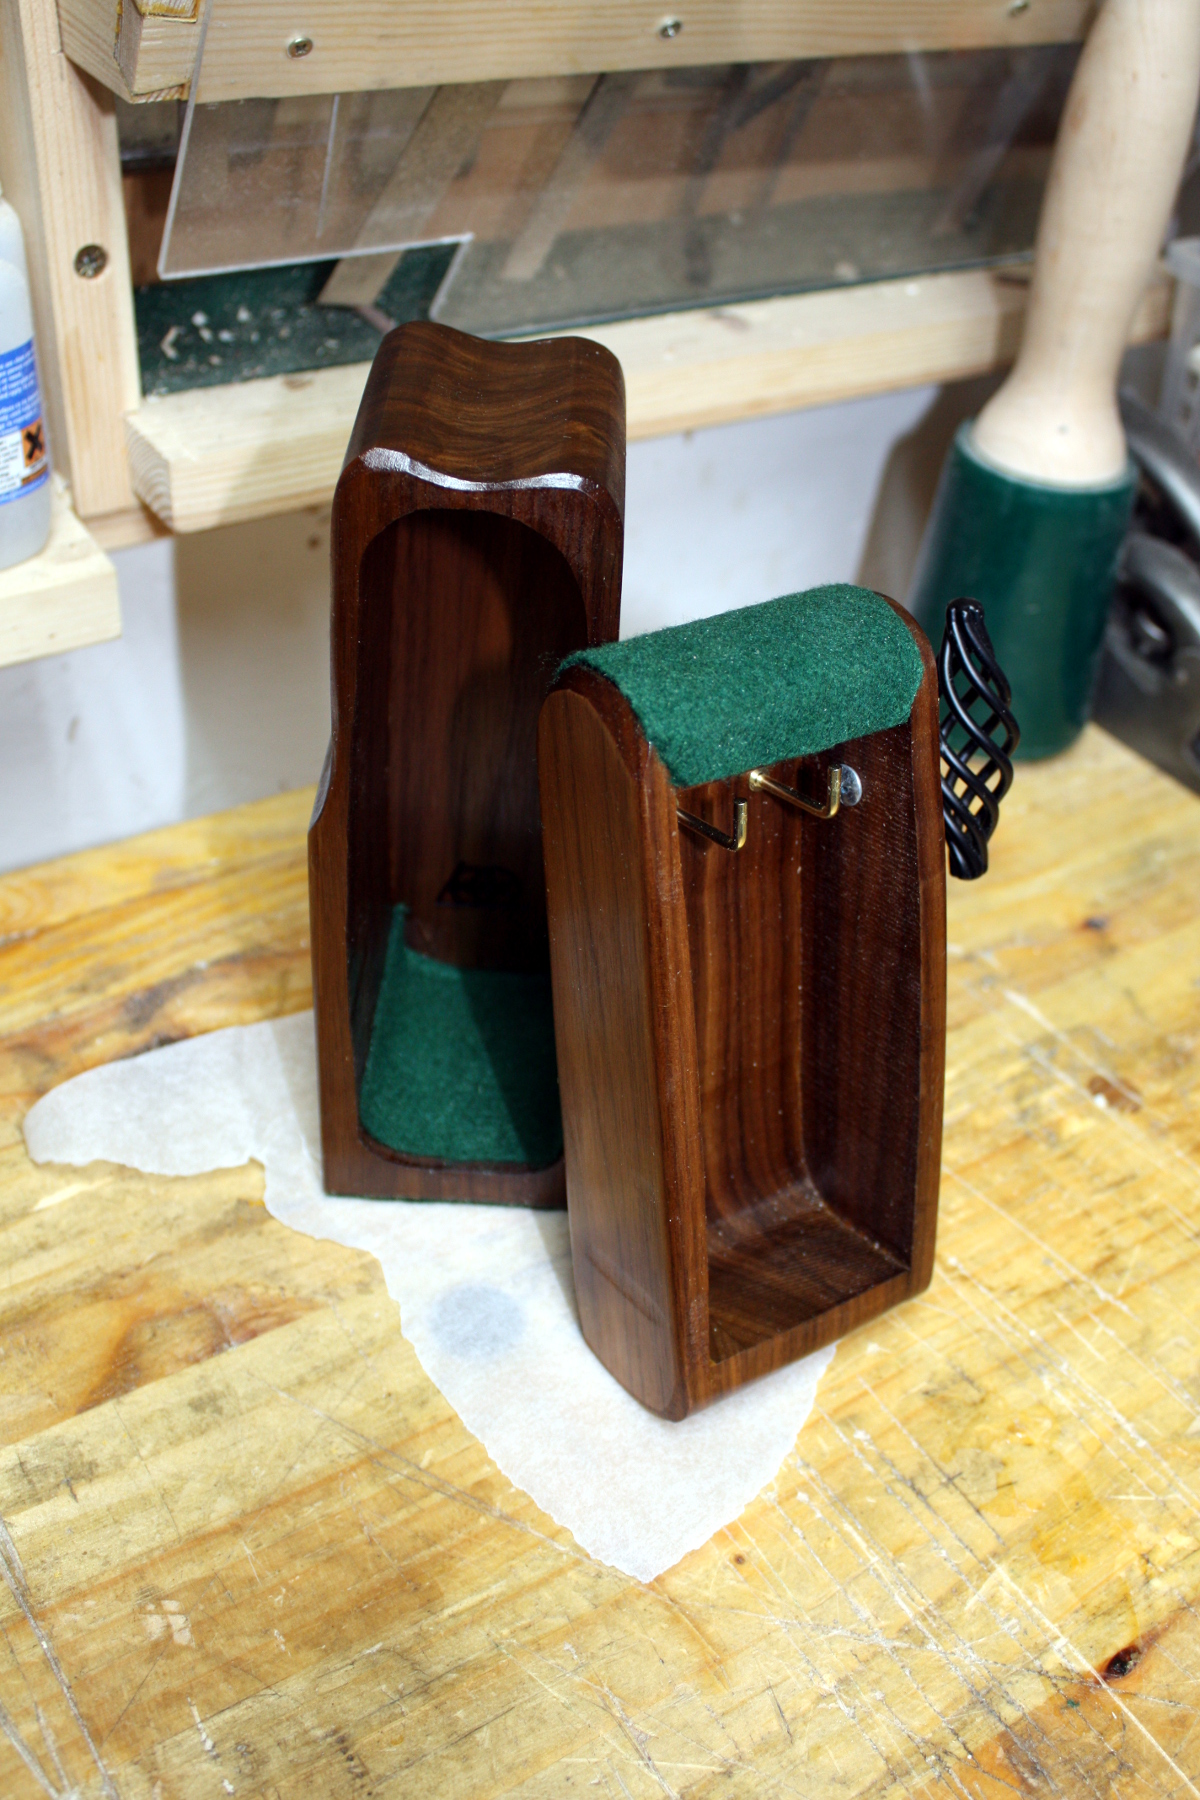
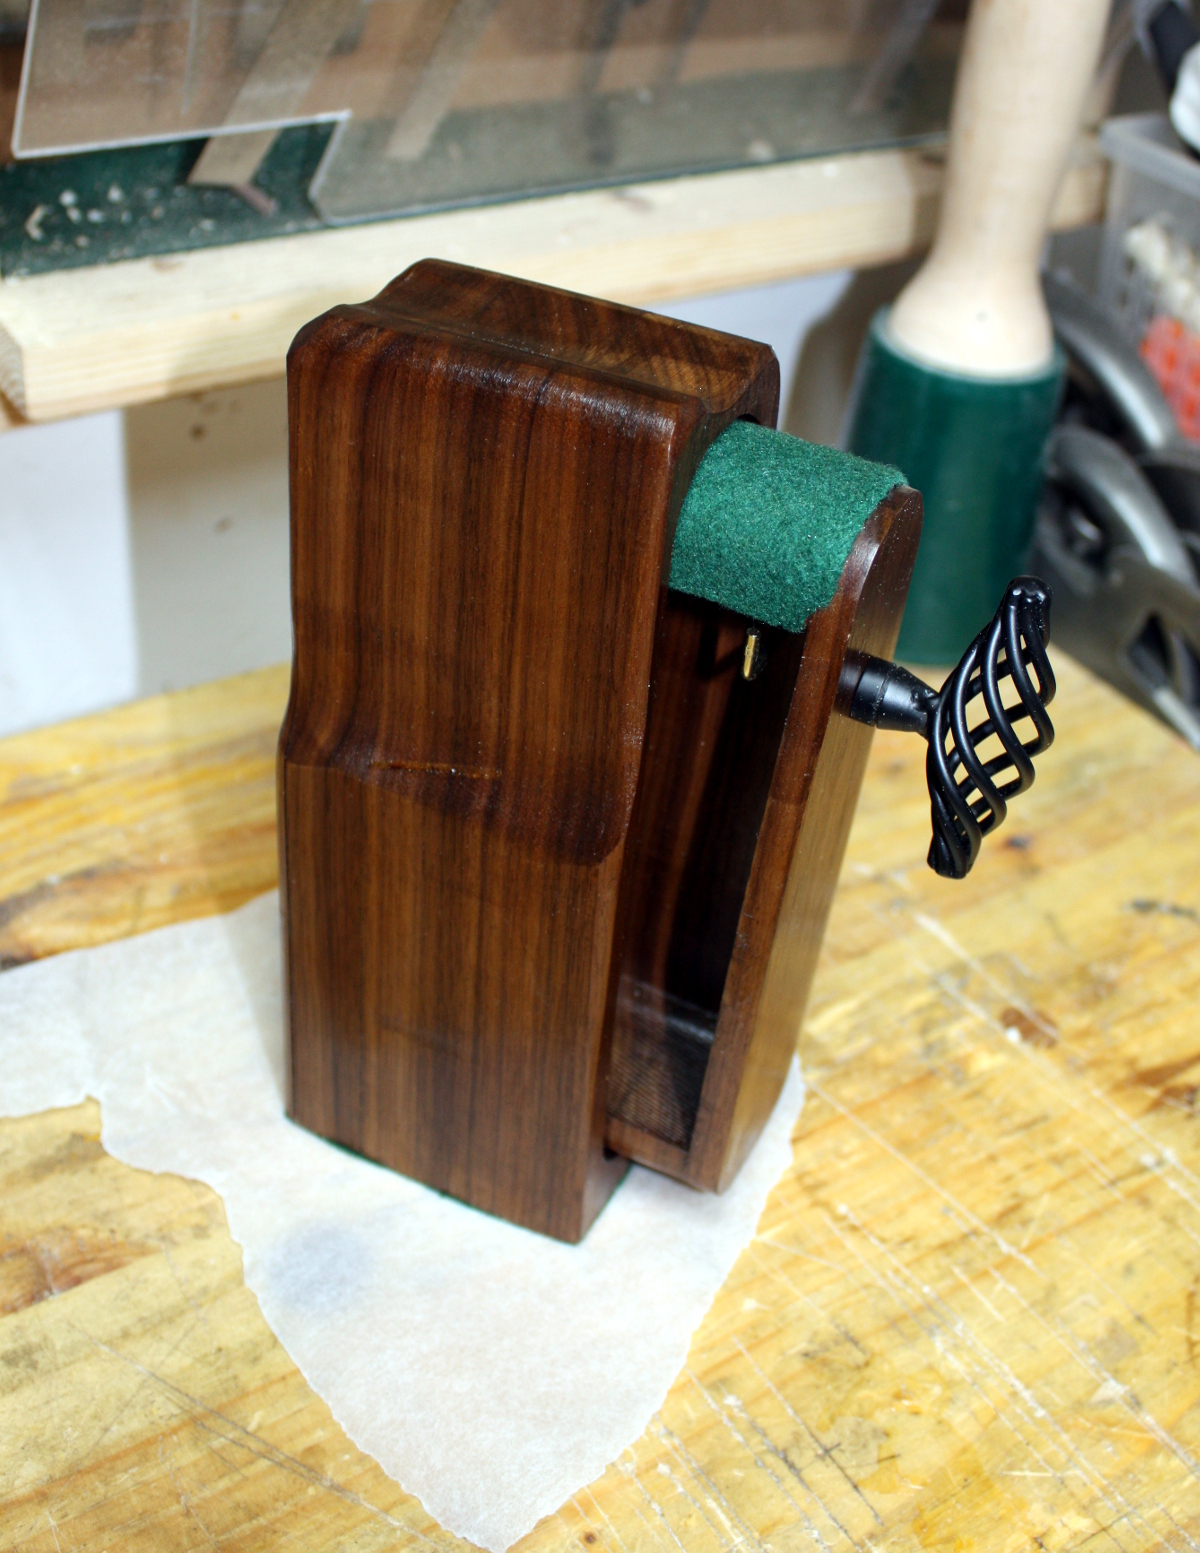
    Bandsaw box for necklaces (or keys I guess) made from a walnut offcut, some brass and pewter hardware and some felt.
    Didn’t turn out too badly.


  • Registered Users, Registered Users 2 Posts: 7,026 ✭✭✭Wossack


    what bandsaw do you have Sparks? Do you have it fixed somewhere, or on a moveable cart etc? I think you're working out of a similar area as myself, and am considering getting one, so would be interested in your experiences so far


  • Registered Users, Registered Users 2 Posts: 40,038 ✭✭✭✭Sparks


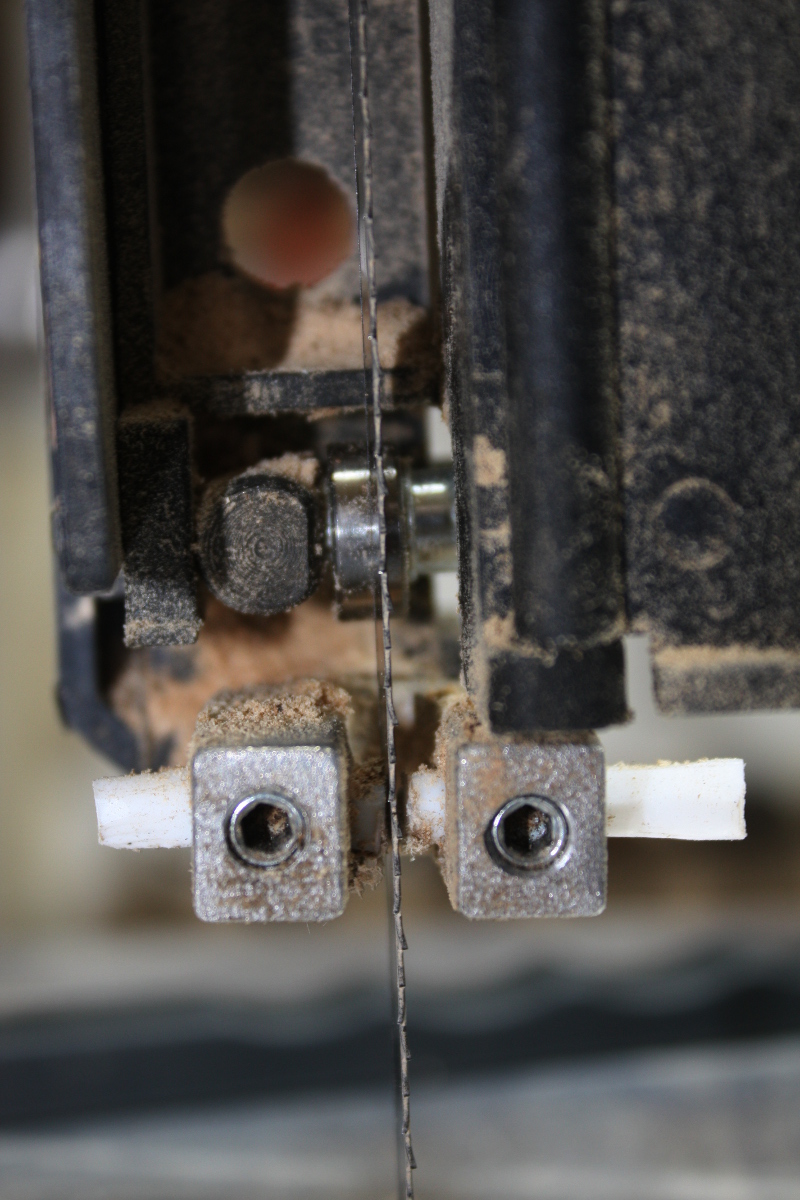
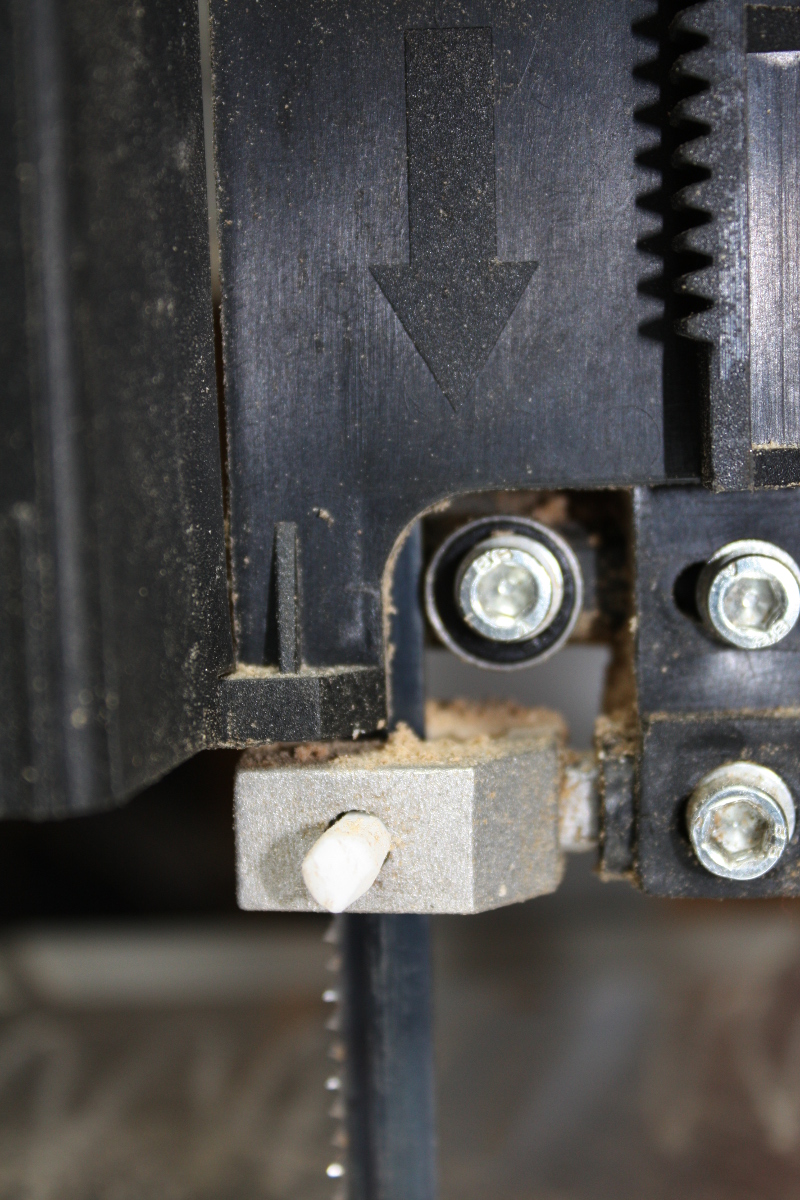
    I've got this one Wossack. Wrote about it when I got it here and I've since replaced the guides and the thrust bearing (for about €15 in total). I also bought some extra blades from tuffsaws (an eighth-inch blade, a fine-tooth quarter-inch, a general purpose three-eighths blade and a heavy-duty half-inch blade that I thought I could resaw with but I haven't even undone the cable ties on that one because the three-eighths is about the limit of what the machine can accurately drive (and even that one needed a bearing replaced first).

    IMG_1888a.jpg

    IMG_1887a.jpg

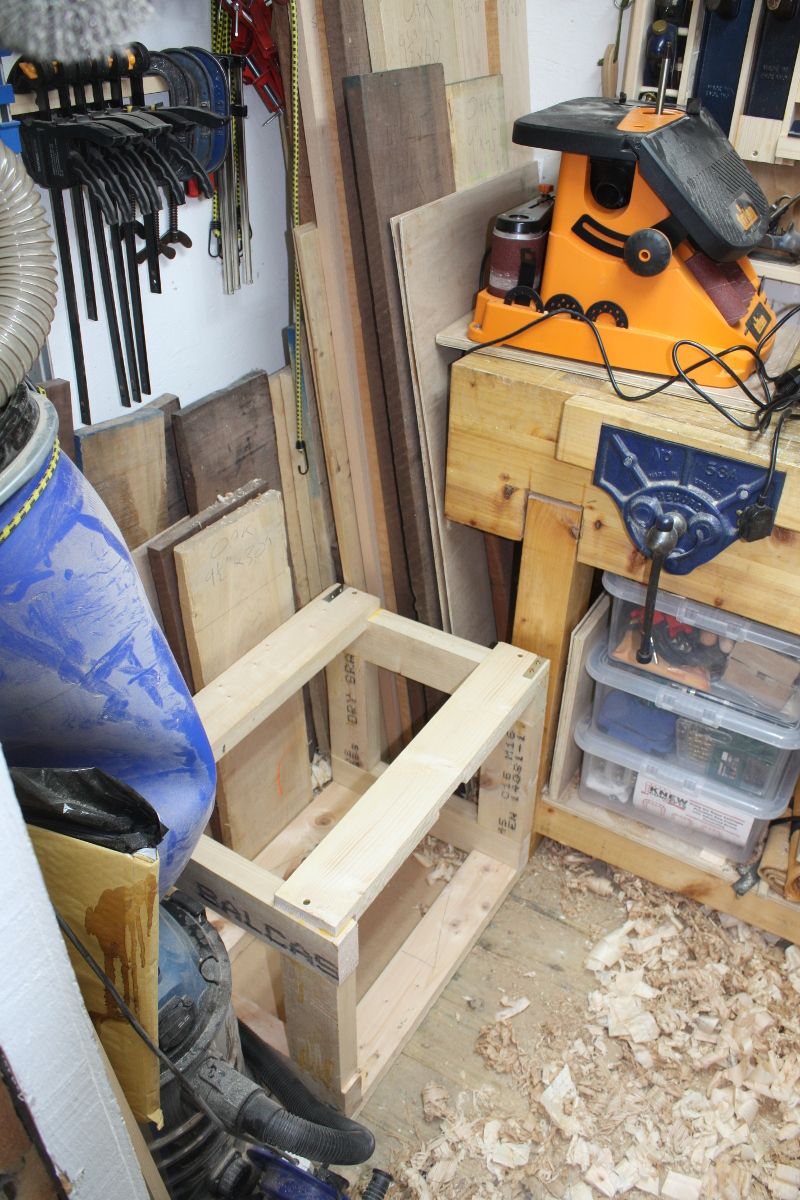
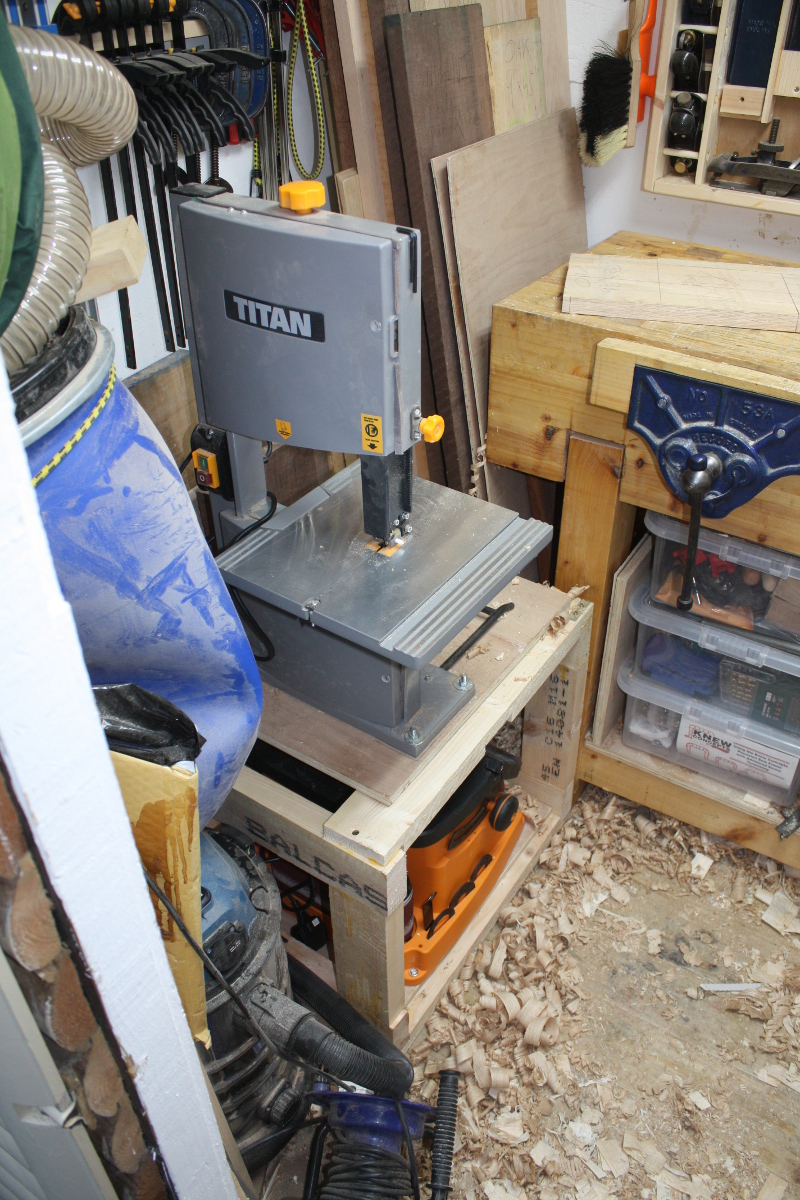
    I don't have room for a mobile cart, I put it on a piece of ply and I was putting it on the ground beside the bench. Then I got a sander and I had to build a very rough frame from 2x4s to stack them on:

    IMG_1721a.jpg

    IMG_1729a.jpg

    It's not a bad little machine. I wouldn't push it too hard, it's got a 75mm capacity and when you get over 25mm it's a slow feed rate; the blade guide mount is plastic so don't expect much from it and the fence... well, throw it way with the box when you unwrap things, it's absolutely ****e. Clamp a length of wood or (what I do) extruded aluminium box section on the table, that makes for a far better fence. Glad I got it; it's a real timesaver for long rip cuts during the rough-cut phase and bandsaw boxes are a nice way to use up scraps. But I wouldn't try to push it past its comfort zone. I only expect to get somewhere around three years of life from it, anything more is a bonus.

    About the only thing about it that I wish was better is that it's not able to even try resawing anything wider than 75mm. But I plan to get a bigger bandsaw for that at some stage, and the nice man from An Post just delivered my new frame saw today which I'm hoping will ease the resawing a bit. It's not a roubo frame saw, it's an english frame saw, but according to Richard Maguire they do just as well.

    schlitzsaege-301162a.jpg


  • Registered Users, Registered Users 2 Posts: 7,026 ✭✭✭Wossack


    Spot on, thanks for the in-depth reply :)


  • Registered Users, Registered Users 2 Posts: 40,038 ✭✭✭✭Sparks


    np. BTW, the frame saw? Makes resawing easier but it's still a pig of a job even on modest sized boards. I have to do a siven-inch wide poplar board tomorrow, I fully expect it'll take an hour to do.


  • Registered Users, Registered Users 2 Posts: 1,715 ✭✭✭Gryzor


    Both the da a few beers for christmas. Recycled a pine window board and some flooring to make a tote to hold them. All butt joints, stuck some 6mm walnut dowels into the ends for some extra strength. Just added some furniture polish as finish.


    437025.jpg

    437026.jpg

    437027.jpg


  • Registered Users, Registered Users 2 Posts: 2,466 ✭✭✭mayo.mick


    Sparks wrote: »
    I've got this one Wossack. Wrote about it when I got it here and I've since replaced the guides and the thrust bearing (for about €15 in total). I also bought some extra blades from tuffsaws (an eighth-inch blade, a fine-tooth quarter-inch, a general purpose three-eighths blade and a heavy-duty half-inch blade that I thought I could resaw with but I haven't even undone the cable ties on that one because the three-eighths is about the limit of what the machine can accurately drive (and even that one needed a bearing replaced first).

    IMG_1888a.jpg

    IMG_1887a.jpg

    I don't have room for a mobile cart, I put it on a piece of ply and I was putting it on the ground beside the bench. Then I got a sander and I had to build a very rough frame from 2x4s to stack them on:

    IMG_1721a.jpg

    IMG_1729a.jpg

    It's not a bad little machine. I wouldn't push it too hard, it's got a 75mm capacity and when you get over 25mm it's a slow feed rate; the blade guide mount is plastic so don't expect much from it and the fence... well, throw it way with the box when you unwrap things, it's absolutely ****e. Clamp a length of wood or (what I do) extruded aluminium box section on the table, that makes for a far better fence. Glad I got it; it's a real timesaver for long rip cuts during the rough-cut phase and bandsaw boxes are a nice way to use up scraps. But I wouldn't try to push it past its comfort zone. I only expect to get somewhere around three years of life from it, anything more is a bonus.

    About the only thing about it that I wish was better is that it's not able to even try resawing anything wider than 75mm. But I plan to get a bigger bandsaw for that at some stage, and the nice man from An Post just delivered my new frame saw today which I'm hoping will ease the resawing a bit. It's not a roubo frame saw, it's an english frame saw, but according to Richard Maguire they do just as well.

    schlitzsaege-301162a.jpg

    I've been on the lookout for the Aldi one myself after looking at Peter's review. Would you recommend the Titan for some small project work? Looking for one for cutting acrylic, corian and timber pen blanks.


  • Advertisement
  • Registered Users, Registered Users 2 Posts: 40,038 ✭✭✭✭Sparks


    Haven't tried it with acrylic yet mick (or corian), though I have a fine-tooth blade I got for that. But for small stock for pen blanks? Yeah, it's grand. There's a bunch of small clones of that design or variants of it and they're pretty much all the same general design - they vary in blade guides, table design, how you unlock the doors and so on. The Titan's a pretty good variant from what I can see. The supplied blade isn't even that bad, but I'd still get some from tuffsaws especially for tight curves (that eighth-inch blade is able to make remarkably sharp turns), but don't bother with the half-inch blade, even the three-eighths one needs a new bearing to fit properly.


  • Registered Users, Registered Users 2 Posts: 44 AidanMike


    Wanted to get a proper PC desk but could not afford what we wanted so I just tried to do it myself with pine boards:
    I used a free online software to measure and plan it:
    437041.PNG

    and here is the result:
    437042.jpeg
    the right part is for the printer (and needed the extra 10cm!

    I'm not an expert so the lines are not 100 straight, the measures were good but not perfect, and it took me a good week to do it but well it's a first one and costed me 250 between wood boards and varnish VS too expensive through any shops! plus I'm quite happy of the accomplishment :D !

    feel free to comment positively or negatively all is good when learning!


  • Registered Users, Registered Users 2 Posts: 40,038 ✭✭✭✭Sparks


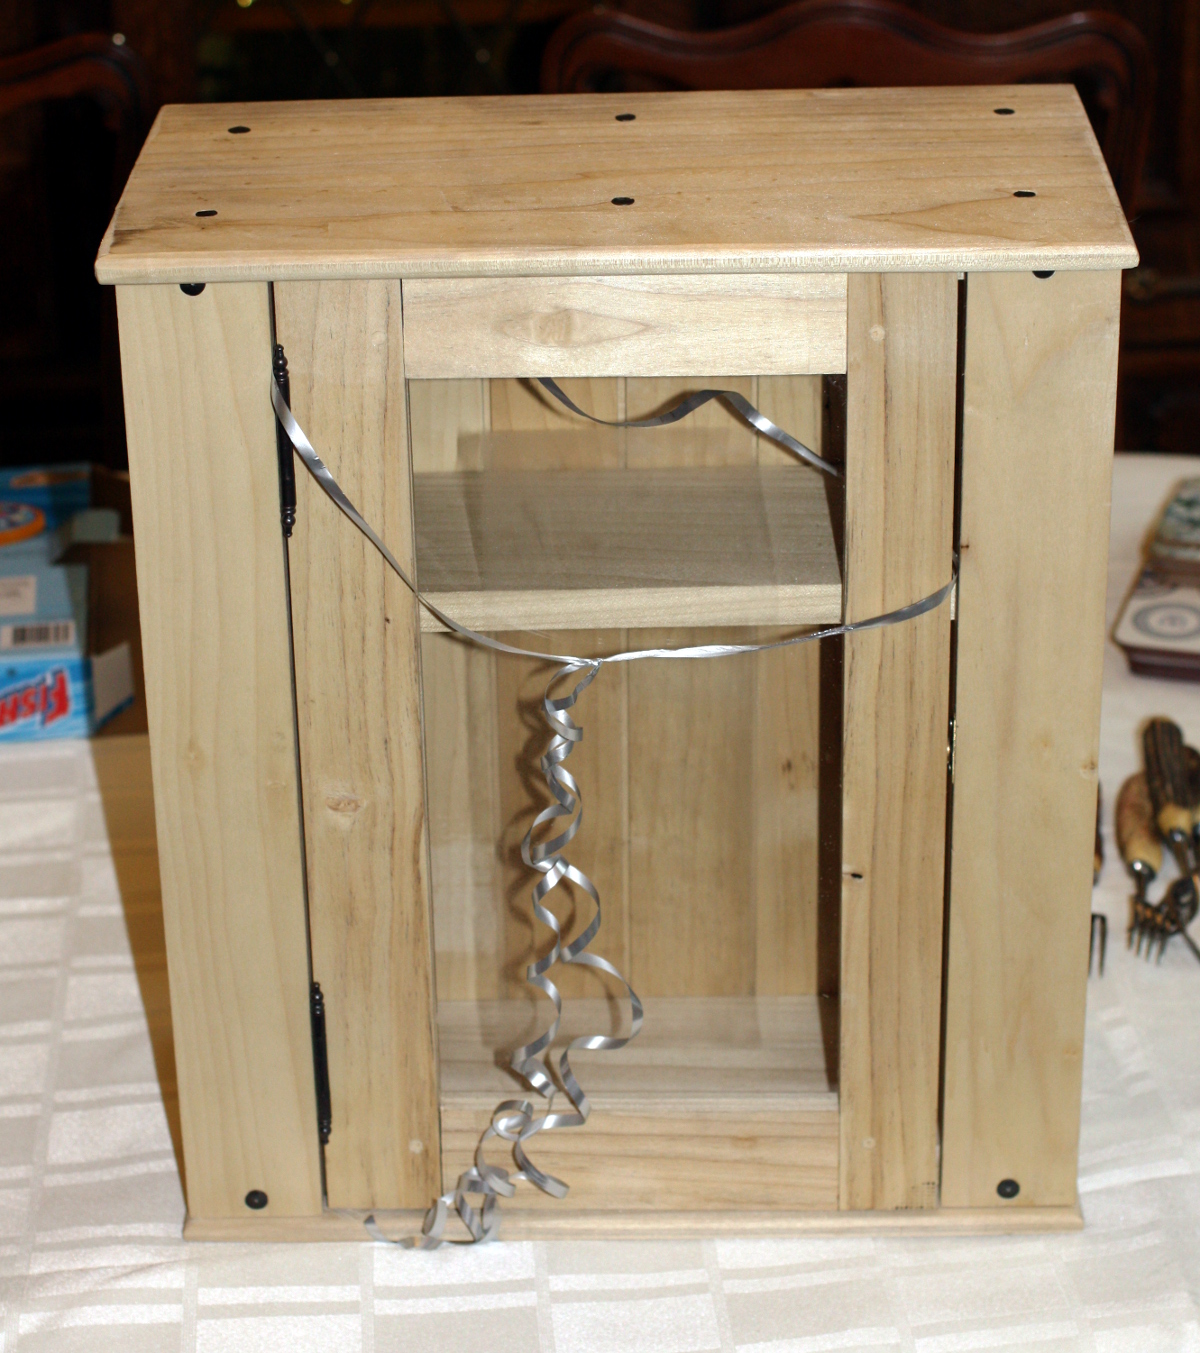
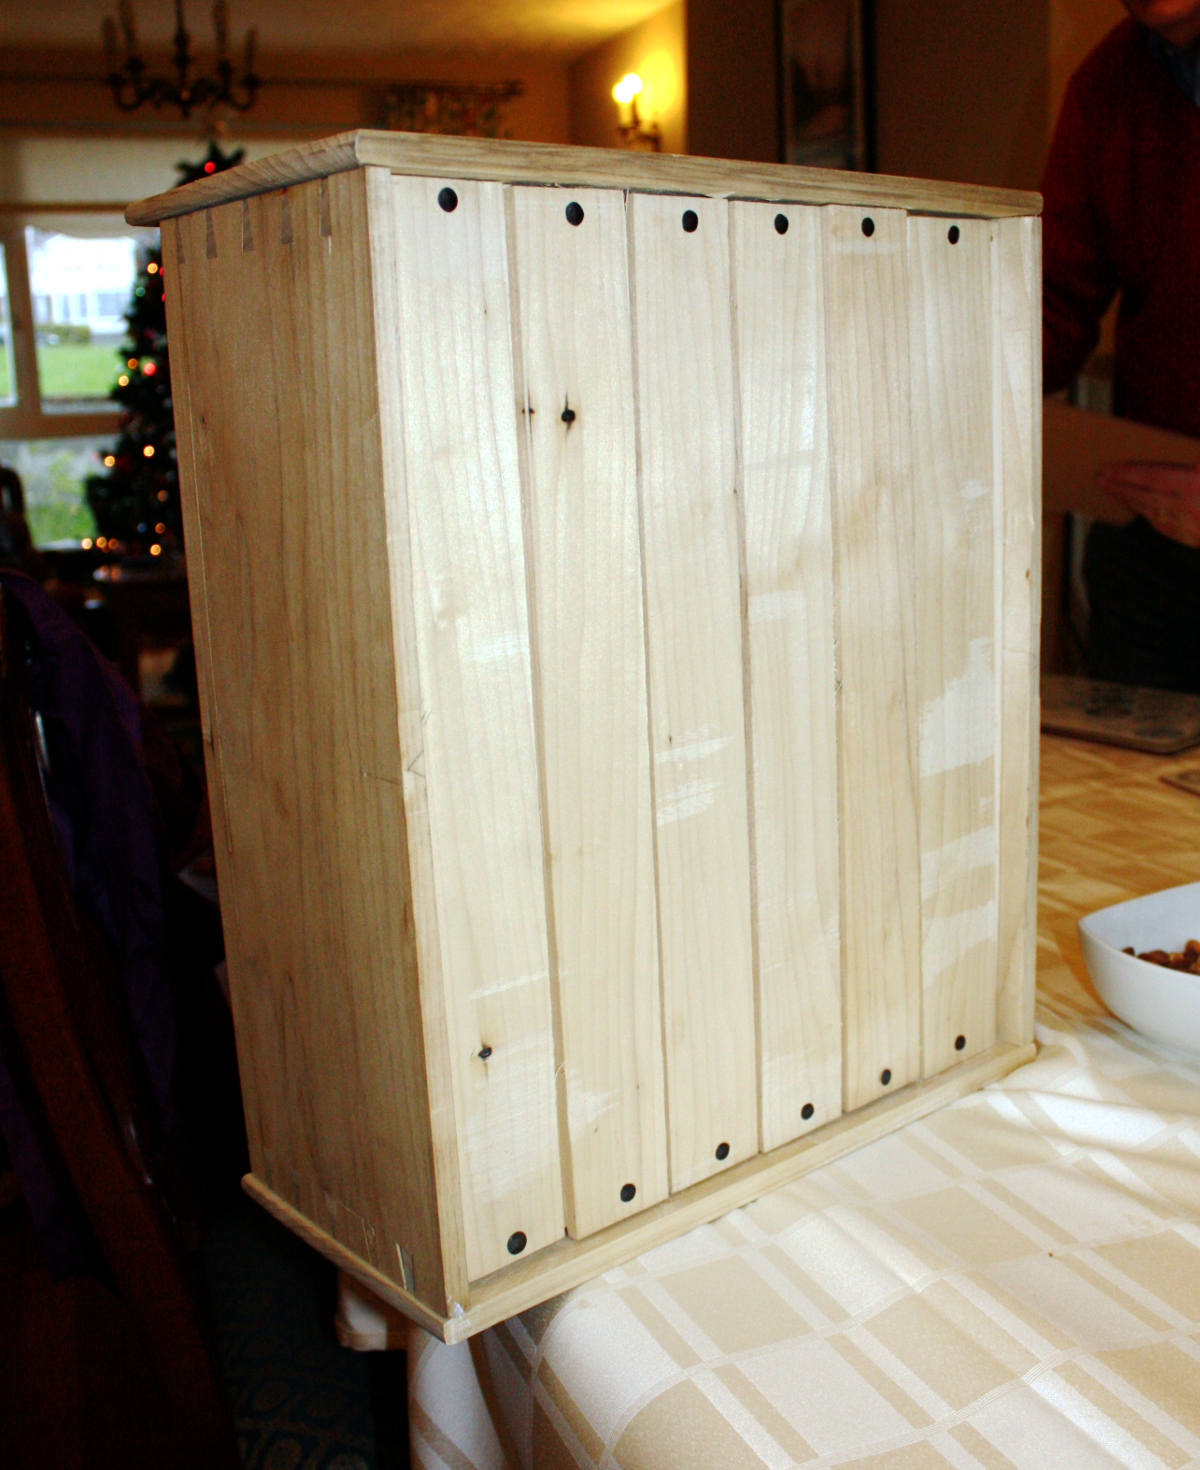
    Little busy making xmas gifts of late:

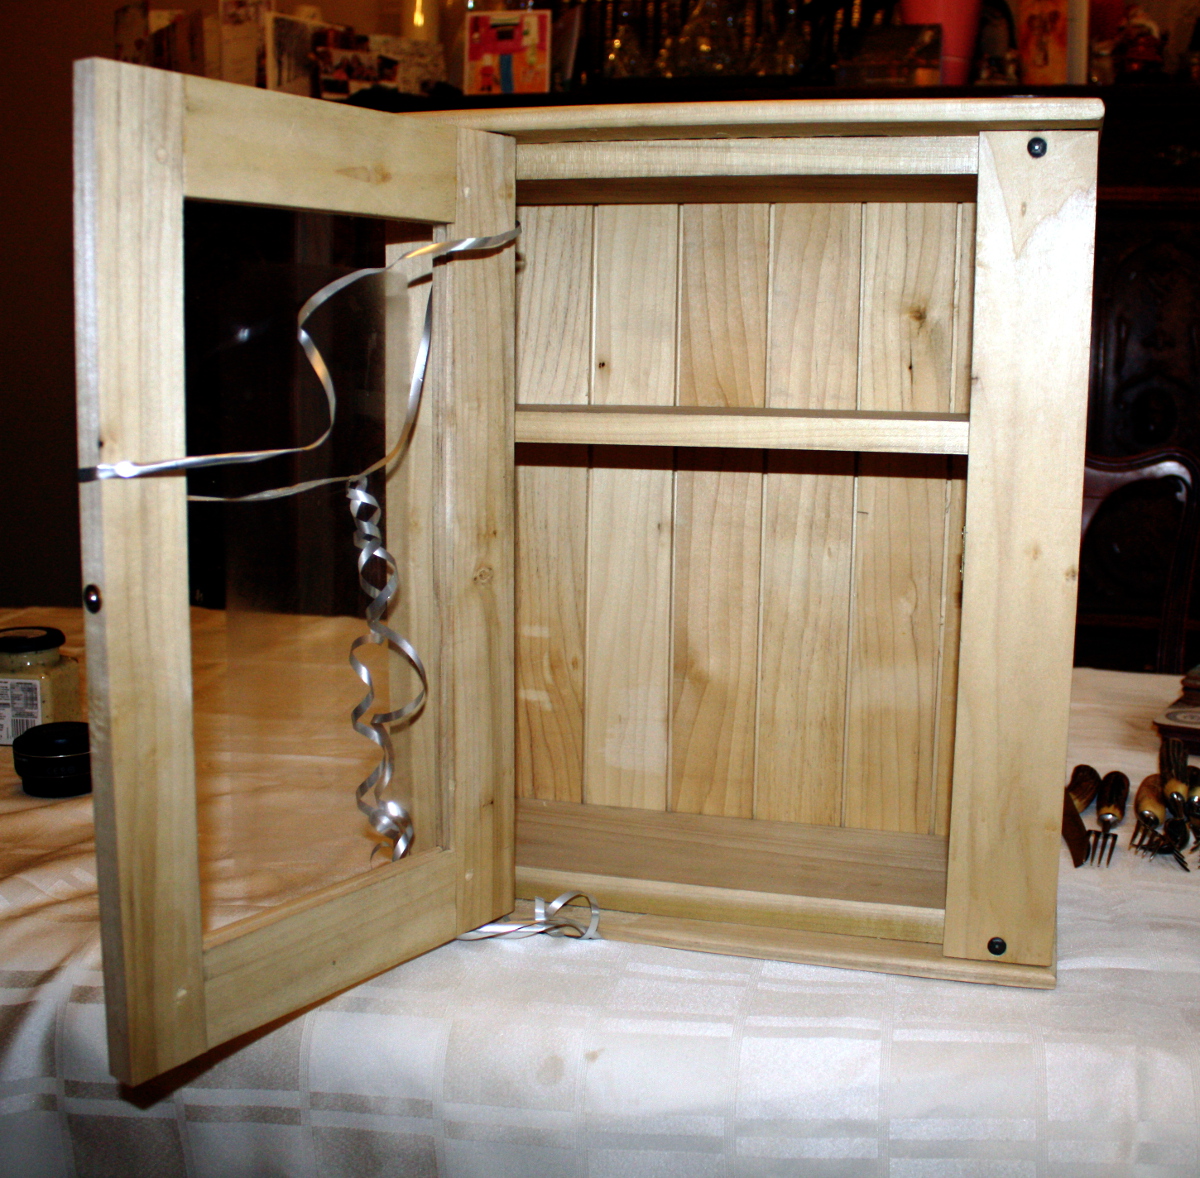
    Poplar wall cupboard with perspex front panel. Pinned mortice&tenon front door, dovetailed carcass, shiplapped back boards, cut nails.

    IMG_2077a.jpg
    IMG_2075a.jpg
    IMG_2081a.jpg

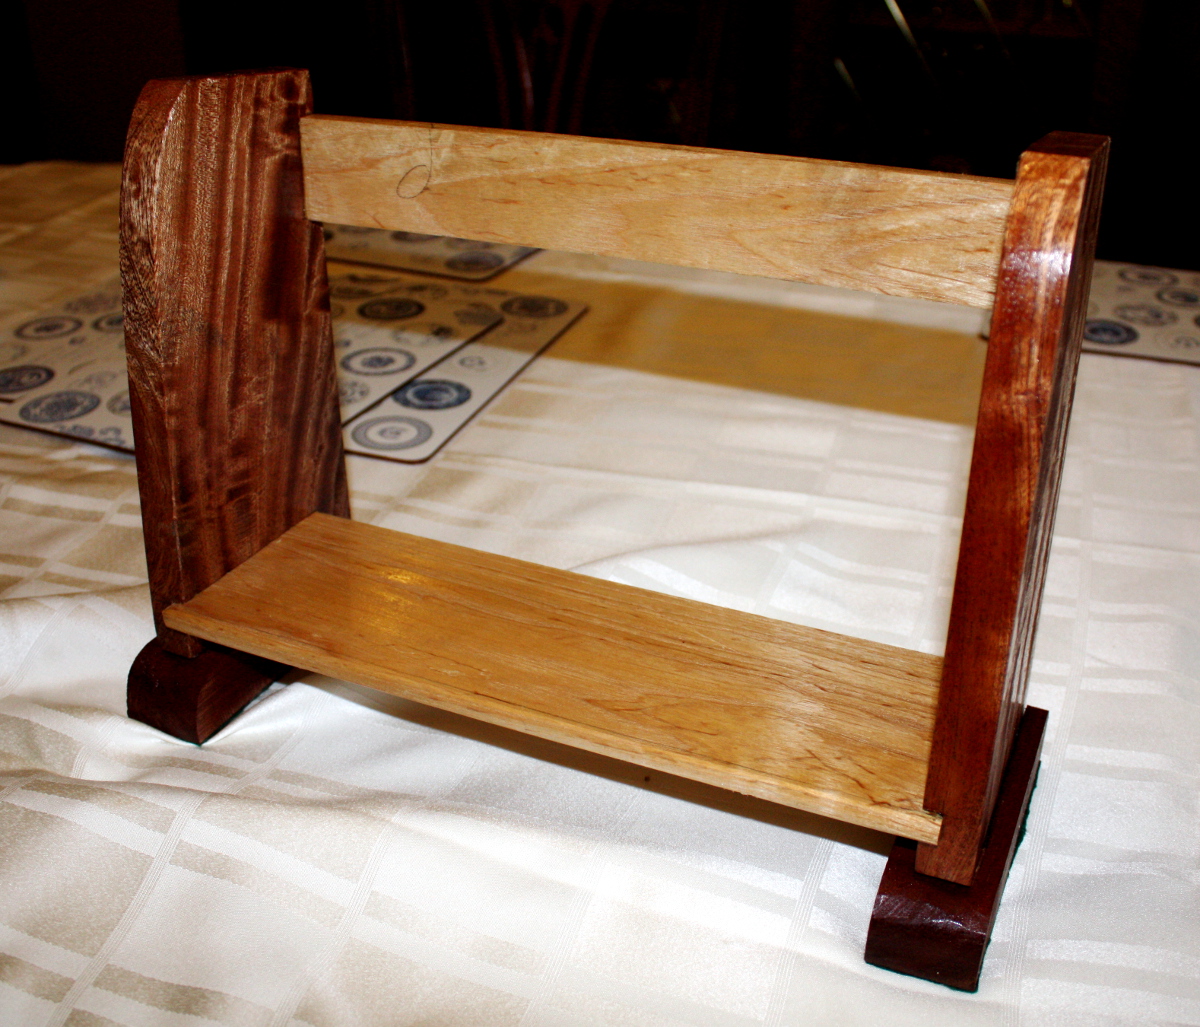
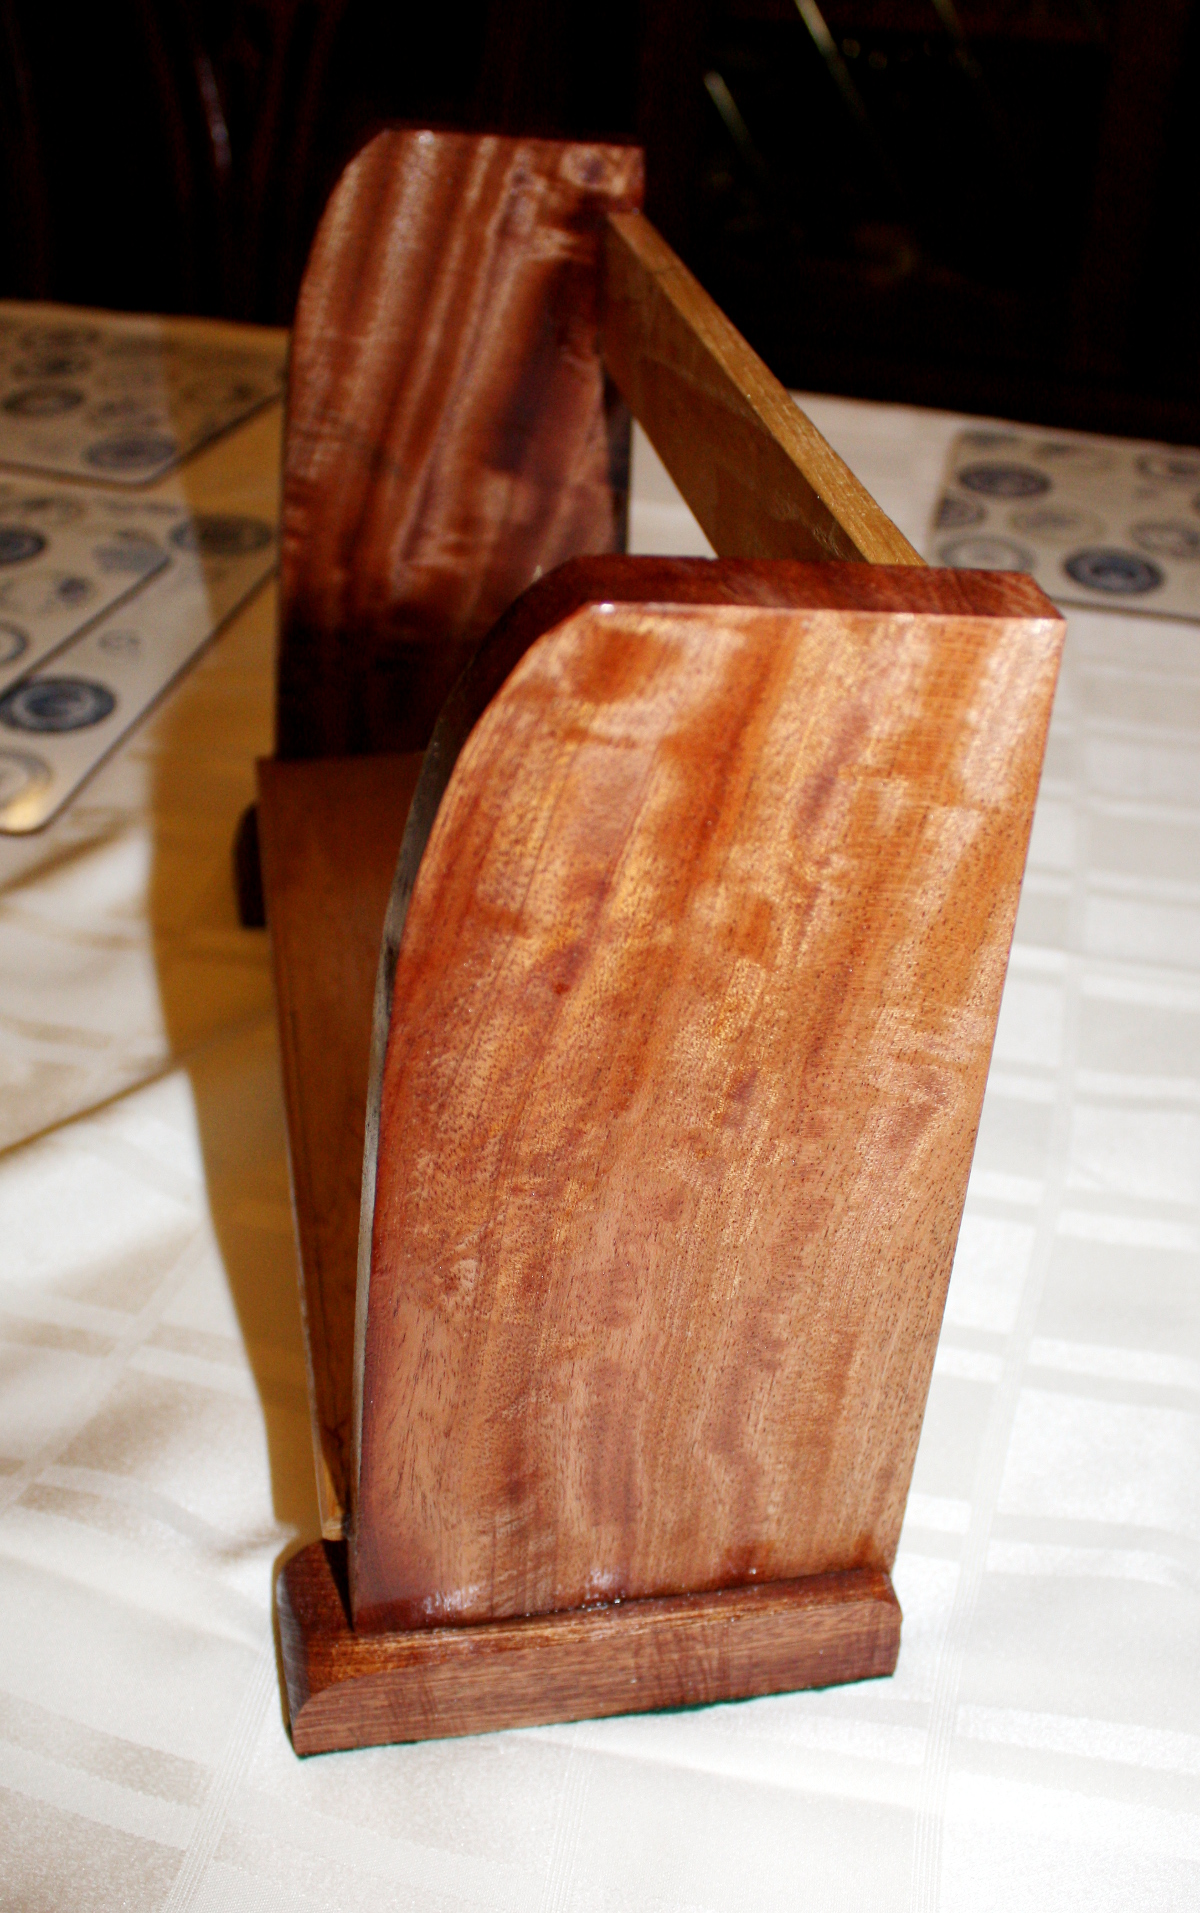
    Ash and Sapele desktop bookshelf.

    IMG_2082a.jpg
    IMG_2083a.jpg

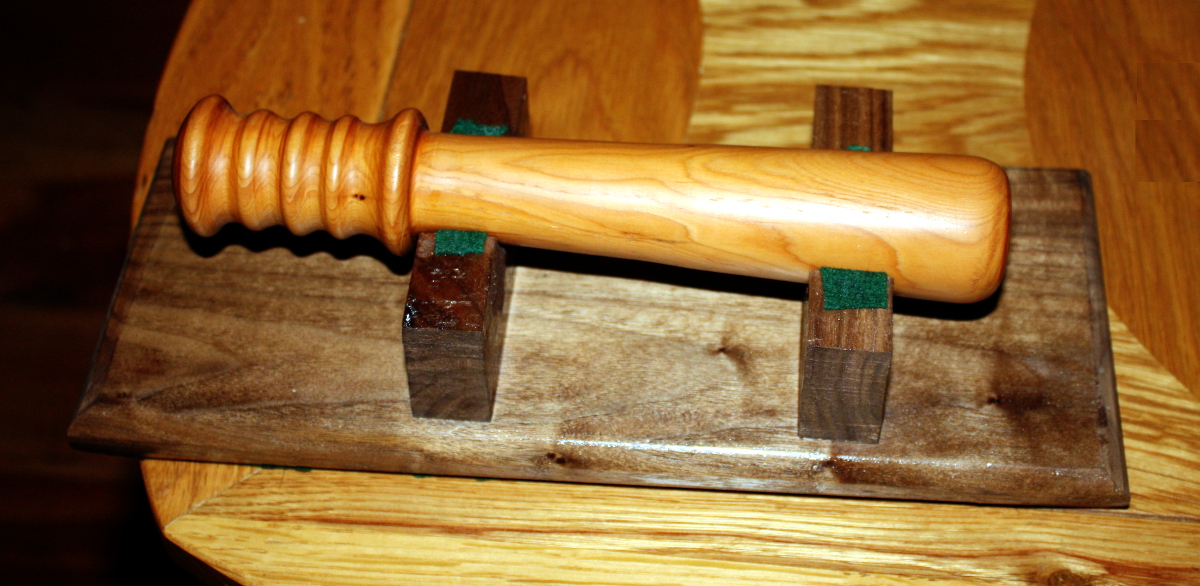
    Irish Yew truncheon (done by DeVore, I don’t have a lathe) and walnut presentation plate:

    IMG_2087a.jpg

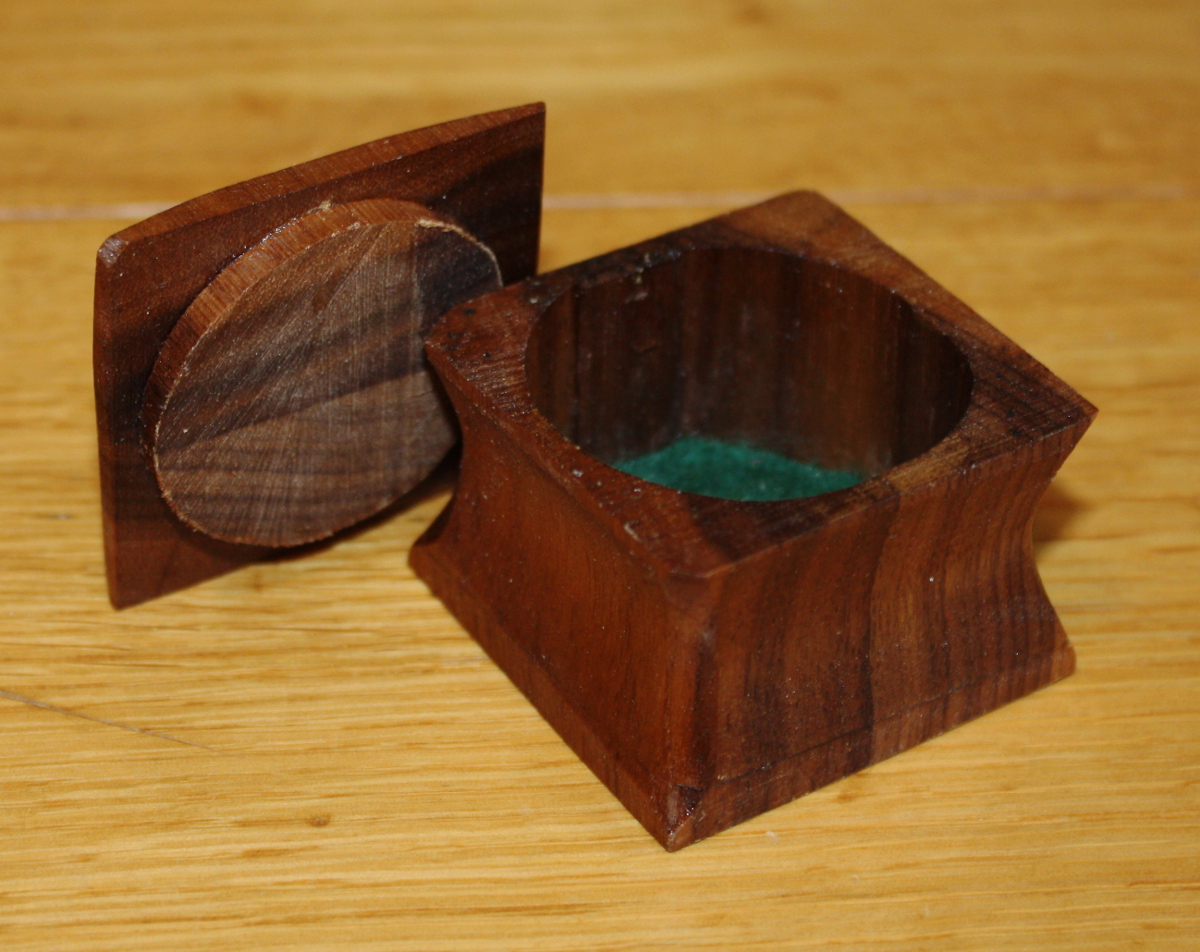
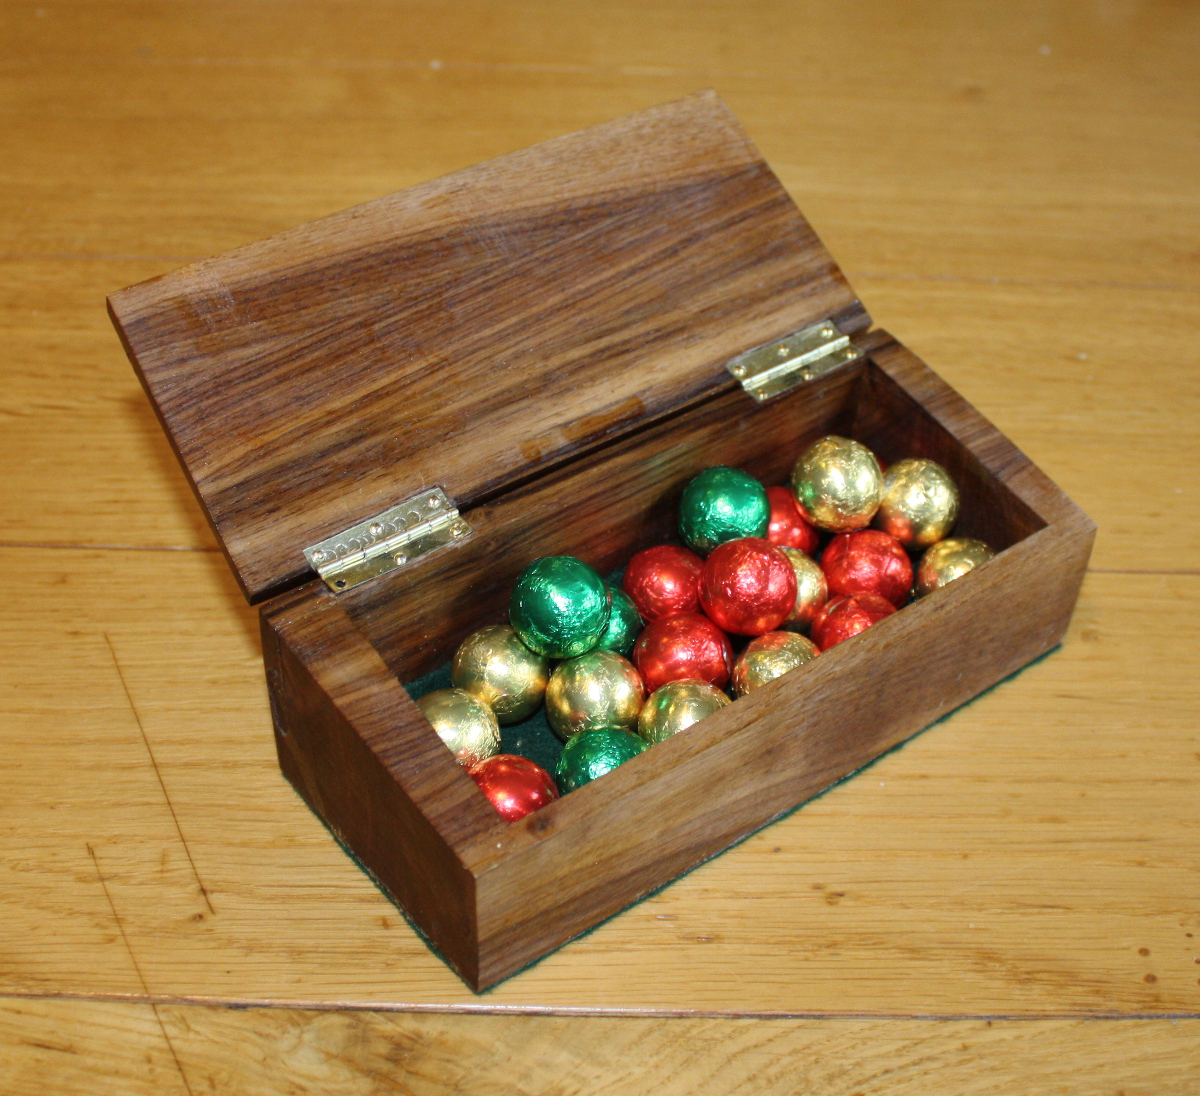
    And finally, walnut bandsaw boxes with chocolate…

    IMG_2095a-1.jpg
    IMG_2093a-1.jpg


  • Registered Users, Registered Users 2 Posts: 1,410 ✭✭✭dathi


    jewelery box/chest for mrs.D cut the veneers on bandsaw from a piece of flame grained oak that i had for 15 or 16 years hard as the hobs of hell


  • Registered Users, Registered Users 2 Posts: 807 ✭✭✭raspberrypi67


    Here is a Pen trurned from Irish Yew and a box I made from Wenge.
    Thought I'd share... Have a few more things I'll post later...


  • Registered Users, Registered Users 2 Posts: 807 ✭✭✭raspberrypi67


    Small little table I made from Oak. the legs are also turned from Oak. I used Lacquer to give the top a hard wearing finish. Was fun to make...:D


  • Registered Users, Registered Users 2 Posts: 291 ✭✭cork2


    AidanMike wrote: »
    Wanted to get a proper PC desk but could not afford what we wanted so I just tried to do it myself with pine boards:
    I used a free online software to measure and plan it:
    437041.PNG

    and here is the result:
    437042.jpeg
    the right part is for the printer (and needed the extra 10cm!

    I'm not an expert so the lines are not 100 straight, the measures were good but not perfect, and it took me a good week to do it but well it's a first one and costed me 250 between wood boards and varnish VS too expensive through any shops! plus I'm quite happy of the accomplishment :D !

    feel free to comment positively or negatively all is good when learning!


    Hi AidanMike,

    Can you tell me what software you used to design your project?

    Thanks.


  • Registered Users, Registered Users 2 Posts: 1,265 ✭✭✭..Brian..


    That's SketchUp


  • Registered Users, Registered Users 2 Posts: 3,695 ✭✭✭galwaydude18


    dathi wrote: »
    jewelery box/chest for mrs.D cut the veneers on bandsaw from a piece of flame grained oak that i had for 15 or 16 years hard as the hobs of hell

    What thickness did you cut the veneers at?


  • Advertisement
  • Registered Users, Registered Users 2 Posts: 1,410 ✭✭✭dathi


    What thickness did you cut the veneers at?

    i cut them about 3mm thick. i have a startrite 352 bandsaw and made a tall plywood fence. rough sanded them with orbital sander to remove the saw marks before i used them


  • Registered Users, Registered Users 2 Posts: 3,695 ✭✭✭galwaydude18


    dathi wrote: »
    i cut them about 3mm thick. i have a startrite 352 bandsaw and made a tall plywood fence. rough sanded them with orbital sander to remove the saw marks before i used them

    Nice one :-)


  • Registered Users, Registered Users 2 Posts: 1,265 ✭✭✭..Brian..


    That's very fine work Dathi!


  • Registered Users Posts: 20 patchyamac


    Not an impressive build,but I'm currently working on a DIY Jigsaw table/poor man's bandsaw.I bought some 100 mm blades,drilled some holes in the bed,mounted it to a scrap piece of plywood.Because of the length of the jigsaw blades,I need added support,so I've stripped an old scooter belonging to my son for the wheel bearing,which I'll install near the top of the blade to prevent wandering.I will upload some images documenting the process when my post count allows.


  • Registered Users Posts: 208 ✭✭Poloman


    I have just made my first ever wood project. Its a simple modern bench made from 2x4's. I am waiting for the second coat of stain to dry before attaching furniture glides. I will post some pics by the end of the week. :)


  • Moderators, Category Moderators, Arts Moderators, Sports Moderators Posts: 50,161 CMod ✭✭✭✭magicbastarder


    tried the 'rusty vinegar' trick for staining oak - happy enough with first results, matching set of bowls. little bit of checking in the smaller one.

    438963.jpg


  • Advertisement
  • Registered Users, Registered Users 2 Posts: 40,038 ✭✭✭✭Sparks


    They came out nice MB.


  • Registered Users, Registered Users 2 Posts: 40,038 ✭✭✭✭Sparks


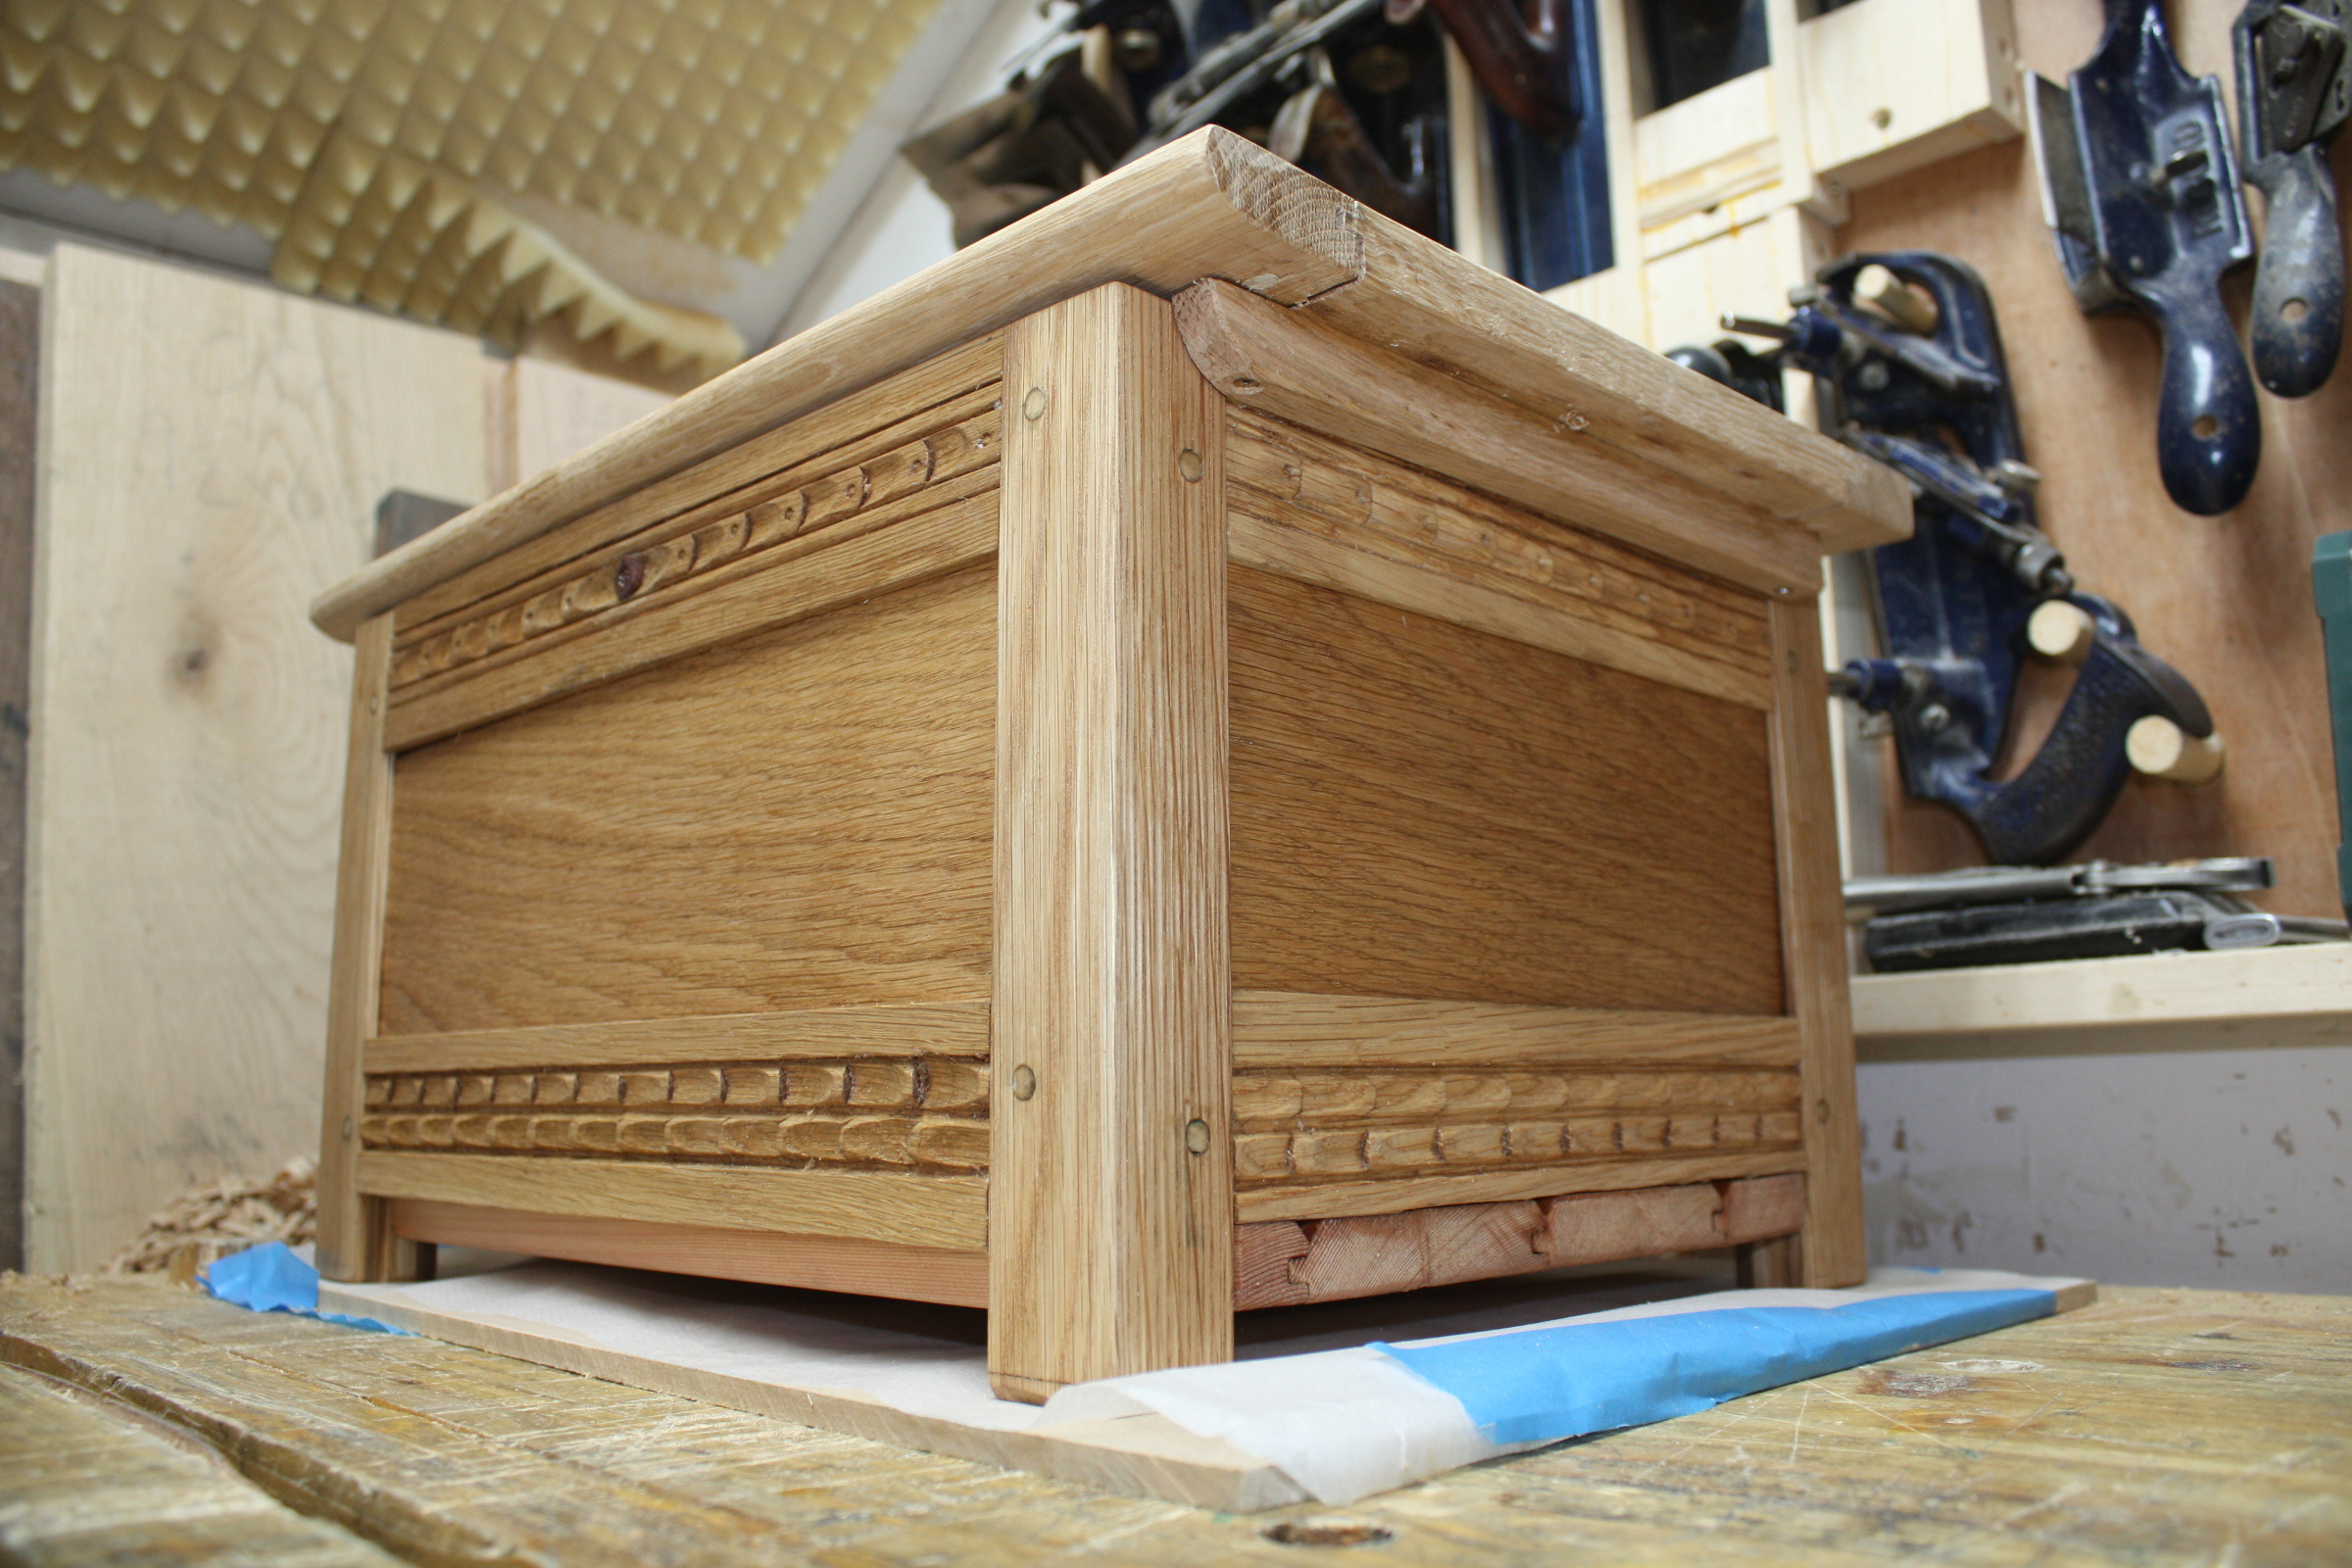
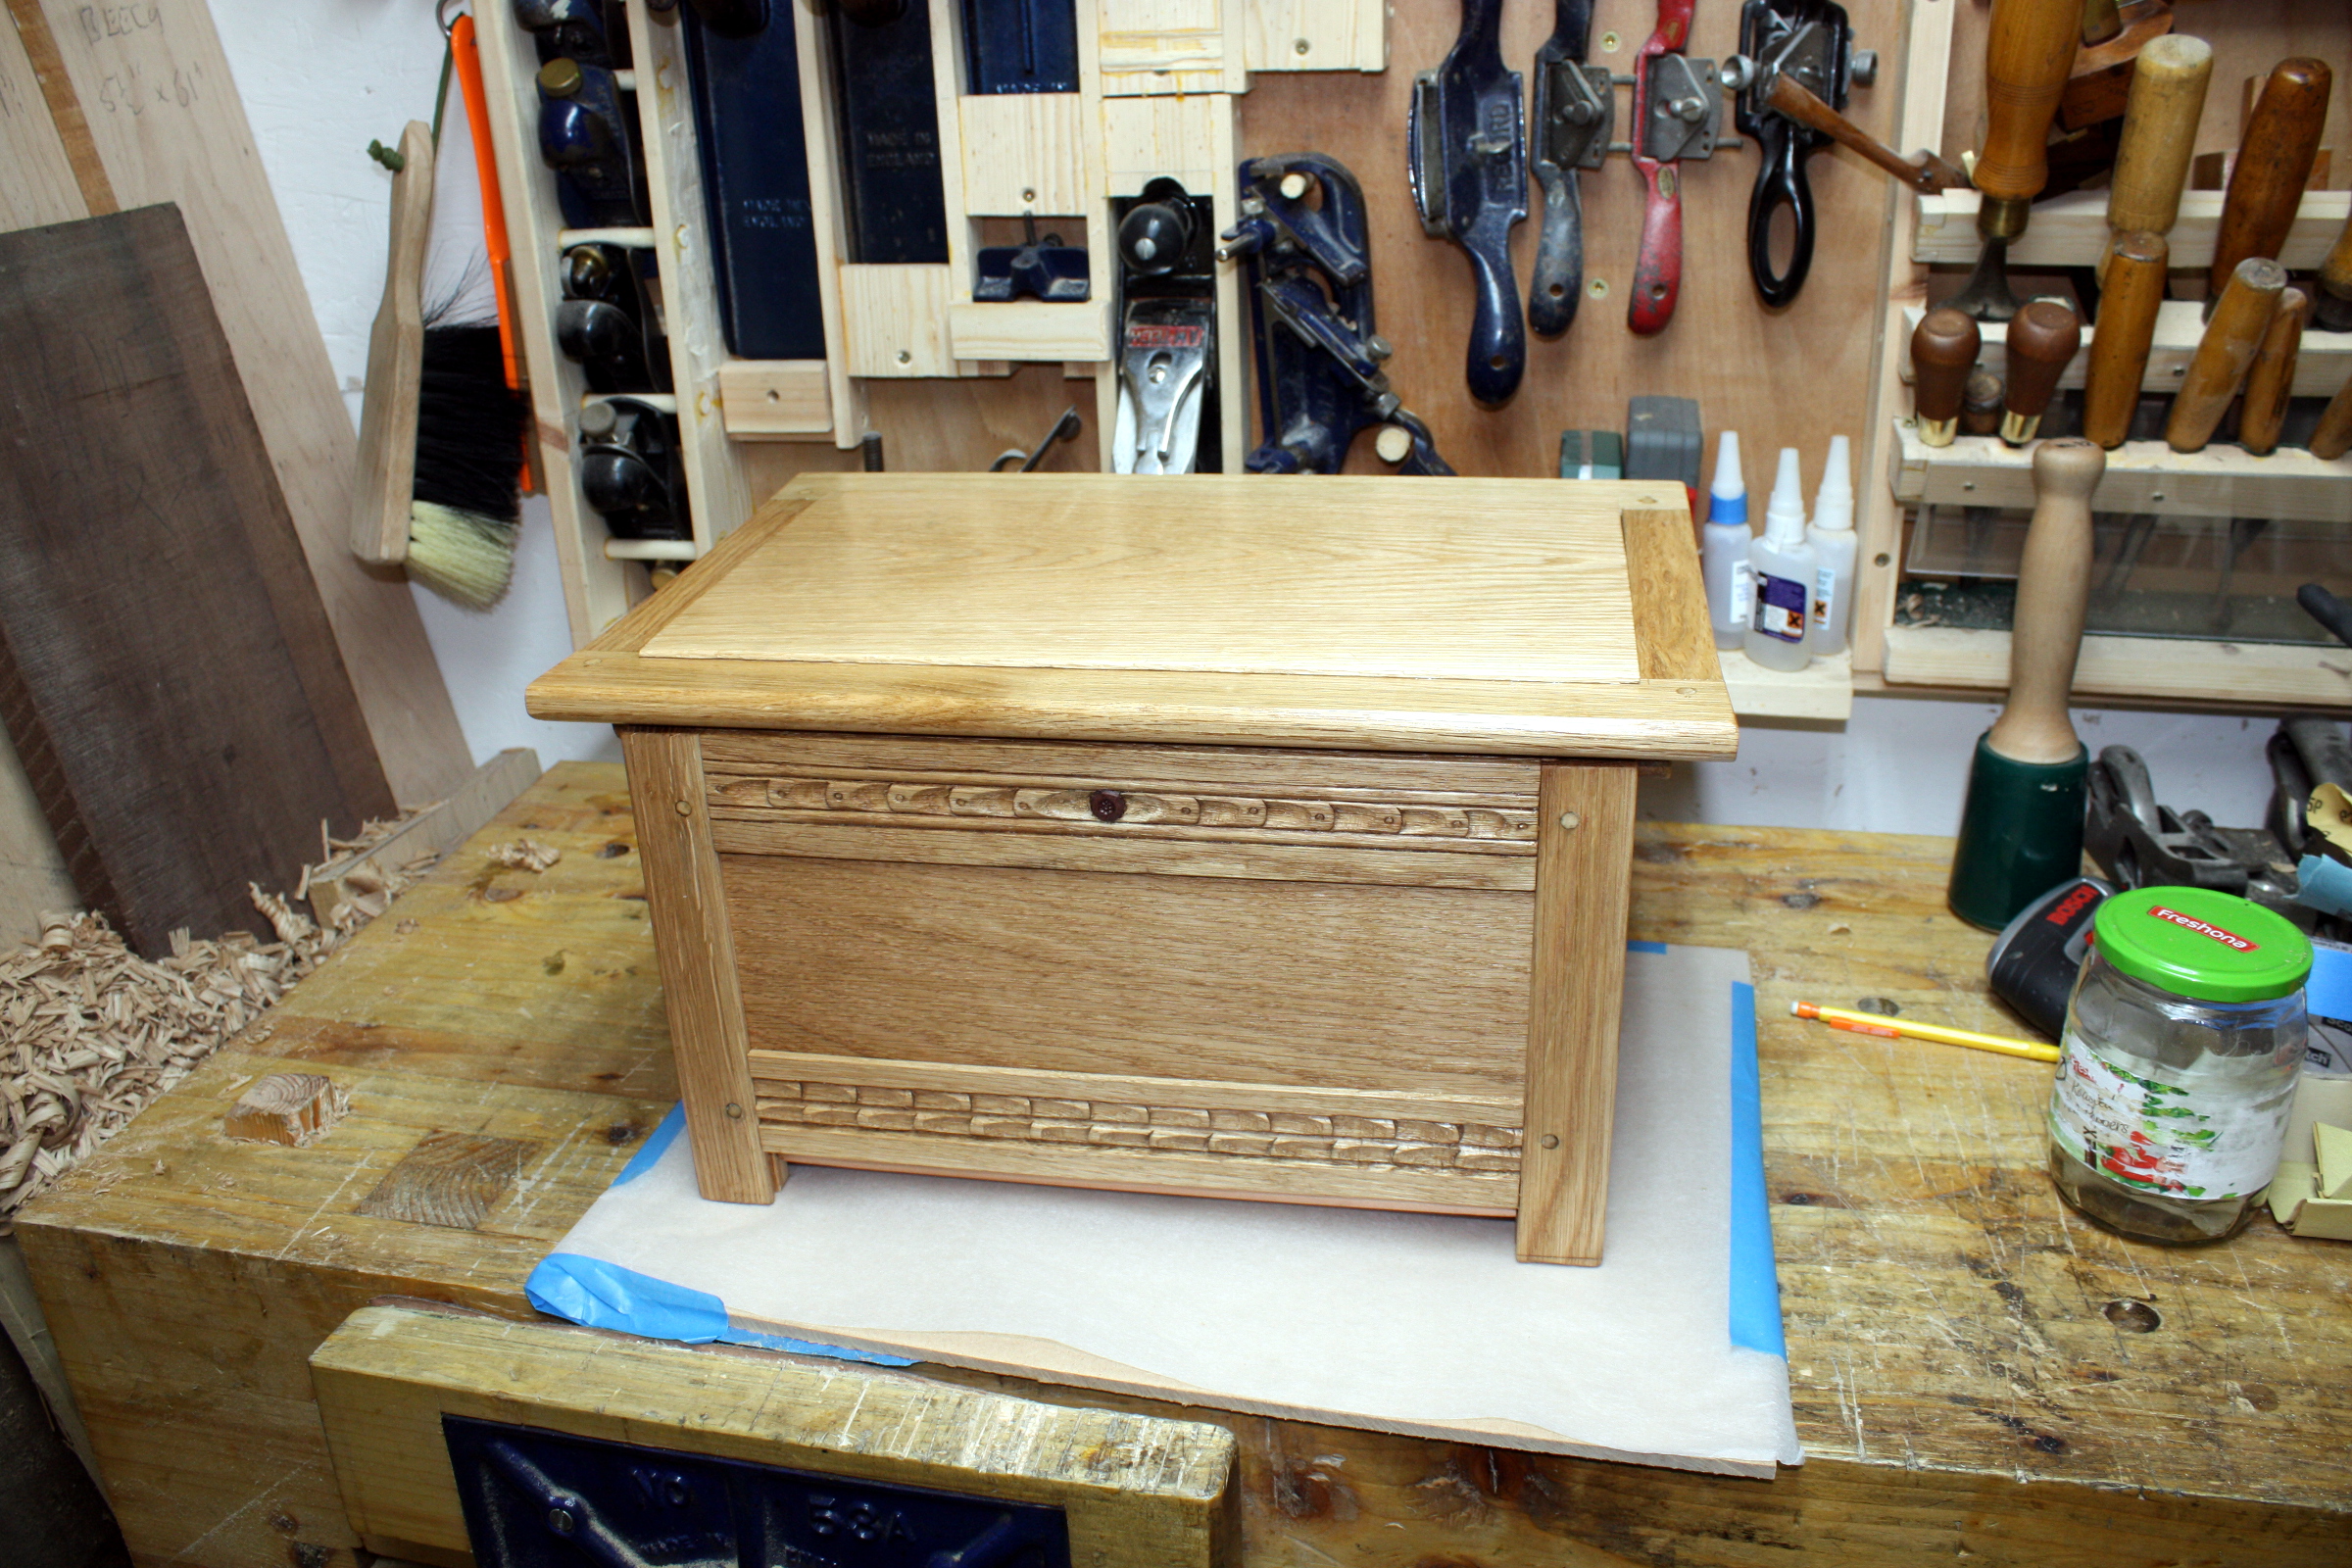
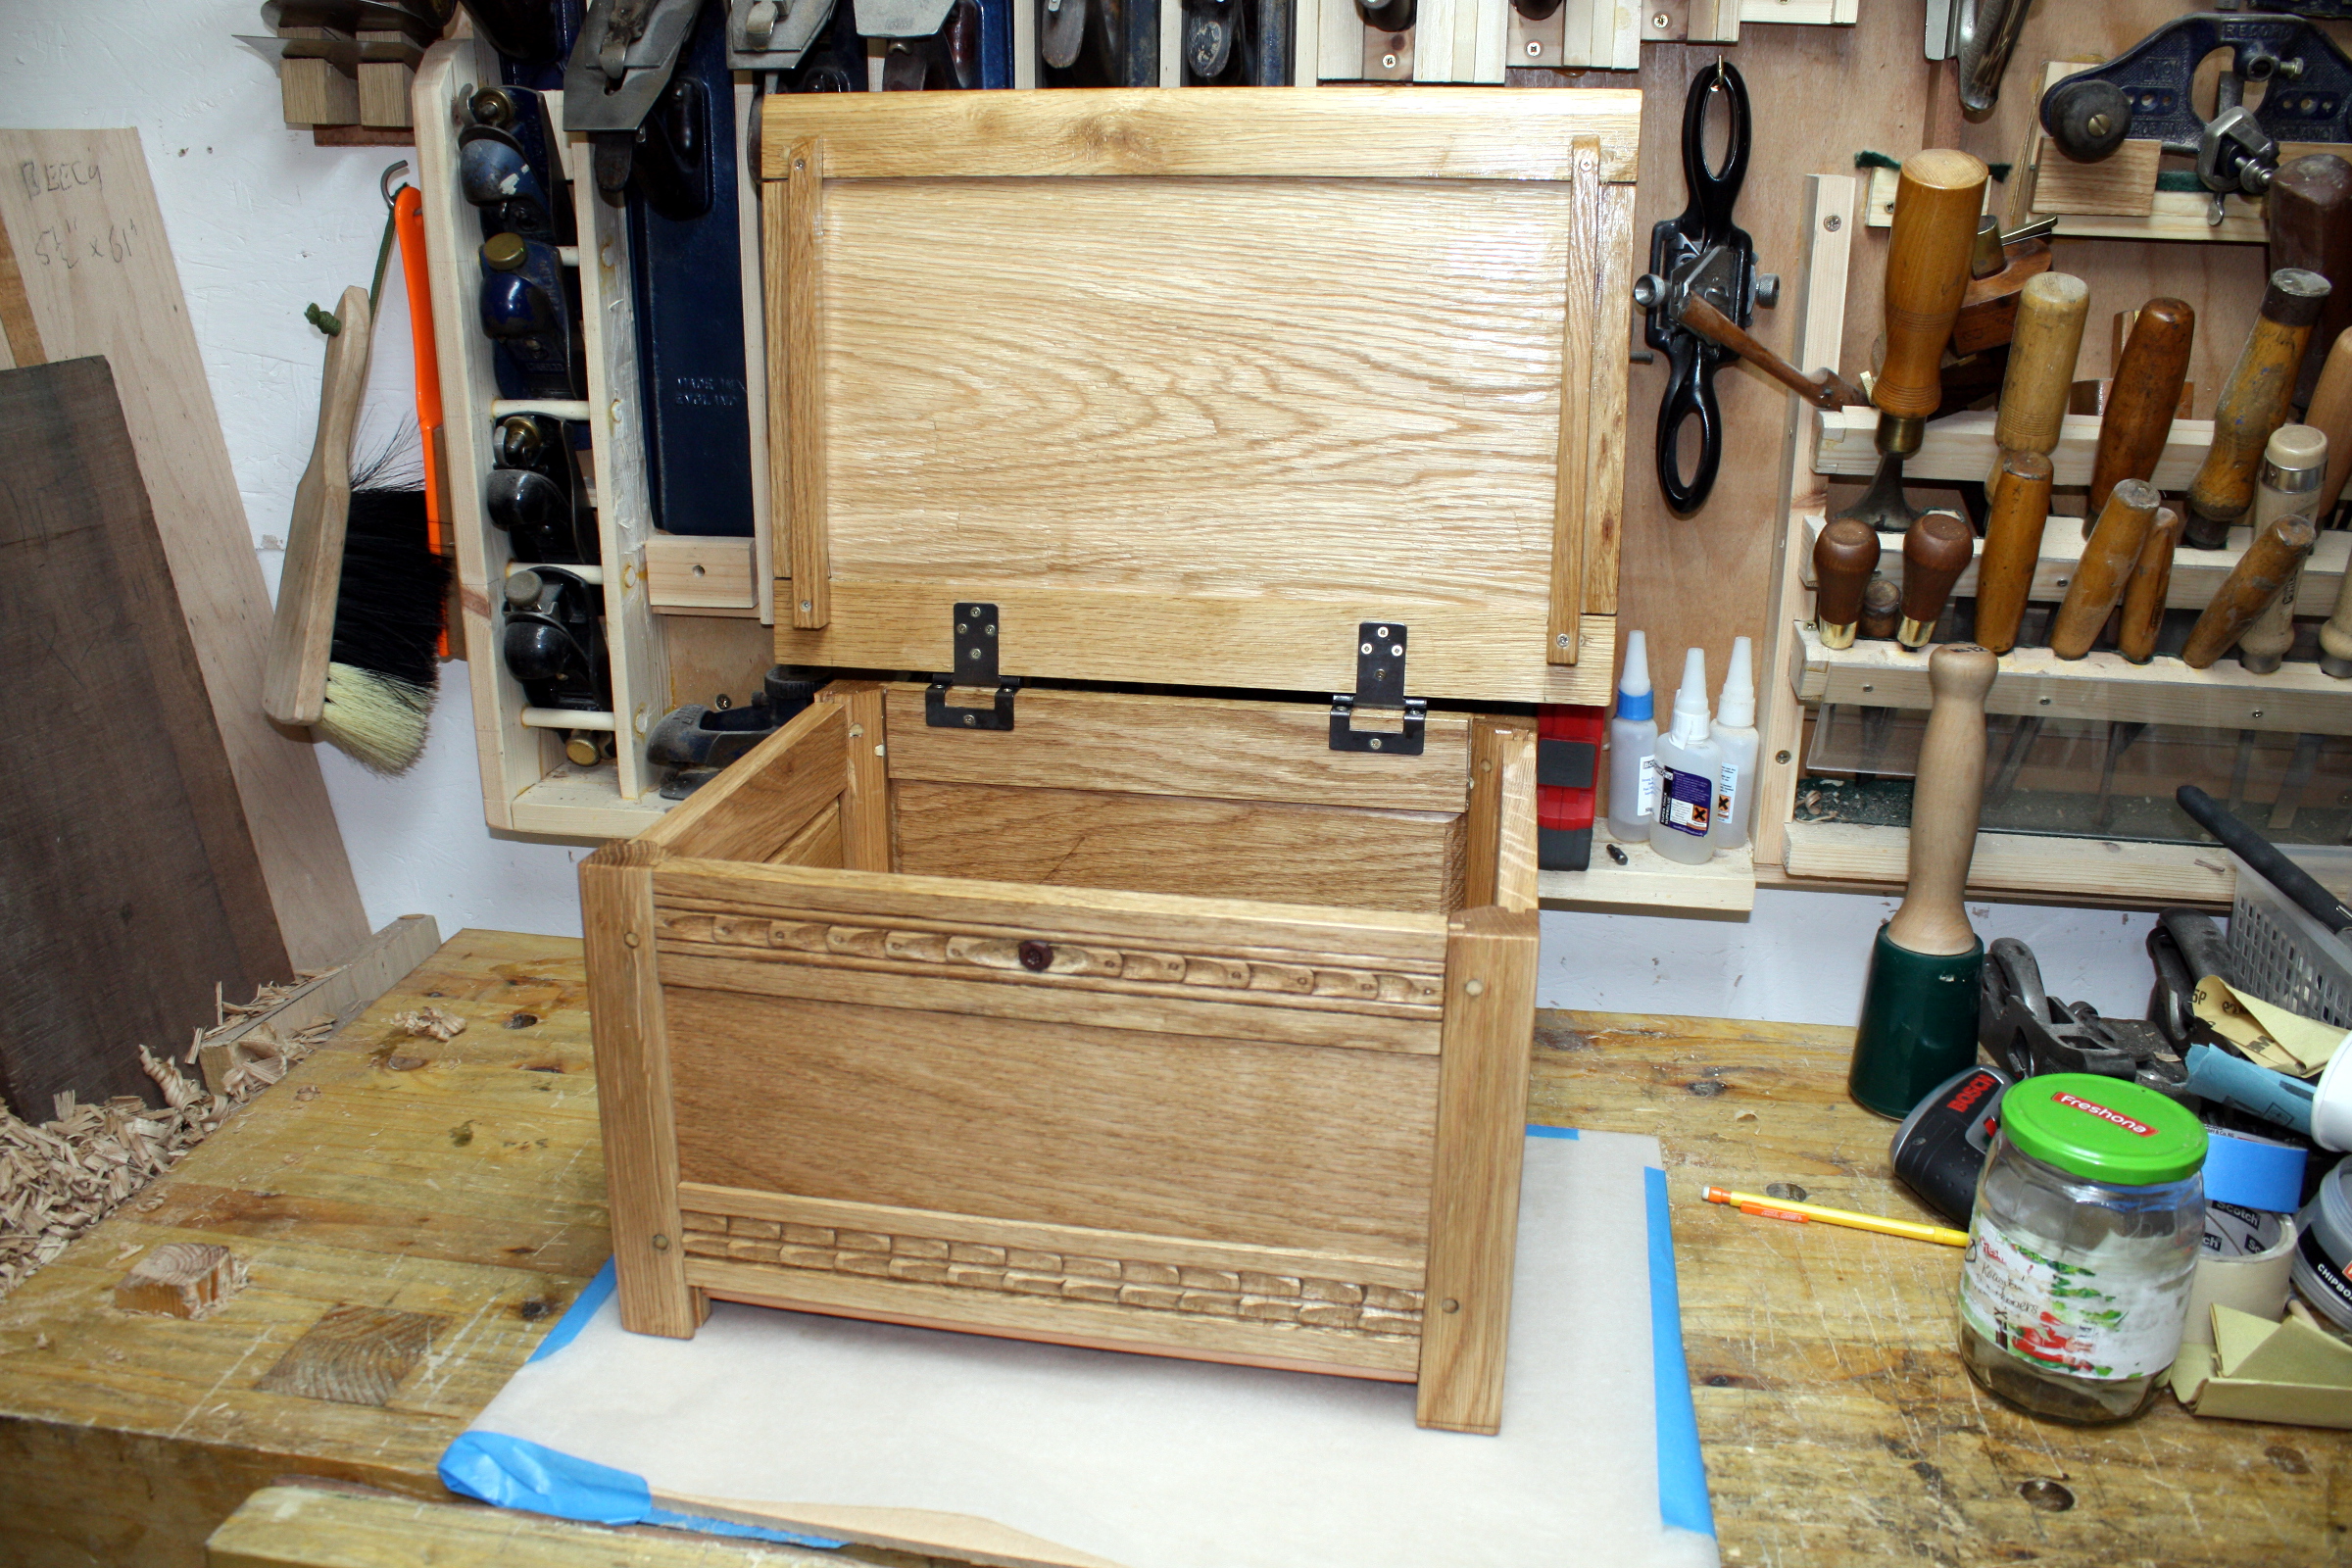
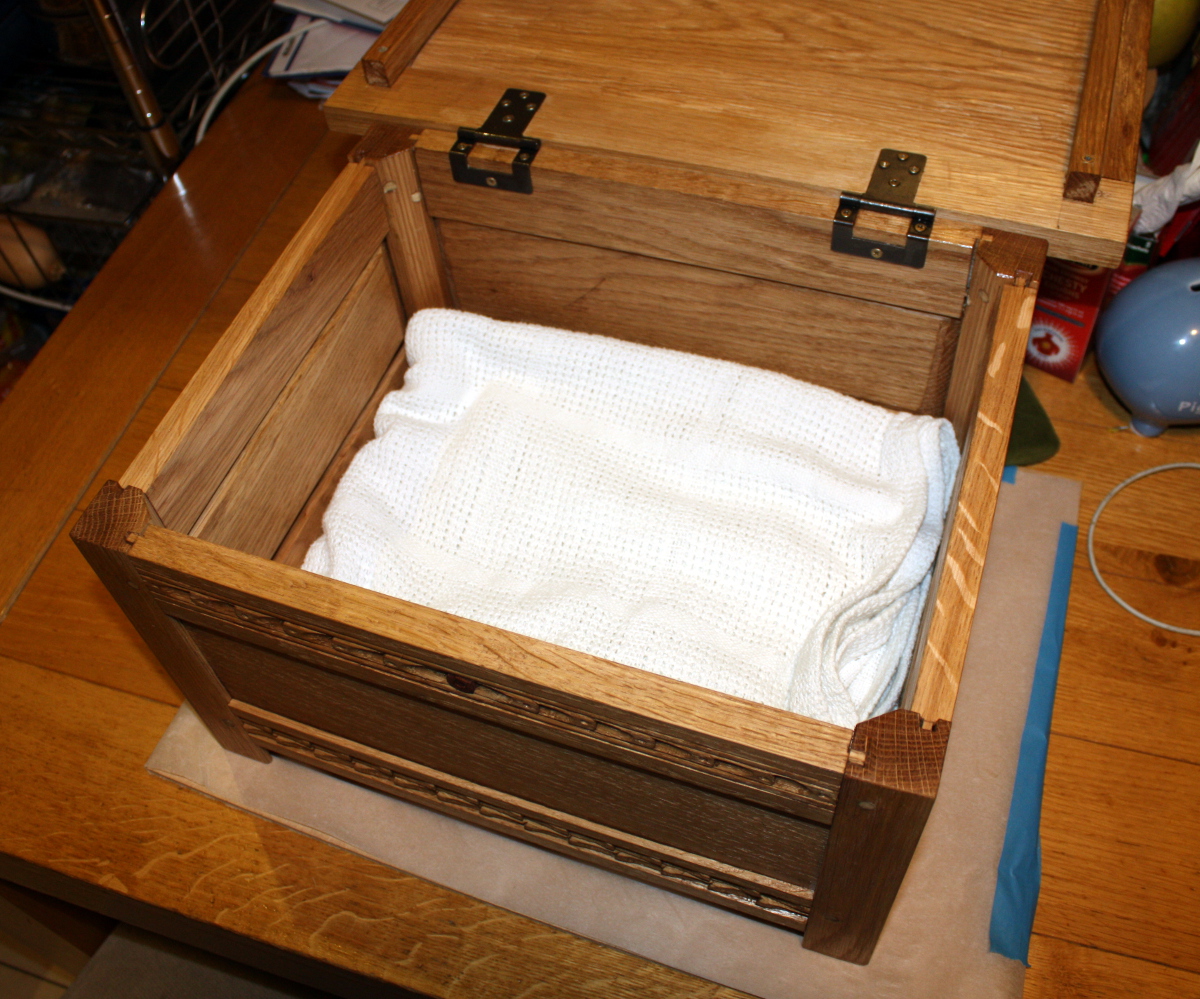
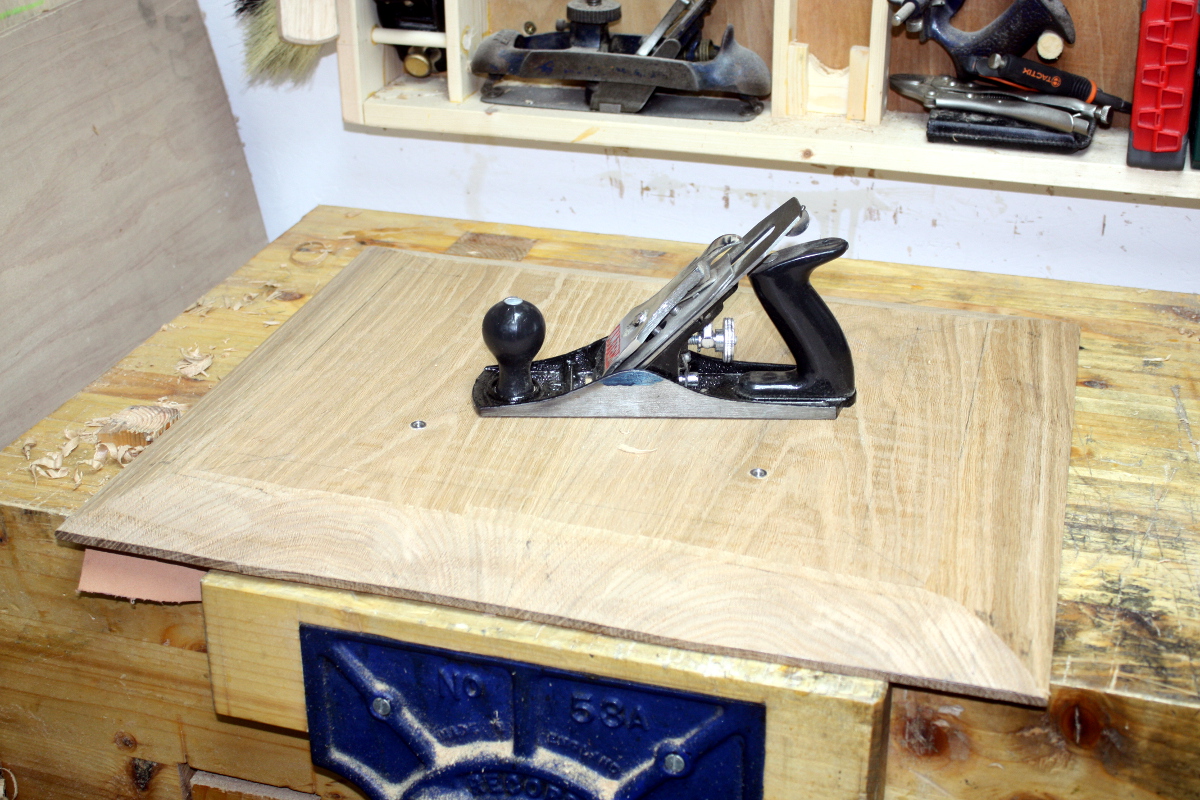
    Faux-17th century joined chest in oak. Drawbored mortice-and-tenon joinery bar the floorboards which were tongue-and-grooved and nailed on. Some simple decorative carving elements on the rails. Did use power tools right at the start for rough cuts, and the ubiquitous powerdrill, but mostly this is hand tool work.

    IMG_2458a.jpg

    IMG_2460a.jpg

    IMG_2461a.jpg

    It even meets the spec: baby blankets fit in it.
    See, the name is kindof a pun, it's a baby blanket chest :D

    IMG_2463a.jpg

    Build log:
    http://www.stochasticgeometry.ie/category/woodworking/baby-blanket-chest/?order=asc


  • Registered Users Posts: 40 sheriff_os


    tried the 'rusty vinegar' trick for staining oak - happy enough with first results, matching set of bowls. little bit of checking in the smaller one.

    438963.jpg

    Nice bowls - whats the "rusty vinegar" trick?


  • Registered Users, Registered Users 2 Posts: 40,038 ✭✭✭✭Sparks


    It's a method for ebonising oak. You take two jars, and put steel wool in one and half-fill the jar with vinegar and punch a hole in the lid. Set aside for a week, shake occasionally (with your thumb over the hole, but you'll learn that fast if you forget).

    The second jar, you take a handful of oak shavings off the floor, put in a saucepan with enough water to fill the jar, and bring to the boil; reduce heat and simmer for 20 minutes; then turn off the heat, allow to cool and pour the mix into the second jar (shavings and all). Leave that sit with the first jar.

    When the wool in the first jar has all dissolved (takes about a week), you can use them.

    First you paint the oak with the contents of the second jar (the oak shavings tea). Leave it dry, and sand back the raised grain afterwards. Then repeat. Then paint the oak with the tea again, leave dry until the surface is damp but not wet, and then paint the surface with the contents of the first jar (the rusty vinegar). Leave for 2-3 minutes, then paint with more tea, leave for a minute and paint with more vinegar, another minute and then more tea and then leave to dry fully.

    After it's fully dried, buff with a dry cloth or paper, then paint the surface with clean water to flush the rest of the dust off, buff dry with a clean cloth or clean paper, and then apply a top coat to seal (I use Osmo wood wax but almost anything will do).


  • Moderators, Category Moderators, Arts Moderators, Sports Moderators Posts: 50,161 CMod ✭✭✭✭magicbastarder


    i should point out that the above was achieved with just the rusty vinegar. the tea trick is for woods low in tannins (AFAIK any breakfast tea will work, not just oak tea), but if you're painting it onto oak, you don't need the tea.


  • Advertisement
Advertisement