Advertisement
Help Keep Boards Alive. Support us by going ad free today. See here: https://subscriptions.boards.ie/.
If we do not hit our goal we will be forced to close the site.

Current status: https://keepboardsalive.com/

Annual subs are best for most impact. If you are still undecided on going Ad Free - you can also donate using the Paypal Donate option. All contribution helps. Thank you.
https://www.boards.ie/group/1878-subscribers-forum

Private Group for paid up members of Boards.ie. Join the club.

E30 Touring Resto Project (Picture heavy)

124»

Comments

  • Registered Users, Registered Users 2 Posts: 3,499 ✭✭✭Interslice


    jozi wrote: »
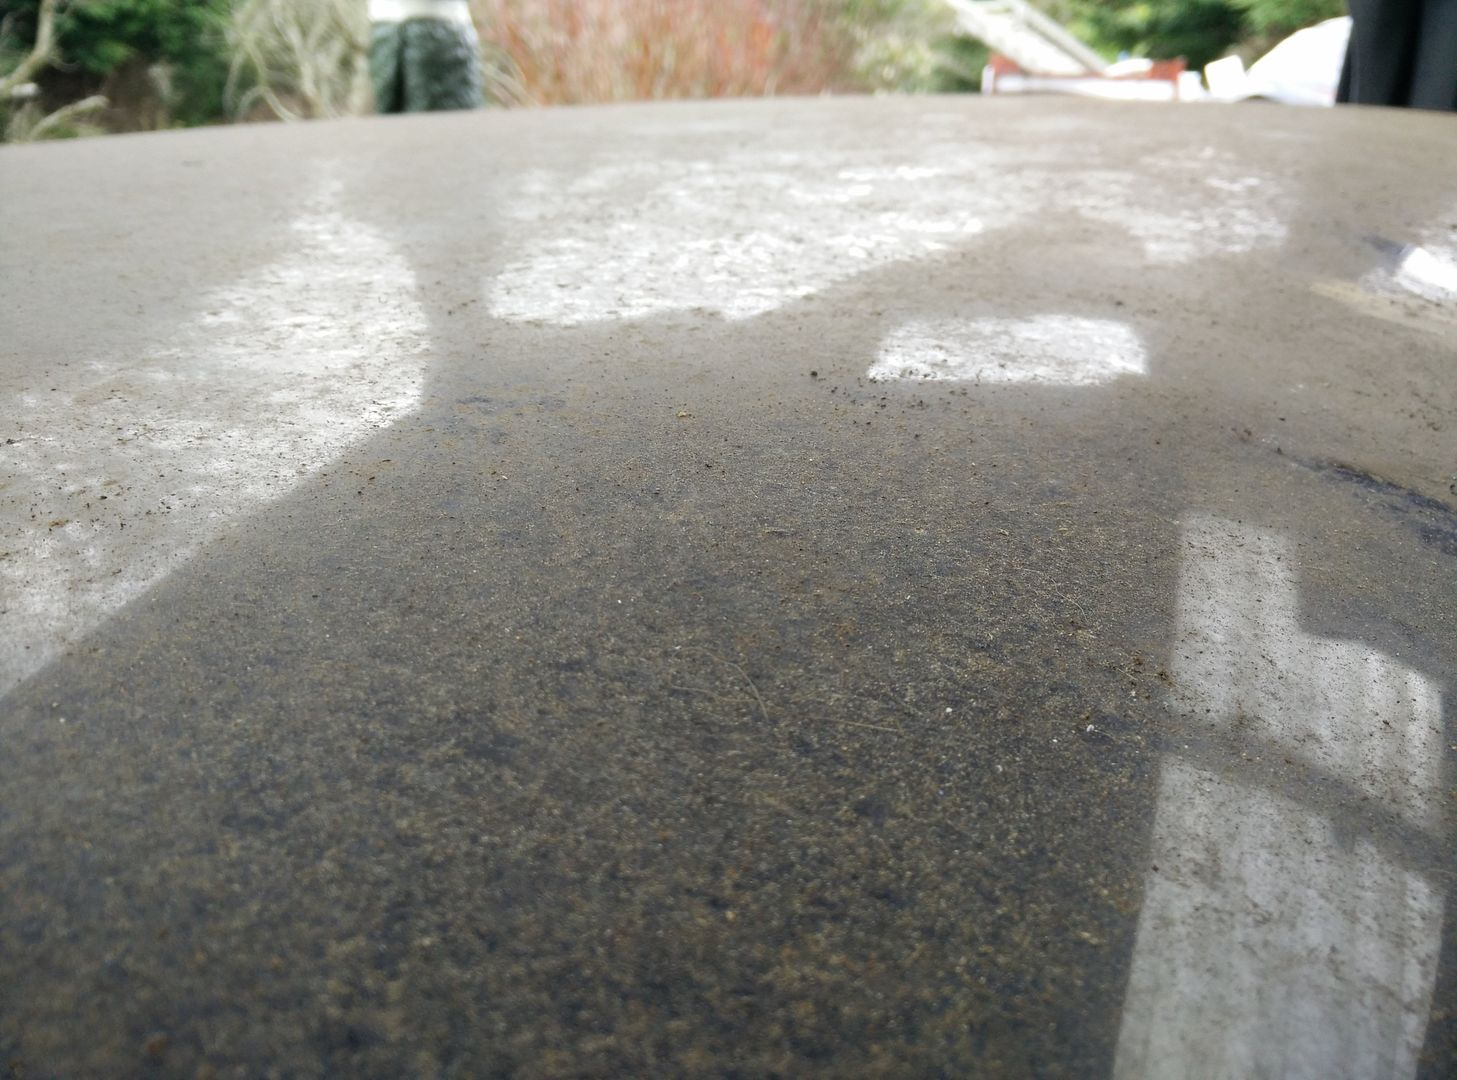
    Besides being covered in a year's worth of dust it's probably fine.

    IMG_20150404_132613.jpg

    Once washed I don't see any problems with it. Not noticed any bubbling or defects but it's not exactly easy to see anything with the ****e on it

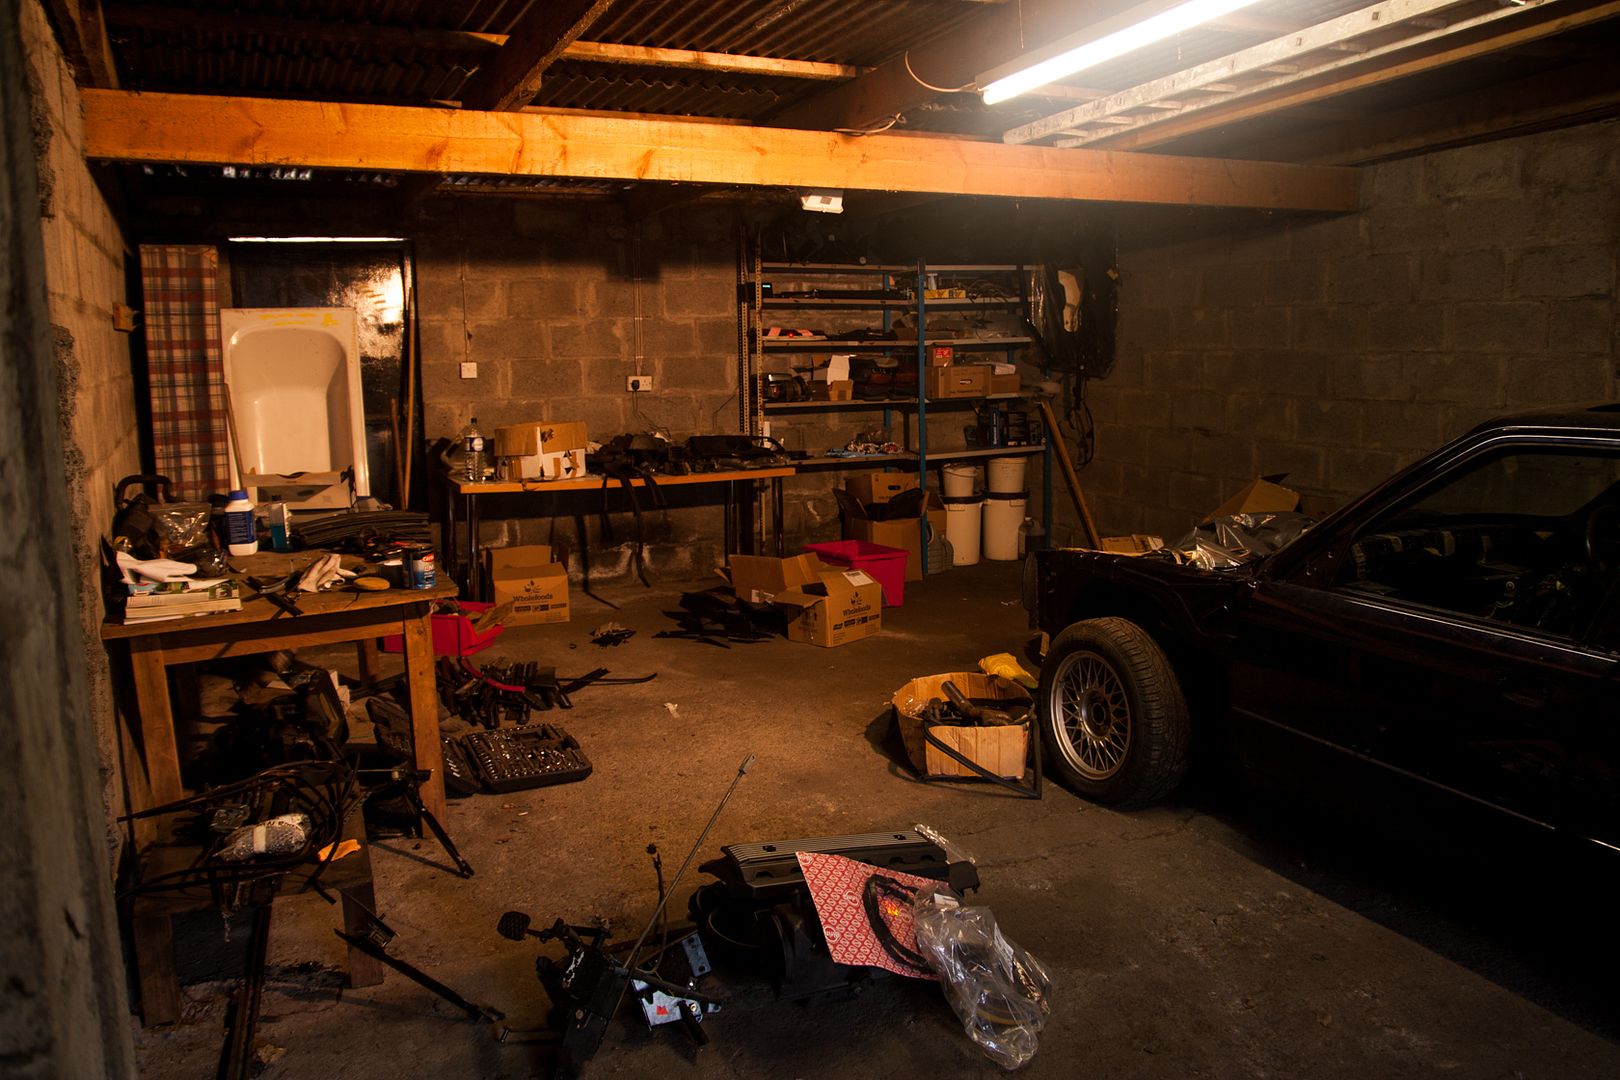
    Who needs beading! Best of luck in the new shed.


  • Registered Users, Registered Users 2 Posts: 5,391 ✭✭✭jozi


    Not much of an update but have started unpacking all the boxes and sorting through everything and trying to keep it organised on the rack or in boxes. I might get it all put away over the weekend and then I can get back at working on the touring again.

    01_1.jpg


  • Moderators, Paid Member Posts: 11,725 ✭✭✭✭Black_Knight


    Hows the build going Jozi?


  • Registered Users, Registered Users 2 Posts: 5,391 ✭✭✭jozi


    No a whole lot to update really, been very busy at work and bit managing to get at the car in the evenings and must weekend there's a car show on to go on.

    I lifted the engine out again to finish of some bits and started extending all the wiring so I can reroute them. Have since decided to get new wire and run them straight from the fuse box instead of having wires with multiple joins, just have to check I have evening I need and make an order.


  • Registered Users, Registered Users 2 Posts: 5,391 ✭✭✭jozi


    Not really made much progress, been working to much and not spending time at the touring since the summer.

    At some point last year I started extending all the wires running around the engine bay, I wanted to hide them as much as possible but not go to crazy.

    Using an old loom I extended all the wiring with the same color cable. Then came to my senses after realizing I potentially had up to 3x solder joins that could fail and went ahead and ordered a load of cables and various crimps so I could tack this mess:
    05.jpg

    In the end I pulled all the original cables going to fuses and replaced them with extra long new cables with the right ends crimped on and sloted back in place. A few cables ran into the car and those were solder joined inside the fusebox and had some heatshrink applied.

    The plan was to separate all the wiring going to the passenger and driver side and route them both separately as can be seen below:
    06.jpg

    That was then stuffed through a pair of holes into conduit on the inner wings and routed to the front of the car where it exits under the front slam panel on either side
    07.jpg
    08.jpg
    09.jpg
    10.jpg

    Conduit and 90deg elbow I used on both ends to protect it from the elements as much as possible (apparently the elbows are water proof)
    11.jpg

    This all took me months and many weekends, everytime I spent a couple hours at it most of the time was spent re-tracing my steps and making sure I didn't miss any cables or got things mixed up. Eventually I pulled it all through the conduit which turned out to quite difficult! I pulled out all the wires and after speakign to a friend he recomended I use wire pulling lube :rolleyes: That took a bit to arrive but it made everything about 100x easier. In the event I missed a wire I left one long redundant wire in the loom which runs to/from the fuse box so I could tape wire to this and pull it through if I have to (which I have with a few cables since).

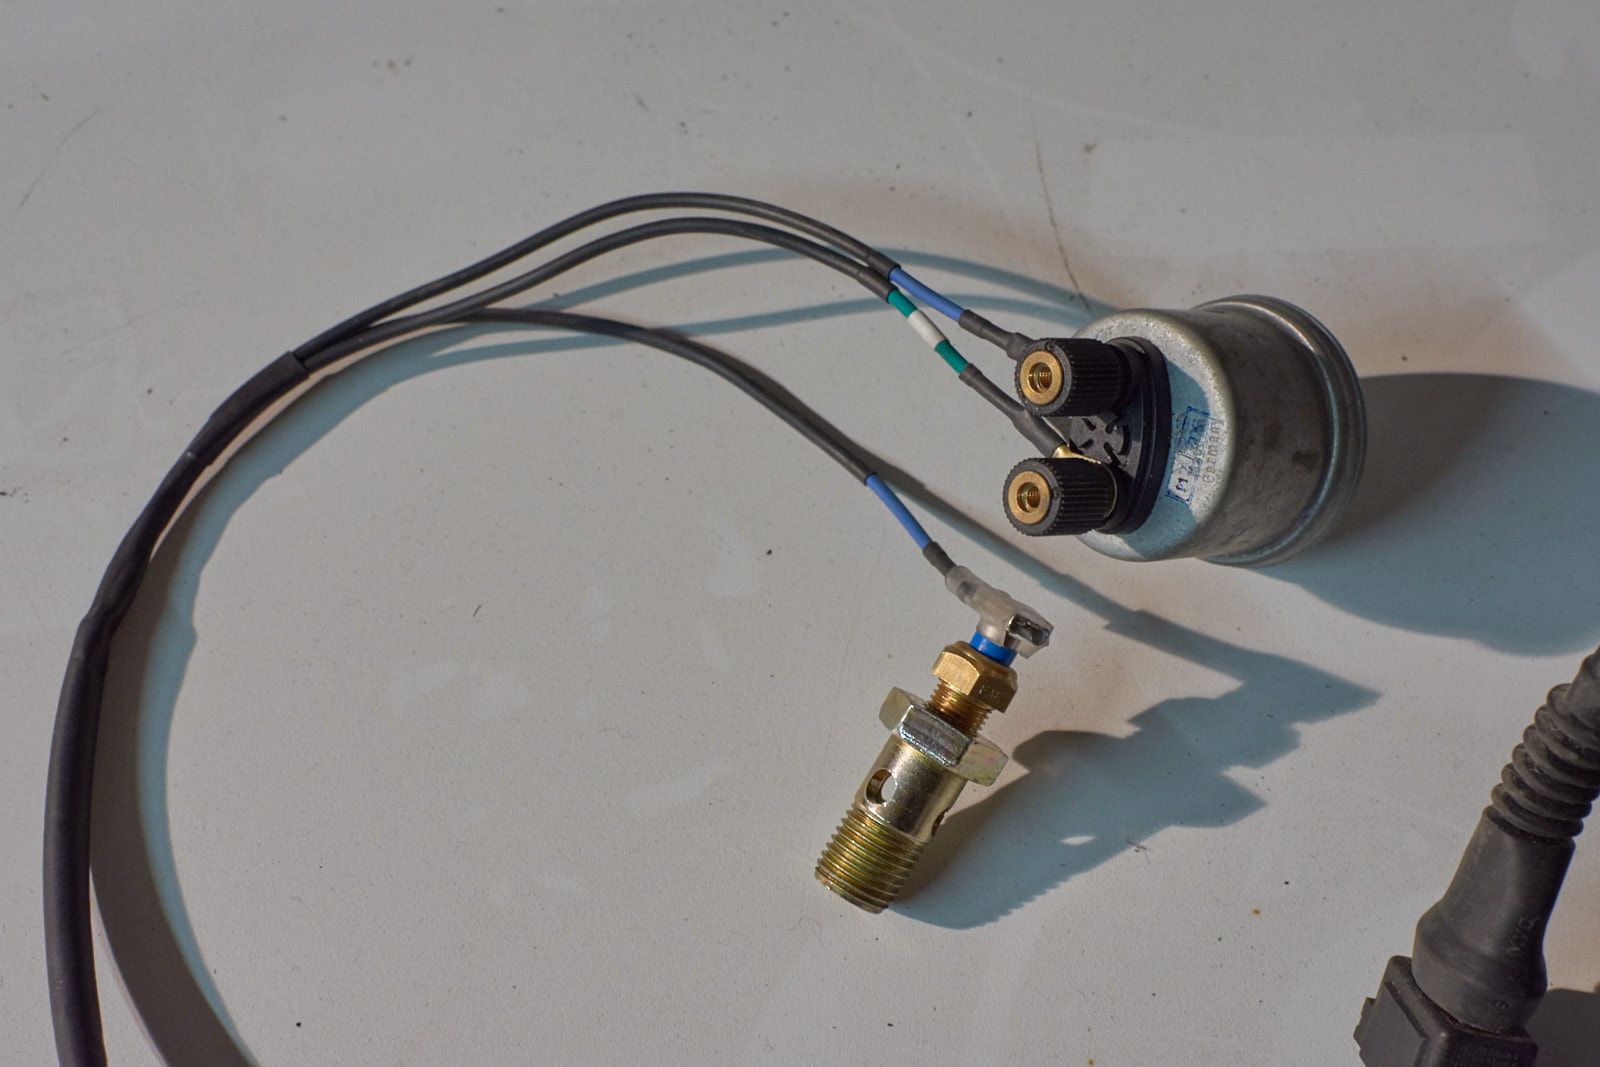
    I'm also fitting VDO gauges which needed wiring up neatly. Not liking many of the t-pieces and adapters and what not available I ended up drilling a hole in one of the vanos banjo bolts and threading it for the temp sender. The pressure sender is still on an extension/adapter but at least I now don't have another adapter on this for temp. Both wires were fed through the engine loom, crimped and I used some heatshrink to color code the wires, pics below of it in place:
    02.jpg

    And the bit of engine loom I fed both wires through:
    03.jpg

    Over the weekend I'll probably undo all the above after realizing the second terminal on the pressure sender is for a warining light, which I might as well also make use of.

    Thats all for slow progress :thumb:


  • Advertisement
  • Registered Users, Registered Users 2 Posts: 5,391 ✭✭✭jozi


    Small update:

    Pulled the pair of wires for the gauges senders today and re-did them on their own with a new third wire added in for warning light.

    02_1.jpg

    And engine loom all taped up again with the extra wires branching of just before the ecu plug
    01.jpg


  • Registered Users, Registered Users 2 Posts: 5,391 ✭✭✭jozi


    Looks like it's been over 2 years since I've posted an update! You missed nothing, as nothing has really progressed since the last post and probably won't for another few years (part time college to blame for that...)

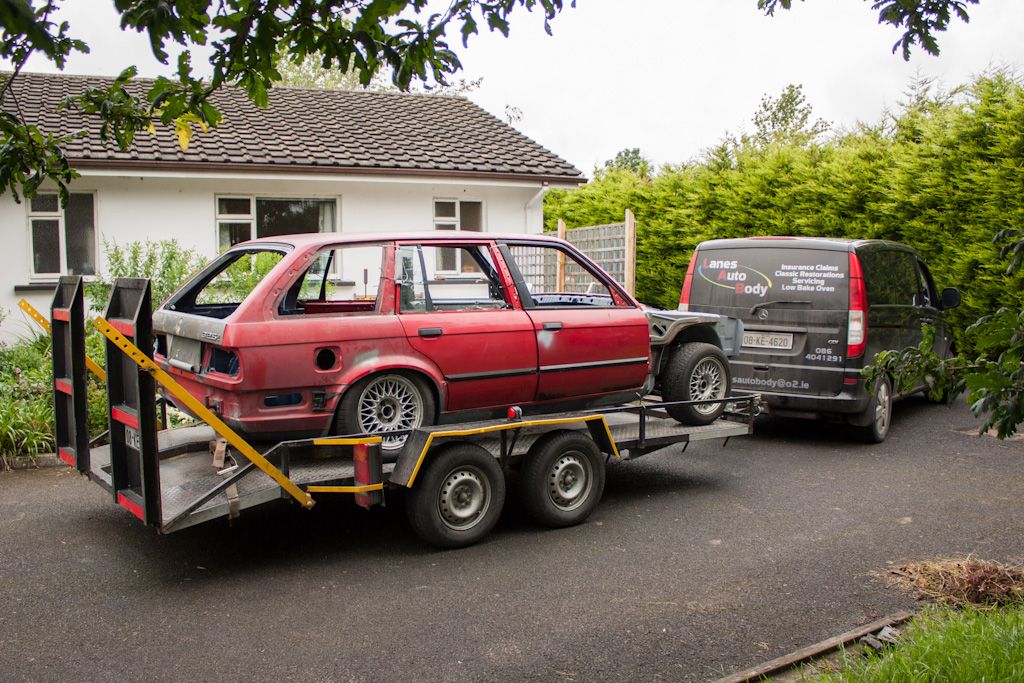
    Anyway, this happened a long time ago in 2012...
    IMG_8344.jpg

    Rented a van earlier this year in Feb after a visit a week earlier (thanks Gavin for moral support)
    p9rfgRF.jpg
    EPQc4PH.jpg

    Finish on a dusty bonnet
    a9L1Tvq.jpg

    Unfortunately my patients had run out and most of the parts left (except the bonnet) are unpainted and back in the shed. I think the plan is to keep tipping away at her over the summer and eventually some day drive it to a paint shop to see about getting someone else to finish painting the remainder of the parts or worst case re-paint the whole car again.

    She's not looking as bad now, I tried to wash it a little in the shed so some dust is gone since.
    RepHNW6.jpg

    Interior
    LdkCsal.jpg
    khF2unW.jpg


Advertisement