Advertisement
If you have a new account but are having problems posting or verifying your account, please email us on hello@boards.ie for help. Thanks :)
Hello all! Please ensure that you are posting a new thread or question in the appropriate forum. The Feedback forum is overwhelmed with questions that are having to be moved elsewhere. If you need help to verify your account contact hello@boards.ie

Ford Transit conversion to camper MKII

11012141516

Comments

  • Registered Users, Registered Users 2 Posts: 6,268 ✭✭✭Buford T Justice


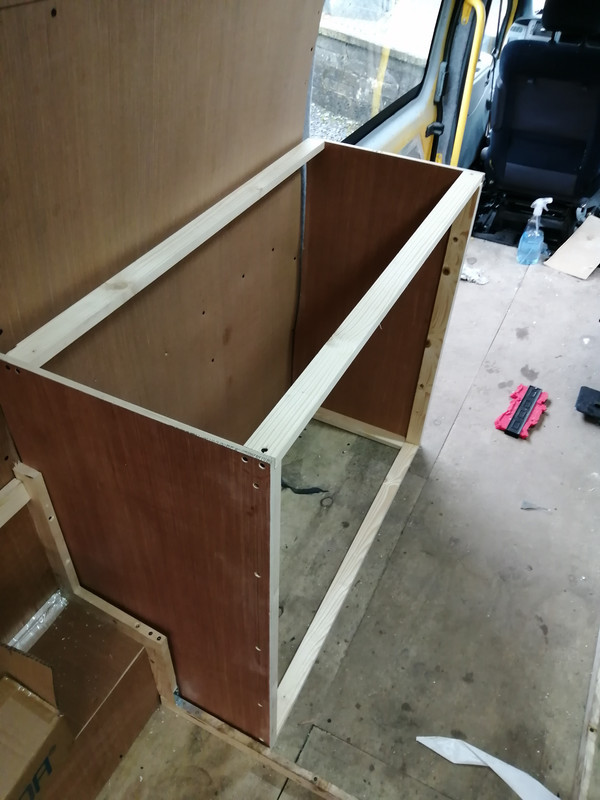
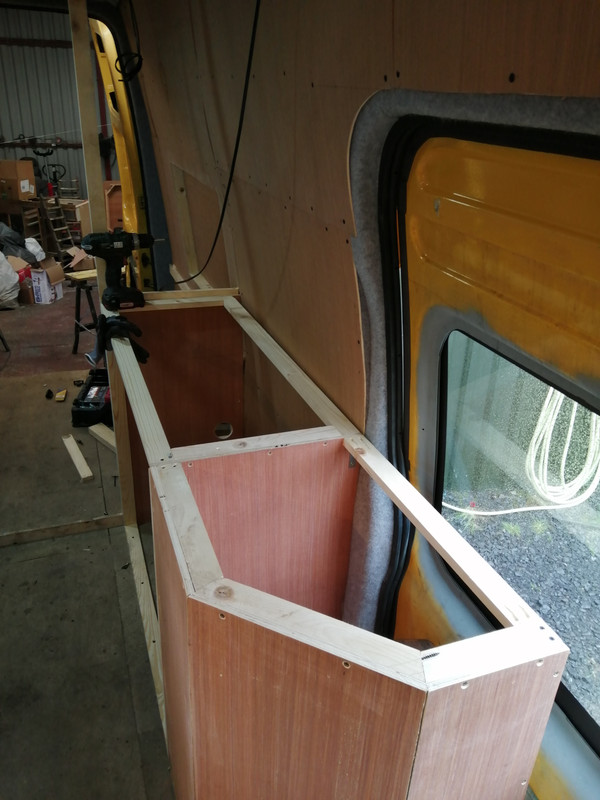
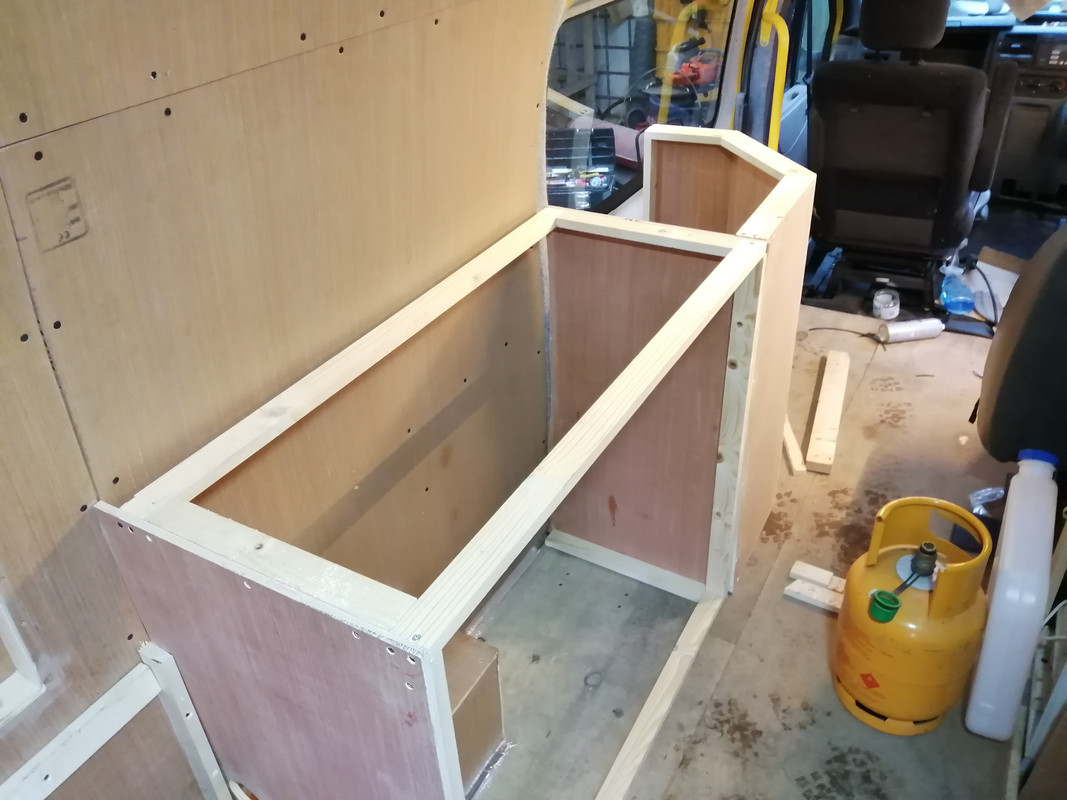
    I started building the kitchen unit today with 12mm ply. I was originally going to go with 18mm for rigidity but its considerably heavier than the 12mm.

    To give the sides a bit of strength I added some 2 x 1 to it. I can get my hands on drawer kits locally - the sides and the rails so that means I can have drawers whatever width I want them to be. Trouble is, they can only be got in 300mm and 450mm.

    IMG-20210313-163506.jpg

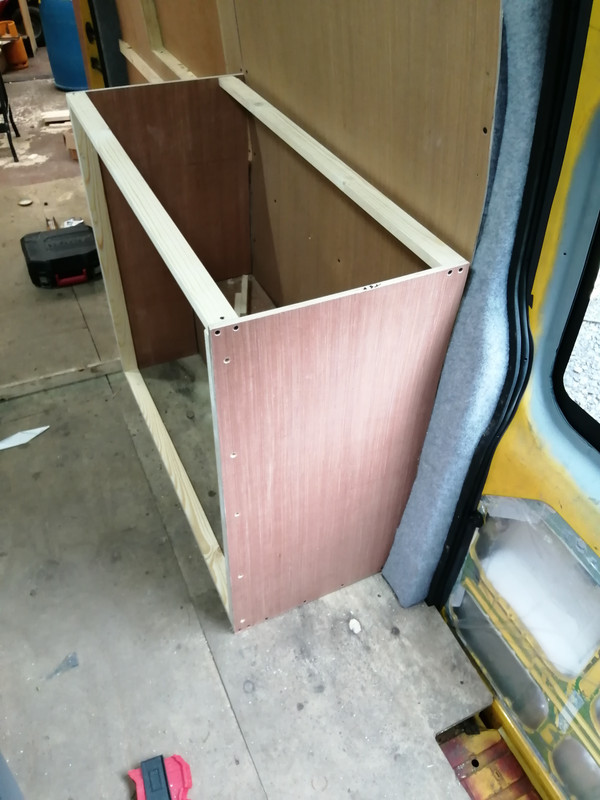
    The depth of the carcass is 470mm, so that I can fit a 500mm countertop to it and still have 30mm of an overhang.

    IMG-20210313-163459.jpg

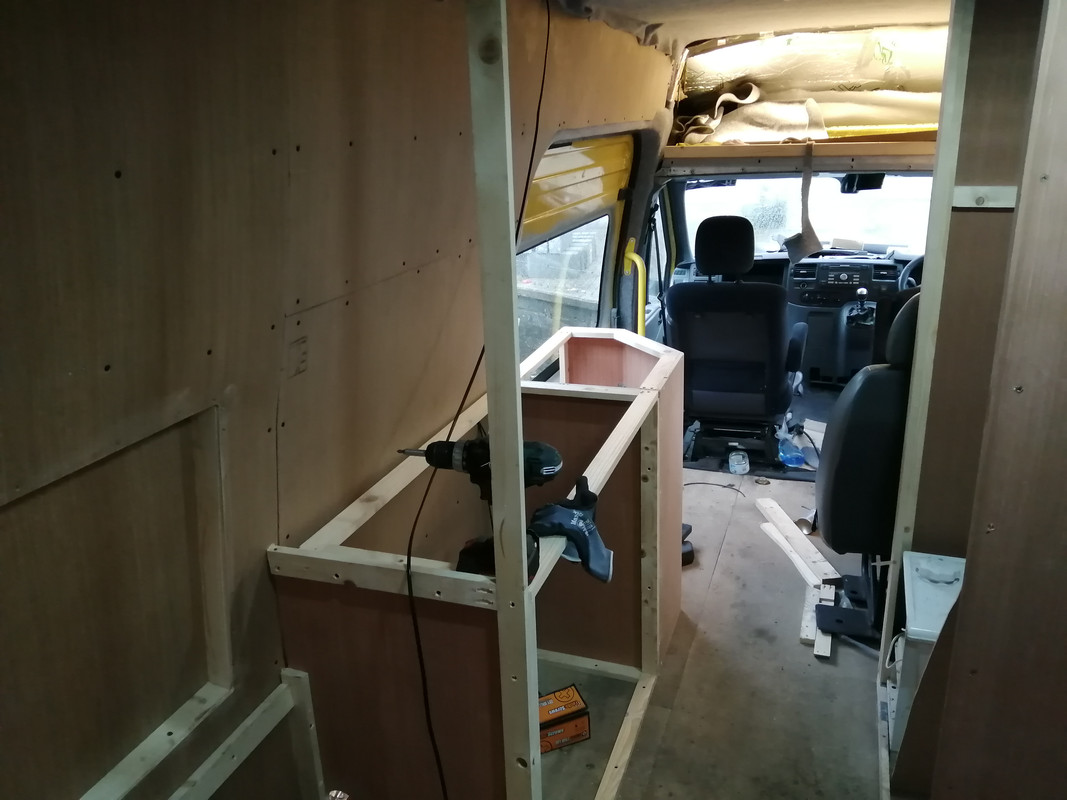
    I'm thinking of adding a smaller box that sits out over some of the sliding door for maybe the gas and the heater tank and the coutertop can finish off at an angle towards the front. Either way - there's more space to be better utilised there.


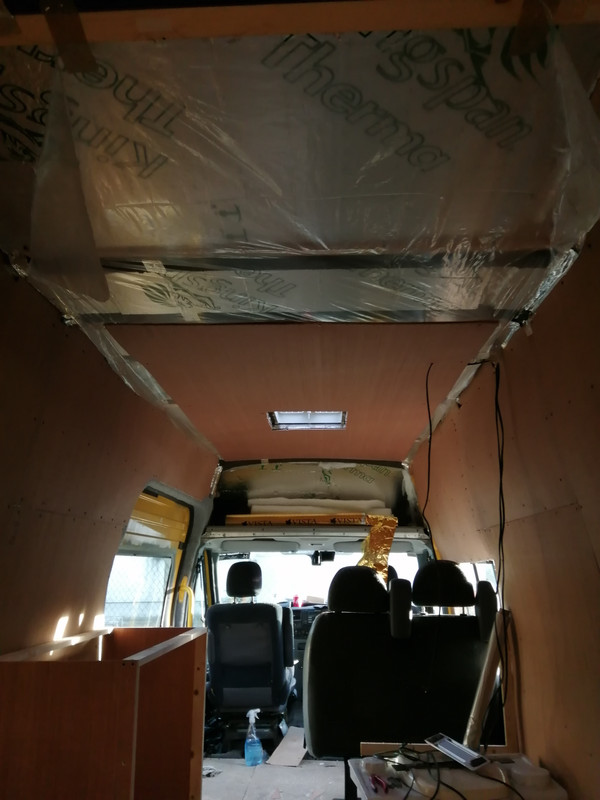
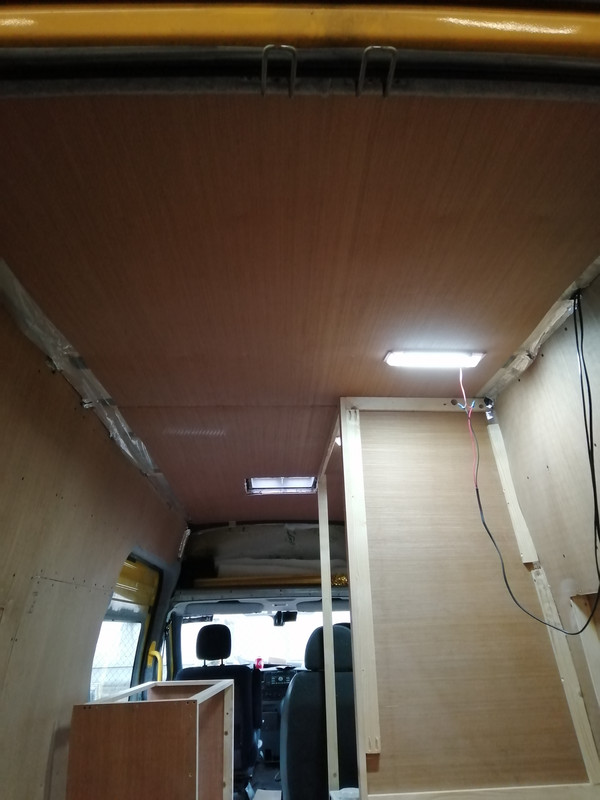
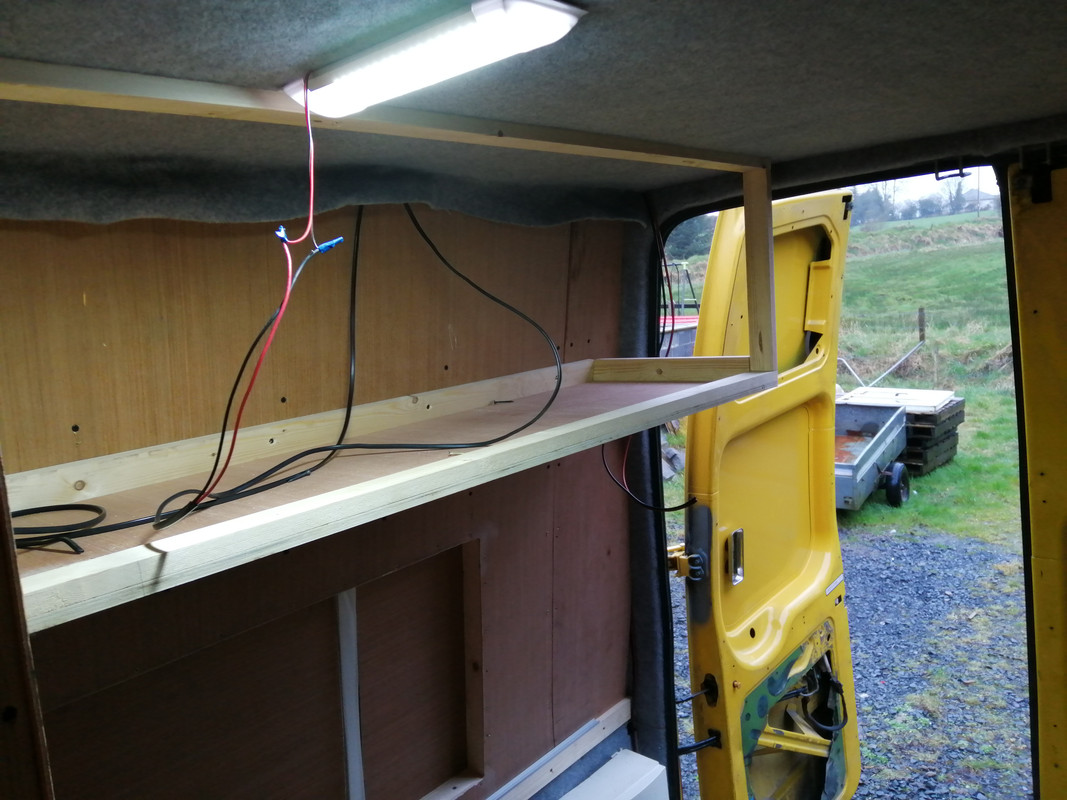
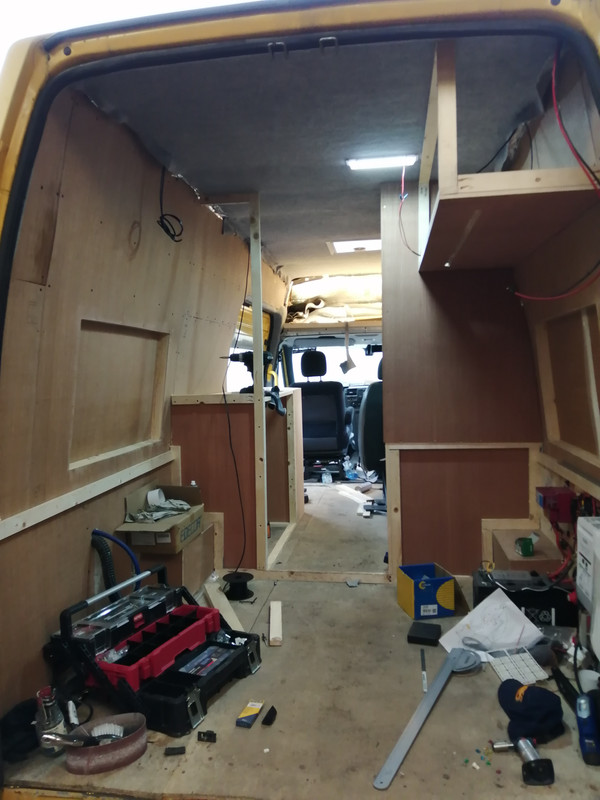
    I also added some roof sheets to finish the roof. That was a complete sheet. I figure the overhead lockers will cover the corners anyway, and I'll be doing something to cover those gaps anyway.

    IMG-20210313-174735.jpg


  • Registered Users, Registered Users 2 Posts: 73,298 ✭✭✭✭colm_mcm


    Nice job, you seem to have plenty clearance between the double seat and the kitchen


  • Registered Users, Registered Users 2 Posts: 6,268 ✭✭✭Buford T Justice


    colm_mcm wrote: »
    Nice job, you seem to have plenty clearance between the double seat and the kitchen

    Yeah, seems to be plenty of space. I originally had the carcass depth at 500mm but I took the 30 off because I wanted to be sure it wasn't an issue when there's an overhang from the worktop.

    It means I may not be able to fit the 450 drawers in, I'm not sure yet. I'll have to get one to see how it works


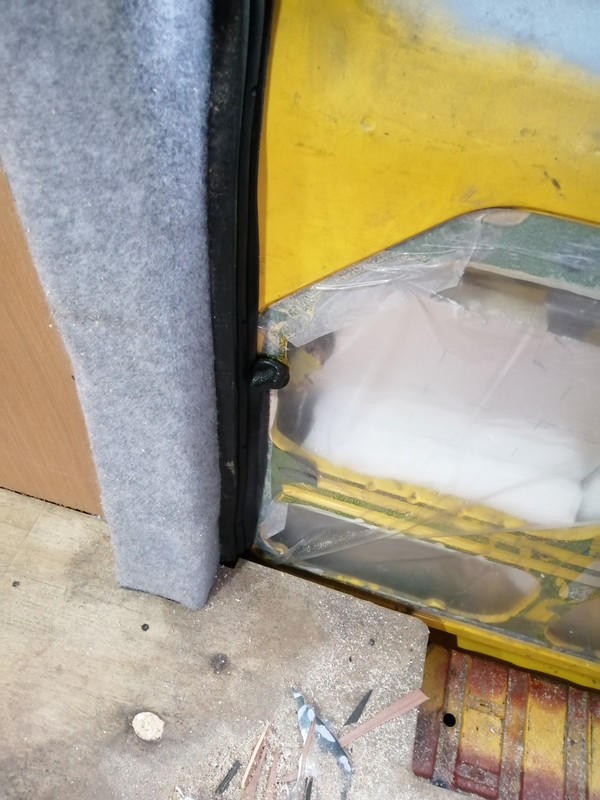
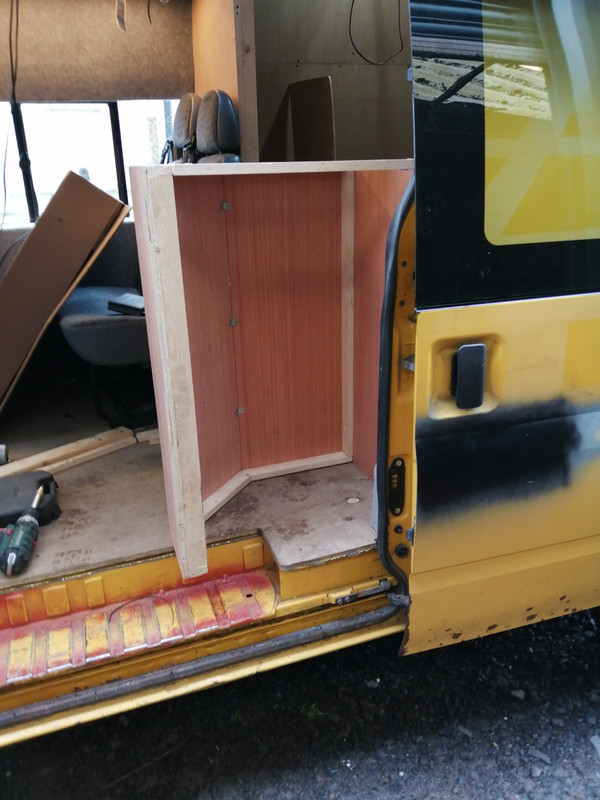
    I also gave some thought to the cabinet that overhangs the door for the gas and diesel. The gas has to be a sealed container with a drop hole & access to it has to be from outside the van - ie with the door open.

    IMG-20210314-170730.jpg

    Doing so would potentially block access to the manual lock of the sliding door. I've had a mk6 one of these before and the central locking never unlocked the sliding door. I always had to open it from the inside. If it was an ordinary cabinet I could leave an access hole, but if it can't be opened from the inside..........


  • Registered Users, Registered Users 2 Posts: 6,268 ✭✭✭Buford T Justice


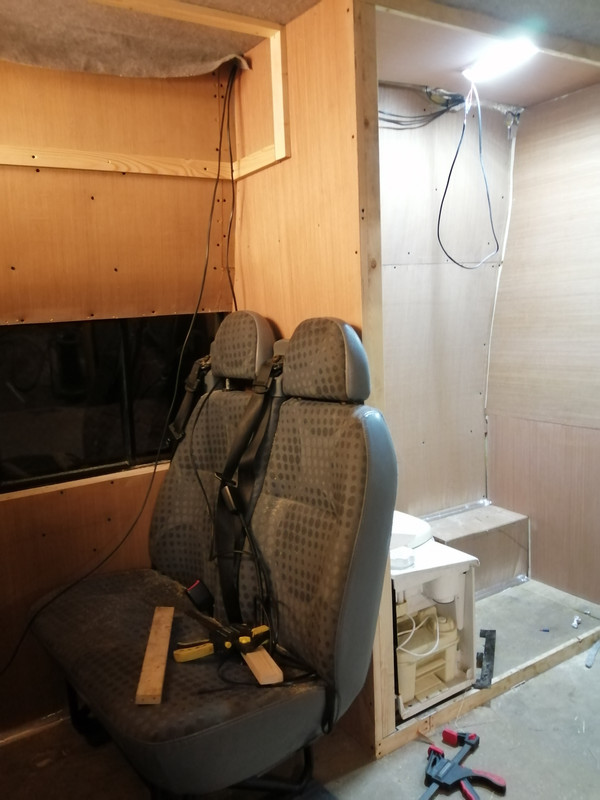
    Finished the roof, or at least finished fitting the large sheet.

    IMG-20210314-165801.jpg


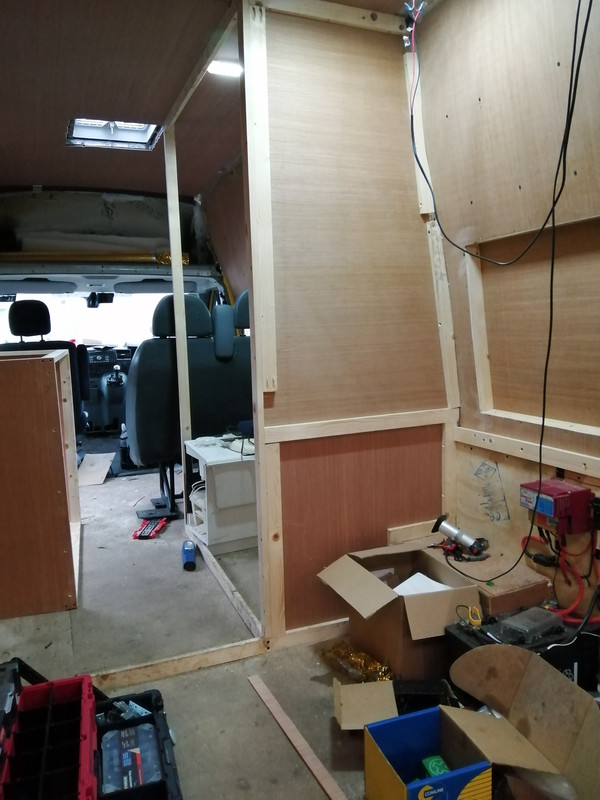
    Started building the bathroom walls.

    IMG-20210314-165654.jpg


  • Registered Users, Registered Users 2 Posts: 73,298 ✭✭✭✭colm_mcm


    It’s not a requirement to have the gas accessible from the outside though.

    My own thinking on gas and diesel is that you ideally keep your space around the kitchen for stuff you’ll be carrying and using, and banish the stuff like gas and diesel under the bed.

    An big overhang worktop on the front of the kitchen is wasted space really. Although, 15mm door and another 15mm isn’t excessive

    You’ve got fine space in the toilet room now, it’s all coming together.


  • Advertisement
  • Registered Users, Registered Users 2 Posts: 73,298 ✭✭✭✭colm_mcm


    You might look at relocating the inside lock handle on the door, I’d say it’s straightforward enough if it’s cable operated,

    That’s on the to-do list for the Ducato back door, the bed is up against it now.


  • Registered Users, Registered Users 2 Posts: 6,268 ✭✭✭Buford T Justice


    colm_mcm wrote: »
    You might look at relocating the inside lock handle on the door, I’d say it’s straightforward enough if it’s cable operated,

    That’s on the to-do list for the Ducato back door, the bed is up against it now.

    No can do, It's actually just a plastic piece that goes directly into the lock mechanism. No cables to move unfortunately.


  • Registered Users, Registered Users 2 Posts: 6,268 ✭✭✭Buford T Justice


    Nice

    IMG-20210315-205425.jpg

    IMG-20210315-213009.jpg


  • Registered Users, Registered Users 2 Posts: 6,268 ✭✭✭Buford T Justice


    Panelled one of the outside walls of the bathroom

    IMG-20210319-205048.jpg

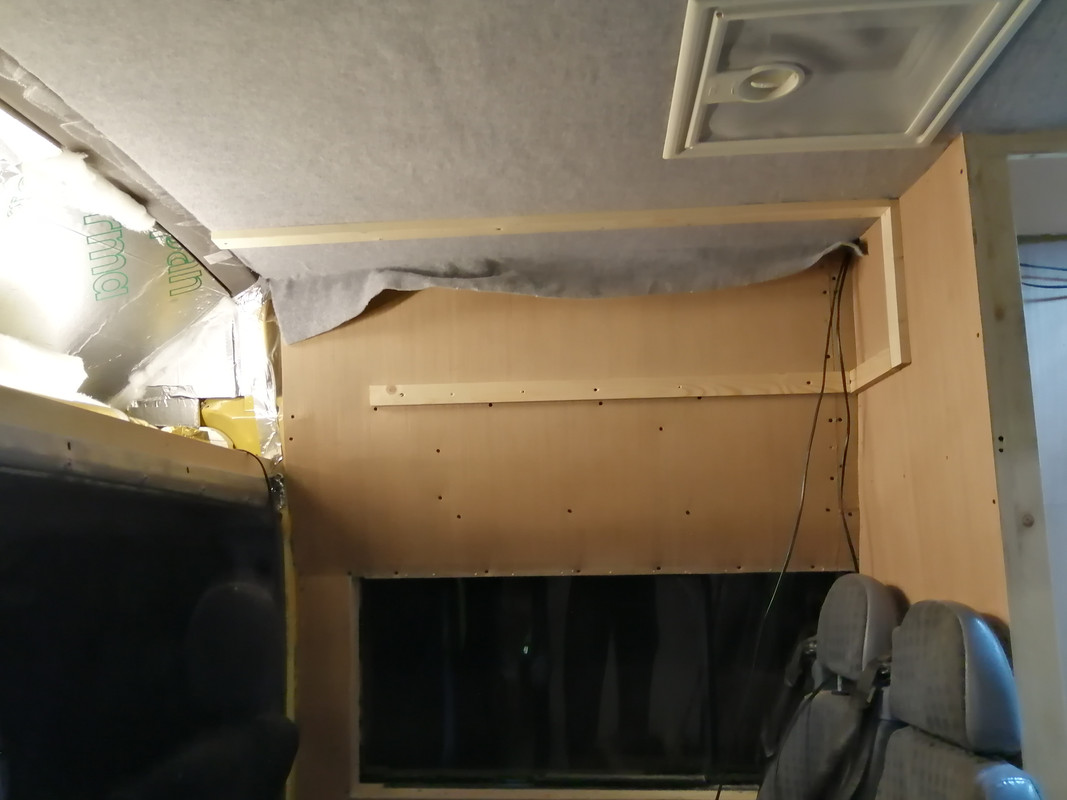
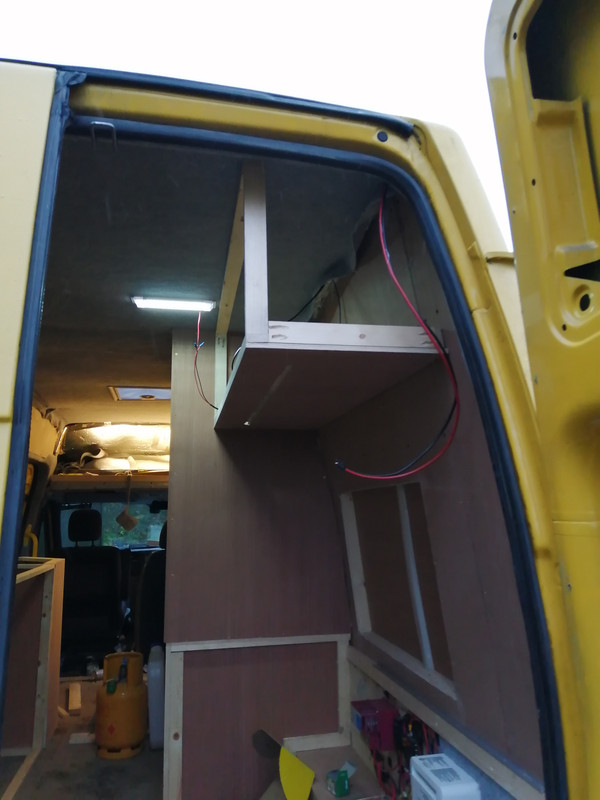
    And then, in typical make it up as you go along fashion, I started on the overhead locker over the seats

    IMG-20210319-205053.jpg


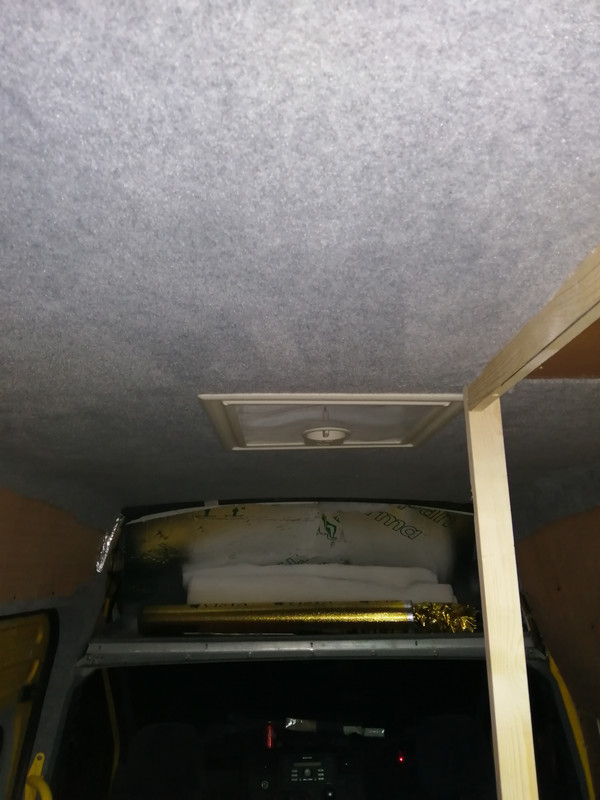
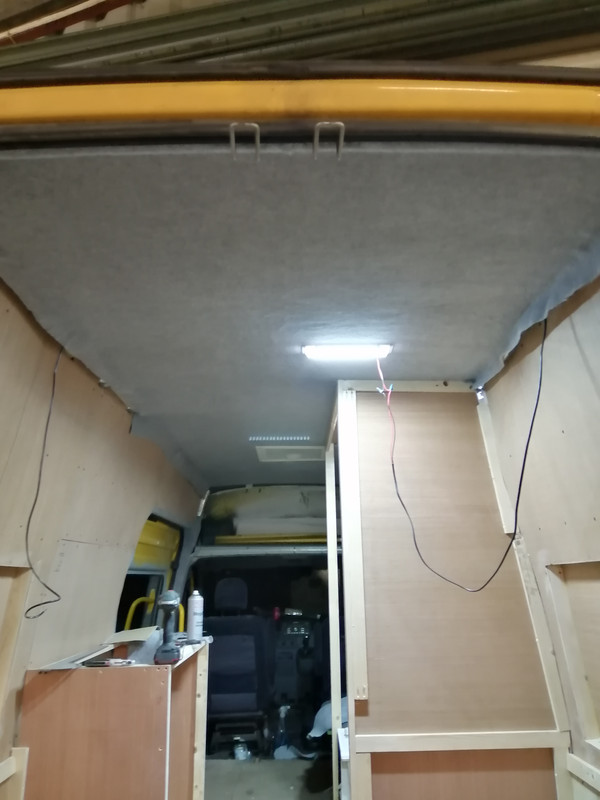
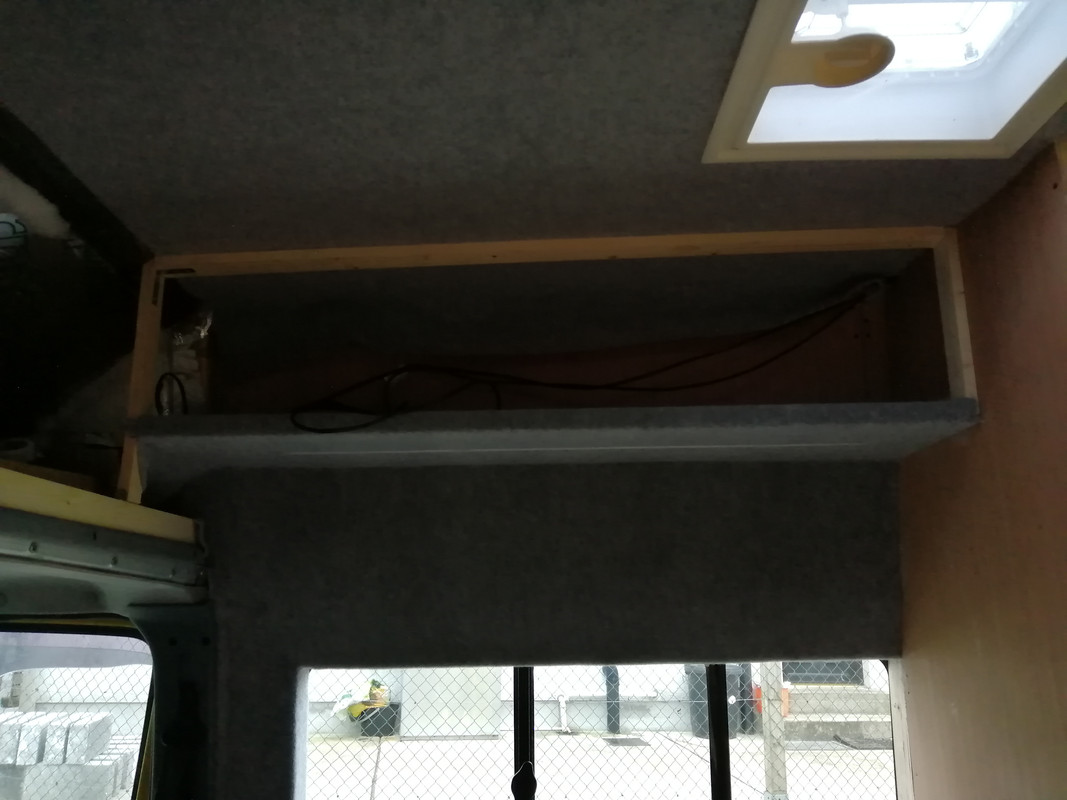
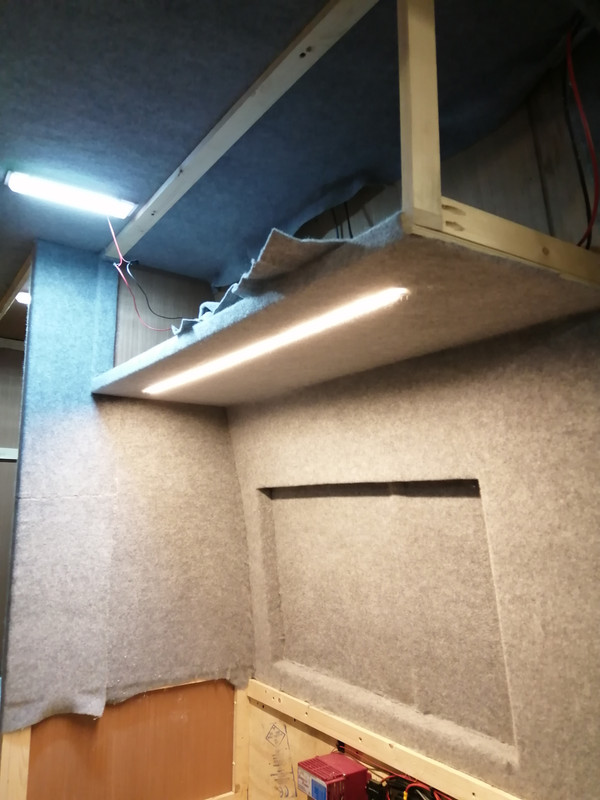
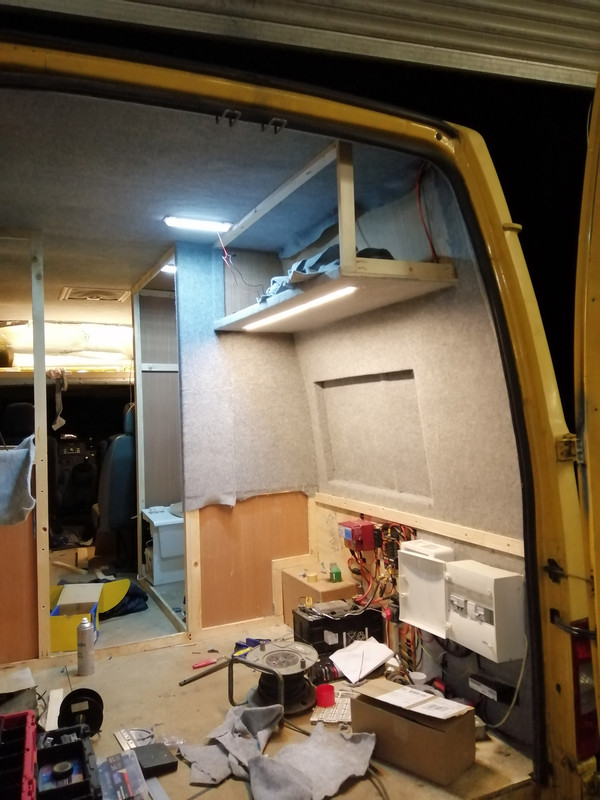
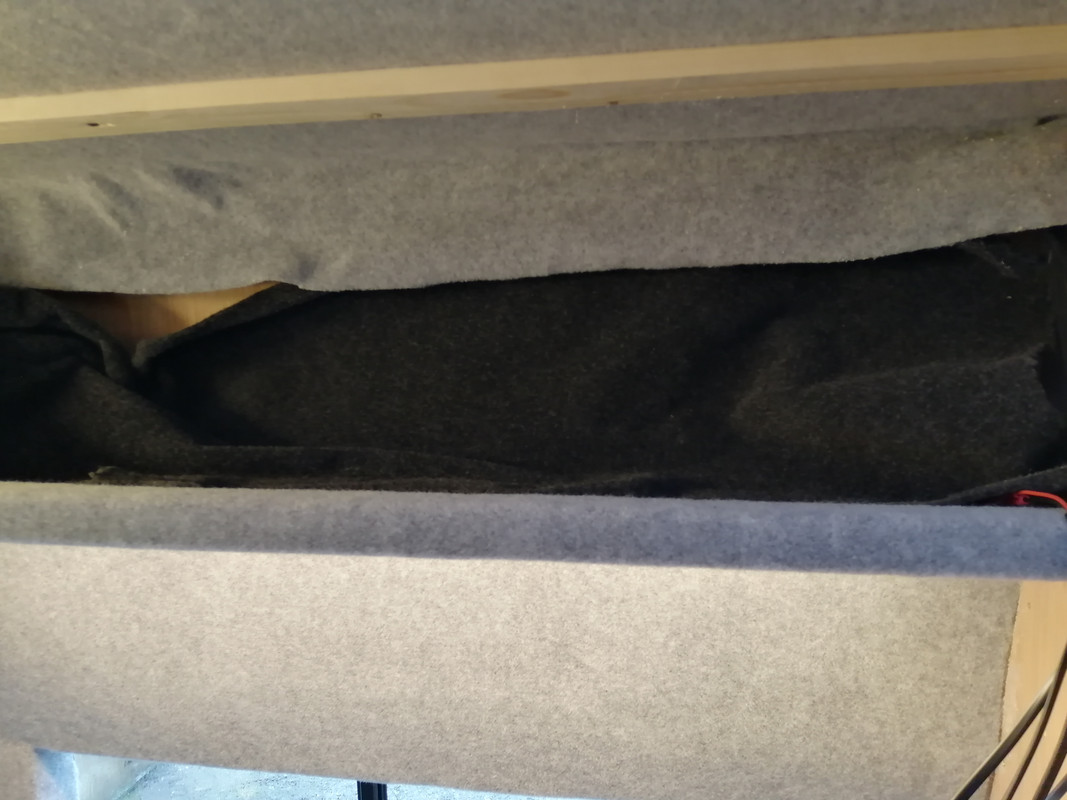
    And then I decided that I'd line out the panels with carpet liner.

    IMG-20210321-173205.jpg

    I appreciate that this isn't a great photo, but there's a better one coming

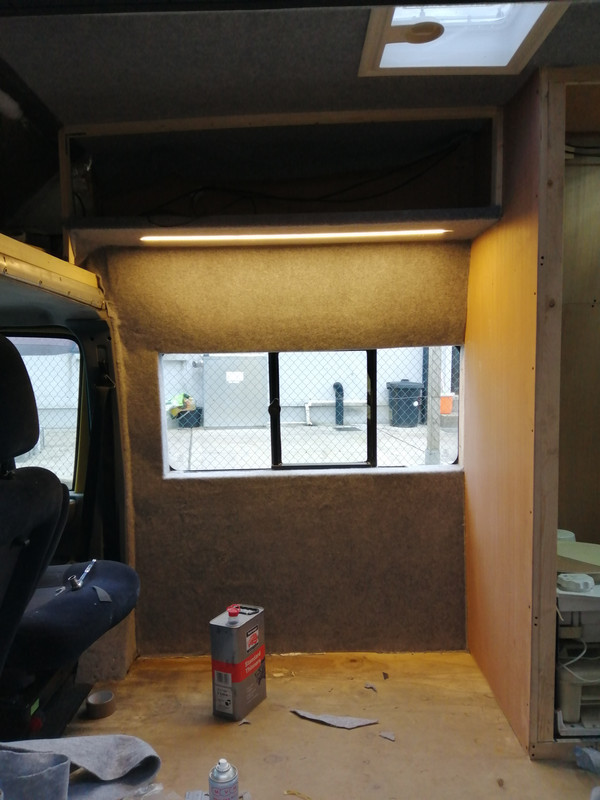
    I noticed that since I panelled the wall it blocked all the light in the front of the van and made it difficult do any work on it. I assembled one of the led strips and diffuser's which spurred me on to to the storage. Or at least I think that's what led me down this path anyway.

    I then stole - err got some inspiration for the led strips and routed a 7mm strip into the underside of the cabinet.

    It's not actually held in with anything, but I lined the underside and then cut a line down the gap with a knife. The added dimension of the carpet is enough to wedge the rail in good and tight. It remains to be seen if it'll fall out, but it seems snug now.

    Looks pretty cool

    IMG-20210321-173228.jpg

    Sir Liam, Still waiting on your build thread. :pac: :pac: :pac: :pac:


  • Registered Users, Registered Users 2 Posts: 73,298 ✭✭✭✭colm_mcm


    Very nice! What are you doing for light switches?

    Your cavity walls are ideal for them by the looks of it.


  • Advertisement
  • Posts: 5,326 ✭✭✭ [Deleted User]


    Mad how fast he is without some sparky throwing him curveballs all day innit?! :p

    I'm putting posh switches in mine.

    1119H_P?$autoprodblock$

    Screwfix do a selection (Varilight). www.switchtowood.co.uk have the motherlode.


  • Posts: 5,326 ✭✭✭ [Deleted User]


    Sir Liam, Still waiting on your build thread. :pac: :pac: :pac: :pac:


    Hahaha...that costs money! I'm only breaking atm and seeing what delights the predecessors left me to contend with.


    idzFmh1.jpg


    I'll give yee the abridged version when I start doing anything serious.
    I've a list of mechanical jobs as long as my arm to tackle first and a T1 to finish the rear suspension on whenever the weather's not too shyte for that to be inviting.
    And a battery-inverter genset to rebuild having recently found out it's entire BMS is based on inverter killing switchgear that's competely inappropriate for my application having discovered the issues they built into the hardware and decided to not tell anyone about.


    I hope yee all appreciate that most of the time I offer advise to save yee a coupla hundred quid down the road that's a lesson I spent maybe a thousand learning the hard way...just sayin'...


  • Registered Users, Registered Users 2 Posts: 73,298 ✭✭✭✭colm_mcm


    Mad how fast he is without some sparky throwing him curveballs all day innit?! :p

    I'm putting posh switches in mine.

    1119H_P?$autoprodblock$

    Screwfix do a selection (Varilight). www.switchtowood.co.uk have the motherlode.

    They look like they came off the Titanic :D

    I like em!


  • Posts: 5,326 ✭✭✭ [Deleted User]


    They're right fancy. They look way better in real life too. The Nickel toggle looks best I think.
    Very spendy though but vans are small.
    I swapped all the ones in the house by throwing one in the basket every time I have to put in an order for lecky goods. Screwfix are pretty unbeatable for 13A tough plugs and metalclad mains sockets, switches, m20 grommets....allsorts.


  • Registered Users, Registered Users 2 Posts: 6,268 ✭✭✭Buford T Justice


    colm_mcm wrote: »
    Very nice! What are you doing for light switches?

    Your cavity walls are ideal for them by the looks of it.

    Funnily enough i hadn't given them much thought.
    This week just I picked up a caddy for getting about in. I added some small 12v lights to the back of it that I had for the conversion which I'm not using now. I used these rockers for the on off, and I was thinking about using them as light switches. They're discreet and simple and will do the job.

    I don't want to use domestic switches in the van. It's not a house, it's a campervan and should feel like one.

    ......


    That is of course, until SirLiam came along with his suggestions again..... :D

    I'm putting posh switches in mine.

    1119H_P?$autoprodblock$

    Screwfix do a selection (Varilight). www.switchtowood.co.uk have the motherlode.
    They're right fancy. They look way better in real life too. The Nickel toggle looks best I think.
    Very spendy though but vans are small.
    I swapped all the ones in the house by throwing one in the basket every time I have to put in an order for lecky goods. Screwfix are pretty unbeatable for 13A tough plugs and metalclad mains sockets, switches, m20 grommets....allsorts.

    I like the look of the black nickel toggle. Something retro-cool about the toggle switches. I think it'll be nice over the grey liner. Might order a few of them, plus a twin gang socket. Dry lining boxes would do the job here. The fridge can be plugged into any old socket, it won't be seen.

    Plenty of them with USB sockets for twice the price - no thanks
    Mad how fast he is without some sparky throwing him curveballs all day innit?! :p

    True, but none the less I"m grateful for the advice so I know it's a safe install.

    30839_P&$prodImageMedium$

    860KJ_P&$prodImageMedium$


  • Registered Users, Registered Users 2 Posts: 73,298 ✭✭✭✭colm_mcm


    Those flush fitting ones would look neat.


  • Posts: 5,326 ✭✭✭ [Deleted User]


    Dry_Lining_Back_Box_Flush_Wall_Pattress_Double_2_Gang_Electrical_Socket_Switch_1024x1024.jpg?v=1543837010

    Dry lining back boxes are the job and an oscillating multitool makes fast work of chopping out the aperature.

    Much as you gents like yer "camper" switches. I like being able to get standard sized, suitable supporting hardware anywhere in the country that just fits together with no duferin'.
    colm_mcm wrote: »
    Dunno if the dry lining boxes would go well with the likes of the light switch in the post above.

    You can get single gang. They mount from behind and hold on with the tabs. The box shouldn't be visible, they're for flush mounting.
    maybe you'll see 1.5mm of flange border if yer fussy about that and the switchplate is flat.


  • Registered Users, Registered Users 2 Posts: 73,298 ✭✭✭✭colm_mcm


    Dunno if the dry lining boxes would go well with the likes of the light switch in the post above.


  • Posts: 5,326 ✭✭✭ [Deleted User]


    Oh PS those 13A sockets with USBs are usually a lot more genuine than the Chinese 12V ones.
    So if you want to fast charge or have igh powered USB dofers its handy to have some.

    I haven't tested the new breed Chinese USB QC 3.0 to see if they're any better than the old fake 2.1A
    ...I will do in the next few days, I have some knocking around.


  • Posts: 5,326 ✭✭✭ [Deleted User]


    wh521Aq.jpg

    Flush fitting stud partition backbox.

    Not my work. I don't use artic cable indoors.


  • Advertisement
  • Registered Users, Registered Users 2 Posts: 6,268 ✭✭✭Buford T Justice


    Built another overhead cabinet. The idea is that this one will be at the end of the bed, hence why I made this one deeper than the first one.

    IMG-20210327-175155.jpg

    I also routed out for a light strip to be fitted. I can use the wall cavity to run cables down to the bottom of the cabinet for the lights. I wonder are these led's suitable for dimmers, and would standard dimmers work?

    IMG-20210327-175145.jpg


  • Registered Users, Registered Users 2 Posts: 6,268 ✭✭✭Buford T Justice


    I added an extension to the kitchen unit, and fixed it in place. I want somewhere to put the gas cylinder & fuel tank for the night heater, but the jury's out at the moment if they'll end up in here.

    IMG-20210328-171930.jpg

    IMG-20210328-155903.jpg

    IMG-20210327-175205.jpg

    Despite my faffing about earlier, I've done this without leaving access to the door lock at the back of the sliding door - for now. I secured it in place and added a strut for the wall at the rear of the kitchen.

    IMG-20210328-171908.jpg

    IMG-20210328-171915.jpg

    It's starting to take shape now and come together.


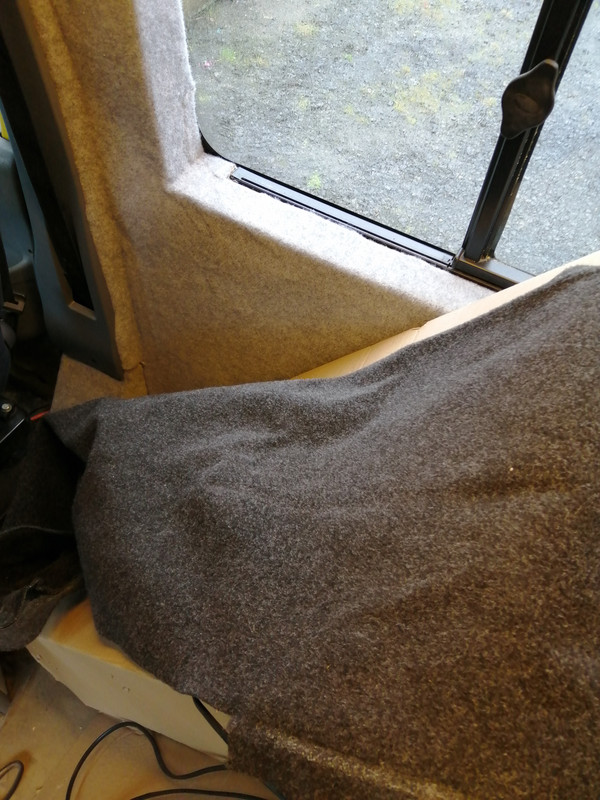
    Side note, I can easily take the lining carpet from the old van. It's anthracite and I'm thinking of using it to line inside of the cabinets and such. I'm not convinced that I have enough of the silver carpet to complete everything I want, and none of the drop shippers are operating virtual addresses now so I won't be able to get any more of it from the UK.

    Sure, An Post do it, but they'll rob me for the pleasure of carrying it over.

    These colours work no?

    IMG-20210328-172652.jpg

    IMG-20210328-172714.jpg


  • Posts: 5,326 ✭✭✭ [Deleted User]


    I wonder are these led's suitable for dimmers, and would standard dimmers work?


    That depends on your deifintion of standard.

    12V voltage or PWM dimmers work. Nothing from an electrical wholesalers.


    UdlQ6zpf2VBoOmKPzhpLyUjxQ6IycotEZVv6rgtUVVdOWjOdMWalyUBSSOAQ3GBvaIdRnN3yAN7bE6Kv5CPgUmJFDocA82xhTYGfEpYPngrWQUdmba4ATemlQ2VgOMShIcXy

    Those are grand. Pretty low noise as cheap dimmers go. Very easy to hack them (disassemble and put in a fancier faceplate). Fairly robust actually, they survive overload pretty well a lottov the time.


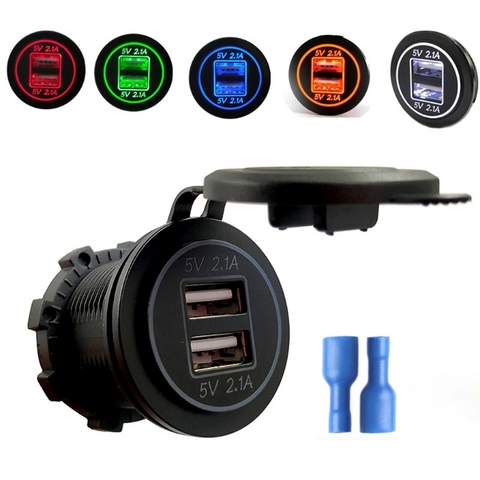
    I had a look at USBs


    these


    71Wo5tYxwkL._AC_SX679_.jpg


    seem to perform as well as the mains sockets with USB outs.
    Much better than these;


    image?url=https%3A%2F%2Fae01.alicdn.com%2Fkf%2FHTB1TPd0cjfguuRjy1zeq6z0KFXaN%2F12V-24V-Dual-USB-2-1A-Car-Charger-Power-Adapter-For-iPhone-iPad-Mobile-Phone-GPS.jpg_480x480.jpg


  • Posts: 5,326 ✭✭✭ [Deleted User]


    I found these yesterday. I'm getting a geansai load.

    s-l1600.jpg

    528 LEDs per Meter. :cool:


  • Registered Users, Registered Users 2 Posts: 6,268 ✭✭✭Buford T Justice


    IMG-20210329-214916.jpg

    IMG-20210329-214906.jpg

    I learned after I had done this that the lining carpet will stretch enough to do the void without cutting it and re-gluing. It's turned out a little less tidy that I wanted.

    As ever, the other side will be a better job I'd imagine. In an attempt to be frugal and in the knowledge that I've a limited supply of the lining carpet remaining I've used two pieces to do the back side of the bathroom wall. It'll not likely be seen that much and I'm hoping it won't peel with use.


  • Registered Users, Registered Users 2 Posts: 6,268 ✭✭✭Buford T Justice


    Am at the stage where I want to clad the walls of the bathroom. Any suggestions on what to use? I seem to be having difficulty finding anywhere that does beauty board or similar in pvc that isn't an astronomical price.


  • Registered Users, Registered Users 2 Posts: 73,298 ✭✭✭✭colm_mcm


    Look for hygiene board.


  • Registered Users, Registered Users 2 Posts: 6,268 ✭✭✭Buford T Justice


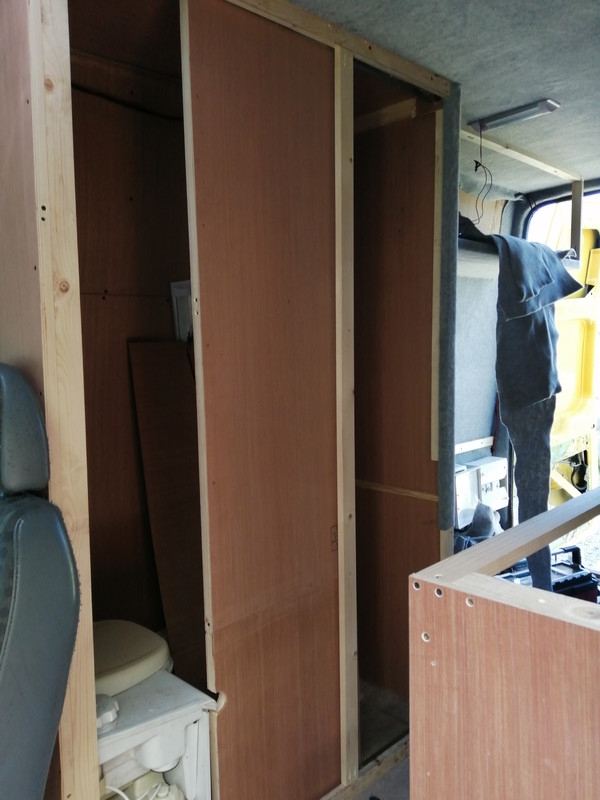
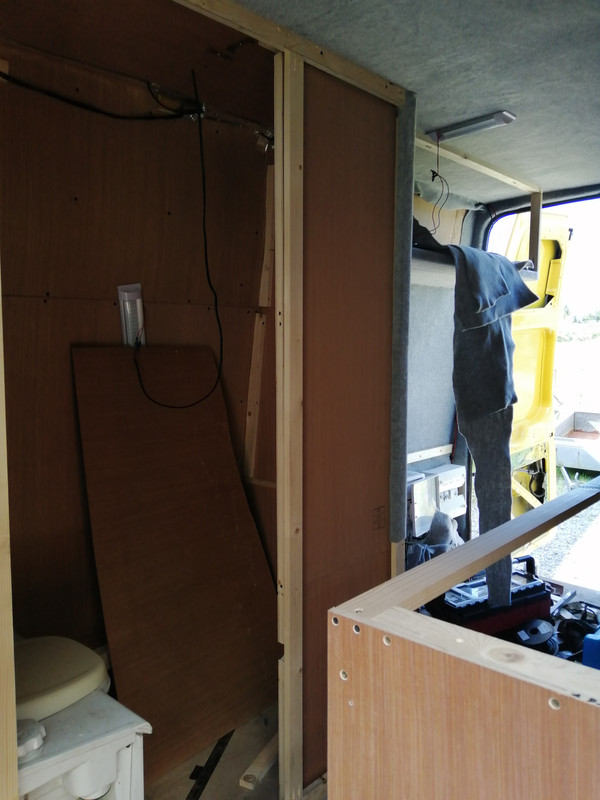
    Built a sliding door for the bathroom.

    IMG-20210403-125656.jpg

    IMG-20210403-125710.jpg

    Also transpires that the front part of the kitchen isn't suitable. If the gas and diesel tanks are in there, it covers the door at the back of the door and the locks are a bit squiffy at the moment. Back to the drawing board on this one - I'll have to fit them in the back of the van.


  • Registered Users, Registered Users 2 Posts: 6,268 ✭✭✭Buford T Justice


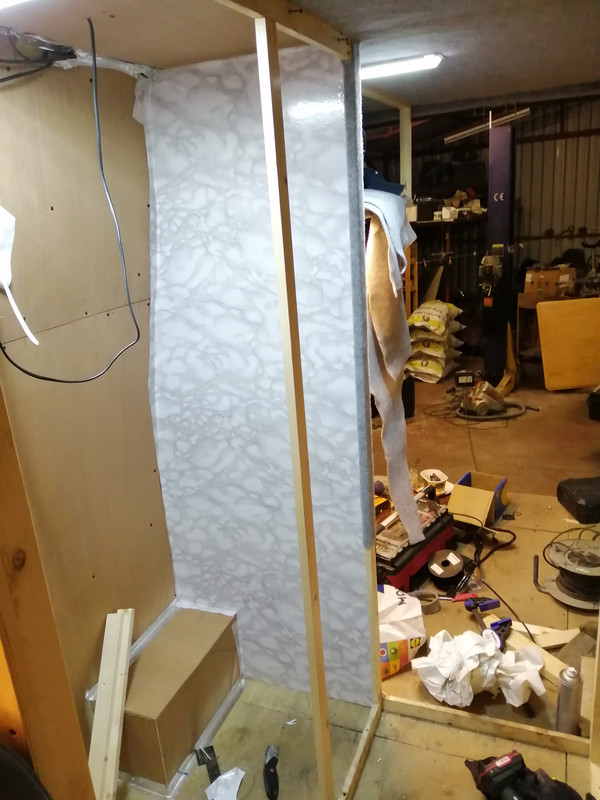
    Picked up some self adhesive vinyl in homebase for a tenner and I said I'd give it a shot. Doesn't look too bad truth be told. Just got the one to see how it'd behave. Will pick up some more and do a tidy job of it

    IMG-20210408-204324.jpg


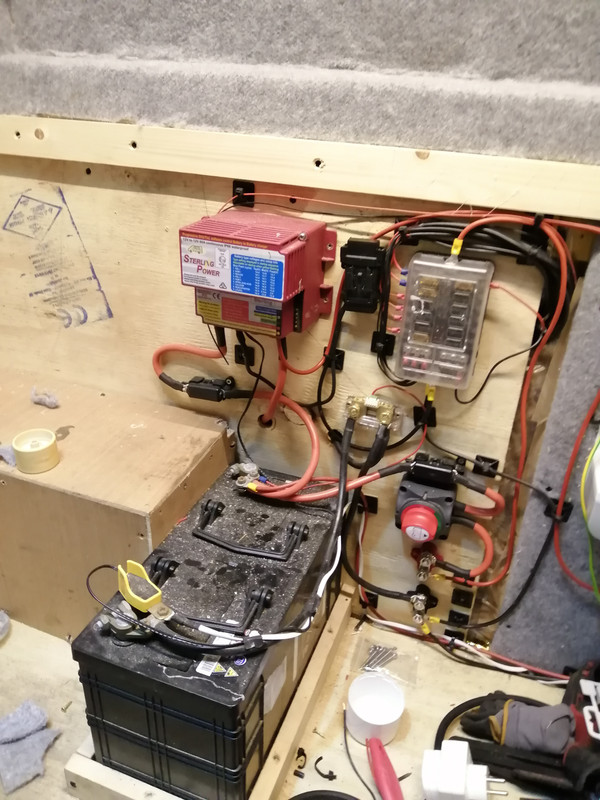
    Also, for those that'll notice :pac::pac::pac:

    IMG-20210408-215251.jpg


  • Advertisement
  • Posts: 5,326 ✭✭✭ [Deleted User]


    Also, for those that'll notice :pac::pac::pac:


    Bus Bars? {like playing spot the ball}


    I've figured out my lighting system.


    32 proportionally controlled channels.
    7 Scenes with master intensity control.

    3 way switched.
    12V & 24V Dimmable.


Advertisement