Advertisement
If you have a new account but are having problems posting or verifying your account, please email us on hello@boards.ie for help. Thanks :)
Hello all! Please ensure that you are posting a new thread or question in the appropriate forum. The Feedback forum is overwhelmed with questions that are having to be moved elsewhere. If you need help to verify your account contact hello@boards.ie
Hi there,
There is an issue with role permissions that is being worked on at the moment.
If you are having trouble with access or permissions on regional forums please post here to get access: https://www.boards.ie/discussion/2058365403/you-do-not-have-permission-for-that#latest

Scrappage Scheme Survivor: My Cavalier SRi

  • 10-04-2016 6:02pm
    #1
    Registered Users, Registered Users 2 Posts: 94 ✭✭


    Having been an owner of Opels/Vauxhalls for years, I was on the hunt for a project.

    All my previous Opels were daily drivers, so modifying and tinkering with them was a weekend sort of thing with the pressure of them having to be drivable for monday morning. I found myself wanting a project I could tip away at and put the time and work (not to mention MONEY!) into at a more relaxed rate, and do it right.

    So initially I was looking for something mid 70's to mid 80's, preferably a Kadett C. However, while on my hunt, I saw the Cavalier SRi pop up in a donedeal search, based not too far from me. So I got on the phone, viewed the car up in the air etc. and made the deal. Have always loved them but rare as hens teeth, especially south of the border here in Ireland.

    The car had to be transported back to the garage via a flatbed, then it was home.

    Bit of background I know about the car: It was originally a UK car (K146 ANF) but arrived in Ireland in 1994 when it was a year old. It stayed on the road until around 2005 and was stashed in a shed until I got my hands on it.

    As it spent most of its life in Ireland, it is rot free, however there is some surface rust around the underside and in the arches but it isn't so far gone that it isn't treatable. It was never undersealed bar the factory layer which should make the job under it a bit easier but its one that I'm not particularly looking forward to :P

    Anyway, enough waffle, I'll write about it as I work on it.

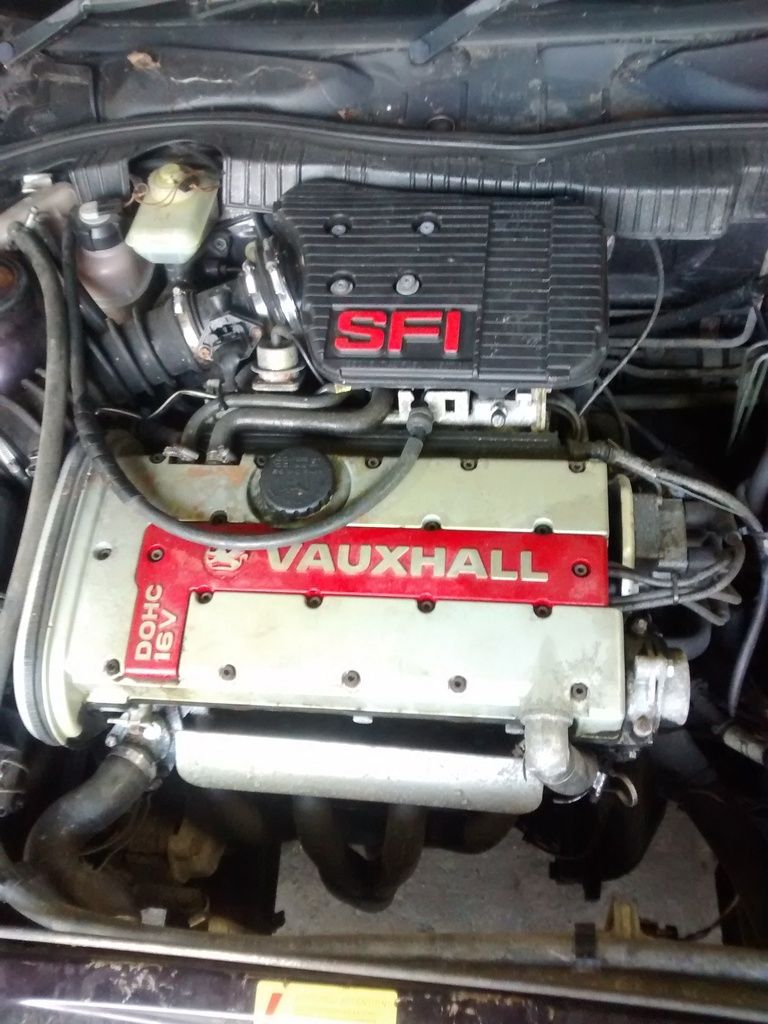
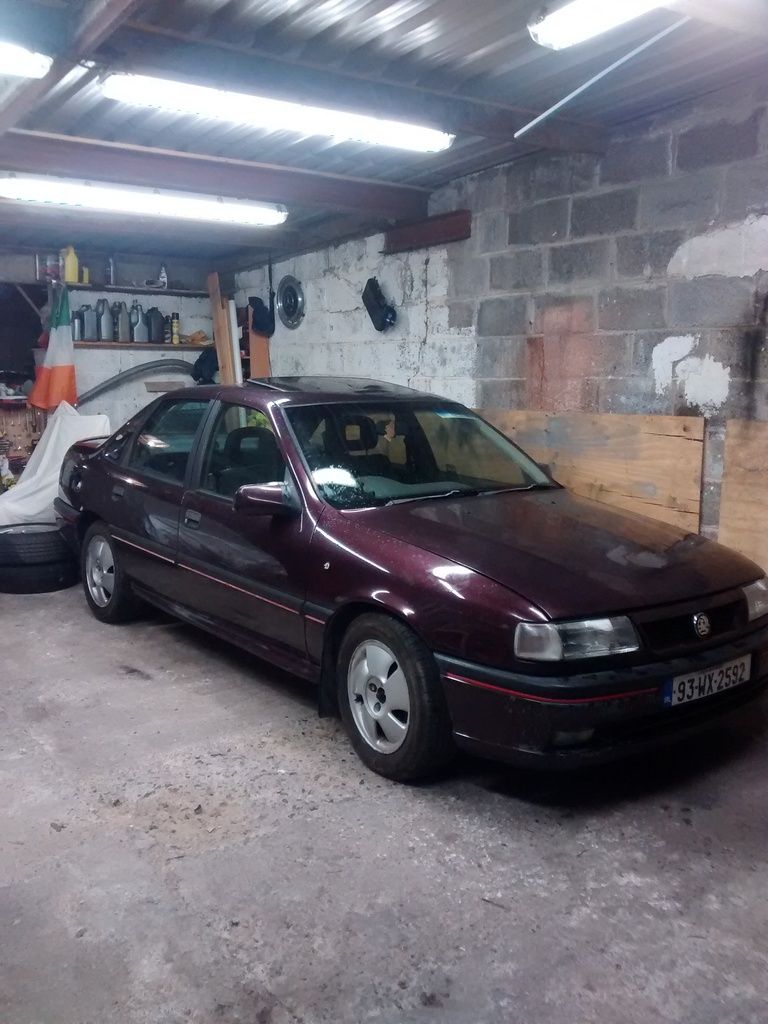
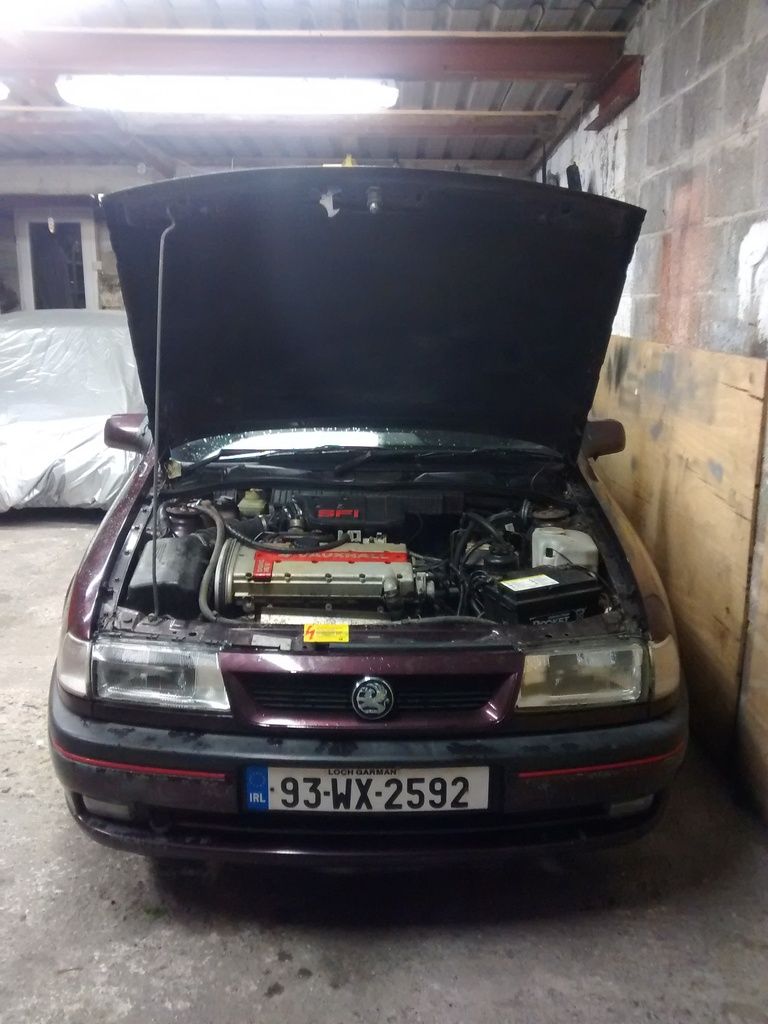
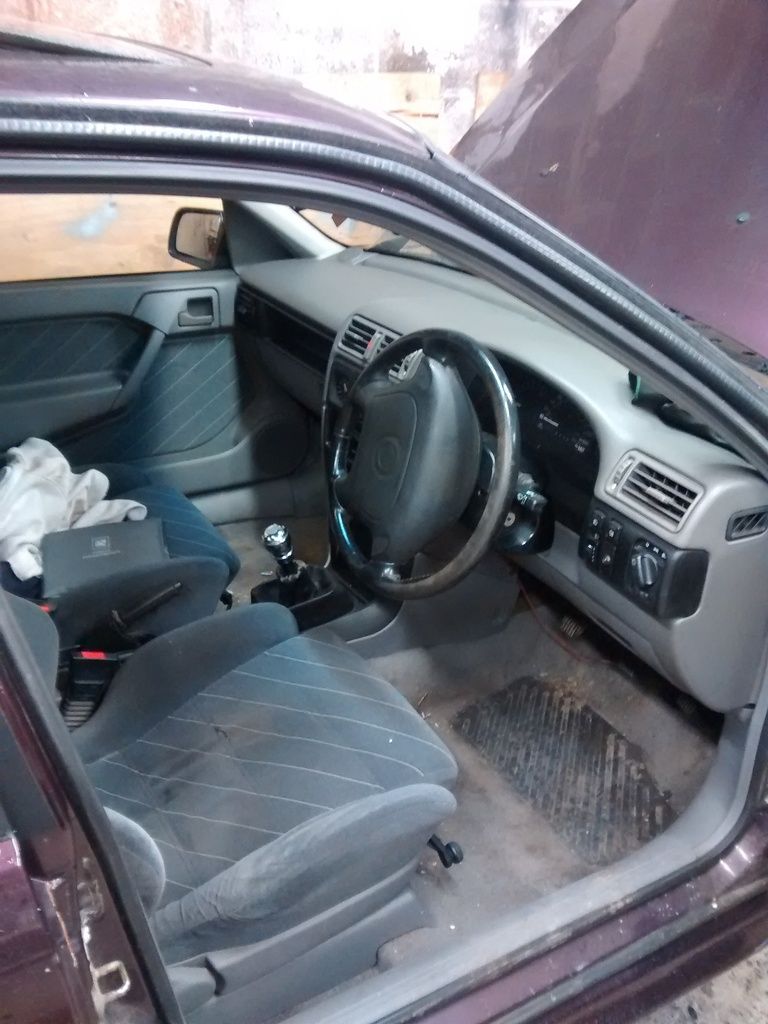
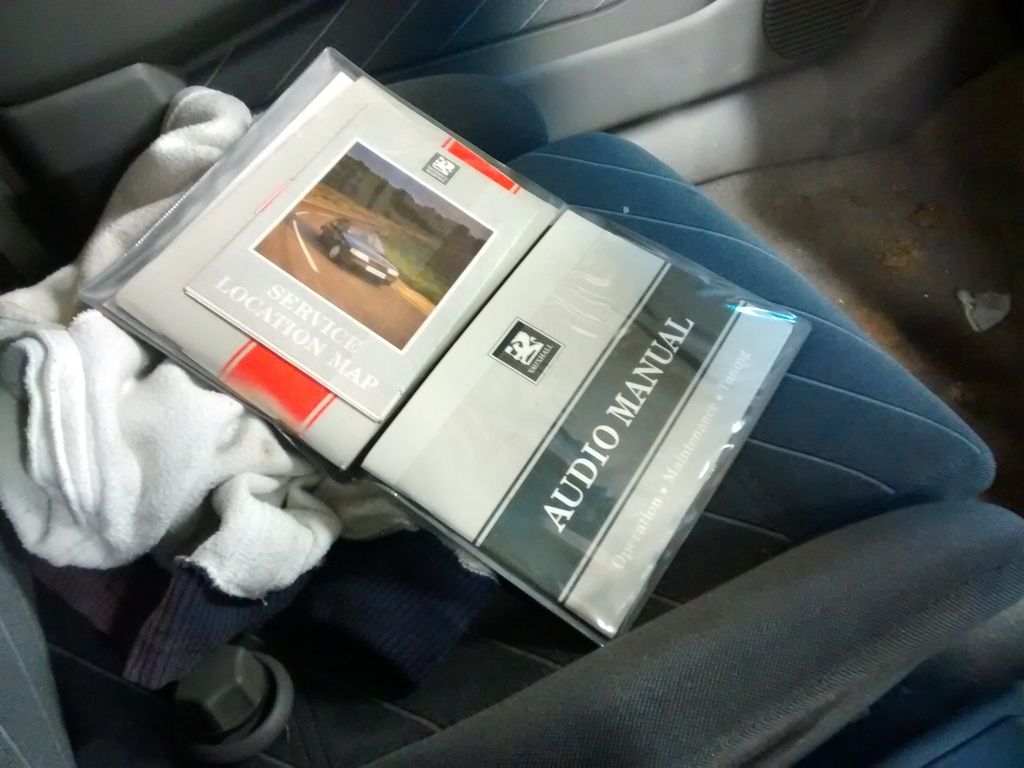
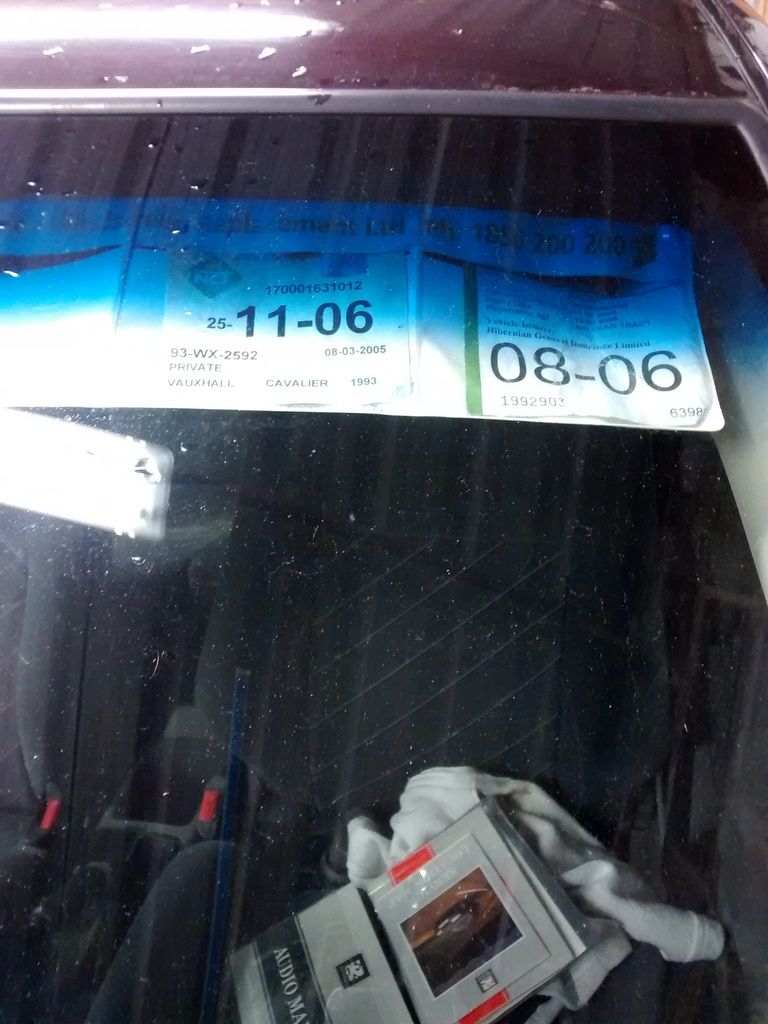
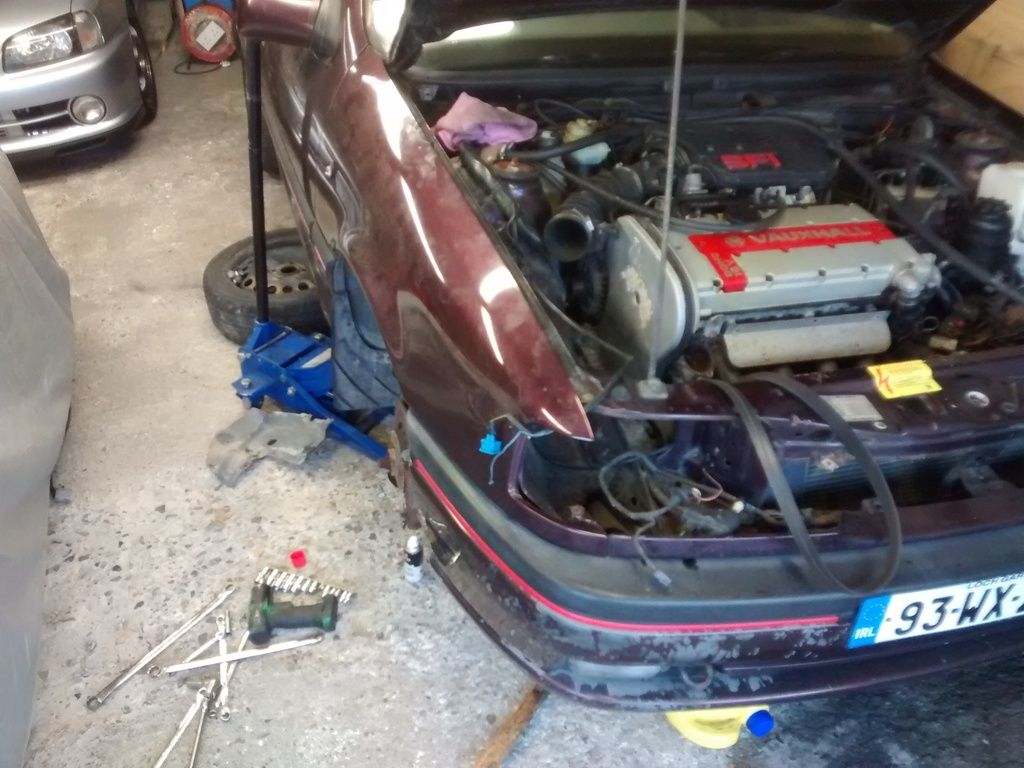
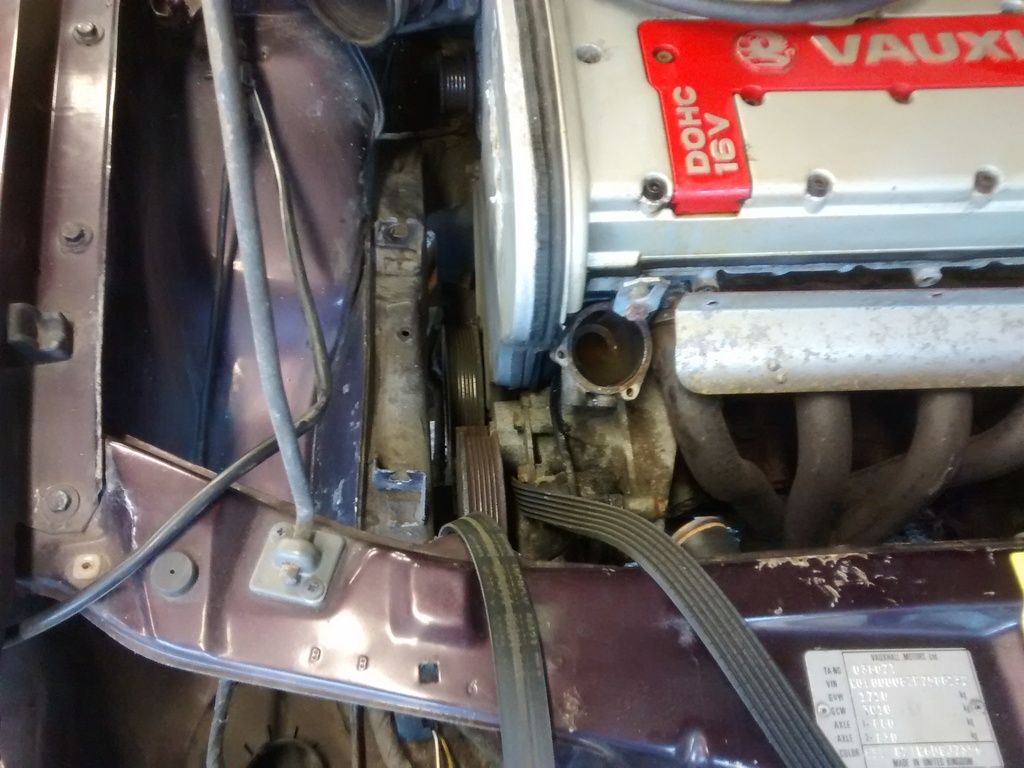
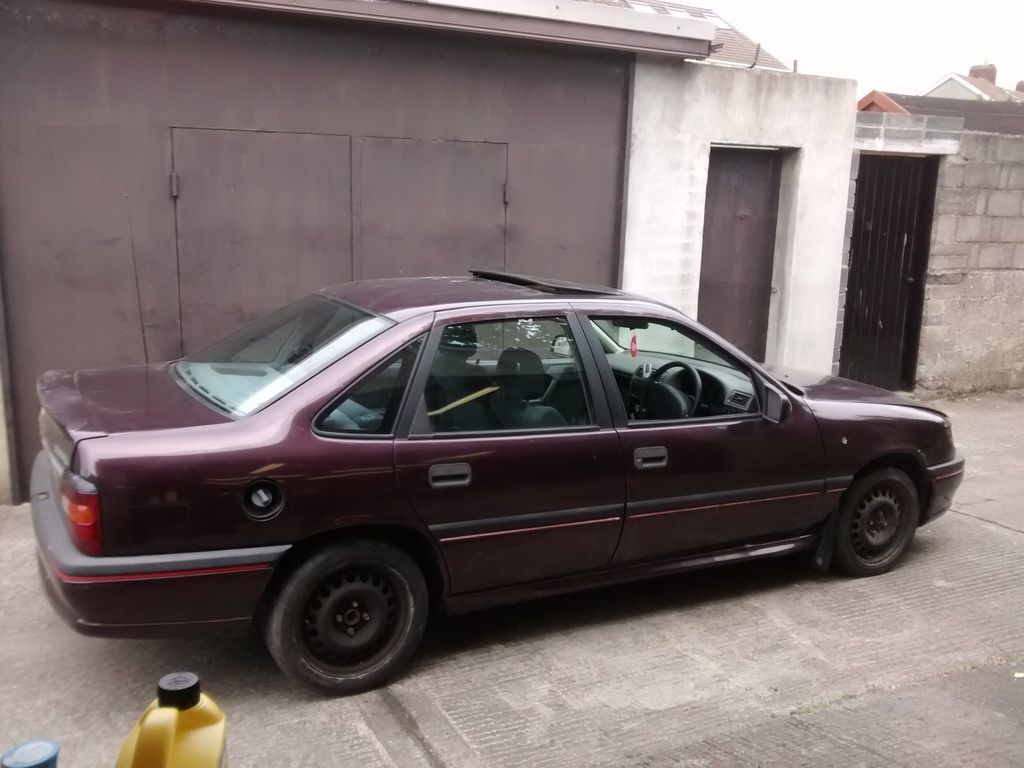
    So, a few of the first pictures I took of it:

    IMG_20150426_192600_zpsmz3vlbql.jpg
    IMG_20150427_220317_zpsh6rr18el.jpg
    IMG_20150427_220409_zpsf4mcom0o.jpg
    IMG_20150427_220428_zpstqtglwwm.jpg
    IMG_20150427_220618_zpsu9pyfdrj.jpg
    IMG_20150427_220737_zpsempjknmf.jpg

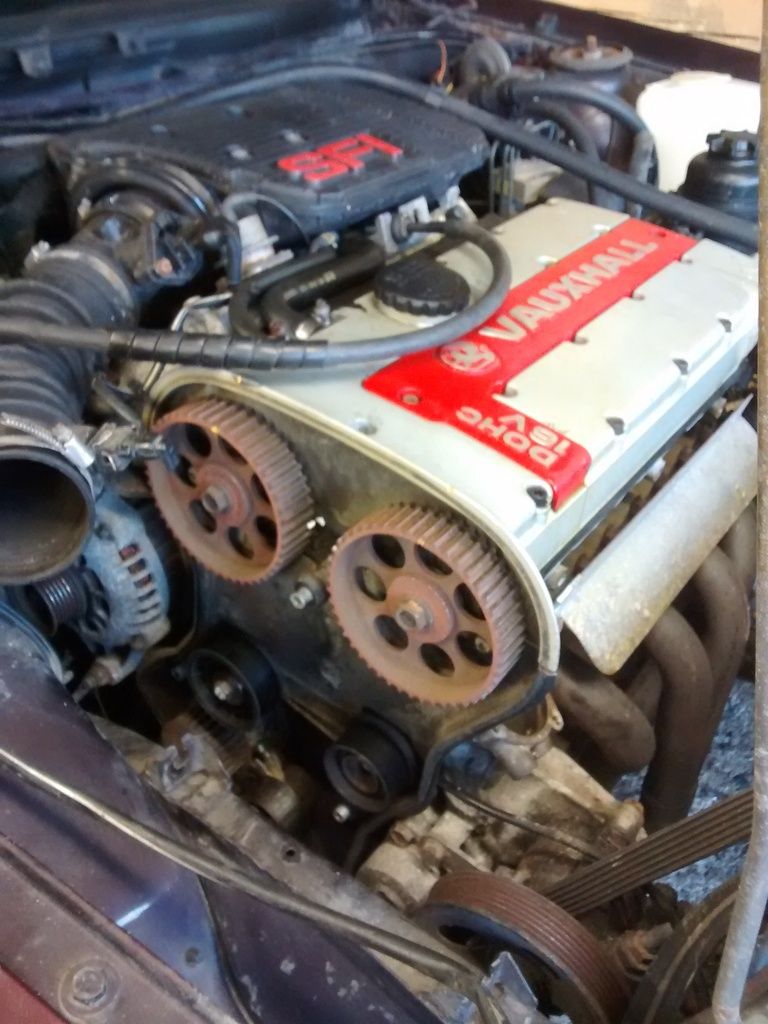
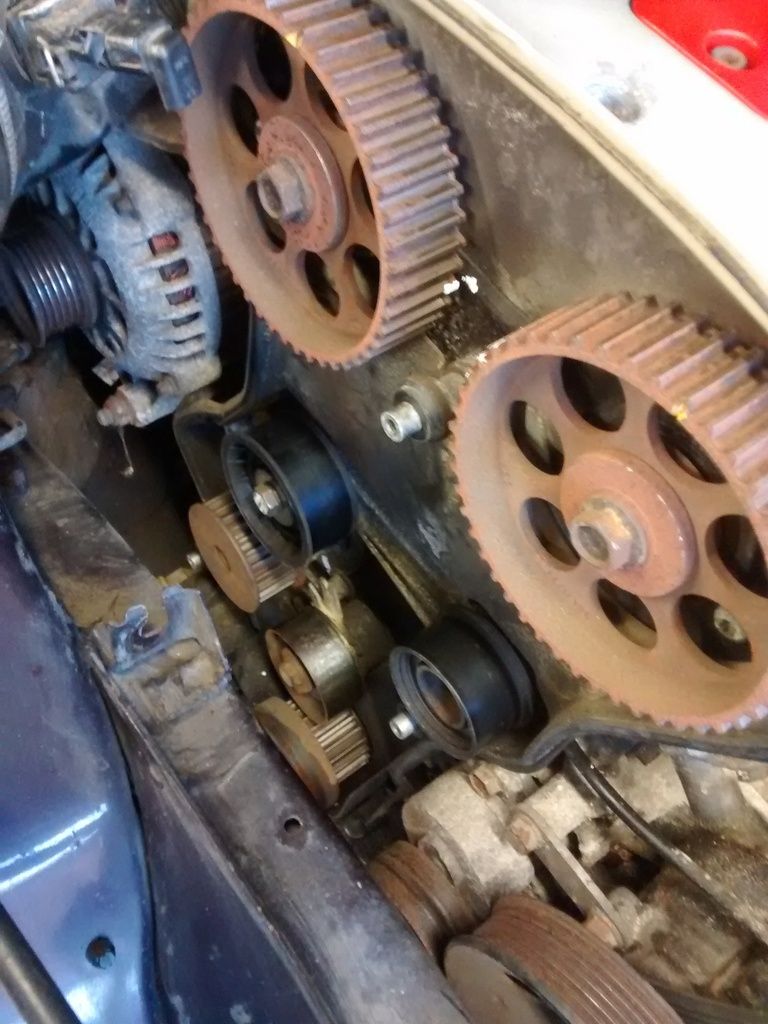
    I had it transported to the garage as the timing belt was 10+ years old and I wasn't taking a chance. Plus the fact that the brakes are knackered in it and the disks in the windows were 10 years old.

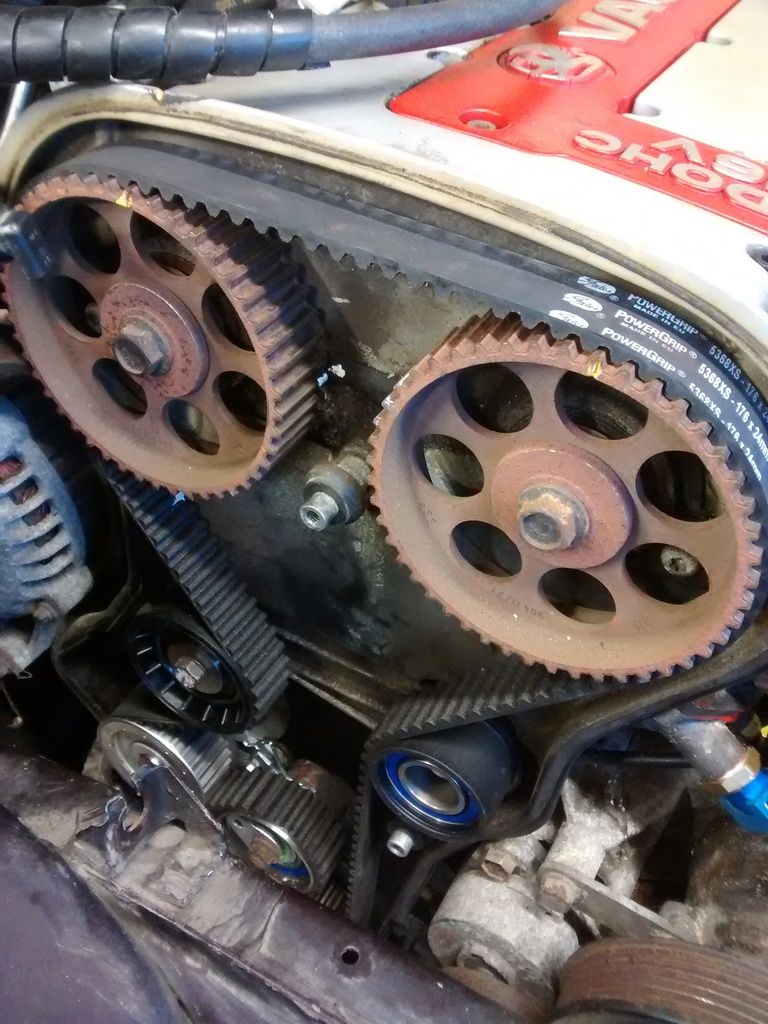
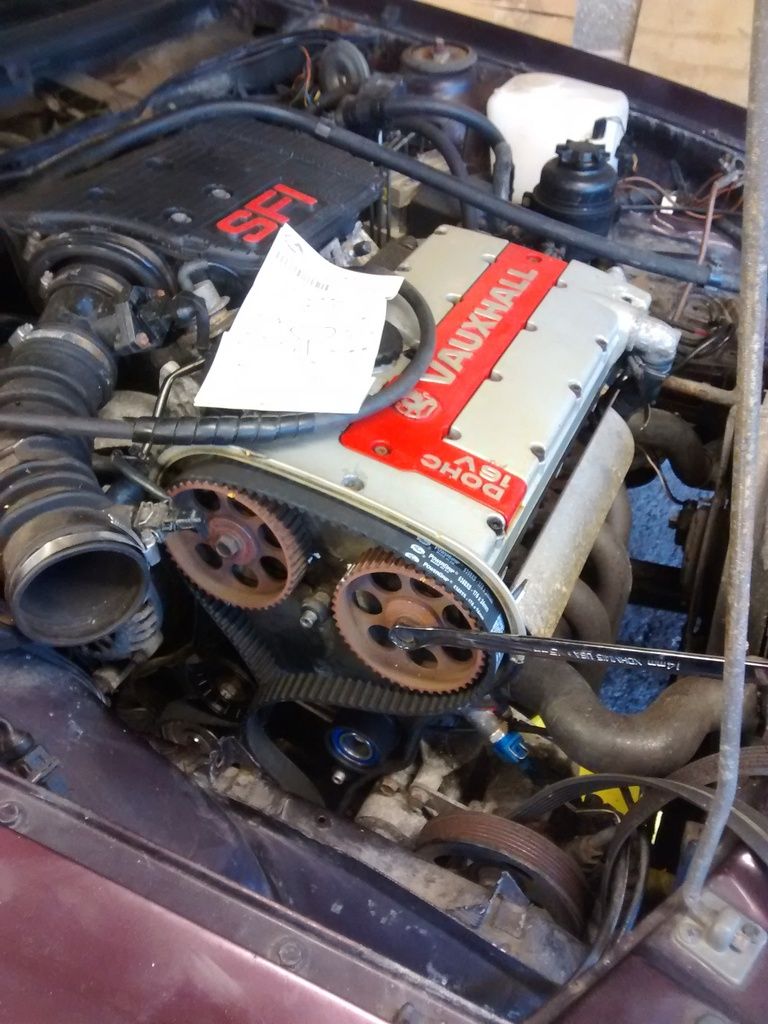
    The first job was to get a timing belt into it so I could fire it up without bricking it! With the help of a next door neighbour, we decided to tackle it. So I got my hands on a Gates timing belt kit with new rollers and tensioner, a new waterpump etc.

    A few pics:

    IMG_20150708_201549_zpsdpj31plb.jpg
    IMG_20150708_201554_zpsbjwd4k1r.jpg
    IMG_20150708_202446_zpsm61aggoj.jpg
    IMG_20150708_202451_zpsq5unfw9m.jpg
    IMG_20150708_212103_zps4i6fnocr.jpg
    IMG_20150708_210644_zpsinokrgym.jpg

    So with the new belt in, the coolant system was empty (the coolant that came out of it was surprisingly clean, reassuring!). A new thermostat, coolant temp sensor and fan switch sensor went in before 7 litres of fresh coolant. The oil and filter was also changed.

    So, the bare essentials were covered, fresh oil and a fresh belt.

    Last but not least, 5 litres of Topaz's finest petrol dumped in and a fresh battery hooked up.


    *drum roll*

    And it started, no hesitation, no rattles, no squeaks, no clouds of smoke....quite anticlimatic. The exhaust blows a bit but that'll be lopped off and replaced with a nice stainless system at some stage.


Comments

  • Registered Users, Registered Users 2 Posts: 94 ✭✭Baraics Pollox


    So for the first time in my ownership it rolled (on odd tyres) out of the garage into a laneway. Temperatures are perfect, fan kicks in and it runs very well.

    IMG_20150718_143128_zpseouvh2ae.jpg

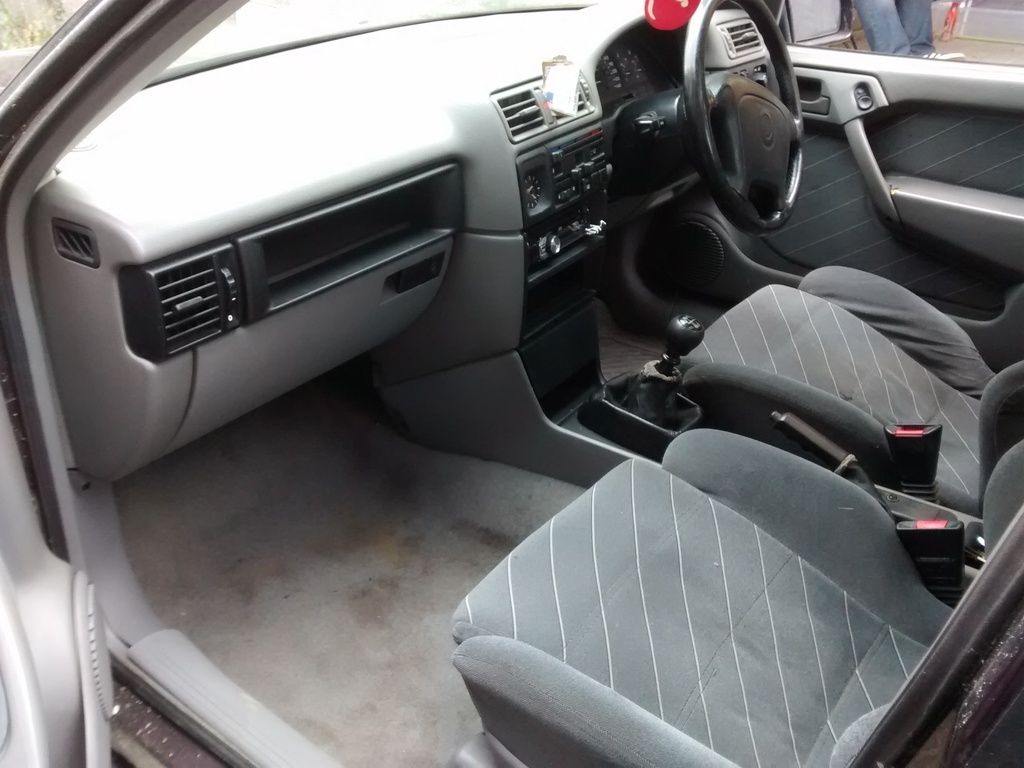
    Interior is fairly clean too:

    IMG_20150718_143149_zpsd95hyzca.jpg


    So that's it for the moment, a rolling project. It needs a new clutch badly so that may be next and then it's onto the underside before overhauling the suspension and braking system. Hopefully as straight forward as it sounds :P

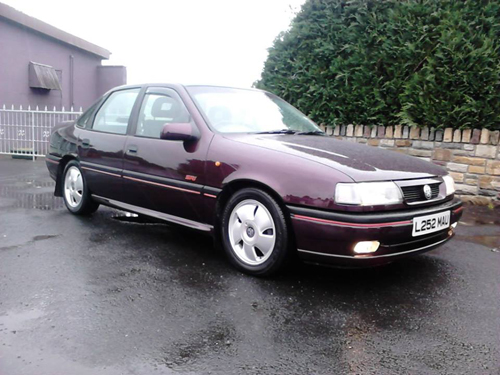
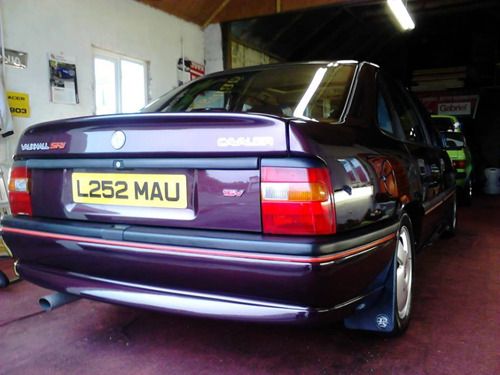
    Here's a couple of pictures that I look at as a goal, same car, same colour, except this one is spotless!

    vauxhall_cavalier_sri_1.jpg
    vauxhall_cavalier_sri_5_zpsi1yiawff.jpg


  • Registered Users, Registered Users 2 Posts: 94 ✭✭Baraics Pollox


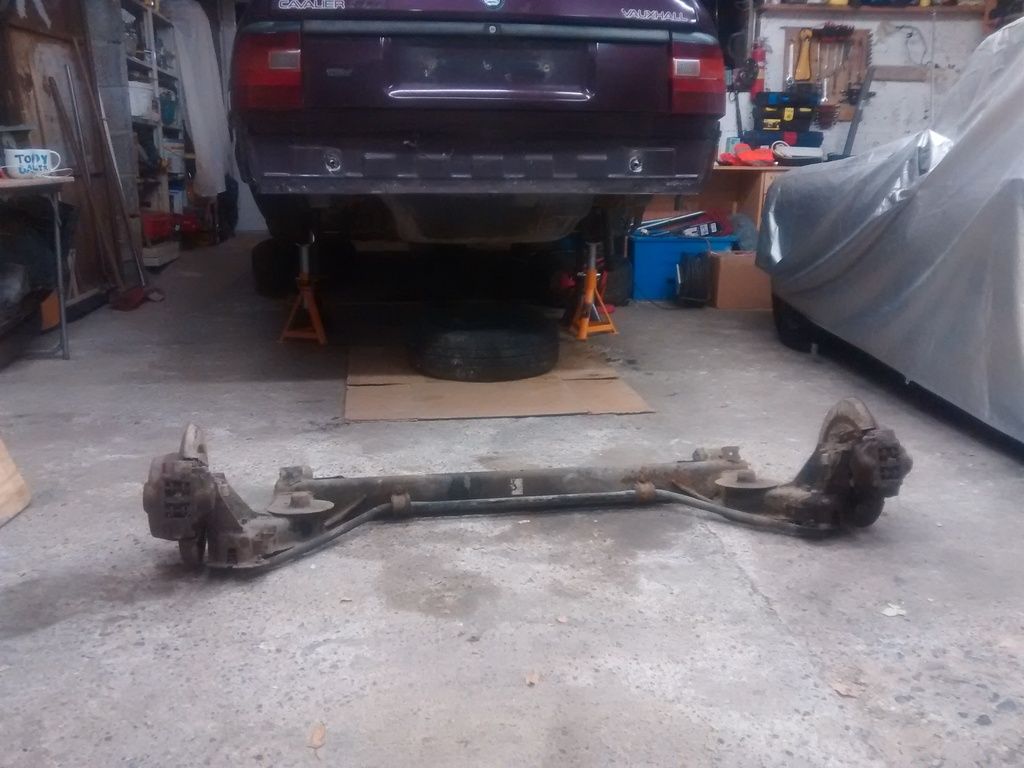
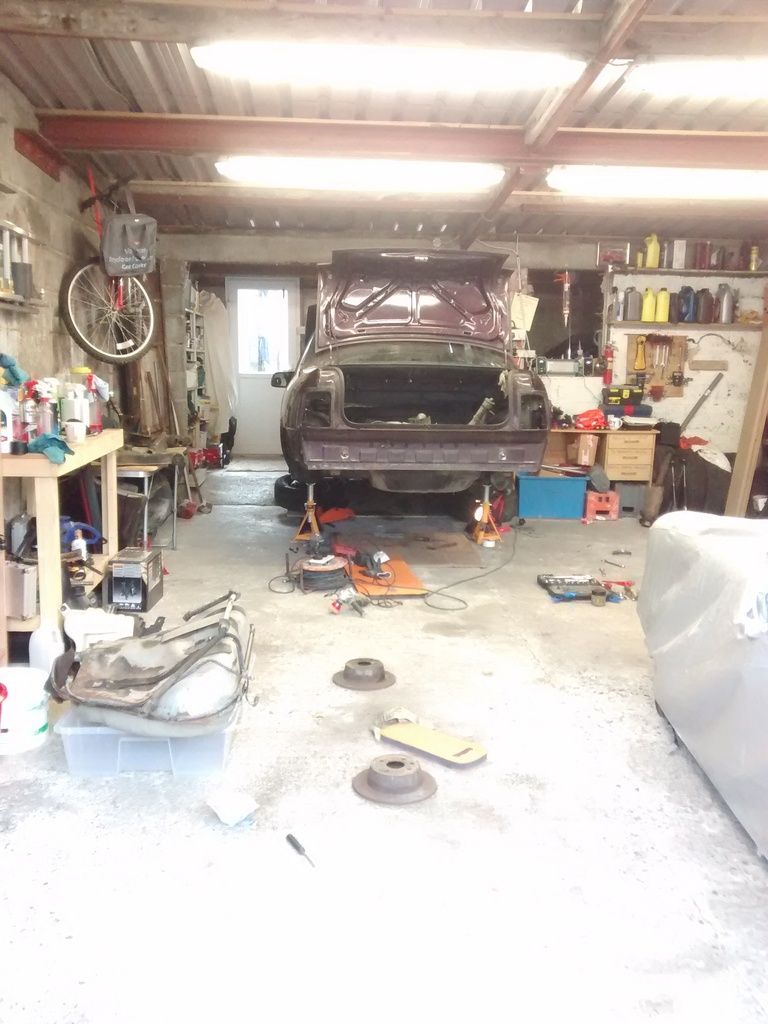
    After my initial post, the car was parked in the garage and onto the next phase: stripping the underside.

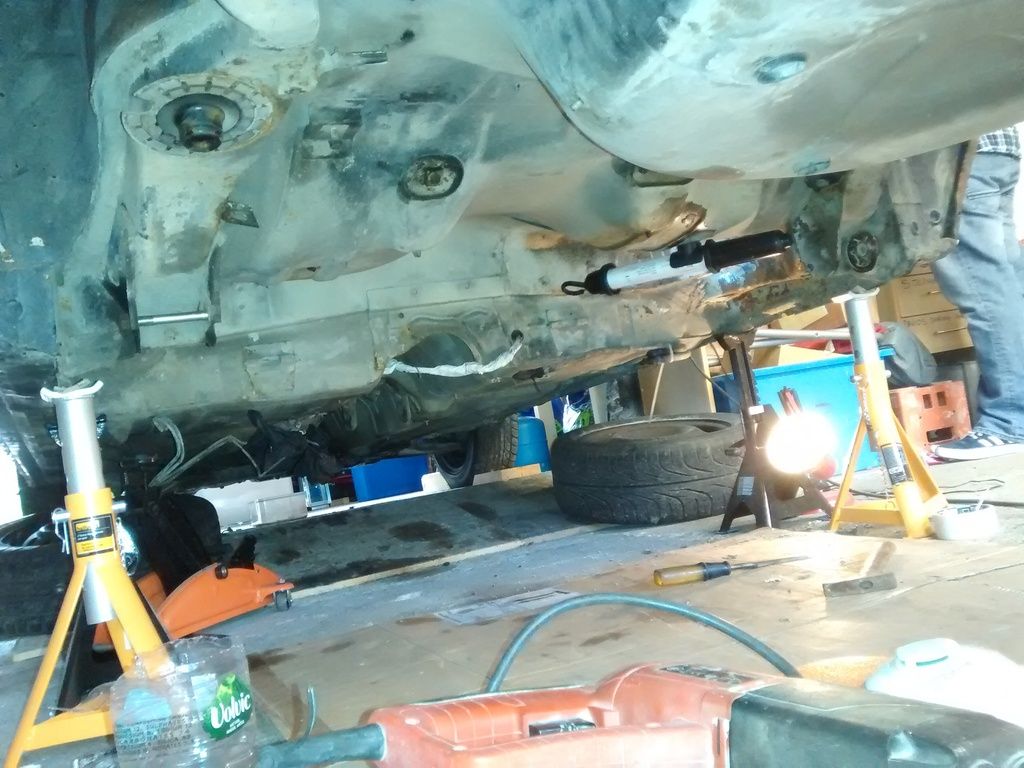
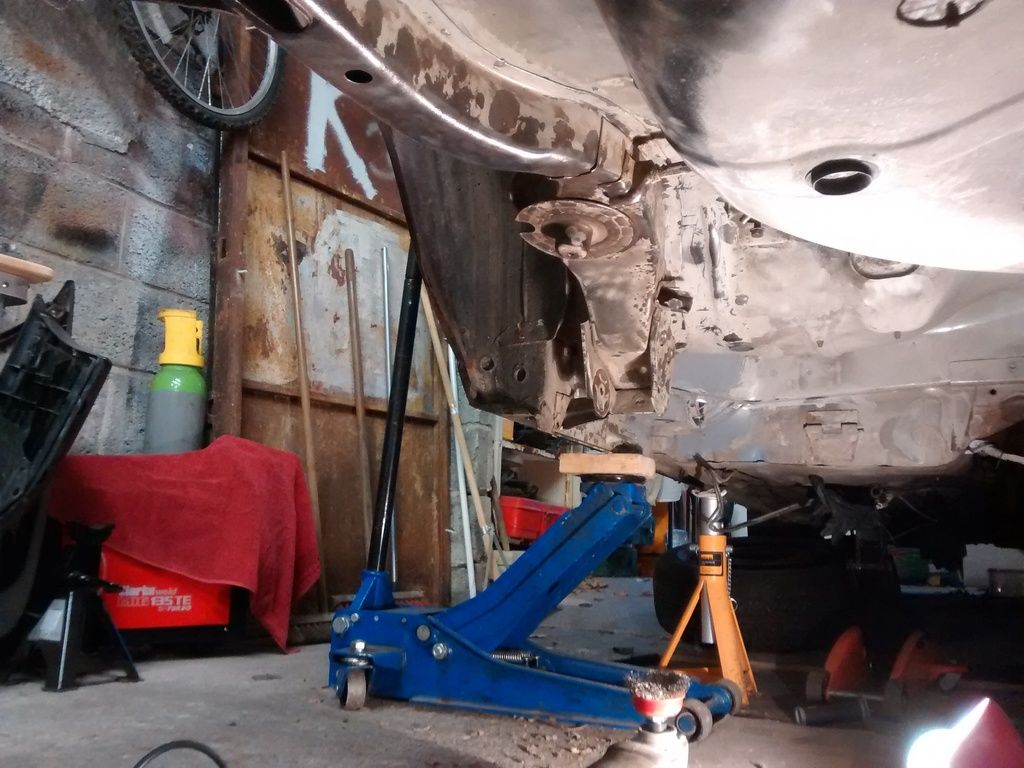
    Once propped up on axle stands and out of other family members way it was a step by step process to remove the axle and fuel tank to see what I was dealing with:

    IMG_20150928_225450_zpskpyptbkq.jpg
    IMG_20151017_160107_zps3kmt6sq7.jpg
    IMG_20151017_160358_zpswret4fra.jpg

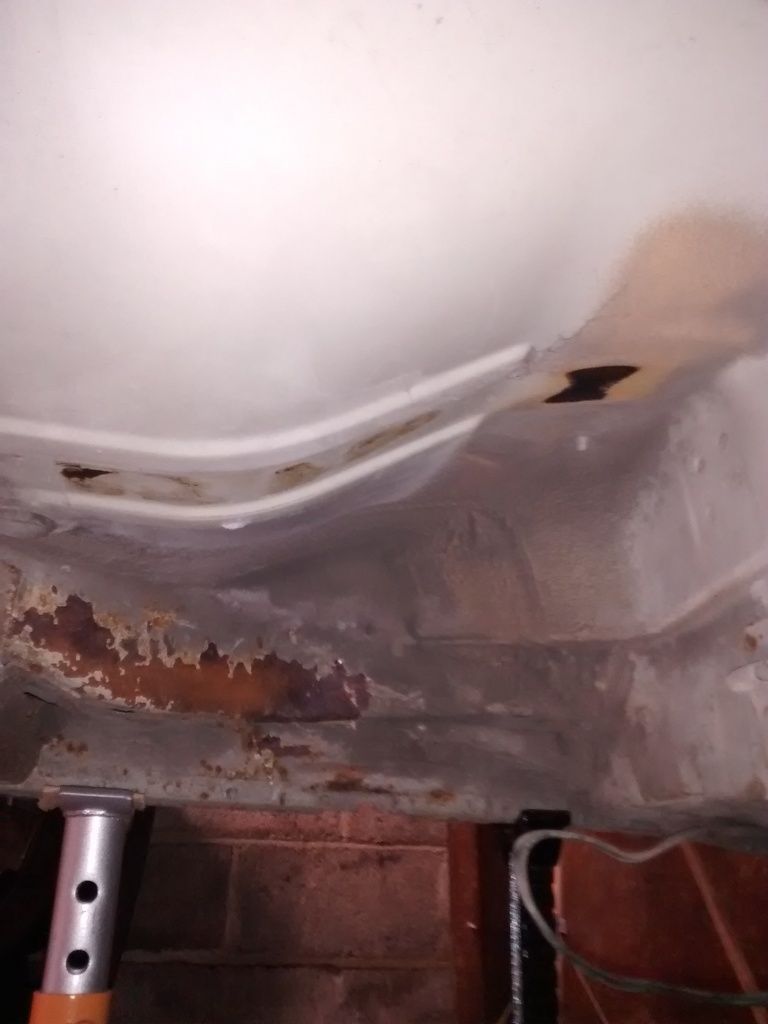
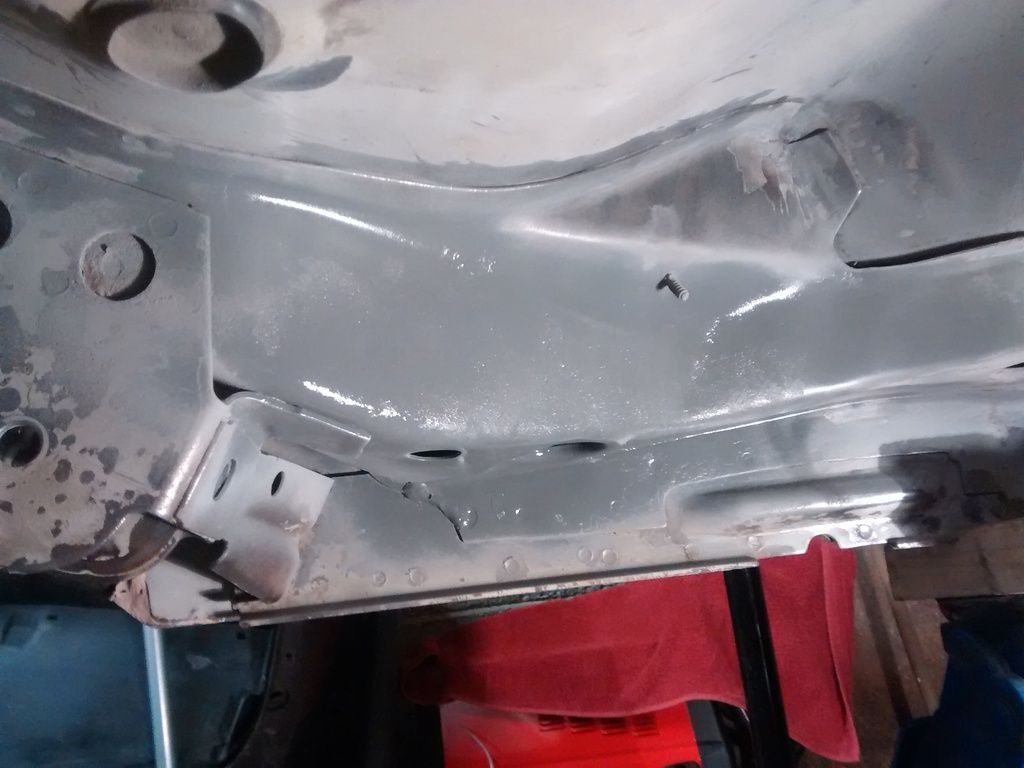
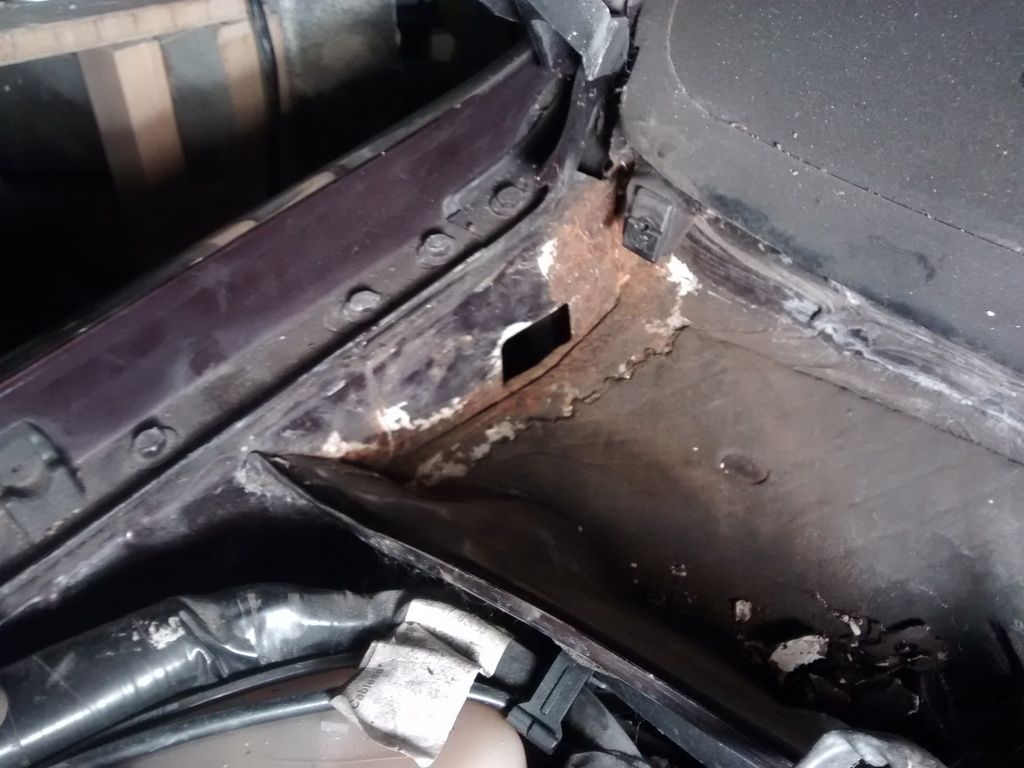
    All in all, there was no major hidden gremlins. The chassis legs had surface rust as expected, the spring seats had a little bit of crustiness and that was pretty much it! The floor area is spotless, the inner arches aren't too bad although the passenger side one will need a patch welded as there was something hidden under the factory underseal.

    So armed with a wire wheel on a grinder, a chisel and little flat head screwdrivers I began the laborious job of carving off a mixture of factory underseal, surface rust and flaking paint. Anyone who has done this knows that it aint a quick job!

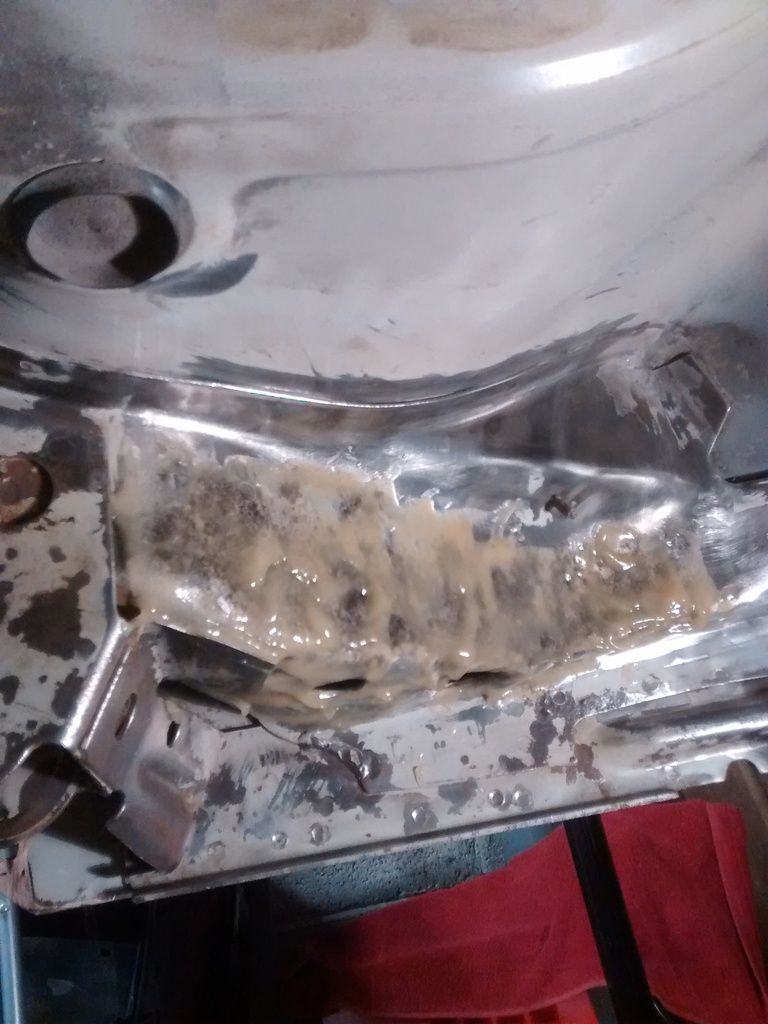
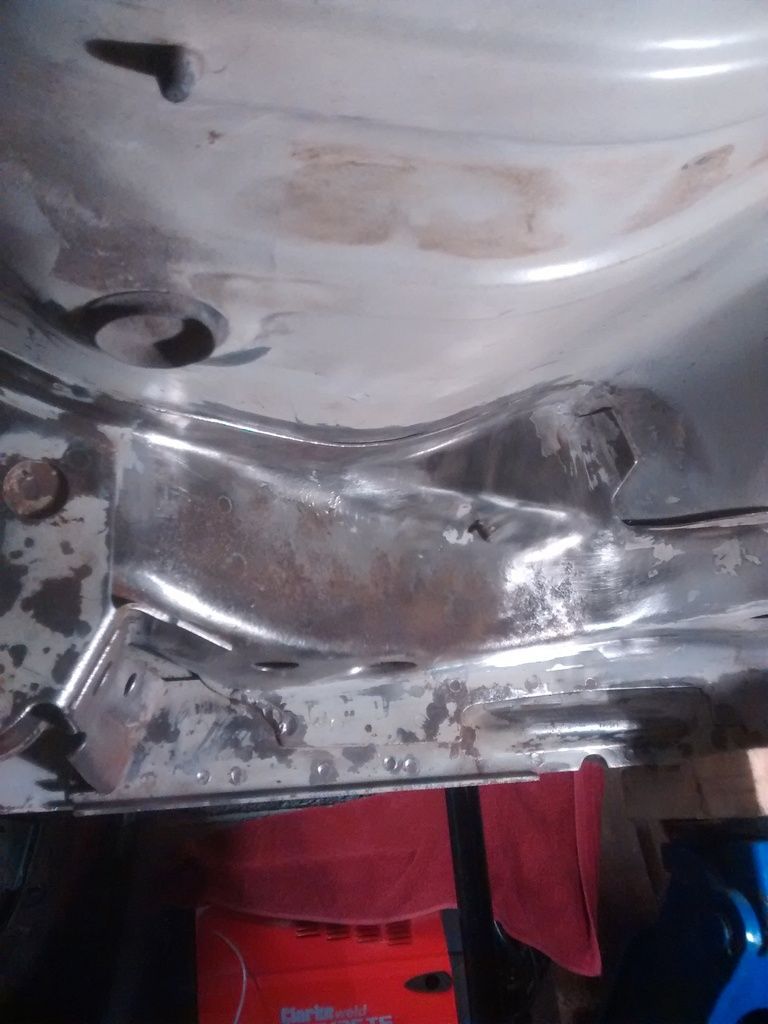
    However, once i had the passenger side chassis leg exposed, it looked a whole lot better than previously thought. The rust was in fact mostly surface and a bit of pitting here and there.

    IMG_20151017_171600_zpssihtepqt.jpg
    IMG_20151025_163000_zpsum60zl2l.jpg

    I was dead sure that the Bilt Hamber treatment would be more than able to tackle the rust, and it did just that.
    The deox gel goes on a bit like snot :pac: and once left for a couple of days it goes from a yellow colour to a red/black appearance. I wrap it in cling film to prevent it completely drying out. It then is a case of cleaning it off, wire wheeling the area, and seeing what it has left you with. I definitely requires more time than stated in the instructions but the cold weather could be hindering it slightly.

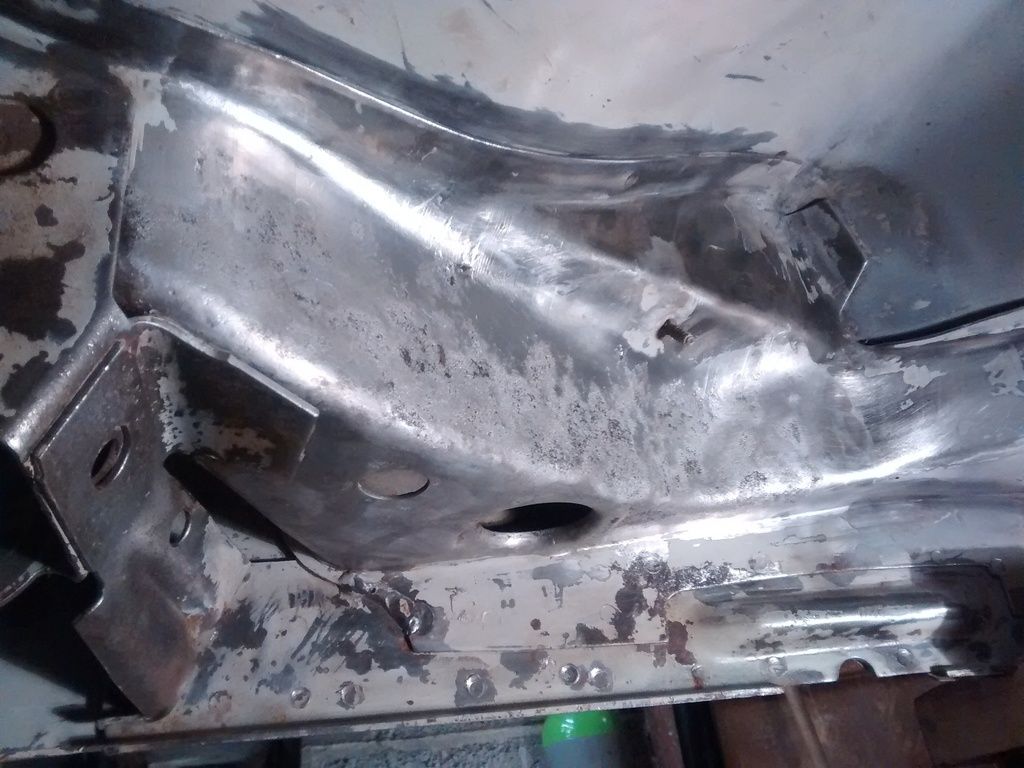
    Once I was happy with the metal after a number of coating, the clean metal was then painted with Electrox primer from a tin. It weighs a small tonne as its zinc based.

    Here's a few progress pics of the chassis leg over the course of about a month or two (I'm not getting as much done as quick as I'd like!!)

    IMG_20151103_214233_zpsf7skflek.jpg
    IMG_20151103_205522_zpsdd6qemw6.jpg
    IMG_20151104_204411_zpsuizx12xu.jpg
    IMG_20151104_225357_zpsixvm49c2.jpg
    IMG_20151117_175527_zpsegshvv4q.jpg
    IMG_20151121_164105_zpsj021etth.jpg
    IMG_20151214_194013_zpsbdl706ao.jpg
    IMG_20151224_145536_zpsff529hgs.jpg

    The finish on the primer looks great! Will feel a shame to underseal over it but has to be done :thumb Just to point out that in the above picture, the coverage doesn't look 100% as its only the first coat of two but you get the idea :cool

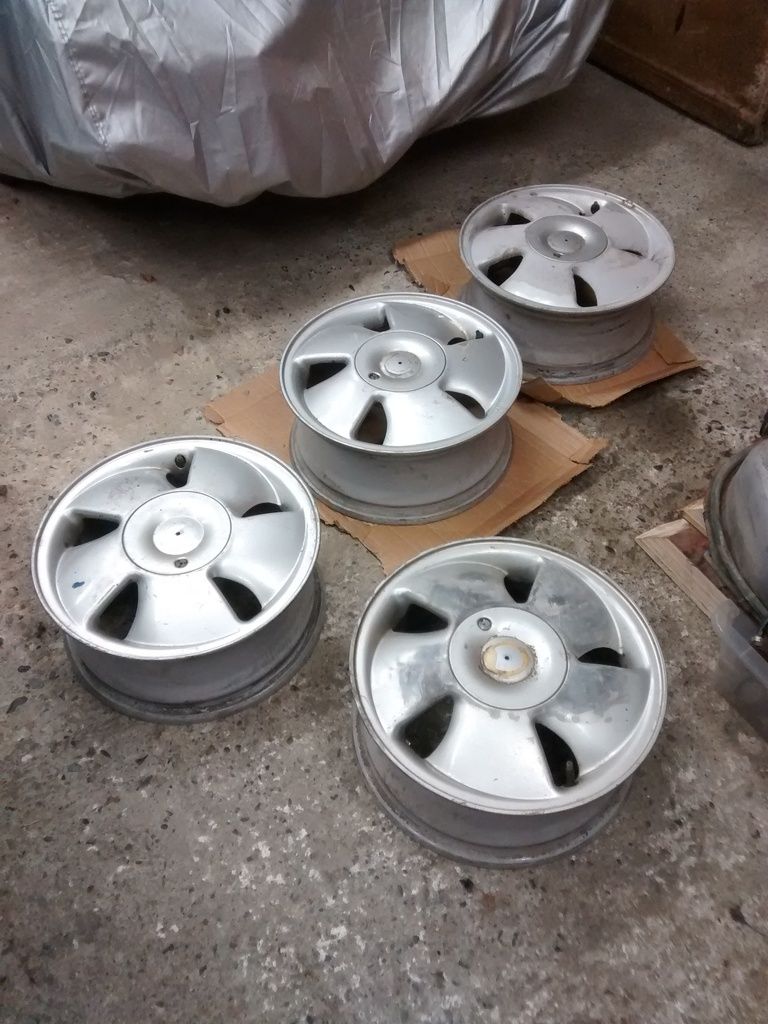
    Have centre caps sorted for my wheels now too:

    IMG_20151228_151223_zpsgmkbfsxc.jpg


  • Registered Users, Registered Users 2 Posts: 94 ✭✭Baraics Pollox


    Anyway, not a whole load of progress since Christmas for a number of reasons, least importantly of which was sorting my daily for its NCT!

    Have started on the driver side chassis leg now. The inner part has been treated and sealed up. The end part shouldn't be too long behind it.

    I've deliberated a fair bit on the spring seats. The one on the passenger side I was able to take the worst look off but as you know, most of the rusting is going on behind it where it's impossible to just treat. I probably could buy time and take the worst off them, although the drivers side one is in a worst state than the passenger side. I can't get a screwdriver through the leg itself behind the spring seat but it is verrrrry crusty.

    I've decided that I'll replace the spring seats now rather than later for the peace of mind knowing that they're solid and shouldn't be an issue again. Plan on doing that over the next while while everything is still stripped off it.

    Found more crust in behind the seam seal in the scuttle drains, rather than treat that I may also weld in fresh metal there too as I was able to poke a hole through a couple of points. The more you go poking on these cars the more work you make :p

    IMG_20160309_210124_zps3tpkhdcg.jpg
    IMG_20160309_210148_zpsjmfyj6p1.jpg

    Here's a pic of the finished side:

    IMG_20160305_173411_zps1nm6qz1g.jpg

    The drivers side end piece isn't too bad in fairness:

    IMG_20160305_174514_zpsrgadtllc.jpg

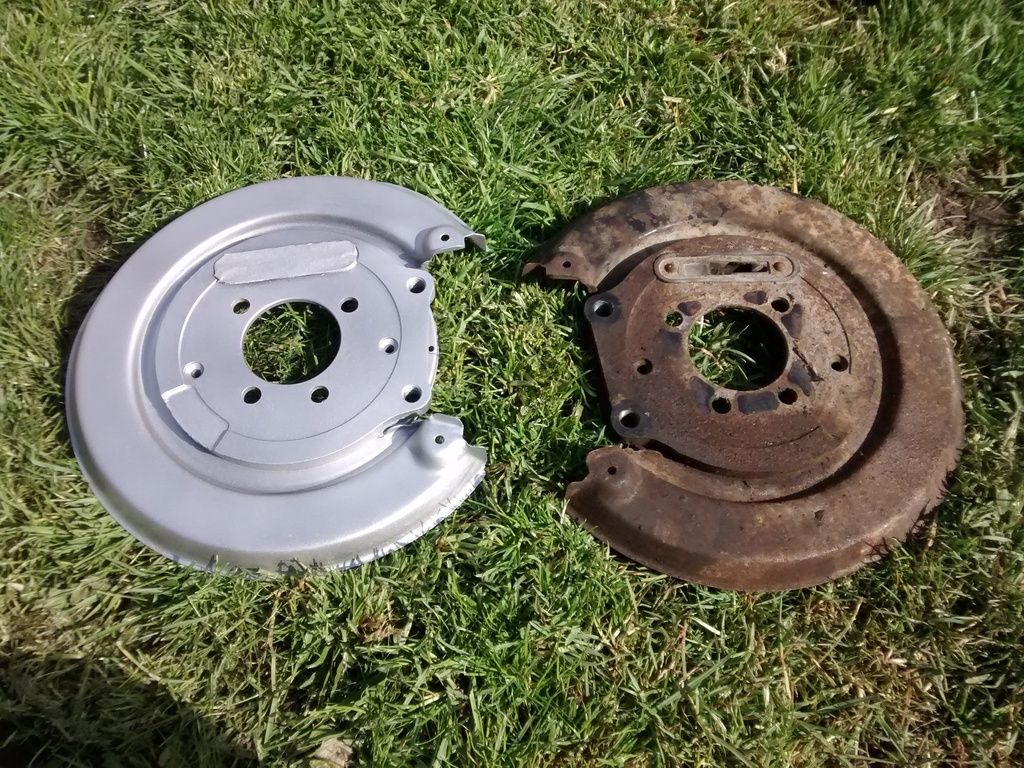
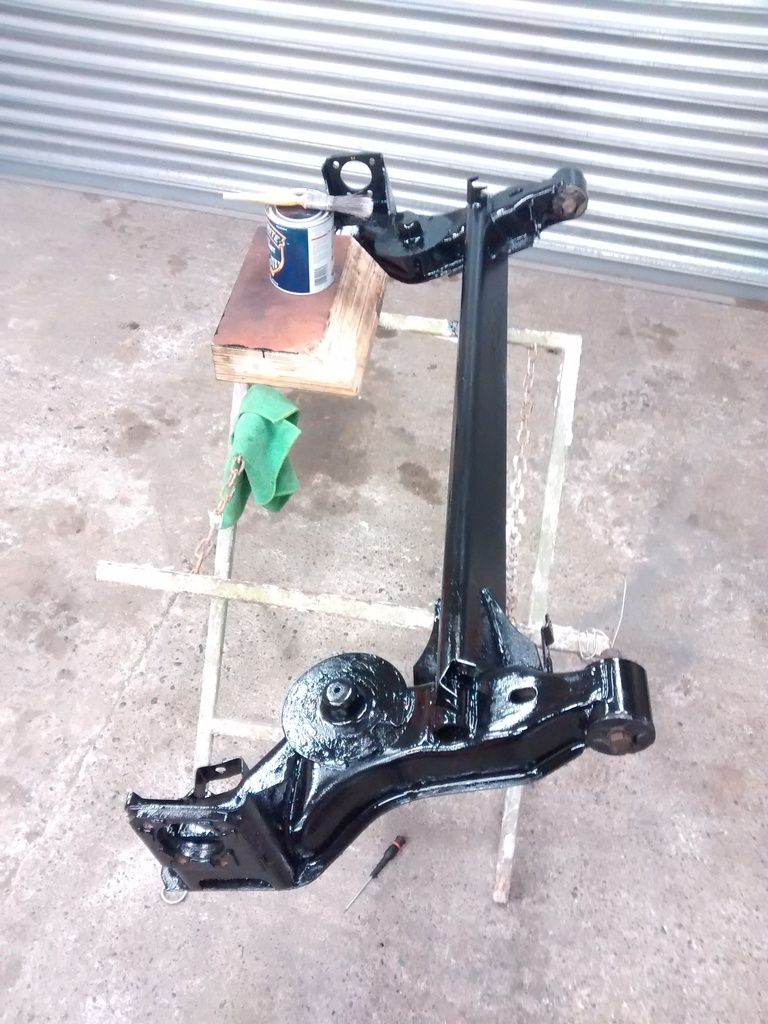
    For a change of scenery I cleaned up the rear axle, treated it with hydrate 80 and sealed in black Hammerite. I also cleaned up the backing plates with a grinder and sealed with zinc primer. I've included a pic of what the backing plate looked like before and the cleaned up one:

    IMG_20160409_153957_zpsep9zpur0.jpg
    IMG_20160409_135530_zpspag0fhio.jpg

    Will order brake parts soon i reckon!

    That's this project up to date so updates may be slow coming. I don't work at anything car related so this is a hobby and as anyone knows, a Project car can take a while :p This is my first real undertaking of a mild restoration so a lot of learning along the way. That's the fun part though right? :o


  • Closed Accounts Posts: 2,190 ✭✭✭Mister Jingles


    When finished is it going to be a keeper or will you be moving it on after a while ?


  • Registered Users, Registered Users 2 Posts: 94 ✭✭Baraics Pollox


    When finished is it going to be a keeper or will you be moving it on after a while ?


    It'll definitely be a keeper, Mister Jingles. I've wanted one for years and they're hard come by. Also the fact that I'm completely overhauling it in my own free time makes it have all the more value to me :)

    The plan will be to insure it as a classic and keep it for summer runs and shows around the country. And maintain it :P


  • Advertisement
  • Closed Accounts Posts: 2,190 ✭✭✭Mister Jingles


    This thread makes me want one, or to be specific a stock GSi turbo. Hopefully it does eventually make many appearances at shows :)

    I look forward to it's progress.


  • Moderators, Science, Health & Environment Moderators, Society & Culture Moderators Posts: 60,217 Mod ✭✭✭✭Wibbs


    Same here. Nice job on the underbody. I need to tackle that on mine too. Nothing too bad yet that I can see. All small bit of surface, but as you say once you go digging… Lack of garage means dry days of summer in driveway sadly. And it's a daily driver. :s That Bilt Hamber stuff is brilliant.

    Rejoice in the awareness of feeling stupid, for that’s how you end up learning new things. If you’re not aware you’re stupid, you probably are.


  • Registered Users, Registered Users 2 Posts: 94 ✭✭Baraics Pollox


    Wibbs wrote: »
    Same here. Nice job on the underbody. I need to tackle that on mine too. Nothing too bad yet that I can see. All small bit of surface, but as you say once you go digging… Lack of garage means dry days of summer in driveway sadly. And it's a daily driver. :s That Bilt Hamber stuff is brilliant.

    Thanks Wibbs. I'm very fortunate to have use of a garage I have to say. I probably wouldn't be able to do the work without it to be honest.

    The Bilt Hamber stuff is great I must say, its fairly hard to get in Ireland but towandrestore.ie is who I ordered my stuff from.

    Will hopefully have a proper update for this over the next week or so. I'm currently tied up working on another car that needs an engine swap so my time is being consumed.


  • Registered Users, Registered Users 2 Posts: 5 fogey.


    Great looking cavalier so much nicer that the lift back model best of luck with the restoration


  • Registered Users, Registered Users 2 Posts: 94 ✭✭Baraics Pollox


    Cheers Fogey!

    No major progress the last couple of weeks as have been busy with a house move but the Cavalier is still nicely tucked away.

    I have most of the driver side chassis leg rust free and coated in Zinc. Have both hub backing plates sorted and have caliper rebuild kits on the way.

    I took delivery of some new pads and disks for it from MTEC so they are a boost to have as they'll make me want to put them on!

    Also have gas for my welder now so thing should move a bit more.

    Will take some pictures this evening!


  • Advertisement
  • Closed Accounts Posts: 2,190 ✭✭✭Mister Jingles


  • Registered Users, Registered Users 2 Posts: 94 ✭✭Baraics Pollox


    Thanks for that Mr Jingles! An original Irish car that one, which I believe is rotten! Unfortunate that it's being broke for its parts in some ways rather than someone giving it an almighty overhaul.

    Again, apologies for the lack of pictures currently, not a whole lot happening. The sunny weather last few weeks kept me away from the garage as it would have been a shame to miss out on the "Irish Summer" :P

    Just teaching myself how to weld currently with the help from a fantastic website/forum: www.mig-welding.co.uk for anyone interested. Practicing using scrap metal currently so I'll hold of for a while before brandishing it at the car until I'm confident enough :P

    I chopped myself up an old heavy metal door yesterday to act as my "welding bench". I'll make a point to take a couple of photos of my setup over the next day or two. I dont know about anyone else but I like to see peoples work areas/equipment as much as their project cars!

    Thanks all for keeping patient, we'll get there!! :P


  • Registered Users, Registered Users 2 Posts: 94 ✭✭Baraics Pollox


    Made a little bit of progress over the weekend.

    Decided to clean down the rear anti roll bar which again was covered in a layer of surface rust and flaking paint. The "chopped up door" from my previous post can be seen in the picture below along with the roll bar and my well used wire wheel grinder! This was cleaned back to bare metal and then coated in Bilt Hamber Hydrate 80 which acts as both a neutraliser (for any microscopic rust left on it) and seals the metal until I'm ready to give it its final coat:

    IMG_20160627_211819_zpsgncciyw6.jpg

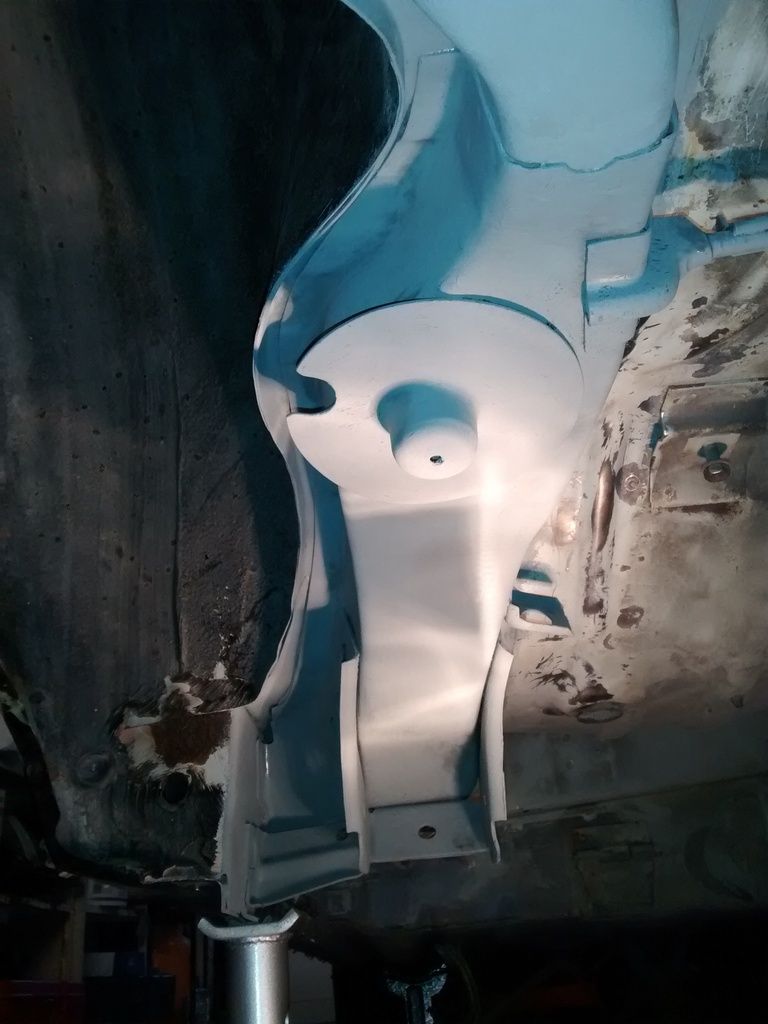
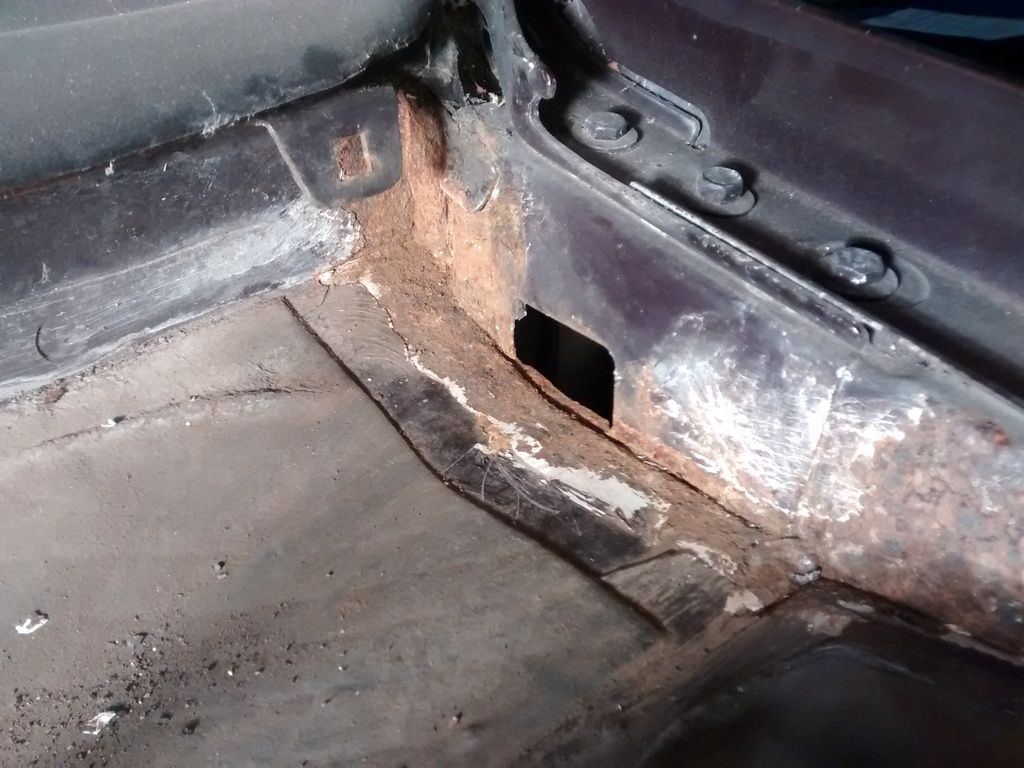
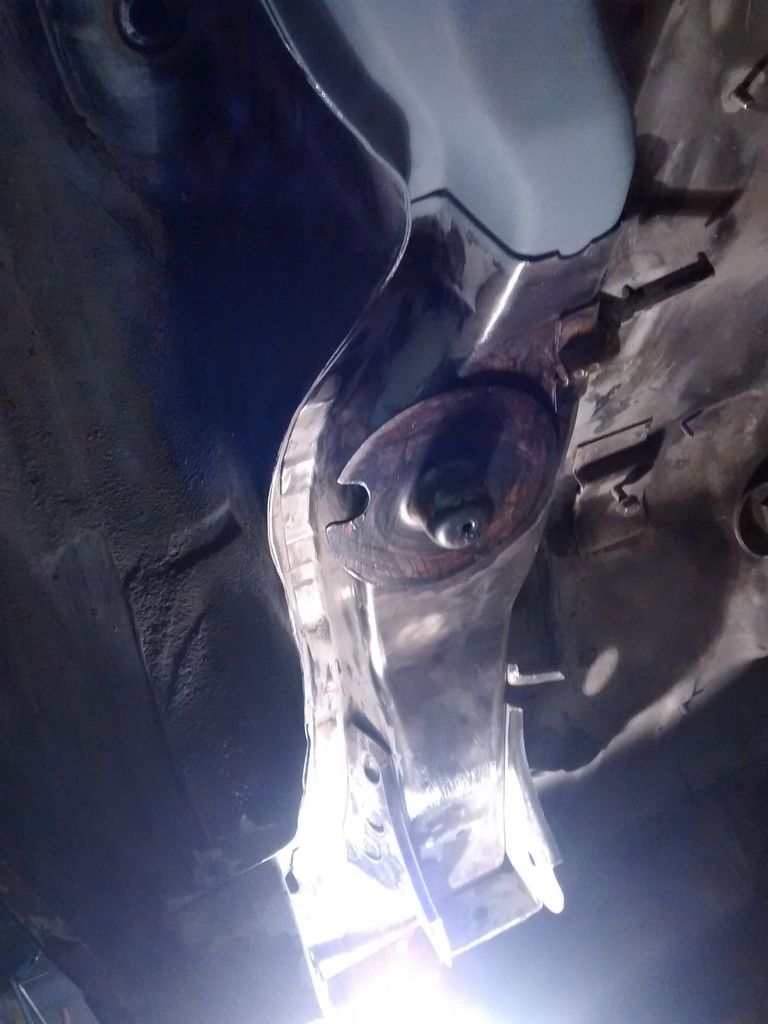
    Also got stuck into treating and tidying the last section of rear chassis leg on the car. The reason I had been delaying so long to sort it was that it's just an awkward section with nooks and angles and I wanted to get a good run at it. Mounted to this little section are the brake pipe bracket, the spring seat and the bracket for the rear axle. It was all in relatively good condition however.

    My view over the weekend:

    IMG_20160710_192318_zpslpm5nzai.jpg
    IMG_20160710_192310_zpsjvgzs3wc.jpg

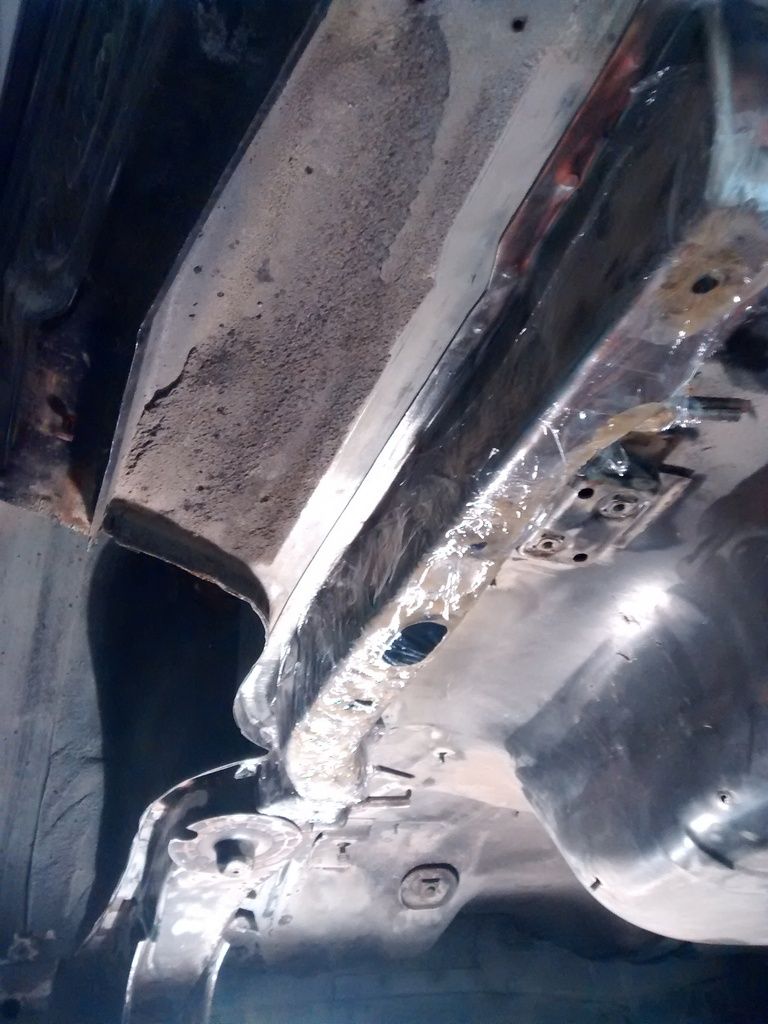
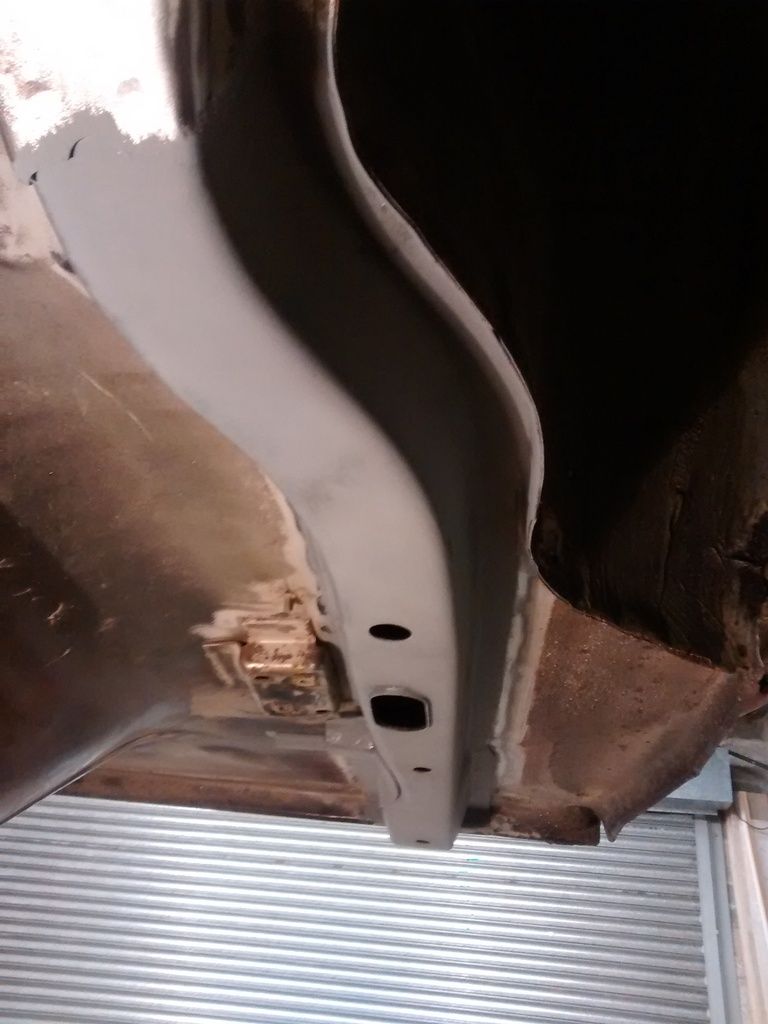
    As can be seen above there'll be a small patch needed in the bottom of that wheel arch eventually buy nothing overly concerning. For a car of it's age its somewhat expected!

    I was also donated a pair of new GM front wishbones for when I rip out the front suspension. It's nice having the fresh bits just waiting to bolt on!!

    IMG_20160710_192348_zpsz0rykvia.jpg

    Hoping the updates will come quicker now as the little run over the weekend has got my head back in the game with this car.

    As sad as it sounds, I do stand back from it after spending hours cleaning under it, my back aching, but still seeing the potential despite it being a dust covered old crock currently :P I do open the doors, look into it, smell the weird mixture of old car upholstery and cherry air freshener. I look to the driving seat, knowing that the speedo hasn't moved in yonks and look forward to the day when I'm in it's driving seat. I get strange looks from my girlfriend and the dogs sometimes :P


  • Registered Users, Registered Users 2 Posts: 94 ✭✭Baraics Pollox


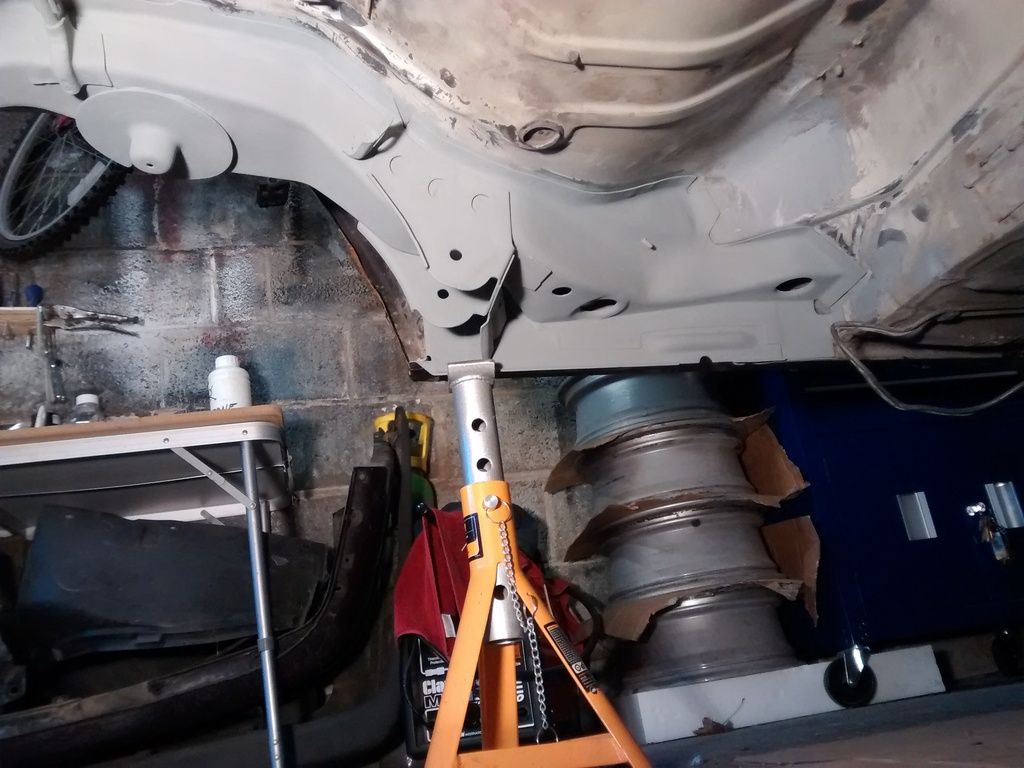
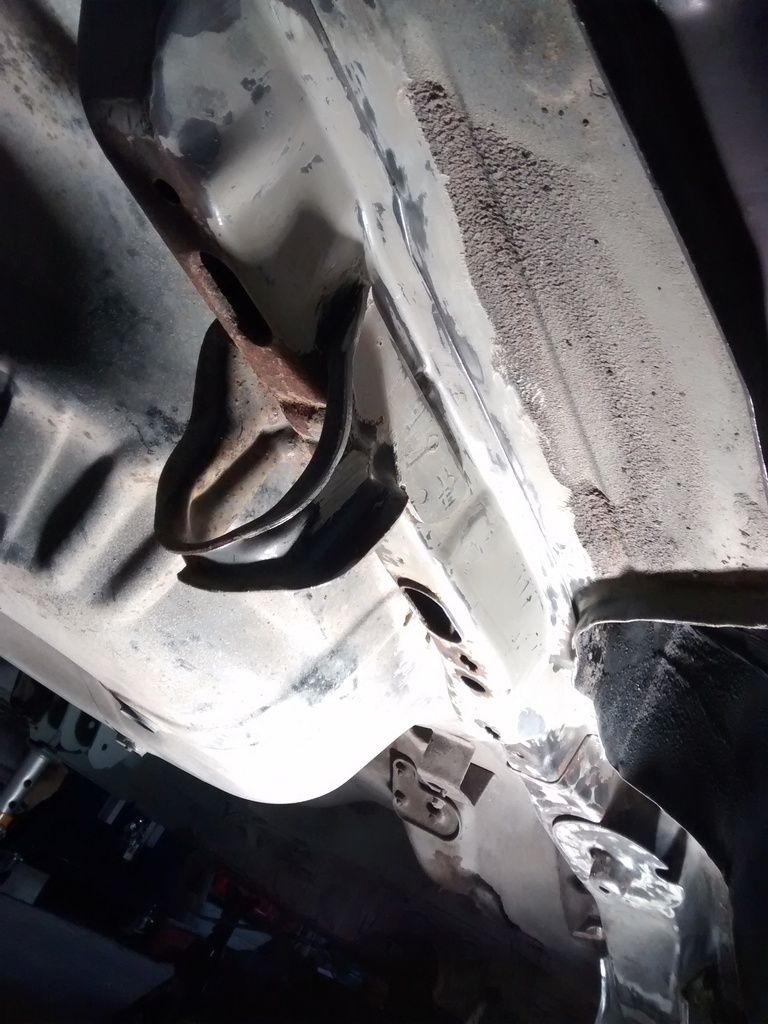
    Following on from last weekend, I finally got that whole final centre chassis section cleaned down, rust removed and converted in the awkward places and coated in a nice layer of zinc:

    Before:

    IMG_20160717_090413_zpsmupdn3ls.jpg

    After:

    IMG_20160717_135951_zpsk9lyvmyo.jpg

    So needless to say I'm delighted to have that done as to me, getting the chassis legs in good order was of high importance.

    I also picked up a spare pair or rear calipers. Despite looking a bit manky with their yellow paint and rust, I plan on having them cleaned down this week before stripping them and changing seals/pistons:

    IMG_20160717_090511_zpswshfxapd.jpg
    IMG_20160717_090526_zpsehkyq529.jpg


  • Registered Users, Registered Users 2 Posts: 853 ✭✭✭edburg


    Ah Ste didnt realise you were on here to with the Cavalier, glad you got calipers sorted as my rebuilt ones went soon as a lad stopped by and seen them lol

    Keep up the good work.


  • Closed Accounts Posts: 2,881 ✭✭✭shietpilot


    Nice work, love reading threads like this! :)


  • Registered Users, Registered Users 2 Posts: 94 ✭✭Baraics Pollox


    edburg wrote: »
    Ah Ste didnt realise you were on here to with the Cavalier, glad you got calipers sorted as my rebuilt ones went soon as a lad stopped by and seen them lol

    Keep up the good work.

    Cheers Ed not to worry, I wouldn't have made a trip to Cork anytime soon and they'll do the job even though they'll need a bit of tidying compared to the ones you had!


  • Registered Users, Registered Users 2 Posts: 19 oldskooler


    fair play, your doing a lovely job. you have a very solid shell there, a lot of these suffered from rear spring seat corrosion. good luck with the build.


  • Registered Users, Registered Users 2 Posts: 94 ✭✭Baraics Pollox


    Wow its been a while since I've updated this. Nearly ready to plonk this car back on its wheels and I've noticed photobucket has made a mess of this thread!

    Are the pictures hidden to you lot?

    If so I'll set up an IMGUR account and start it from fresh. I've a few bits to add to it.


  • Registered Users, Registered Users 2 Posts: 5,394 ✭✭✭SCOOP 64


    First time i looked at this post ,but cant see the early photos.
    i used to have one, hatchback, think it was 1989/90 model.


  • Advertisement
  • Registered Users, Registered Users 2 Posts: 853 ✭✭✭edburg


    Wow its been a while since I've updated this. Nearly ready to plonk this car back on its wheels and I've noticed photobucket has made a mess of this thread!

    Are the pictures hidden to you lot?

    If so I'll set up an IMGUR account and start it from fresh. I've a few bits to add to it.


    Thought you forgotten about it lad hahaha

    Yes pics all disappeared for me


  • Registered Users, Registered Users 2 Posts: 8,720 ✭✭✭Hal1


    Yes, photobucket has well and truly shat itself for everyone. All those build threads :(.


Advertisement