Advertisement
If you have a new account but are having problems posting or verifying your account, please email us on hello@boards.ie for help. Thanks :)
Hello all! Please ensure that you are posting a new thread or question in the appropriate forum. The Feedback forum is overwhelmed with questions that are having to be moved elsewhere. If you need help to verify your account contact hello@boards.ie
Hi there,
There is an issue with role permissions that is being worked on at the moment.
If you are having trouble with access or permissions on regional forums please post here to get access: https://www.boards.ie/discussion/2058365403/you-do-not-have-permission-for-that#latest

Nexen S15 Image Build

  • 09-06-2010 6:17pm
    #1
    Registered Users, Registered Users 2 Posts: 1,899 ✭✭✭


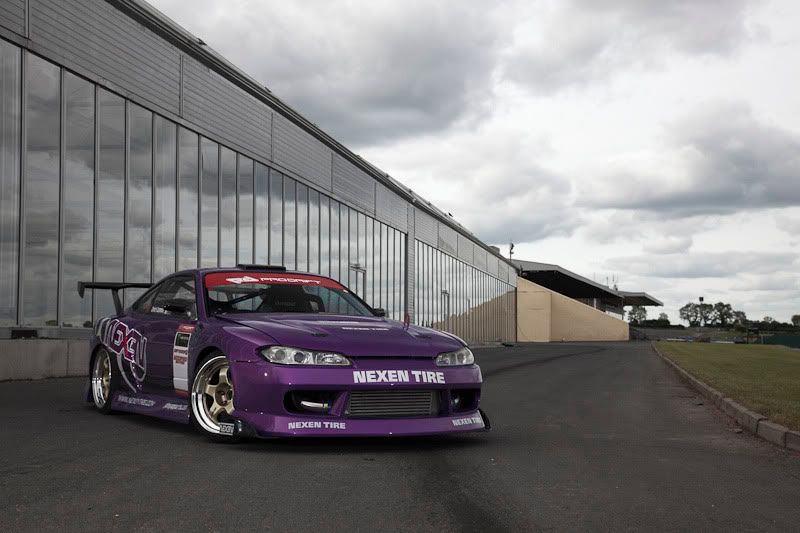
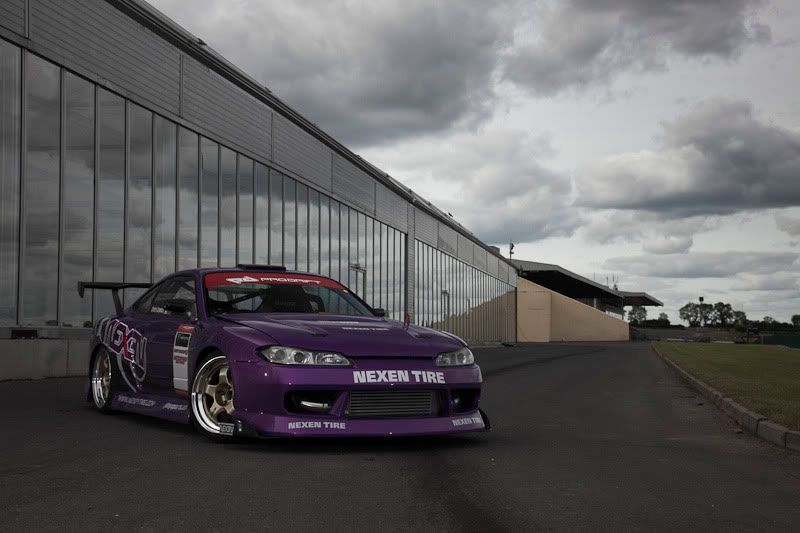
    I got one or two requests asking how I processed the image so I've put together this brief description on how it came about. This is slightly different than the image in the original thread as I reprocessed the image from scratch.

    Anyways, here you go ...

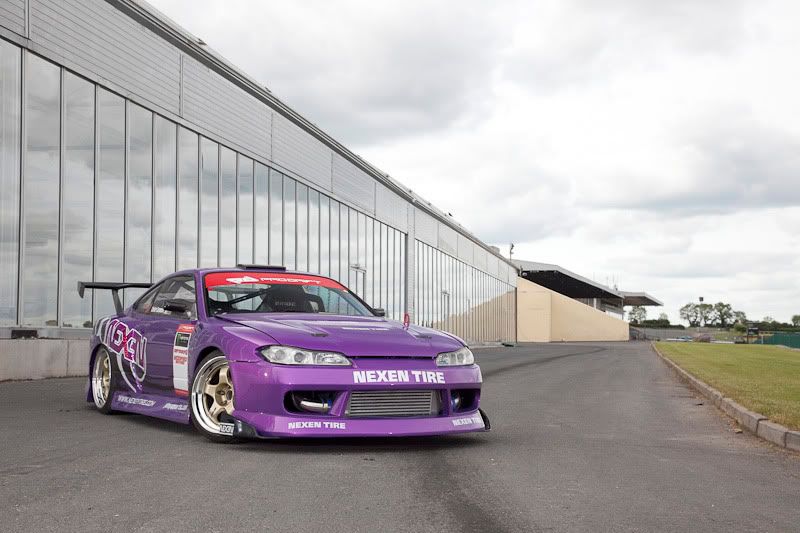
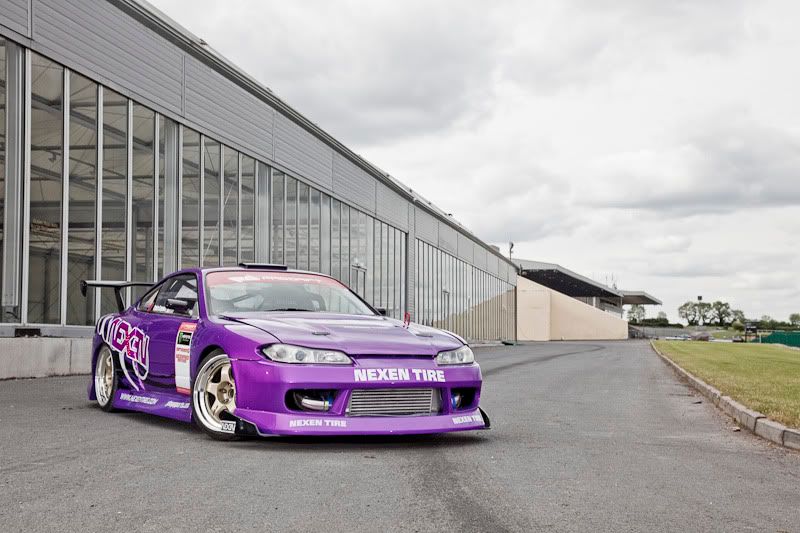
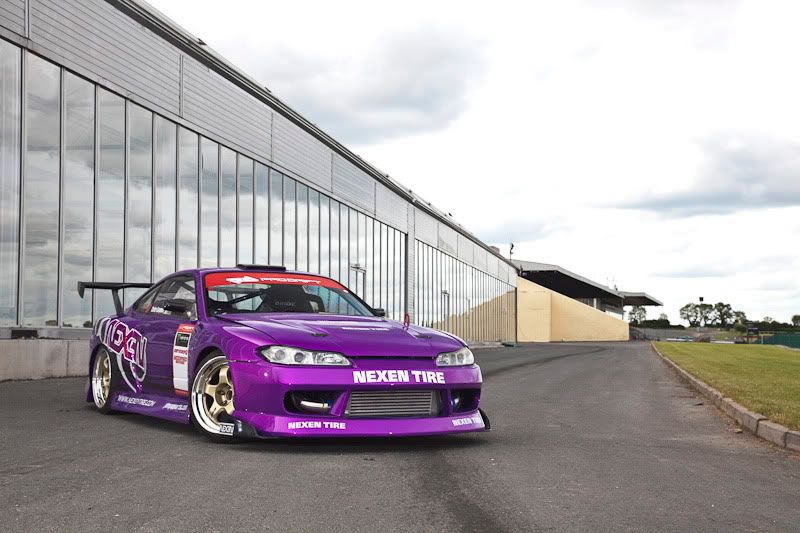
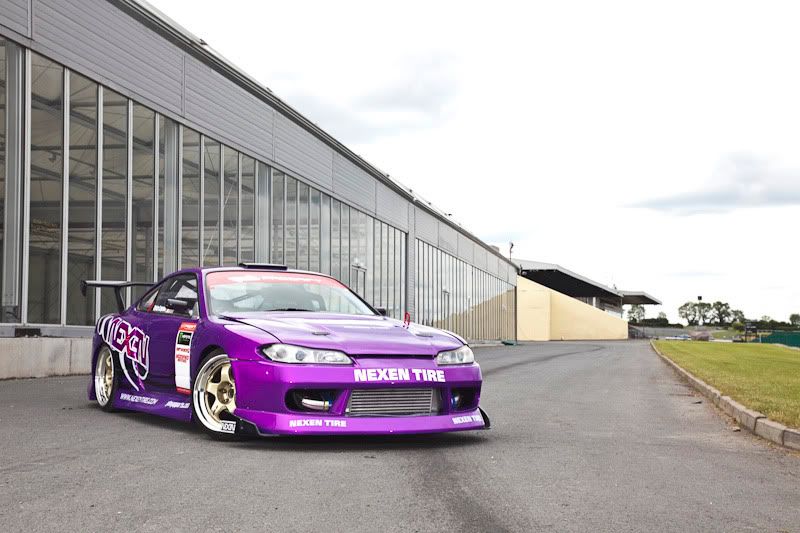
    1. The Original Shots
    IMG_3975copy.jpg

    IMG_3976copy.jpg

    These are the two original images that I used to create the final image. Both shots were lit with three strobes; one aimed at rear wheel, one at front wheel and one at the front of the car. I can't remember the power settings but I was trying to balance the sunlight as opposed to over powering it.

    You'll notice how one shot has the windscreen polarized and the other the side polarized.
    ______________

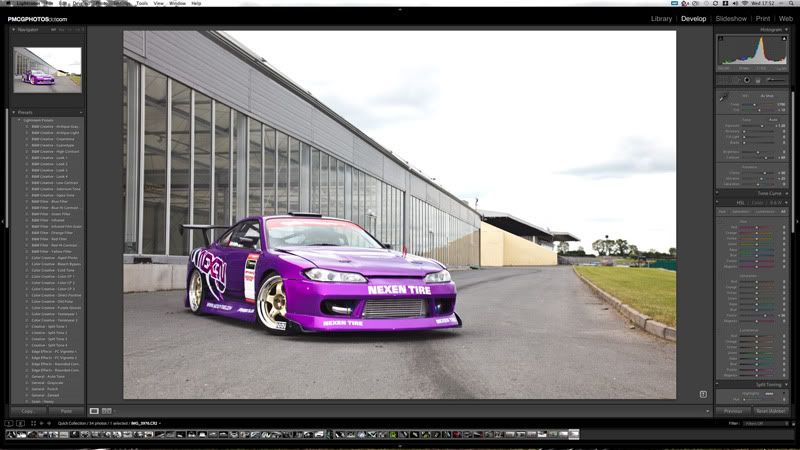
    2. Preparing the Images


    IMG_3975-2copy.jpg

    IMG_3976-2copy.jpg

    IMG_3975-3copy.jpg

    IMG_3975-4copy.jpg

    Screenshot2010-06-09at175212.jpg

    Using Lightroom, I colour process everything. I create four images : Front / Side / Background and Sky.
    ______________

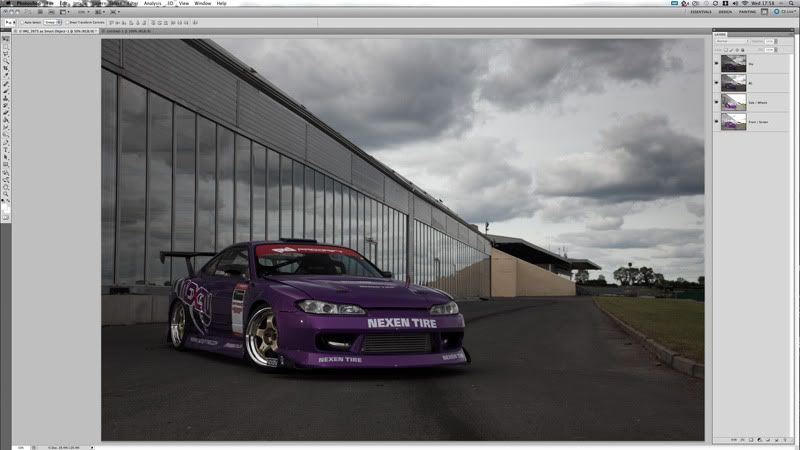
    3. Masking the images


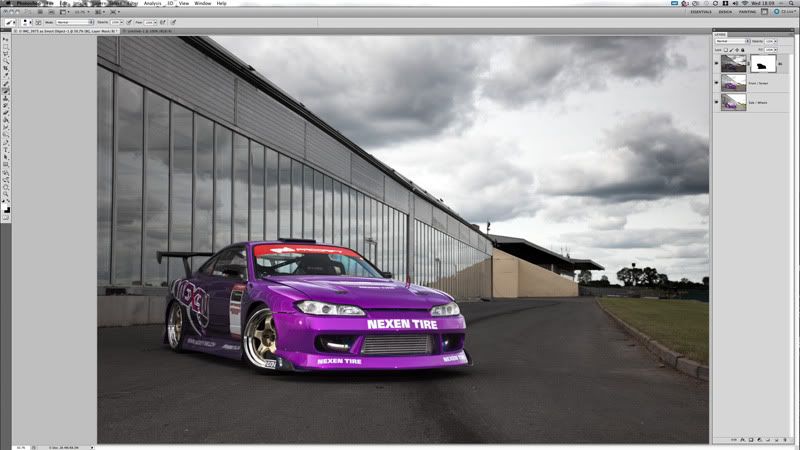
    Screenshot2010-06-09at175827.jpg

    Screenshot2010-06-09at180909.jpg

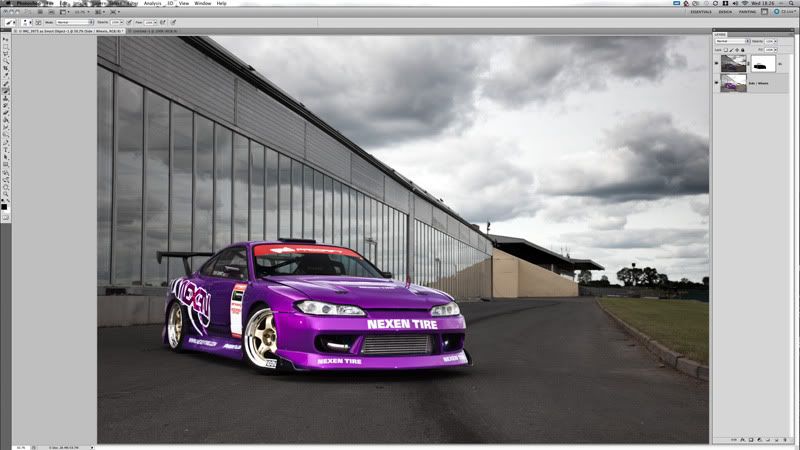
    Screenshot2010-06-09at182641.jpg

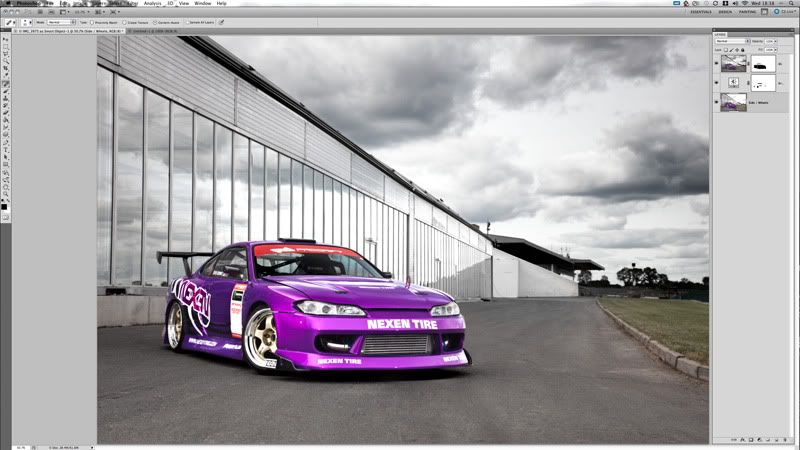
    Screenshot2010-06-09at183837.jpg

    This is the trickiest part of the whole work flow. Stacking the images in order of sky to front of car, I start masking away what I want to retain / remove from the current layer. I then merge the top layer to the next one and move onto masking the following. At the end I'm left with two layers : The background and the car. This allows me to edit the two separately. As I finish the merging I'll use the clone / patch tool to remove any unwanted parts of the image (The water trail, flash reflections, stones, dirt, rubber etc.)

    ______________

    4. The Final Image


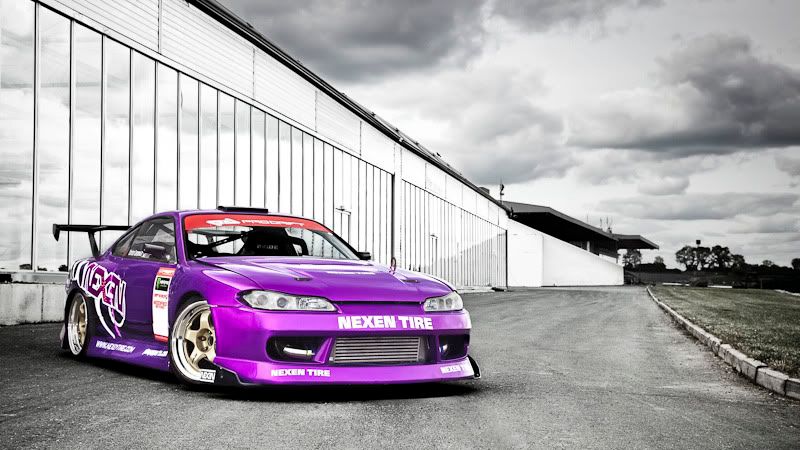
    IMG_3975-Edit-2-Editcopy.jpg

    With the final PSD, I return to Lightroom and make some more slight colour adjustments along with a crop. It's a really simple workflow, with little PS experience required.

    If anyone has any questions just ask !


Comments

  • Registered Users, Registered Users 2 Posts: 16,930 ✭✭✭✭challengemaster


    Actually, quick question...

    You started off with 2 images, made 4 in lightroom, moved to PS...

    Just looking at what you've posted there, you used the side polarized one for the side image and the front pol. for the rest yes?


    Also, what way do you go about selections for all the masking? Or is it just a case of doing rough masks first then altering?


  • Posts: 14,344 ✭✭✭✭ [Deleted User]


    Thanks for the fantastic post, Paddy. Only seen it now. I was thoroughly taken aback with the above final image when I first seen it, so I'm thrilled you offered an insight into how you made it.

    To be honest, I haven't a clue what the half of what you did was, but I hope to learn more in the ways of PP and I'll keep this thread bookmarked so I can return to it at a later date.


    Cheers man. Excellent stuff!


  • Registered Users, Registered Users 2 Posts: 1,899 ✭✭✭Paddy@CIRL


    Actually, quick question...

    You started off with 2 images, made 4 in lightroom, moved to PS...

    Just looking at what you've posted there, you used the side polarized one for the side image and the front pol. for the rest yes?


    Also, what way do you go about selections for all the masking? Or is it just a case of doing rough masks first then altering?

    I think they're all really rough masks :D

    The reason I used the front polarized one for the BG was I wanted to retain the reflections on the glass behind the car.

    I use layer masks for masking, with a semi-hard brush set to around 75-80% hardness, 100% opacity. Sometimes I'll use the Pen tool to create a selection around a tricky part but I find the brush is good enough 9/10.
    Thanks for the fantastic post, Paddy. Only seen it now. I was thoroughly taken aback with the above final image when I first seen it, so I'm thrilled you offered an insight into how you made it.

    To be honest, I haven't a clue what the half of what you did was, but I hope to learn more in the ways of PP and I'll keep this thread bookmarked so I can return to it at a later date.


    Cheers man. Excellent stuff!

    To be honest mate, either do I ! I've only really started pushing my processing the last while after being inspired by a guy I met at the Nurburgring, Mr. Sean Klingelhoefer.

    I think Photography is one of those things where the more you learn, the more you realise you don't know but I guess that's half the fun !


Advertisement