Over the last 6-7 years we have been slowly upgrading our 2006 built, C rated bungalow as time and funds allow.
The works so far have included:-
- Attic insulation to 300mm, was easy for us to do as it is a bungalow. Was the standard 100mm blown insulation.
- Replace open fire with an inset stove, later changed to a pellet stove. Again, carried out by ourselves.
- Walls pumped with Walltite foam insulation.
- 8.16kW solar pv and 5kW battery installed. There have been a few changes since.
- New triple glazed windows and composite door.
- New Viessmann ASHP and cylinder.
This all brought us to an A1 rating at -2.57kWh/m2/yr and CO2 of -1.58kgCO2/m2/yr.
With all that done we then spent a bit of time going round the house and filling any holes and voids with a view to having an airtightness test carried out. Current building regs require a max. 5.0 air changes/hr at 50pa, passive house is 0.6.
Early last year we had a test carried out and achieved a rating of 1.376, surprisingly for the tester and us. He puts this down, partly, to the use of the walltite as this is applied in liquid format so therefore flows to fill all the holes and cracks. As a BER Assessor I rarely see a figure like this, even on new builds.
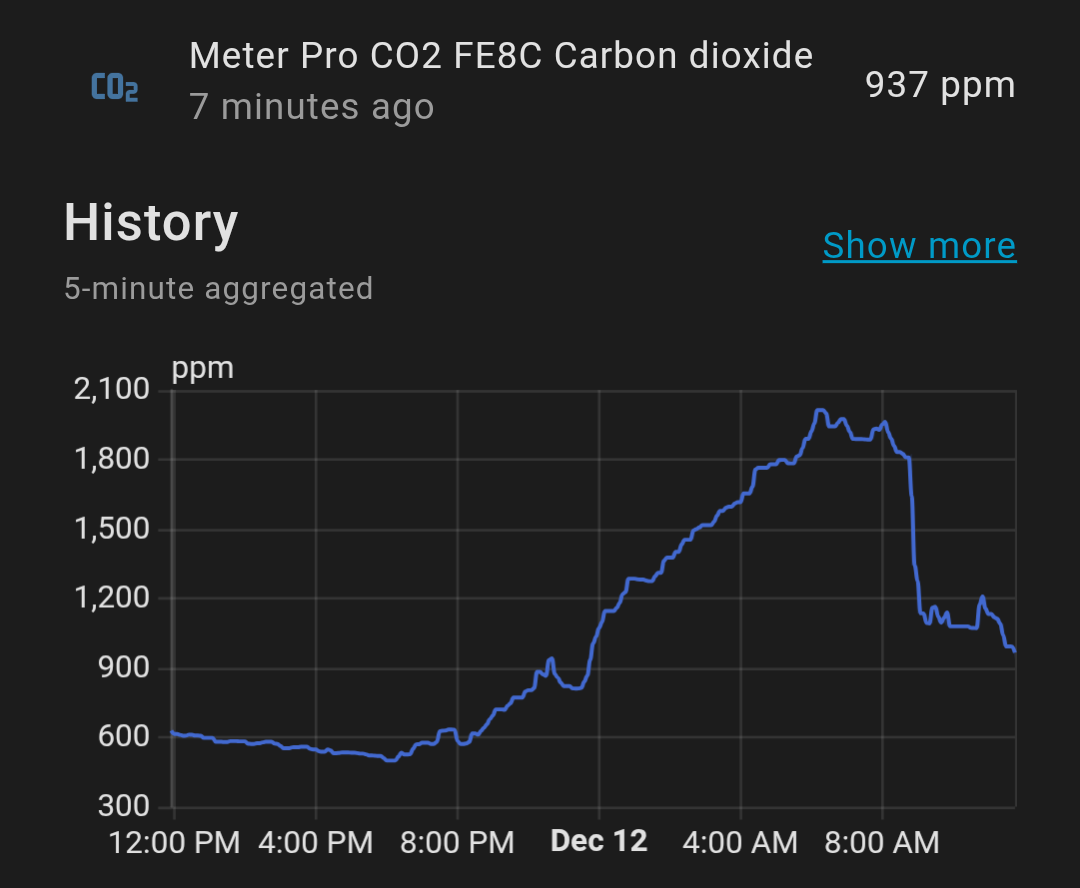
It is recommended then to look at some form of mechanical ventilation if the airtightness is below 3.0 for a air quality and humidity point of view. Even though we are good at opening windows and ventilating we had started to notice a small bit of mould build-up and stuffiness. We also have no trickle vents in the windows.
With this in mind we set off to one of the self build shows to get some information and prices. These ranged from €9-10k for an install, seemed expensive to us.
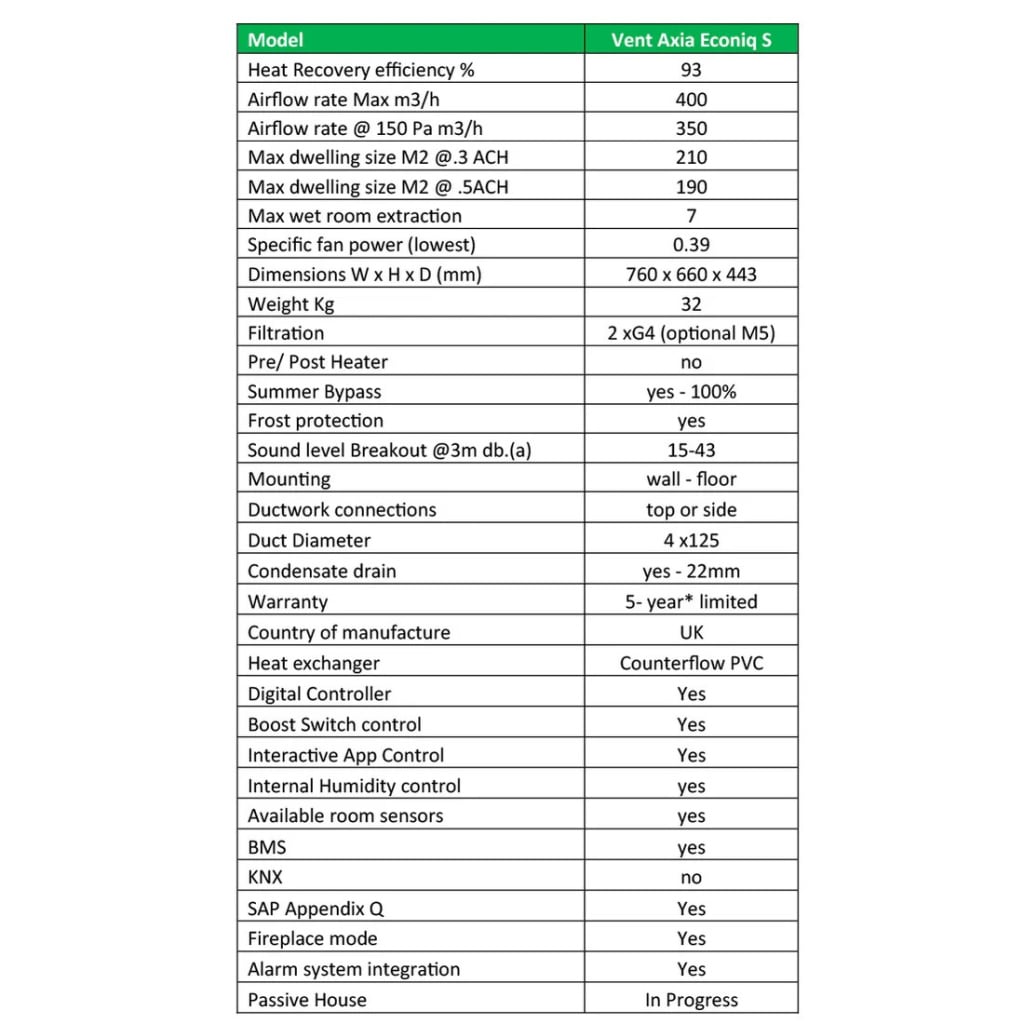
Having a bit of knowledge as to what is involved I then did a bit of research about installing the unit ourselves and reached out to a few suppliers to get prices for the kit required. I had originally looked at the Zehnder and Brink units, as they are well reviewed, and also looked at the Vent Axia range as they are widely used here. Reading specs we decided on the Econiq range from Vent Axia as it offers better efficiency and features that the Kinetic range and is also about €2k cheaper than the Zehnder and Brink.
We found BPC Ventilation to give us the best prices and were easy to deal with. A few emails back and forth with drawings etc. and a design and kit was agreed on. Once this is all done and paid a simple layout, flow rates and install instruction are supplied.
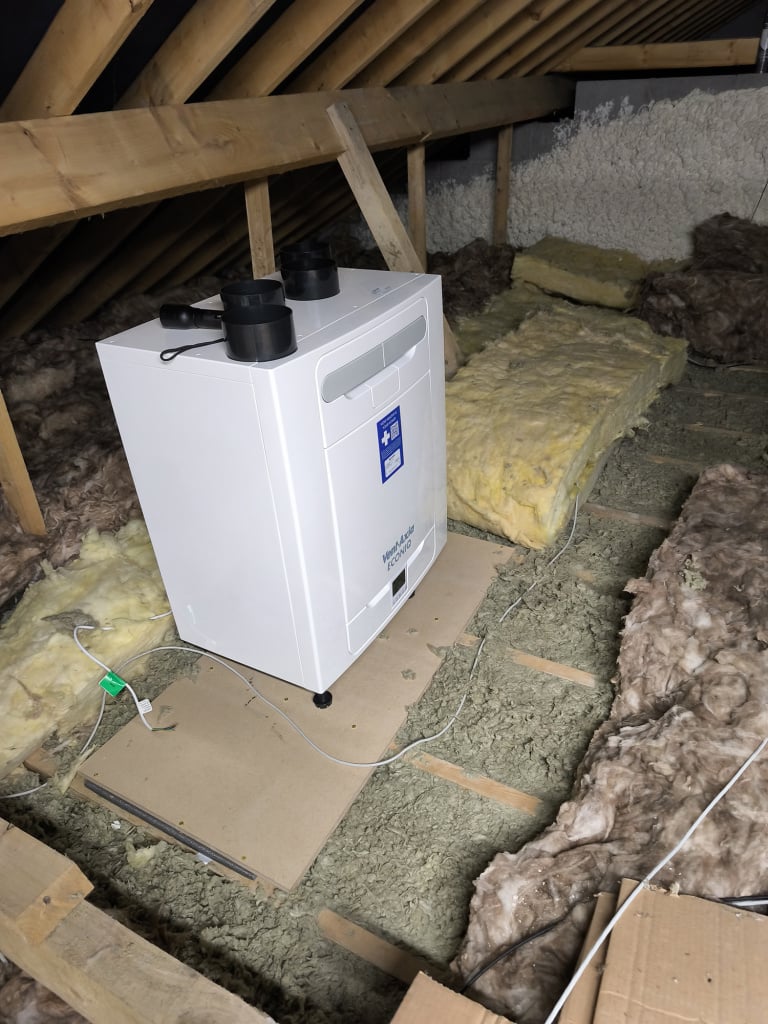
Best practise would be to install the unit within the thermal envelop of the building, not something we could do easily so we then had to sacrifice a small bit of efficiency and install it in the attic. A platform was built and the unit put in place taking into consideration the distribution boxes for the extract and supply pipes. There are 5 extracts (kitchen, utility, bathroom and 2x Ensuites) and 6 supply (2x living/dining, 4x bedrooms).
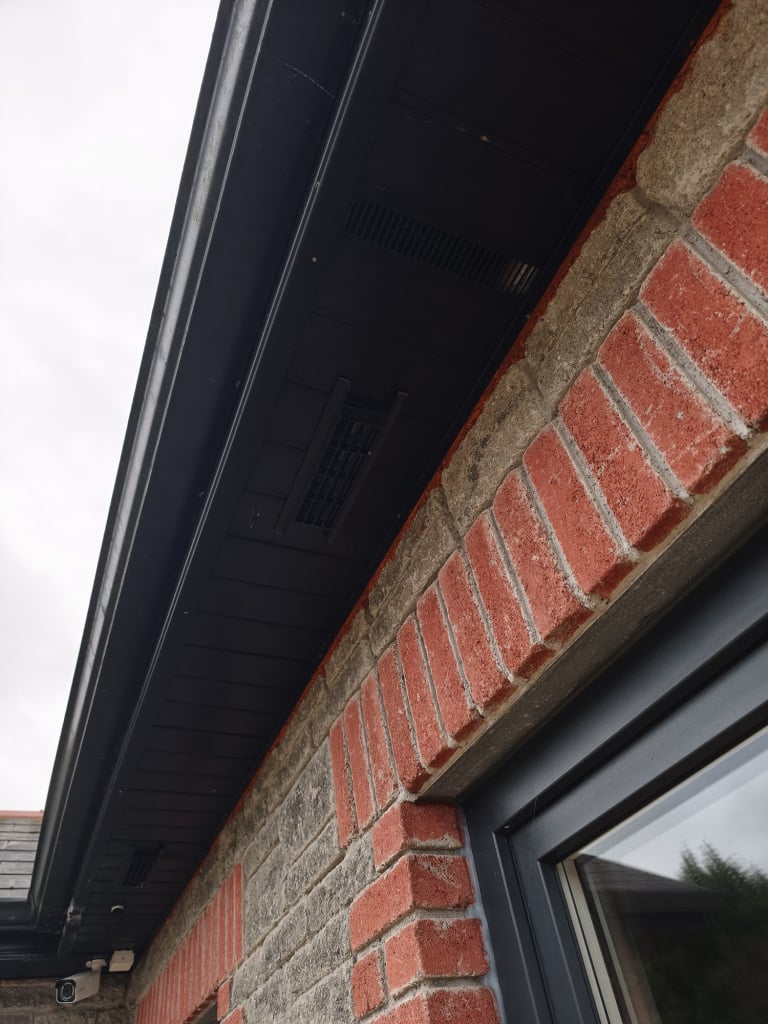
We looked at the best place to install the extract and install vents. Solar panels are on the back of the house and putting vents on the front roof wouldn't look ideal. The gable wall is west facing into the prevailing wind which is not great from a balancing point of view so we decided to bring them out through the soffit on the front, more sheltered side. As part of the order we had included 204x60mm flat duct and adapters to the 125mm dia. duct as this would allow for the same flow rate and be easier to feed out through the eaves. With a couple of black vent covers these are disguised quite well. These are required to be a least 1500mm apart.
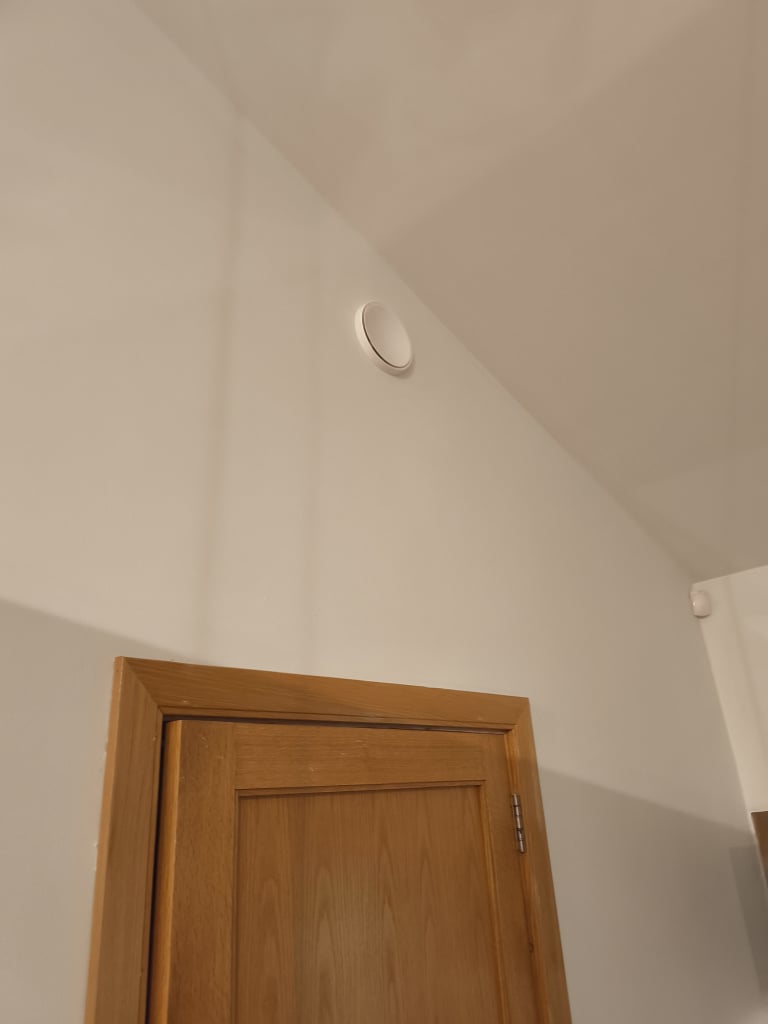
Even though it is a bungalow the living, dining and kitchen are in one large open vaulted area with a block wall between the attic and room. With BPC it was recommended that there would be an extract for the kitchen and 2x supply for the living/dining through this wall. As hot humid air rises I put the extract at the top of the vault with the supply either side using a 127mm core drill bit.
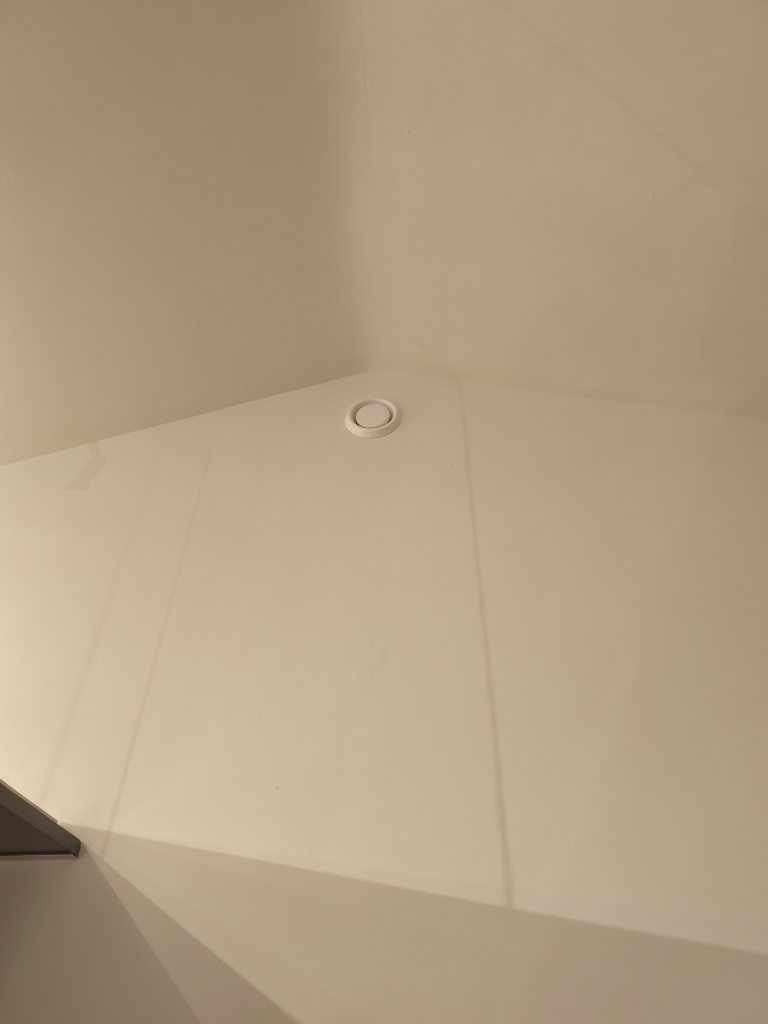
Next is the laying of the radial pipe. This would be going on top of 100mm insulation and then all covered with 200mm insulation. This is the worst part of the job as it is hot, dusty and you are crawling about into the sides of the attic to run the pipe and mark holes for the plenums into the room below, I am getting too old for this…😀. Using a multitool the holes were cut and plenums fed through before being fixed in place. The plenum was then trimmed down with the multitool, filled around and the vent covers fitted. As part of the design there can be 1 or 2 pipes running to each plenum.
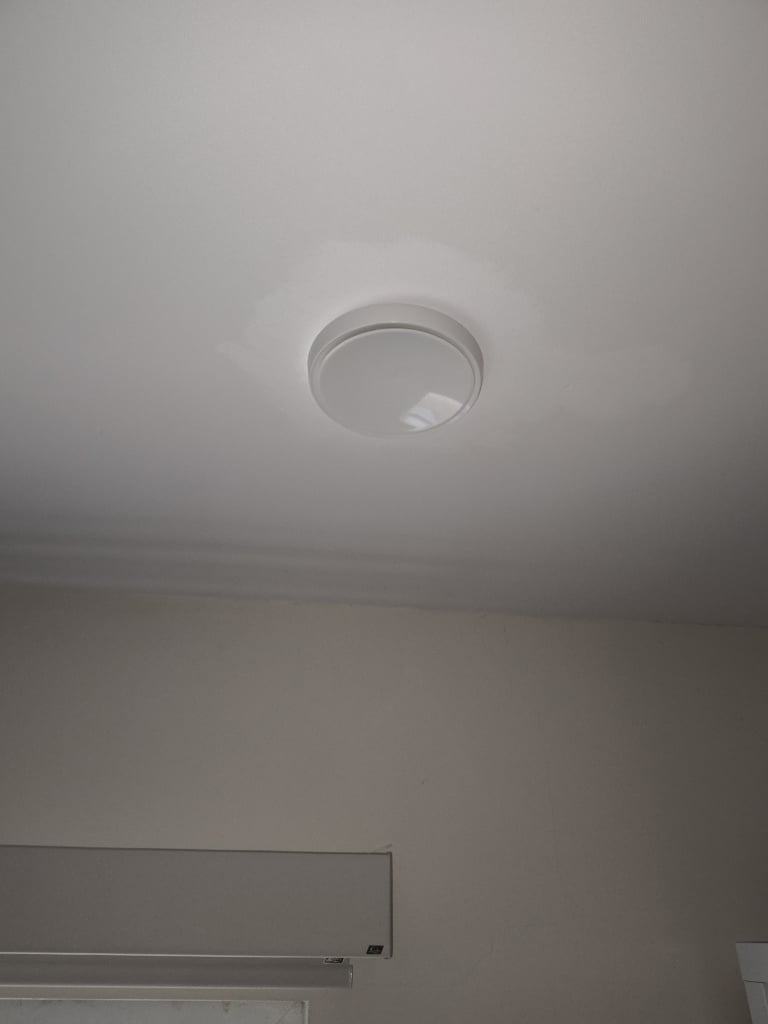
The radial pipes are then all connected to the plenums and distribution boxes with a simple sealing ring before being pushed in and held in place with a clip. Then all the duct work is connected between the MVHR unit and the distribution boxes before being all wrapped in insulation.
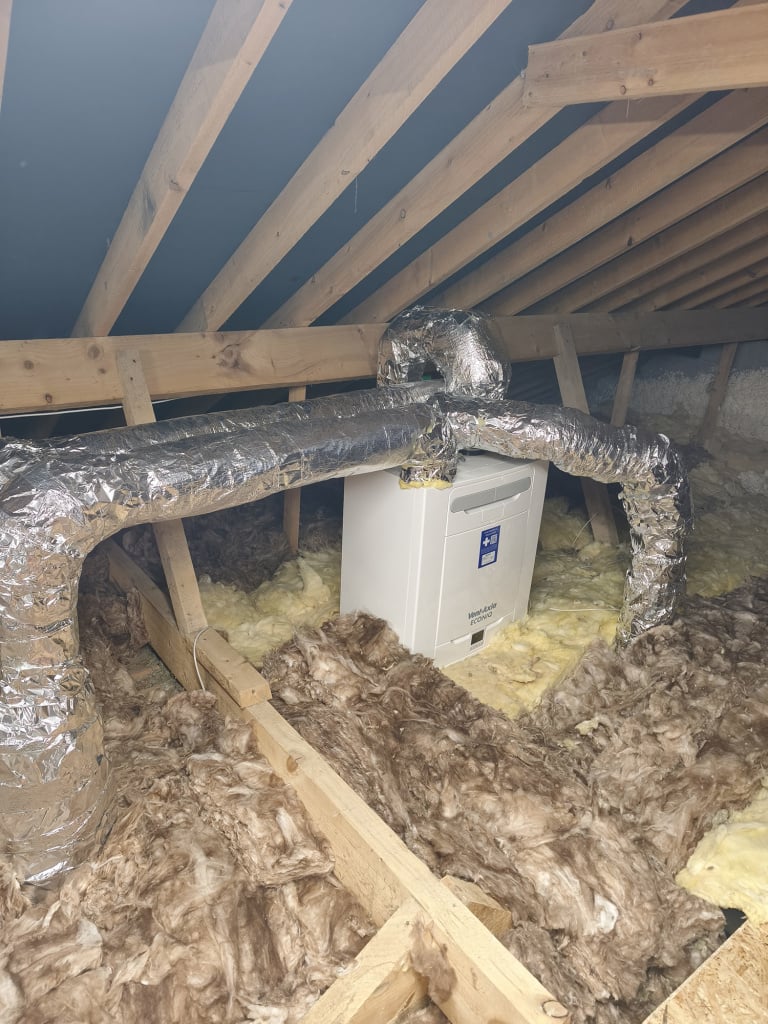
With the unit being in the attic this will be also be enclosed in insulation to help with the efficiency.
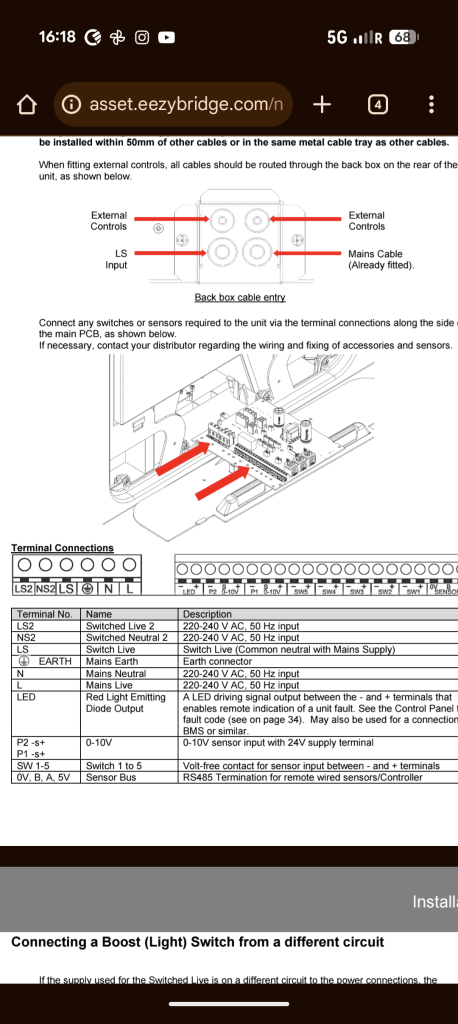
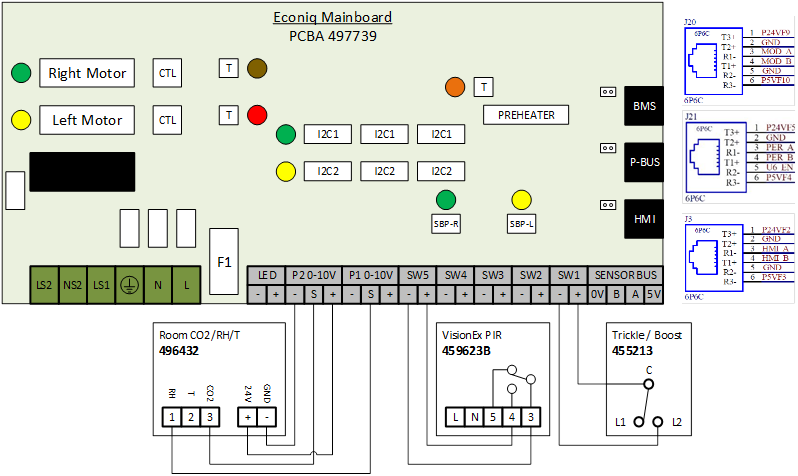
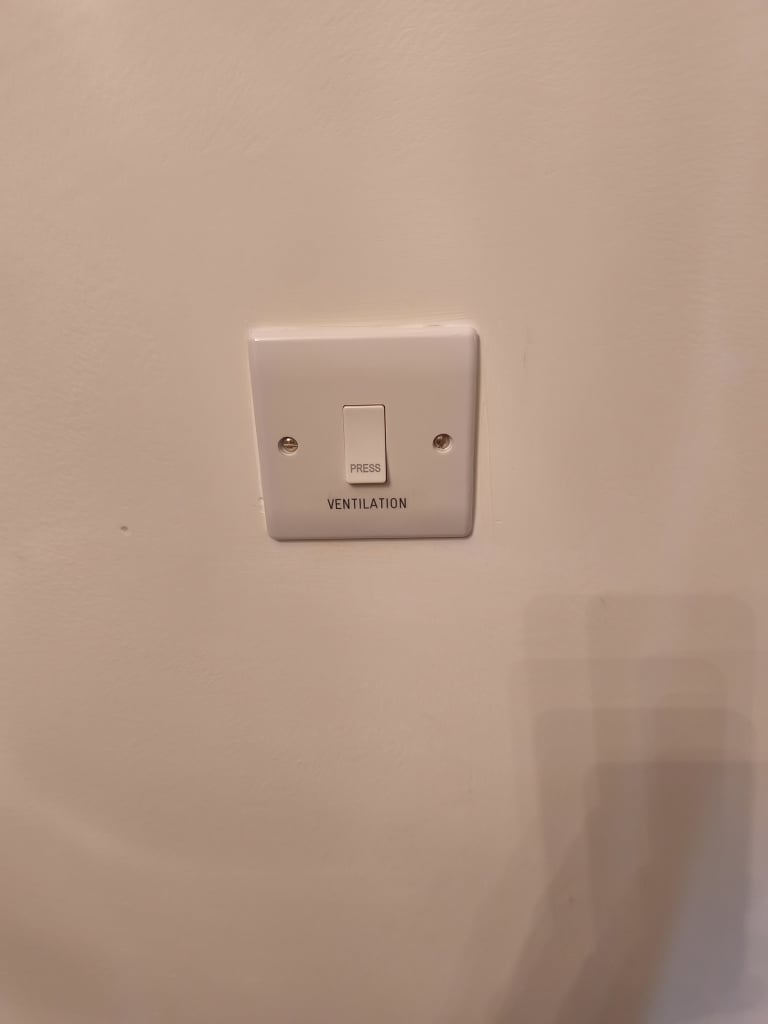
As part of the kit there are 5x boost switches included. One of these I fitted utilising a redundant telephone point and ducting in case we need to boost after cooking etc.
All in all it was a doable job, having two people would help and make it a bit easier.
Have a final bit of tidying up to do then looking to hire/borrow an anemometer to get it all balanced out.
Looking at the manual there is modbus listed with all the registers but reaching out to Vent Axia it would appear that these have not been activated, more's the pity. I will hook up a modbus device and see if I can read any traffic passing through it.
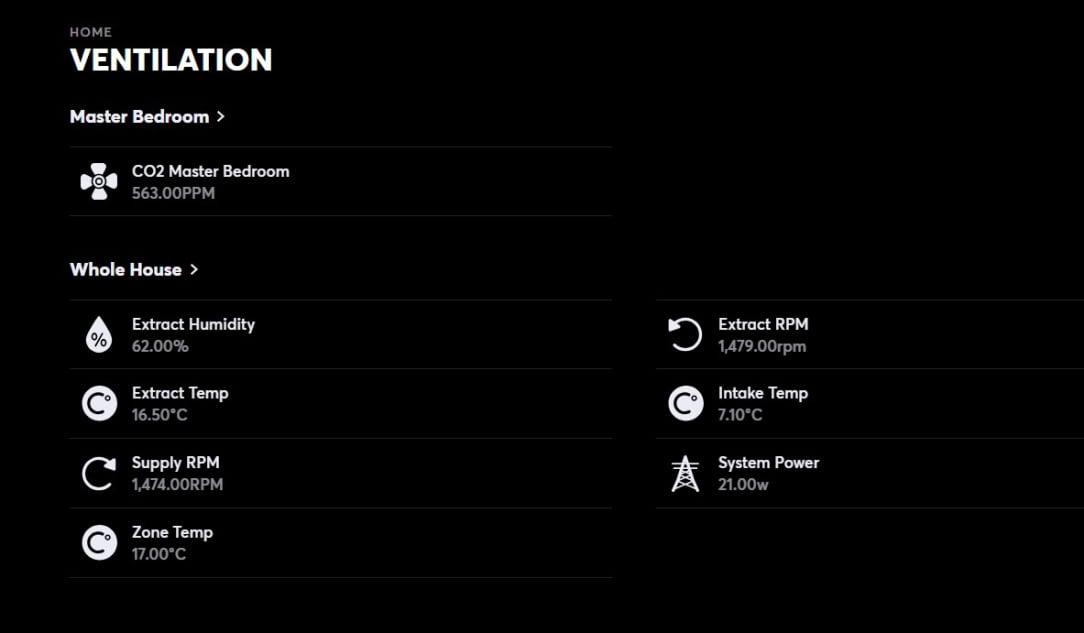
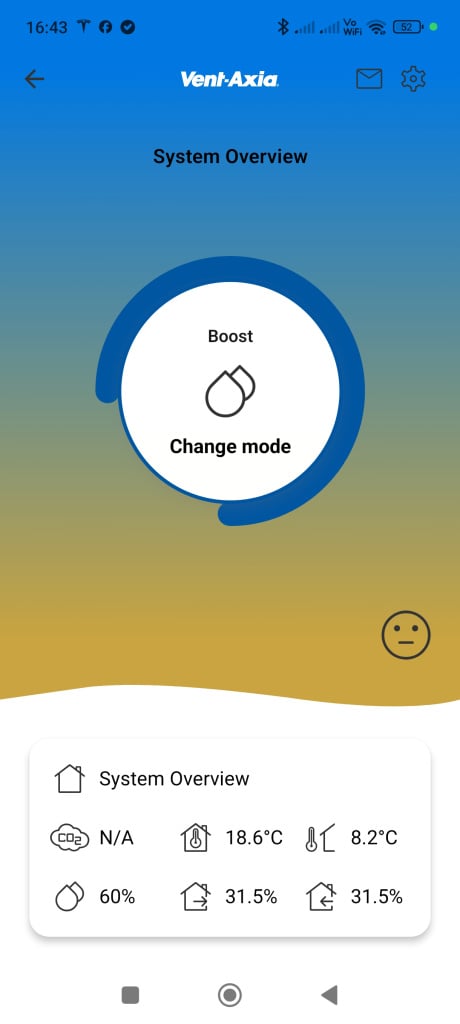
Having had it running for about a week there does appear to be a fresher feel about the house. When a shower is running the increase in humidity is automatically detected and the unit ramps up the flow rates.
All the kit was a bit less that €3.5k so saving in the region of €6k by installing it ourselves and took about 4 days to complete.
It should also decrease our energy by another few kWh and lower our CO2 again.