So, I started looking into Solar PV a few months ago and I found the various threads on Boards fantastic so thank you to all who post sharing your knowledge, experiences and opinions on value of quotes for Solar PV!
So now its time to return the favour and I am going to post my experience, tips and pictures of my install (I often found myself wondering what the install would look like but never came across any threads with pictures of installs).
Bracket Fitting:
Roofer has to remove a slate and cut notch to fit each bracket. There is a plastic slate with a hood that slides up under other slates to seal the roof. See one not fitted at the top of this picture below.
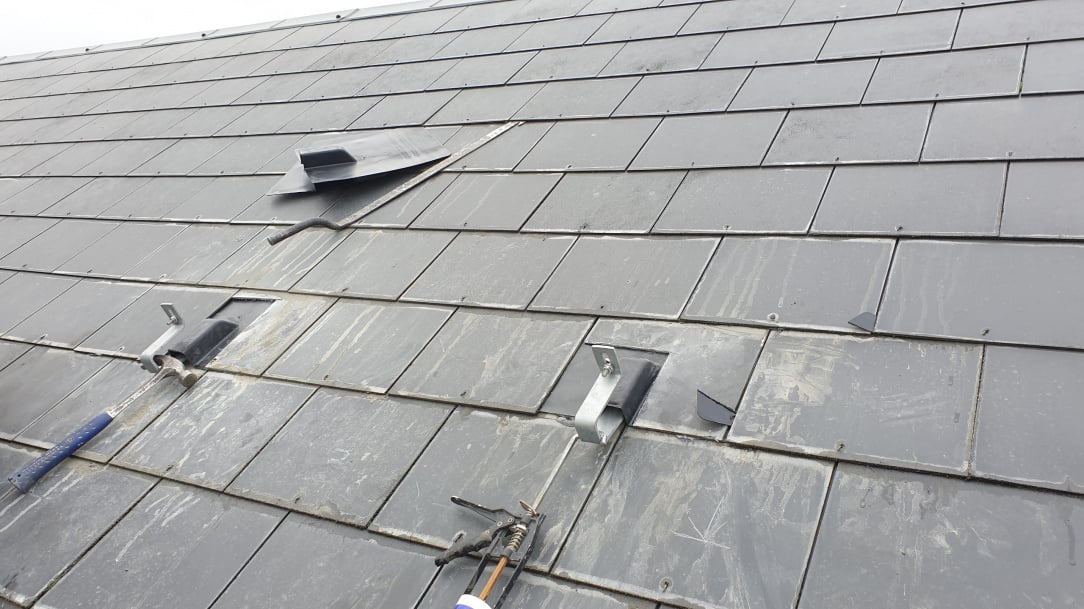
The bracket is secured directly to the rafter with 2 fixings about 100mm long. Once the brackets installed, the rails are attached to the brackets .

Finished rails top and bottom

Front of Solar Panel
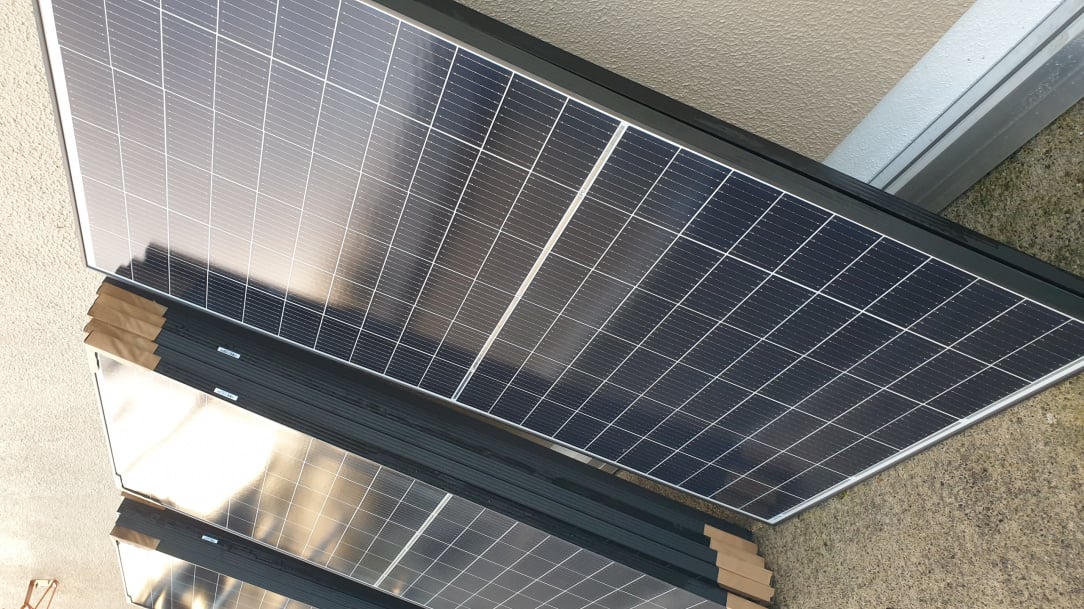
Back of Solar Panel
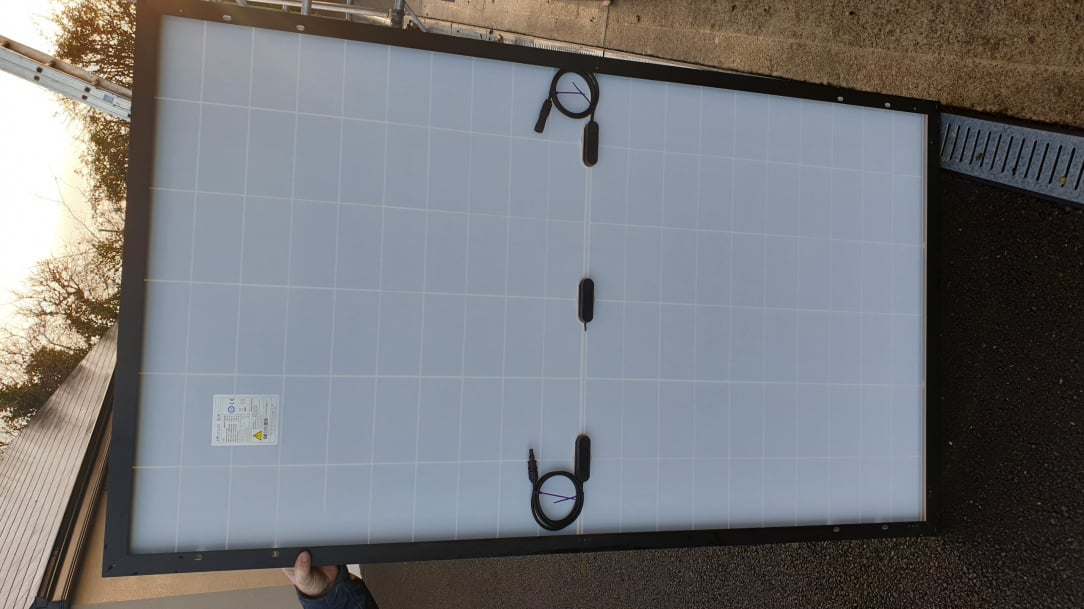
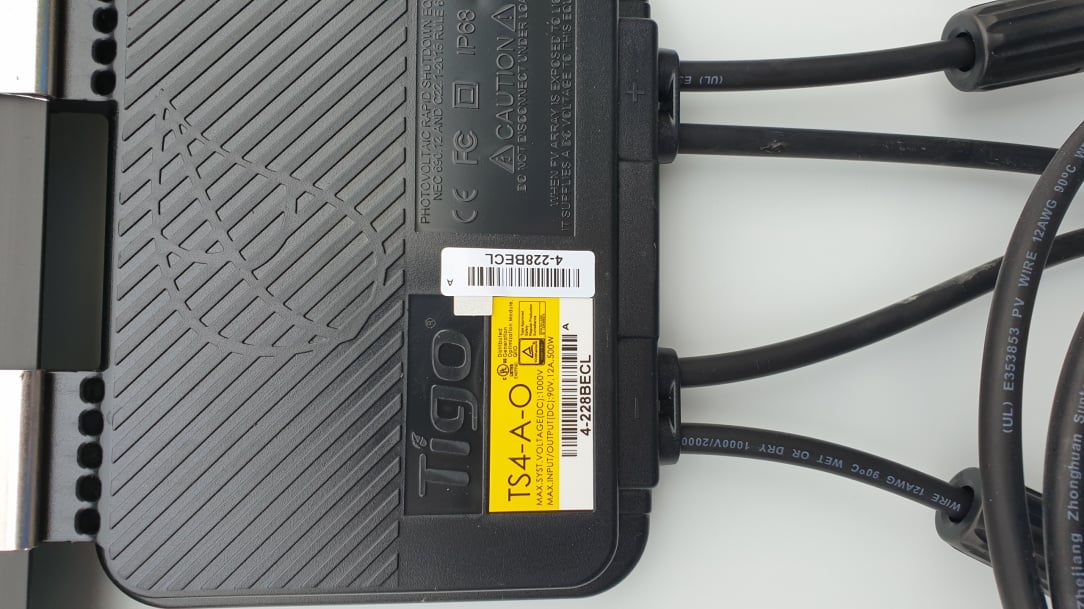
Back of Solar Panel with Optimiser attached

Optimisers:
: If you are going to have any shadows on your panels then you need optimisers where shadows will fall. Why? Because if the sun is shining and one panel on a string of panels goes into shadow, then it is as if all your panels are in shadow. If an optimiser is fitted on the panel where the shadow is cast, they that panel stops but all others will continue to generate power. Be sure and ask your installer for them if you think you need them. My installer didn't push them.
Picture of Inverter Mid install below showing connection point for AC back up. Not sure if all inverters have this connection but the Solis hybrid inverters do. This allows you to run a few small items (up to 3kw rating) from your batteries in the event of a power outage for as long as you have charge in your batteries. This could come in handy for planned power outages where you can ensure your batteries are fully charged from the grid and use the back up connect to power things like freezer or fridge. Some people just mount a socket in the attic and run down a lead from attic if needed. I got my installer to run the lead down to the utility and mount a double socket on the wall beside the freezer socket for easy change over. I can then plug an extension lead to have power on my worktop for small things like phone charger or wifi router. Please note the power will only last as long as your batteries have charge. If power outage was a day or two, the solar won’t charge up your batteries as they disconnect automatically in the event of a power outage.

Install Internally:
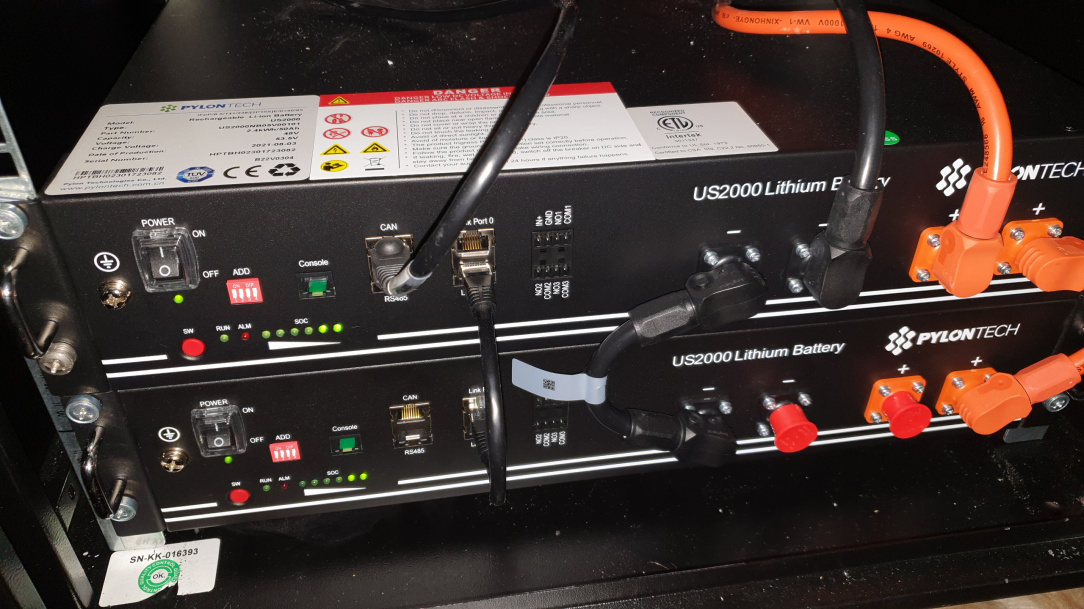
The inverter, the batteries and the various switches and meters all take up a nice bit of space. I had hoped to fit the inverter in a larger corner press beside my distribution board in the utility and the batteries in a press underneath however the batteries hadn’t a chance of fitting in the press! I had wanted to do this so I could have easy access to inverter to adjust charging times for battery depending on sunshine forecast. Also, thought it would be safer from fire perspective. In the end I had to revert to my attic which was a little disappointing (cant see myself being as bothered to go up and down to attic to adjust times for night time charging as often as I would have if in utility so not getting the max benefit of the system). Also, just for safety I installed a battery smoke alarm in the attic as the batteries and inverter are located right over my bedroom

Batteries
Install Externally
Most important thing here is the aspect of your roof and potential for shadows. In my case, my roofs were pretty ideal with back of house SE facing and side was SW facing (with chimney) giving me a mix to get solar across the day.
I thought I would have no issues with shadows on my SE roof and some on my SW because of the chimney. But as you can see below, I was lucky that it was sunny the day of the install, so I sent up the drone to see was there any shadows and low and behold I was getting shadows on not one but 2 panels on my SE roof caused by my SW roof! This was mid Nov as about 130pm
This got me thinking what would the shadows be like at different times of the year when sun is higher and lower in Summer and winter? So, I went back through drone pictures I happened to have taken of the house last Summer and was able to get some good info on how shadows cast on my roof. In the end I determined I need 6 optimisers on my SW roof because of the chimney. So my advice to you is if you are planning far enough ahead, take note of where shadows are on your roof at different times of the day and different times of the year. I know not everyone has a drone (it was definitely handy for me!) but you might still be able to get some pictures or see from the ground. It could be worth your while. It would have killed me if I had only seen the shadow on the panels after the installer was gone…thankfully wasn’t the case!
Roof Shadows:
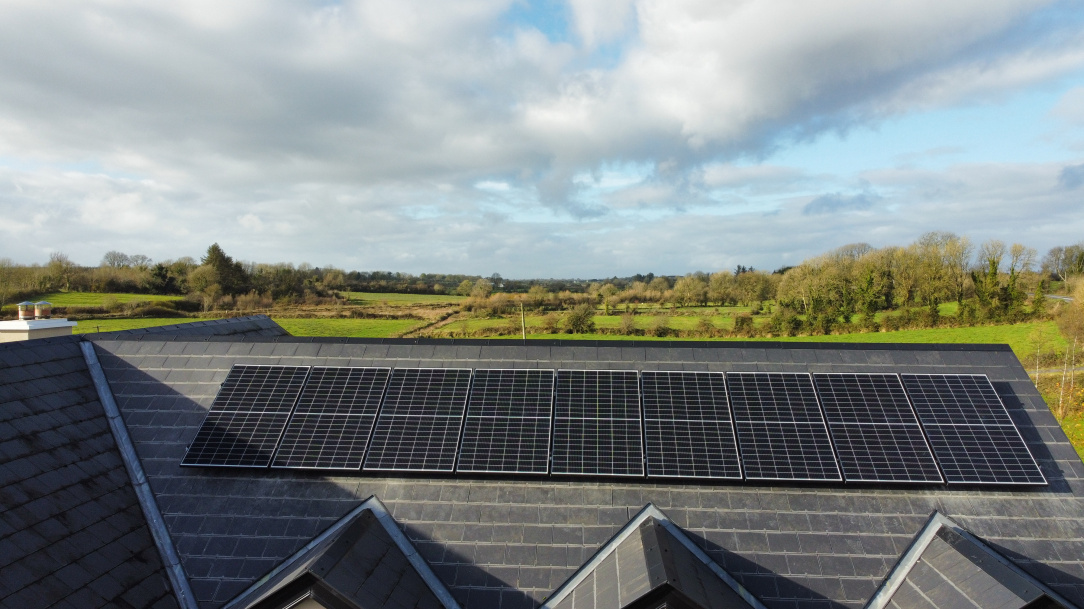
Roof Install Both Roofs Isometric
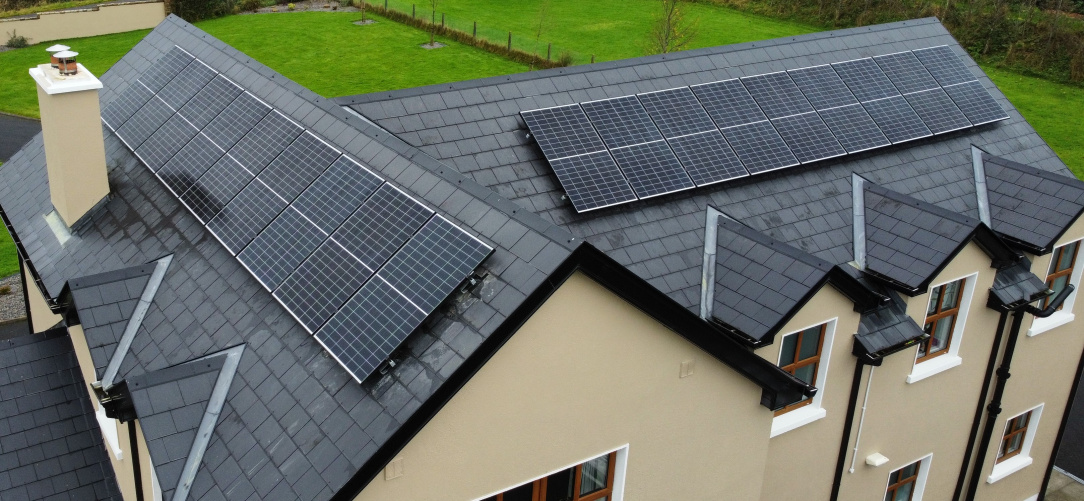
Roof Install Both Roofs Plan

So, in the end my install included:
- 6kw Solis Hybrid Inverter
- 18No 345w JA Solar Panels on a slate roof with renosol fixing system
- 8 x optimisers
- 2 x 2.4kw Pylontech Batteries
- Socket installed in my Utility fed from the AC Back up on the Inverter
The solis inverter has the capability to charge the batteries overnight using my night rate (im sure others do too, im just not familiar with other systems). Ive my solar pv in just over a week now and am charging batteries to 90% overnight and am finding that the batteries combined with the limited solar for this time of year (daily yield so far between 1.5kw and 4kw all on overcast or wet days with virtually no sun in Galway/Mayo area) are getting me to 6pm so only paying day rate electricity for 5 hrs! Not bad for this time of year!
Happy Planning All!