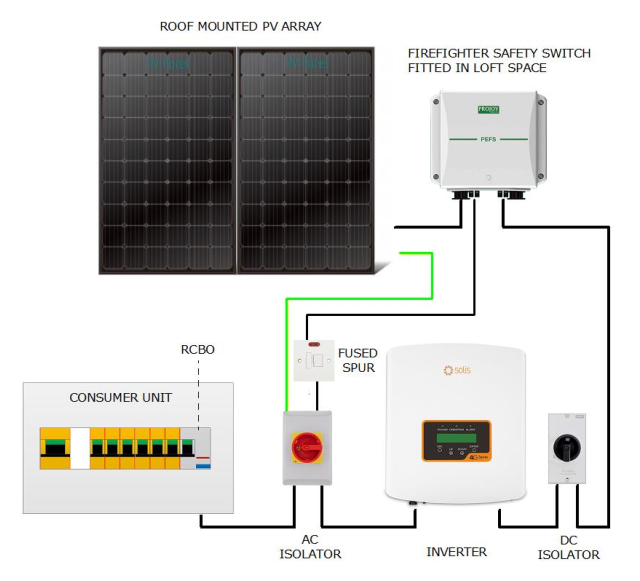
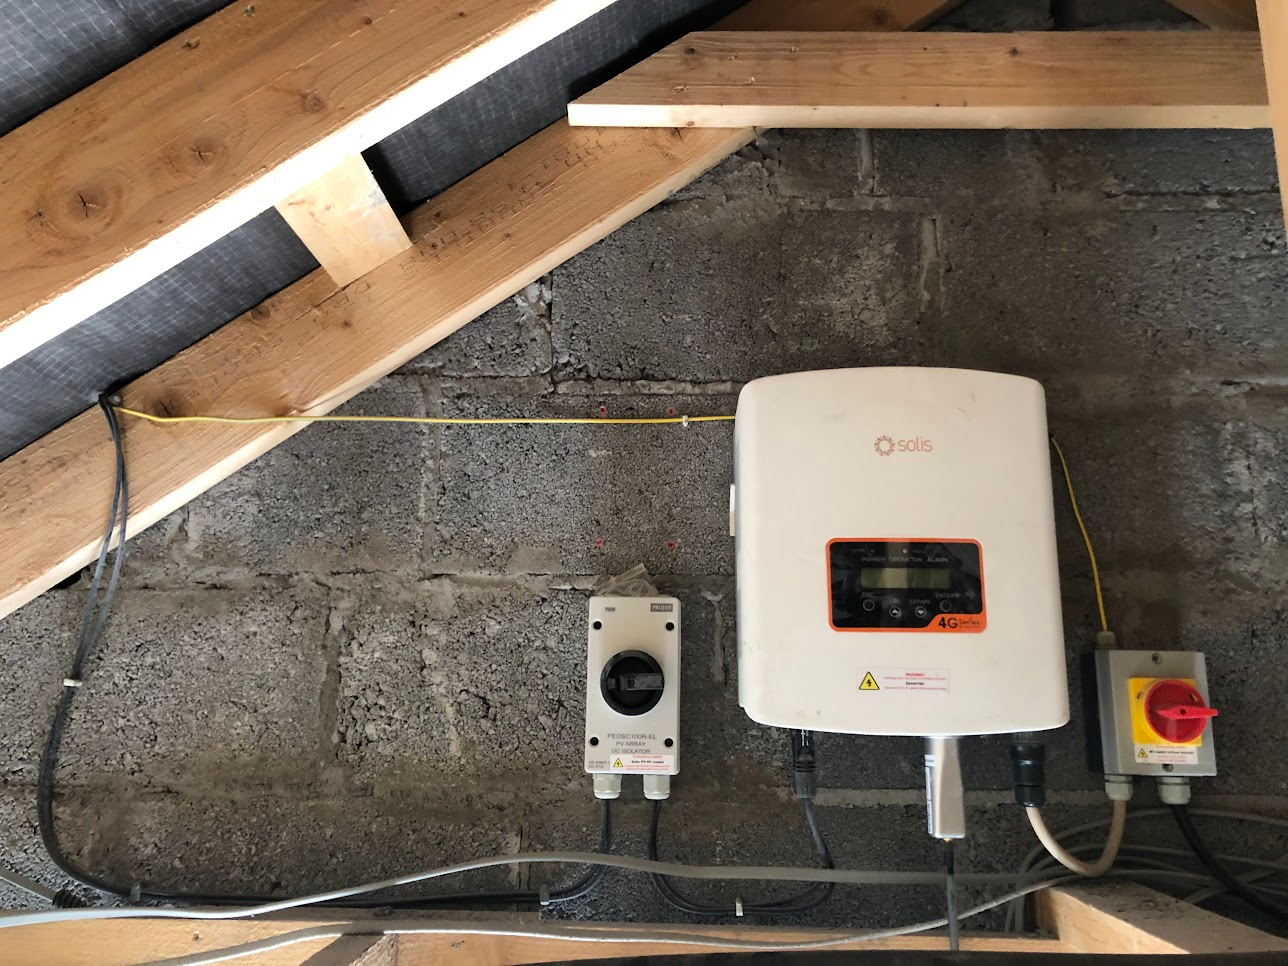
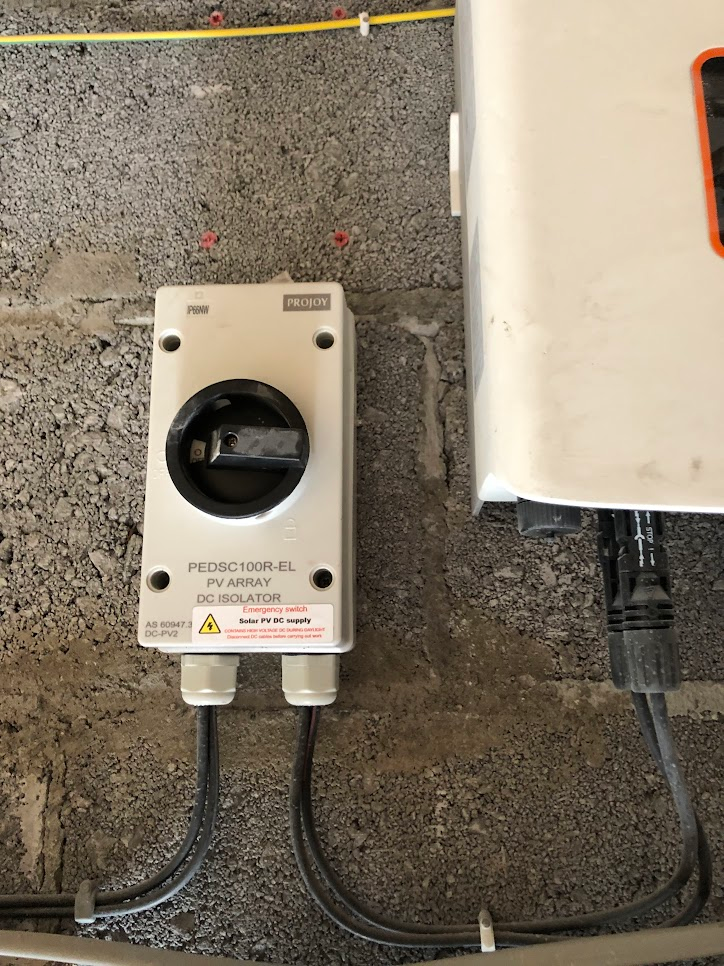
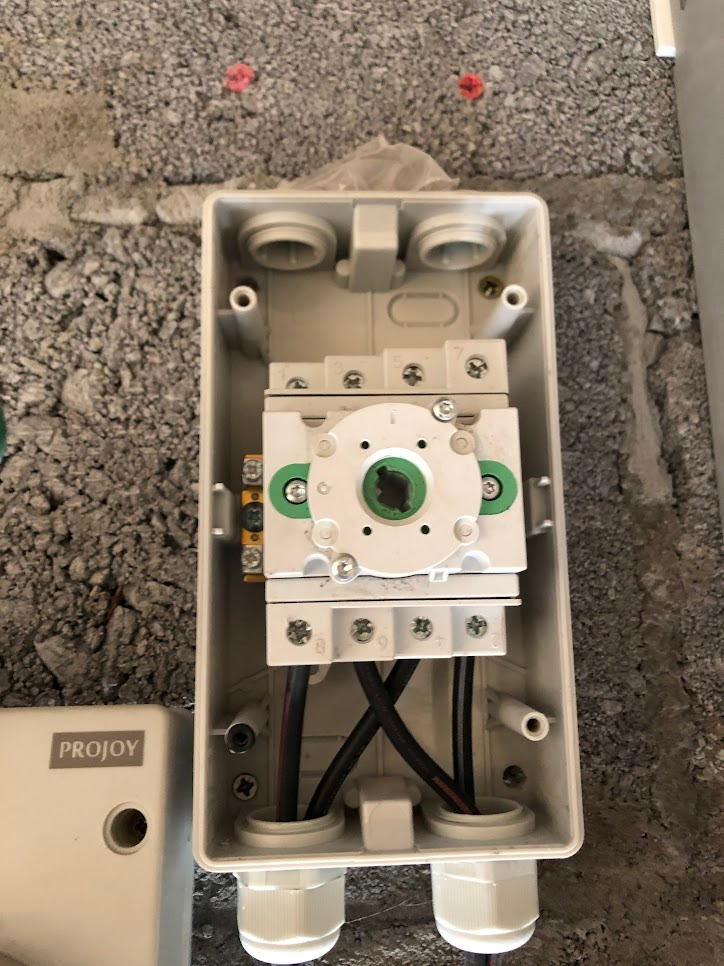
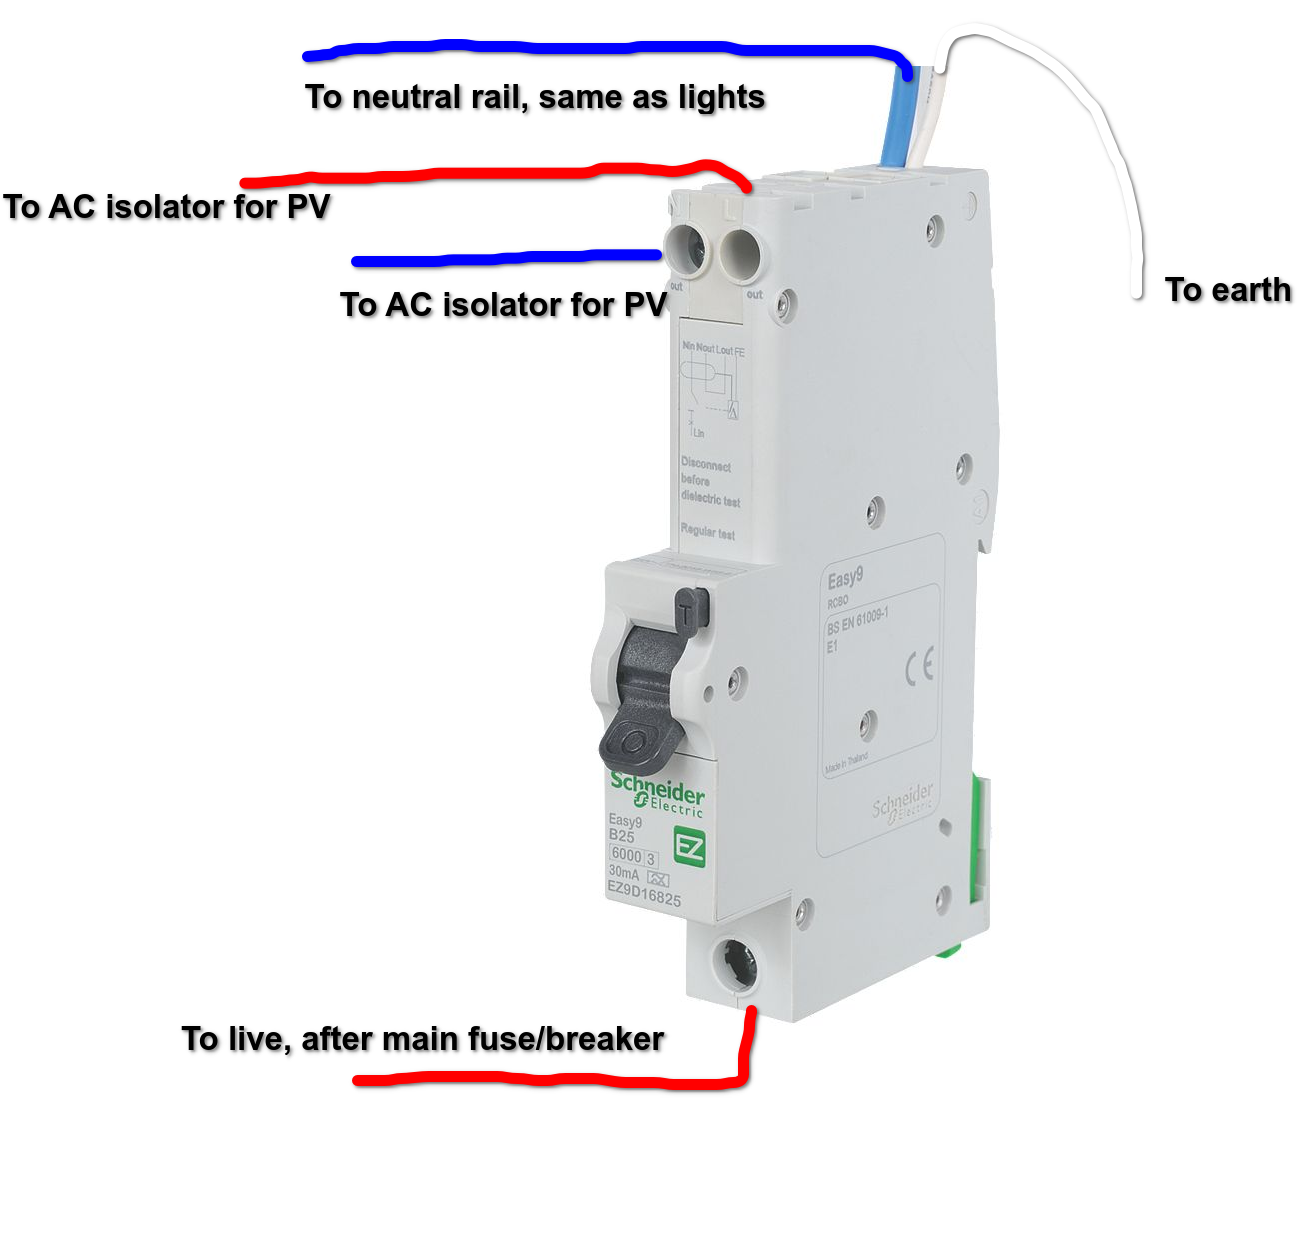
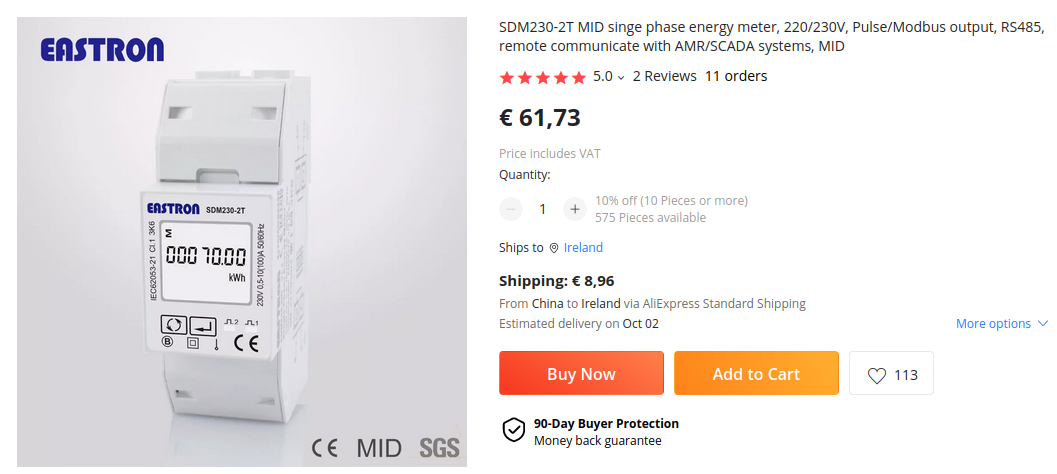
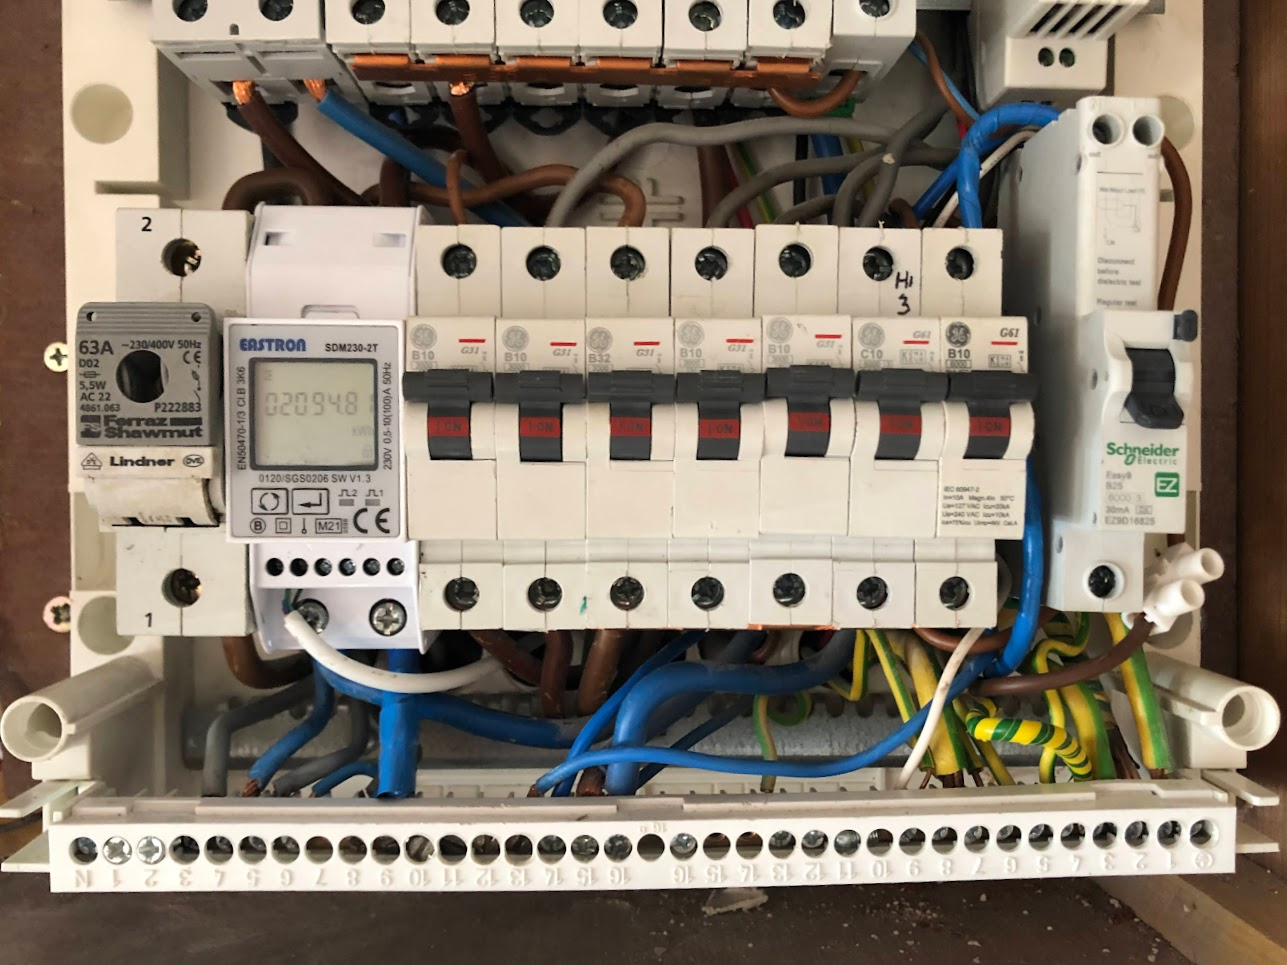
Ive mostly lurked on this forum for information on PV solar panels installations. There is some fantastic information here, so I wanted to try and do my bit giving back some information by outlining how we did our own solar PV install. We were building a new block garden shed, and decided to look into installing solar panels on the roof. We had a family friend who was a RECI electrician and could help where needed.
Specification
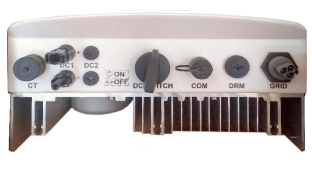
Solartricity.ie has an online designer, where you can specify the number of panels that you need, and it will output a Bill Of Materials (BOM) for you to purchase. You can then purchase the materials from them, and they will deliver it all on a pallet within a day or two. For our installation, we wanted 6 panels as it was the most that could be installed on the south facing side of the roof of the new shed that was being built. Some highlights of the final BOM was:
- 6 x 360w panels (2160w in total)
- Solis Mini 2Kw 4G inverter
- “K2” mounting system for slated roof
- Overall cost of kit: 2247e
All parts were included, bar the following:
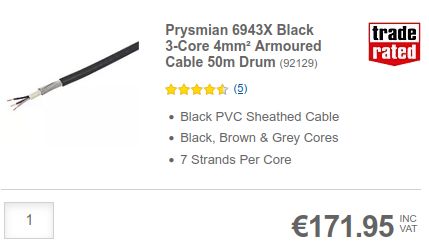
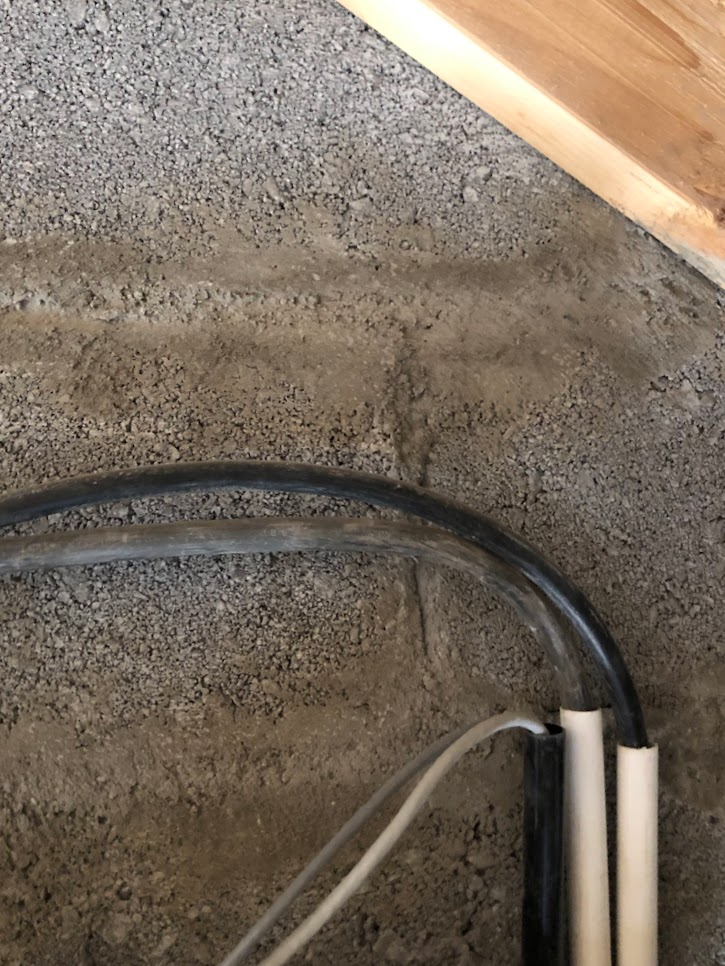
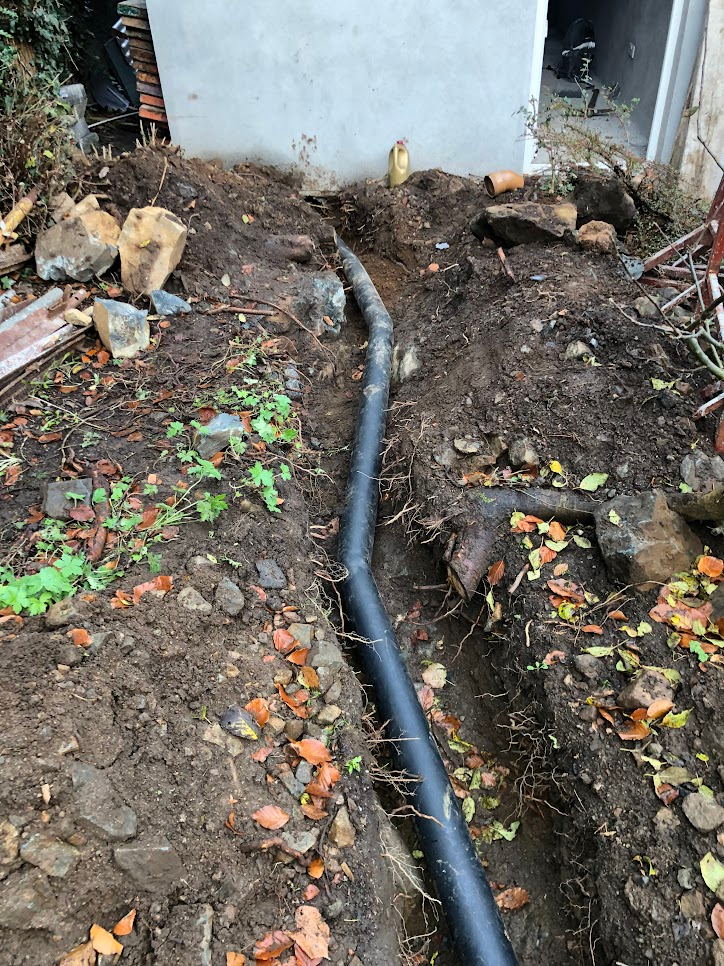
- 50m 3 core 4mm2 armored AC cable
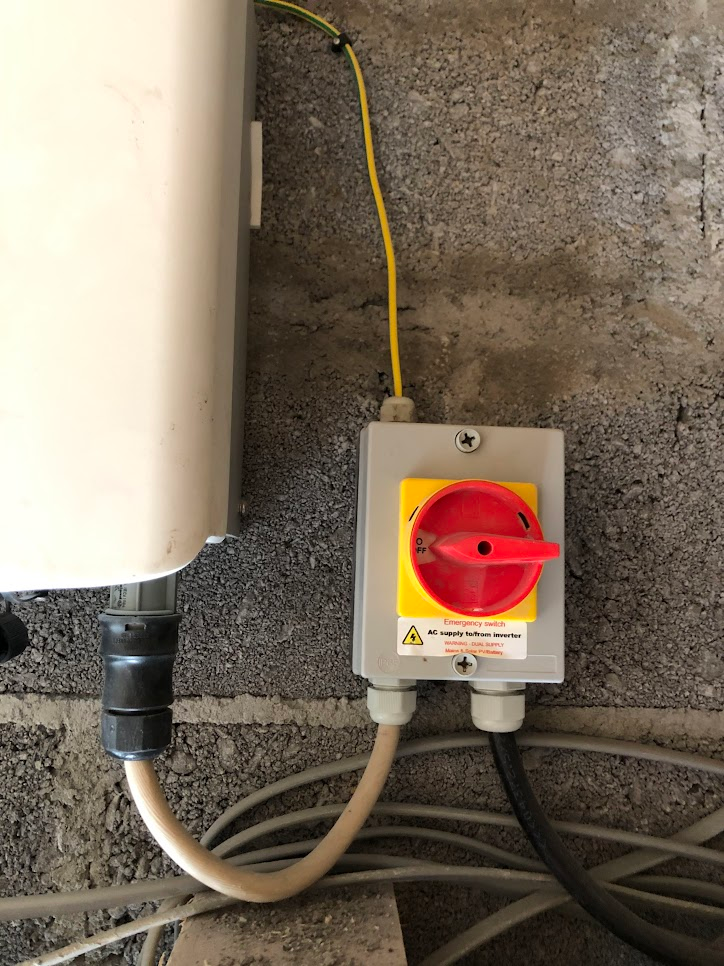
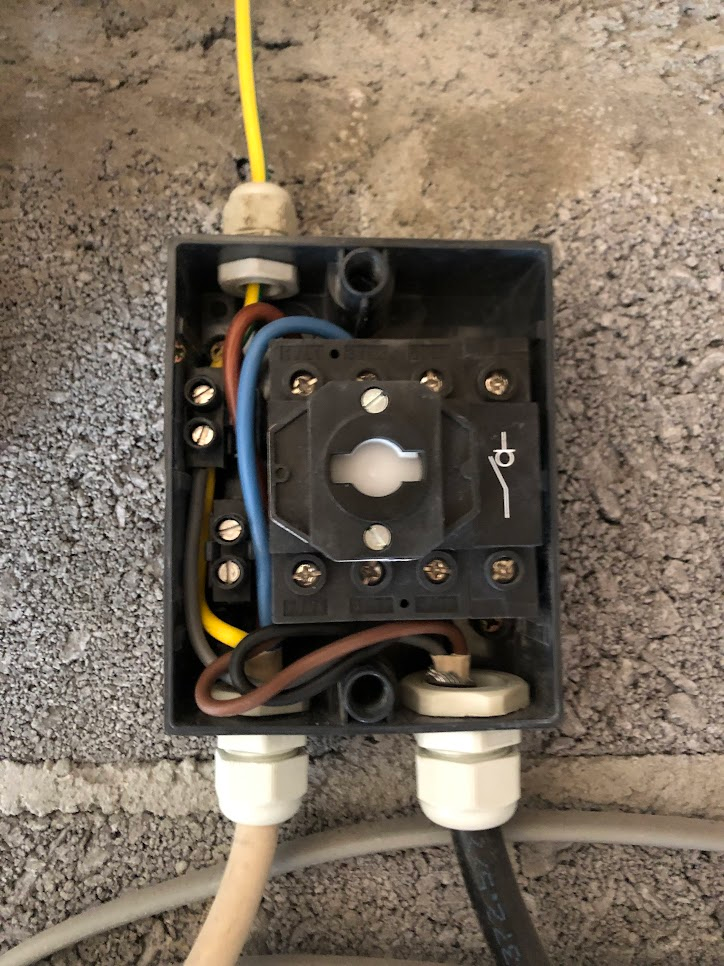
- This ran from the consumer unit in the house to the inverter in the shed.
- Cost: 170e
- 4” conduit to bury the armoured cable in the garden
- Trunking and clips for cables, for running the AC cable up the shed and house wall.
- Aluminum paneling to place the trunking/cables behind on the shed wall.
Approx overall cost of materials: ~2500e
Return on investment
I used the Irish Government's SEAI online calculator to find out how much money we would save.
https://www.seai.ie/tools/solar-electricity-calculator/

So it looks like we would break even after roughly 7 years, and save 341e every year after that. Note that this was calculated before Putin decided to invade Europe, so the savings are better now due to the increased cost of energy.
To be honest, doing a self-install does not save as much as you would expect compared to getting a professional to do the install due to the very generous grants available. These grants are only available if the installer is a SEAI registered installer, not just a RECI electrician. However, there is still a saving to be made, and I was looking for a project to do, so this looked like an interesting one to learn from.
Installation of the panels
The roof was to be done using bangor clay tiles, as shown below:
https://lh3.googleusercontent.com/eR1vJ0tauPMx6DIHASpRnc5CuBUW_1ZlWL5UE7q21V6NzWDB771wVm35Nwqsf2yJpDeNZ7zFkmROKHLanzKFh8lWKpO50I5bpqXKC4AHtxMZvtJPeXhBTLTa0crcmvwAzuk4-LraxJfSBEkBofsM8Vc
These are pretty thick in size, so solartricity were emailed who recommended their flashing kit for cable entry and “K2 Roof Fastner for flat tile, 15cm”.
The overall kit with these fasteners was ordered. The roofer finished installing the roof tiles. We left the scaffold up for easy access to the roof. Solartricity provided an installation PDF guide for the overall system.

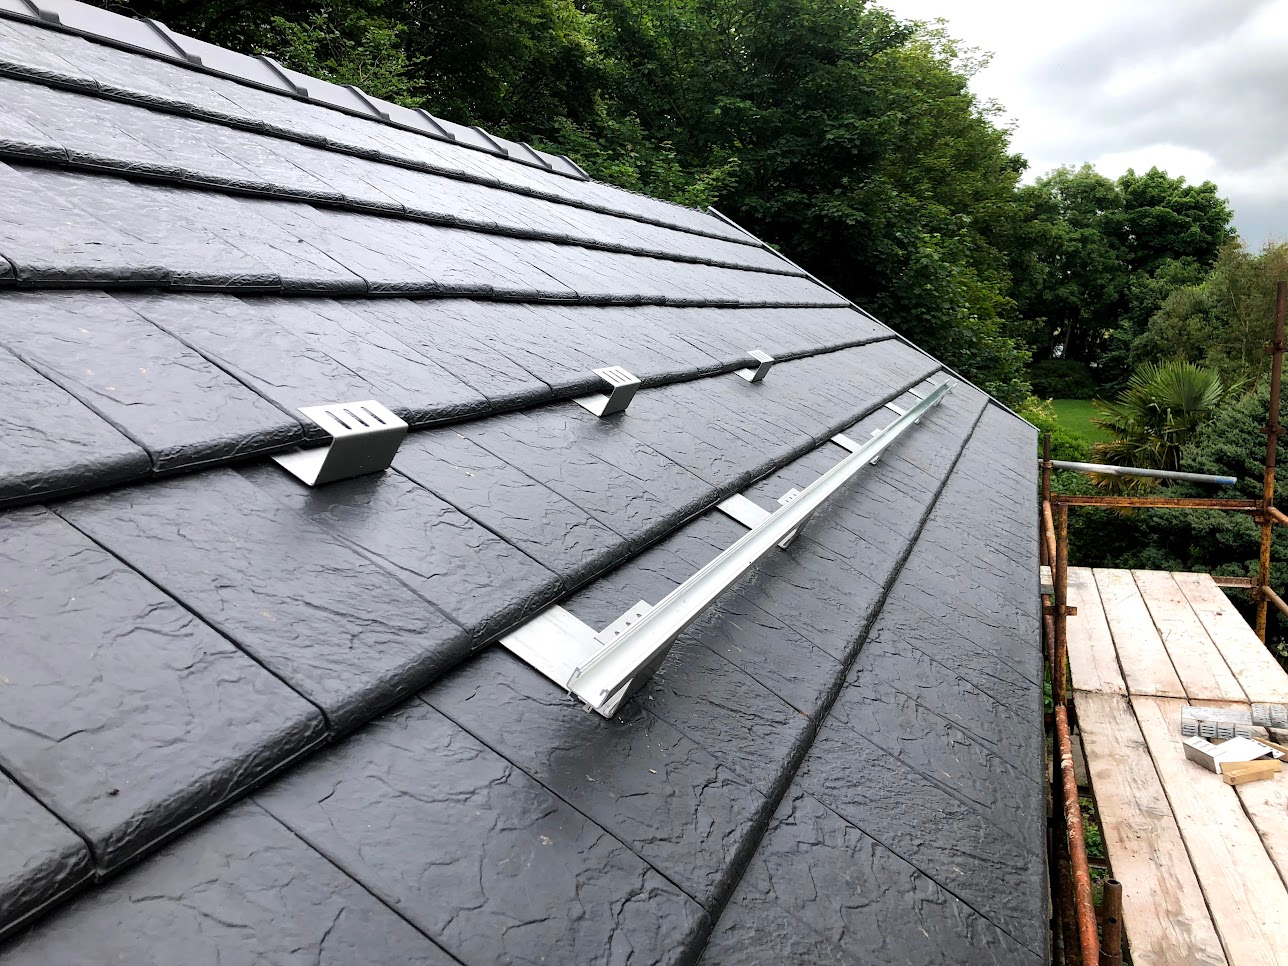
This was used to mount the brackets for the mounting rails. Each mount point was marked on a tile and the tile removed using a long flat head screwdriver. The roofer was asked to order a few spare tiles for breakages. Thankfully it was possible to remove all the tiles needed without breaking any.
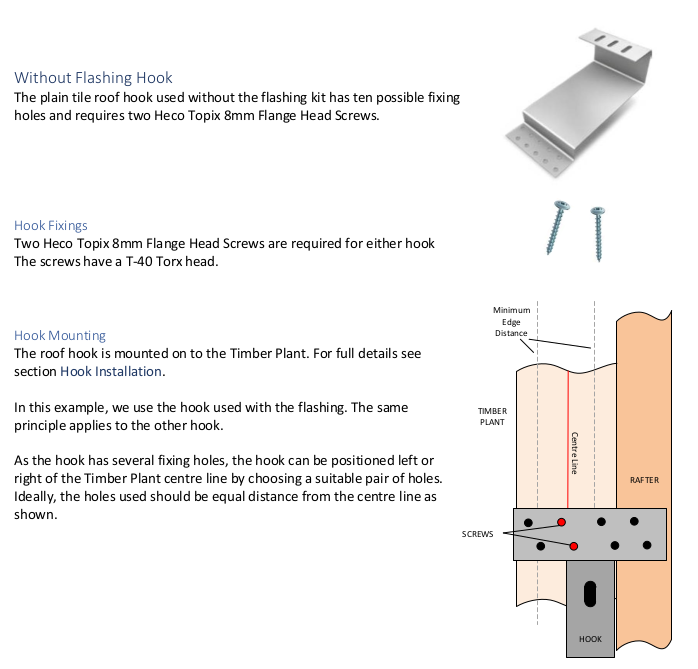
The guide specifies that the hook is screwed into the timber plant, which is in turn screwed into the rafter. I asked our roofer about this. He said that he could see no need why this was suggested, as it should be better to screw the hook directly into the rafter. As the shed was not in a high-wind load area, we went with this approach.
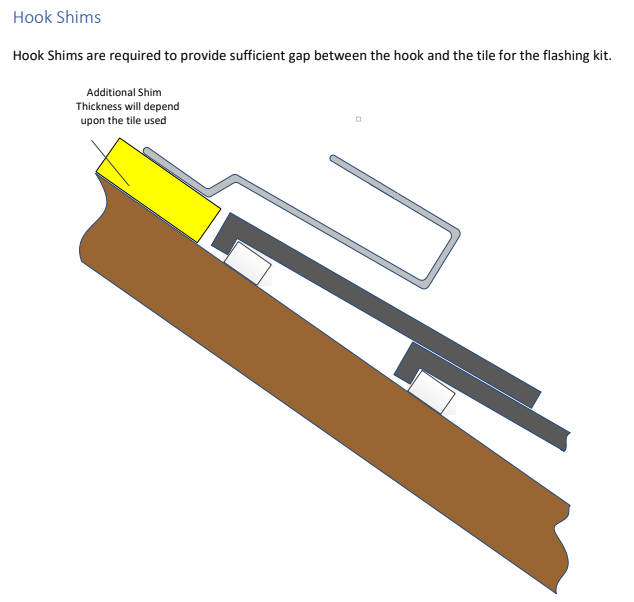
Shims were cut to ensure that the hooks cleared the tiles correctly, as shown from the instruction manual below:
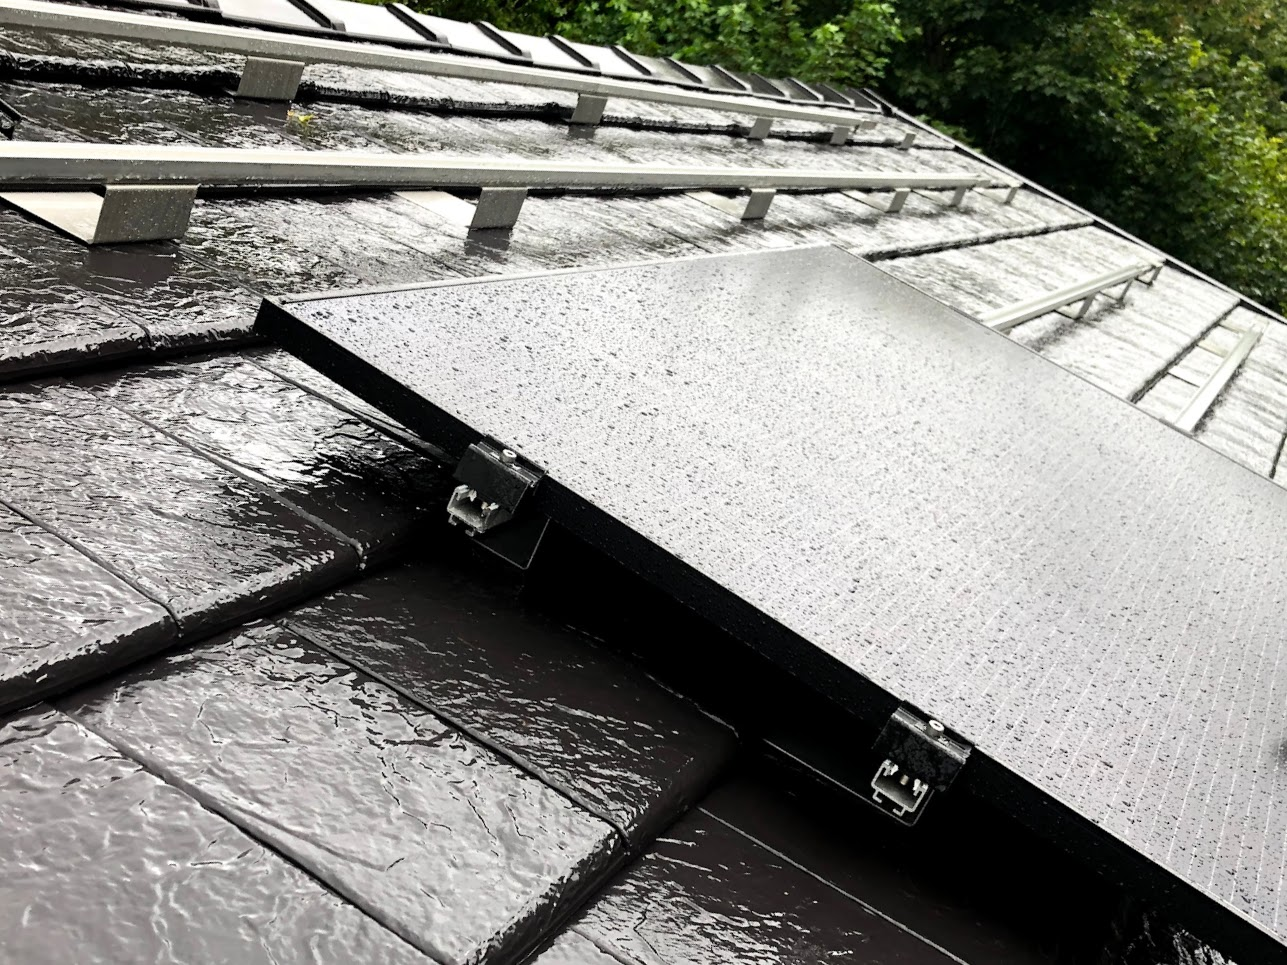
The panels were mounted to the rails using their clamping system, shown below:
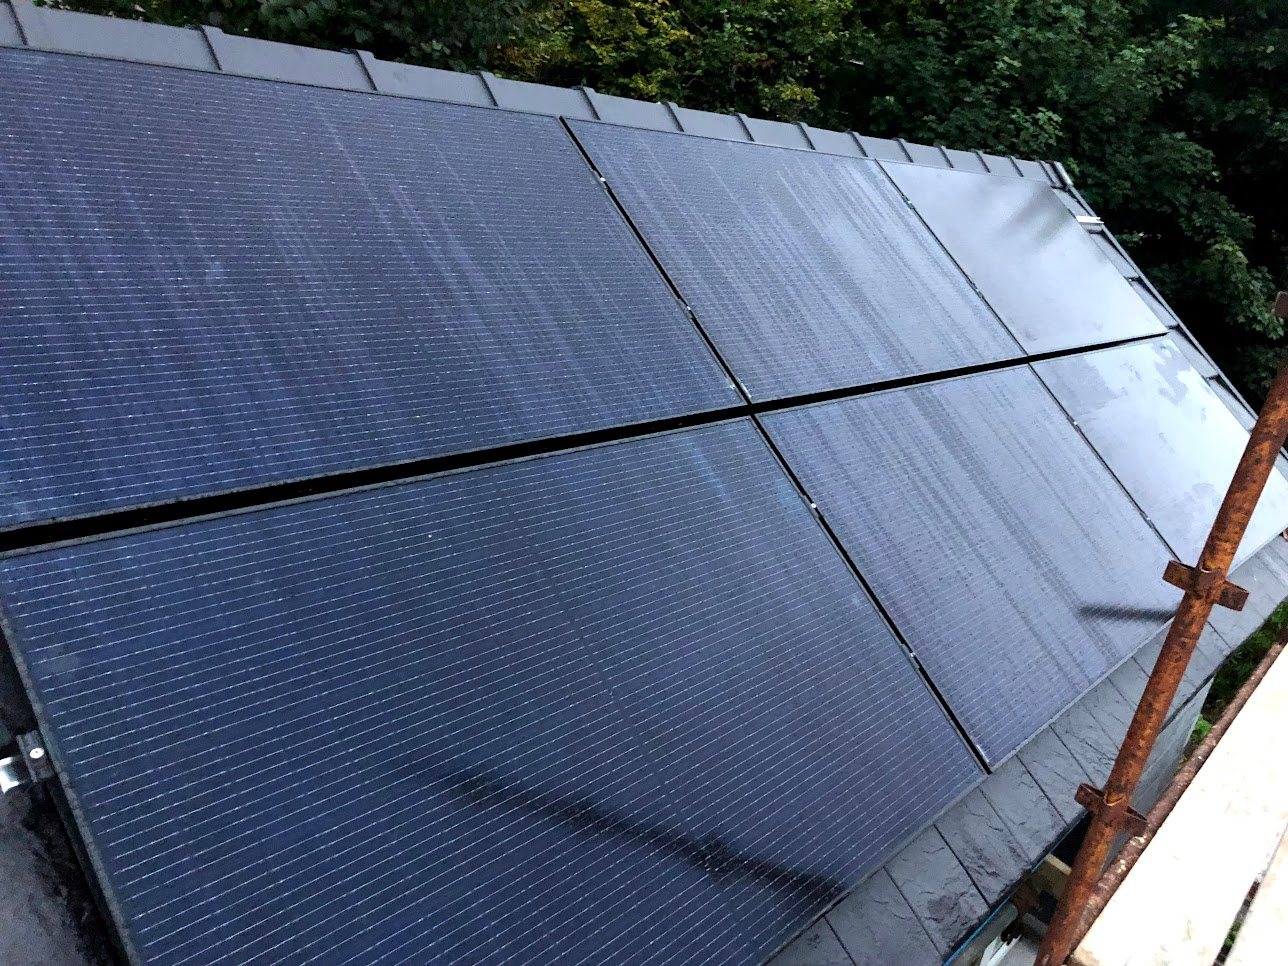
The installed panels are shown below.
Each panel has a female and a male “MC4” connector on a tail. This allows for them to be easily connected in series.
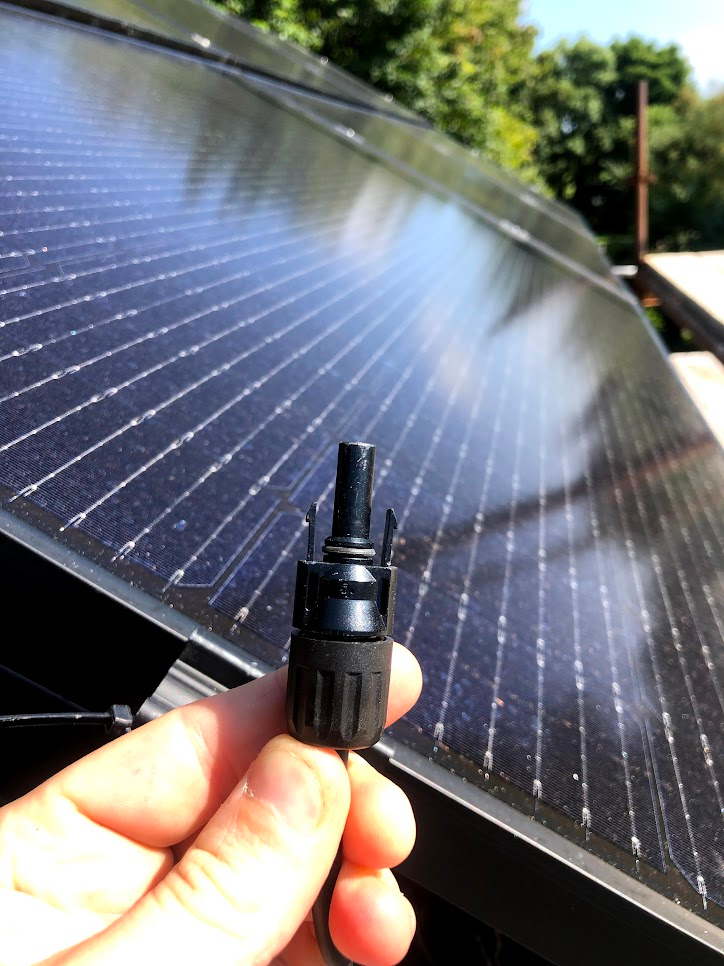
Female connector
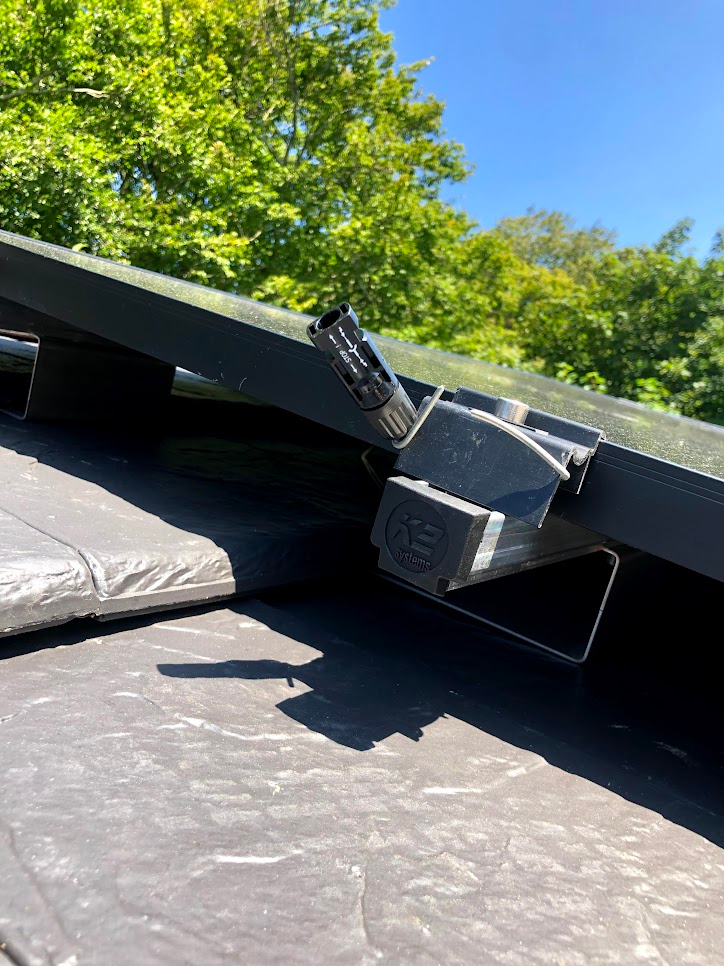
Male connector
A long tail was added to the first and last panel with enough DC cable to bring it through the attic for connecting to the inverter. These two connectors were carefully crimped with a proper crimping tool. I bought a couple of spare MC4 connectors off amazon.
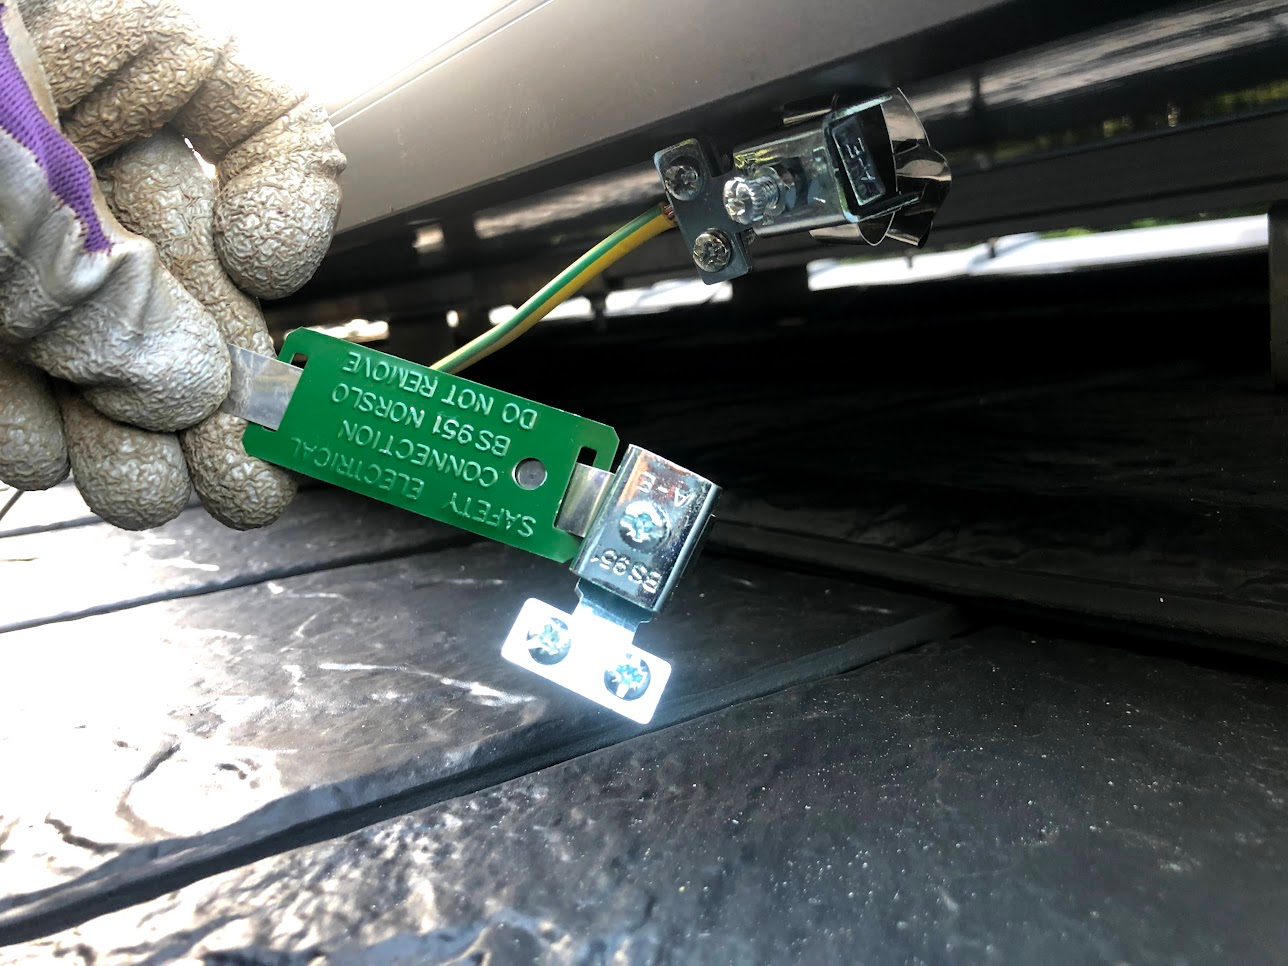
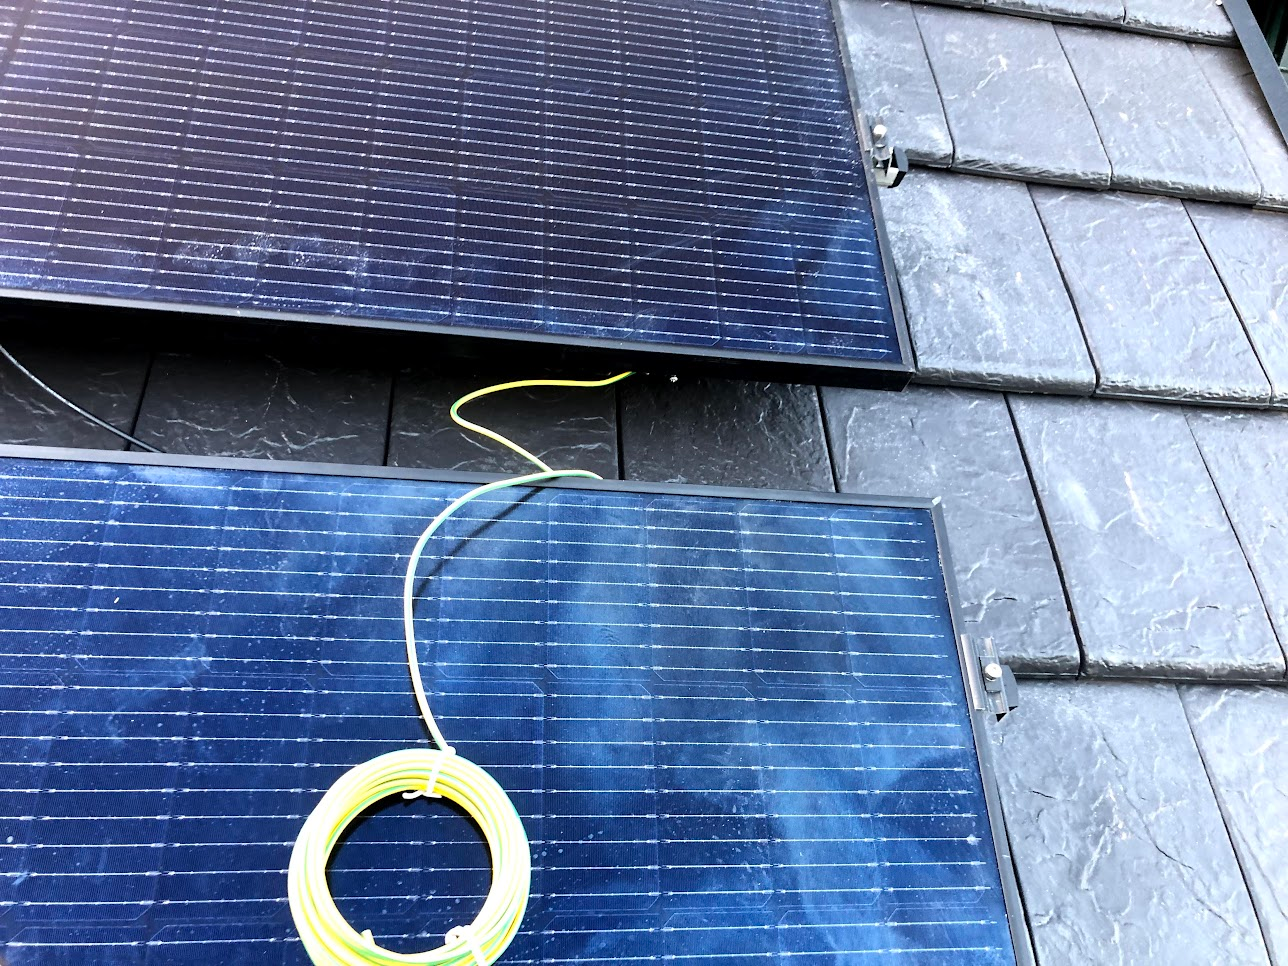
An earth had to be run from each panel. This was trickier to install, as there was no obvious connector on the panels, nor was the method described in the manual. As a result, outdoor earthing clamps were purchased from Screwfix and mounted to the aluminum frame of each panel.


A loop was made to each panel in series.

For entry of the cables into the roof, a notch had to be cut in one tile with a junior angle grinder with a diamond blade. This allowed the flashing to be installed.
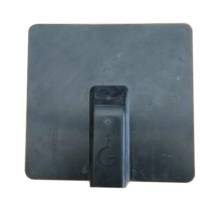
Flashing for cable entry through the roof
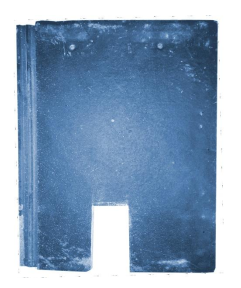
Notch cut in tile for the flashing
The installed cut tile, flashing, and the entry of the three cables is shown below:
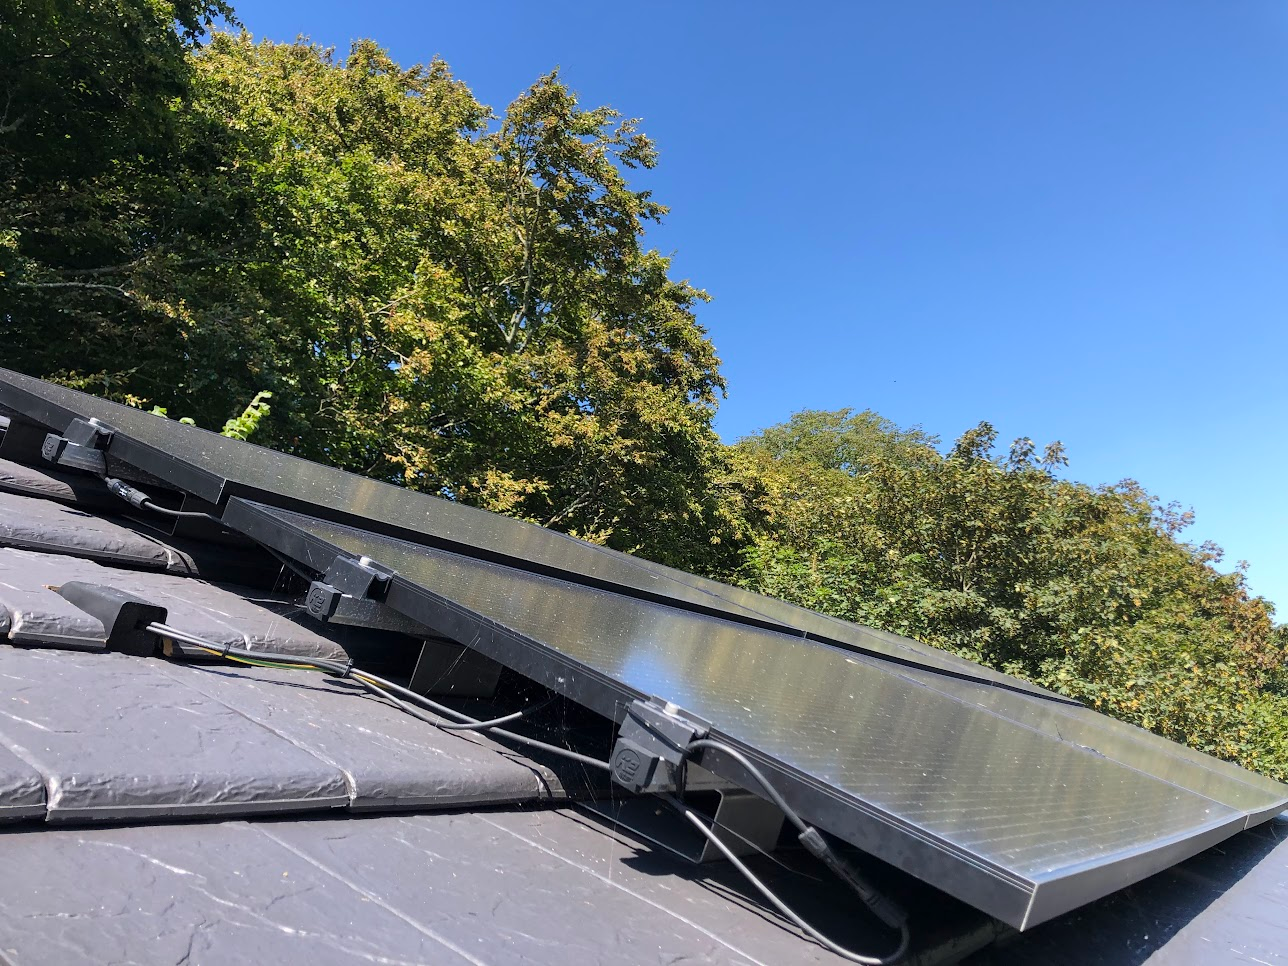
A small hole had to be made in the breathable moisture membrane below the cable entry flashing. All cables were secured with cable ties below the panels to keep them away from the elements as much as possible.
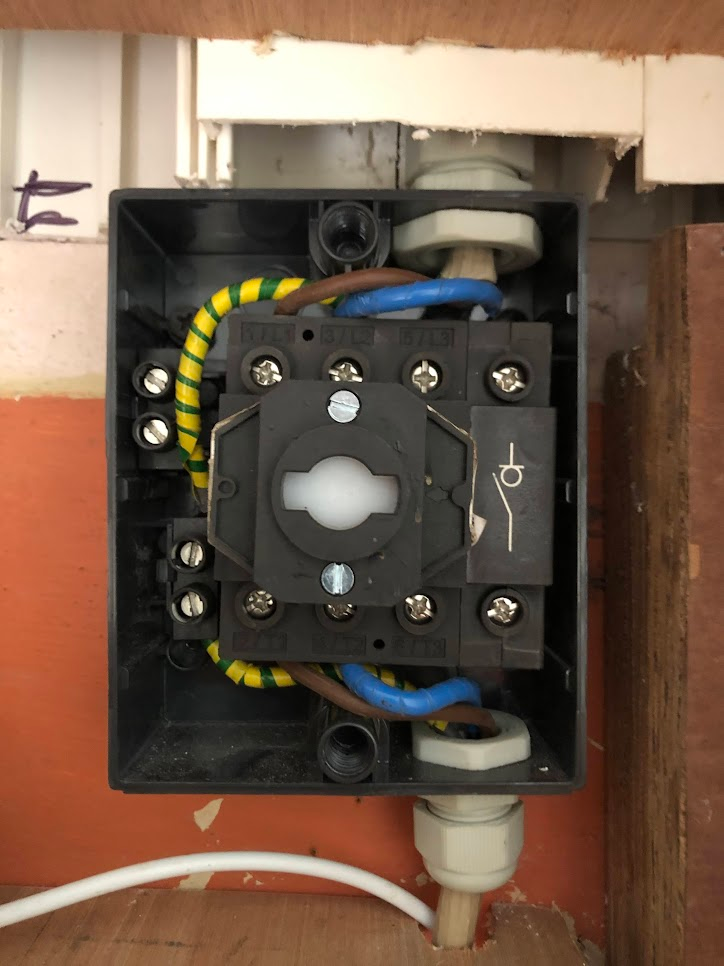
Next, onto the installation of the inverter.