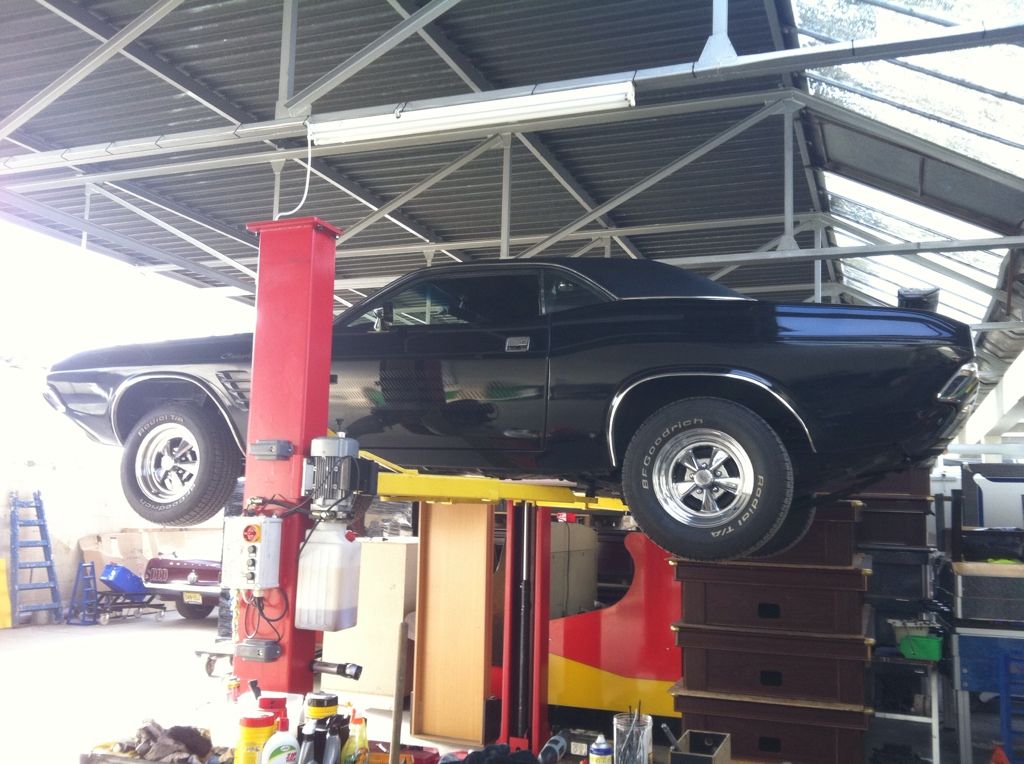
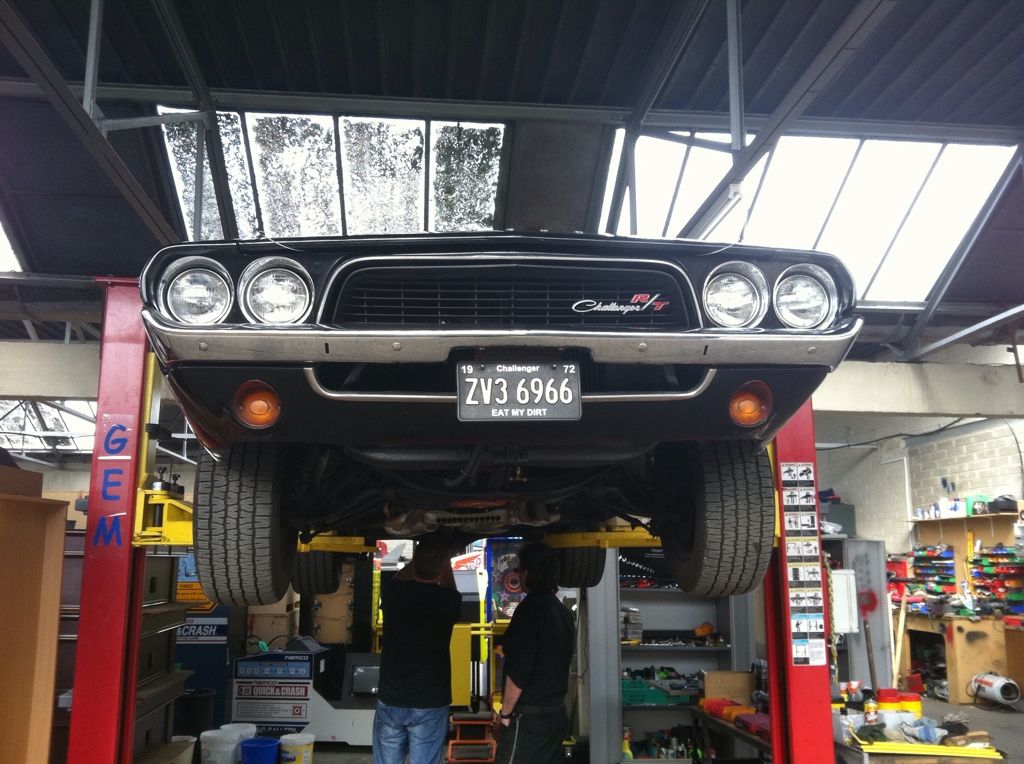
I'd taken a few weeks off doing anything in the Skunk Works from mid December till this weekend just gone. First job was to finish off the transport dolly for the Dodge.. the front upright would never work & I could have made the rears work but that would have needed an angled front upright so I did the right thing & cut all 4 off
The new front uprights have a piece of 6mm plate at the top that bolts to the rear most K frame bolt hole in the chassis, the precision bend you see in the plate was added with my larger precision percussion knockometer
The rears again just bolt into the front mounting of the rear leaf springs
This job is now done & she's pretty much ready to go to to the painter, I have one last job & that's to cut the hole for the fuel tank filler neck into the boot floor. Not exactly sure when she'll go for paint, the classic Mini my painter is doing is almost done, it's just finished the final sanding phase & should be in full colour this month. He also has a 996 in at the moment that needs a rear Qtr repair & both bumpers repaired... so I'm thinking that end of Jan/early Feb is probably when the Dodge will go to his place.
Barring anything going off the rails this old girl should be going to the painters next month, so time to finish off the last few tiny jobs I had left. I've replaced a lot of metal on this car & some of those panels where the locations that Dodge would stamp the VIN number under the paint. You normally can't see them unless you grind back the paint so I wanted to put them back on the car.
I won't bore you with too many pics here, but the front rad support gets the vin on the inside face stamped upside down for reasons. The cowl in front of the window gets them as does the drip rail in the boot, so I marked out the spots & tried to replicate the crap manor in which the factory applied them, I resisted the urge to make them straight & clear.
I also needed to cut the hole in the boot floor for the fuel filler neck to pass thru, I'd kept the old section of floor to use as a template
Used a hole saw to make the curved ends & then just trimmed out the middle, thought about making the hole smaller but then figured I wanted to match the factorys work
The big rubber boot seals the inside & I'll do something to seal the underside when I finally get around to reassembly after paint.
There is one final bit of body work that I need to do that I completely forgot about, so I'll get to that mid week or on the weekend.
Big step today, loaded the Challenger up & moved her across to my painters place... so let the transformation begin.
i can't believe how long I have been following this..!
Thanks for hanging in there... sorry I've been a little ADHD with my projects & as such they all take way longer than they should.
No problem. it's incredible what you are doing.... keep going, even if you don't get the comments, there are 1000s watching this thread.
Greatest Boards thread ever
Work has finally started this week o n the old girl, starting from the boot & working our way forward as you would expect. The boot gaps are not where my painter wants them to be, the panel under the rear window is sitting a little too low for his liking & the join between the Qtr panel & the roof will be completely redone, all of these areas could of course be fixed with a skim of bog, but that's not the right way... so metal finishing is the goal here.
Popped around to see the car during lunch today, a bunch of the previous repair work has been undone & redone to my painters standards as he felt that there was just way too much filler being used on the join of the Qtr to the roof.. so that's been redone now.
The boot lid had an issue with tin canning on the drivers side, tin canning if you're familiar is when the metal has been stretched probably from overworking & when you touch it will pop in & out like an old tin oil can... the fix is to shrink the metal back to make it tight again.
In this case the Welder shrink gun was used
The bare metal work on most of the rear is done, so a good coat of etch primer is needed as we're getting towards winter here now & bare metal won't last long before surface rust shows up
I think she looks pretty in white... now I'm wondering if I should go all Vanishing Point on the build? Nah, I'll stick with the triple black I think
Dropped off the passenger side front guard at lunch today... the filler work is finished on the passenger side now, don't freak out most of that filler will be sanded off when the whole side is blocked back down. He hopes to have this side finished & ready for high-fill by the end of next week.
Caught up briefly with my painter today, turns out he wasn't happy with the shape & fit of the new front guard at all so he's reshaped that completely now to fit.
Ok, so due to some non car related stuff going on in my painters life he's been out of the workshop for a while & has only just gotten back into working again. as such the Challenger has sat untouched for 2 months now. But I was around with him on the weekend & he's back on deck & back into the car.
The boot lid & the surround metal needed a good bit of work done to it to make the gaps right to how he wanted them, I've just dropped off the trim pieces that bolt to the back so that he can work that final section to get that right too.
The section under the rear window was sitting a little low & need to be bent up to meet the deck lid correctly with the boot channel rubber installed.
We've installed the light clusters & the rear bar too to get their fitment right also.
Hopefully things move on at a better pace now for the rest of the year.
Right... life has gotten in the way for both me & my painter so this feels like it's dragging on, but progress has been made & it feels like we're back on track. There was a lot more worked needed on the passenger side rear Qtr & the sill panel that was first thought so it's taken a while to get the side finished. The good news is that the drivers side looks like it doesn't need near as much work so we're hopeful that that side can be finished in a fraction of the time.
As always lots of blocking & sanding needed to be done as this is a black car & black is the most unforgiving colour for a car to be painted... it has to be a mirror finish or you'll see every imperfection.
This side of the car is in what I call fulll Luftwaffe paint now... so this is all finished, the plan for this coming Sat now is that I'll bring the bonnet around & we'll fit that on, the drivers side door & probably the front nose too so he can focus on finishing off the other side.
Your stamina is to be admired, a lot of people would have tended to look for shortcuts due to the length of the project. Truly impressive.
That's the only upside to having way too many projects on the go at once I guess...
I do a bit of Targa/Road Rally stuff too & that takes up a lot of time so I'd actually be in trouble if these things all happened quicker.
Speni some time this morning with my painter helping him fit the bonnet & the passenger side front guard & door so he can get the drivers side & the front all worked & prepped for paint. He still thinks I'll have the shell fully painted in my shed for assembly by the end of the year... I'm not so sure but as always I'm in now rush.
A bit more time was spent this Saturday morning sorting the front end gaps & fitting up the front light panel... shes coming along well now.
The car is in high fill primer now.. so she's soooo close to going in the paint booth, no promises have been made but she may well be painted before the new year now....
Given that I might get this car back in a few weeks I need to get the diff sorted, I want to be able to take the shell off the travel dolly & back onto her own suspension & wheels quickly when she does get back here.
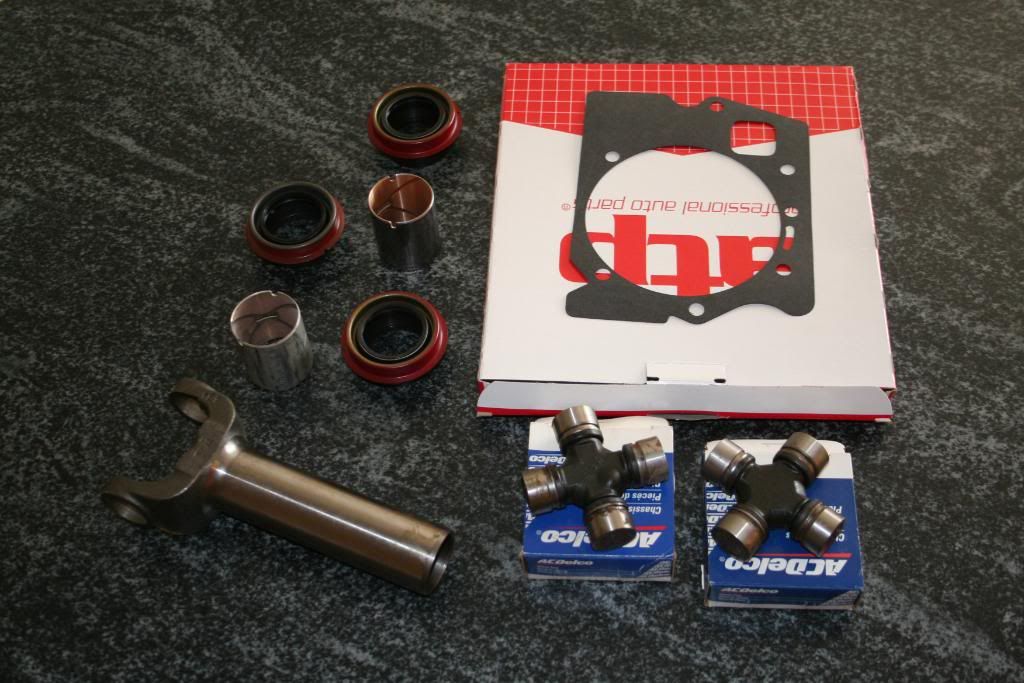
To that end I need to clean off the diff & paint it, fit the big brakes & sort out the fact that it now leaks from front bearing.
I've taken the brake lines off, I'll clean & inspect these but I think they'll be fine to reuse
The bump stop on the snubber seams fine too so probably no need to replace that either
The seal at the front is propper fucked... it's pissing fluid, I need to do some research to see how easy it is to pull & replace that...
I want to paint the housing so I need to decide do I remove off the brake parts still installed or just mask them off with tape & paint around them... from memory removing those handbrake shoes is a massive pain in the arse as I've done them a few times....
Thanks Dave Massive thanks for keeping us up to date with this amazing project. Hopefully we will see the beast on the road in 2024. Wishing you and yours a great Xmas.
Thanks for hanging in there... I know these project are taking a long time, but sometimes my outside of the shed life takes over. Plus I do a lot of other car stuff that I don't consider a true project so that doesn't make it onto this forum.
Once the car is home hopefully pace should pick up... but no promises
Spent a bit of time this afternoon getting filthy cleaning off the diff, got it back to bare metal... cleaned it up then primed it & painted it. It's come up nice. I didn't bother cleaning the 3rd member yet as I plan to pull that out to swap in a new LSD but I'll do that when the diff is back in the car & the car up on the hoist.
Things are moving along... the boot & doors have been painted now... looks like liquid, so happy.
I took these pics inside the booth, there was another coat to still go on after I got out of the way... but that's all the hanging panels painted now. The engine bay & car interior will be done during the week & hopefully the shell will be painted by the weekend time permitting.
All of the hanging panels except the bonnet are safe & sound at home with me now, the bonnet is fecking huge so it won't fit in the back of my Range Rover so I'll need to borrow a Ute to get that.
I'm making a little pile of the last few bits & pieces that need to painted body colour... I'm taking the headling buckets out so that behind them can be sprayed nicely.
There are a few of the retaining bolts that had been snapped off years ago, before my ownership & these will be a pig to get out as the panel is only tapped fiberglass & not metal
The drivers side mirror had it's remote adjustment cables cut off so I have a replacement, buggered if I can find where I put the passenger one this morning... I'll need to have a proper look for that this afternoon... mind you the GT-Four Rally car is getting delivered in an hour so that may not happen today.
I was wondering if I could leave the bonnet vents unpainted as they come a matt black anyway... but one of them has some serious paint flaws that will need sanding off so they'll need to be painted anyway, not sure if I'll do them the same gloss black as the car or if I do them matt or satin so that they stand out??
Other than the missing mirror that I'll hopefully find soon... this is the last of the bits other that the body itself that need painting... feels like the end of a big milestone...