quietsailor wrote: » 7 minutes to put the engine in!!!!!!!! :eek::eek::eek:
I'm still finishing up the little details, I have an issue where the metal dipstick tube for the trans doesn't seat fully in now as larger AN fittings I've used for the braided trans cooler lines interfere with it & it means that when running in gear it can weep trans fluid out past the tube & all under the car.. so I've gotten a fancy flexy braided version from Lokar
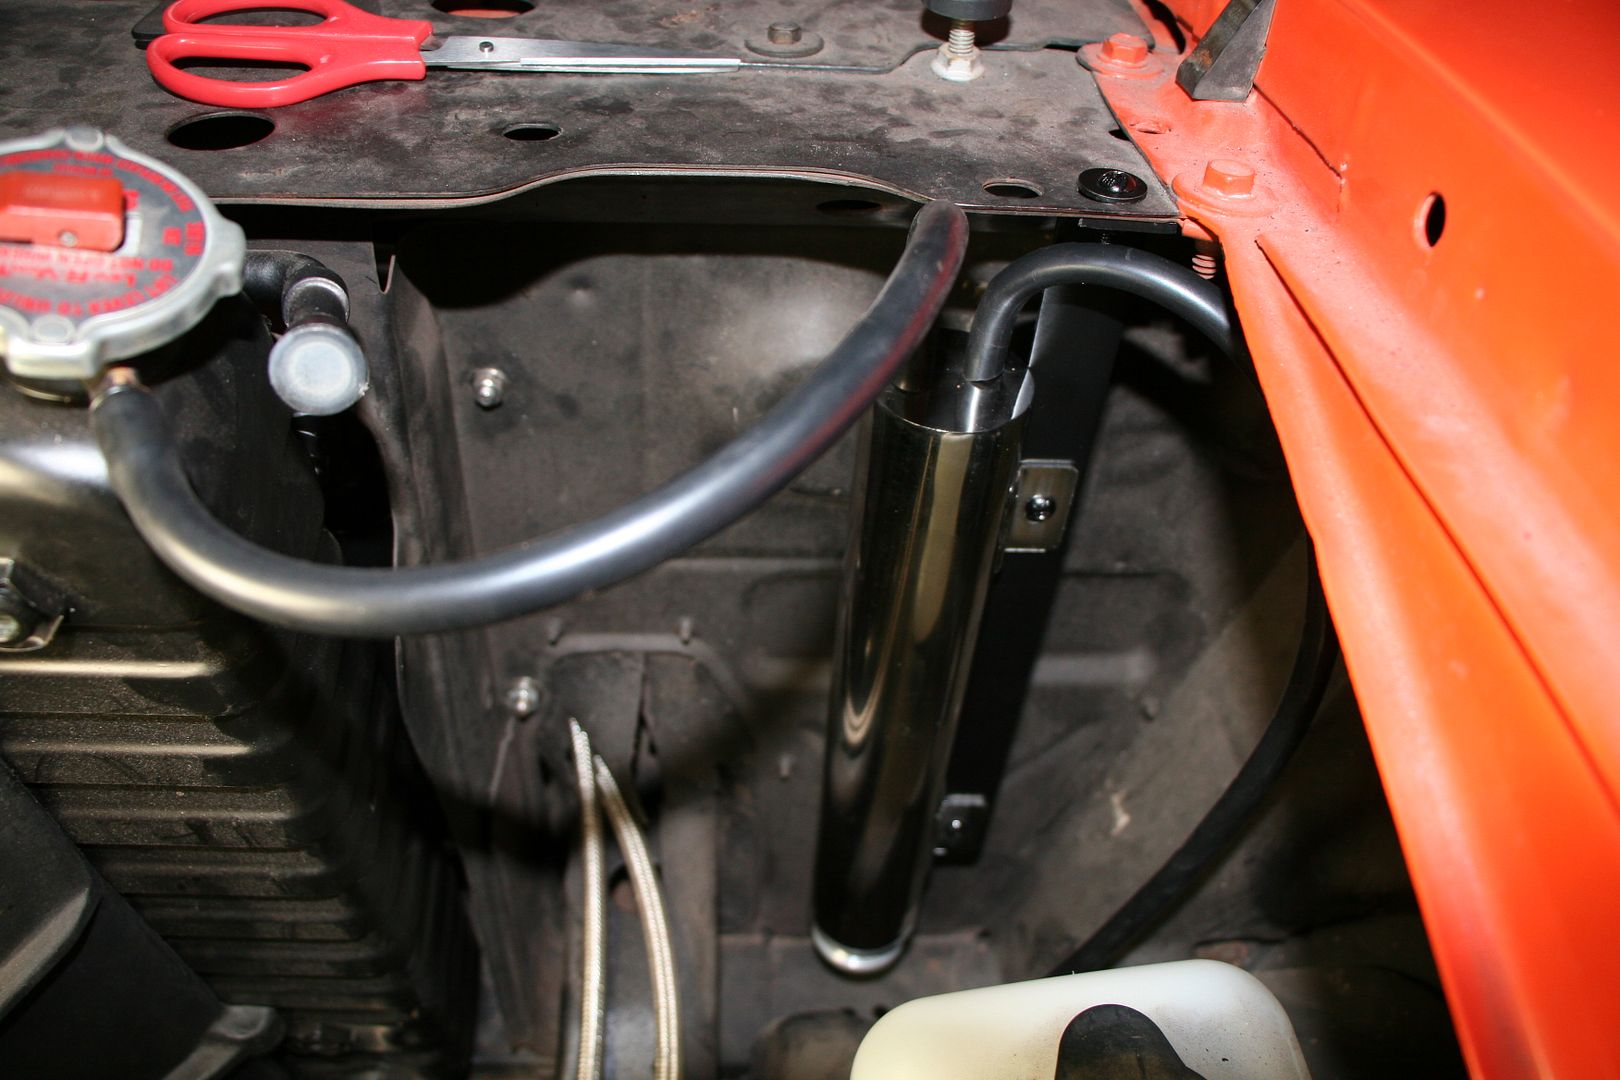
This new dipstick is a much tighter fit into the box so I'm confident that nothing will ever leak past that seal, it also can be routed up to the engine bay without interfering with the cooler line AN fittings
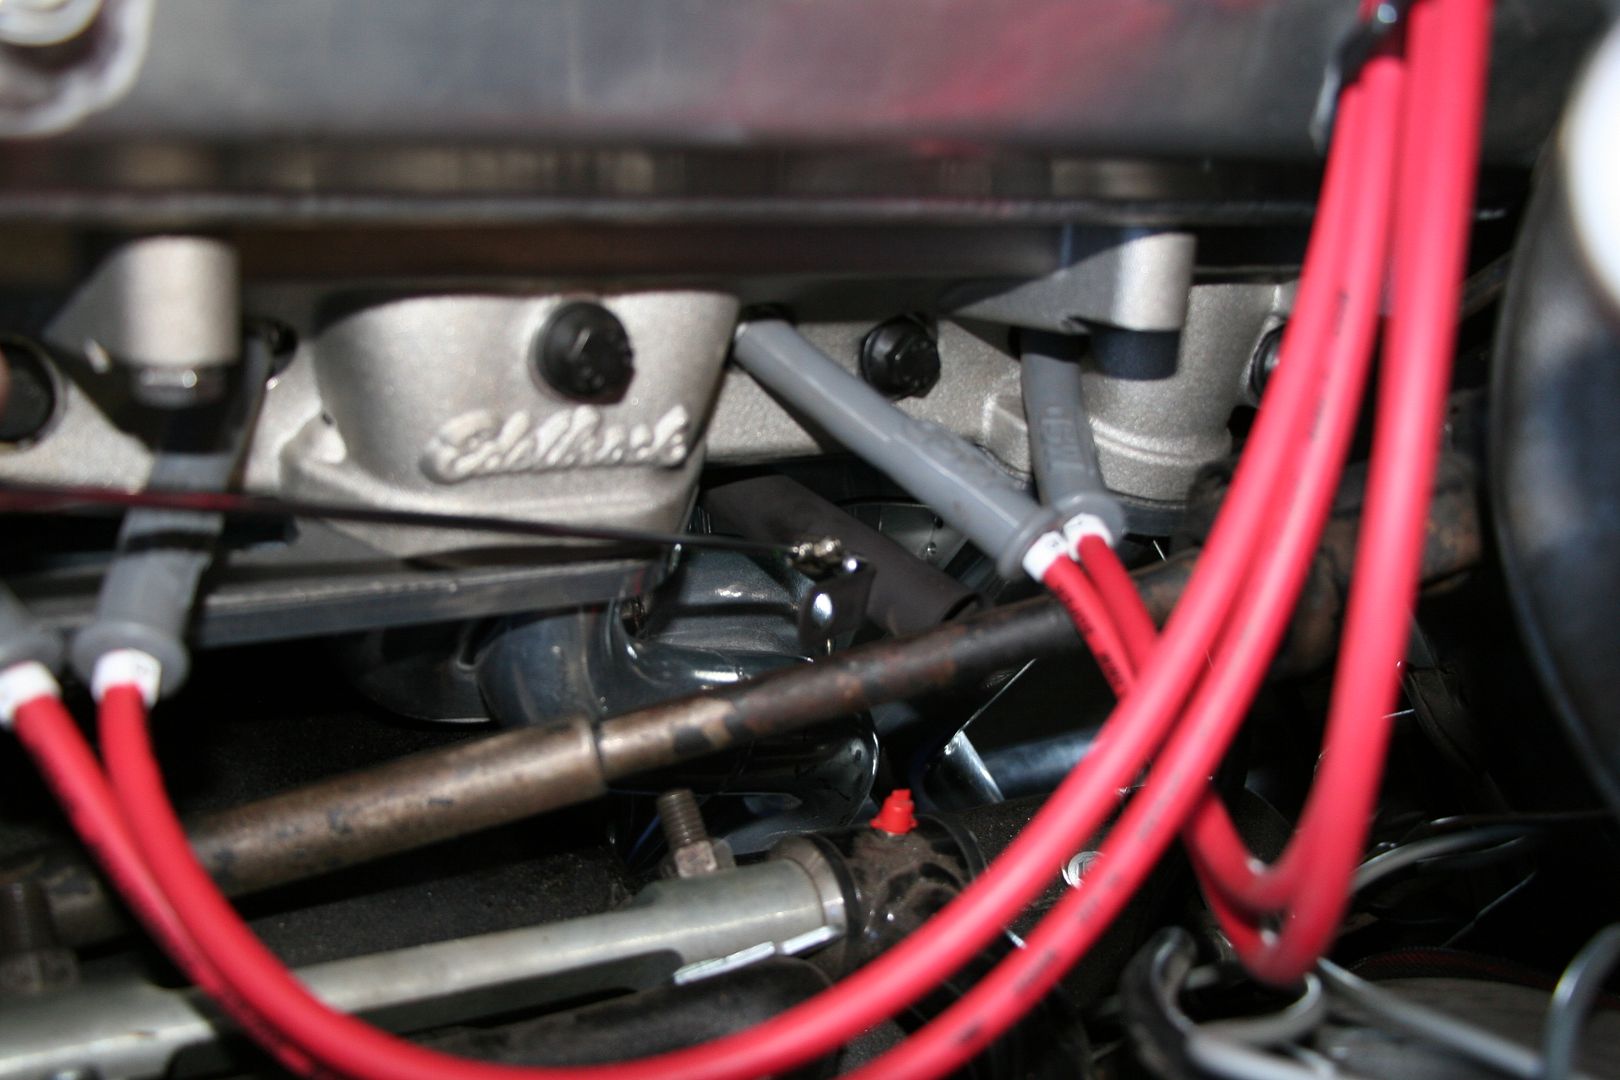
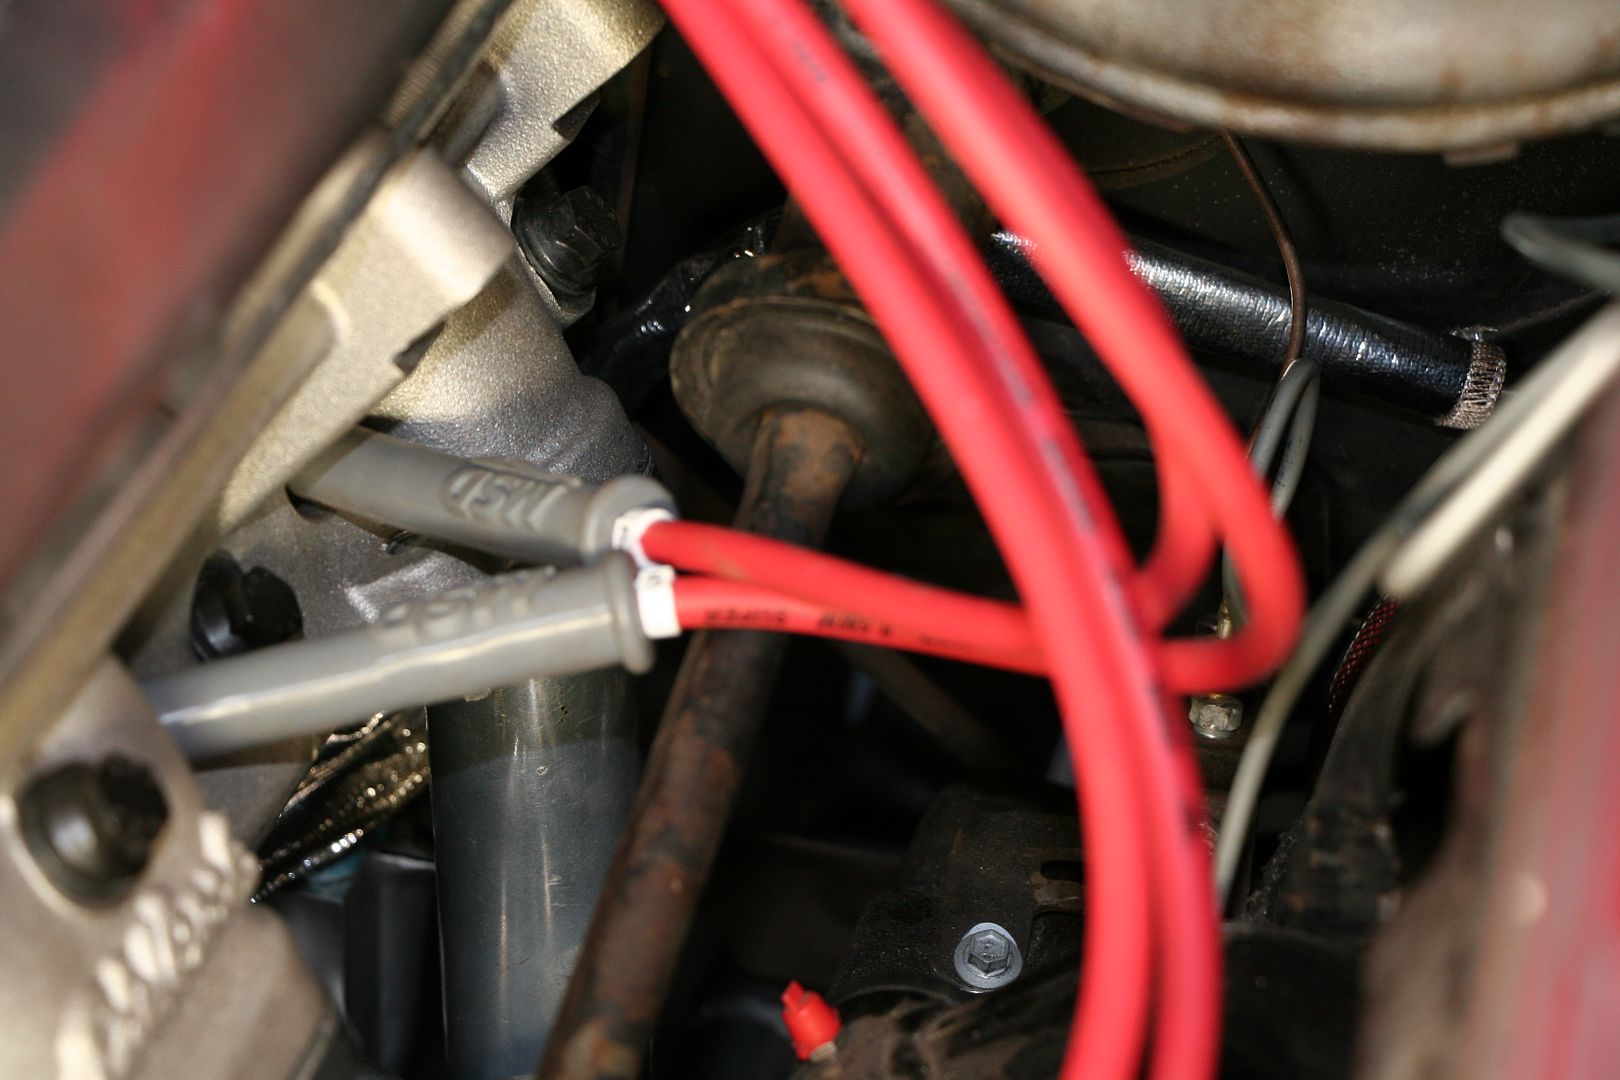
It pops up between the head & the firewall, it's longer that the original tube too so that will make it easier to fill
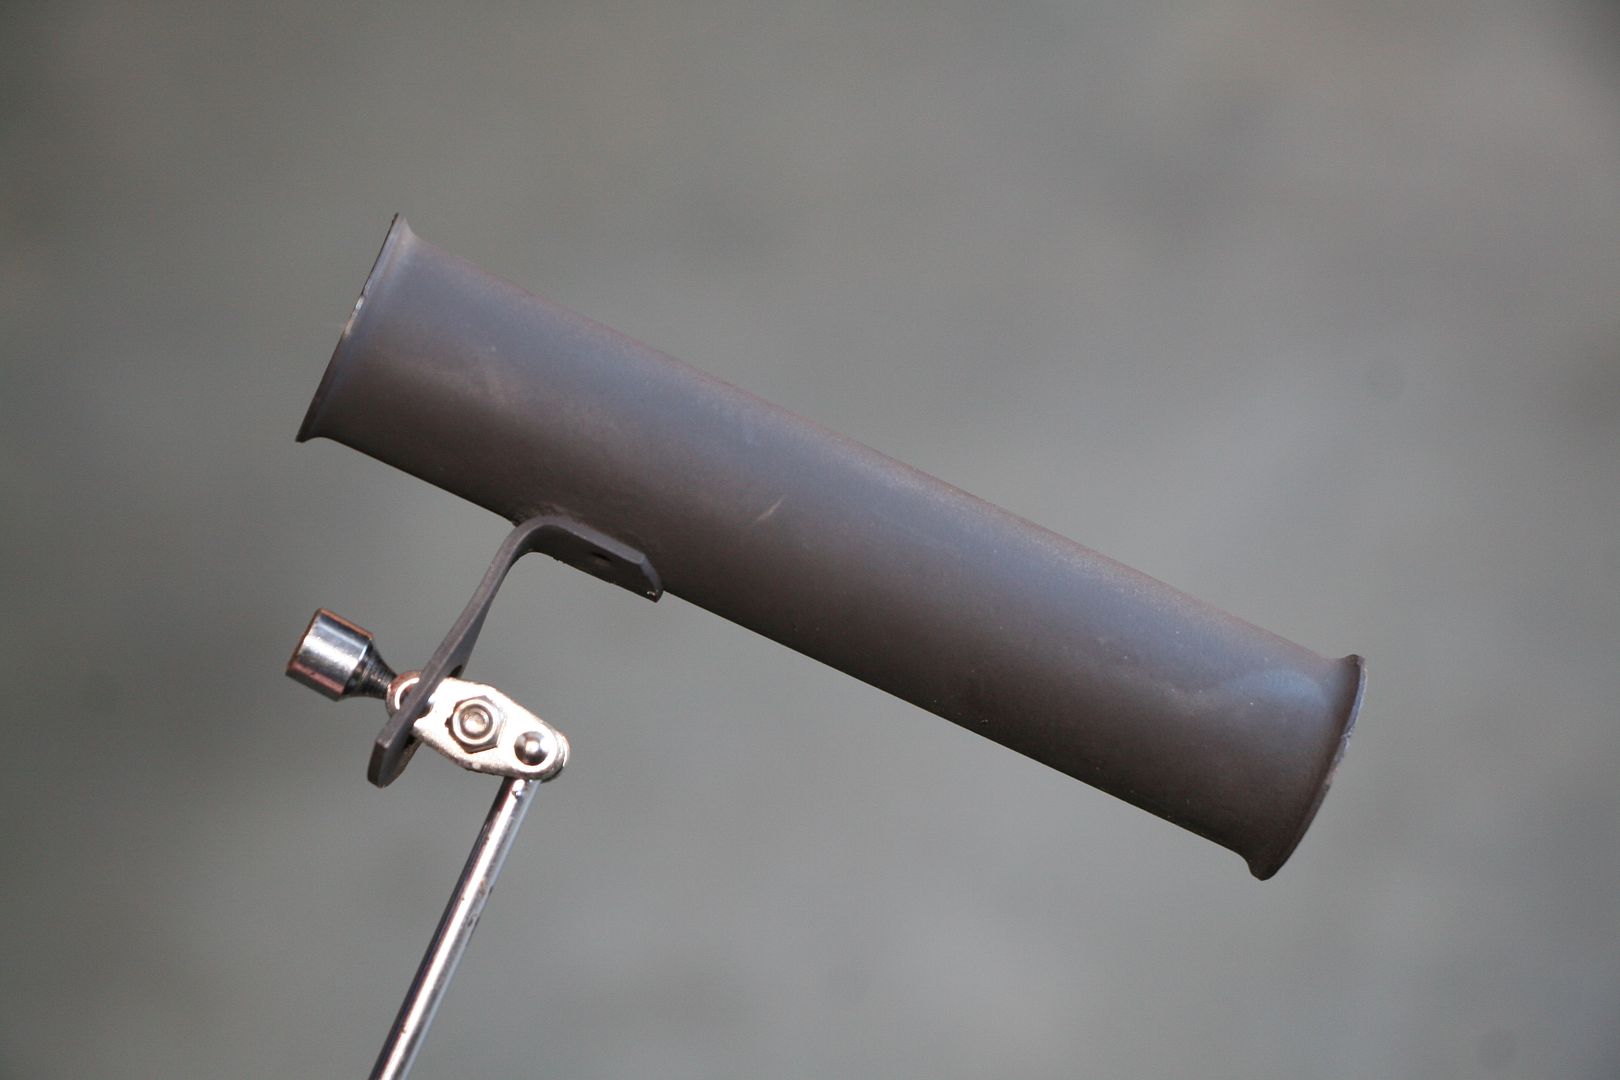
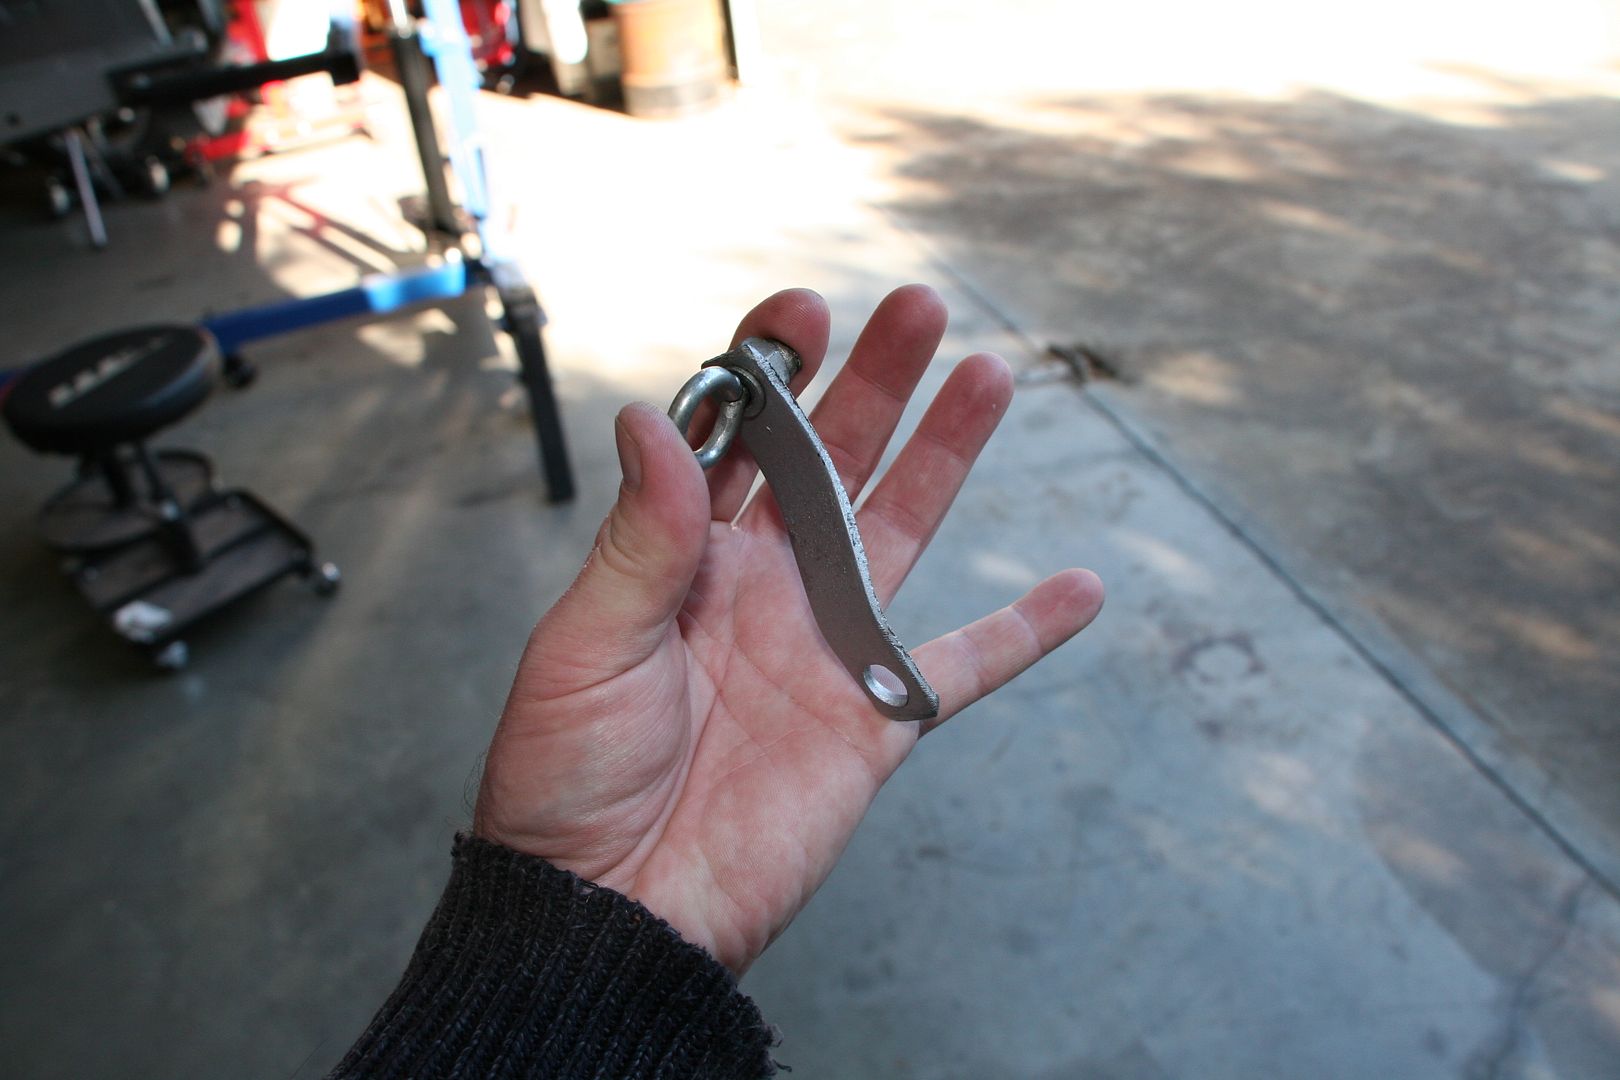
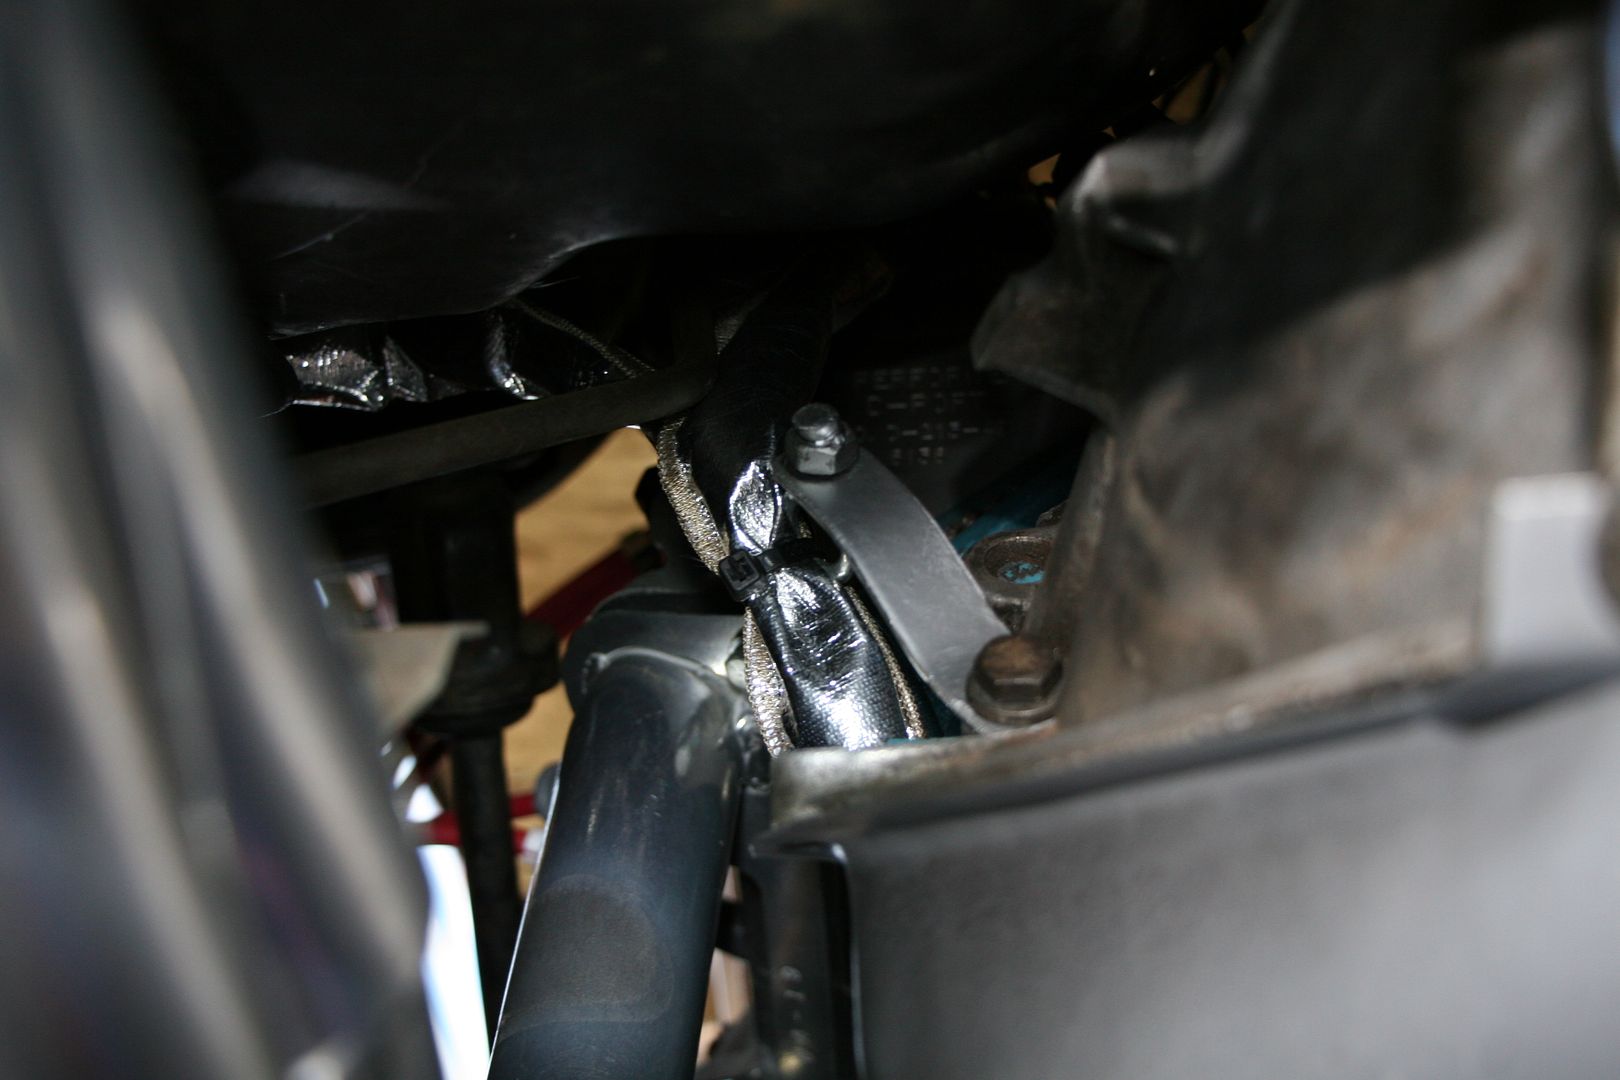
It's designed to be bolted to the firewall but I didn't want to do that so I made a bracket
The bracket then bolts to a spare bolt hole in the intake & holds the dipstick nicely out in the open
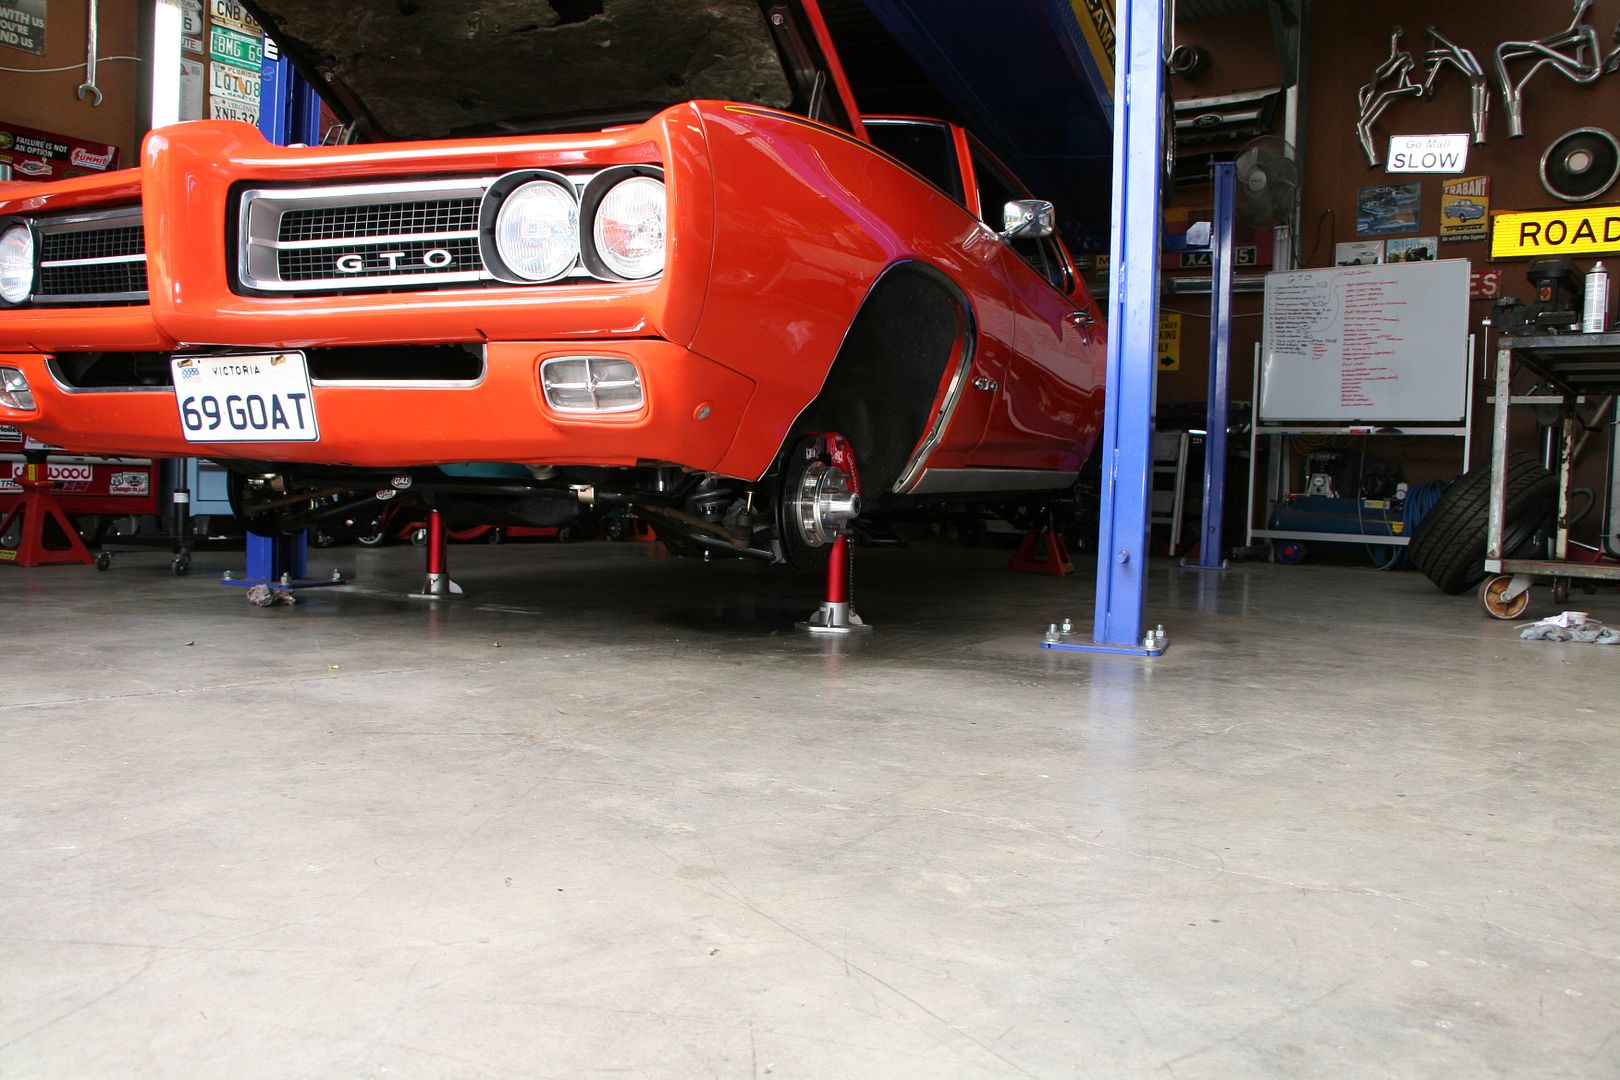
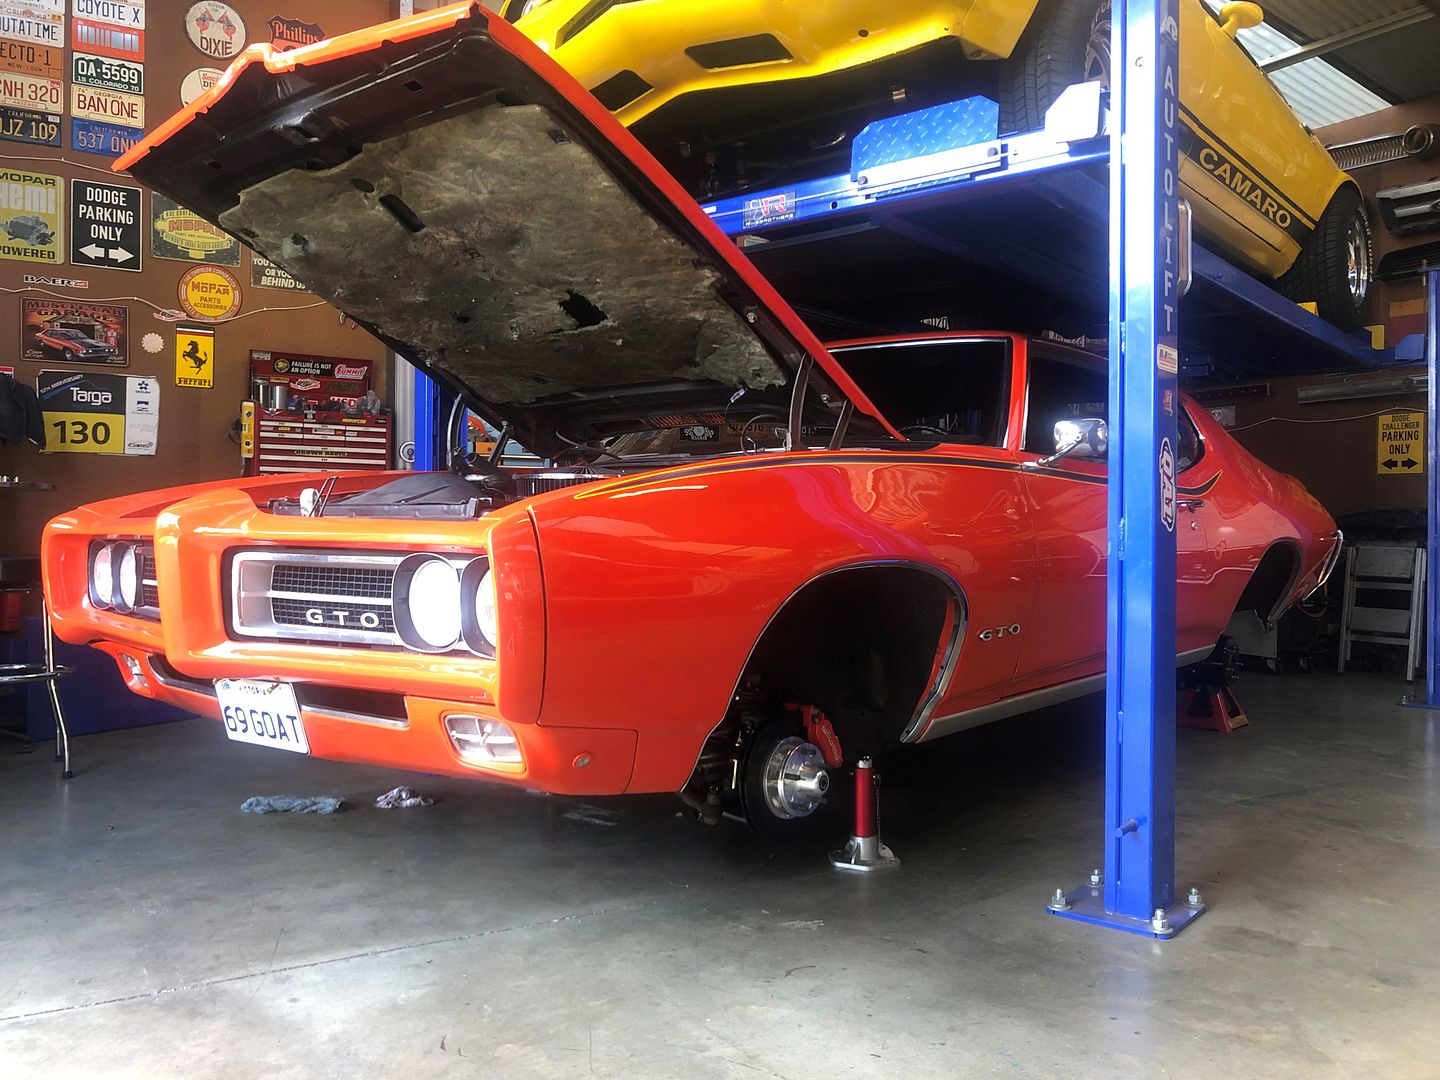
Next job is to readjust the coilovers as the suspension has now settled from me driving the car a little & it's now way too low & it hits on speedbumps etc... it even catches the exhaust now trying to drive her up onto the hoist... so I'll raise her an inch for now I think., the wheels have to come off so I can get in there with the adjuster spanner
Right I decided to finally pull my finger out & do the last job that I had ignored because I just hate wiring & working under dashboards... that was to fix the ignition lockout switch. First up I pulled the seat out so I can lay in the car in relative comfort when working under the dash.
Then out comes the center console
The point of all this is needing to wire this little module that tells the car when it's in gear to stop you starting it... it also activates the reverse lights, every GTO it seems has this module on the side of the shifter EXCEPT 69's
In 1969 they went with one mounted to the steering column that is operated by a metal linkage on the side of the gearbox, which you may remember was fouling on my new headers so I removed it...
My plan is a simple one, unscrew this one & then make up a wiring harness to join the wires that connect to this one to the new one on the side of the shifter
I tried to make my wiring as neat as I could, but as I say I don't really like or enjoy doing wiring on cars
I don't have the same colour wires as the originals so I just used a mix of two different colour wires & heat shrink so that I could easily identity each end of the wire
Then it was just a simple case of joining the terminals to the existing wires
One day I'll tidy up the rats nest of wires behind the gauges.. but as I can't see that mess when I'm driving it won't be today that I do that... I've tested the new module & my wiring & now the car will only start in Park or Neutral & won't crank when in any gear & the reverse light work again... so that's that job done... happy days
We've had over a week of temps in the high 30's so I've been driving the GTO around to see how well the cooling system is running, as well as doing highway running I've been looking for slow moving traffic to get stuck in.. she seems to be running great on the temp side, I've not seen her go over 200 yet & the trans temp doesn't even register on the gauge once I'm driving
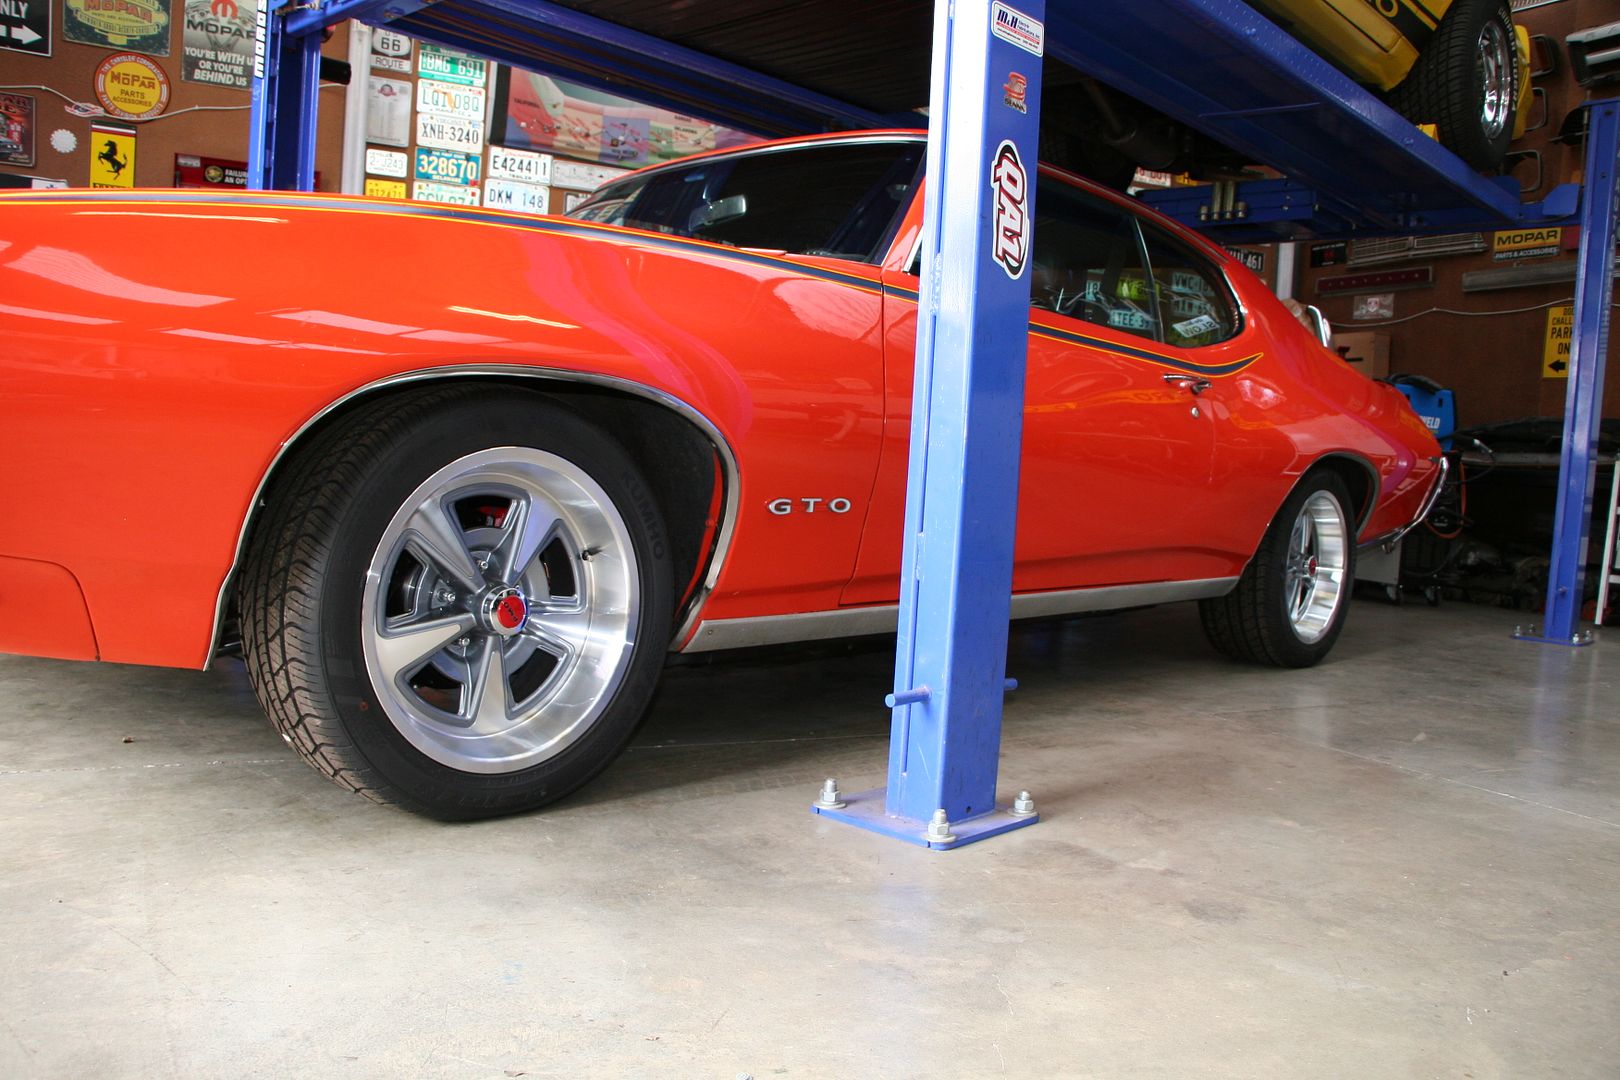
I tend to get distracted & go from project to project so I dedicated yesterdays public holiday to working on the little things left on the GTO... it was well over 40 in my shed & I will 100% have to install aircon this year, when the Challenger is gone off to paint & I have a bit of space I'll get some mates over & do some insulation & then fit AC. First job was to readjust the suspension height... I've driven the car enough for that to settle so now she's a different height at the front & rear, the rear is an inch too low on the passenger side & half an inch on the drivers side.
The fronts settled at just on 26" the rears on 25"
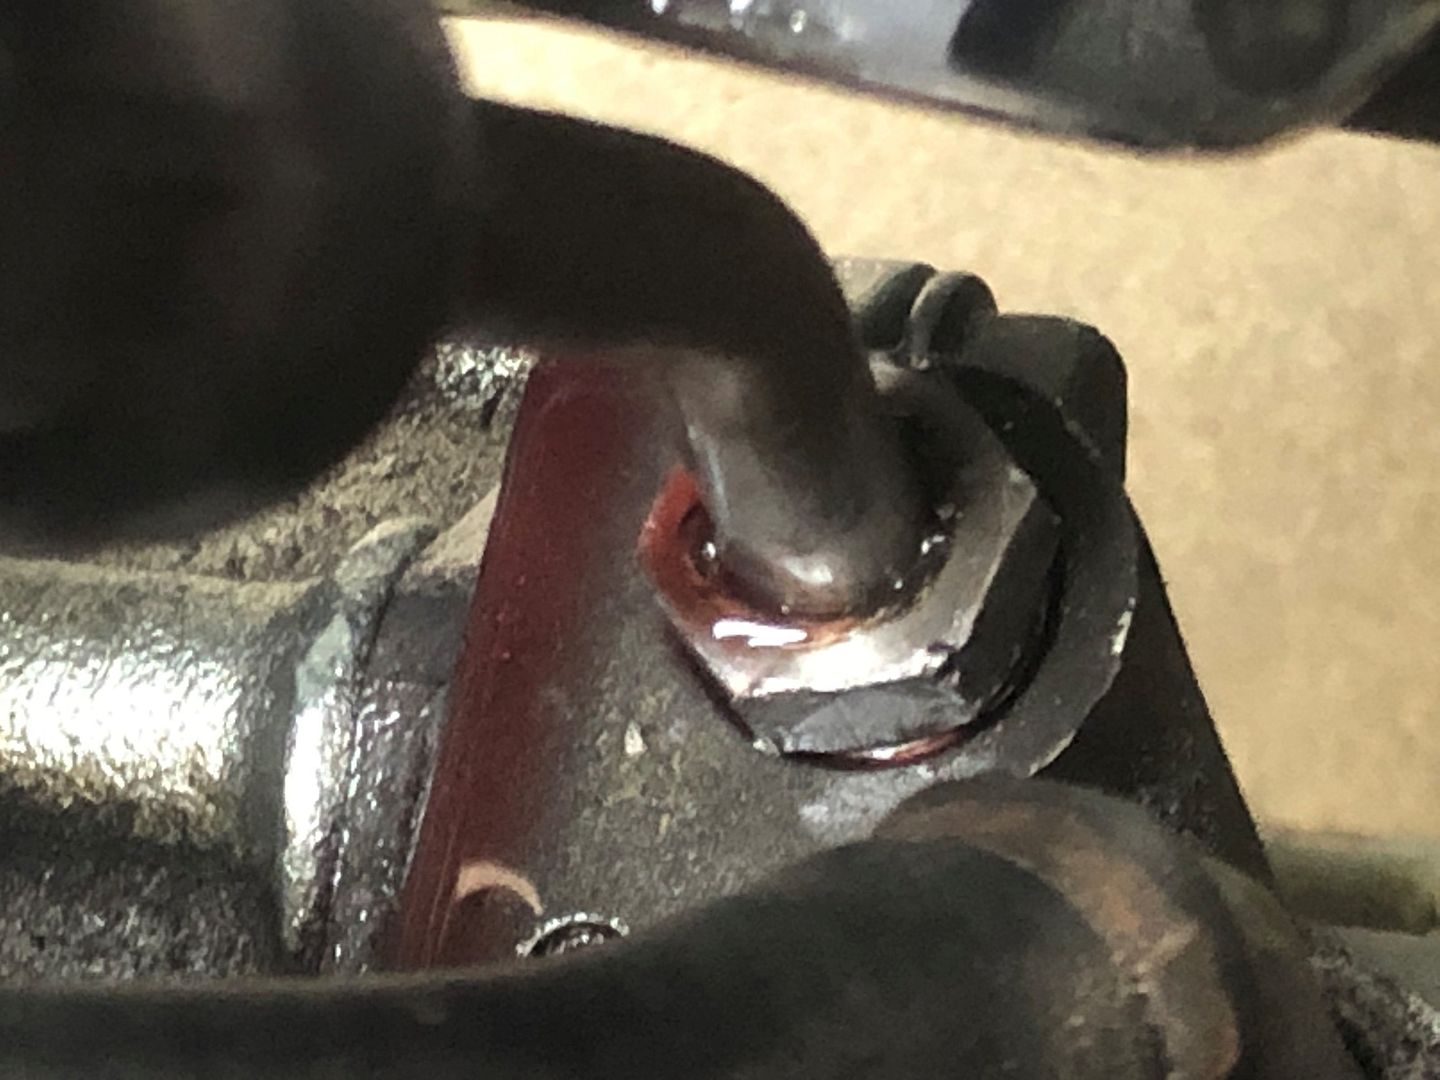
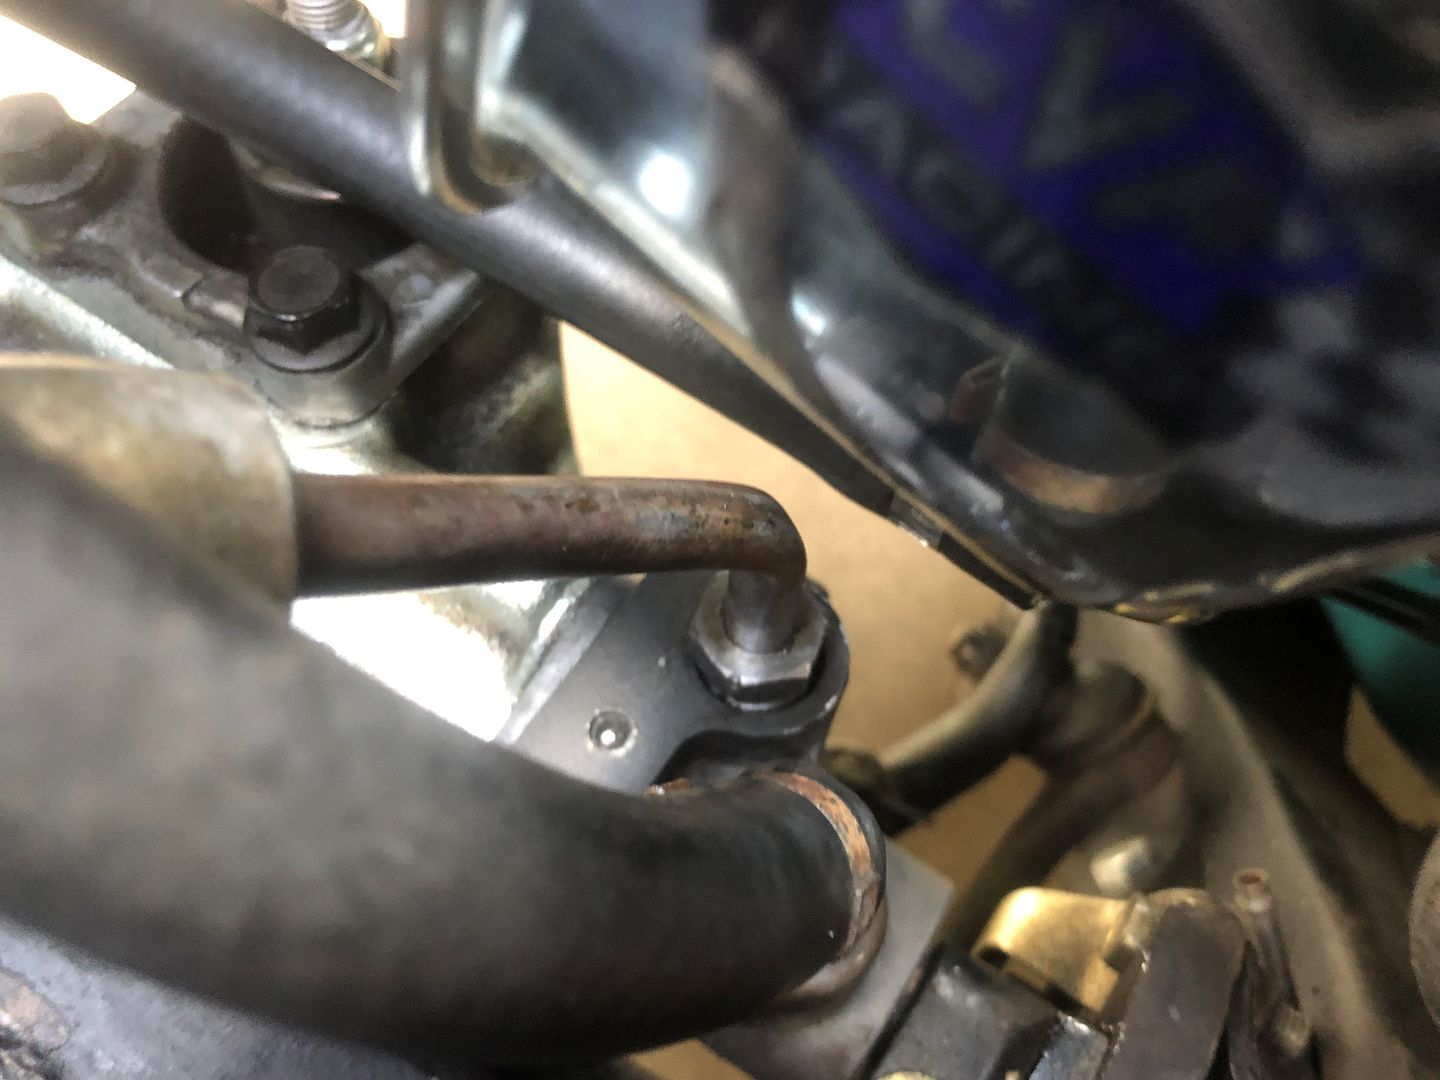
I took the car down to a local performance exhaust shop the other day as I really need to get the volume issue sorted.. he's happy to leave the front section that I did & just make up a removal able rear section, I'm thinking I'd rather he redid the whole thing but we'll see. I noticed when I was showing him what I wanted that the rear fuel lines had shifted slightly & they now ran in the path that the exhaust would travel over the diff, so I needed to move them to get them out of the way.
After moving
The car currently has 2 leaks that bug me... the high pressure power steering line weeps & the gearbox weeps from the speedo gear housing. I have the power steering line on back order for months now so that will have to be ignored for a while yet... but I do have an o-ring seal kit for the speedo housing, so time to sort that.
Pretty simple job (well when you own a hoist it is) you just need to remember that the housing is below the water line & you have to drain the trans fluid out first... I'd forgotten that but luckily I'd watched a 5 min youtube clip to be sure there wasn't some secret to removing this part & I laughed as the poor guy drowned himself in warm trans fluid as he didn't realise this... so thank god this was a very clean job for me armed with that prior knowledge.
Disconnected the speedo drive & unbolted the fork bracket then you can just pull & twist the housing out
With the housing out, now it will just be the replacement of 2 o-rings & a locking ring
I hadn't ordered a new speedo drive, but this one is in pretty perfect condition so I don't need one anyway.....
The smaller 0-ring that the speedo drive shaft runs through is held in with a metal clip so that needs to be eased out first
With them all removed I cleaned up the housing & reinstalled the new o-rings & retaining clip
Reinstalled... I've just been out to the shed & I can confirm that it is still bone dry around the housing now... so looks like job done
Now as I've been driving the car a little a real issue has sprung up... it was intermittent at first but now it's a full time feature. The ignition is breaking down at 2000RPM, so I can cruise around at part throttle & let the trans shift slowly up & drive at say 75-80kph as that's just below 2000... but as soon as I hit 2000 it's like a rally car on anti-lag. I've been doing a bit of googling research & I've been rechecking a lot of the wiring etc... but I'm starting to think that it's either the coil or the actual MSD ignition box.
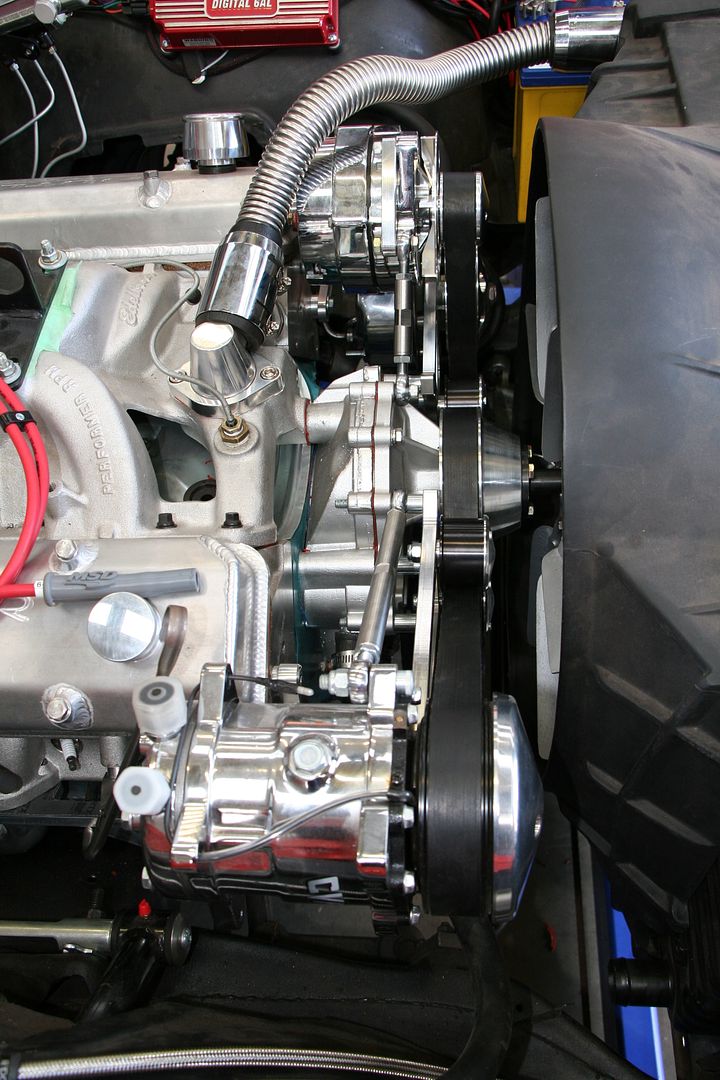
The MSD 6AL boxes are know for running warm as they use the metal case as a heat sink but mine is almost too hot to touch, so I think that this box is the issue. I was going to run one for the Dodge too so I've just ordered a new one so I can skip a whole section of testing & just swap out the box to see if that solves the issue. Where I have it installed on top of the inner guard is a very common spot.
I've spoken to a tech at MSD & he says that that install spot should be fine from a heat point of view... but looking around the engine bay there is a huge space behind the headlight, & in front of the wheel well, I'd just need to remove the battery to get access to this spot, but I think that if I move the new box to this spot then that would be the coolest spot in the bay for it to live... oddly enough the tech was against the idea of installing it inside the car say in the glovebox or under dash... so I think I'll make up some brackets to mount it in here
Great update. You checked temps driving in traffic and highway but have you check temps when romping on it "warming up the rear tyres?" 😉
If anyone from VicPolice is reading this... then no, no I did not
Ok... back into this, after parking my cars aside to focus on getting the Ute project done & out of my shed I then got pretty sick with a chest infection so I've been avoiding the freezing shed (we're having a shocking winter this year) for weeks. Decided this weekend I'd just suck it up & head out there... if I coughed up a lung I'd just blow it out with the air compressor & shove it back in.
Based off my conversation with the actually helpful MSD folks my plan was as follows:
1. Undo every ground wire on the car, clean & check them (even though they are new) then test to see if that fixed it.
2. Pull off all the leads, check them, clean them (even though they are new) then reinstall them.
3. Swap out the MSD Coil that was supplied with the engine kit.
4. Swap out the MSD 6AL ignition box.
Basically I was going to redo all of my work again as clearly I'm a muppet & I've done something wrong. I then decided that step one actually should be to pull the plugs & clean them as they are bound to be fouled up now from the poor running & the misfiring above 2000RPM.
Pulled the plugs & yes they all are really fouled... but that's an easy fix.
Now whilst I had the plugs out I figured I'd check the gaps, I knew they had to be right as my engine builder is a pro & he builds race engines for teams here in Melbourne... checked what the gap should be, which is 0.045" measured the gap & they are all set yo 0.035" that's too tight of a gap, there is not enough actual spark happening in there... could it be that simple that my engine builder had a brain fart & gapped the plugs wrong?
lets see...
Yep... now she Rev's all the way to the redline with no misfires or stumbling..
Idles much nicer too....
Walked out to the shed ay lunchtime & saw a nice pool of transfluid building up under the GTO.... great, just great...
Lets add this to the weekends to-do list as well so
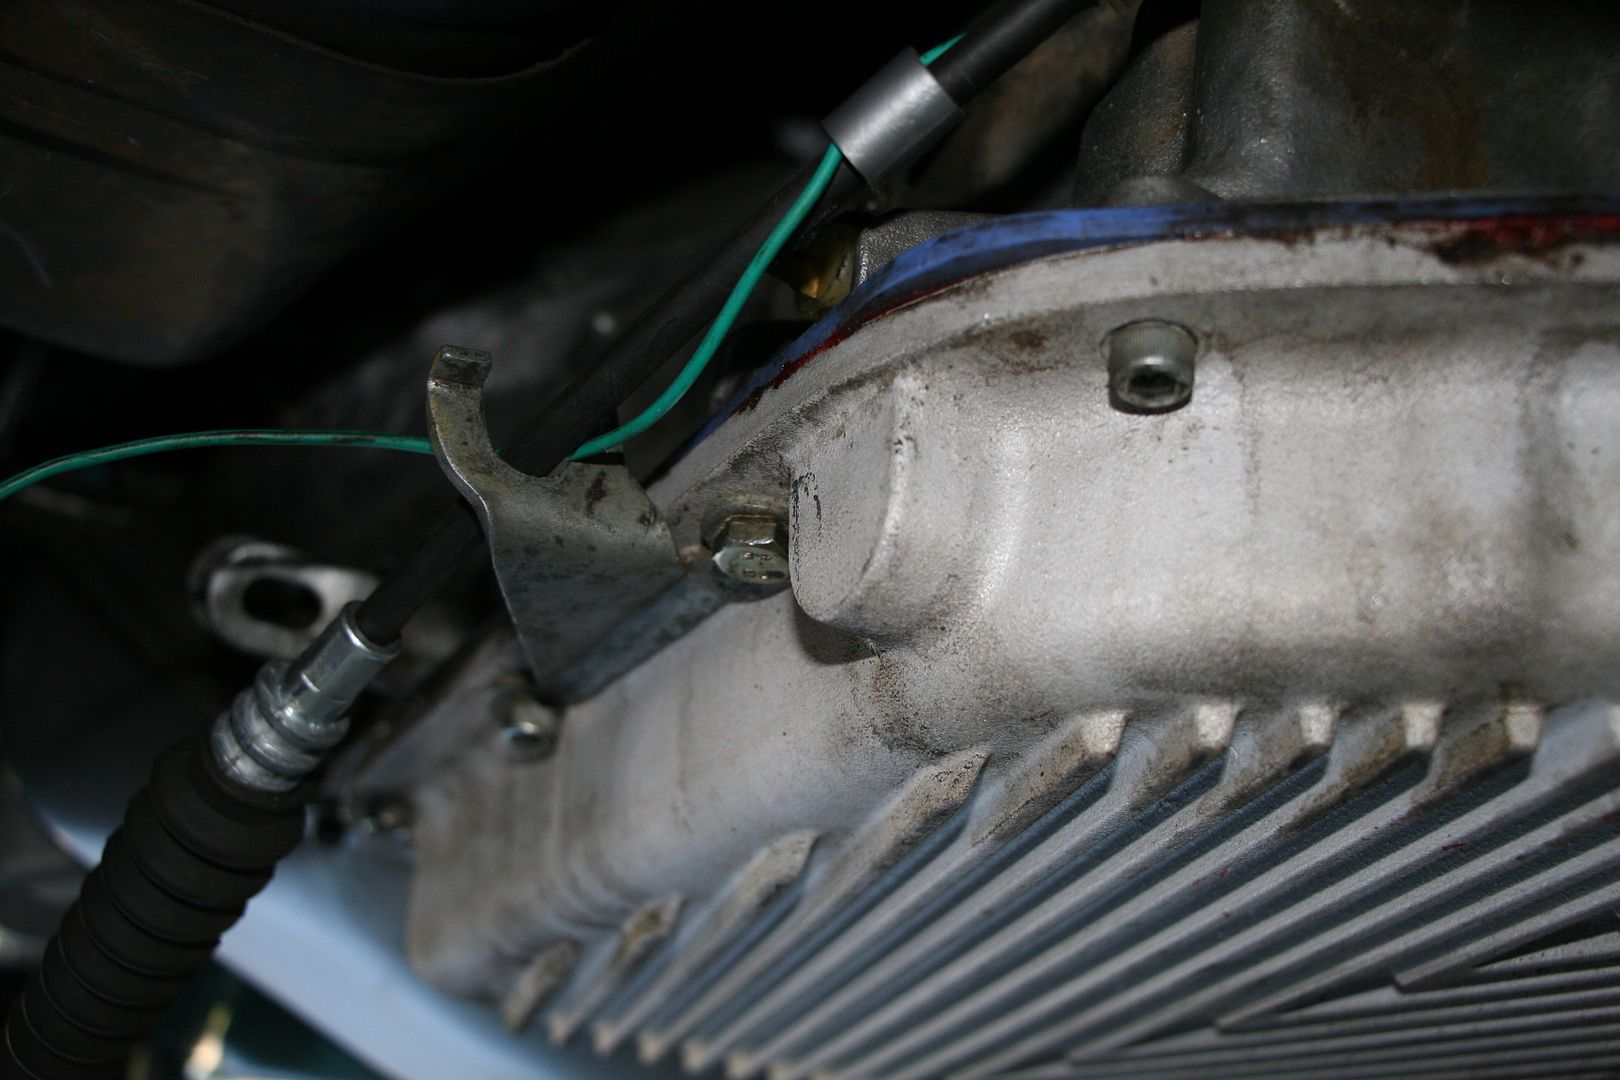
Right so, seems that the offending leak is coming from the pan gasket at the front of the transmission pan
I double checked that the bolts where torqued up to spec & I even gave them a little naughty quarter turn extra... but to no avail. as it's a cast aluminium pan I can't just set the ugga dugga gun to hulk mode & have at it as it will crack the pan around the bolt holes.
Annoyingly I had forked out the extra cash at the time for the expensive metal coated in rubber gasket that was marketed as will never leak or blow out
I cleaned up the transmission & pan surfaces & checked them for level, they are pretty much good, a tiny bit out on the pan but nothing that a gasket shouldn't cover
I gave another one of these rubber over metal fancy uber gasket, this time a red one for obvious reasons & that also failed & didn't stop the leak....
Then I pulled it all apart again, cleaned it all again & went with just a standard gasket & followed their destructions to the letter as to what goo to use, how much etc....
The outcome that leaked as well..... full facepalm!
The only thing I can think of now is that the pan is deforming across the front as it's tightened up... & yes I'm following the correct star tightening pattern & torque settings as per the destructions to the letter.
I'm kinda stumped & also pissed as this was a whole Sat lost to this shite.... I've ordered a new pan as 3 different gaskets haven't fixed my issue & I'm pretty sure just trying a forth at this stage is the definition of insanity
Handy Saturday he says to himself as he whistles innocently towards his undoing. Know it all too well, bugger..
I decided to order 2 x new pans... a pressed steel one & another cast one, they each came with a new gasket too... one cork & one rubber. Also made sure to get a new tube of the correct Permatex gasket goo as ATF will eat into standard gasket goo
Opted to go with the new steel pan for no other reason than I hope the fact that it has a raised ridge & a cork gasket I hope that seals better than two flat surfaces will
Followed all destructions, applied the goo... only did the pan up finger tight, waited an hour for it to go off & then torqued to spec... I now have to leave it 24hrs before putting any fluid in... so fingers crossed.
Took the car for a drive to get everything hot & then whacked it back up on the hoist so I could double check that nothing worked lose & that the leak was still sorted.... seems to be fine now, except for a ting weep coming past one bolt... I have a tube of thread sealant so I'll pull that bolt out later & seal it's threads & then put it back in.
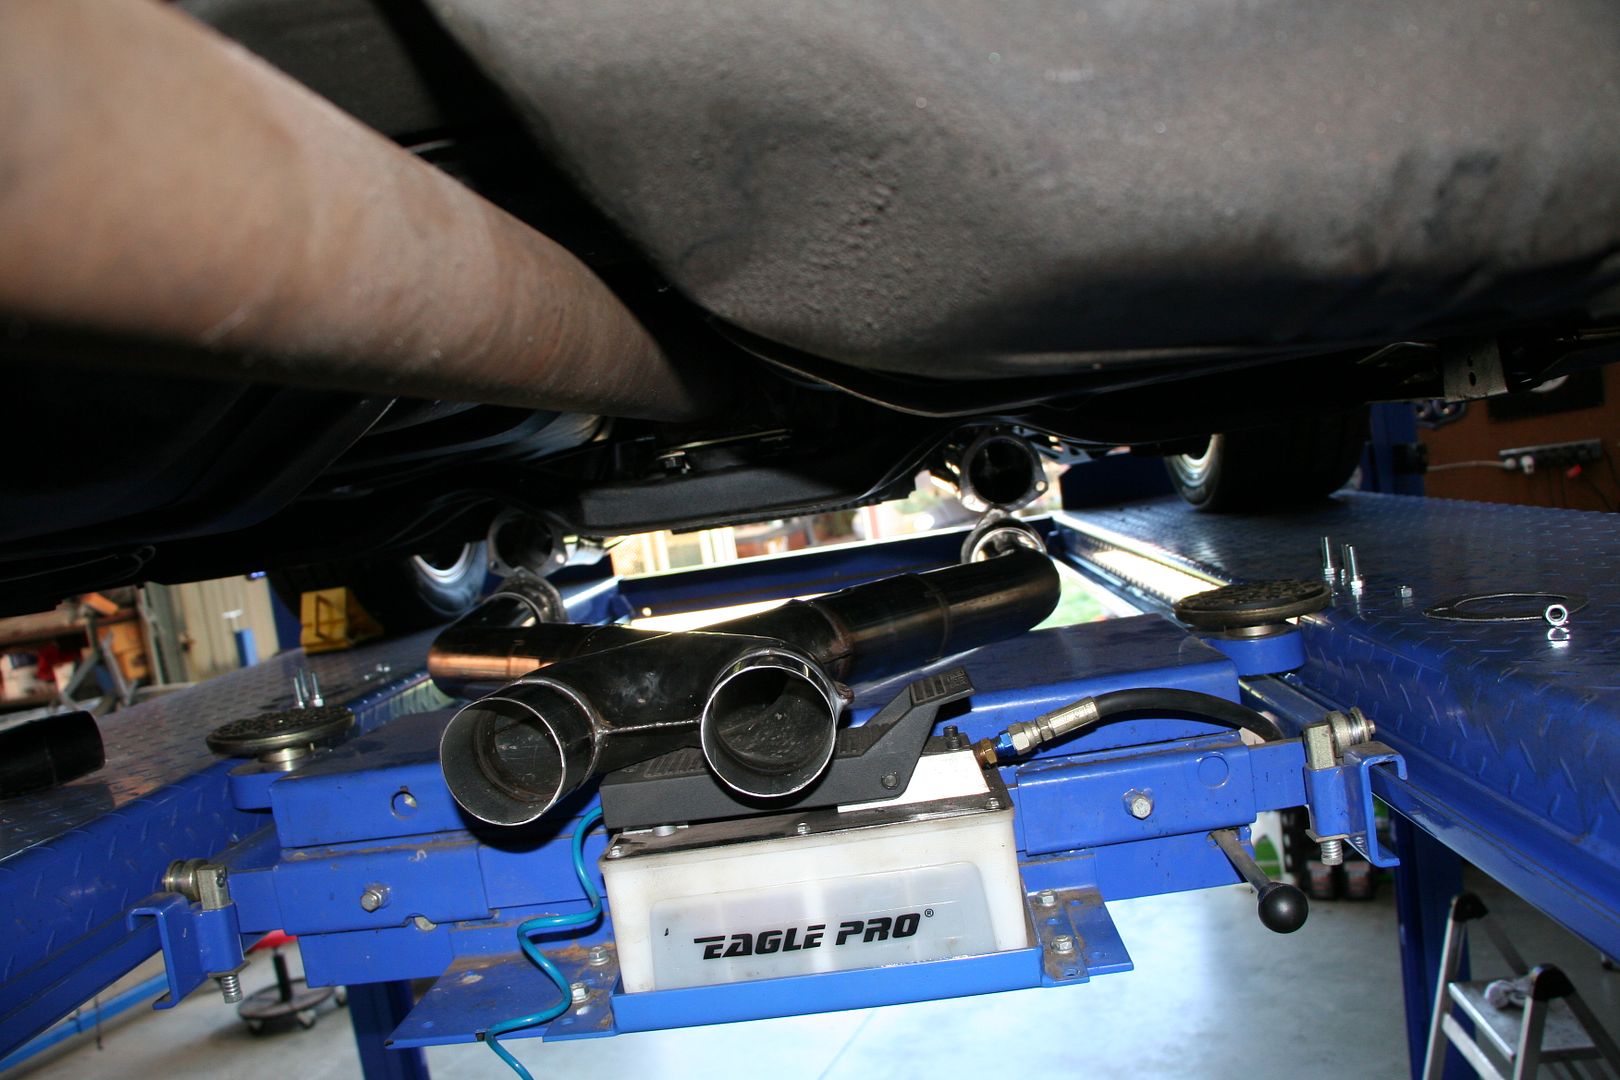
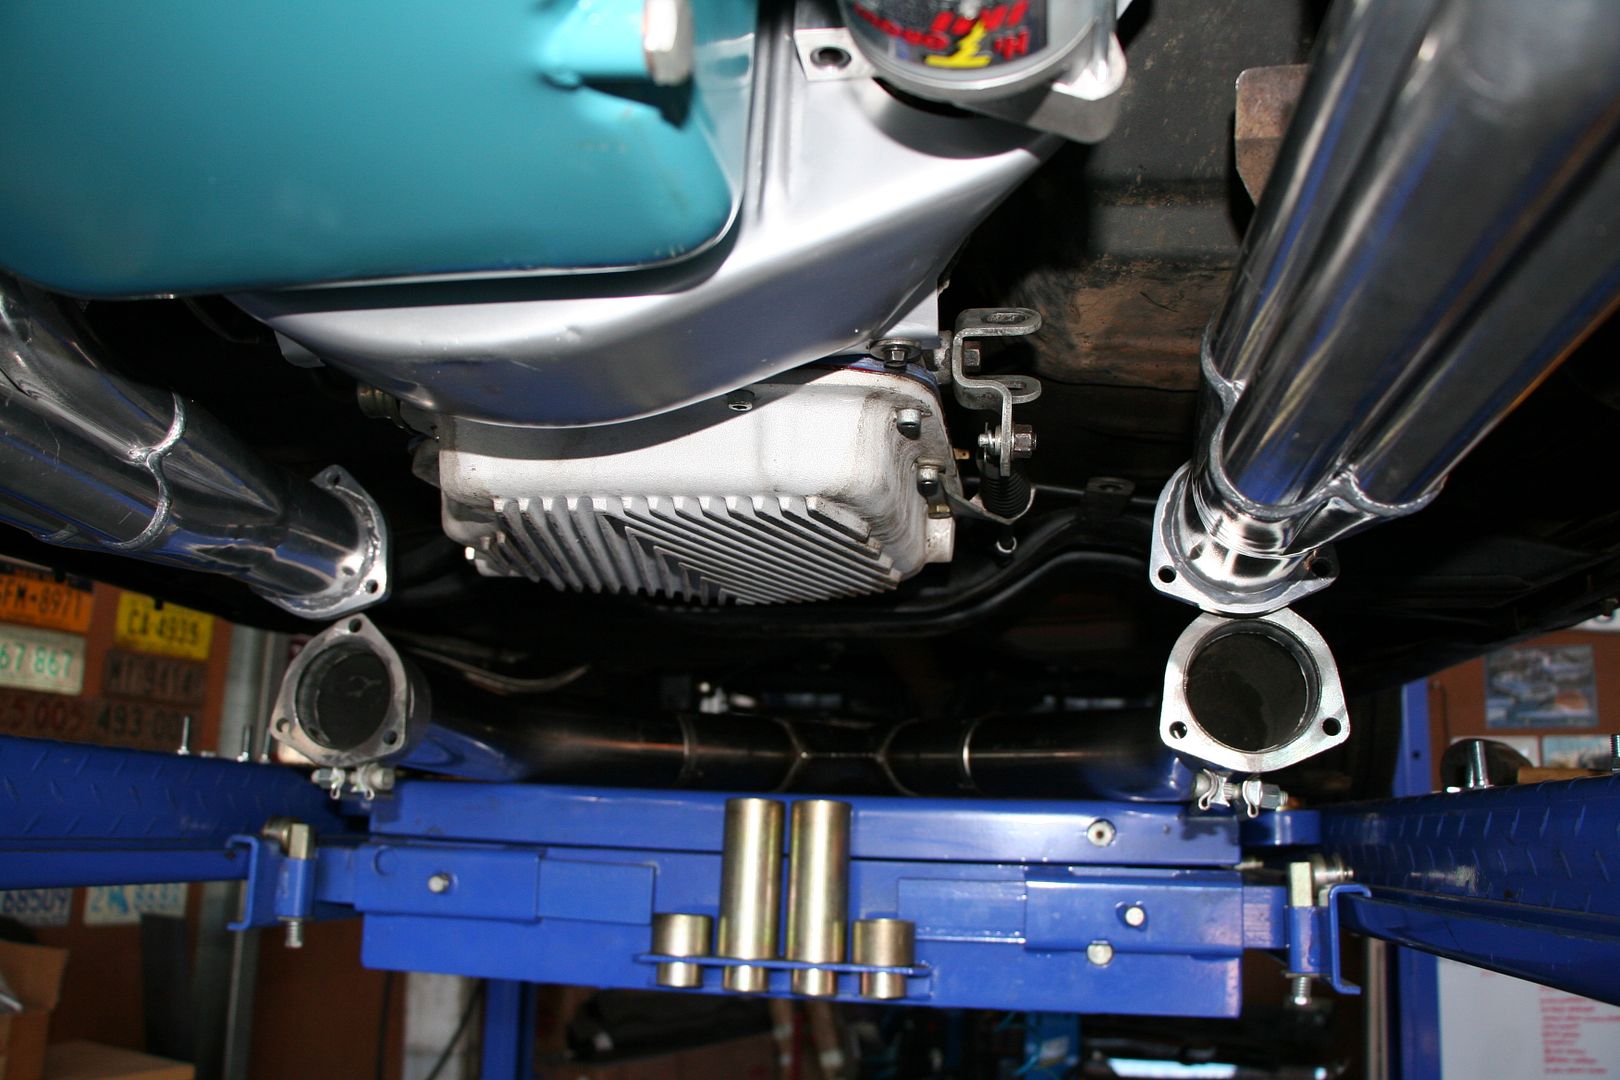
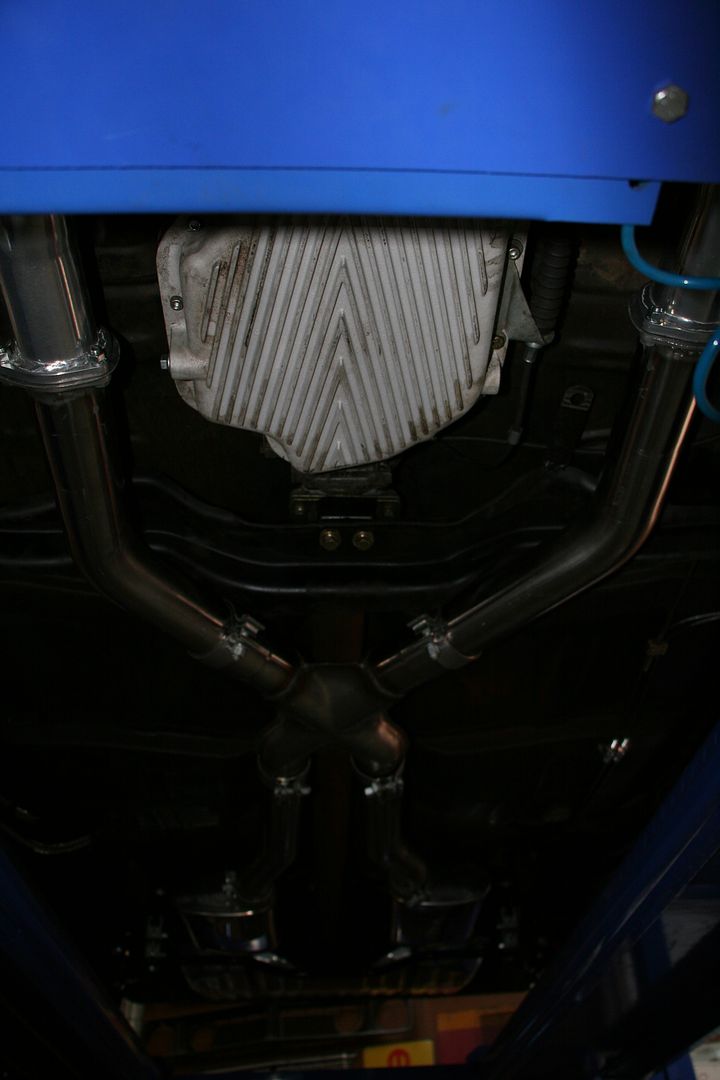
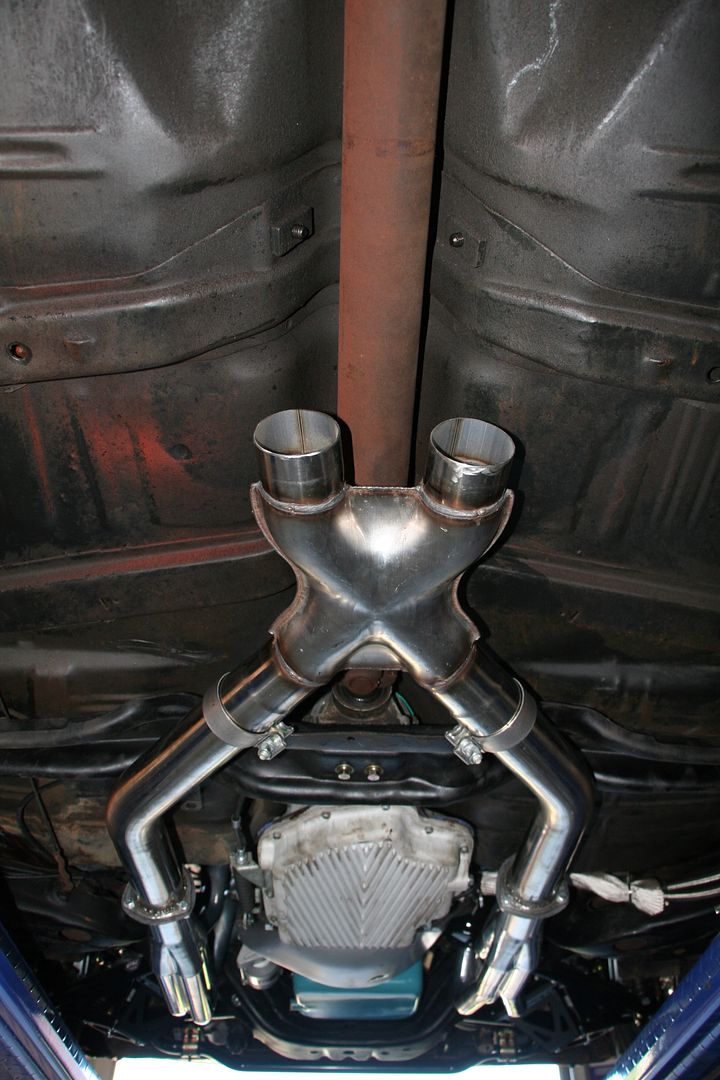
I've been waiting on the local racecar exhaust shop to have a free slot to fit me in. As I'd said before the exhaust kit I added to it was just way to loud & droned a lot so it needed to go, but fear not it will be used as the temp system to run in the XB & then the Challenger after that.
Just got a call to say that I can collect the car in the morning now, I haven't heard it yet but the exhaust guy tells me that he has run it up in the shop with the roller door shut & it's much quieter but still sound tuff so can't wait to hear it tomorrow now.
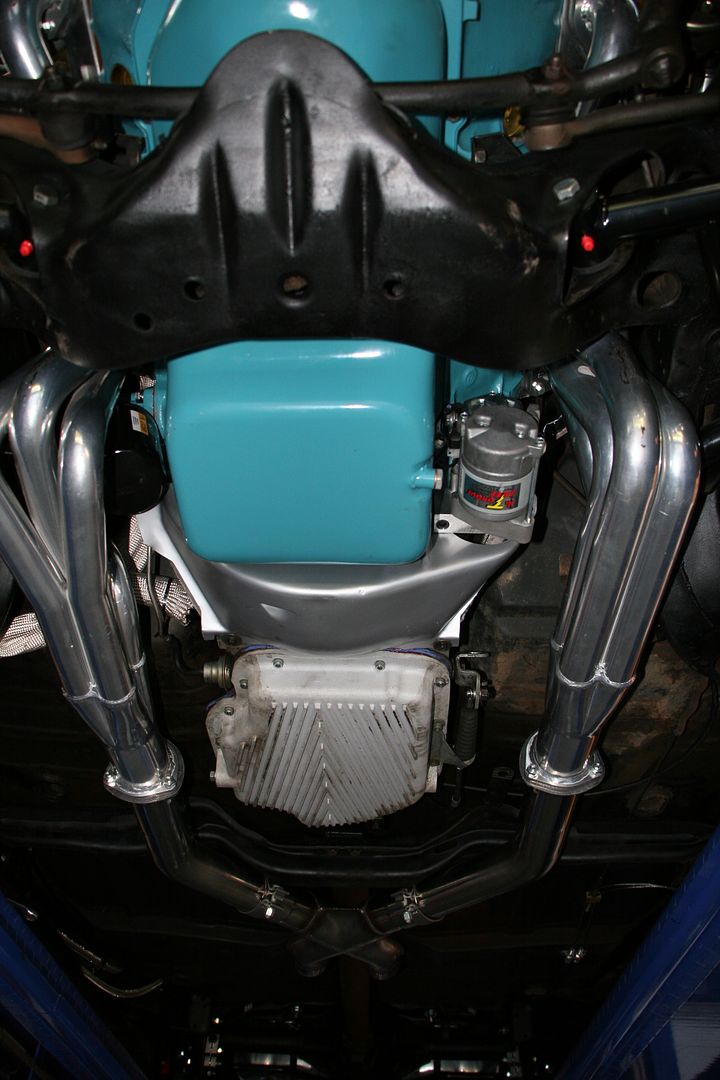
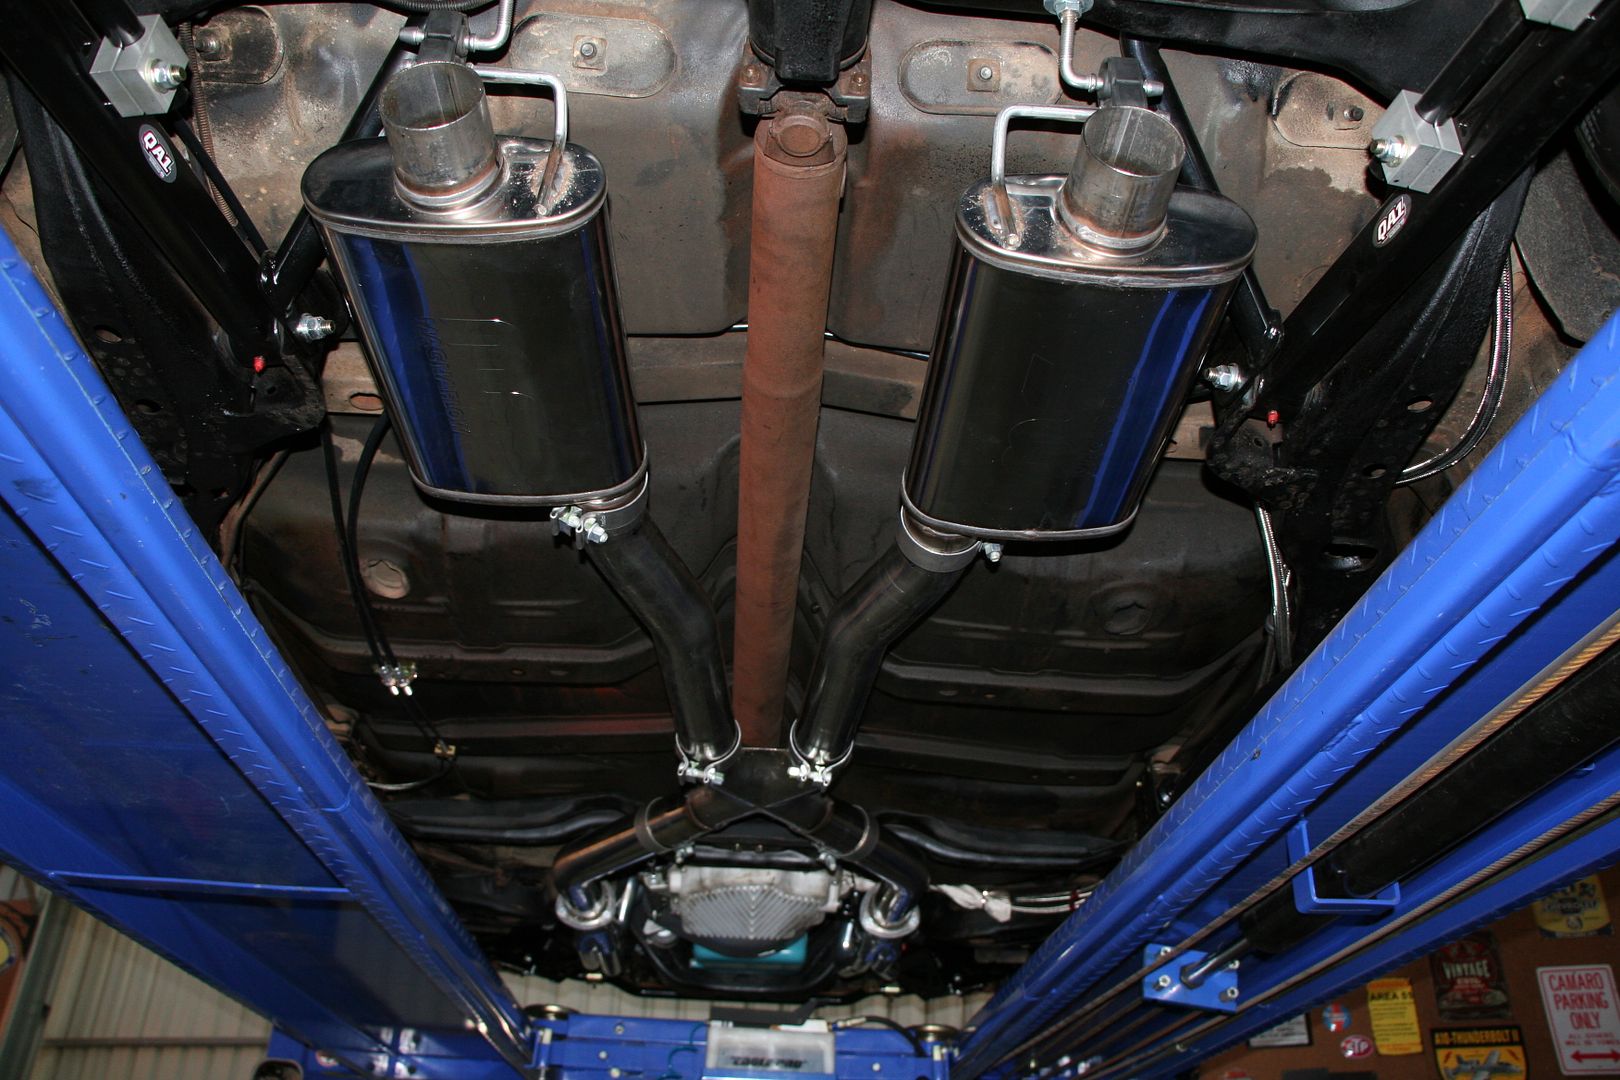
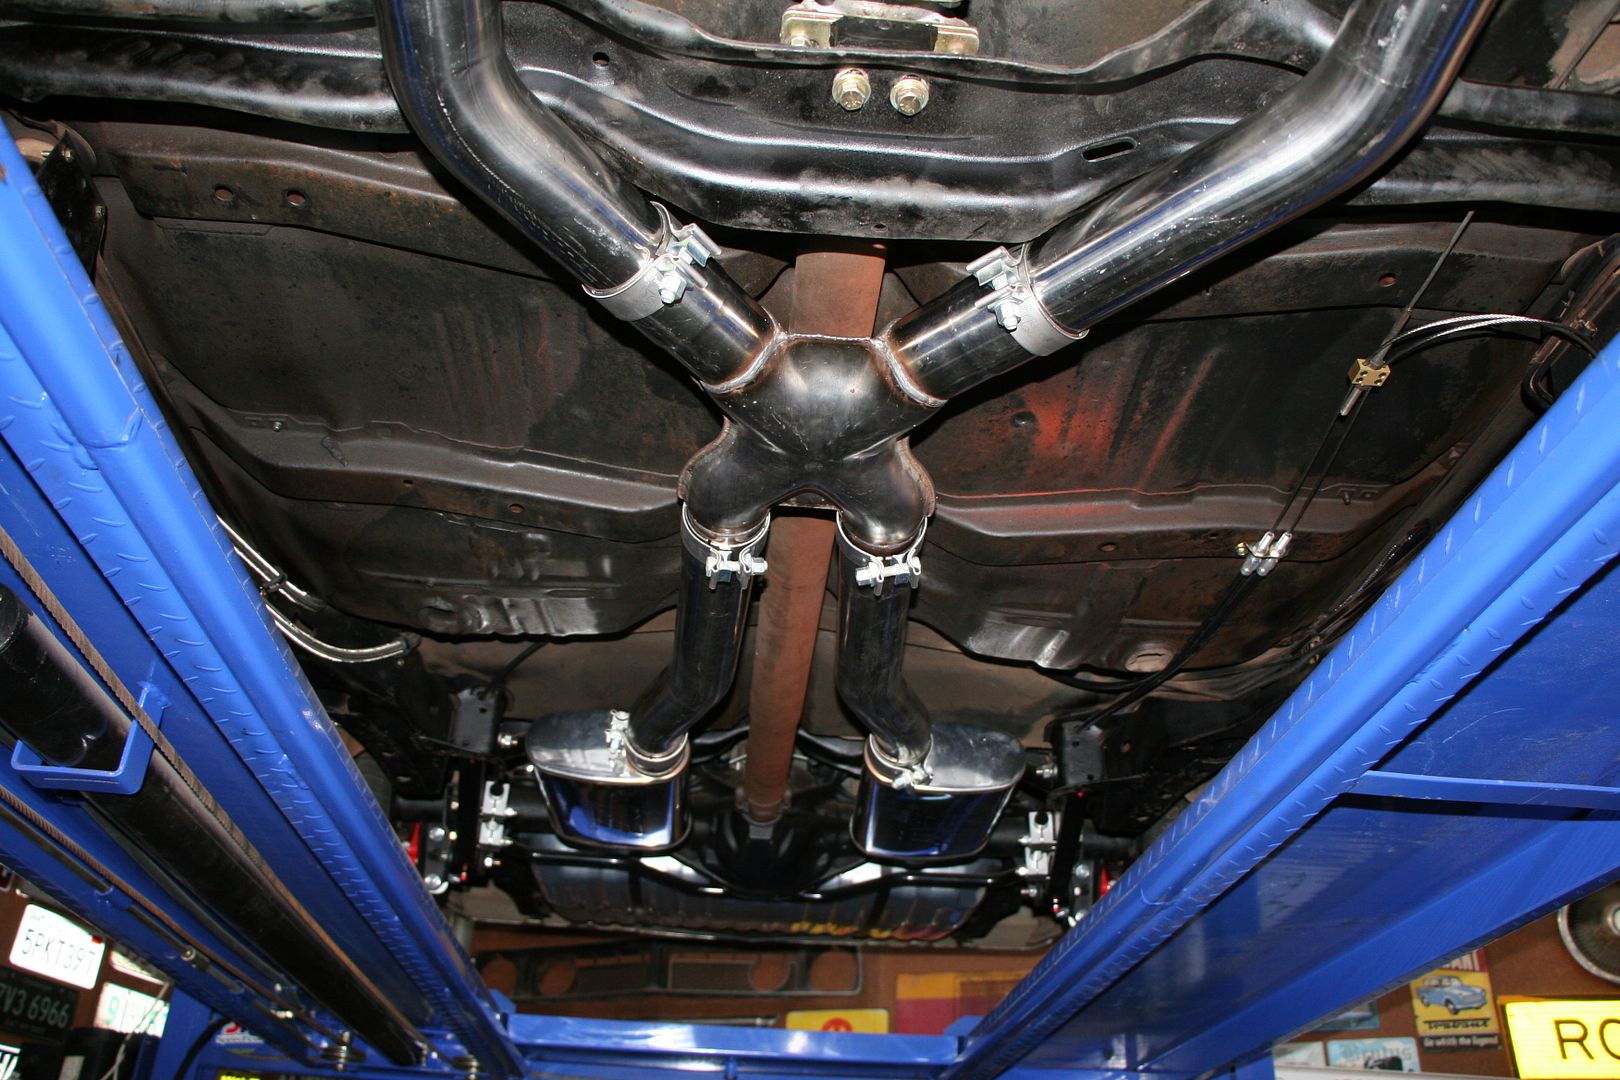
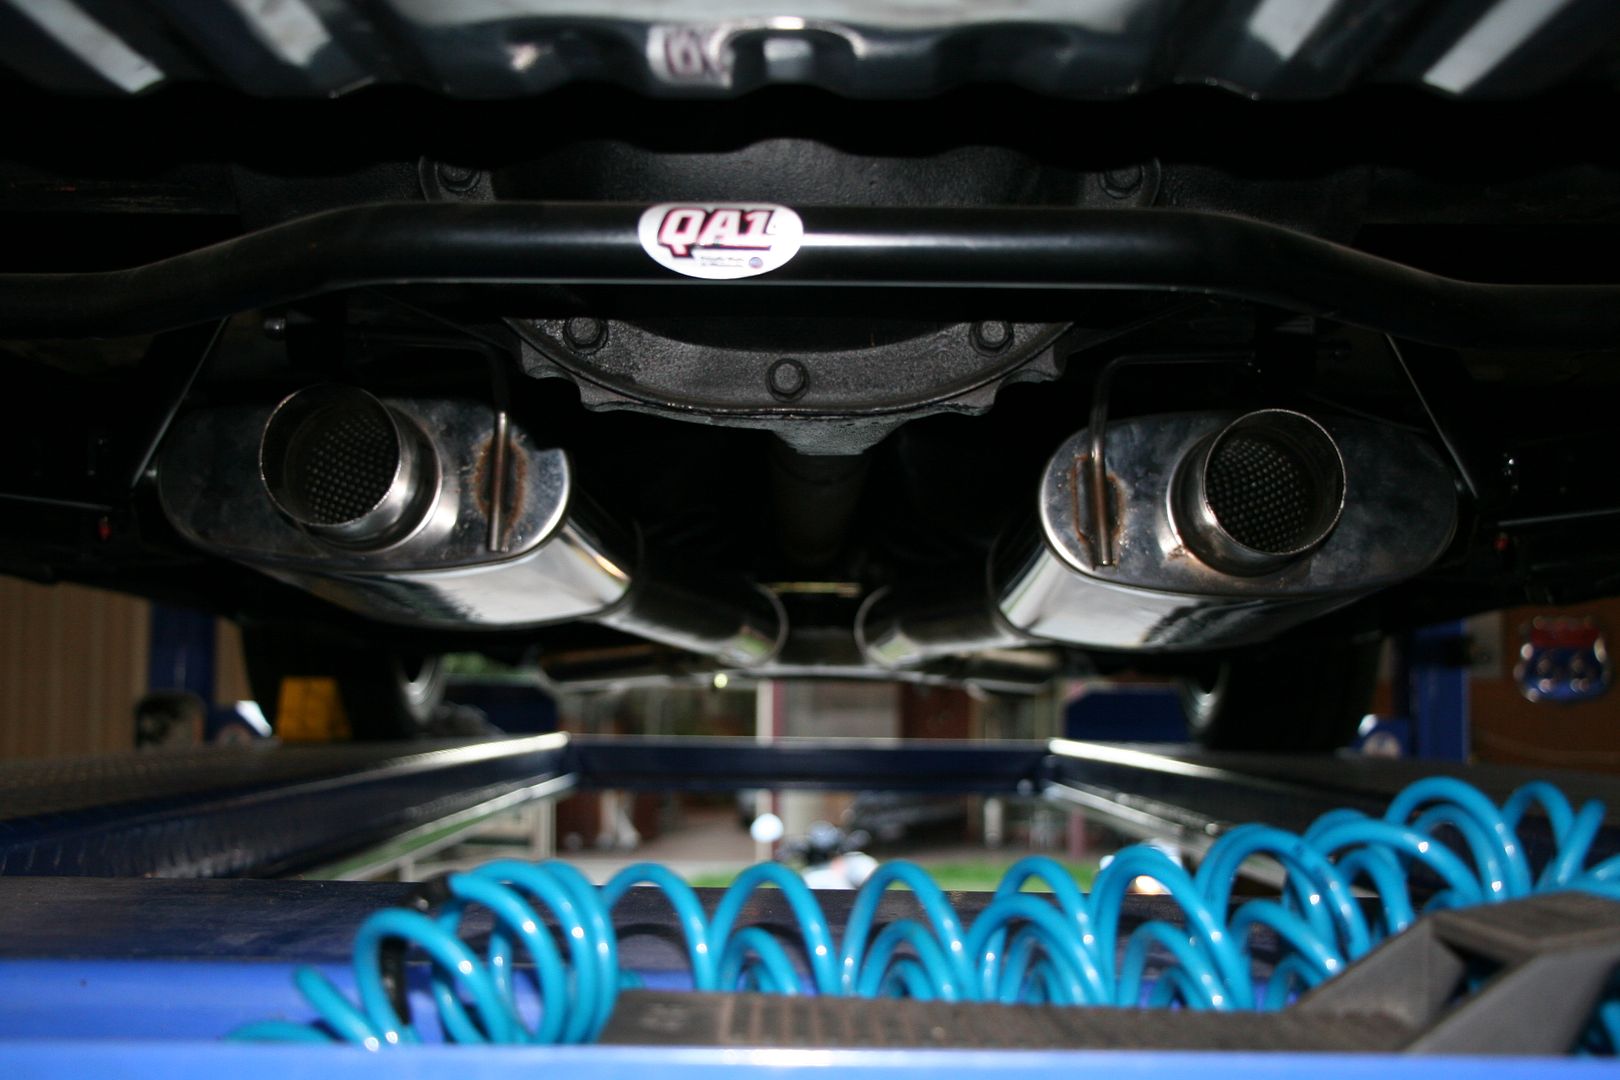
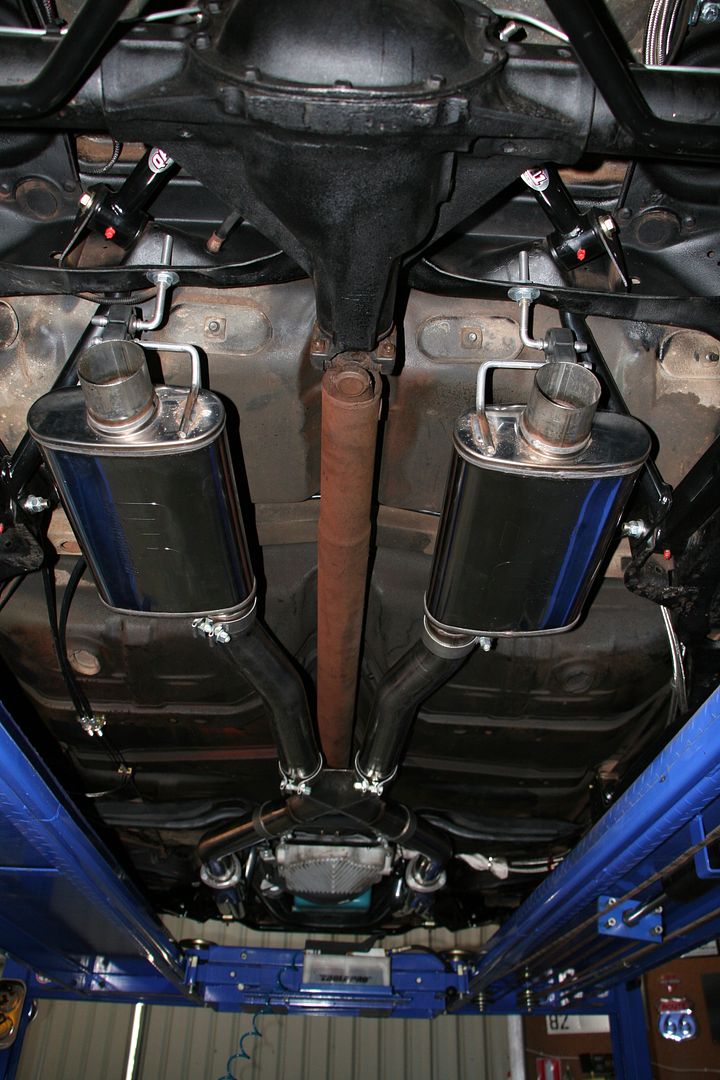
He's fitted bigger high flow mufflers vs the ones I had on it & he's removed the X-section & just gone for a simpler blend join, he tells me that the big X cross overs make a lot of noise as the gasses aren't just blending & balancing like they will be with the new system but would have been interfering with each other & making a lot of noise as a result.
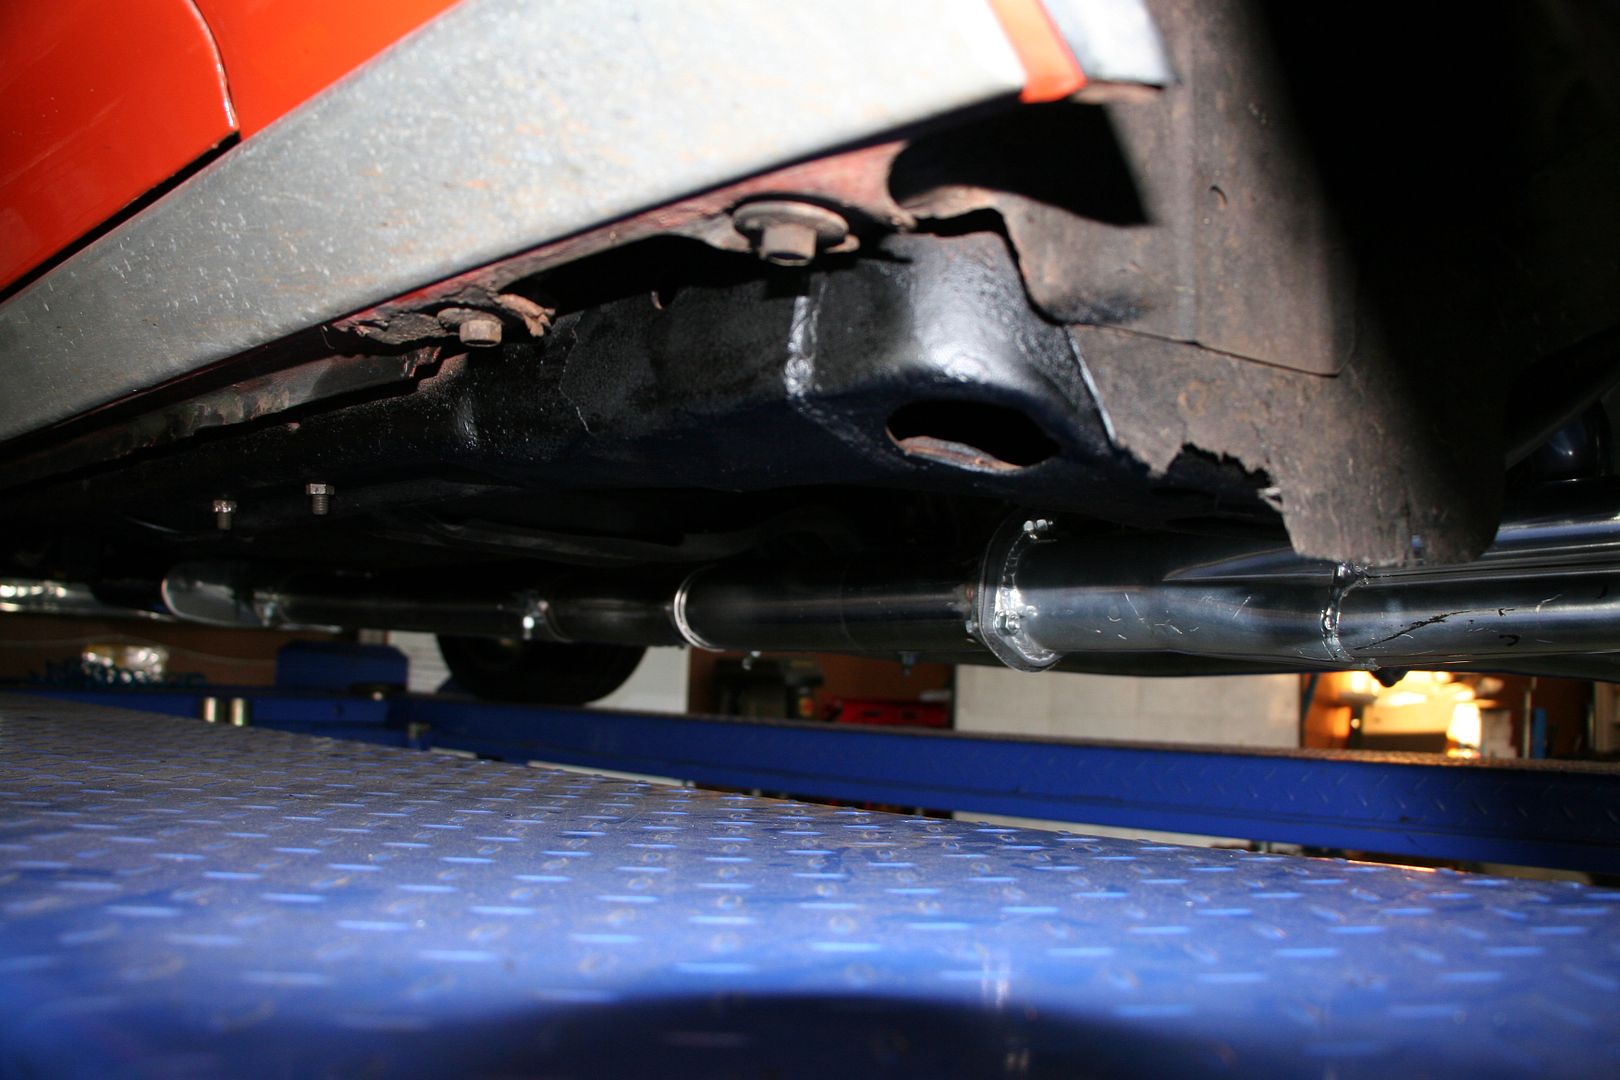
He's also angled the tips so they don't point straight down to the ground, we've not gone up & over the diff at this stage, he doesn't think it needs it... so I'll take it away & drive it a bit before deciding if I want to run it up & over the diff after all.
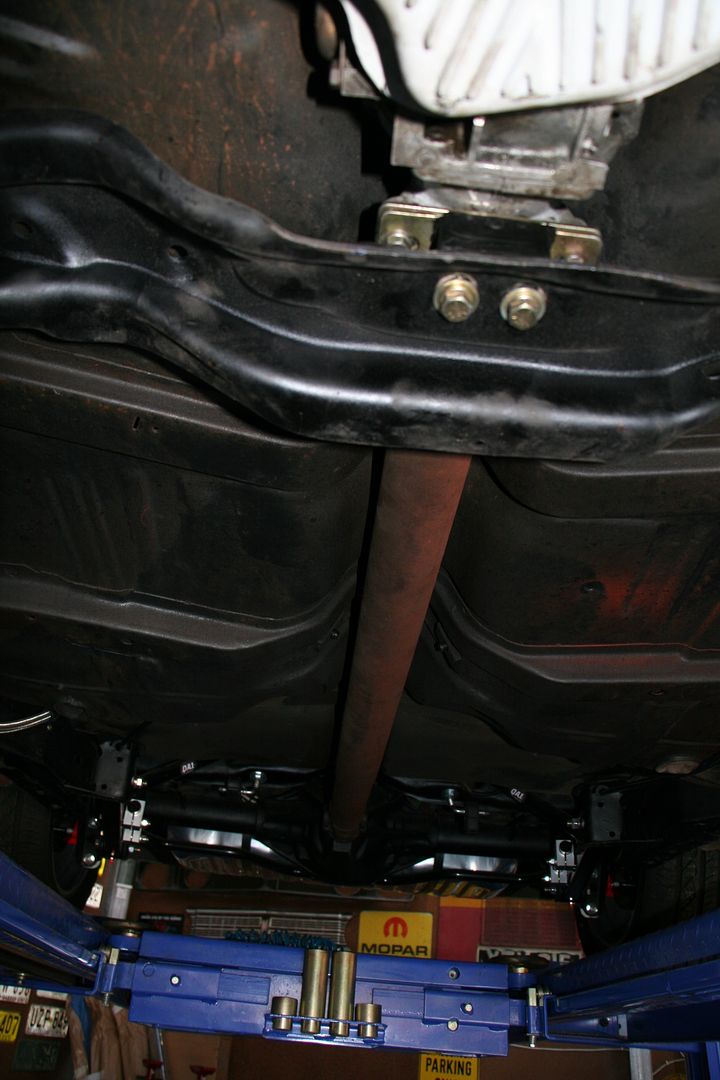
Think I might need to paint that tailshaft.... not that I see it often but it looks shite now under there
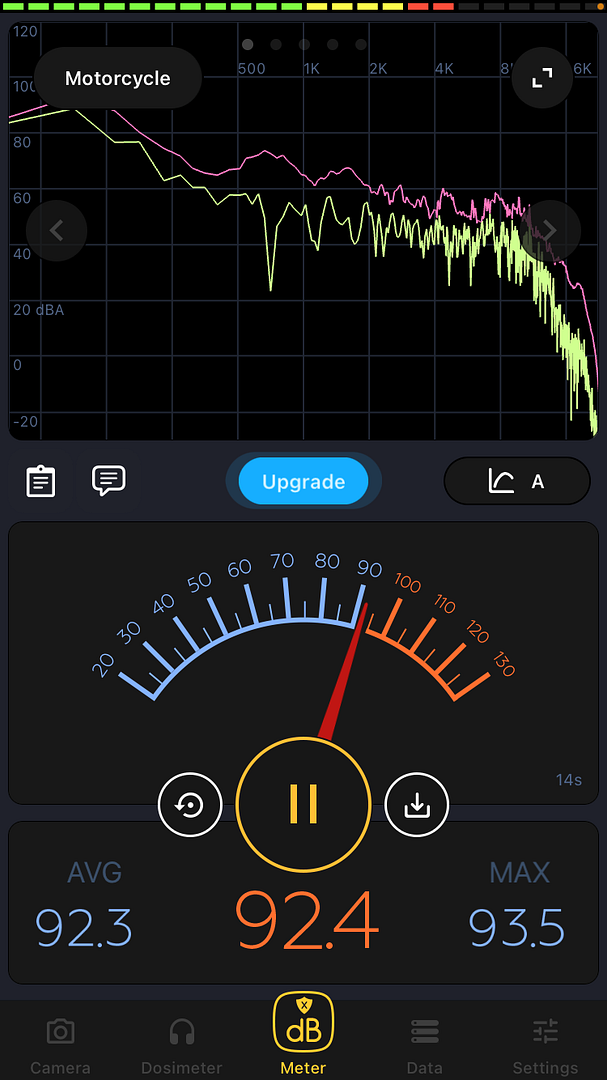
Ok... so I wouldn't exactly call it quiet but it is much better than it was.. it used to idle at like 93-95 db if you measured from the back of the car now its 85-87 with spikes to 90 so I guess it should be under the legal limit of 94, but then again that is measured as a drive by at a prescribed rev limit
Sitting in the car is better again at idle now being 78-79
It will bed in & get a little quieter, the big test will be when I take Mrs_XB out for a spin in it later to see if she's happy to be in it for long drives as it is... I may end up having to go up & over the diff after all to keep her happy.


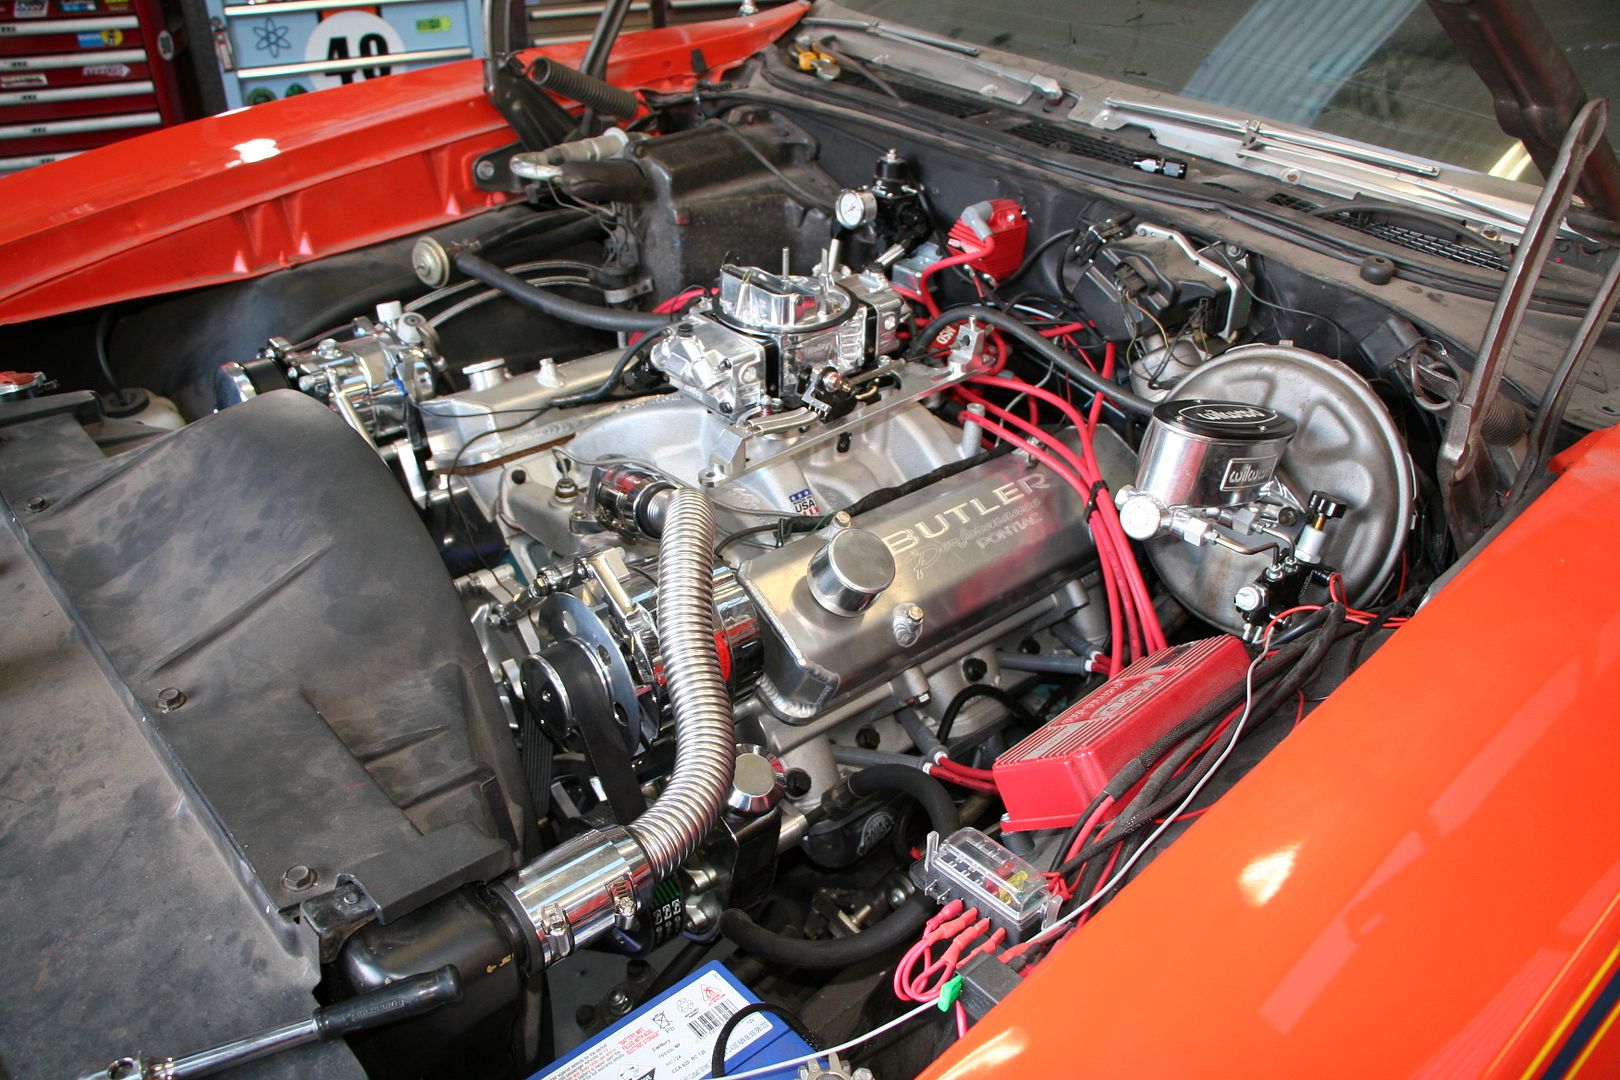
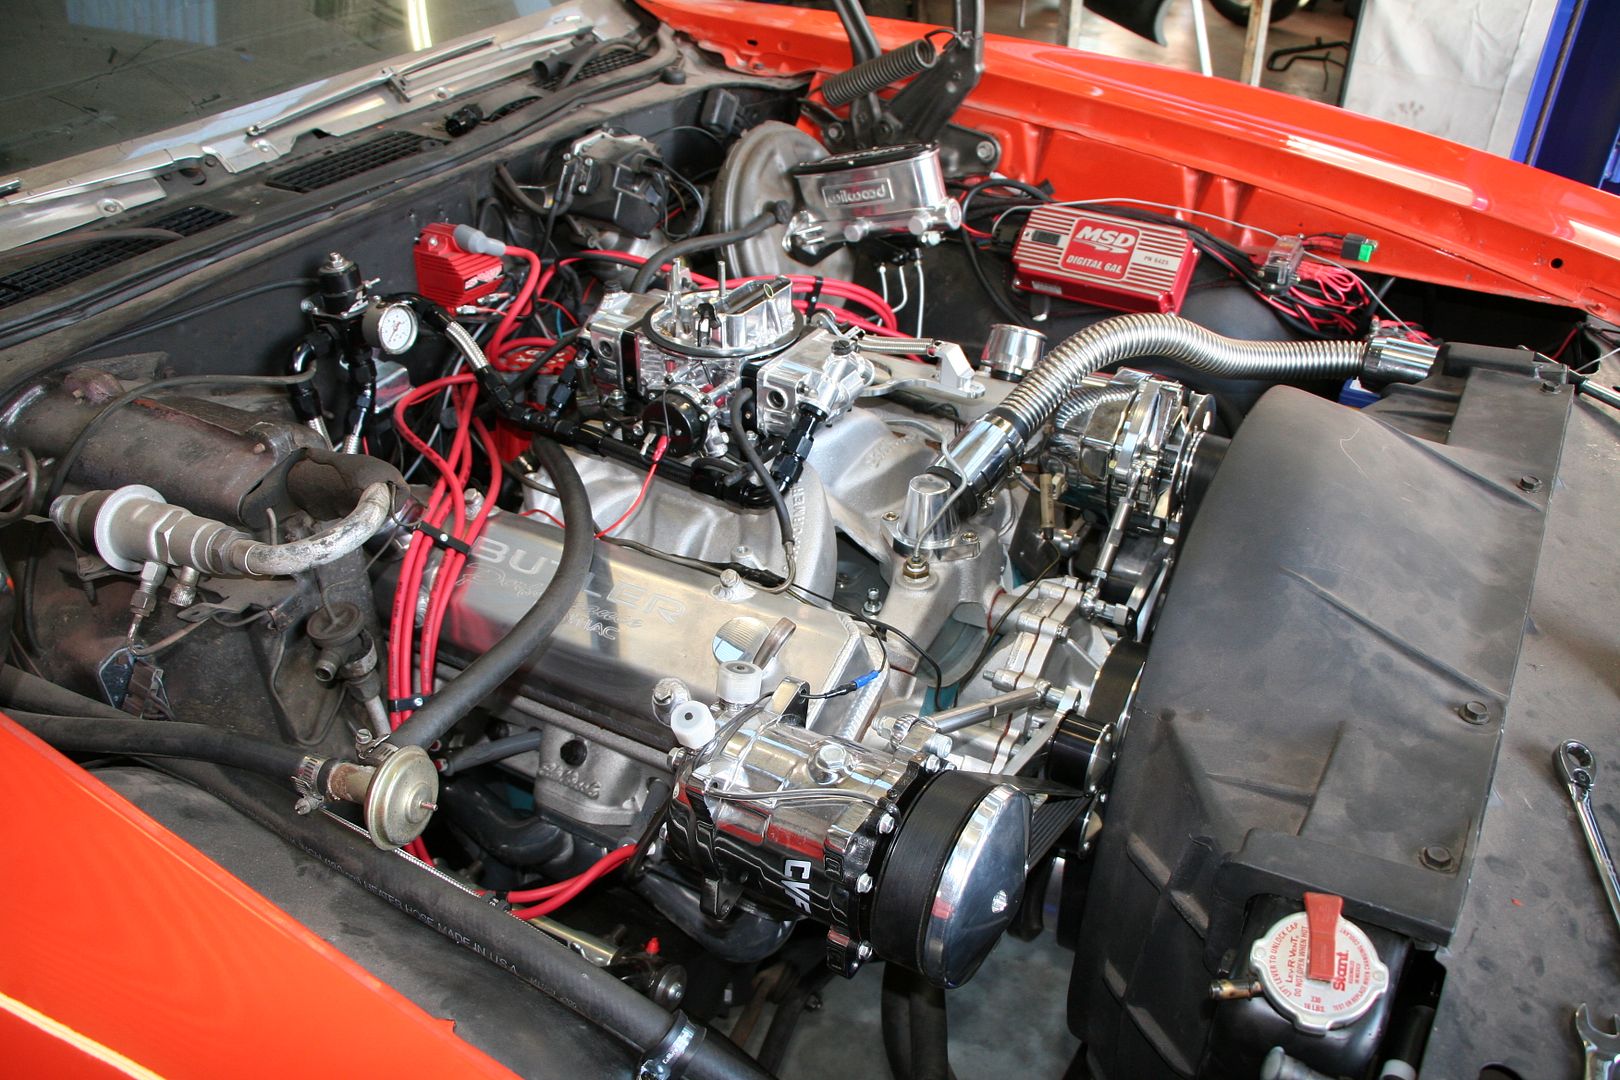
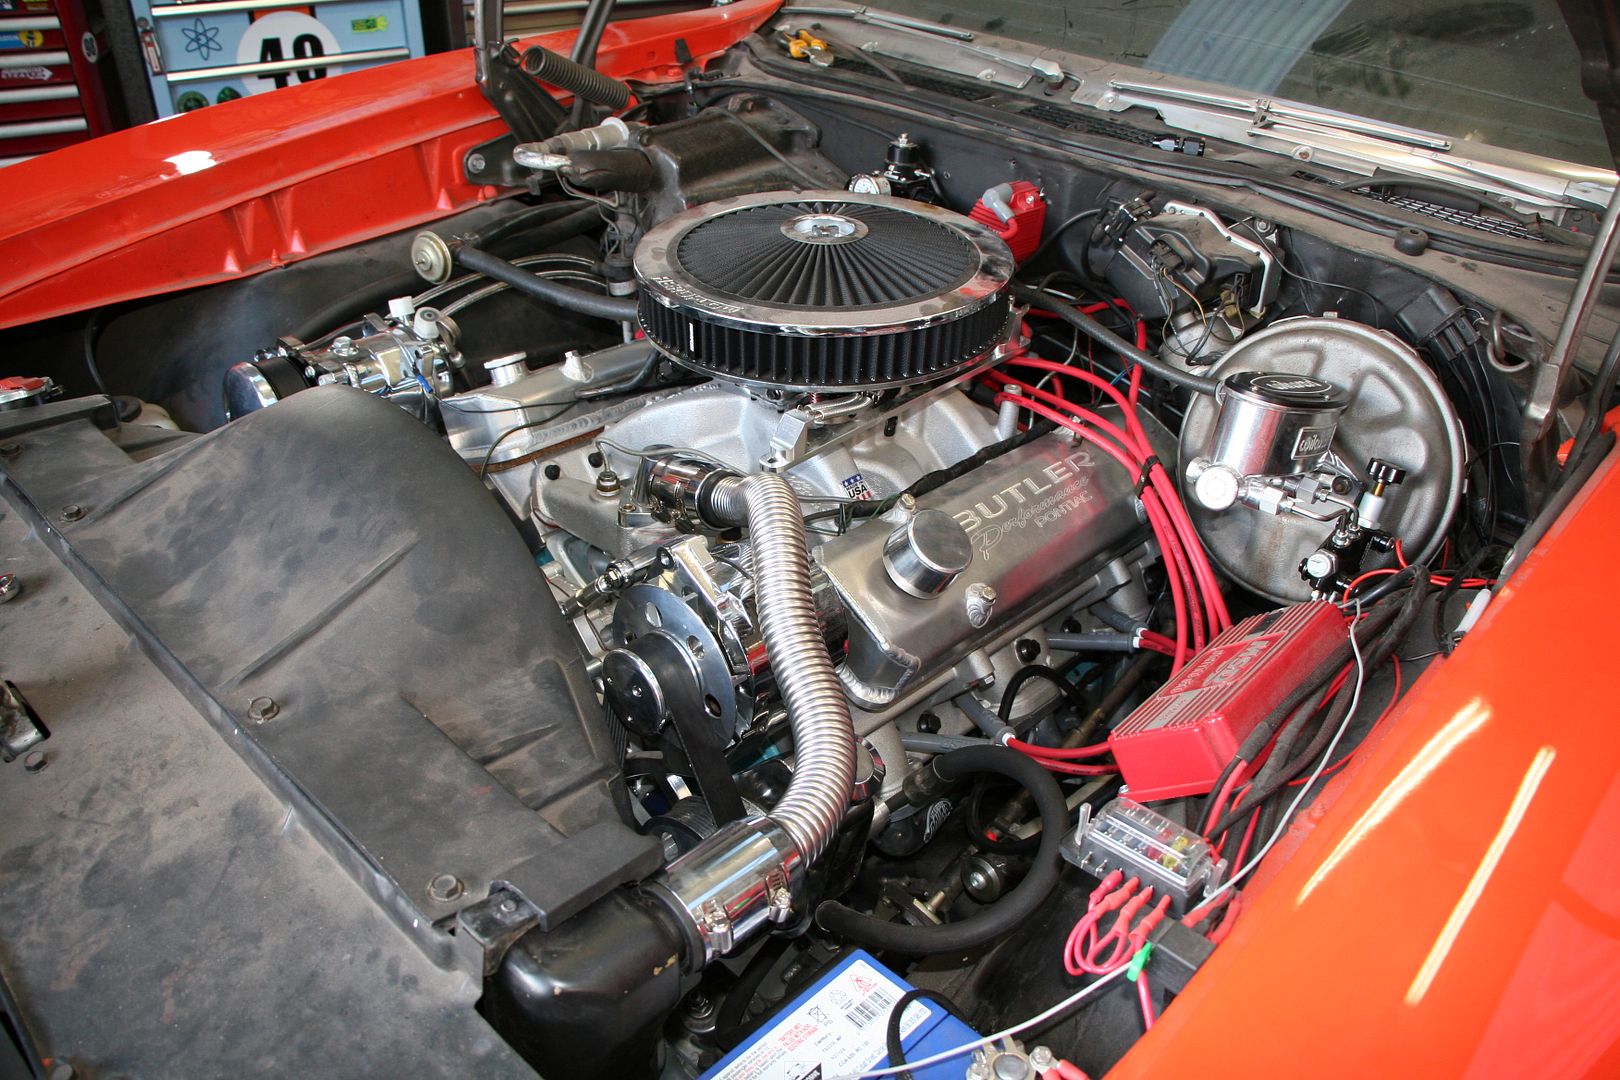
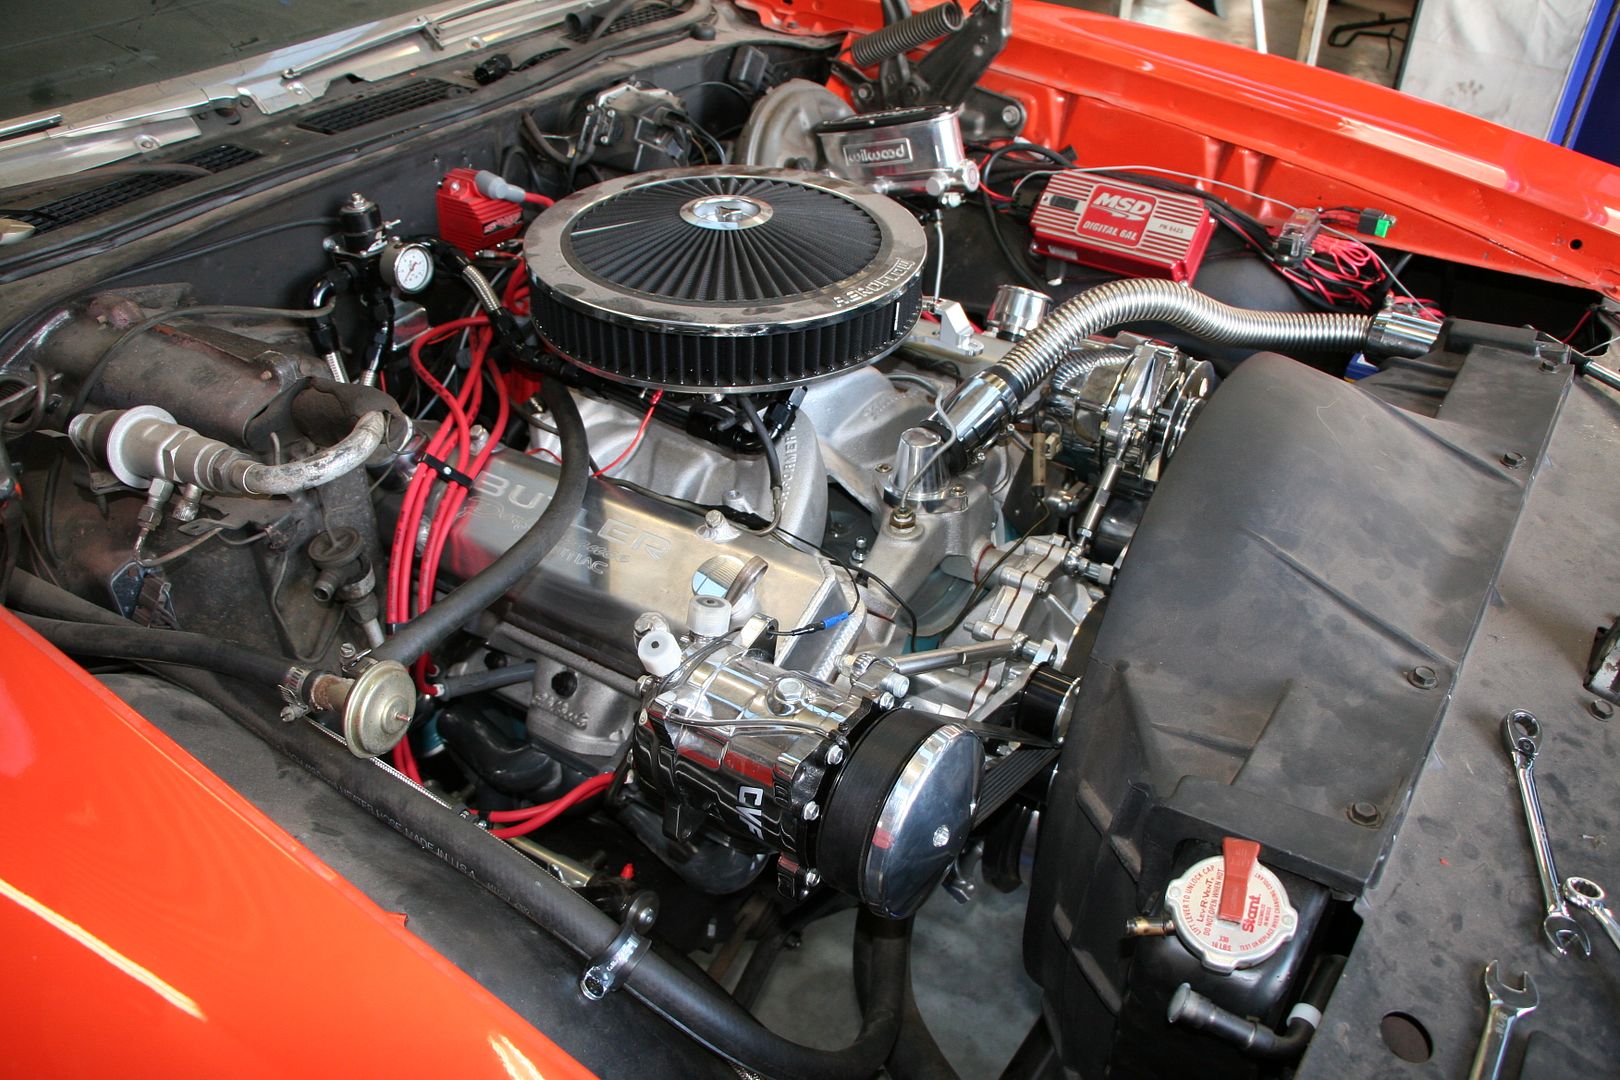

.jpg?width=1920&height=1080&fit=bounds)
.jpg?width=1920&height=1080&fit=bounds)