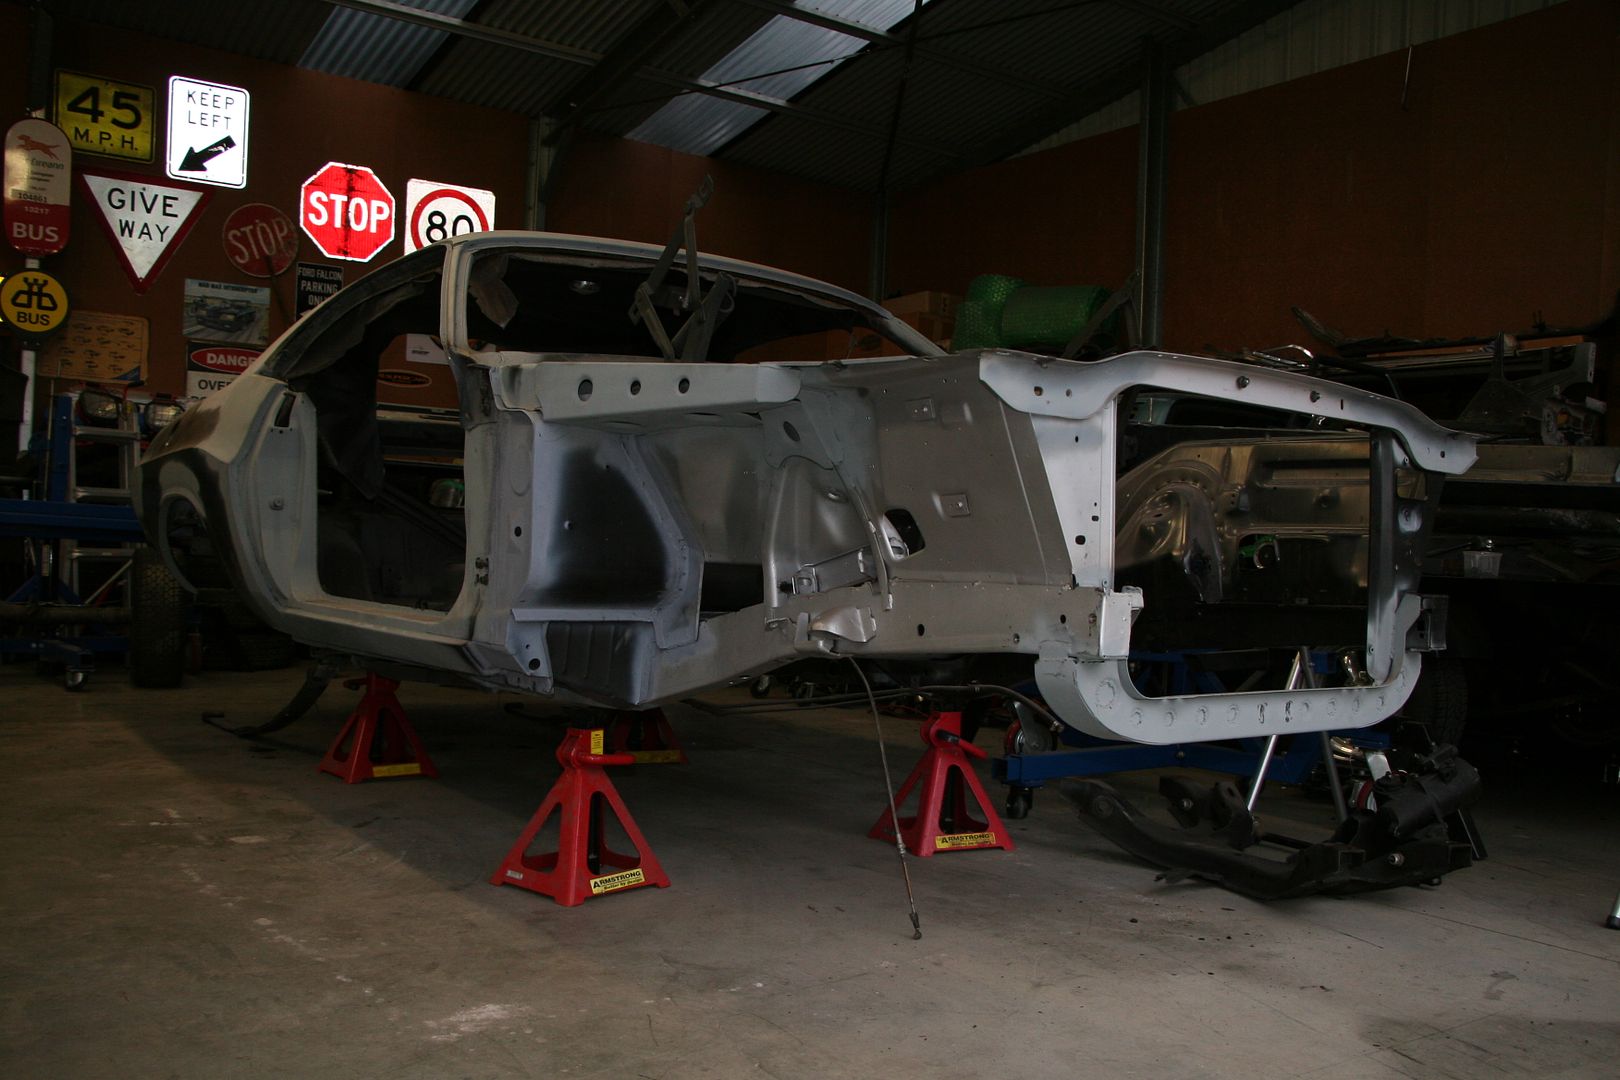
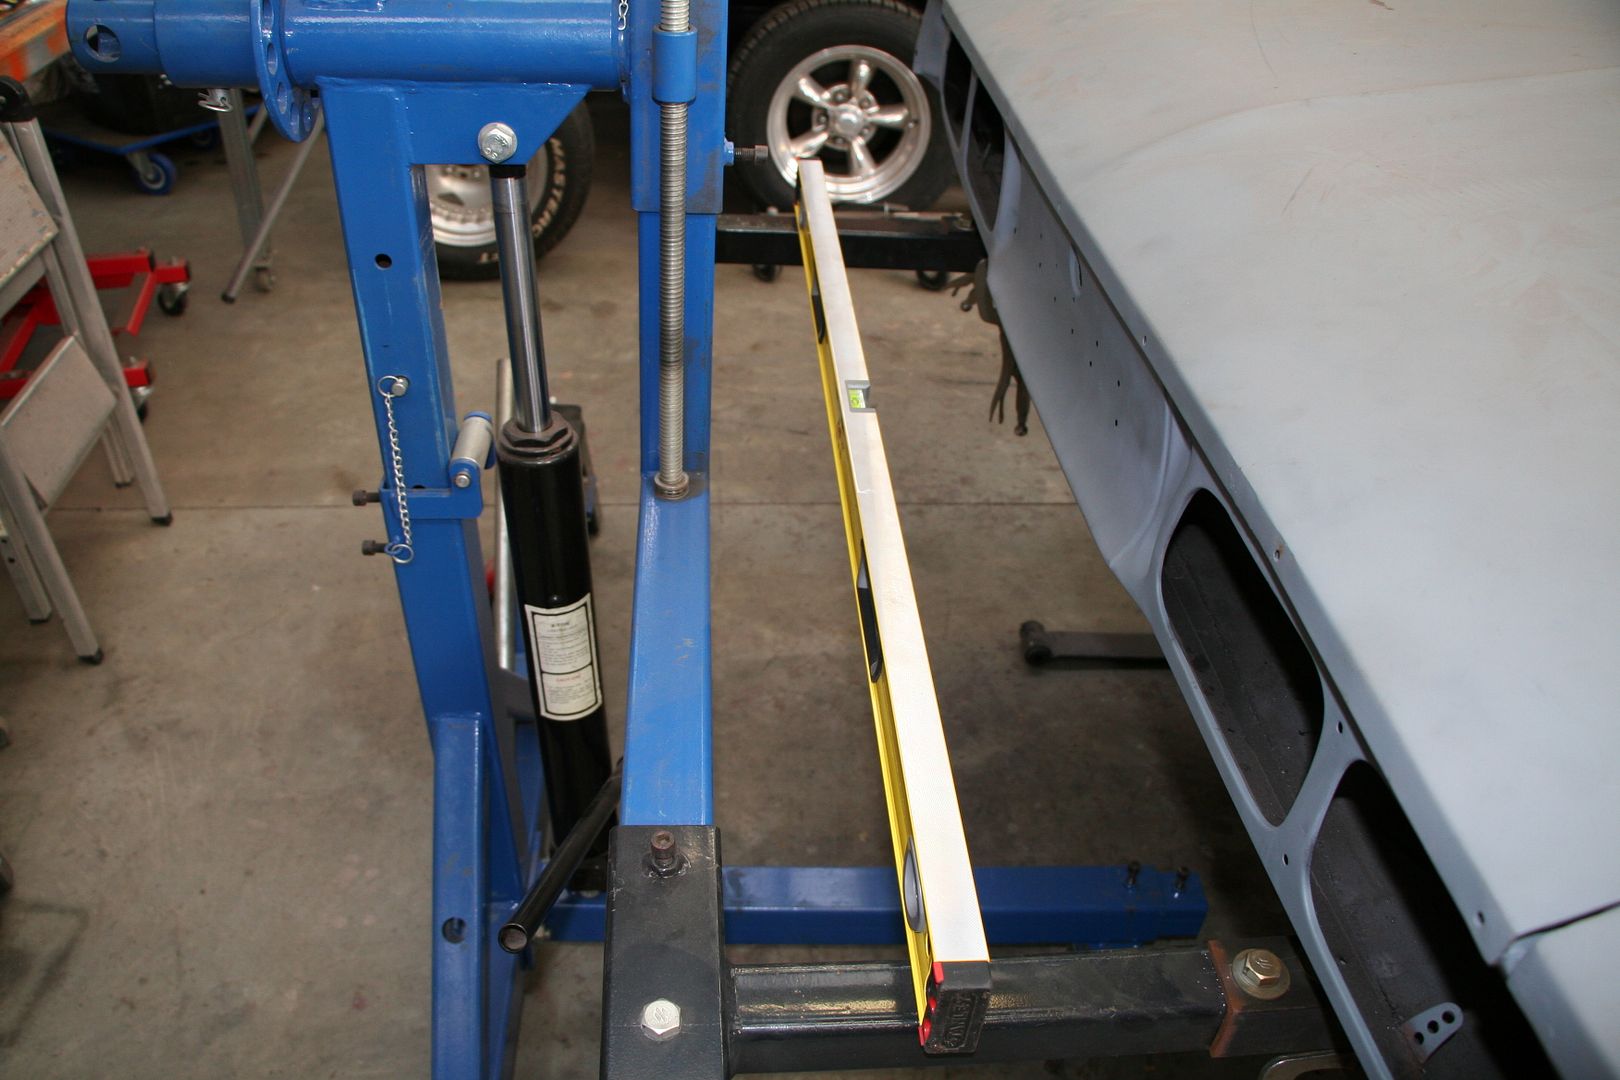
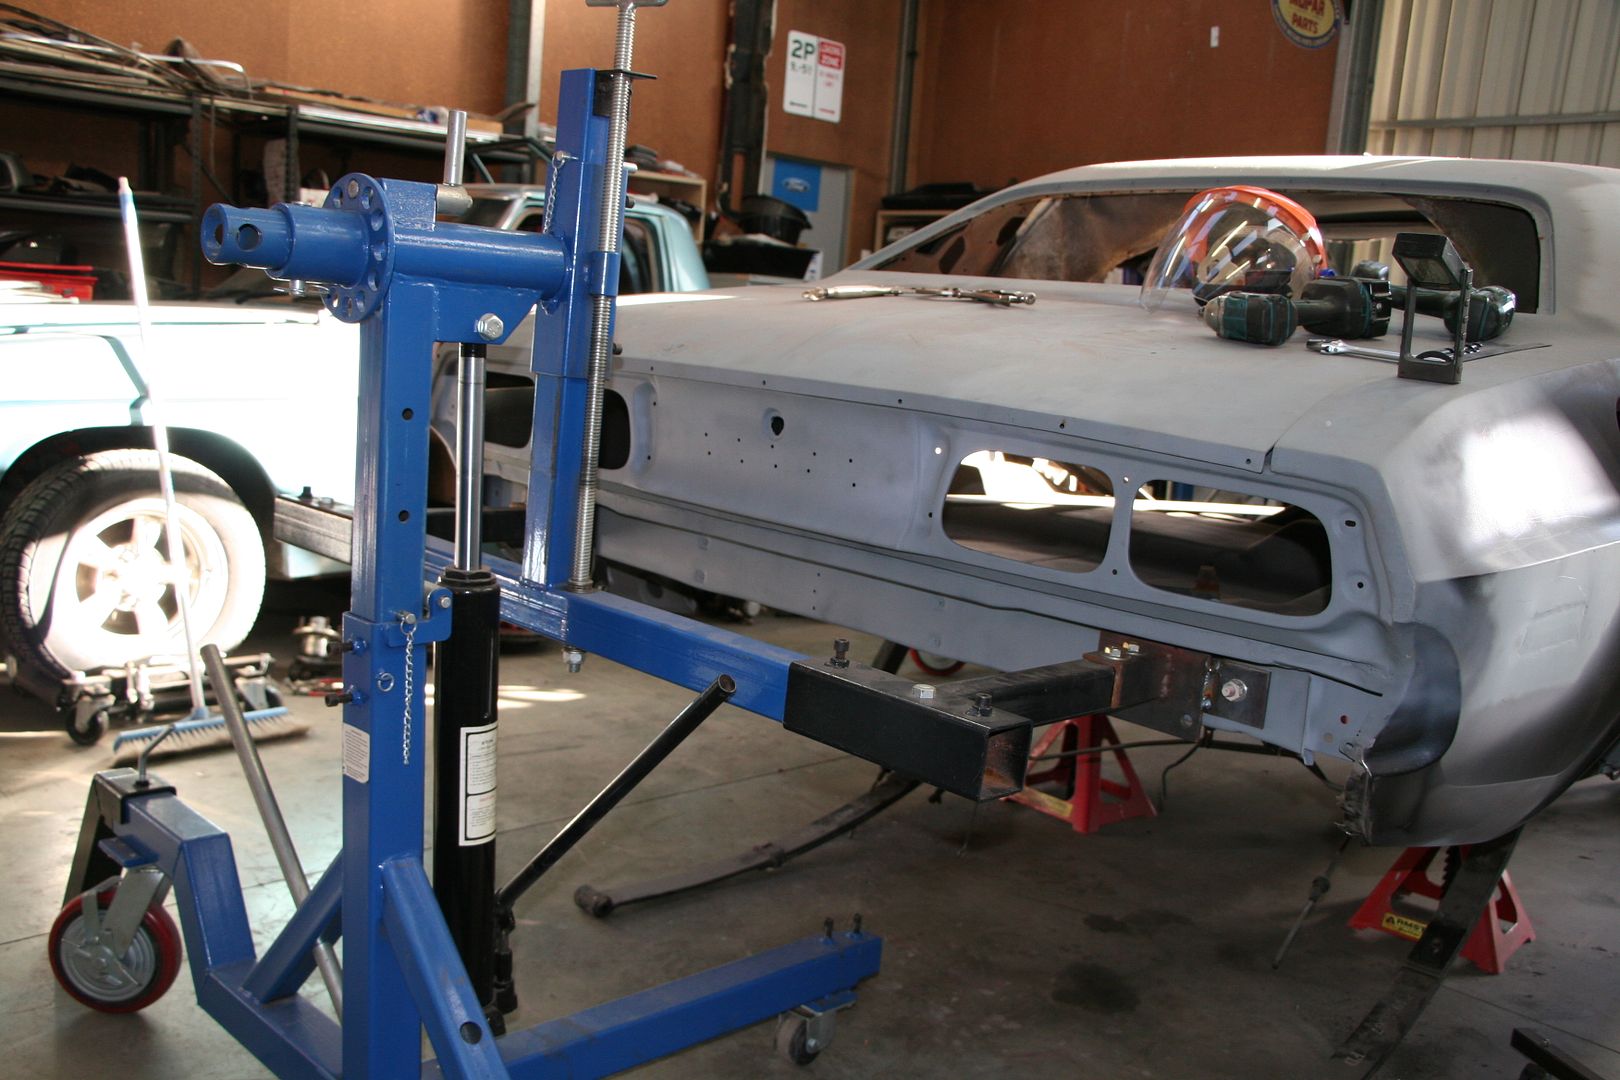
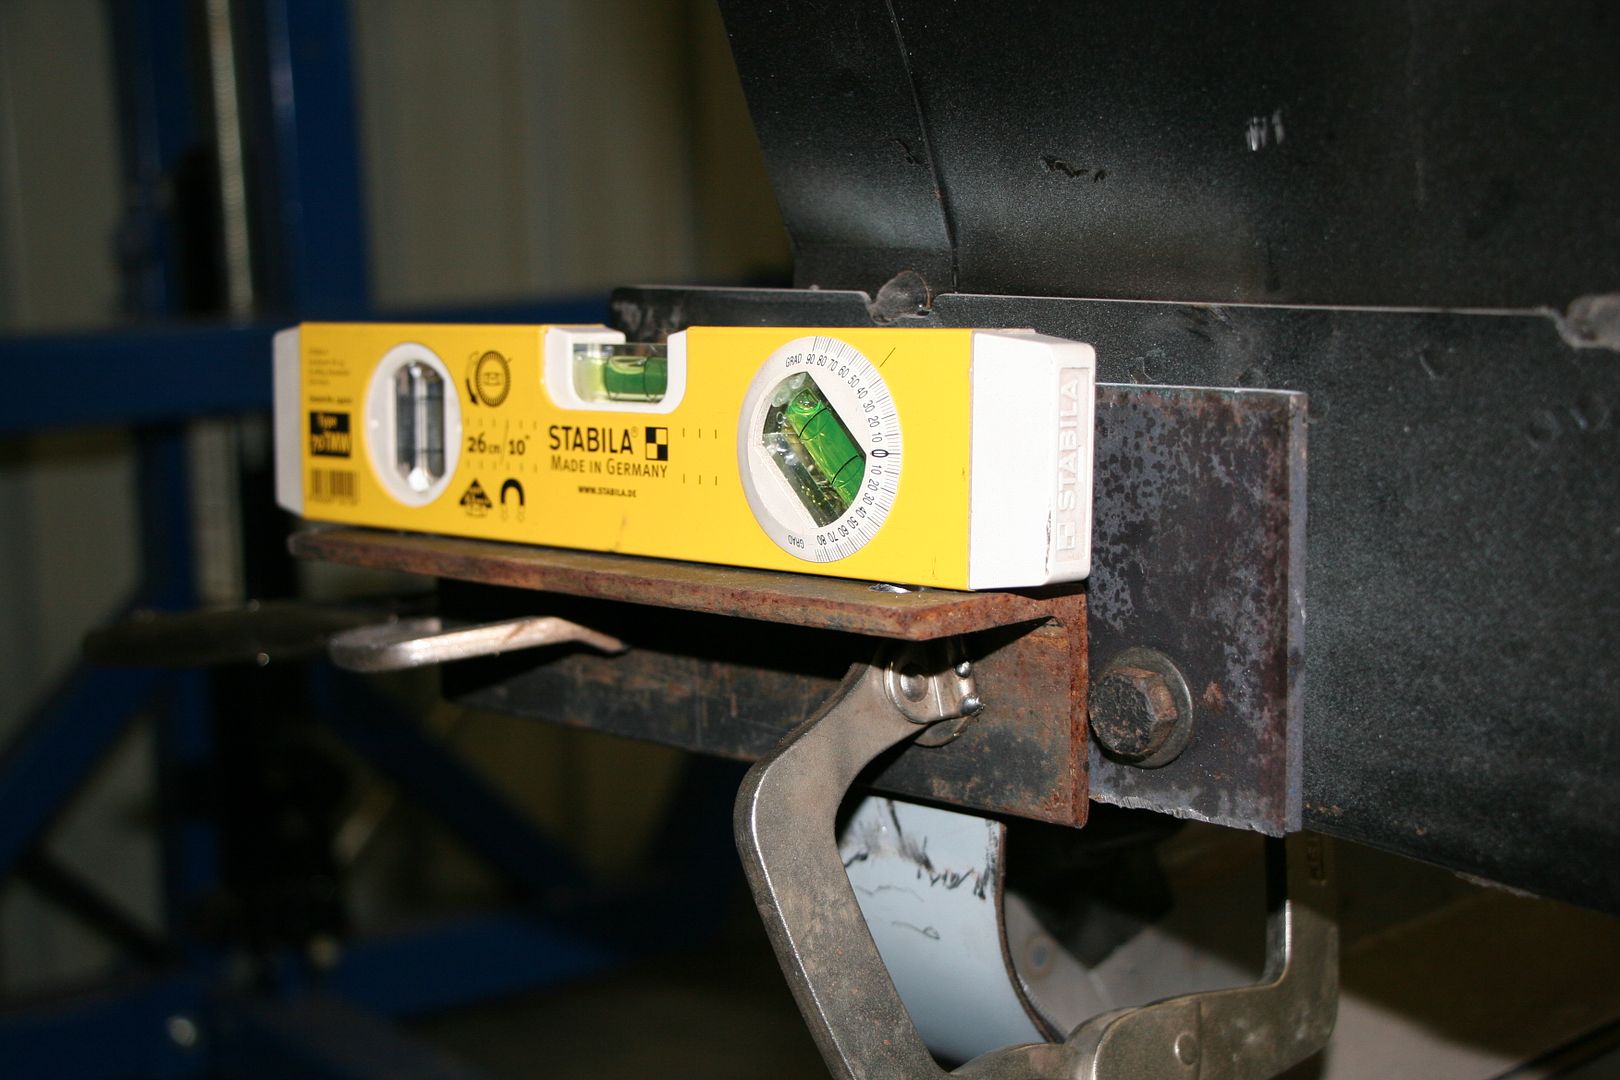
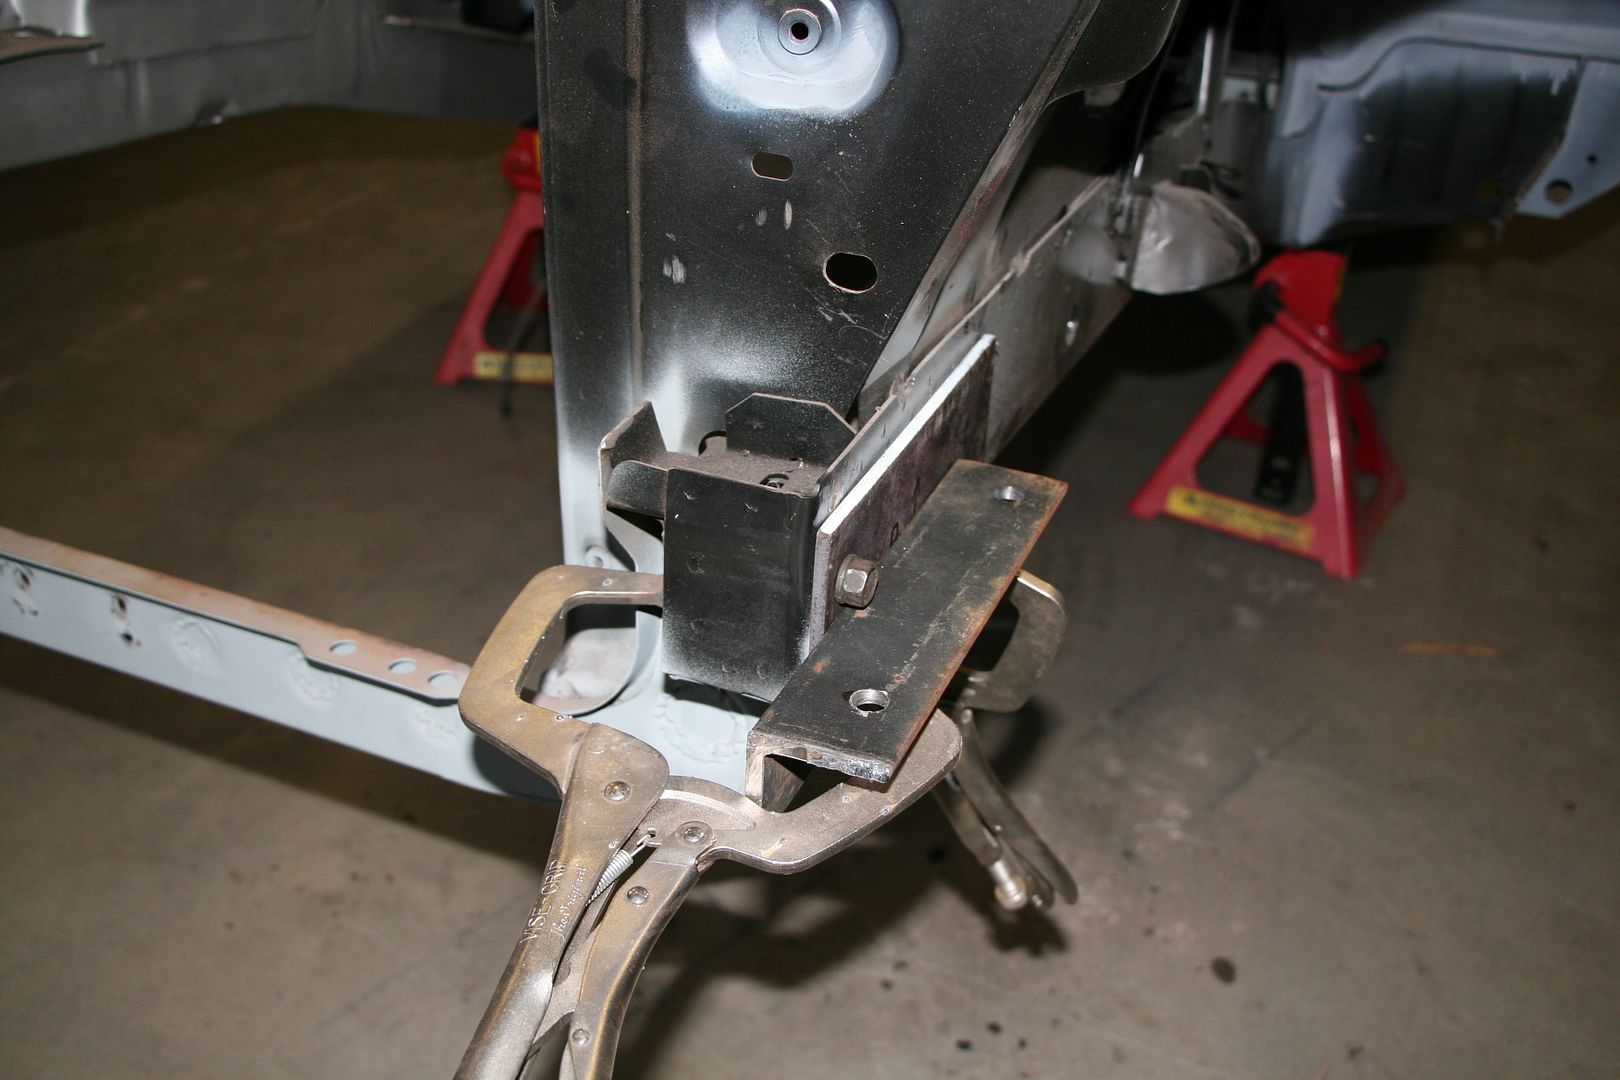
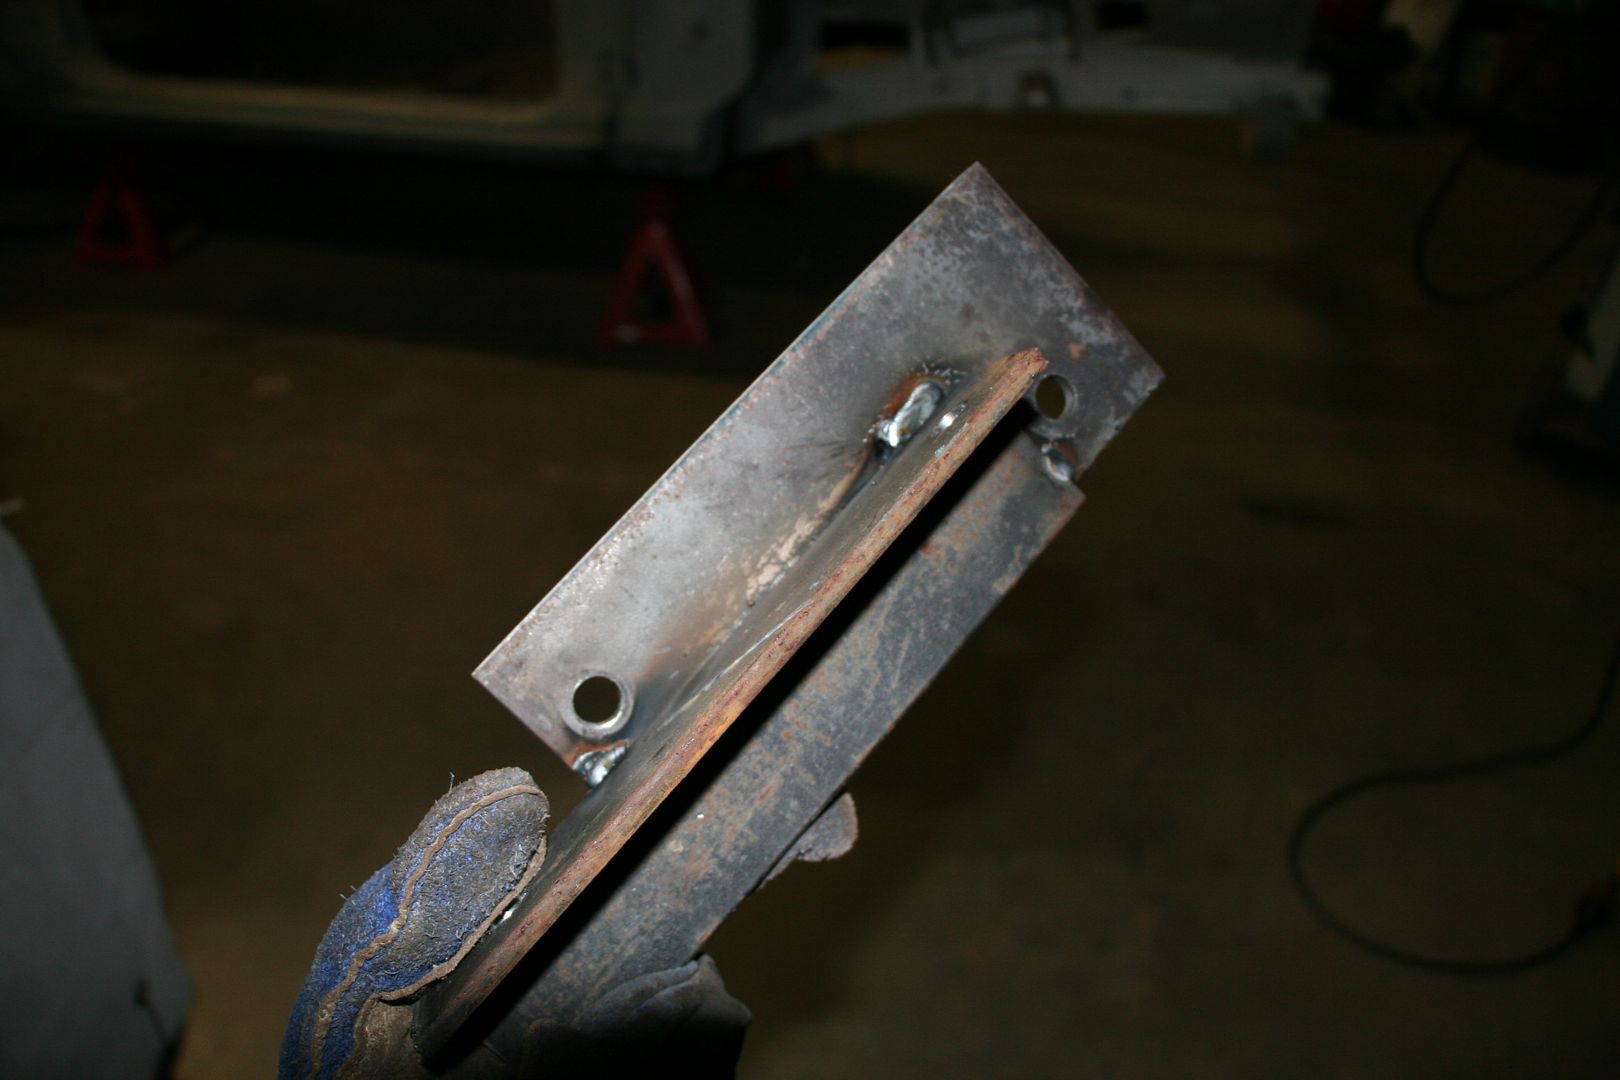
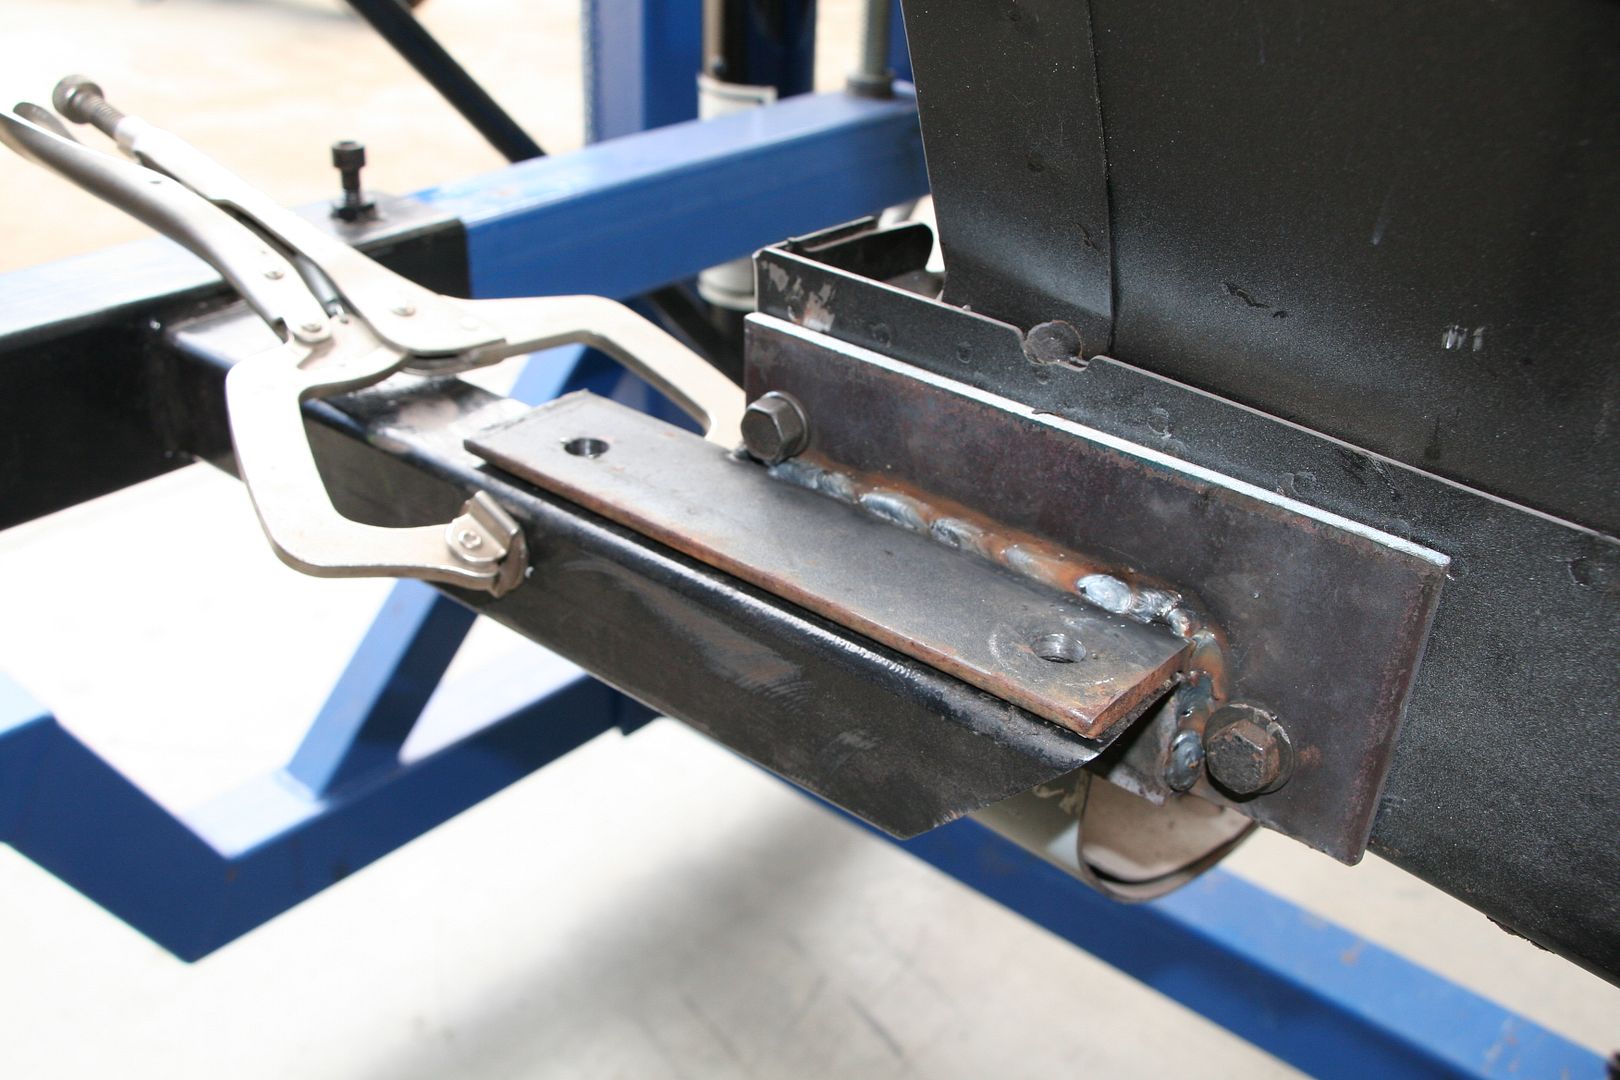
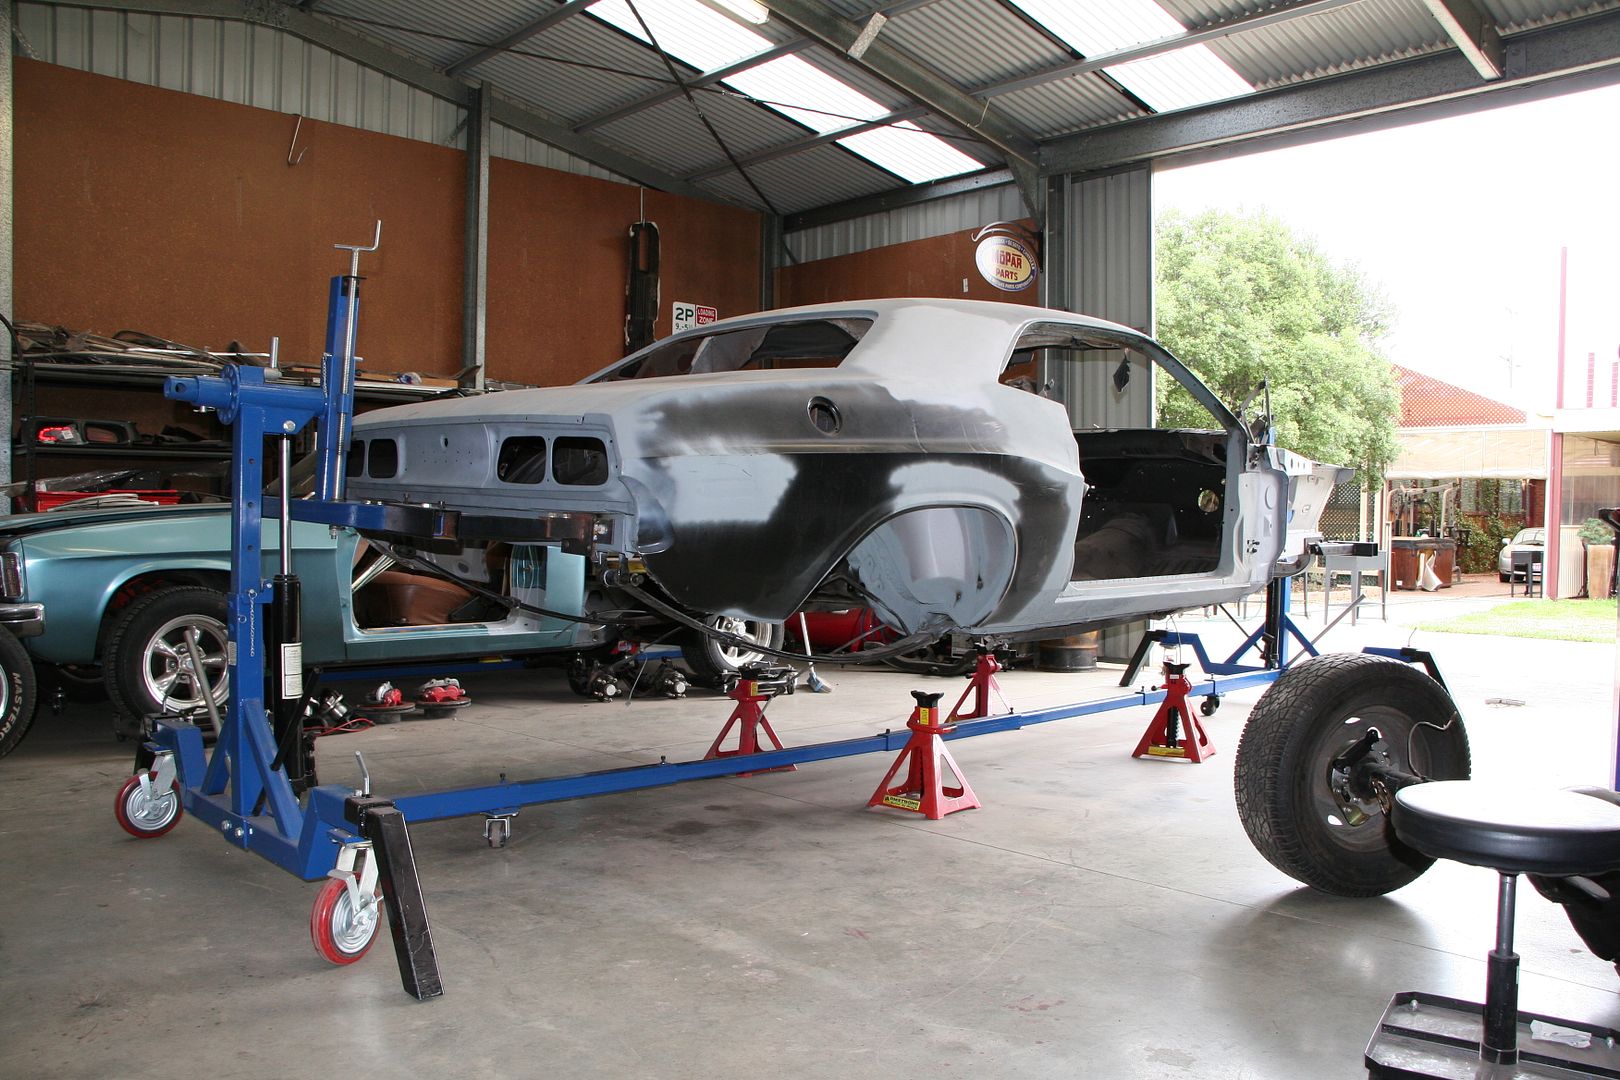
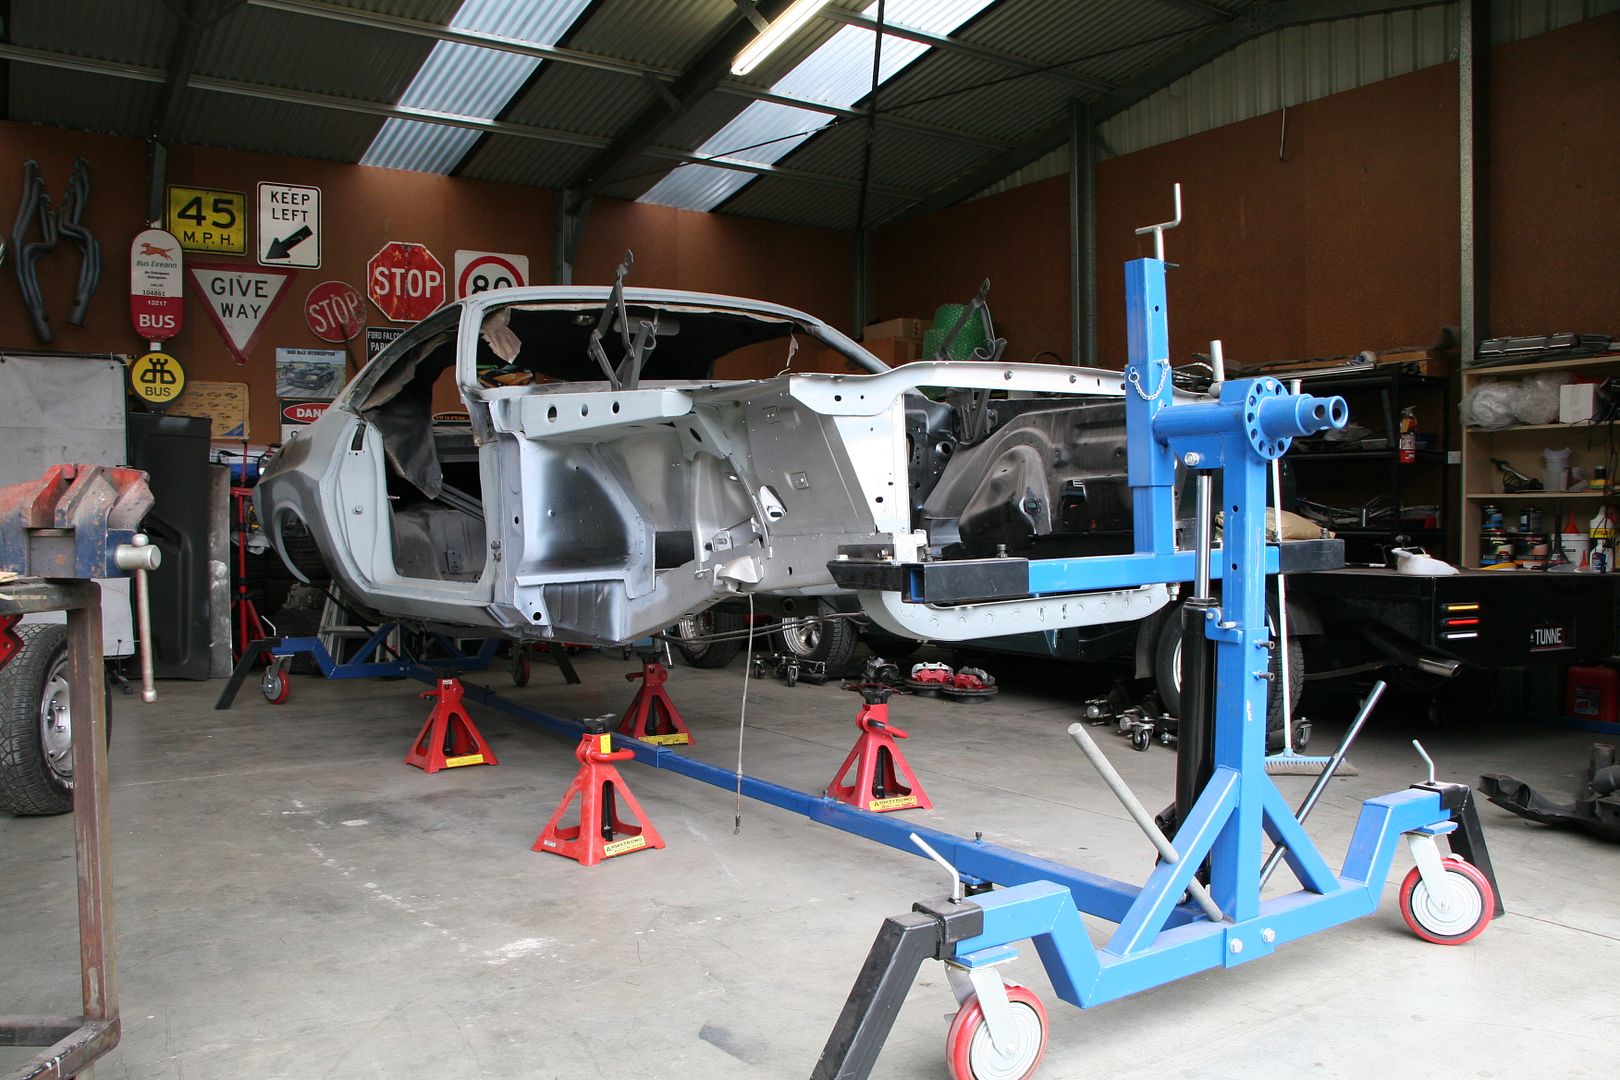
With the painting of the XB coming along a little quicker than I expected it's time I jumped back onto this old girl as she's going to paint when the XB returns... I don't have the balance point right yet as this is as far over as I could rotate the car on my own...
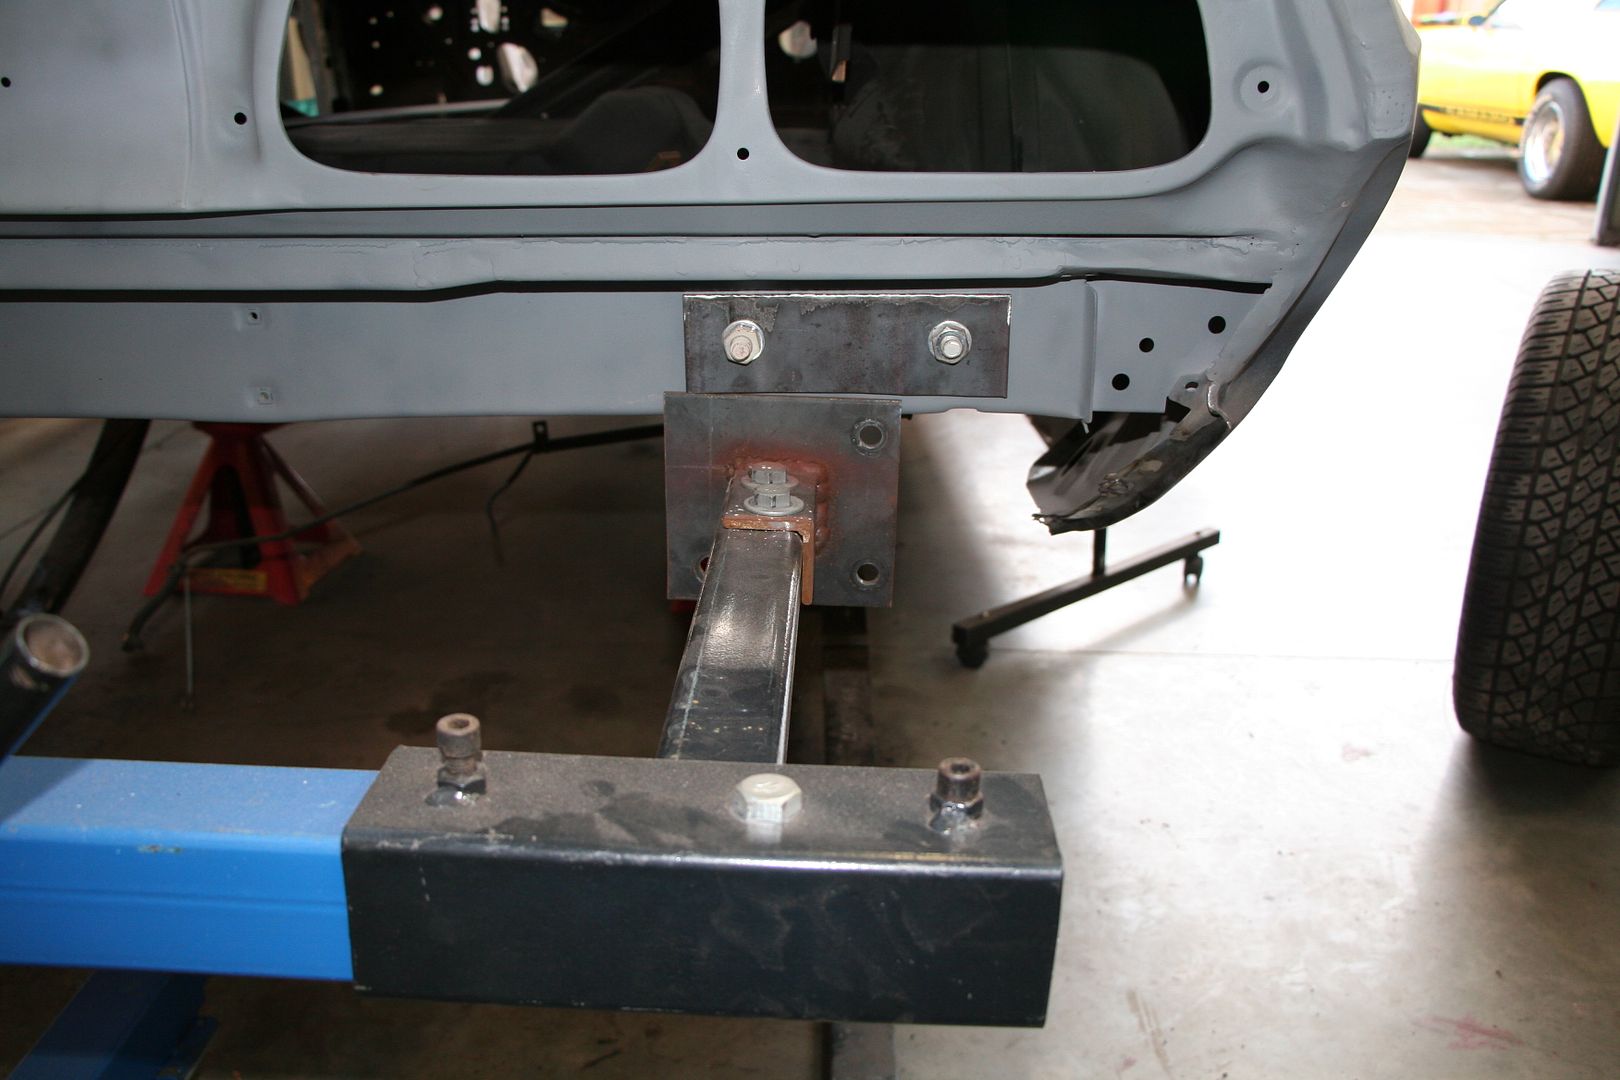
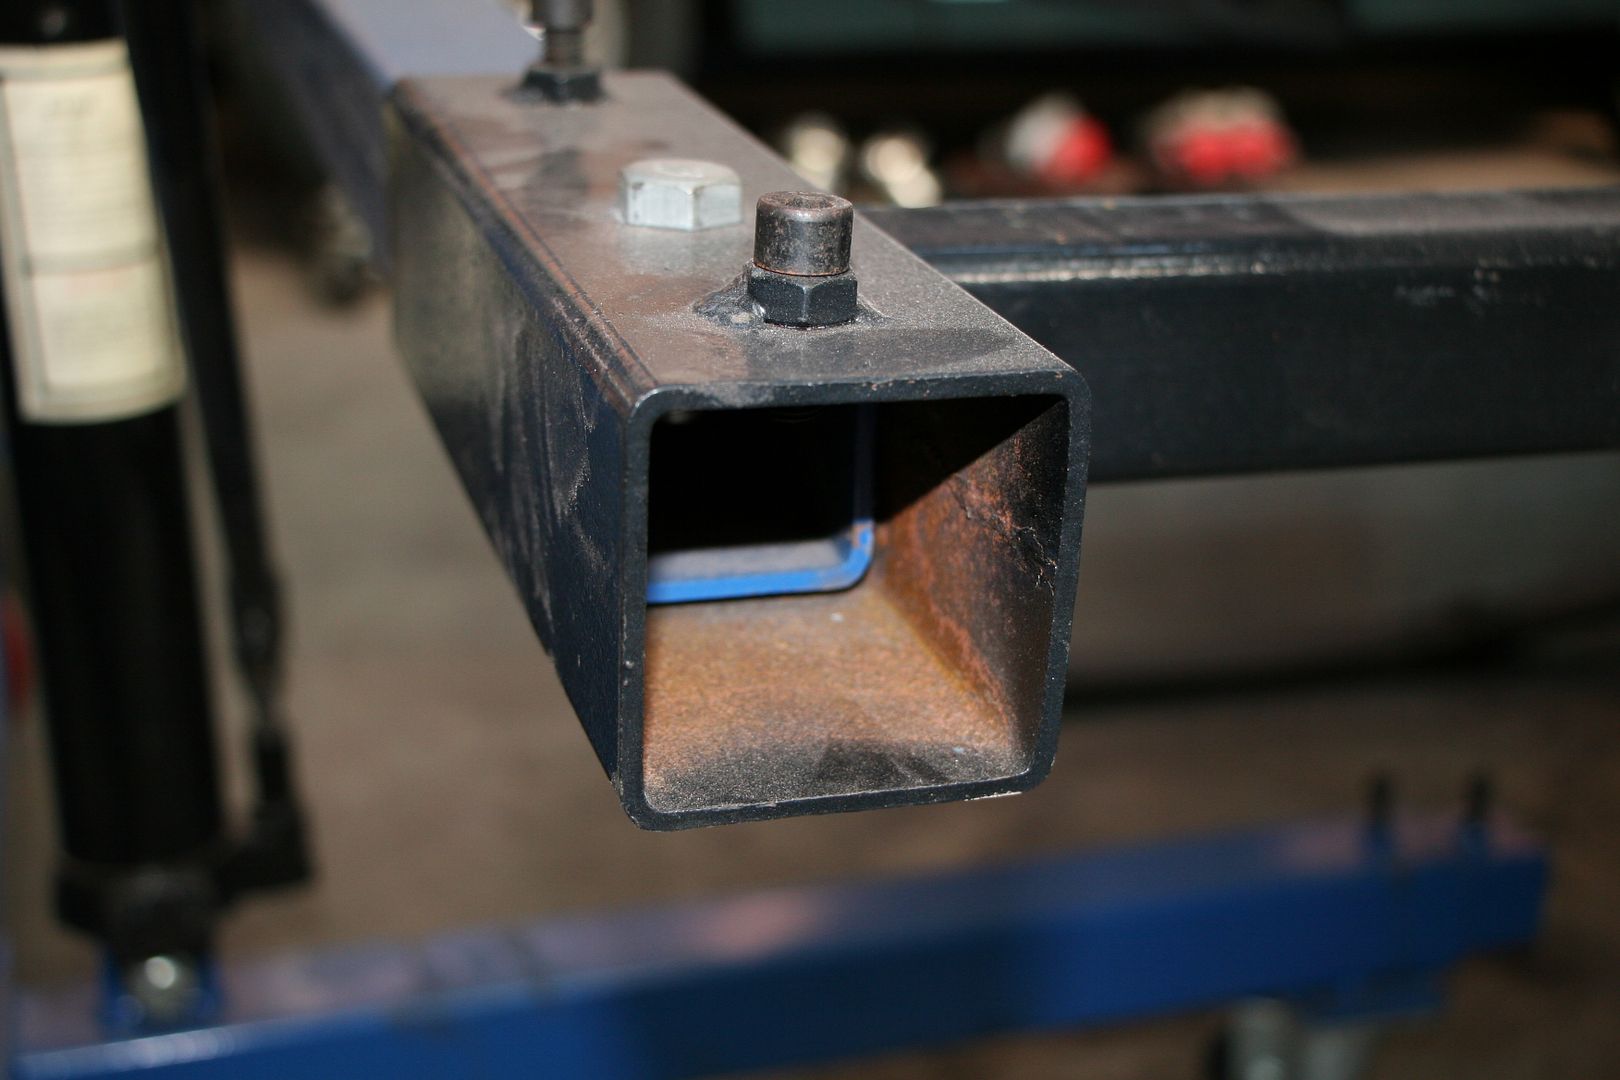
Part of my issue is that the mounting points for the arms of the rotisserie on the body of the Challenger are about 6" - 8" higher up the body than the XB's had been, this means that to be able to rotate the Challenger without the Qtr panels hitting the center beam I needed to raise the jack rams all the way up & this has had the side effect of tilting the shafts that spin the car around & they are binding... not really sure what I can do here to make this better...
Since it's the floor I'll be working on... time to remove the last part from the car, the shifter
You can always tell that the last person to work on your car was an expert when you find they've used 3 different fasteners to hold on the one part... in this case a hex head bolt, a self tapping screw & a torx head bolt... I can only assume this was part of some engineering experiment where they were testing the different fasteners to determine which one was best for the job
Pulled the old hard fuel lines off, as I'll be using the same fuel set up as I did on the GTO I'll be replacing these with a set of -8 braided fuel lines when we get around to the rebuilding bit.
I've now shifted the car to sit better & more balanced on the rotisserie, this car seems to be a bit heavier than the XB was & the center of gravity is lower in the body too. But now I can swing the car to just one notch off full 90deg on my own, I'll need someone to operate the safety lock for me to get it to a full 90 but that's simple for Mrs_XB to do so all good.
I was more careful removing the old hard brake line that I was the fuel line as it's quiet possible that this will end up going back on the car after I've cleaned up the threads of the fittings.
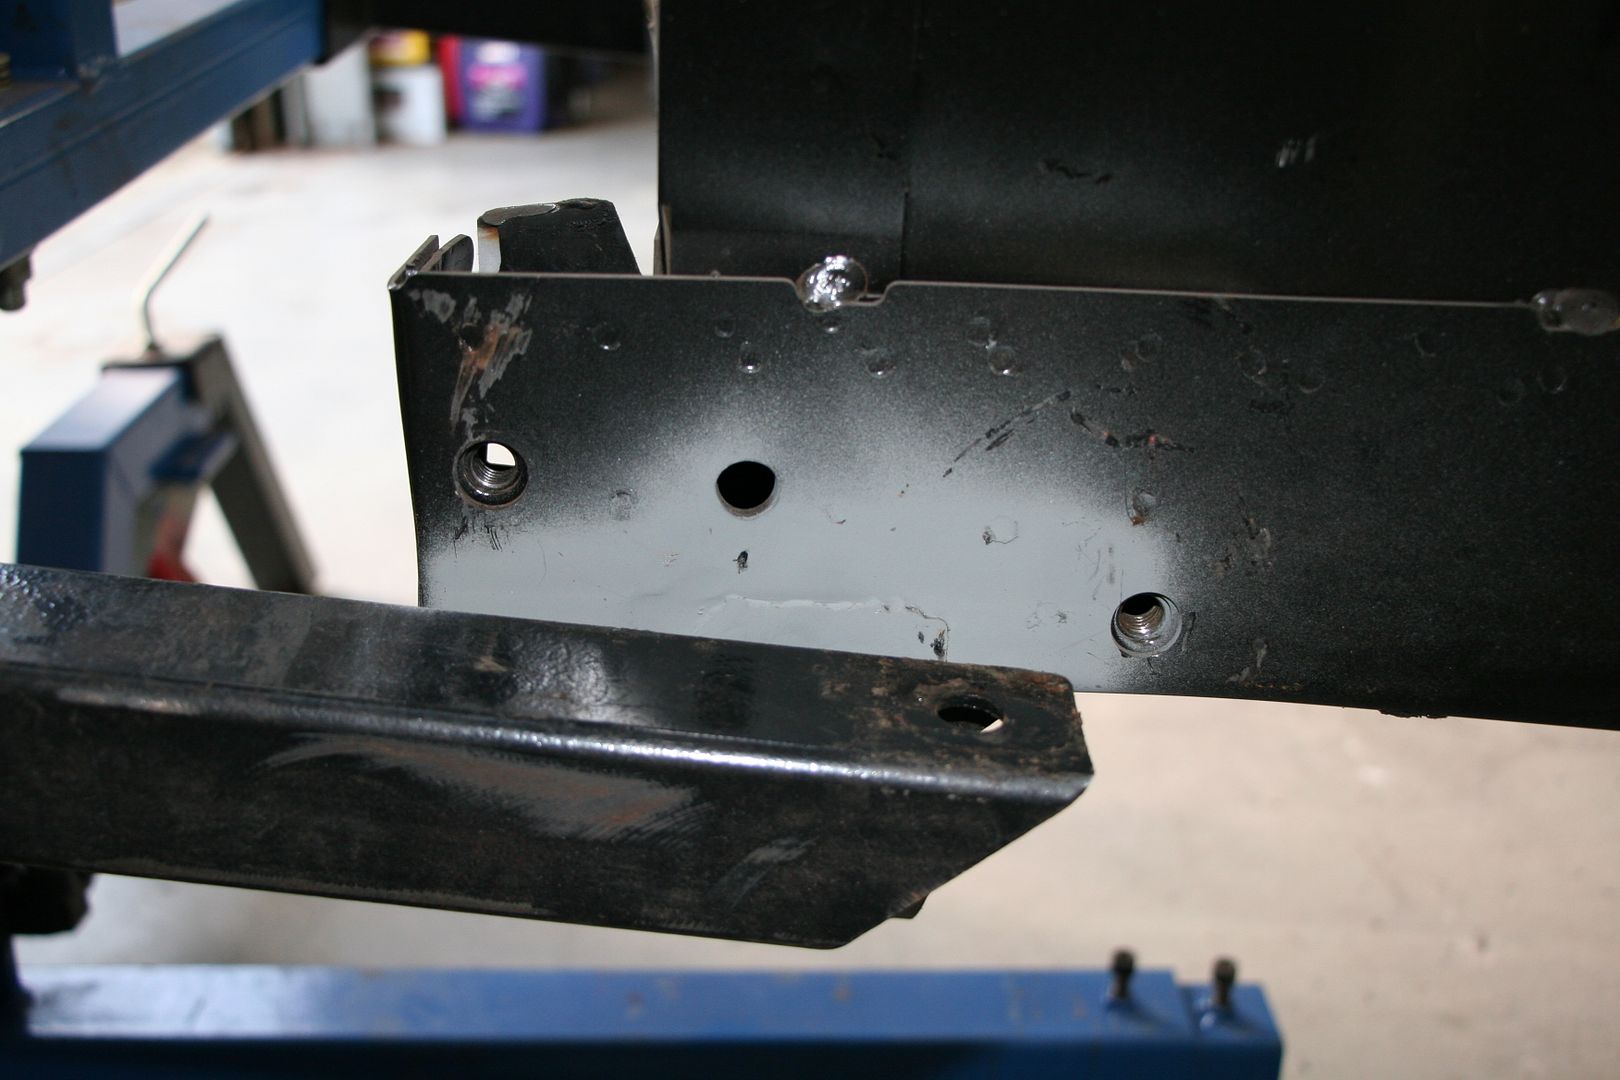
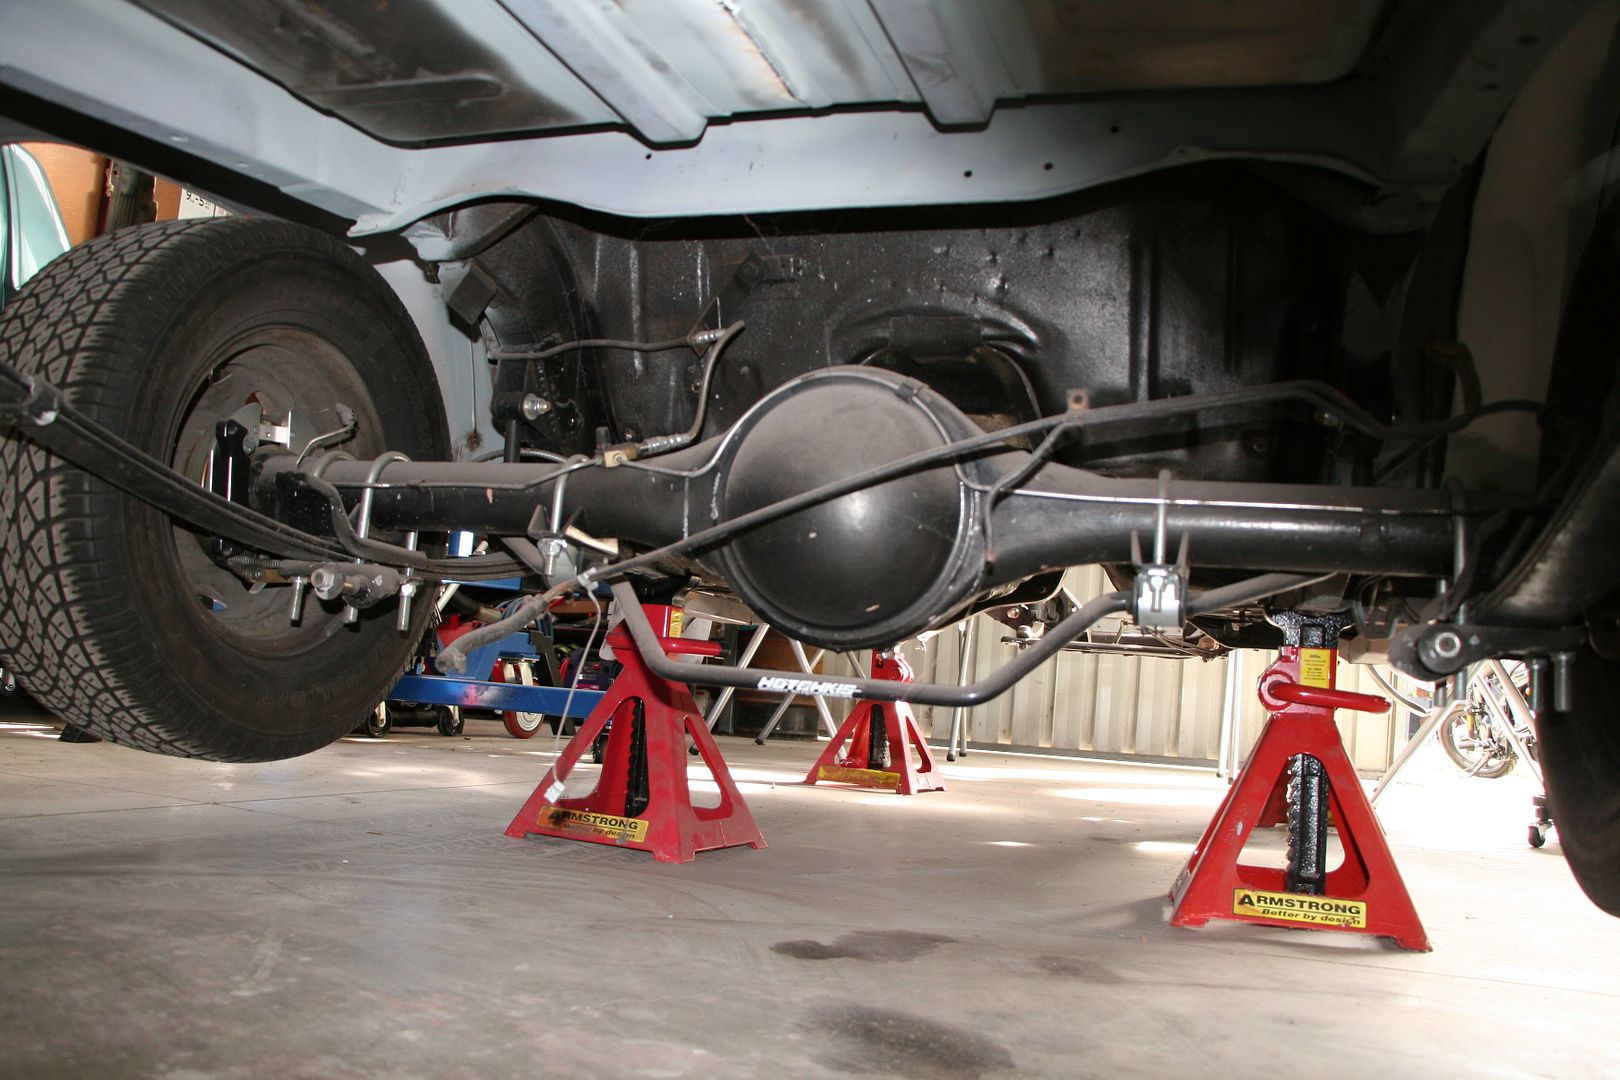
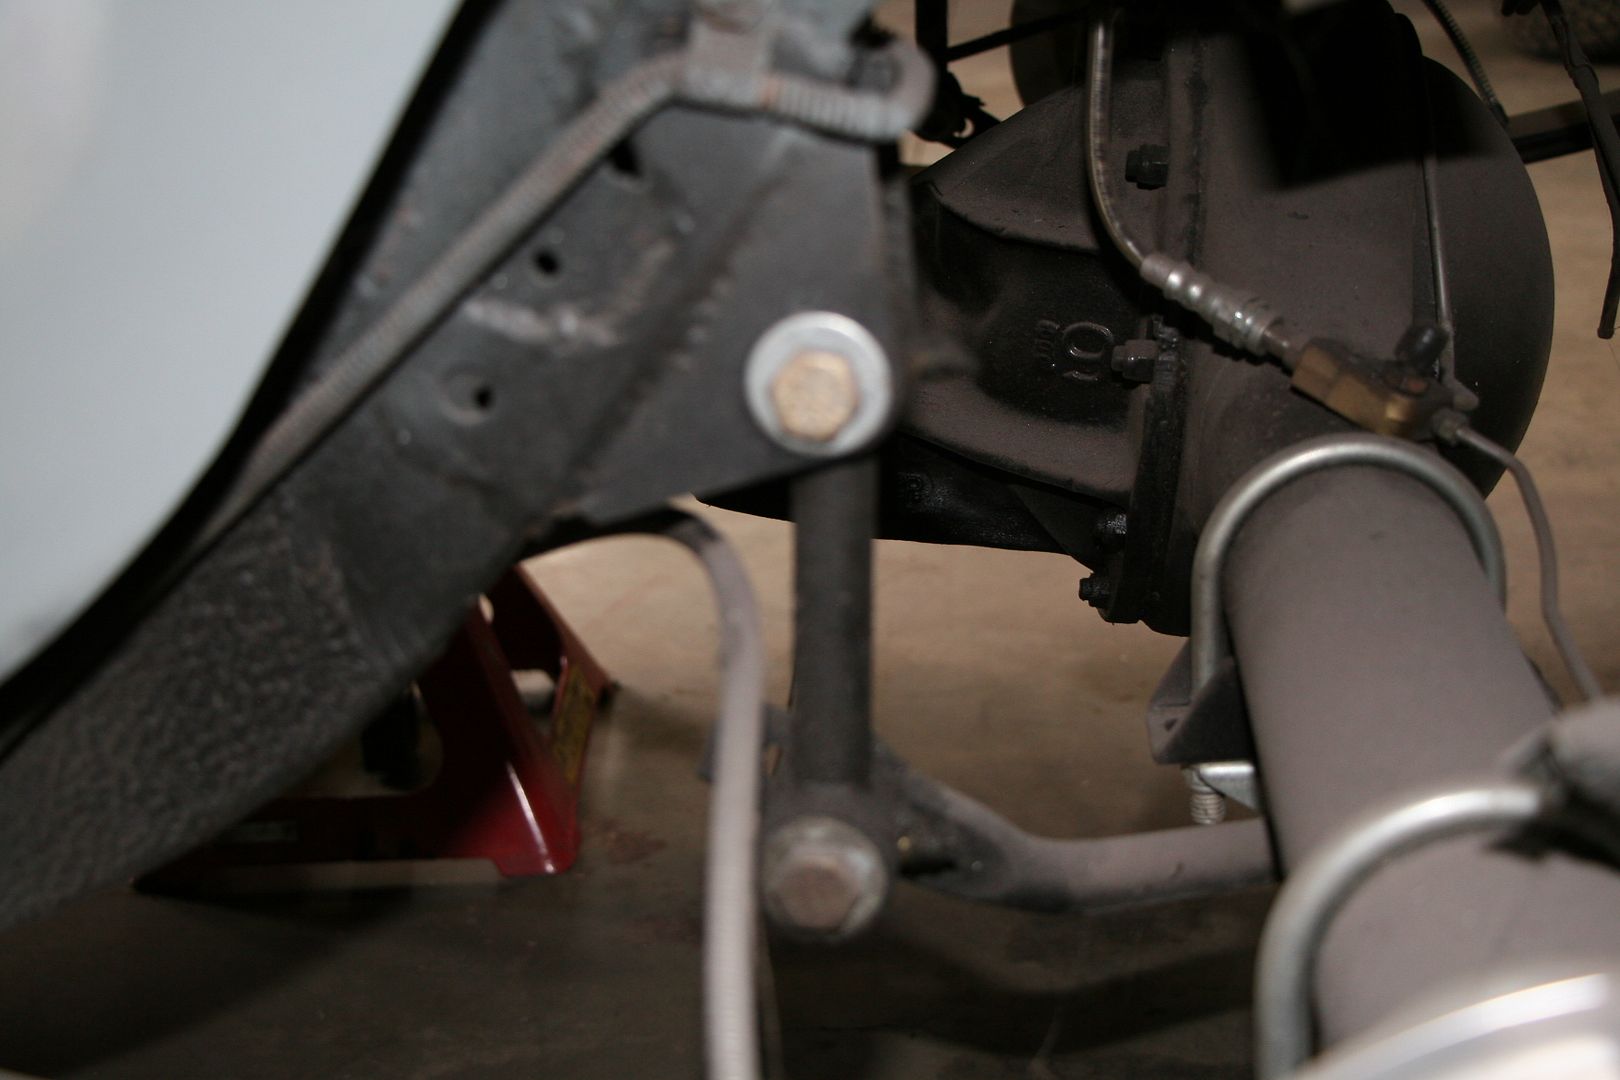
Next job was to remove the rear leaf springs, something that would normally be an easy task... but way back in 2013 when the car was still driving I installed a set of fancy chassis connectors to stiffen up the old girl. Now during that install I had to modify the front spring bracket in such a way that you can't get the spring off anymore... now at the time I'm sure I just **** it that's future Dave's problem.... well today "future" Dave became today Dave...
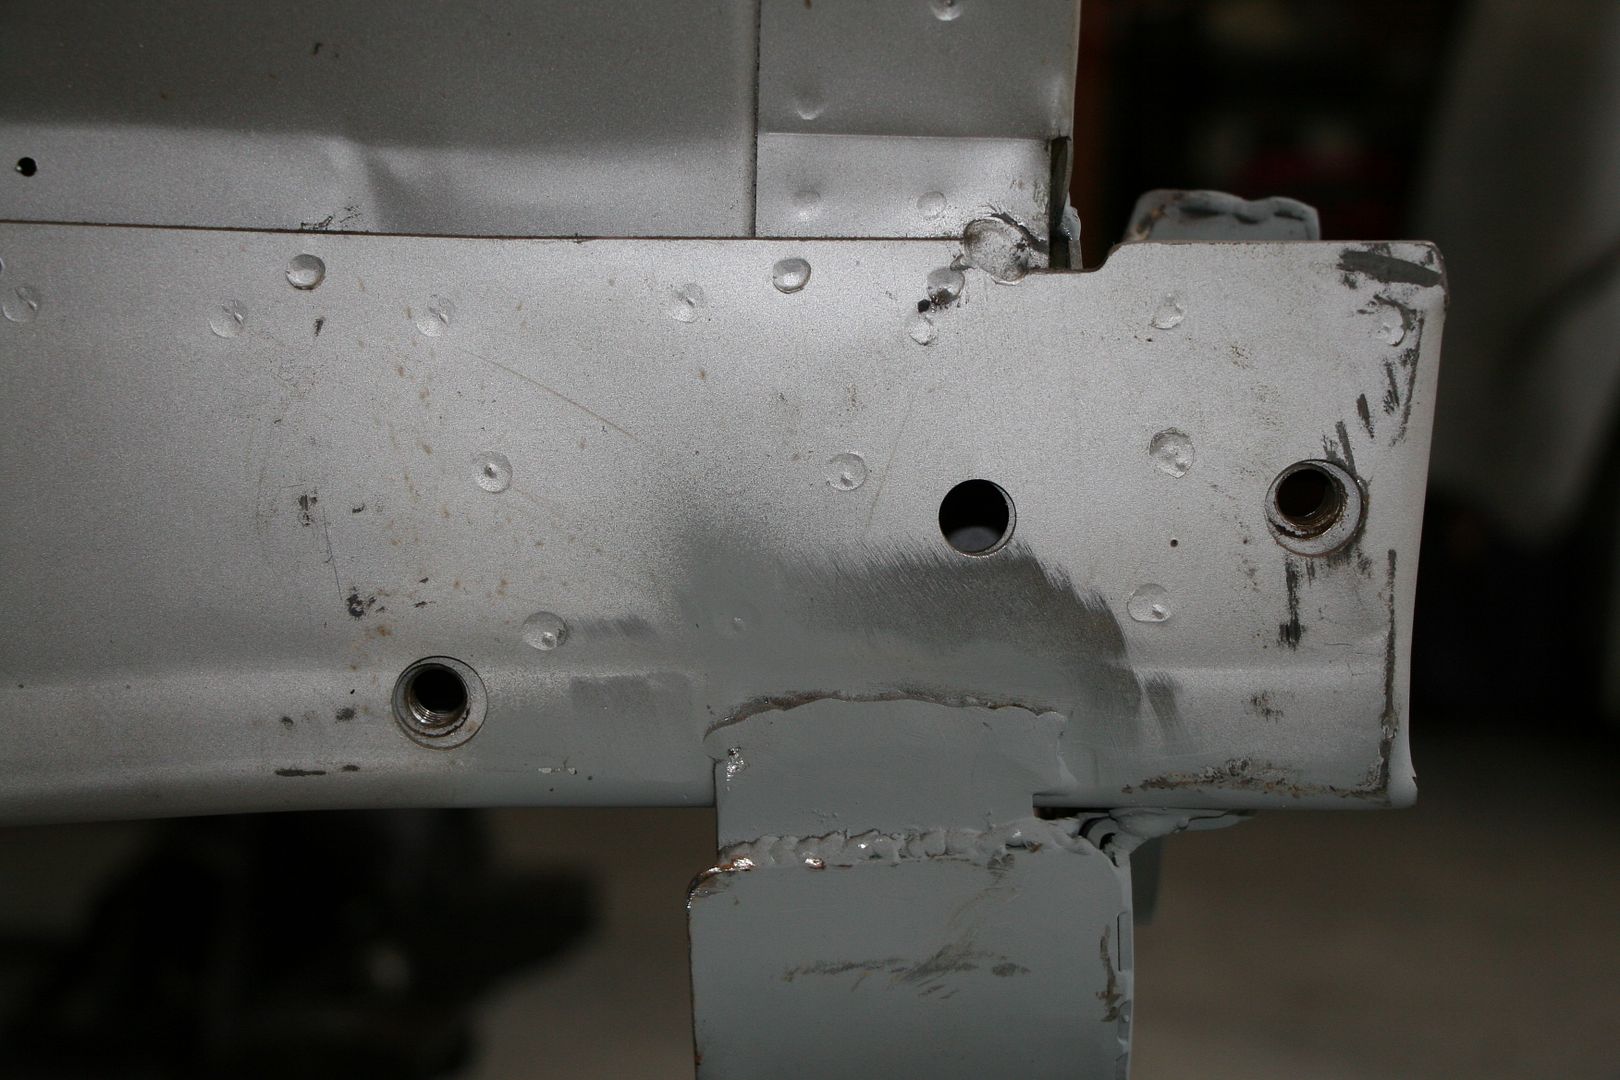
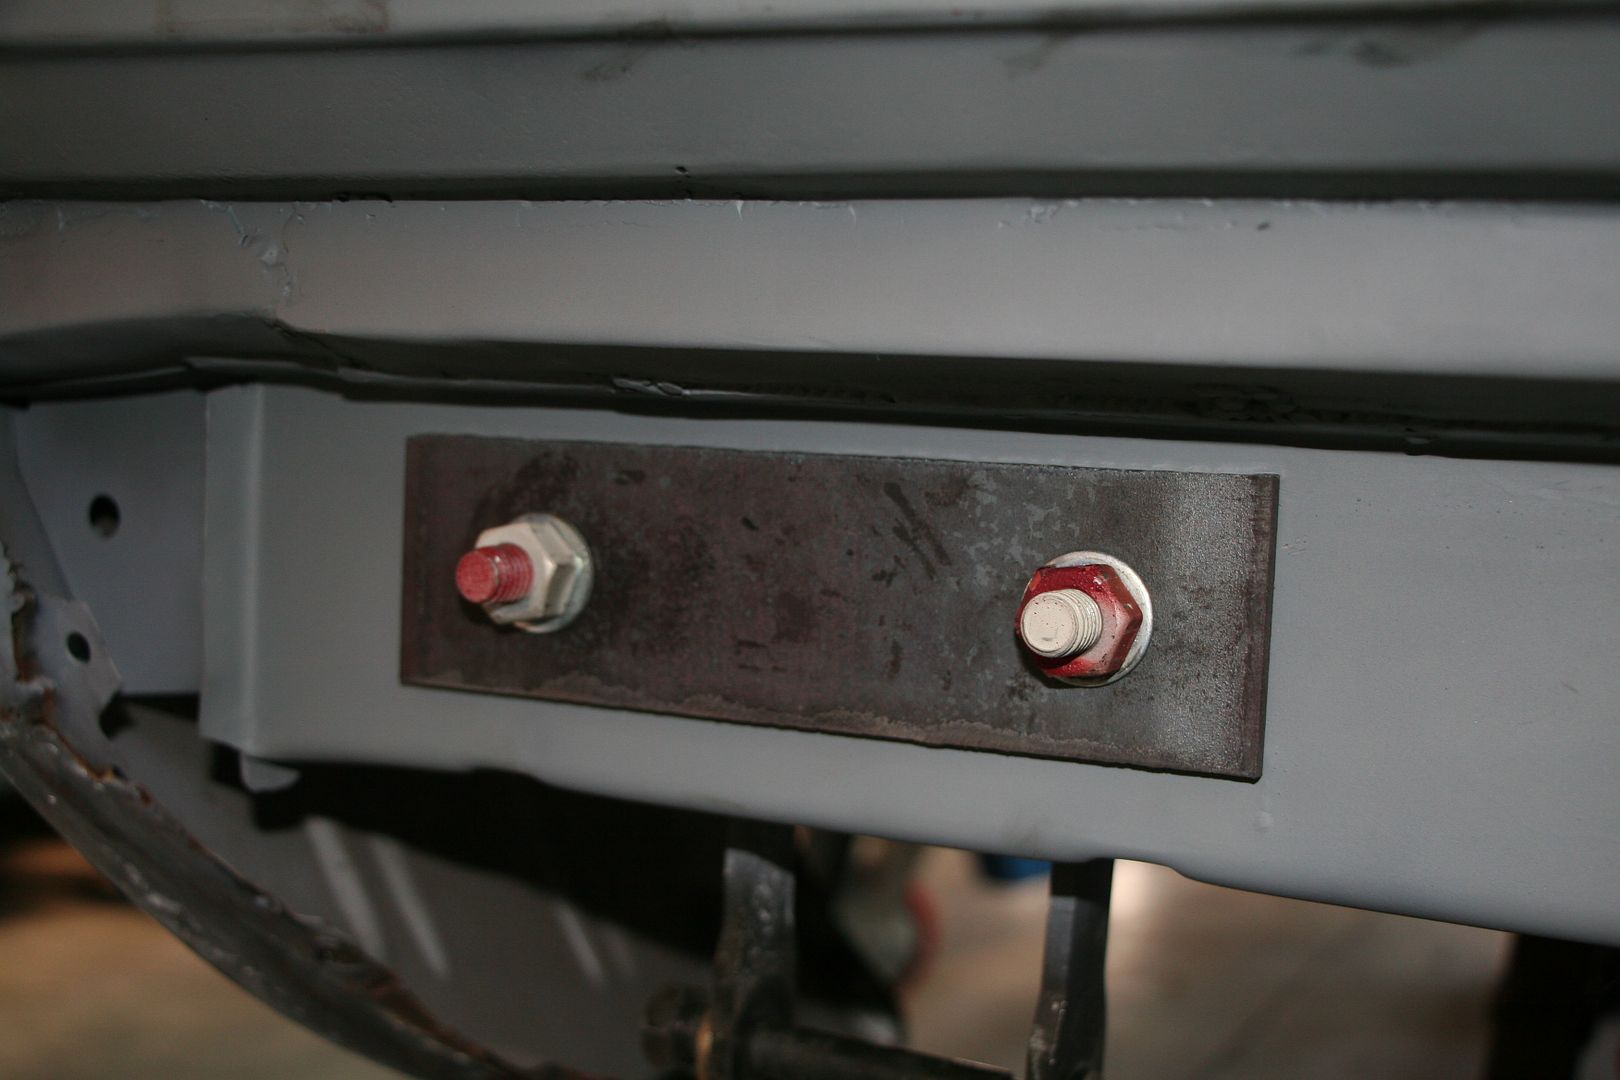
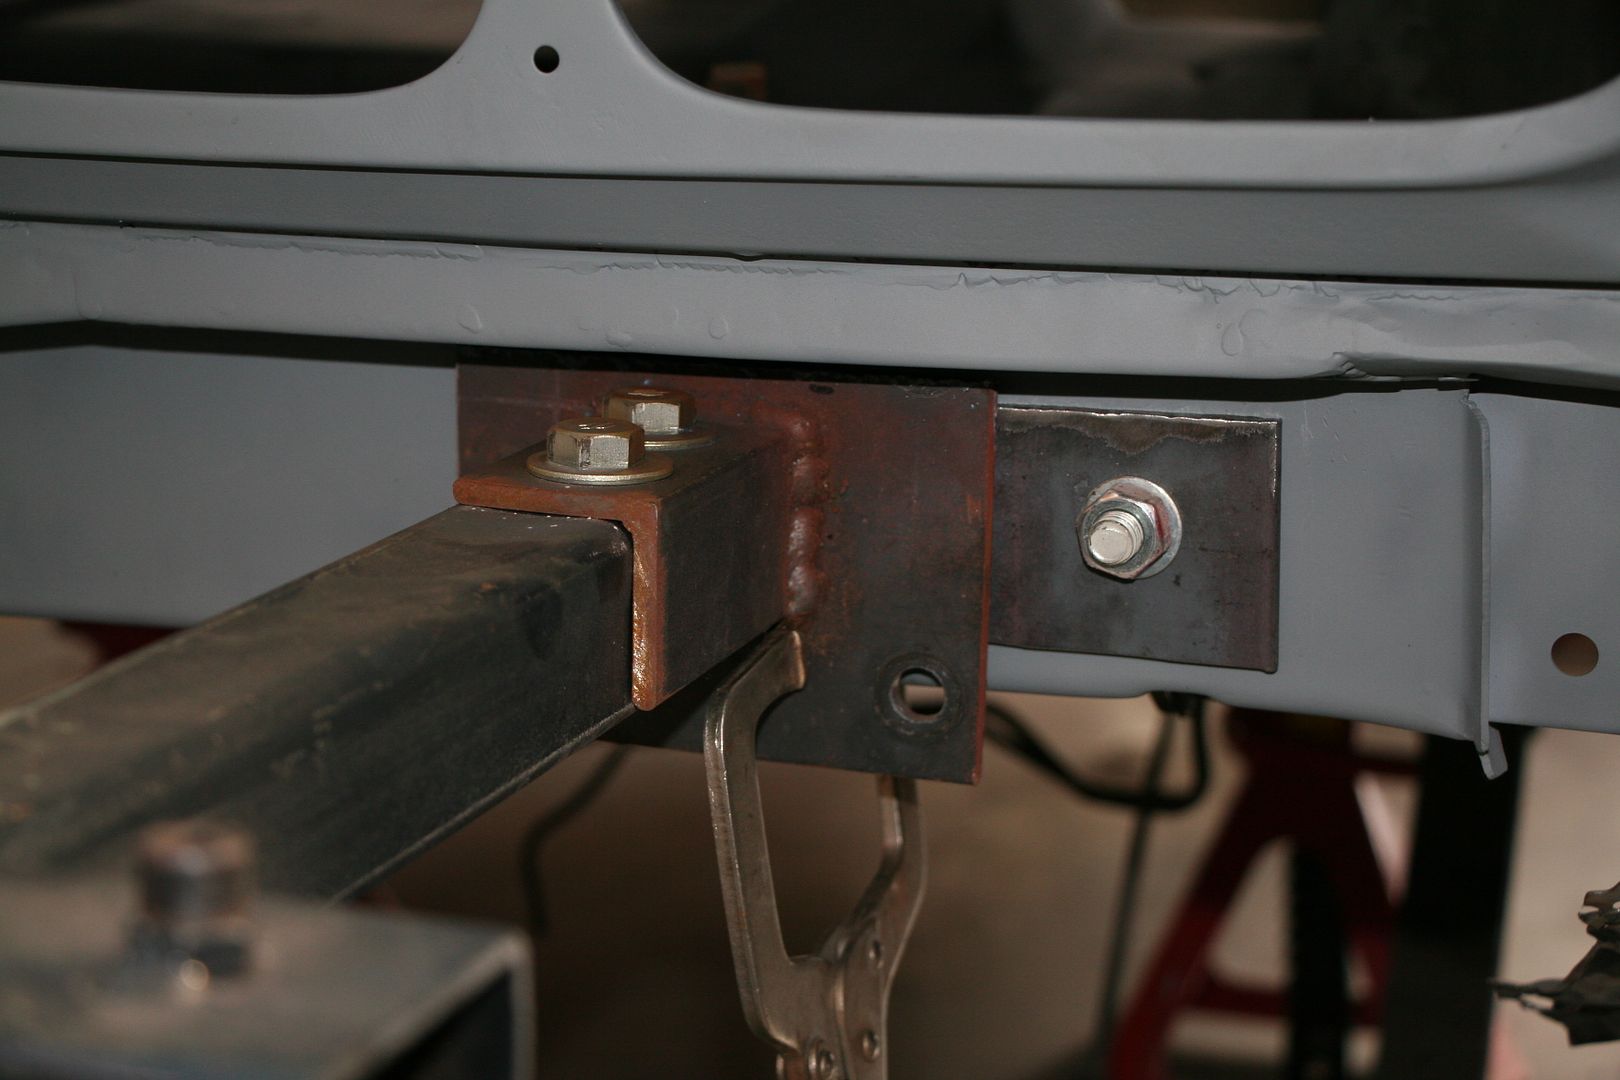
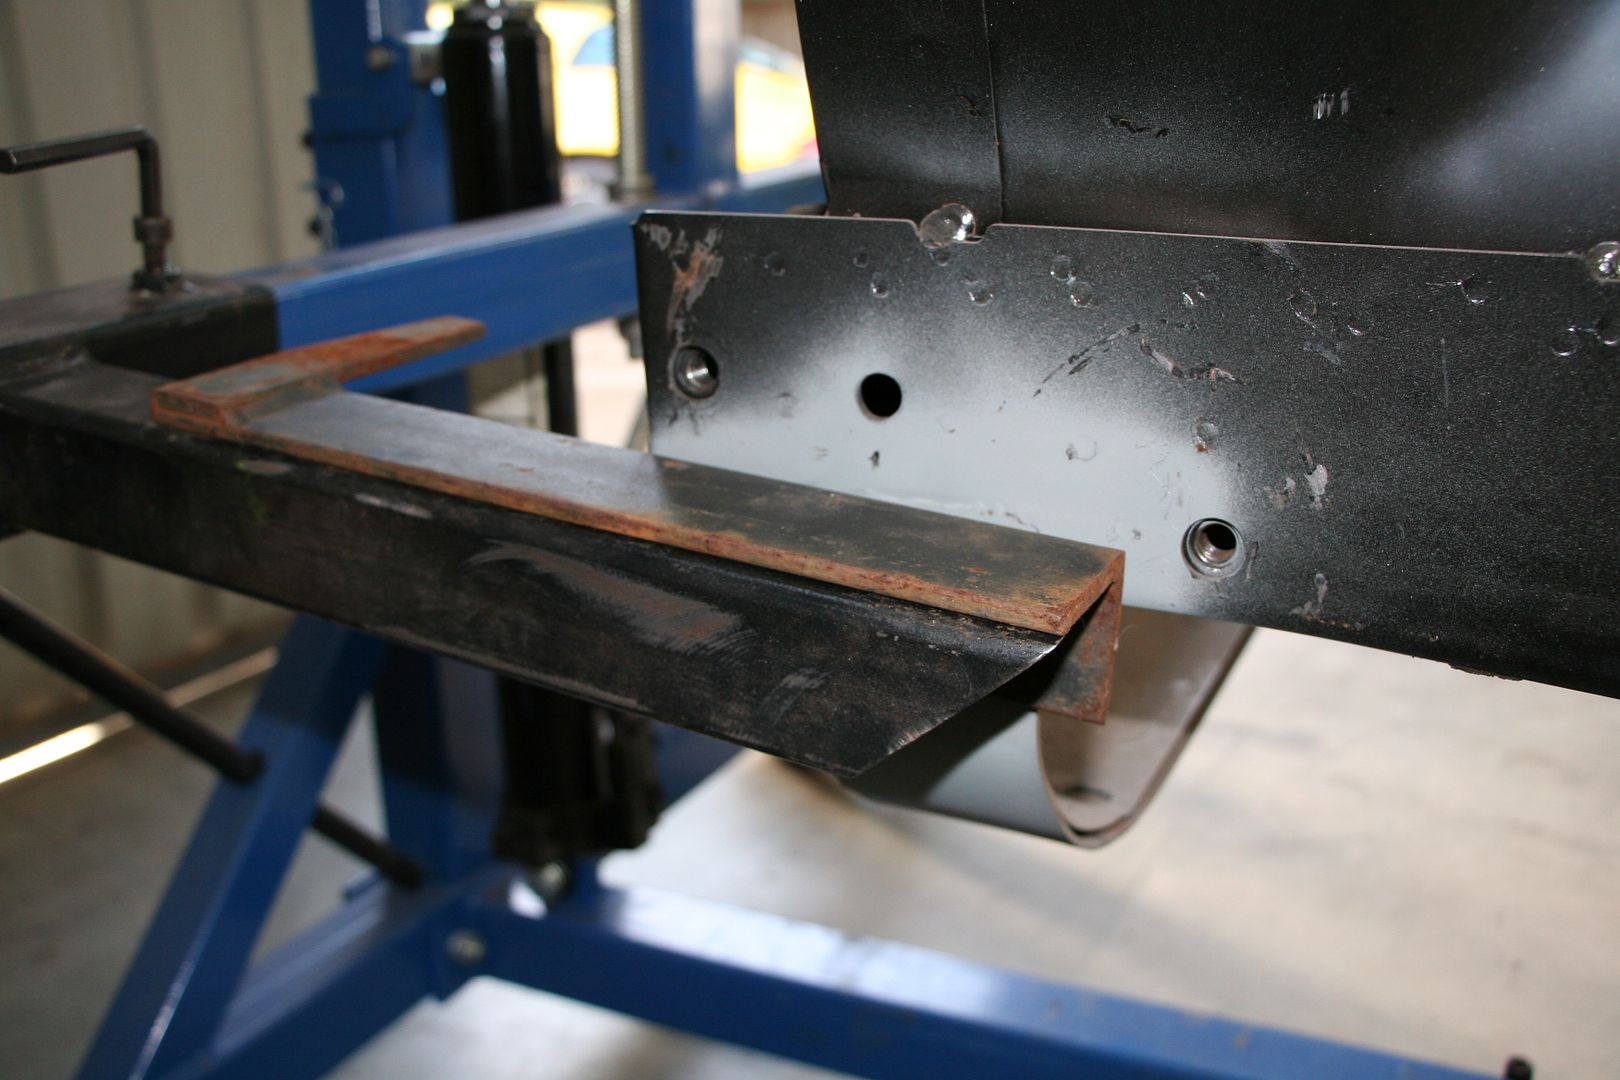
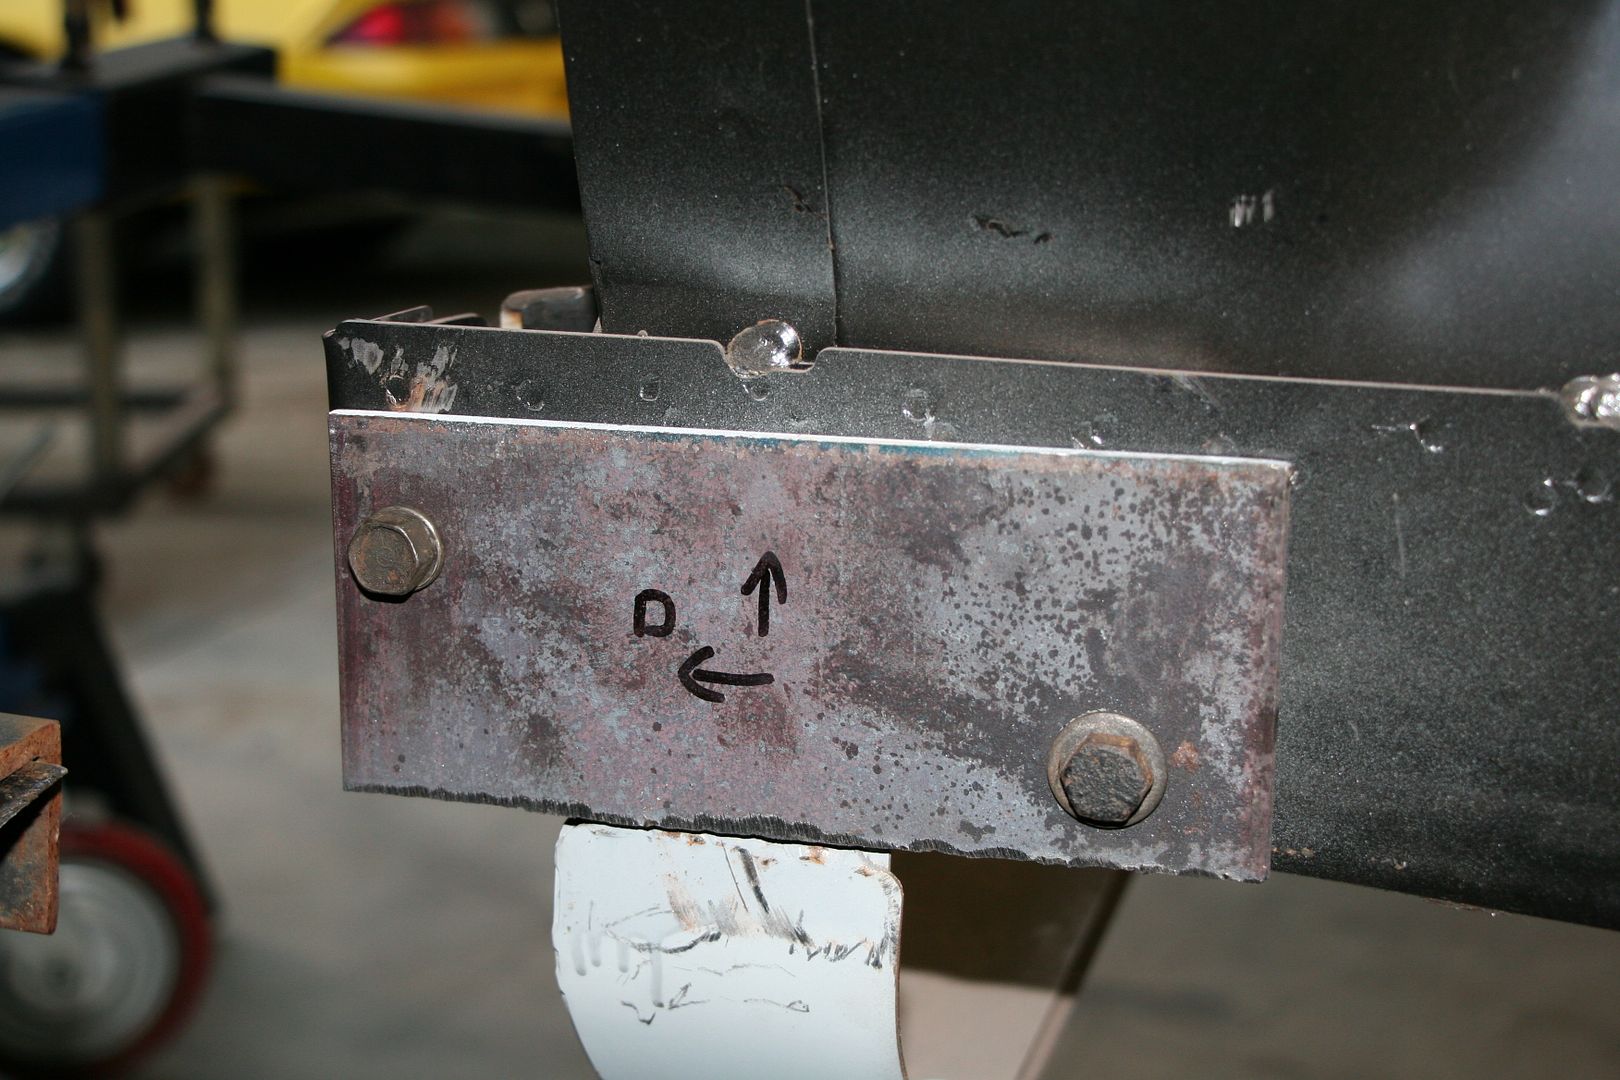
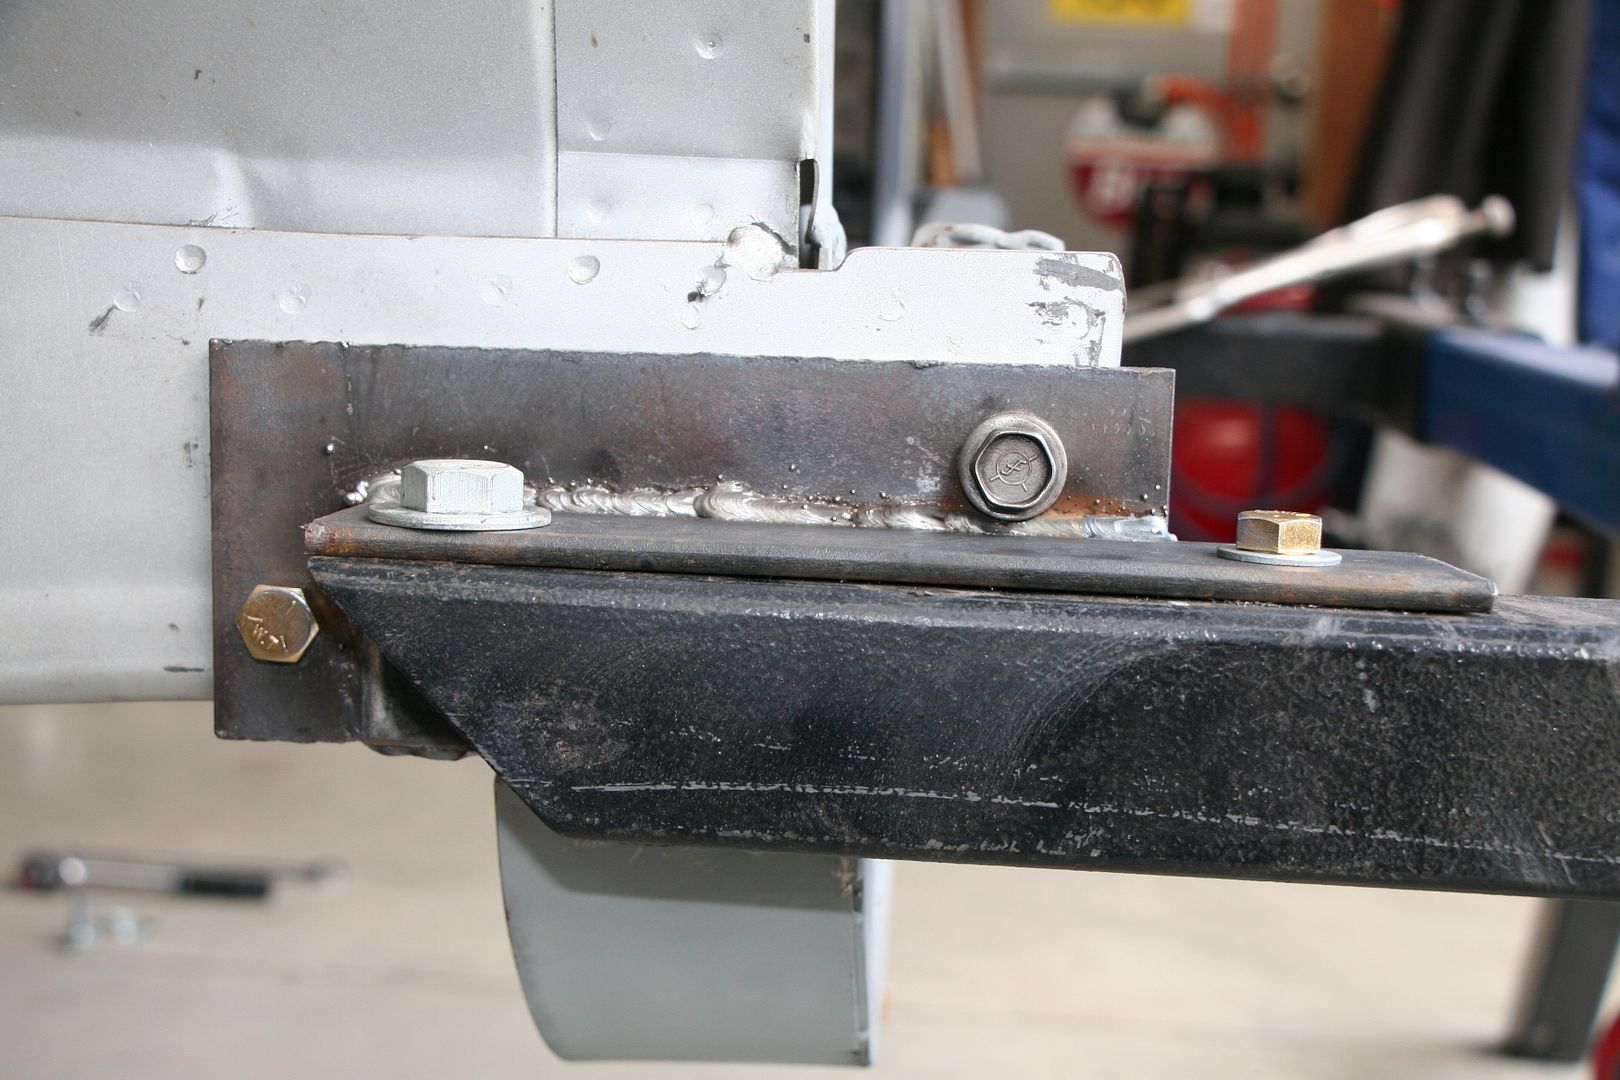
The front bracket for the rear spring is designed that you cannot take the spring off without removing the bracket at the same time.. you just can't get the long bolt out, end of
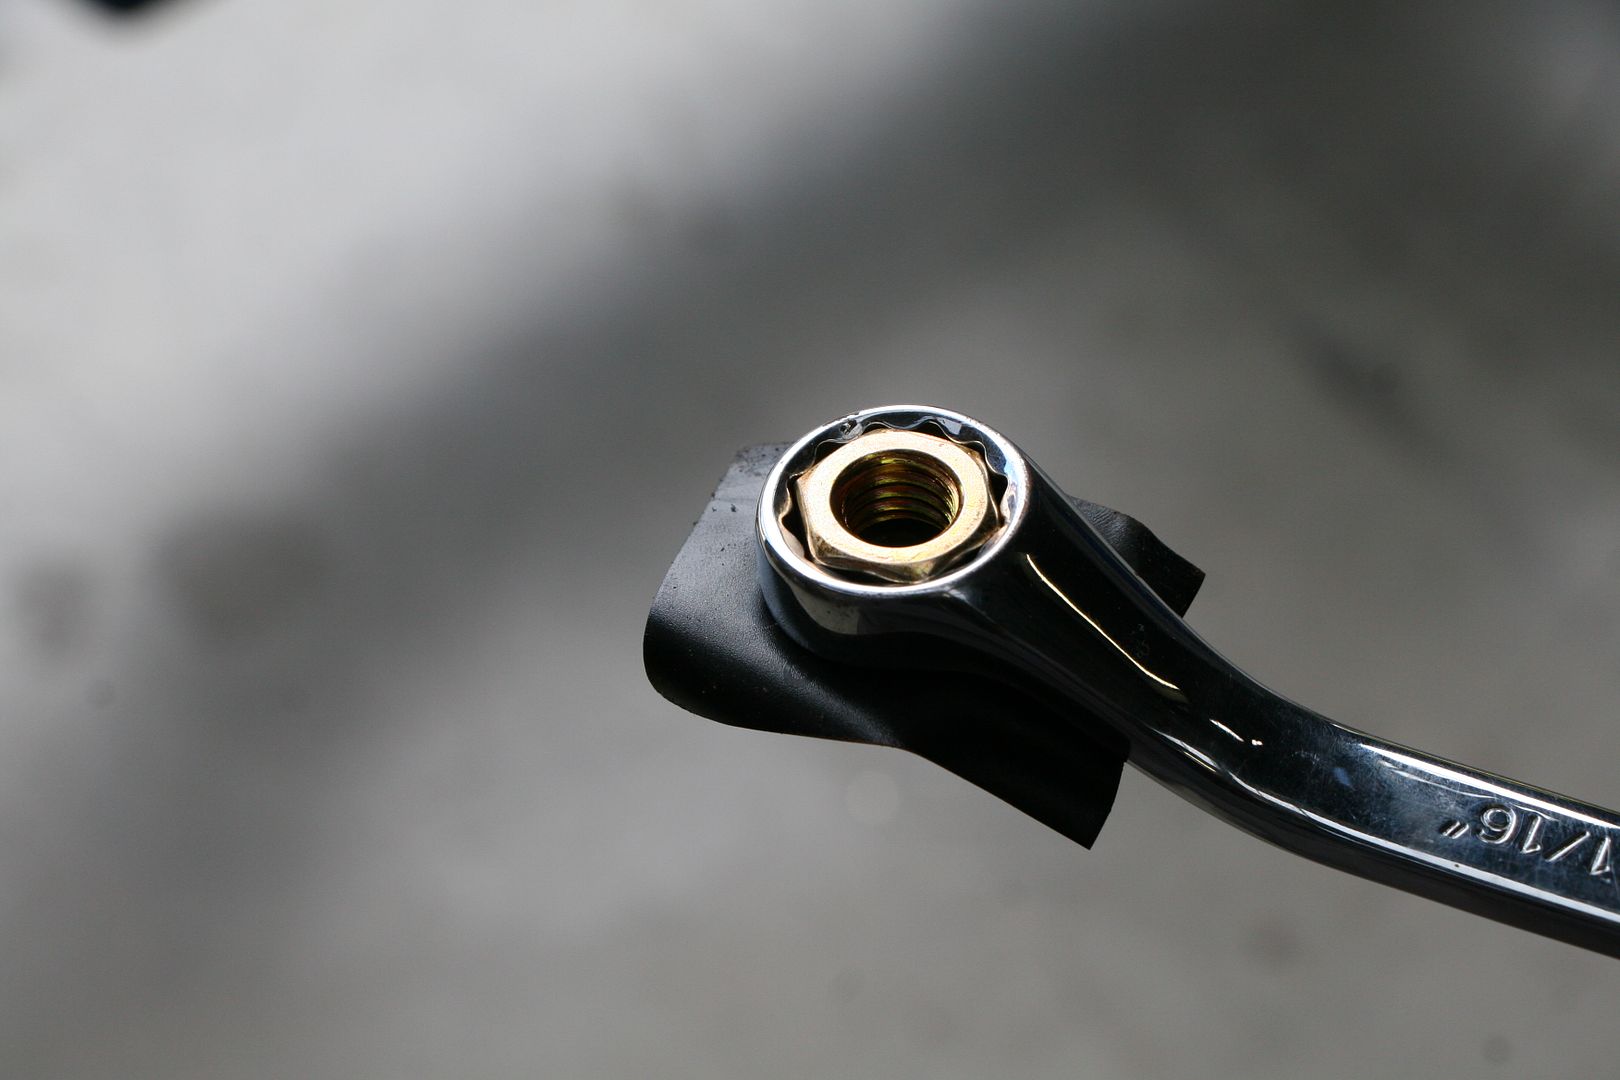
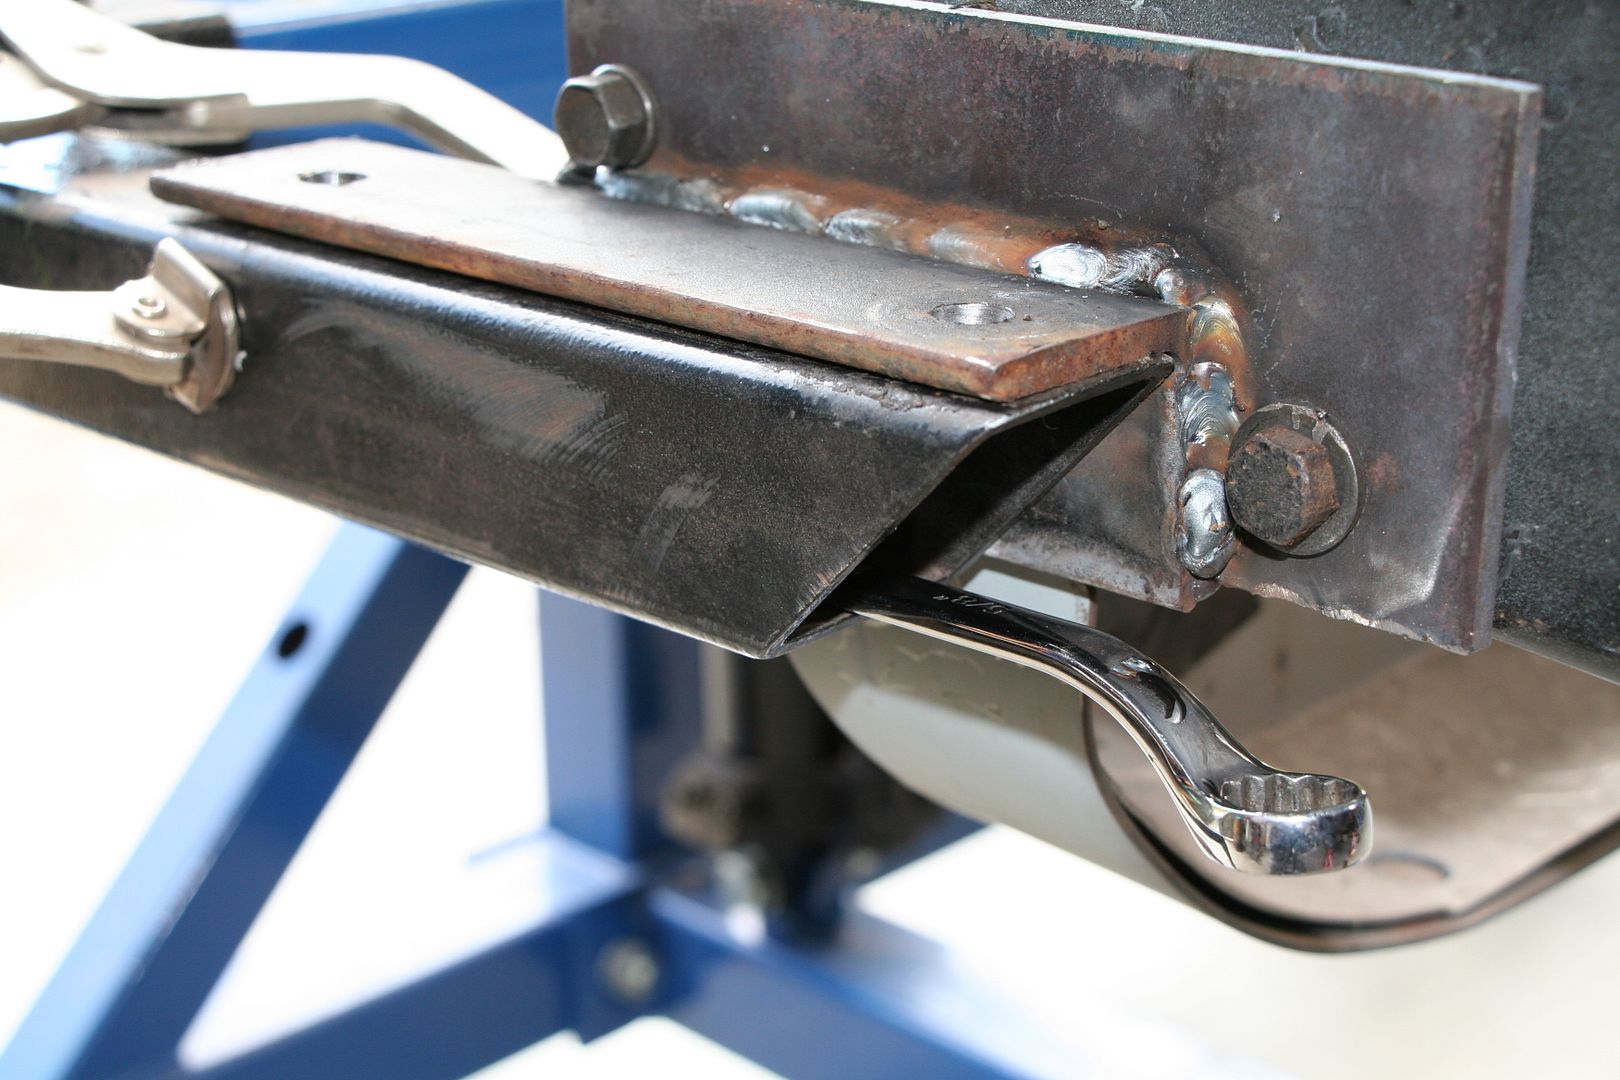
Normally you'd undo the lower two bolts you can see & then you'd pull them out & that clearance would allow you space to spanner up between the eye of the spring & the bracket
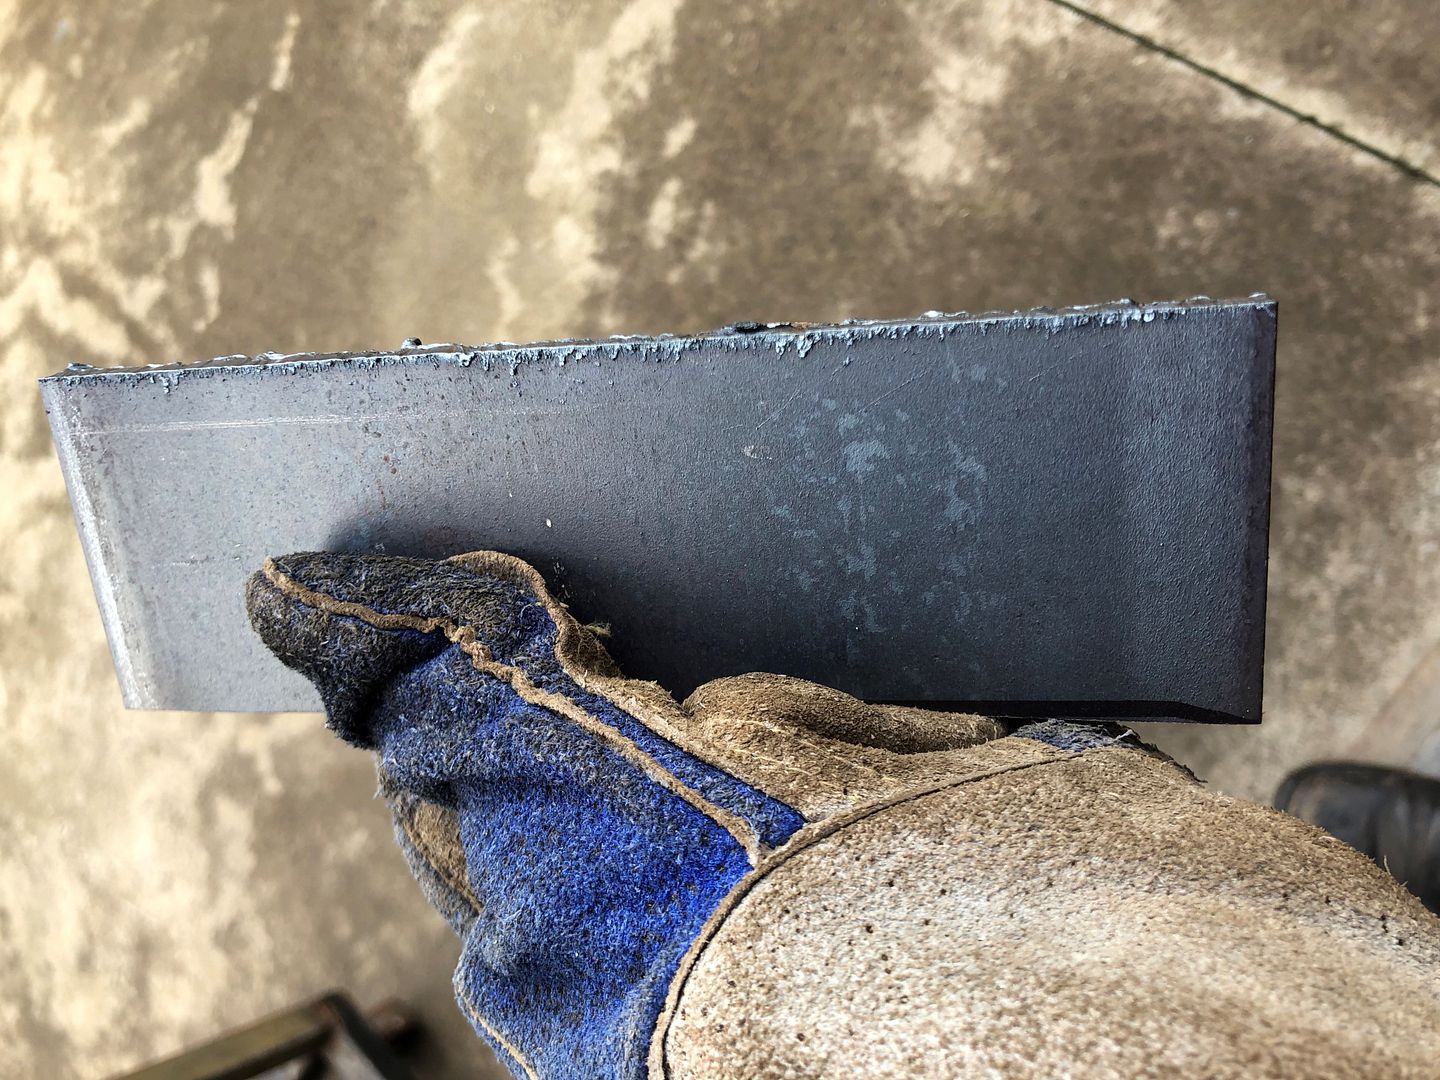
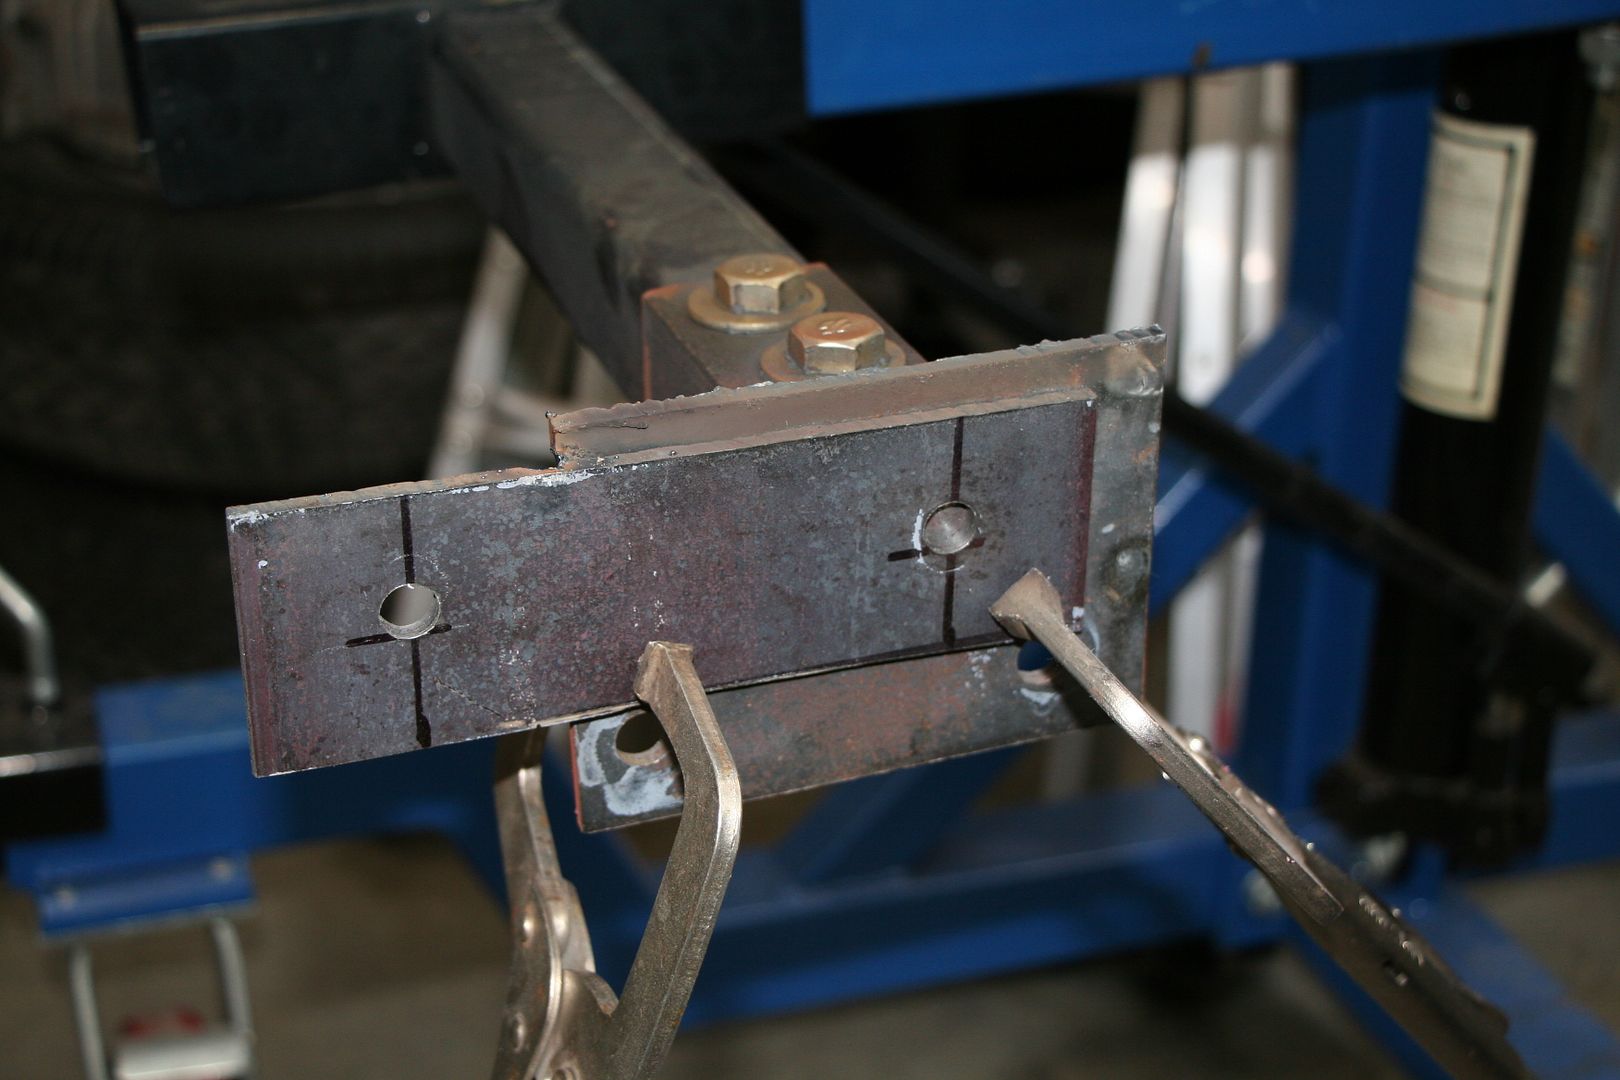
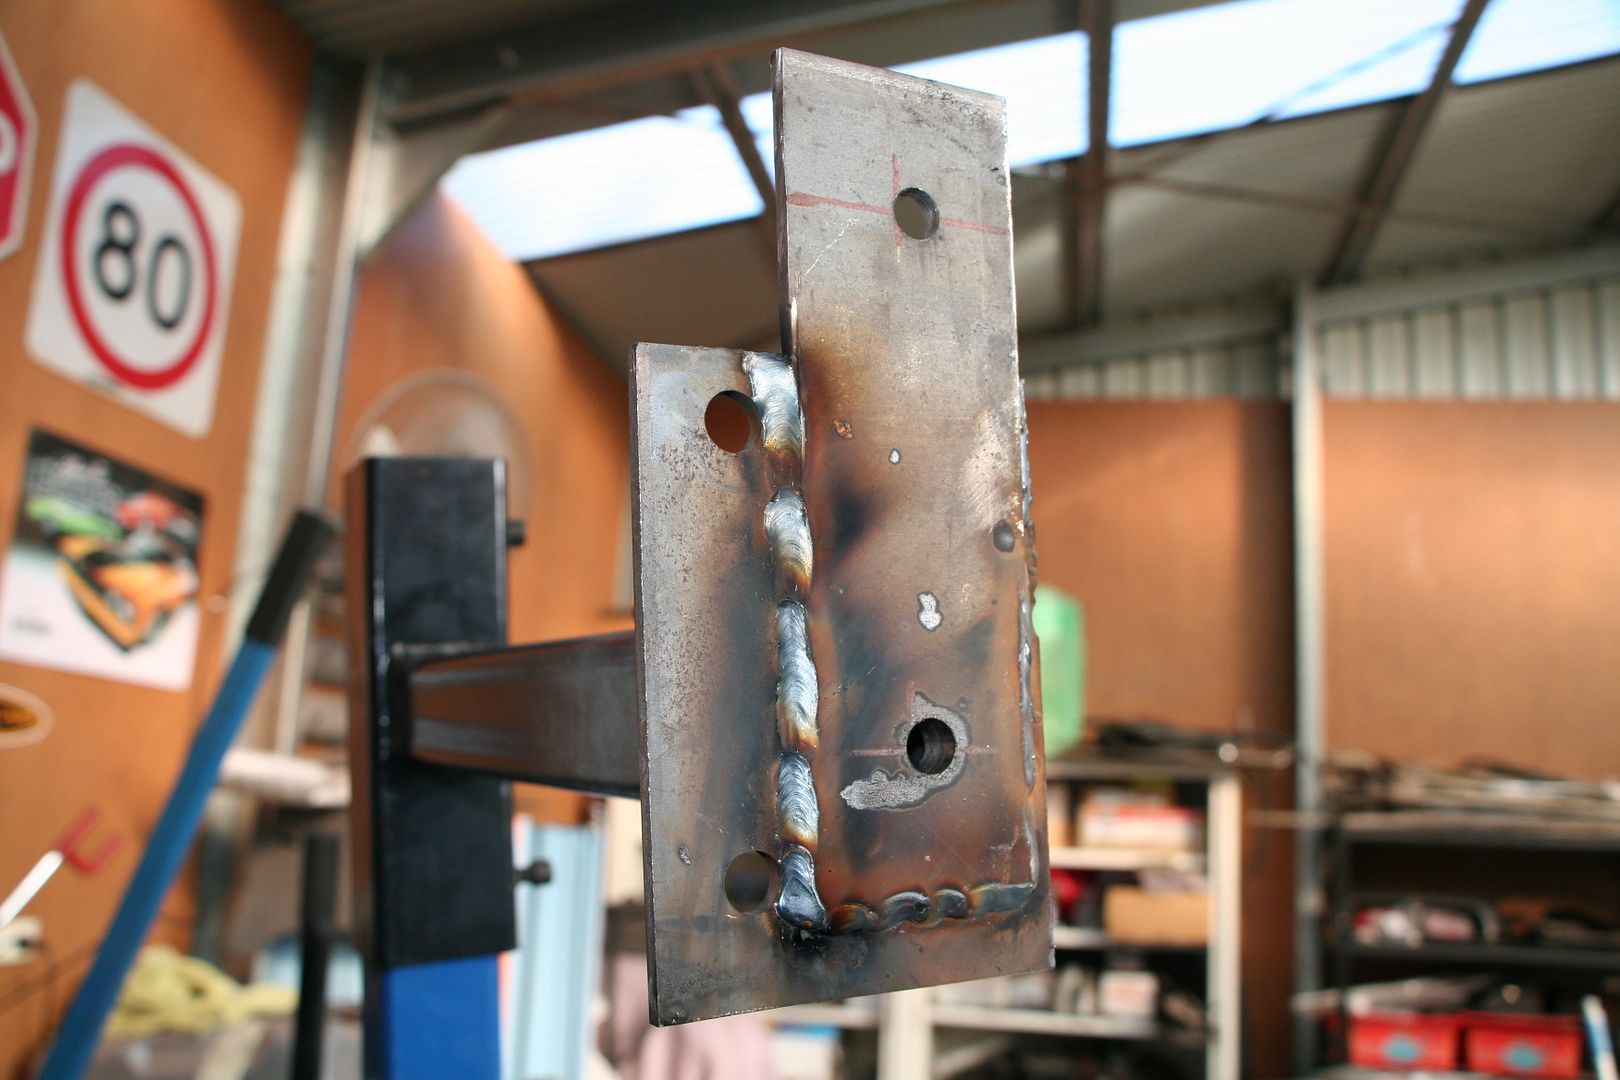
However I can't do that as the installation of the chassis connector called for me to weld the bolts to the connector on the other side of the chassis rail that this bracket is mounted too.. you see the installation instructions for these said to do up the top bolts first, then the bottom bolts as you can't access the nuts for the top bolts once it's installed.. then weld them in place
Now I really want to get these springs off as they will be in the way for me cleaning & painting the underside of the car plus one day I may actually need to remove/replace one so a solution is needed... so step one was to use the grinder to cut a perfectly good bolt in half
With that done I was able to remove the leaf spring
How do I fix this going forward I hear you ask... well that's future Dave's problem... actually no it's not, my plan is to drill a hole thru the chassis rail & weld in a crush tube (for strength) that I can pass the new bolt all the way thru to the bracket, that was I can easily reinstall & remove the spring if I ever need to.
With both springs & all other hanging/bolted bits removed now the next fun task will be using a wire wheel & the grinder to clean back all of the crap off the underside so I can make any & all repairs needed before painting it with that Ute liner I used on the XB
I decided to finally remove the roof liner, it's just been hanging in there so far, but now that I've done that she is 100% a bare shell now
It's not rust I promise it's just the colour of the old glue.... I also removed the blanking plate that holds the wiring loom in place that passes into the boot... **** me there are a lot of additional speed holes drilled into this car, guess I'll weld them all up as I go now
We're having a crappy cold & wet winter here in Melbourne but I was determined to do as much of the grinding outside of the shed to limit the amount of dust & crap I was covering everything in
I've been making ok progress I guess... but there are 3 different materials here I'm working with... standard black paint that comes off supper easy
A proper under body sound deadener that's a little harder to get off
And what I can only assume is actual roofing tar that is a **** nightmare to get off & is sapping my will to live
What's really annoying is that under this stuff is just surface rust... who ever did this job last time never bothered cleaning back or treating the metal, they just painted over the surface rust... like why **** bother if you're not going to do it properly...
I've gotten most of it cleaned back now
Now that I have the car spun up on its side I can finish off the sills... I need to weld the bottom edge of the inner & outer sill
Also the sill is wavy as all **** so I needed to work that with the hammer & dolly a lot to get it straight
I'm also welding up where the front inner fender joins the firewall
I thought I'd spare you lots of pics of all the little sections getting welded up or of dents being pulled from the floor.... I've not got it all cleaned back, rust treated & 2K primed..
Next step will be to spray it with the tuff ute liner like did the XB
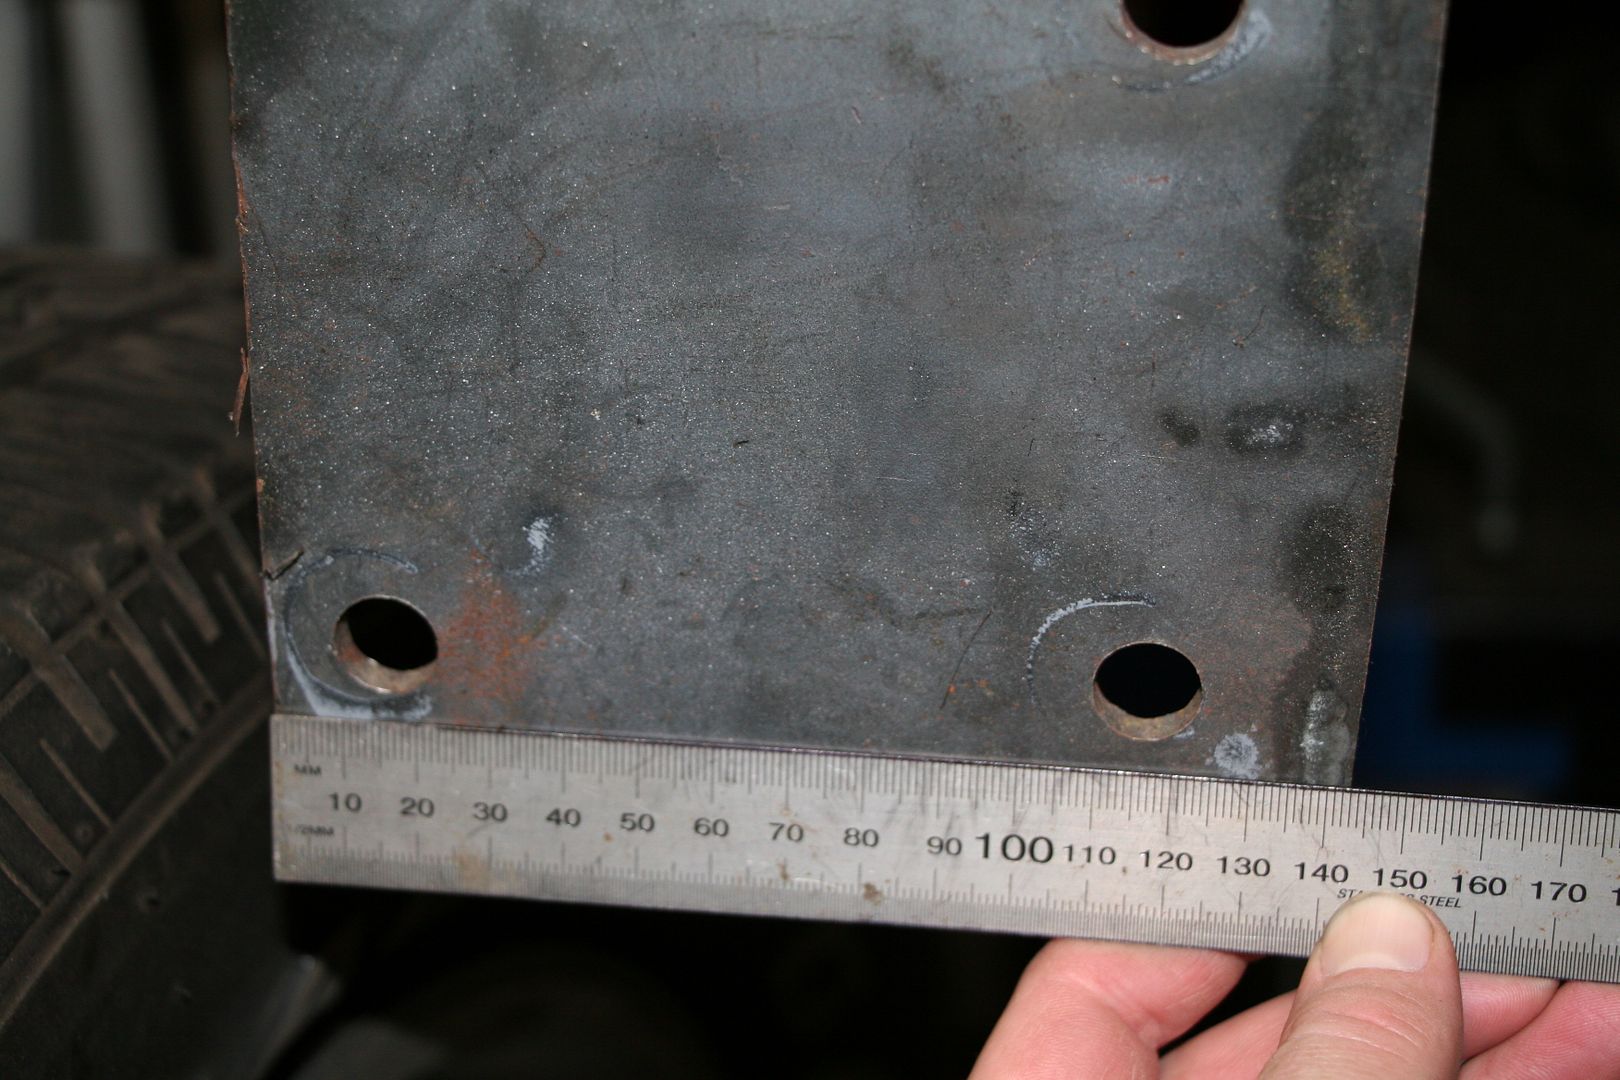
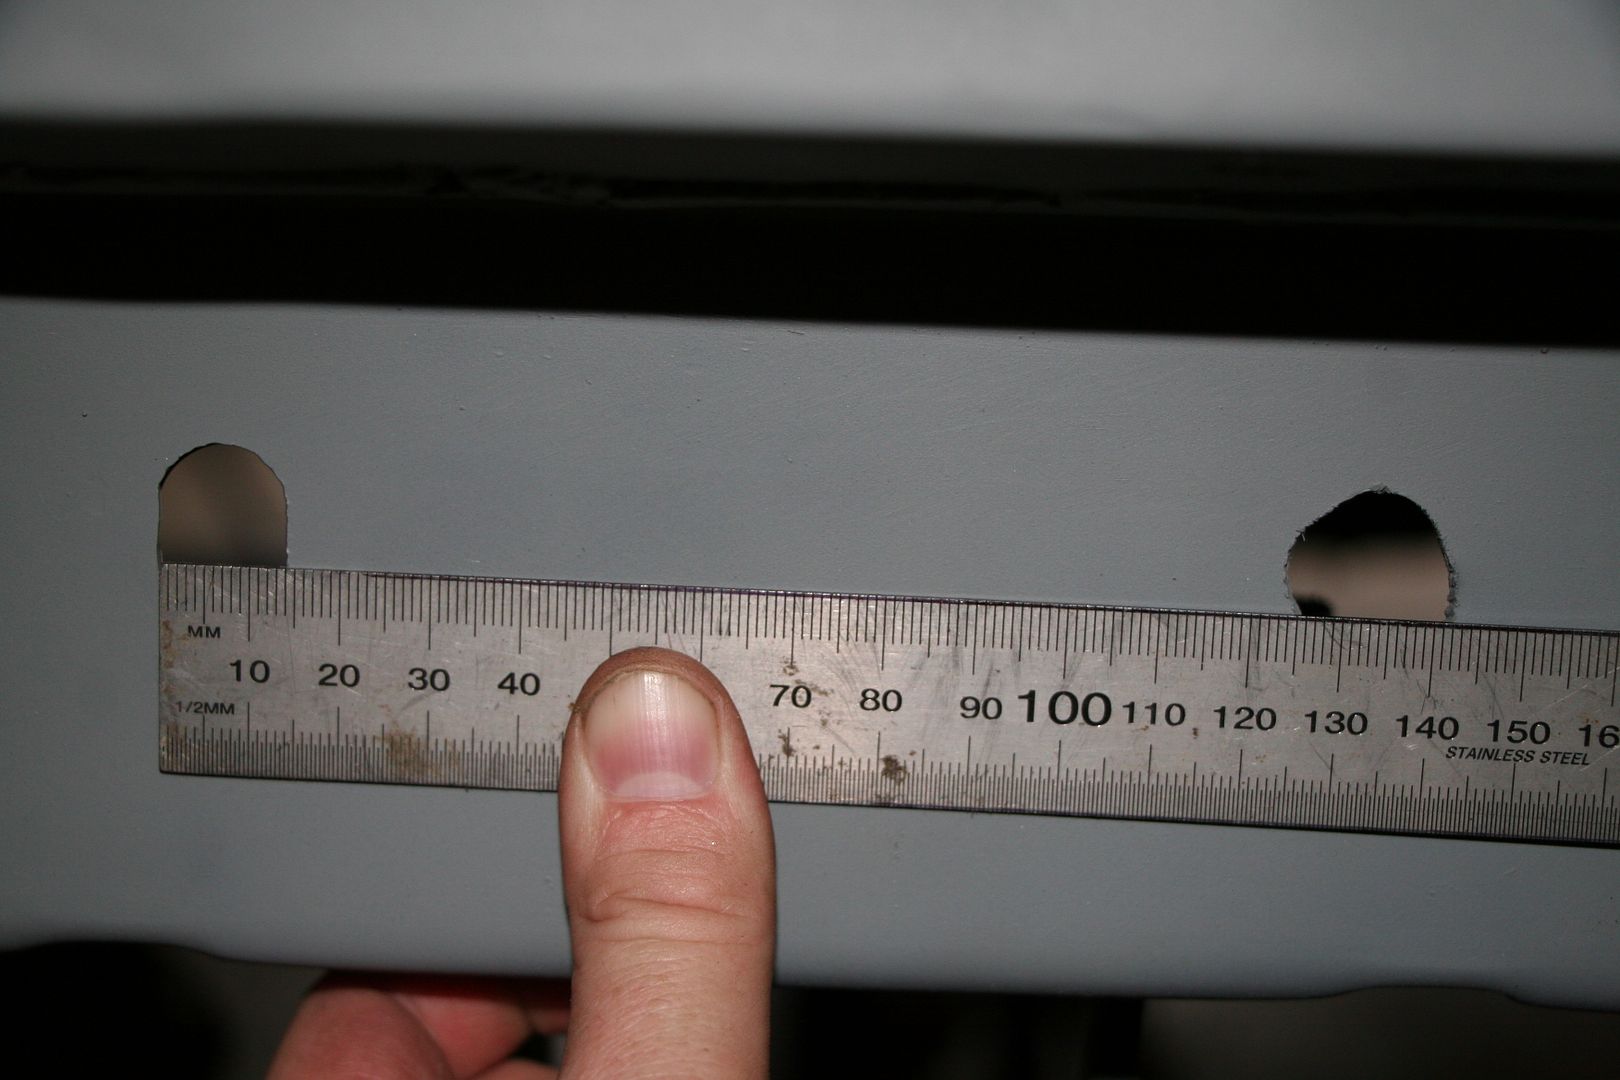
Before I paint the underside of the car with the ute liner paint, I need to solve the issue of how to reinstall the rear leaf spring bolt that I had to cut out earlier.. I'm going to put an access hole into the chassis rail that will allow me to slide the bolt thru the rail & into the bracket. so I use the cut bolt to measure up where the new hole needs to go.
The other option could be to drill a hole into the sill panel inner... but I don't think I want to do that & have a hole that allows lots of water & mud etc into the sill
When I transfer the measurement of where the new hole would need to be it's just offside from an existing inspection hole, why couldn't that have been put in the right place by the factory.
I don't want to swiss cheese the rail so I'll weld in a washer to fill in that existing hole as the shiny new hole I drill will be used in place of the OG hole when it comes to whatever the **** that old hole was used for
Now that that's welded in & primed over you can't even tell... I can't drill the new hole yet as my step drill bit isn't long enough to go full thru the rail & I can't go shopping because lockdown.. so I've ordered a shiny new 30mm drill bit off the interwebs that might show up tomorrow so I'll get it done then
Next job as I await the drill bit will be to seam seal the underside now
Seam sealing has been done now...
Tomorrow I'll look to mask off the car & set up my temp paint booth tent again & then hopefully I can have the underside painted in the Ute liner stuff by the weekend.
All masked off now.. should be painting tomorrow weather permitting
Well the weather the last 2 days has been really shite, with lots of rain & wild winds.. so I couldn't just quickly assemble my redneck paint booth outside & then just slide it into the shed over the Dodge like I did when I was painting the floor of the XB..
So... I had to struggle to assemble it around the car... not really a one man job & it came apart more times than I could count...
But that's done now & I have everything set-up so that I can just go out first thing tomorrow morning right at the crack of about 10:47am Sat...
Hopefully the weather improves as I'd love to have the hanger doors of the shed open when I'm painting as even with my breathing mask on this stuff is toxic smelling & as such I'm assuming that it's not safe to drink...
A good productive day in the Skunk Works today...
I really do love this stuff...
Removed all the masking & doubled checked her in the sun light to ensure I hasn't missed any huge chunks...
Packed away my redneck paint booth till next time its needed.. very happy with the coverage
I have one final bit of welding to do that I want to do with the car still on the rotisserie... there is a bit for the rear qtr window that needs to be welded in
It houses the stop adjustment arm from memory & it goes here
Well actually it goes behind the panel... so this is where it goes... I'll weld them in tomorrow
Cleaned up that park & painted it in weld thru primer
Welded them in now
I think I'm done with needing the Dodge on the rotisserie now so I've taken her back off... next I'll put the hanging panels back on & start roughing out the gaps.
Mounted up all the hanging panels today, plan is to work on the gaps over the coming weeks... started with the doors, then the front guards & then the boot lid
Putting the bonnet on by myself was a prick of a job & one that I assume future Dave will be pissed at me about when his back feels fucked tomorrow morning... but I worked out a way to do it without damaging the bonnet or the front guards..
Now the more observant of you may have noticed my new bling bonnet hinges... these are by a company called Ring Brothers, they make some amazing cars & bling parts like this..
Sadly the standard struts they gave me which are 225lbs force jobs are not strong enough to hold the bonnet up.... told you it was bloody heavy... so I've just been to the RB site & ordered a beefier set of struts
Couple of small things have to be done before I can properly play with the gaps.. had to fit the rear boot springs, that was a ball ache. There must be a proper tool to use to do this, all I had was a large screwdriver to lever it in.
Need to remove the door latch assemblies from the old doors too & fit them to the new doors
Getting these screws out was fun....
Luckily I have Thor's screwdriver so I could belt the shite out of them to get them loose..
Now to clean them up & install them in the new door
Did a little work on this today.. I fitted the newer stronger gas struts & the bonnet now stays up & no longer slowly slides down to smack the back of your head... I've also put the car back onto the rotisserie so that I can lift it high enough to slide the dolly I did have under the XB under it so it can be modified to fit the Dodge.
I was really happy to learn that the location of the front leaf spring mount is the same on an XB Falcon as it is on a Dodge Challenger.. so the rear uprights will be reusable
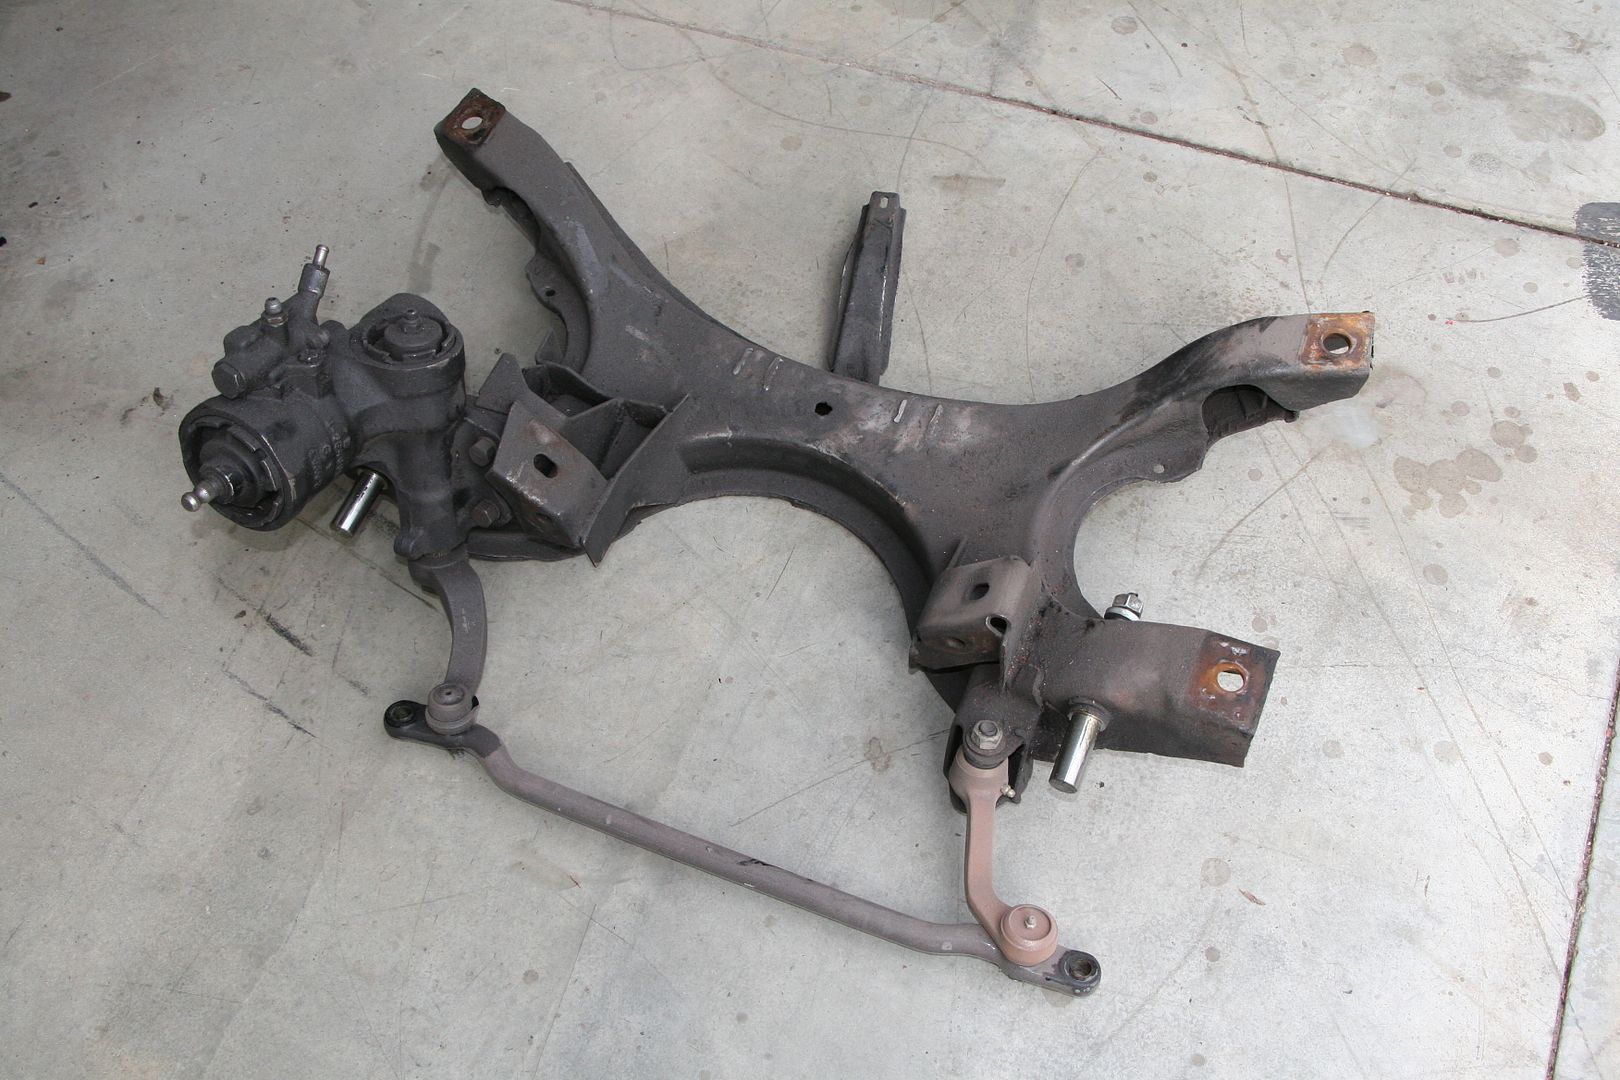
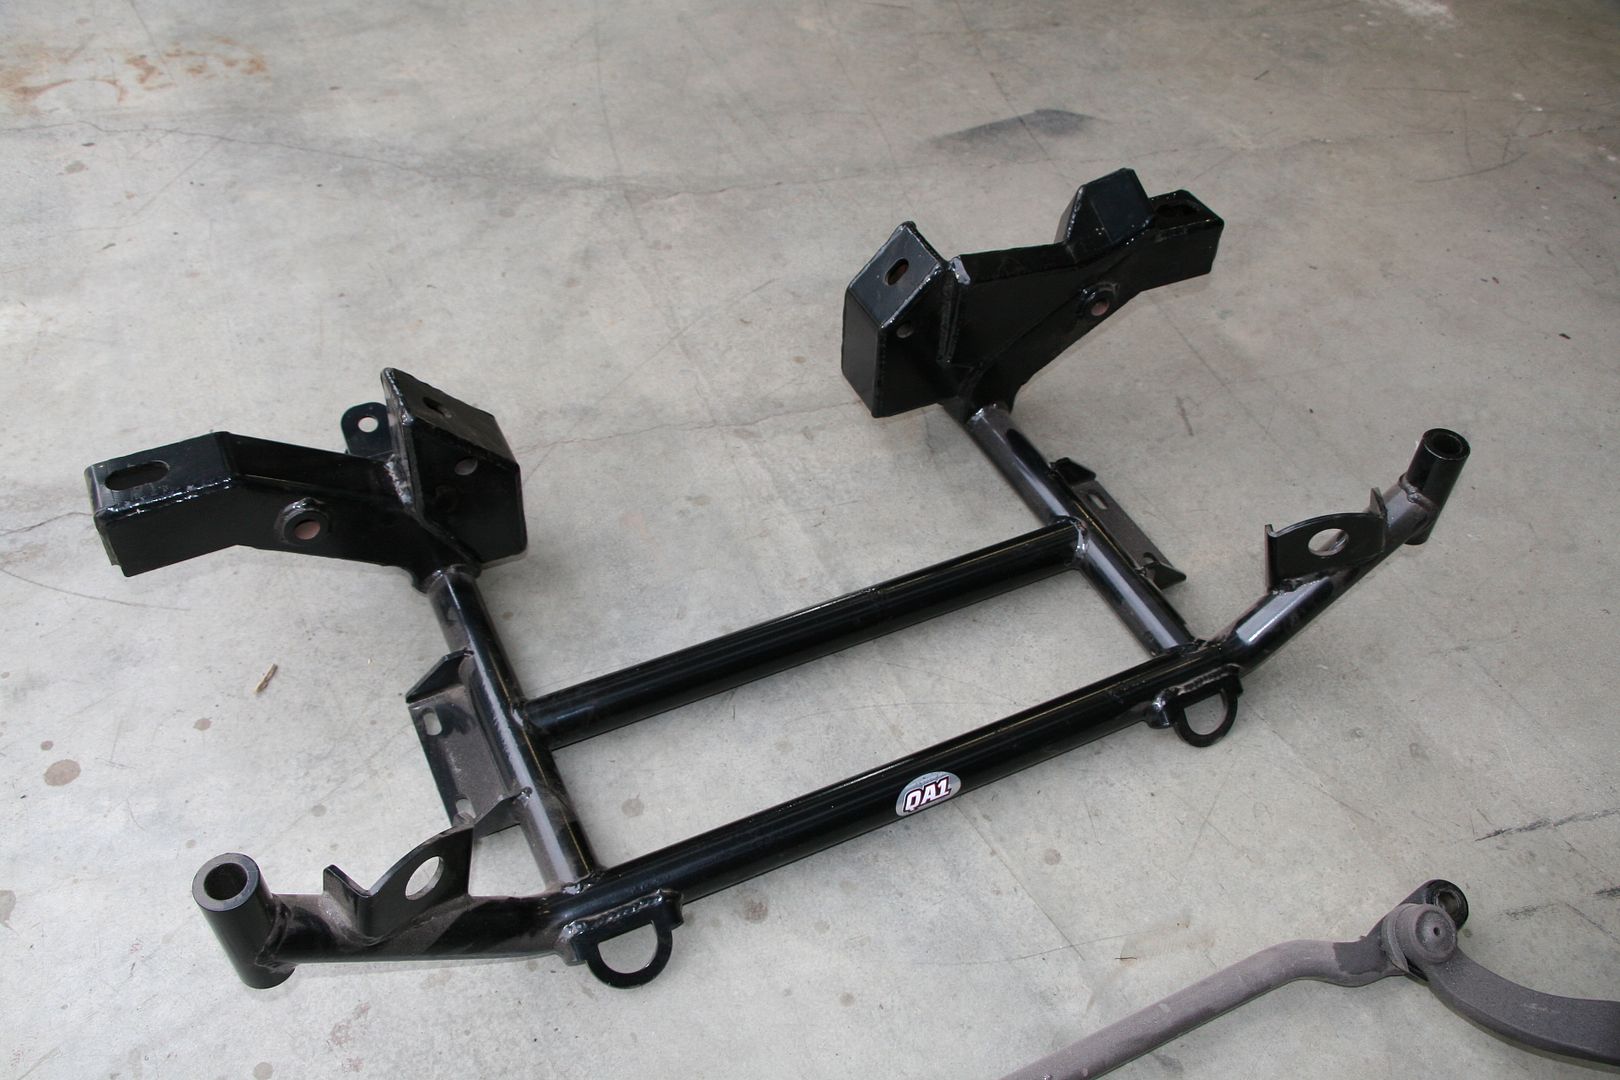
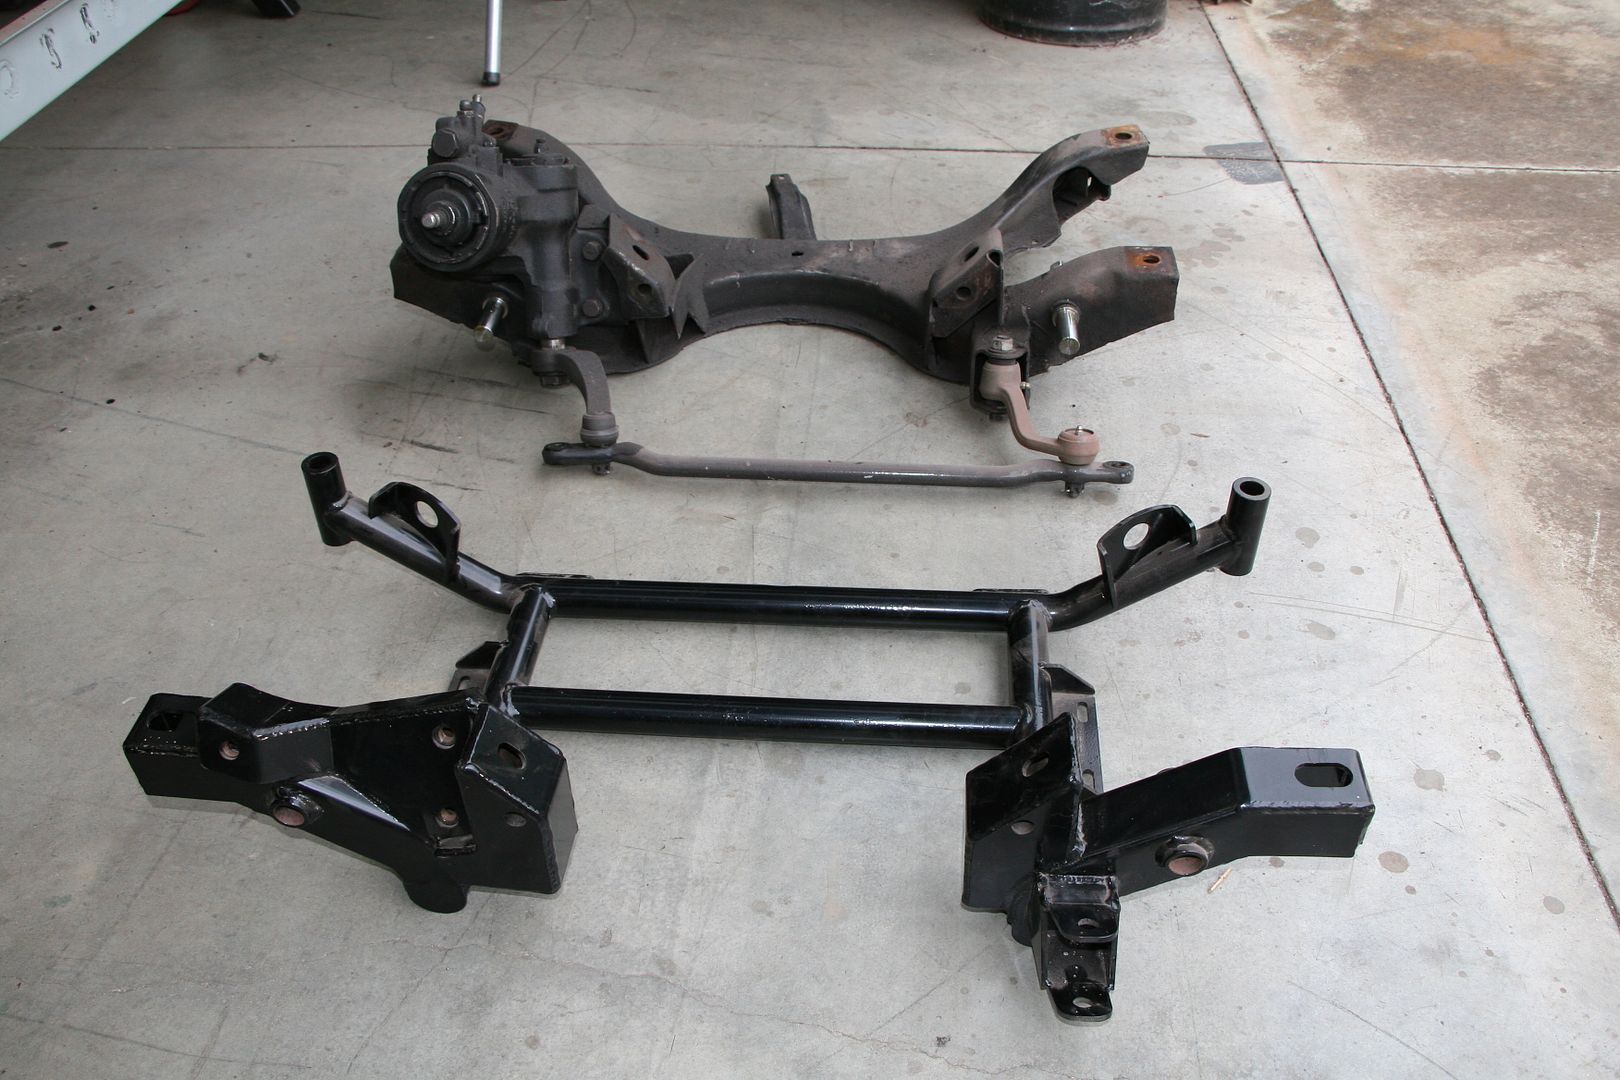
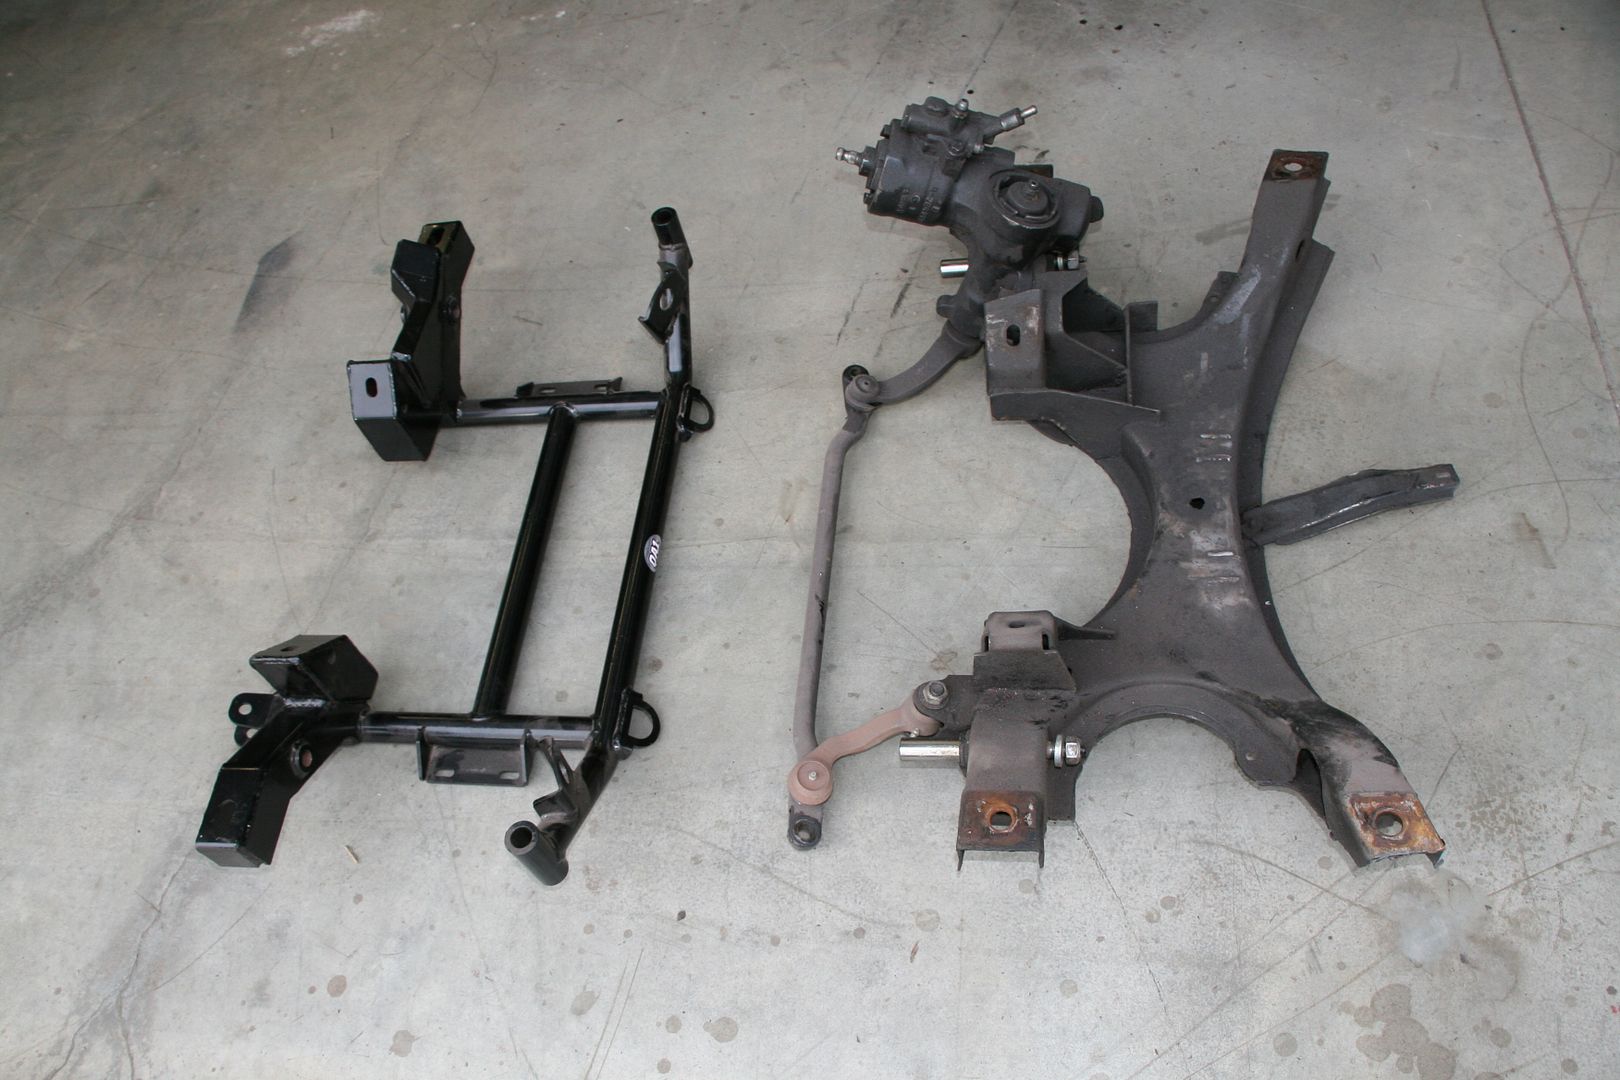
The front dolly uprights are useless as the Dodge has a removable K frame so there is nothing but empty space where the current uprights are, so I'll have to cut them off & make up some new ones during the week, but I'm in no rush to get that done.
Super work as usual, thanks for the updates.





.JPG?width=1920&height=1080&fit=bounds)
.JPG?width=1920&height=1080&fit=bounds)
.JPG?width=1920&height=1080&fit=bounds)
.JPG?width=1920&height=1080&fit=bounds)
.JPG?width=1920&height=1080&fit=bounds)
.JPG?width=1920&height=1080&fit=bounds)
.JPG?width=1920&height=1080&fit=bounds)
.JPG?width=1920&height=1080&fit=bounds)
.JPG?width=1920&height=1080&fit=bounds)