Advertisement
If you have a new account but are having problems posting or verifying your account, please email us on hello@boards.ie for help. Thanks :)
Hello all! Please ensure that you are posting a new thread or question in the appropriate forum. The Feedback forum is overwhelmed with questions that are having to be moved elsewhere. If you need help to verify your account contact hello@boards.ie
Hi all,
Vanilla are planning an update to the site on April 24th (next Wednesday). It is a major PHP8 update which is expected to boost performance across the site. The site will be down from 7pm and it is expected to take about an hour to complete. We appreciate your patience during the update.
Thanks all.

Last of the V8 Interceptors.. my XB Falcon Coupe

1911131415

Comments

  • Registered Users Posts: 1,230 ✭✭✭Daved_XB


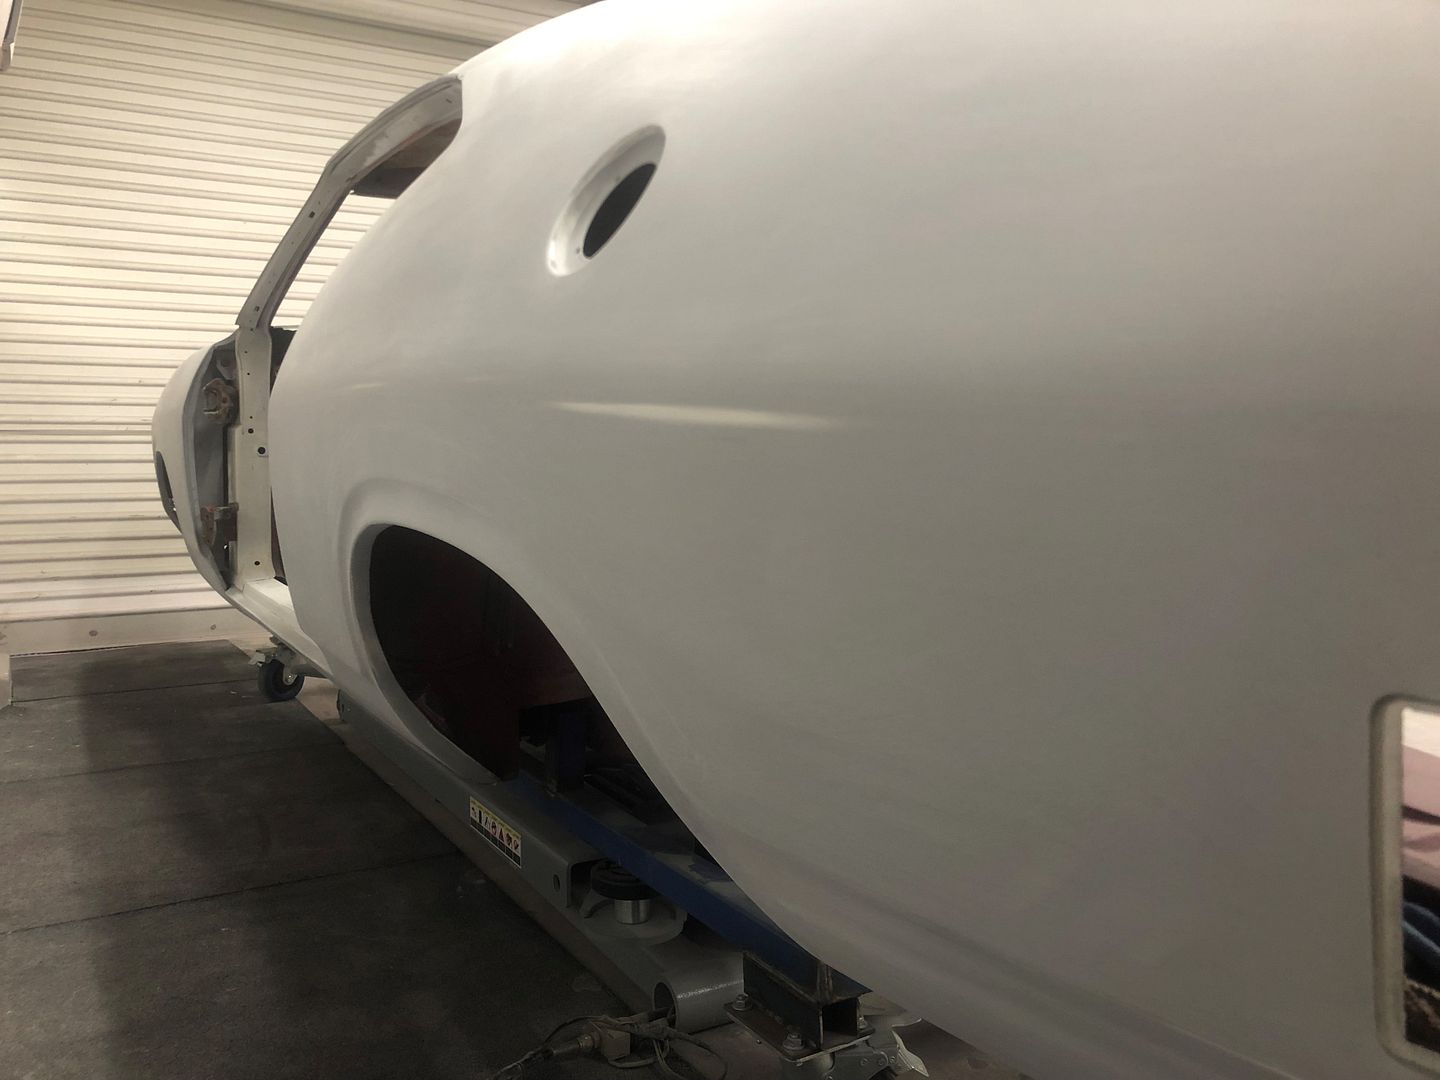
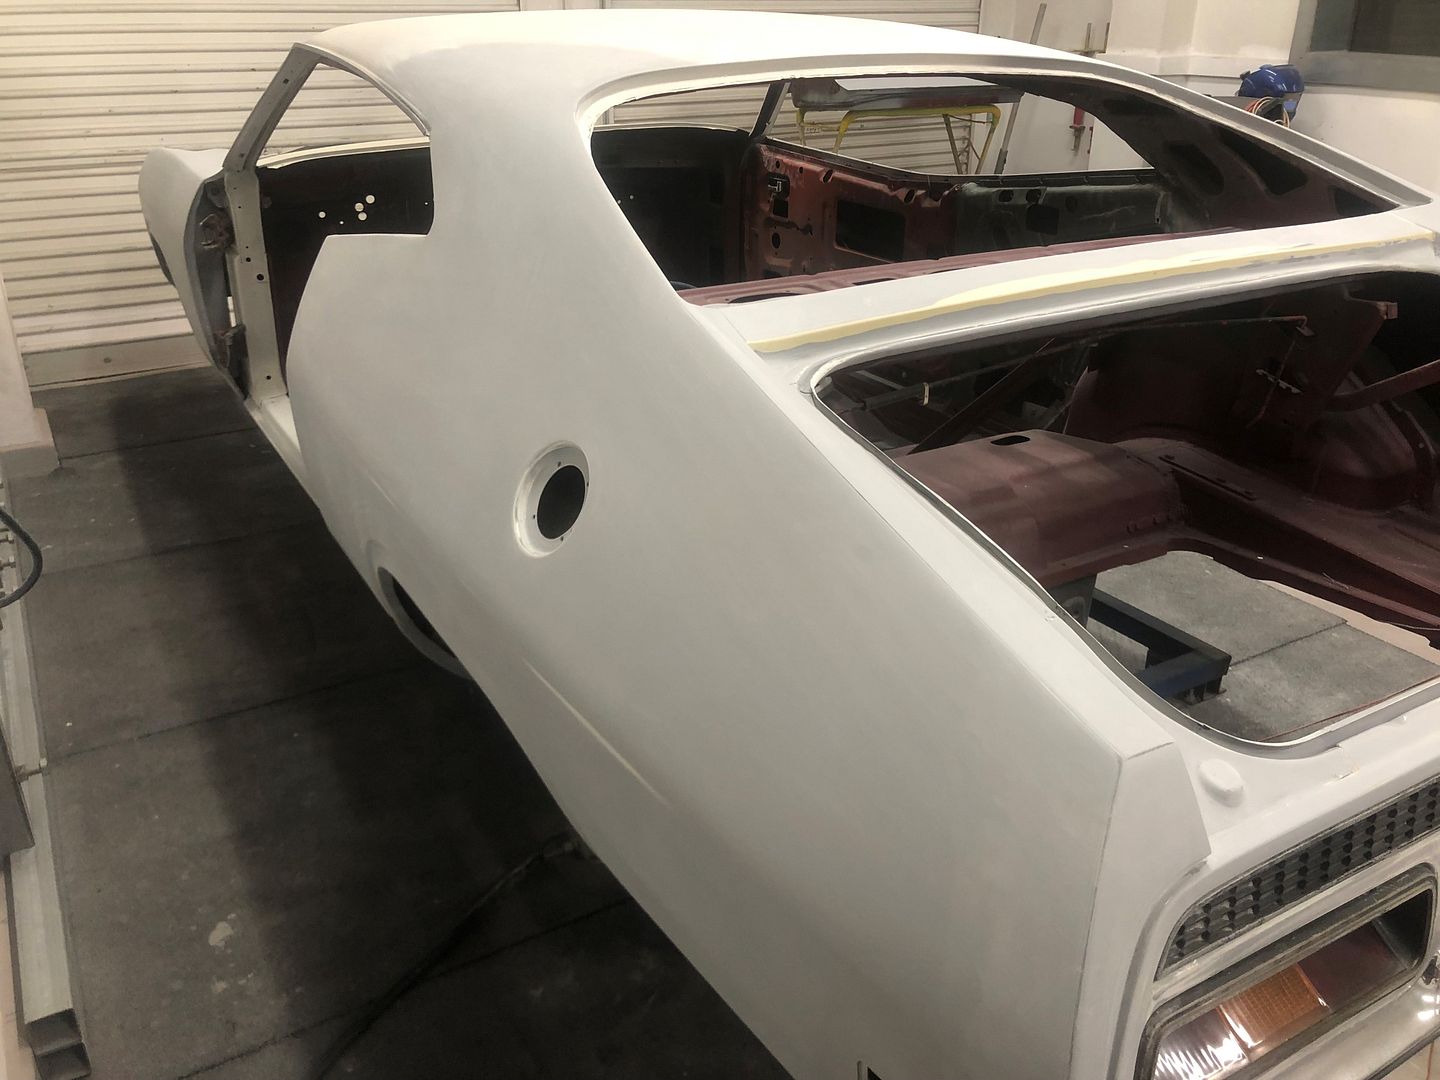
    The passenger side has been fully blocked back now

    XB79.jpg?width=1920&height=1080&fit=bounds

    XB78.jpg?width=1920&height=1080&fit=bounds

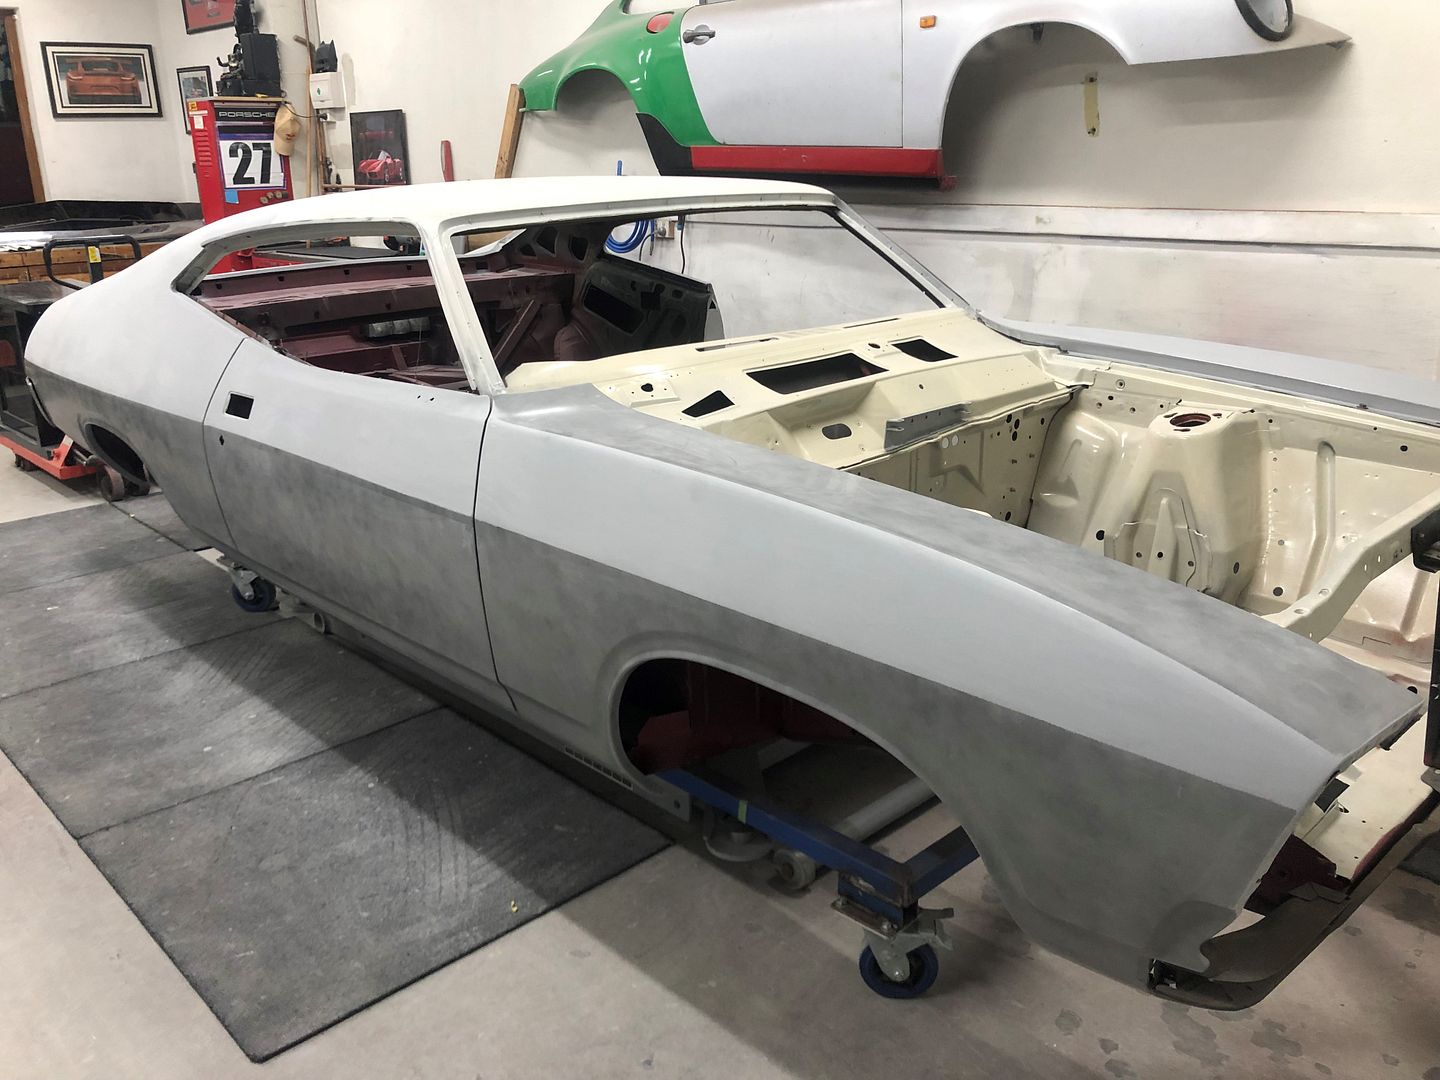
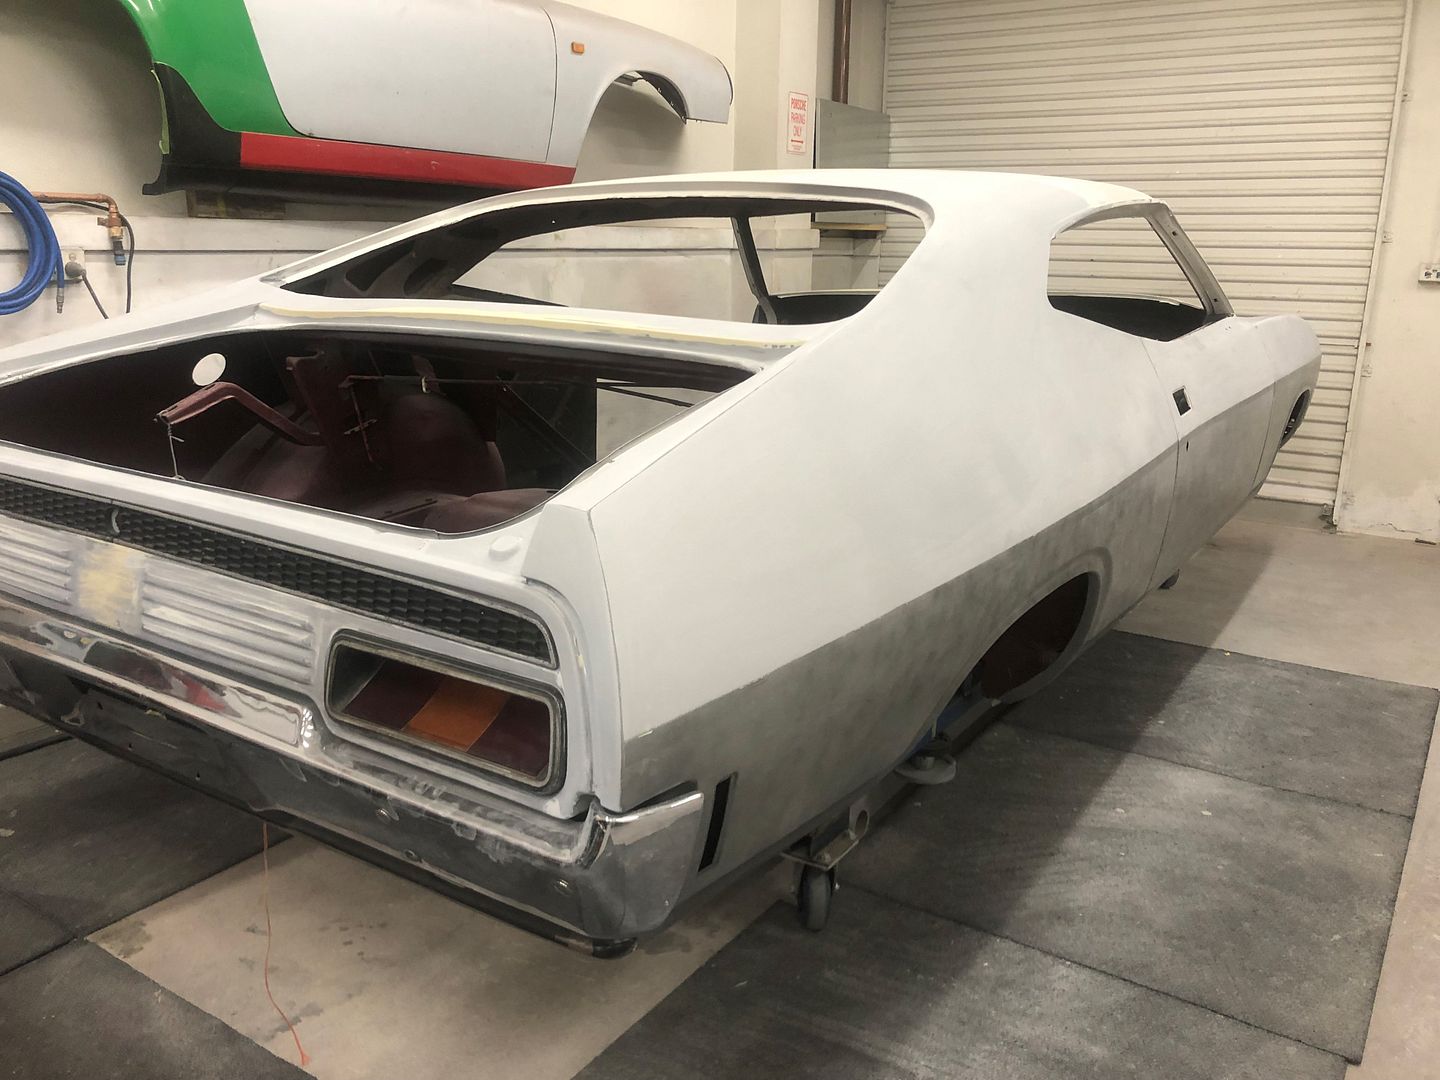
    She’s been spun around now & the top half of the drivers side has also been blocked back…

    XB80.jpg?width=1920&height=1080&fit=bounds

    XB77.jpg?width=1920&height=1080&fit=bounds

    I do wonder sometimes if I’m just spamming this build thread now with these pics, but I know I’m learning just how much work actually goes into a paint job when it’s done right..


  • Moderators, Science, Health & Environment Moderators, Social & Fun Moderators, Regional West Moderators Posts: 59,718 Mod ✭✭✭✭Gremlinertia


    Nope, i don't think it's spamming anyway.. It's an interesting insight i wouldn't normally find, all of the build threads!


  • Registered Users Posts: 427 ✭✭thereitisgone


    Please keep as many pictures coming as possible
    Really looking forward to seeing it with its final paint
    Great thread


  • Registered Users Posts: 531 ✭✭✭biketard


    Spamming? It's the whole reason we're here! Keep posting as many pictures as you like!


  • Registered Users Posts: 1,428 ✭✭✭quietsailor


    biketard wrote: »
    Spamming? It's the whole reason we're here! Keep posting as many pictures as you like!

    ^^^^ What this person said, I'm facinated by the photos, even to the point of opening them on a new tab so I can zoom in and see the work, I consider what you & your painter are doing as art, not "just" a car paint becasue of the detail that is going into the work. It's facinating to me!


  • Advertisement
  • Registered Users Posts: 1,230 ✭✭✭Daved_XB


    Thanks for all the kind words guys... I'll keep up the constant updates so..


  • Registered Users Posts: 1,230 ✭✭✭Daved_XB


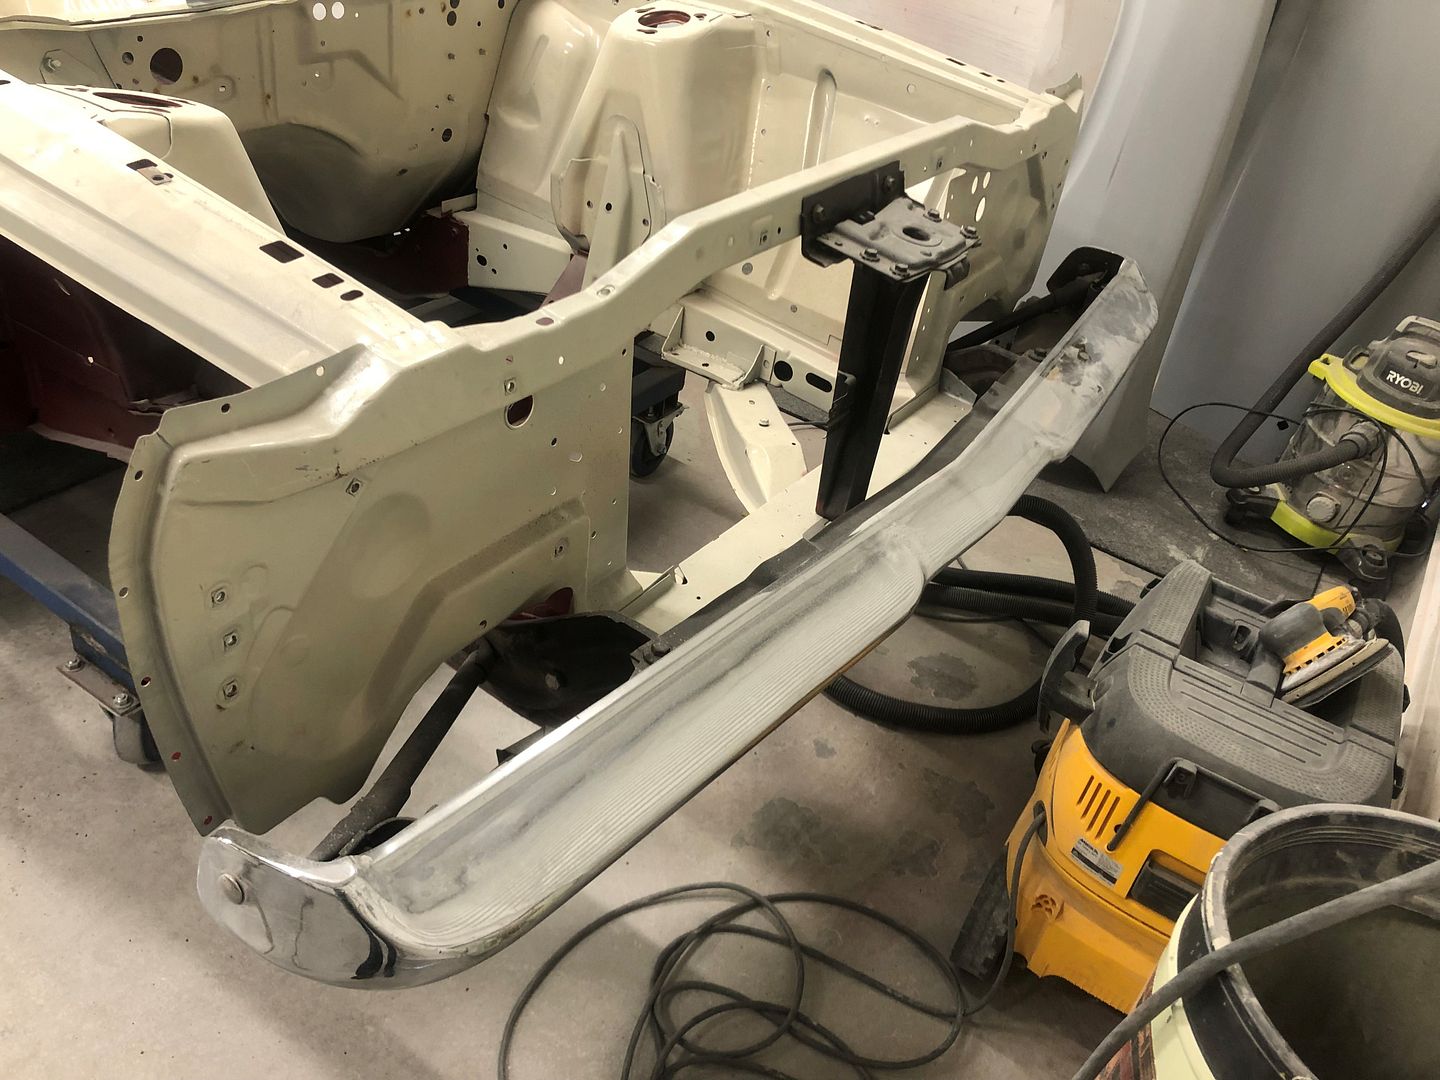
    We’re playing with fitting the front bumper now, this is done without the guards on as the process is to get the bumper square on the car first & then the hanging panels will be adjusted to suit

    XB83(1).jpg?width=1920&height=1080&fit=bounds

    XB84.jpg?width=1920&height=1080&fit=bounds

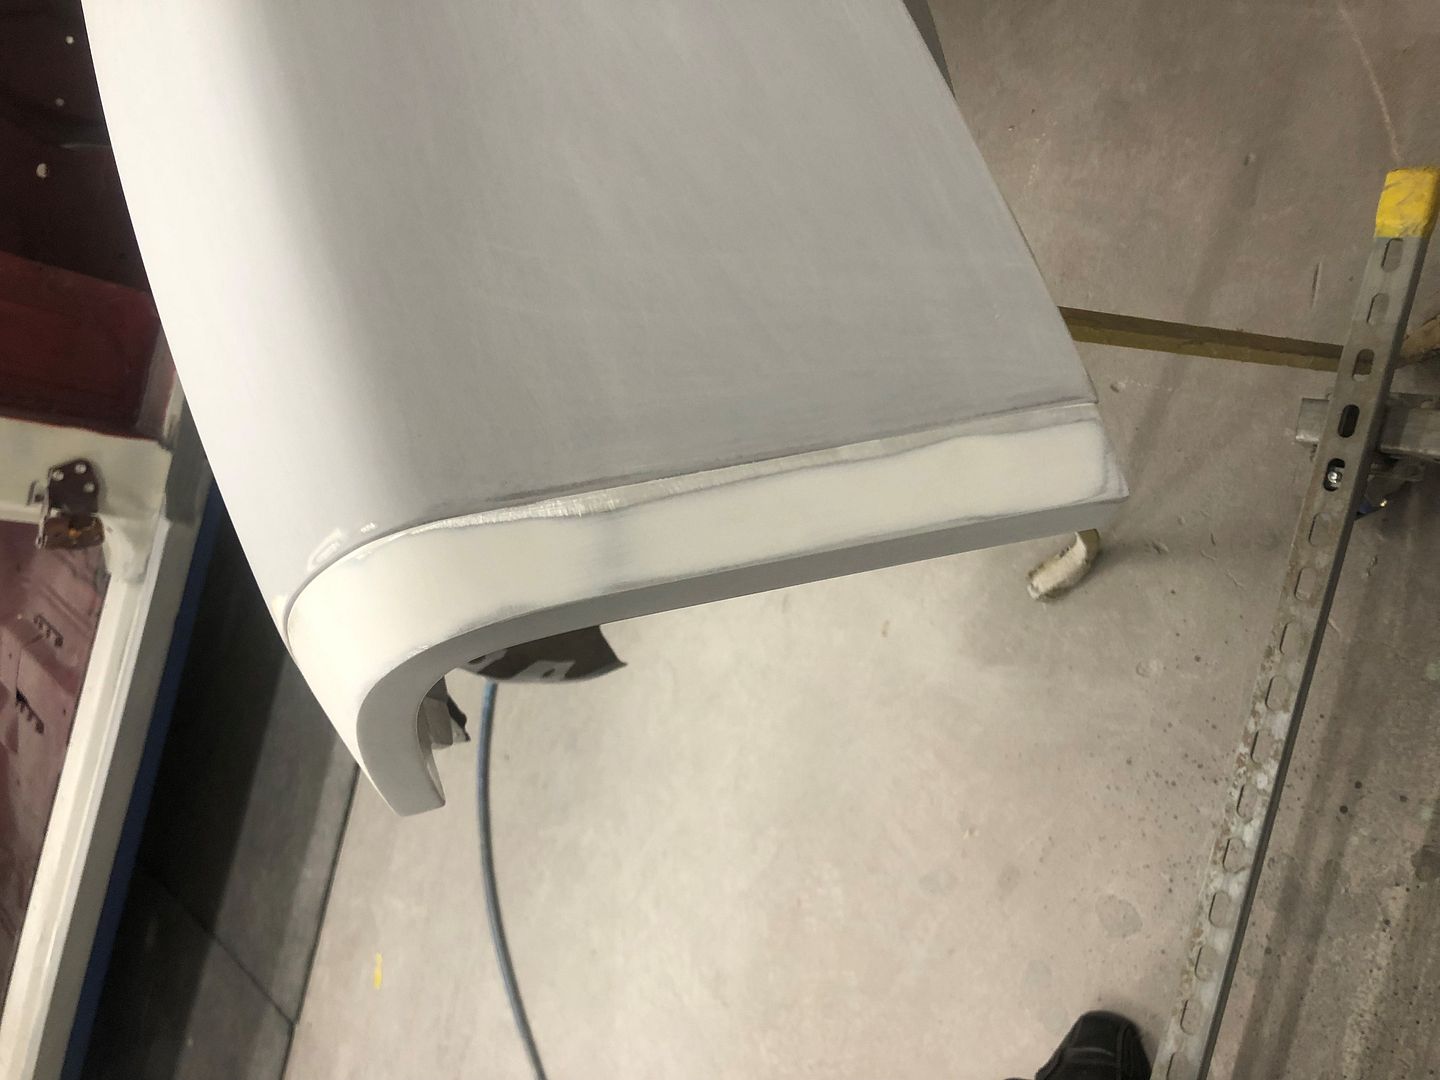
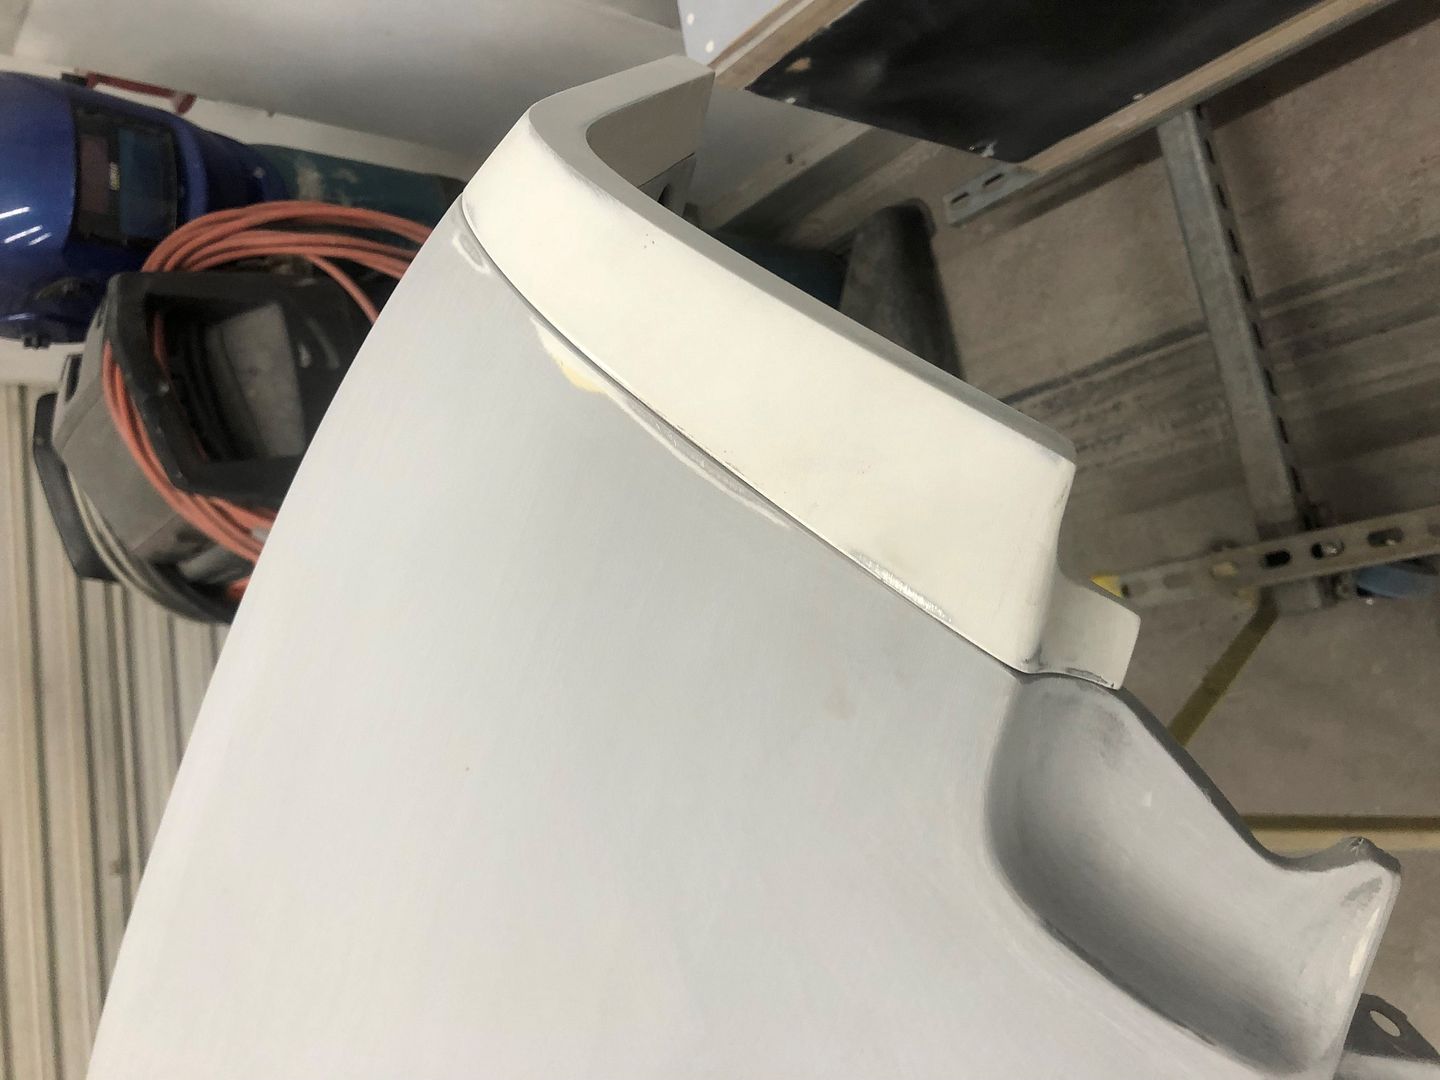
    Also working on getting the front guard “eyebrows” to fit, I don’t understand why Ford did this particular design cue.. there is no model of XB in the range that uses a different eyebrow so there was no need to not just have the guard be a one piece design. I assume this design was to give panel beaters & painters something to do as they never fit right

    XB82.jpg?width=1920&height=1080&fit=bounds

    XB81.jpg?width=1920&height=1080&fit=bounds

    Next job for me will be to lose my temper, throw tools around & learn new curse words as I try to remove & replace the worn door hinge pins that were designed to never come out as they are well worn & cause the door to sag once opened..

    IMG_9840.JPG?width=1920&height=1080&fit=bounds


  • Moderators, Science, Health & Environment Moderators, Society & Culture Moderators Posts: 60,071 Mod ✭✭✭✭Wibbs


    Daved_XB wrote: »
    I assume this design was to give panel beaters & painters something to do as they never fit right
    And then the design met you guys.

    flat,550x550,075,f.jpg

    :D

    Rejoice in the awareness of feeling stupid, for that’s how you end up learning new things. If you’re not aware you’re stupid, you probably are.


  • Registered Users Posts: 1,230 ✭✭✭Daved_XB


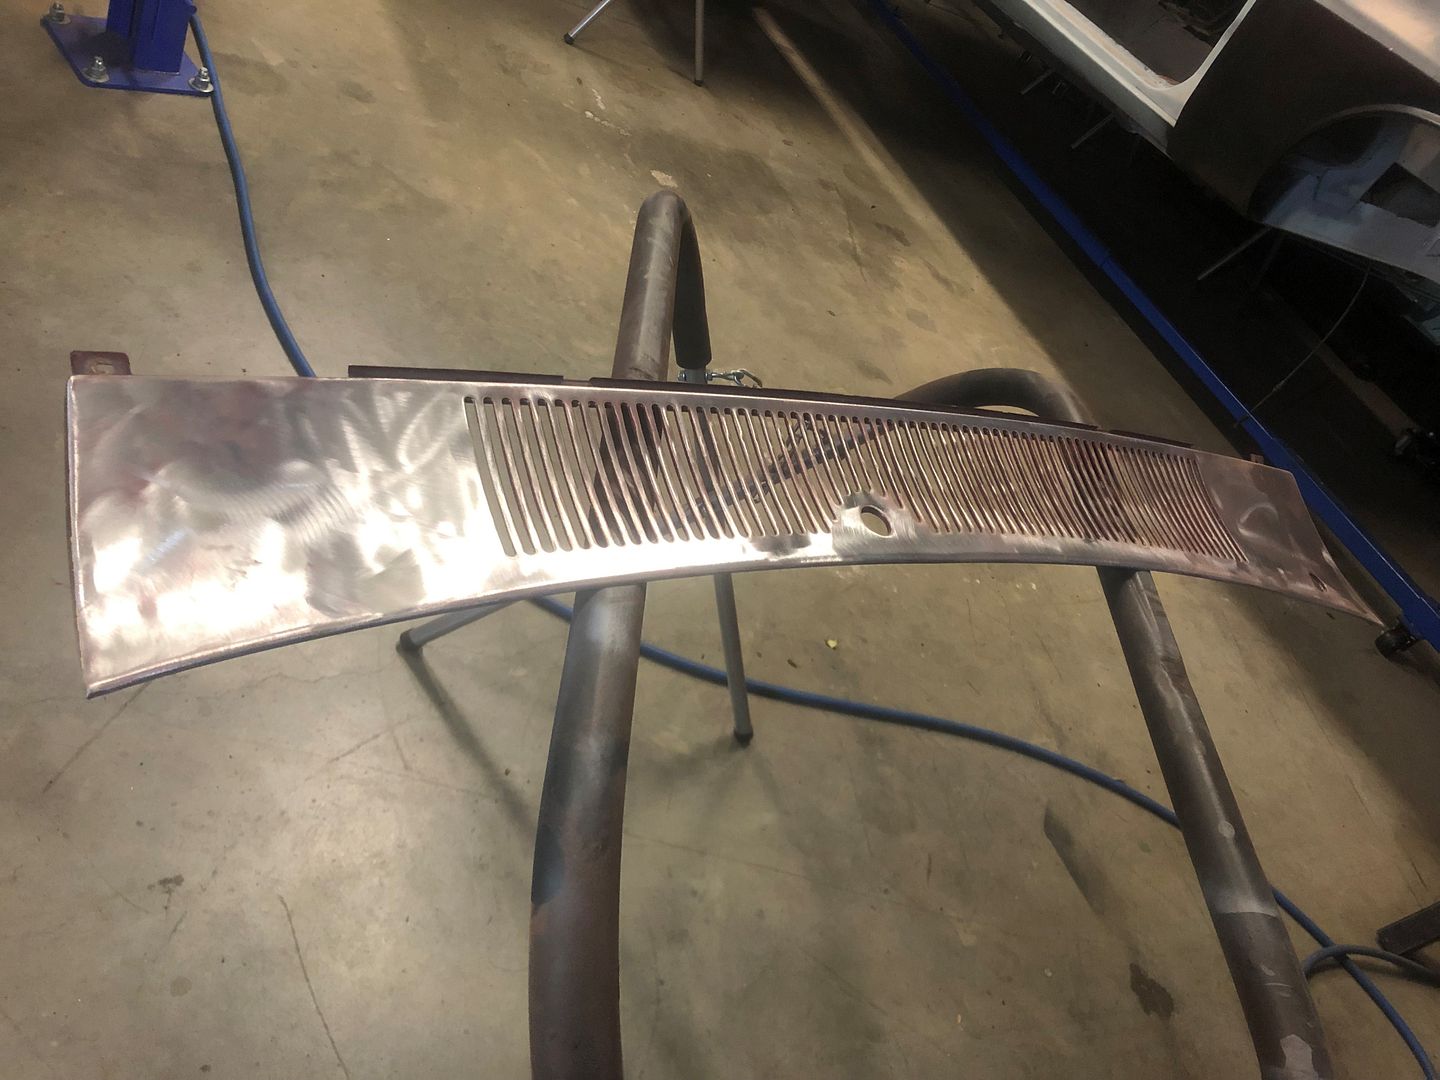
    I was feeling a little left out of the XB process so I’ve jumped back on the tools & did a thing as Clarkson would say.. I’ve stripped the paint off the scuttle panel now, the metal is perfect so that just needs some primer & it’s ready to go

    XB90.jpg?width=1920&height=1080&fit=bounds

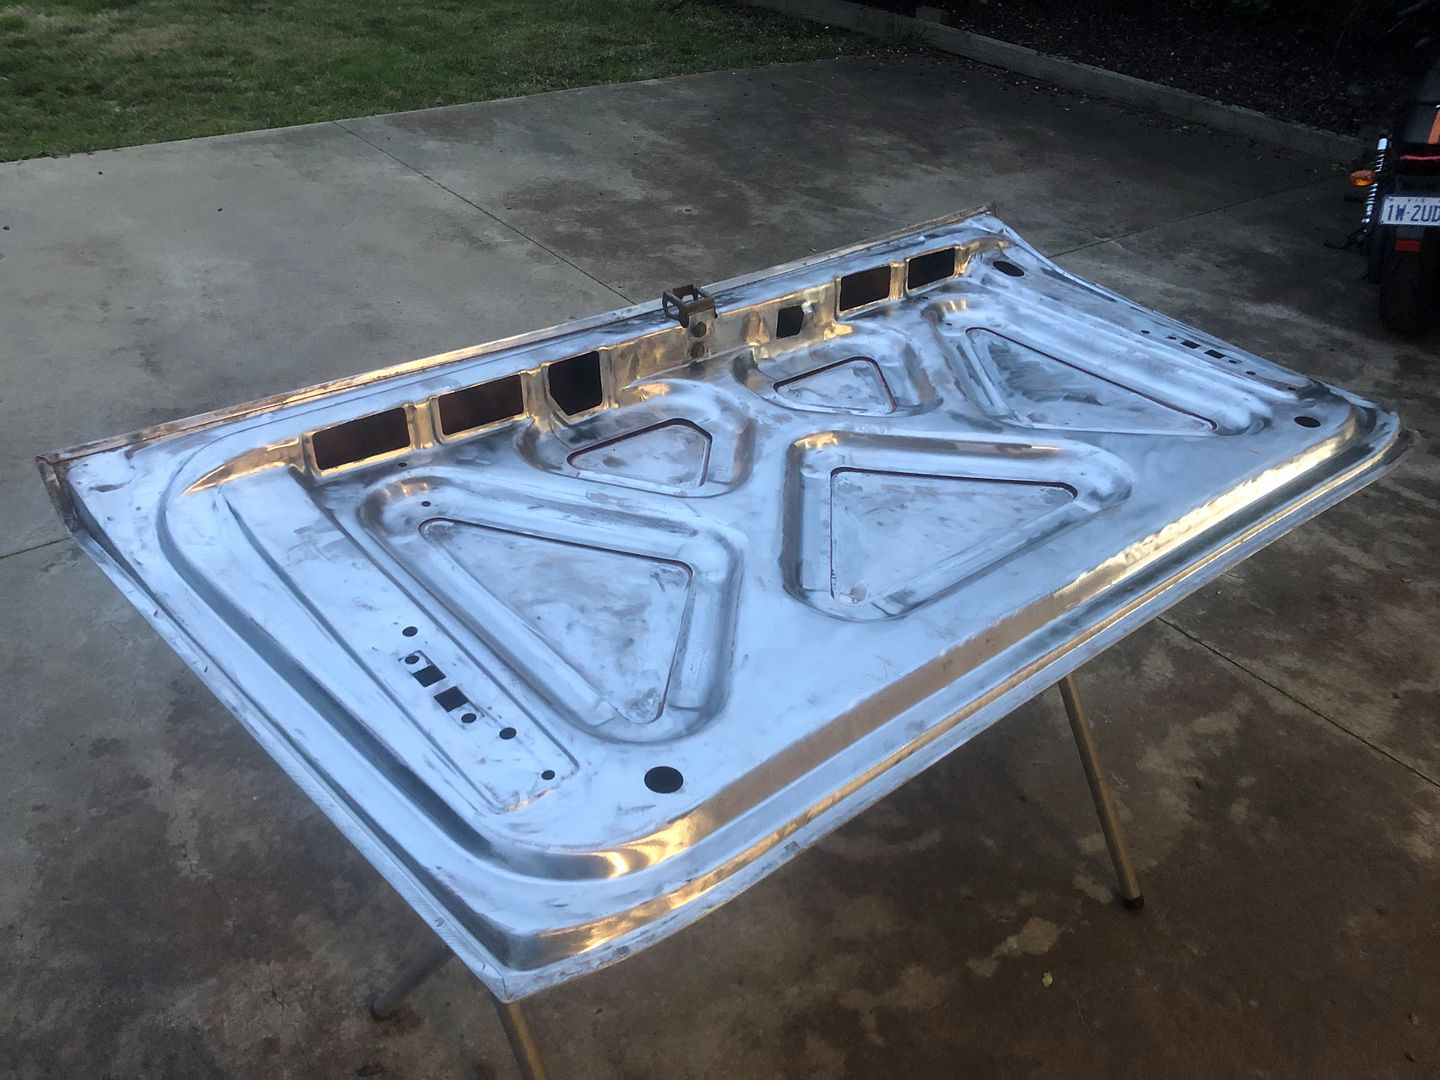
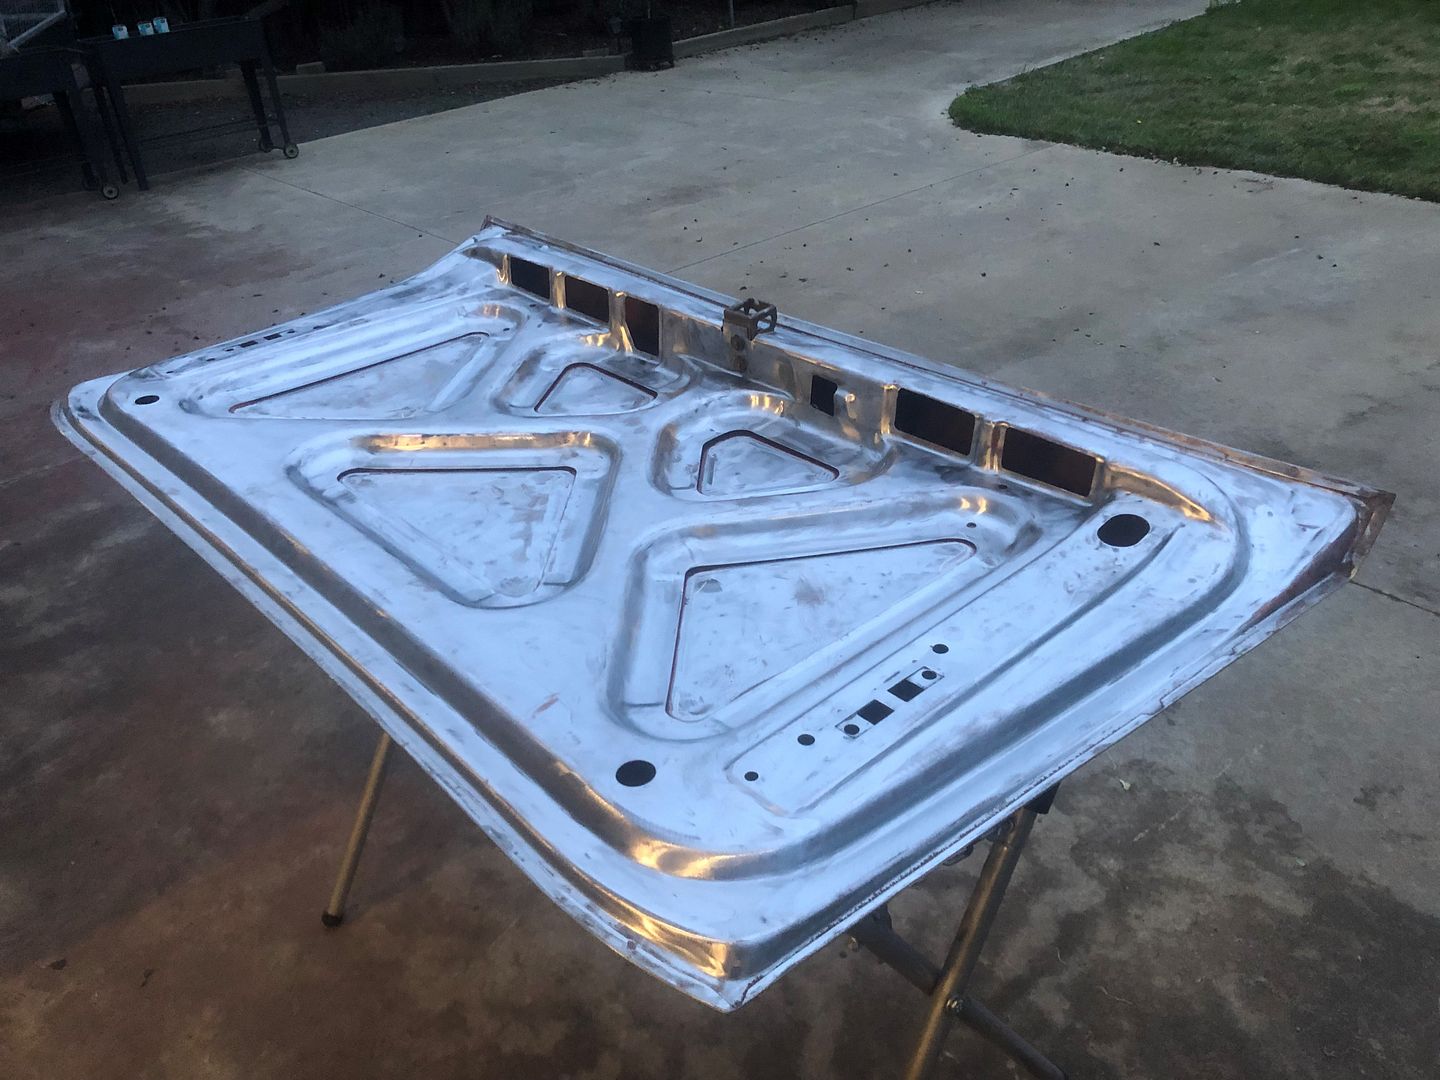
    I’ve also cleaned back the underside of the boot lid… again this is perfect so only primer & paint needed..

    XB89.jpg?width=1920&height=1080&fit=bounds

    XB88.jpg?width=1920&height=1080&fit=bounds

    On the subject of paint… the final colour paint has been ordered now.. so no going back on that decision without significant finical impact (quality paint is expensive here). Next job for me on the weekend will be to strip back the underside of the bonnet.

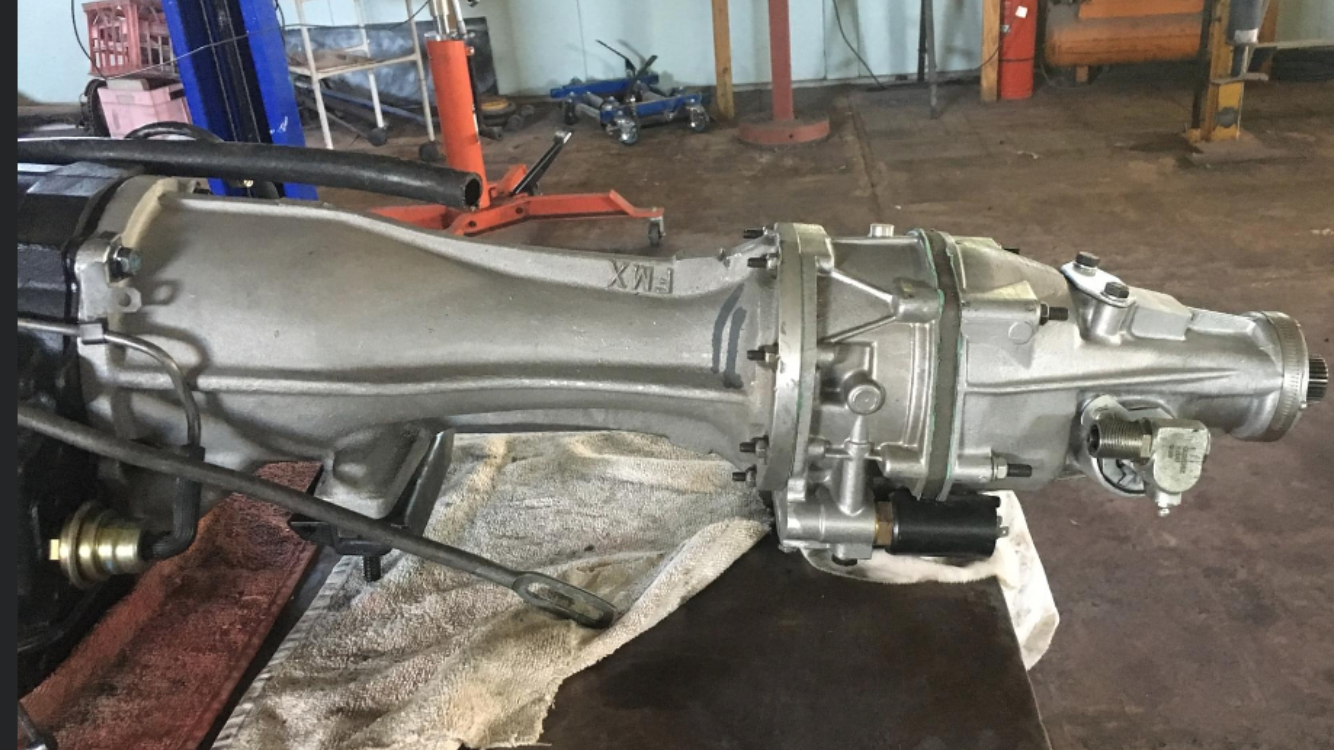
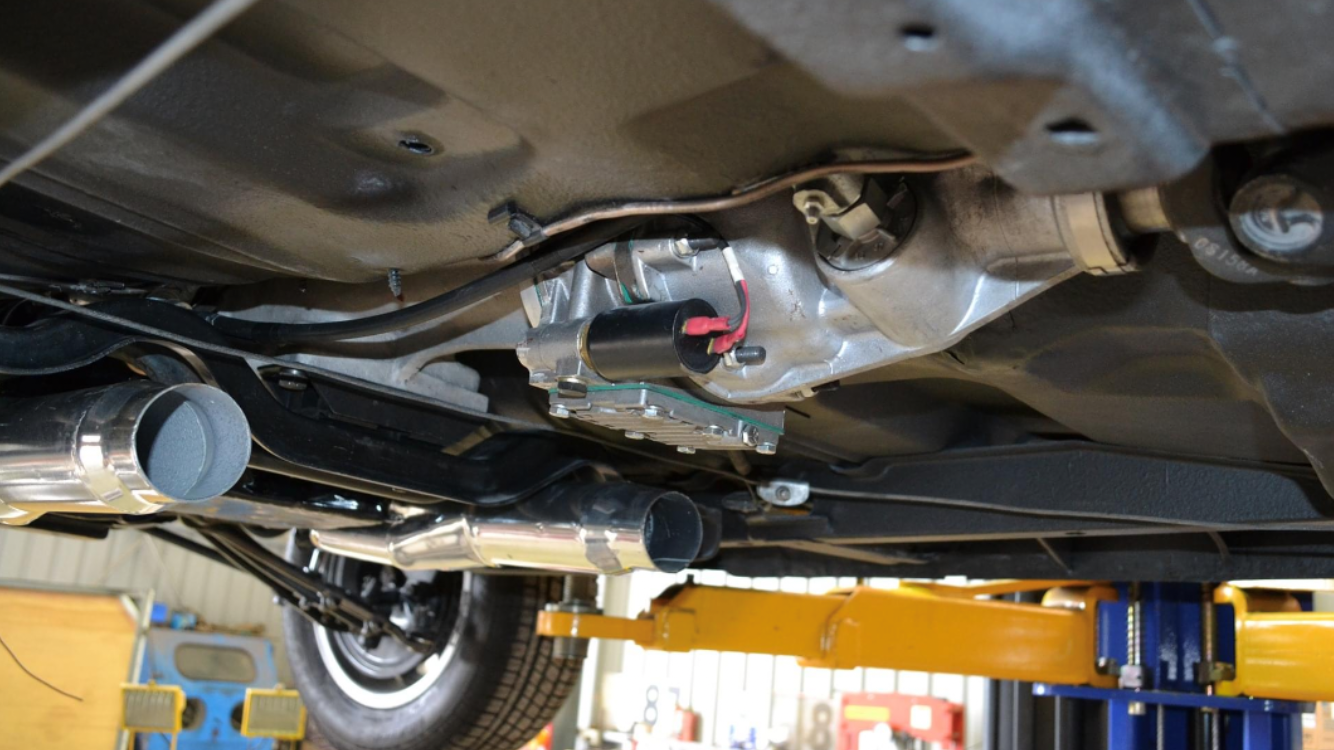
    I’ve also made some progress on operation gearbox decision… I’m keeping the car an Auto as I had said before, but I don’t want only 3 forward gears as that will see the car revving at over 3200RPM on the highway at 110kph given the rear gearing I plan on running. I had been doing a lot of research into a Gear Vendors Overdrive to bolt to the back of the gearbox & I love this tech that gives an OD to every gear in the box… however my big question was always would it fit in my XB… I finally found a guy with an XB who’d fitted one to his. You can see it’s a bulky item that gets bolted to the back of the gearbox

    XB86.png?width=1920&height=1080&fit=bounds

    Here it is installed in the car

    XB87.png?width=1920&height=1080&fit=bounds

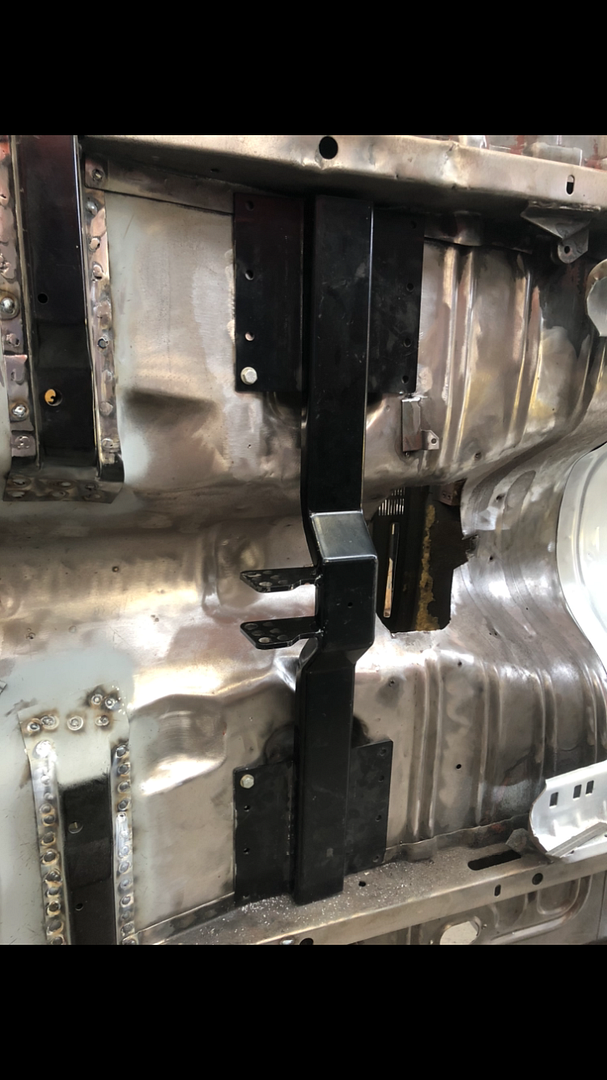
    Now the thickest part of this bolt on piece of kit (where the black solenoid is) lines up perfectly with the depression in the floor where the front bolts for the front seats go… however that is exactly where the beefy rear suspension torque tube brace is for my fancy multilink rear end set up

    XB85.png?width=1920&height=1080&fit=bounds

    This had been my big concern all along with the idea… so now I think I’ll have to go to plan B.. I think I’ll still look at getting one for the Dodge mind you as I don’t have any clearance issues there.


  • Registered Users Posts: 1,230 ✭✭✭Daved_XB


    It took forever to get the underside of the bonnet back to shiny metal.. there are some many tight curves & angles & recesses etc that it was a proper pain… but it’s done

    XB92(1).jpg?width=1920&height=1080&fit=bounds

    XB91(1).jpg?width=1920&height=1080&fit=bounds

    Both front edges of the bonnet have rust issues that will need to be sorted, as I had lots of time to think whilst I was removing the paint I’ve drawn a conclusion that since the very front of the bonnet is angled down & is in fact angled off to the side, I guess that any water in between the bonnet skin & the frame ultimately flows down to these corners… perhaps that’s why they are the only spots of rust on what is otherwise a perfect bonnet.

    XB94(1).jpg?width=1920&height=1080&fit=bounds

    XB93(1).jpg?width=1920&height=1080&fit=bounds


  • Advertisement
  • Registered Users Posts: 1,230 ✭✭✭Daved_XB


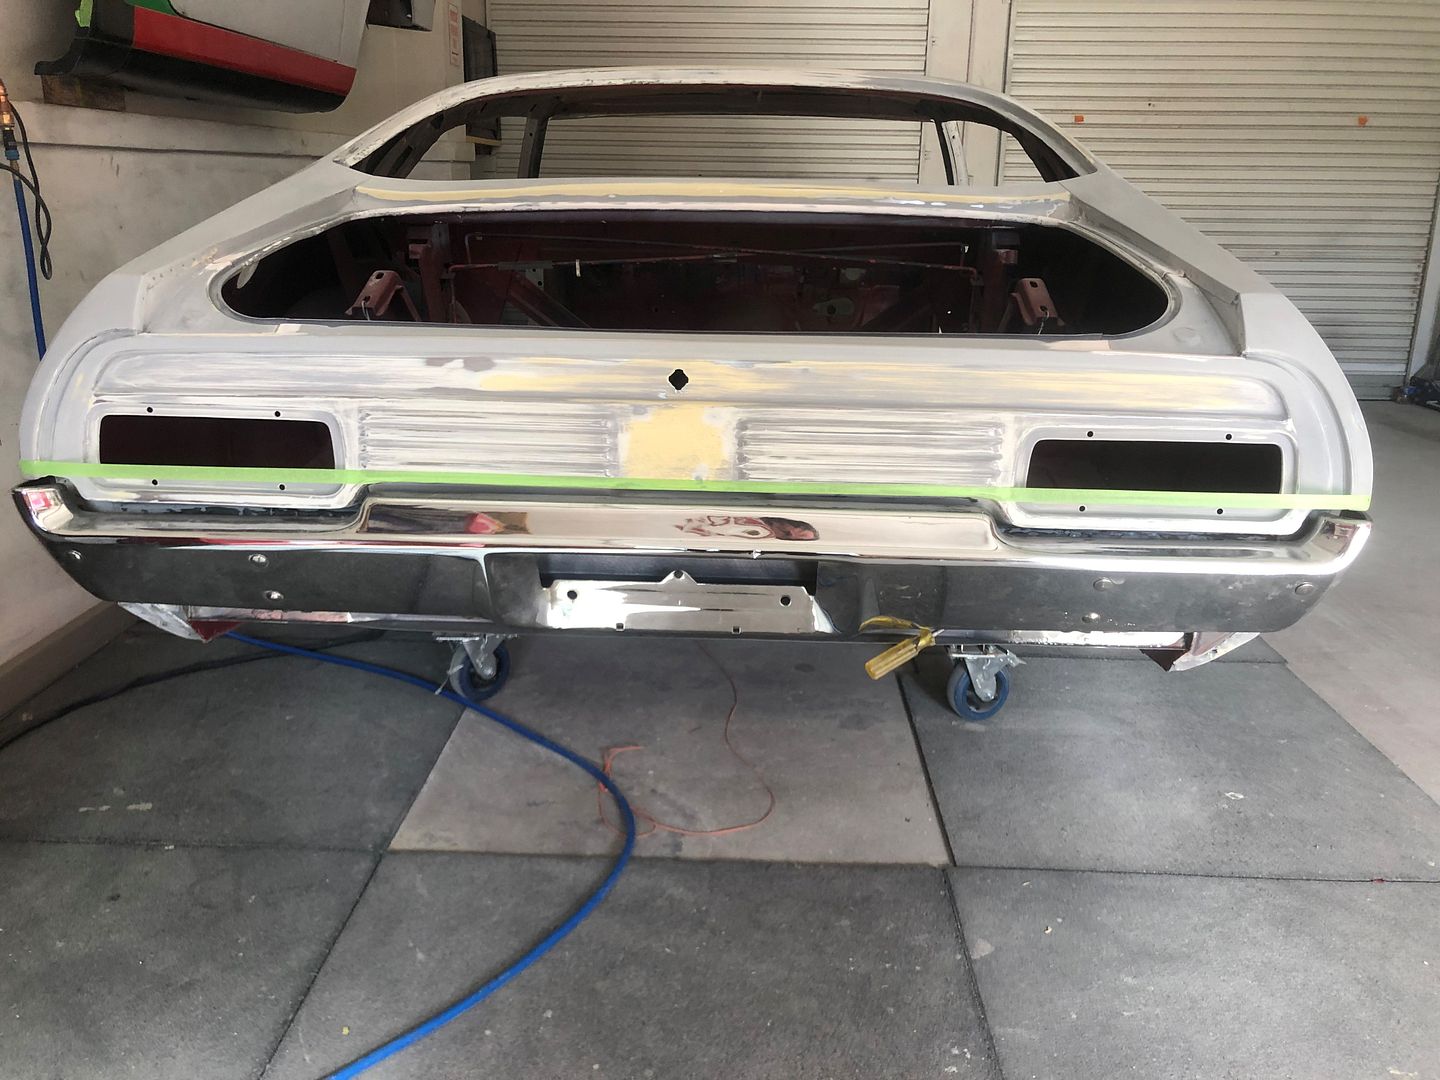
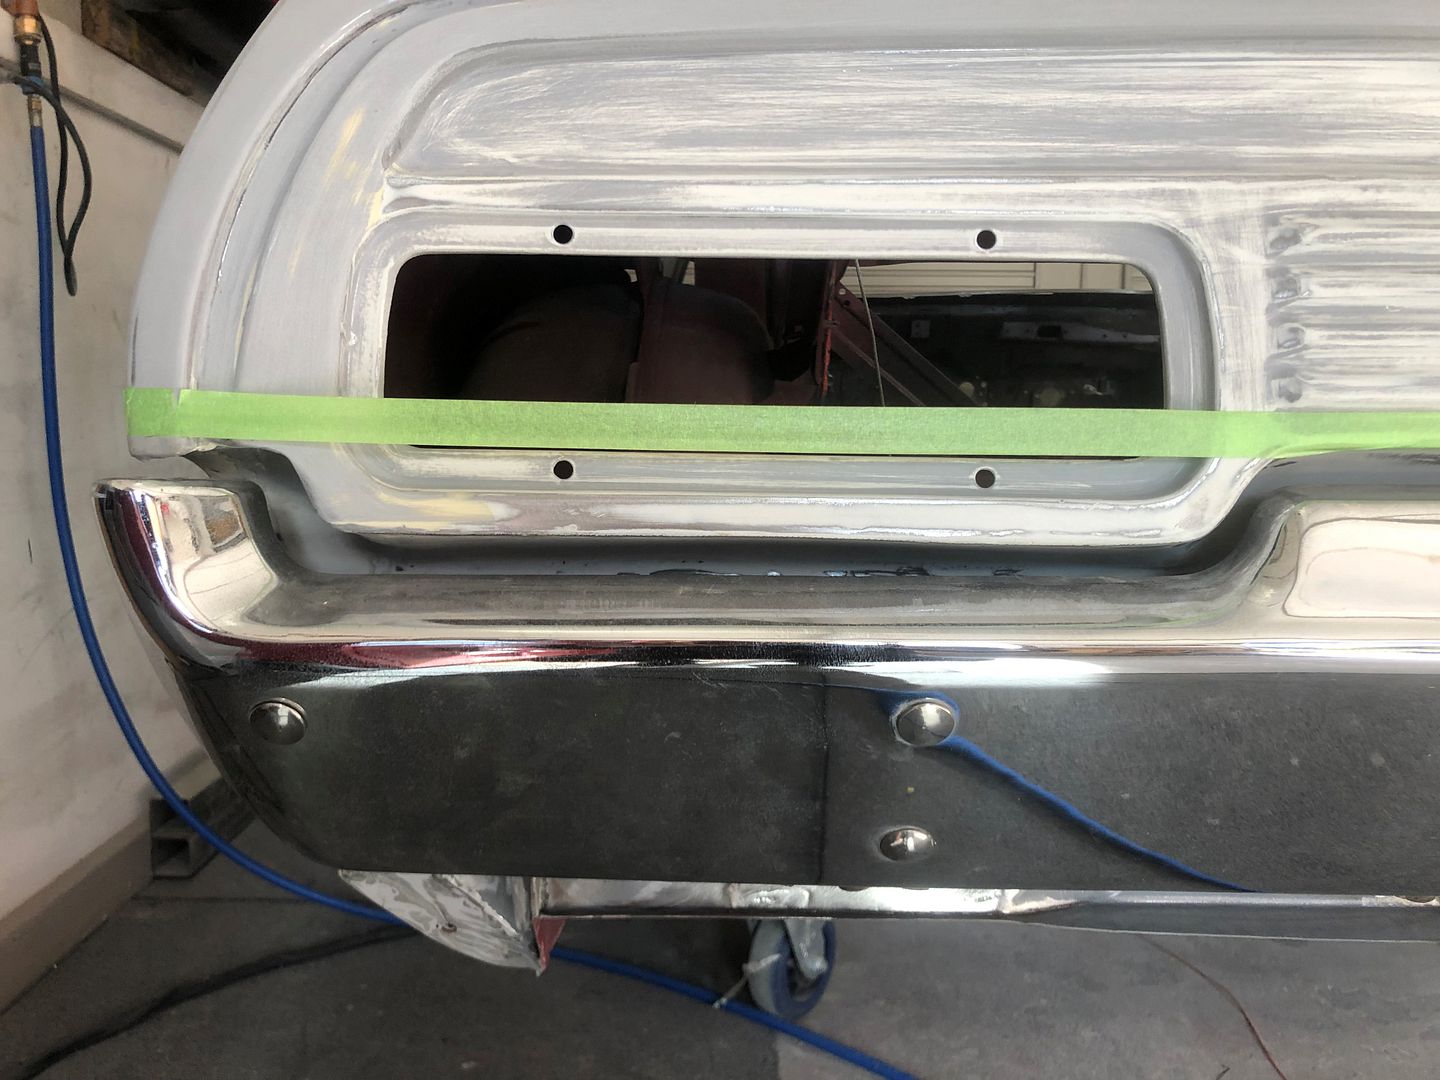
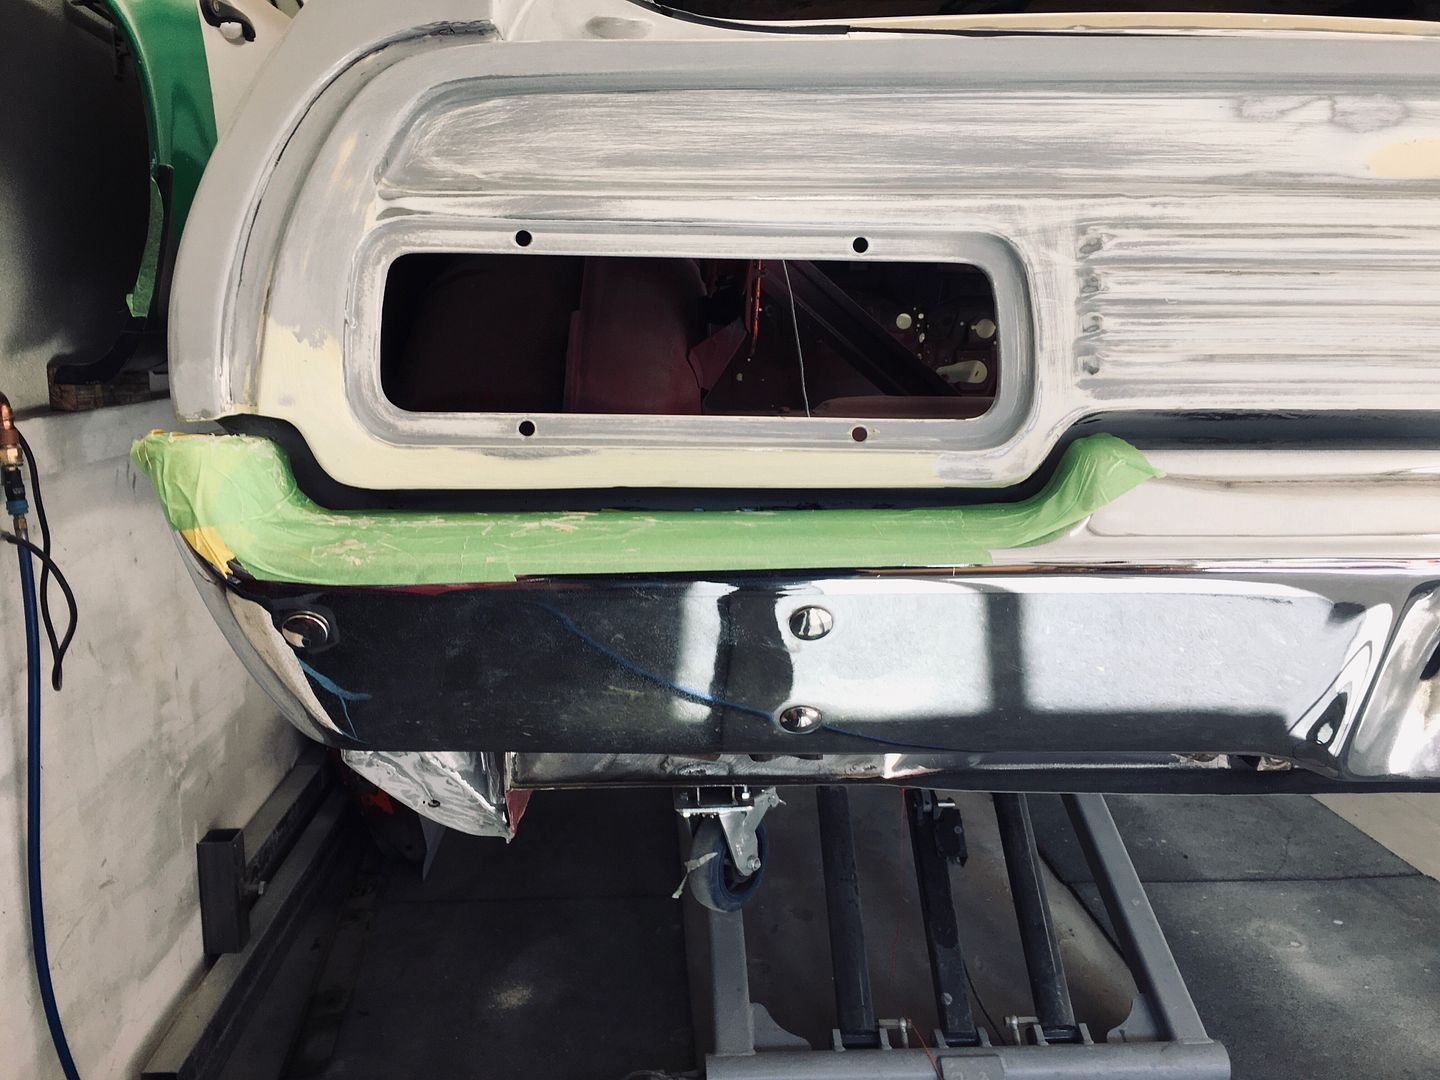
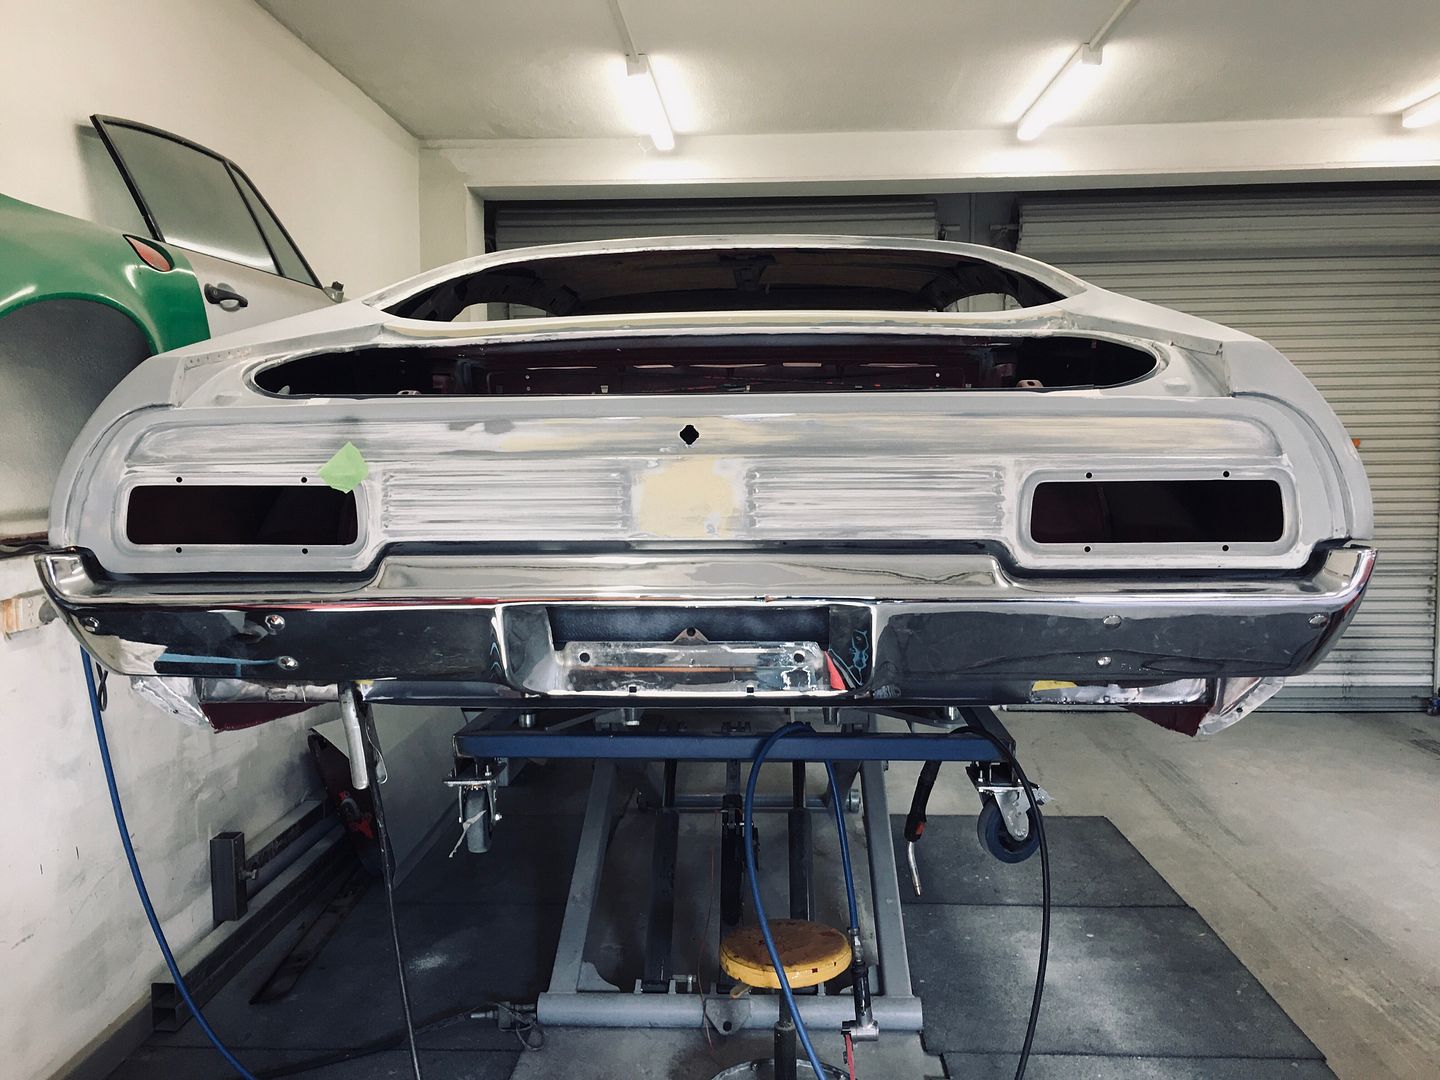
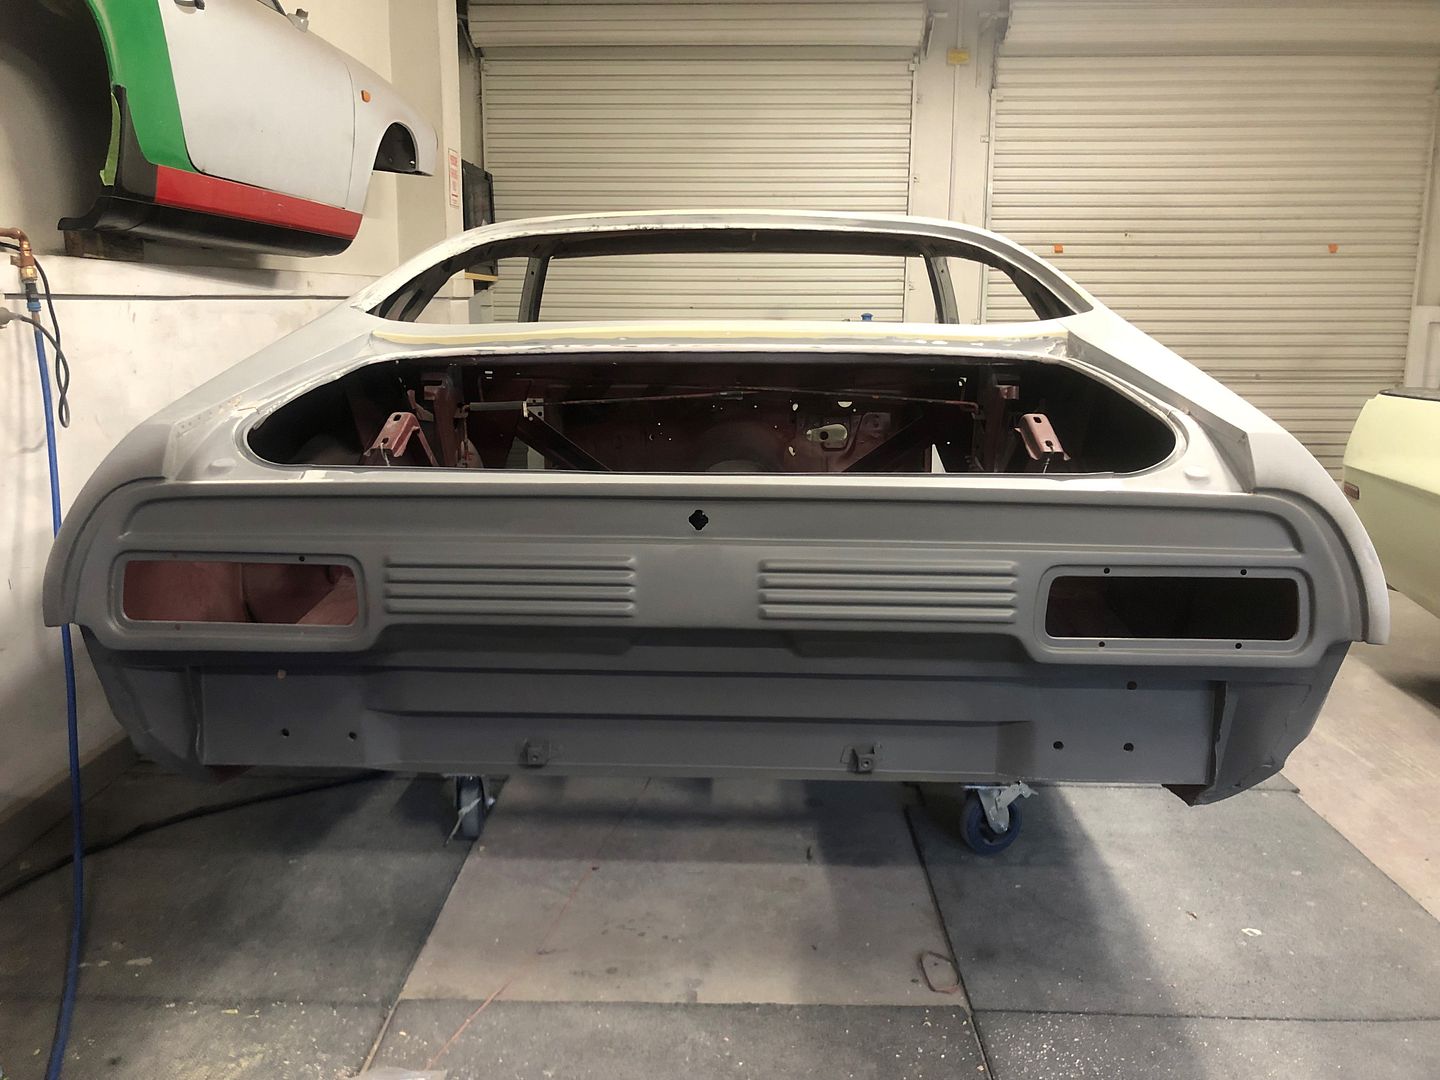
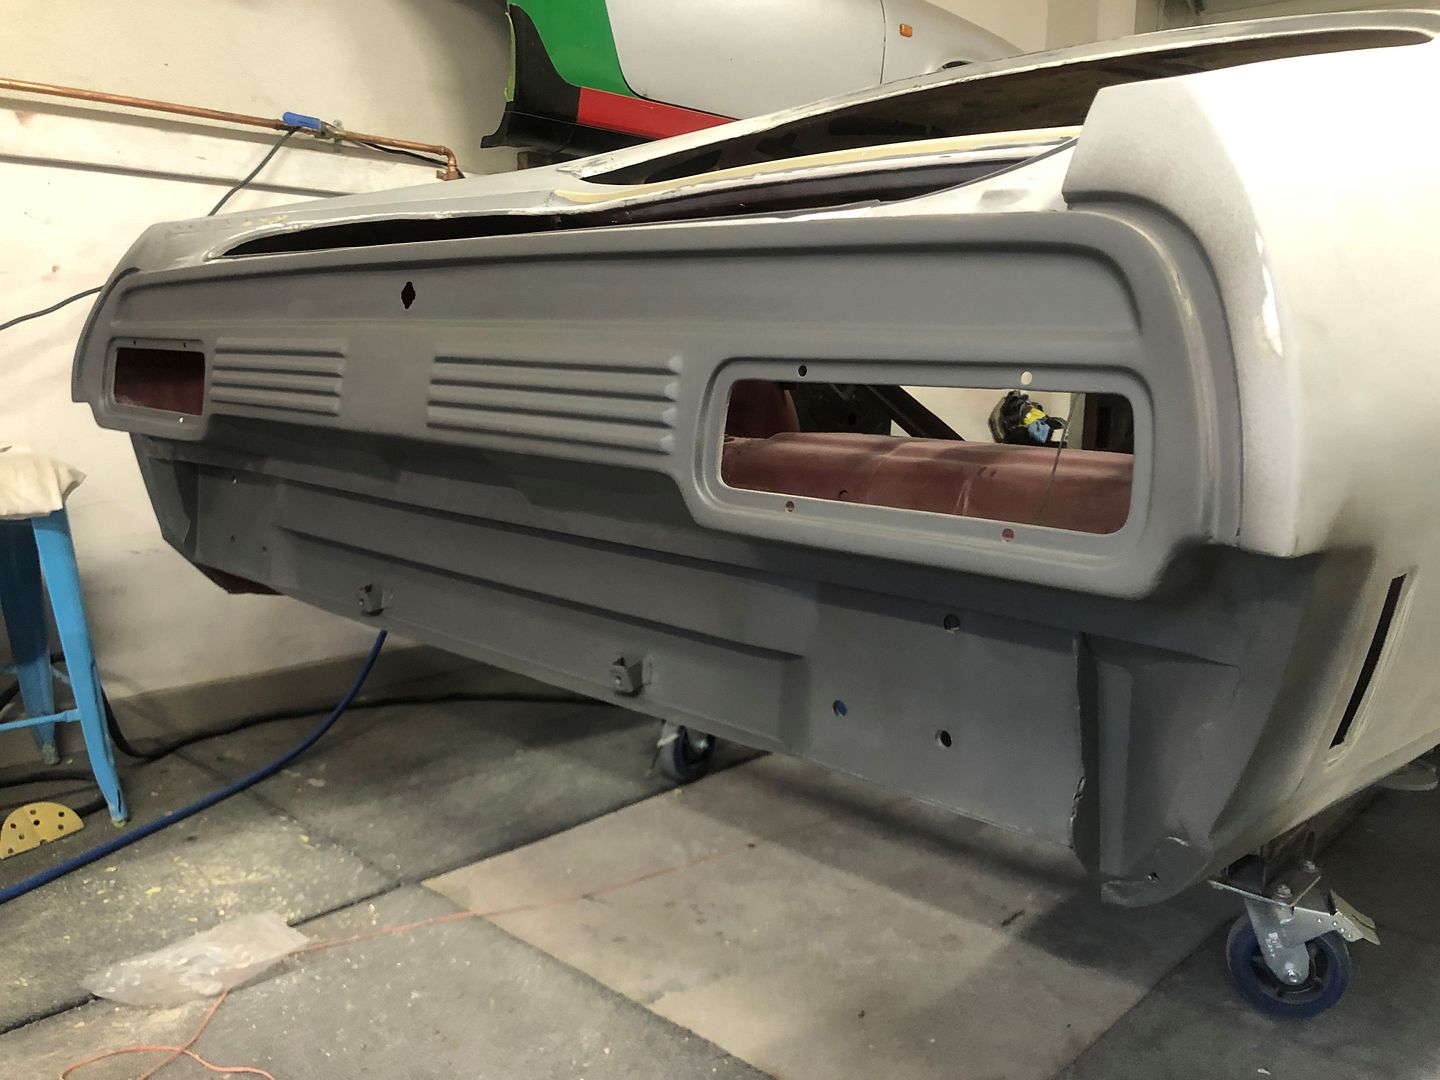
    The rear bumper is now almost finished… it’s centred now & standing upright as it should.

    XB95.jpg?width=1920&height=1080&fit=bounds

    XB98(1).jpg?width=1920&height=1080&fit=bounds

    The section where it curves under the drivers side rear light panel is perfect

    XB97.jpg?width=1920&height=1080&fit=bounds

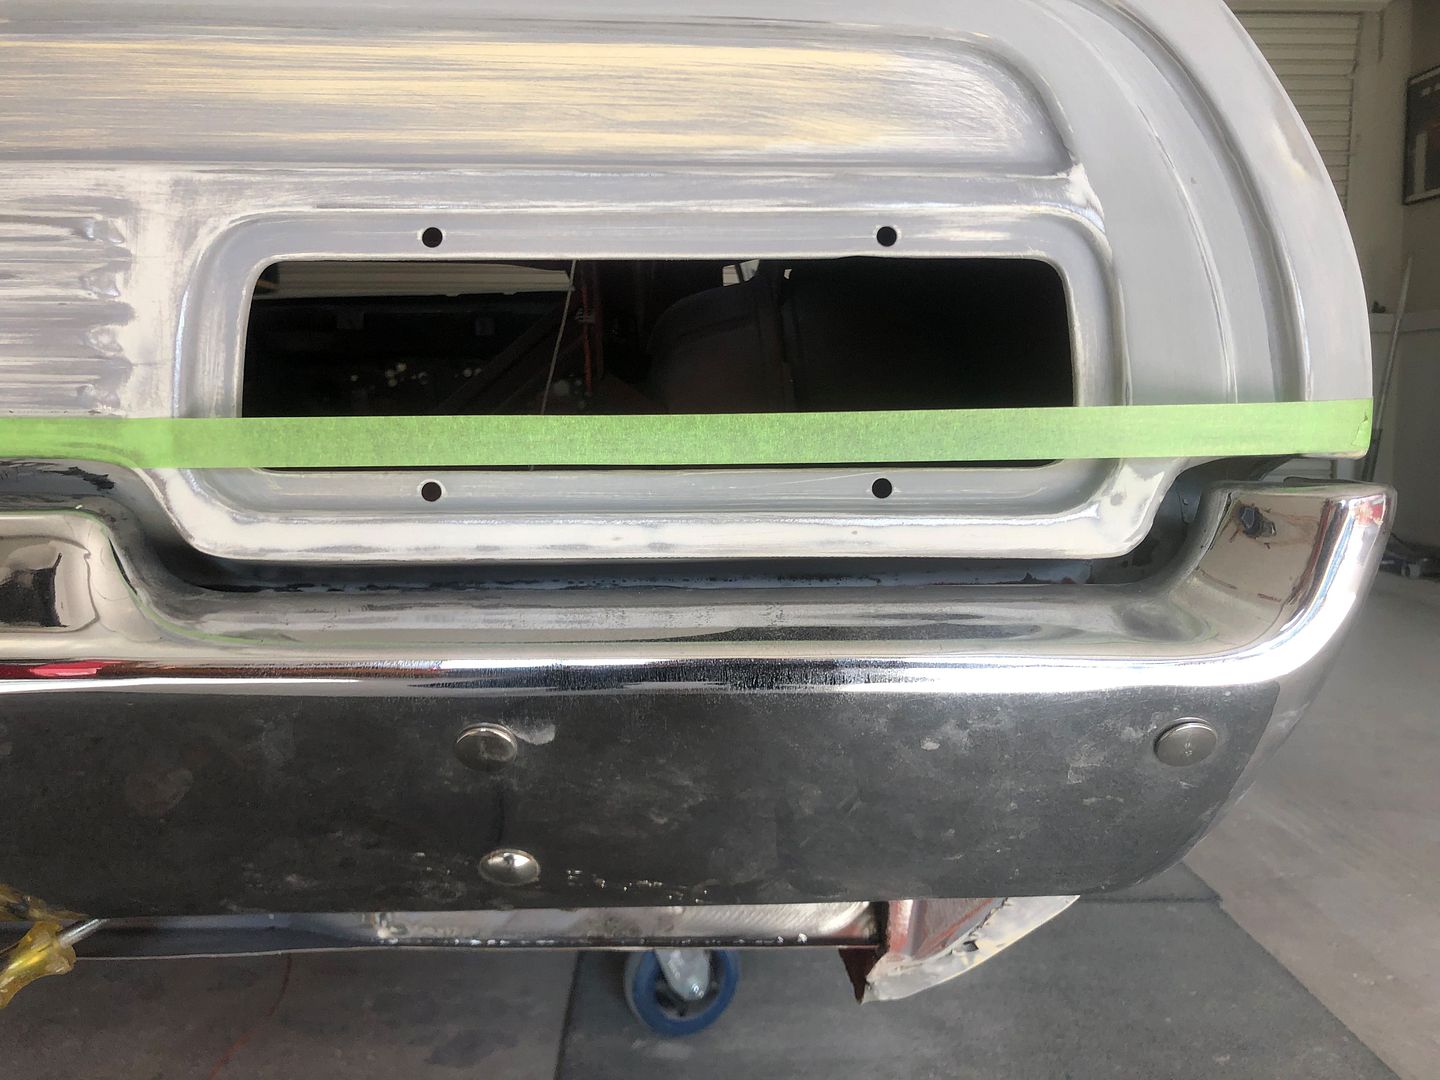
    But the factory panel isn’t the same shape left to right so the gap is about 2.5mm bigger on the passenger side between the bumper & the underside of the light panel, so we’ll have to fill this gap in with lead or filler

    XB96.jpg?width=1920&height=1080&fit=bounds


  • Registered Users Posts: 1,230 ✭✭✭Daved_XB


    More work was done on the passenger side rear bumper gaps… they are as good as you can get now

    XB100.jpg?width=1920&height=1080&fit=bounds

    XB99.jpg?width=1920&height=1080&fit=bounds

    XB101.jpg?width=1920&height=1080&fit=bounds

    The bumper then came off & the whole rear end has been worked smooth & premiered… doesn’t matter that this section will never be seen, he has it so that it will mirror smooth when painted

    XB103.jpg?width=1920&height=1080&fit=bounds

    XB102.jpg?width=1920&height=1080&fit=bounds

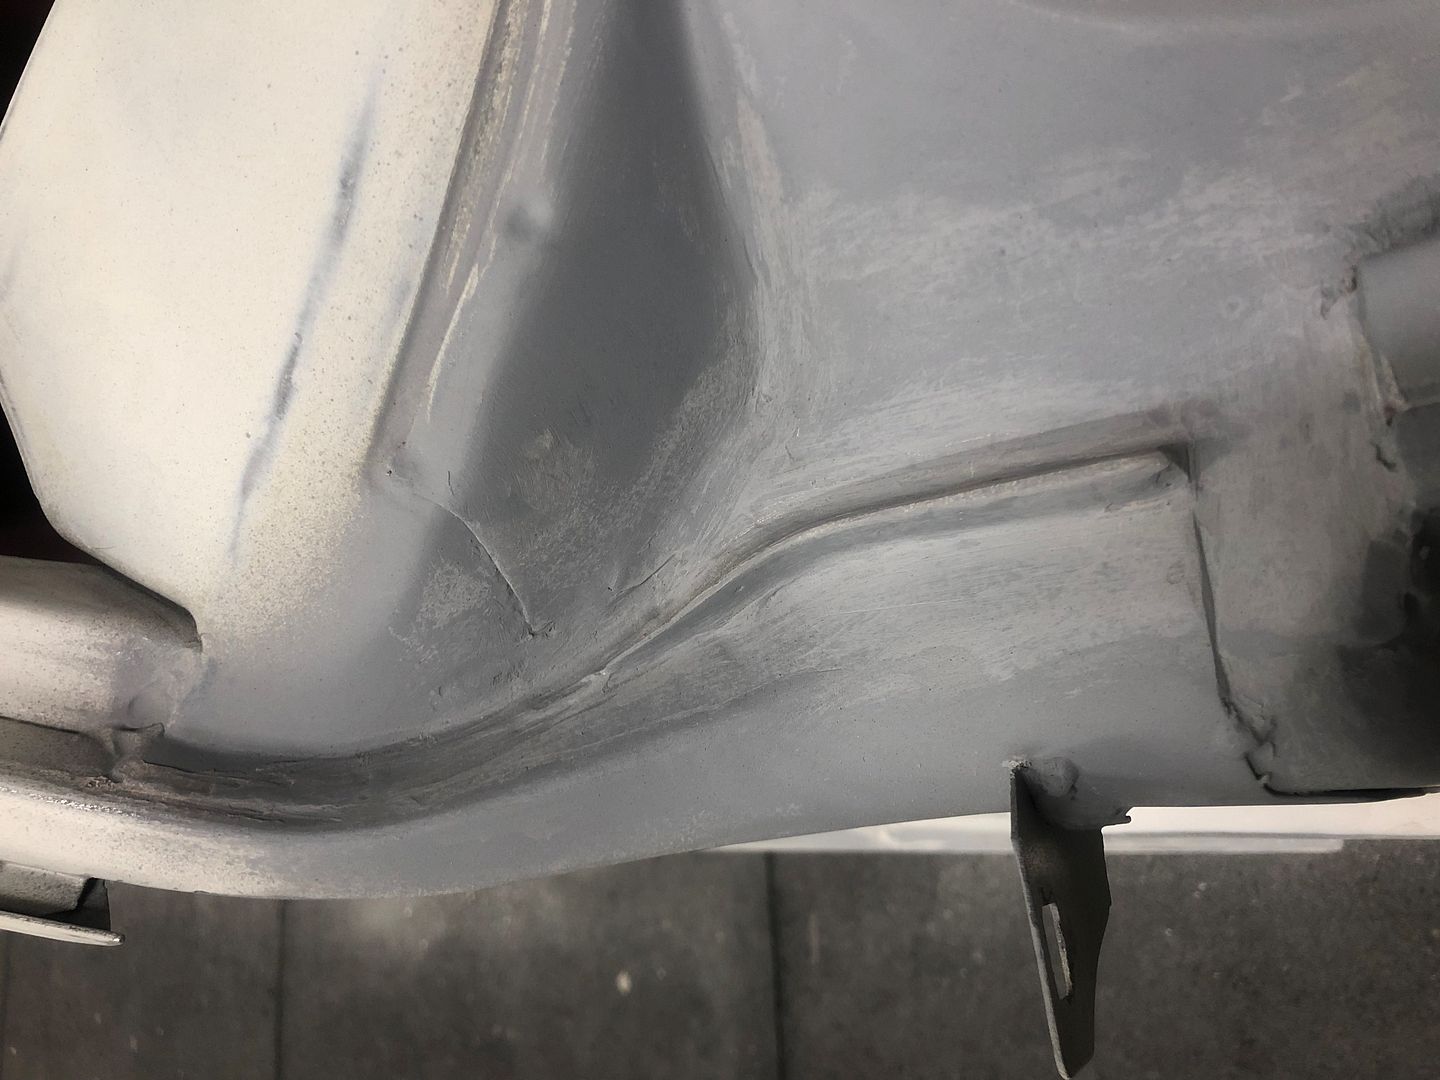
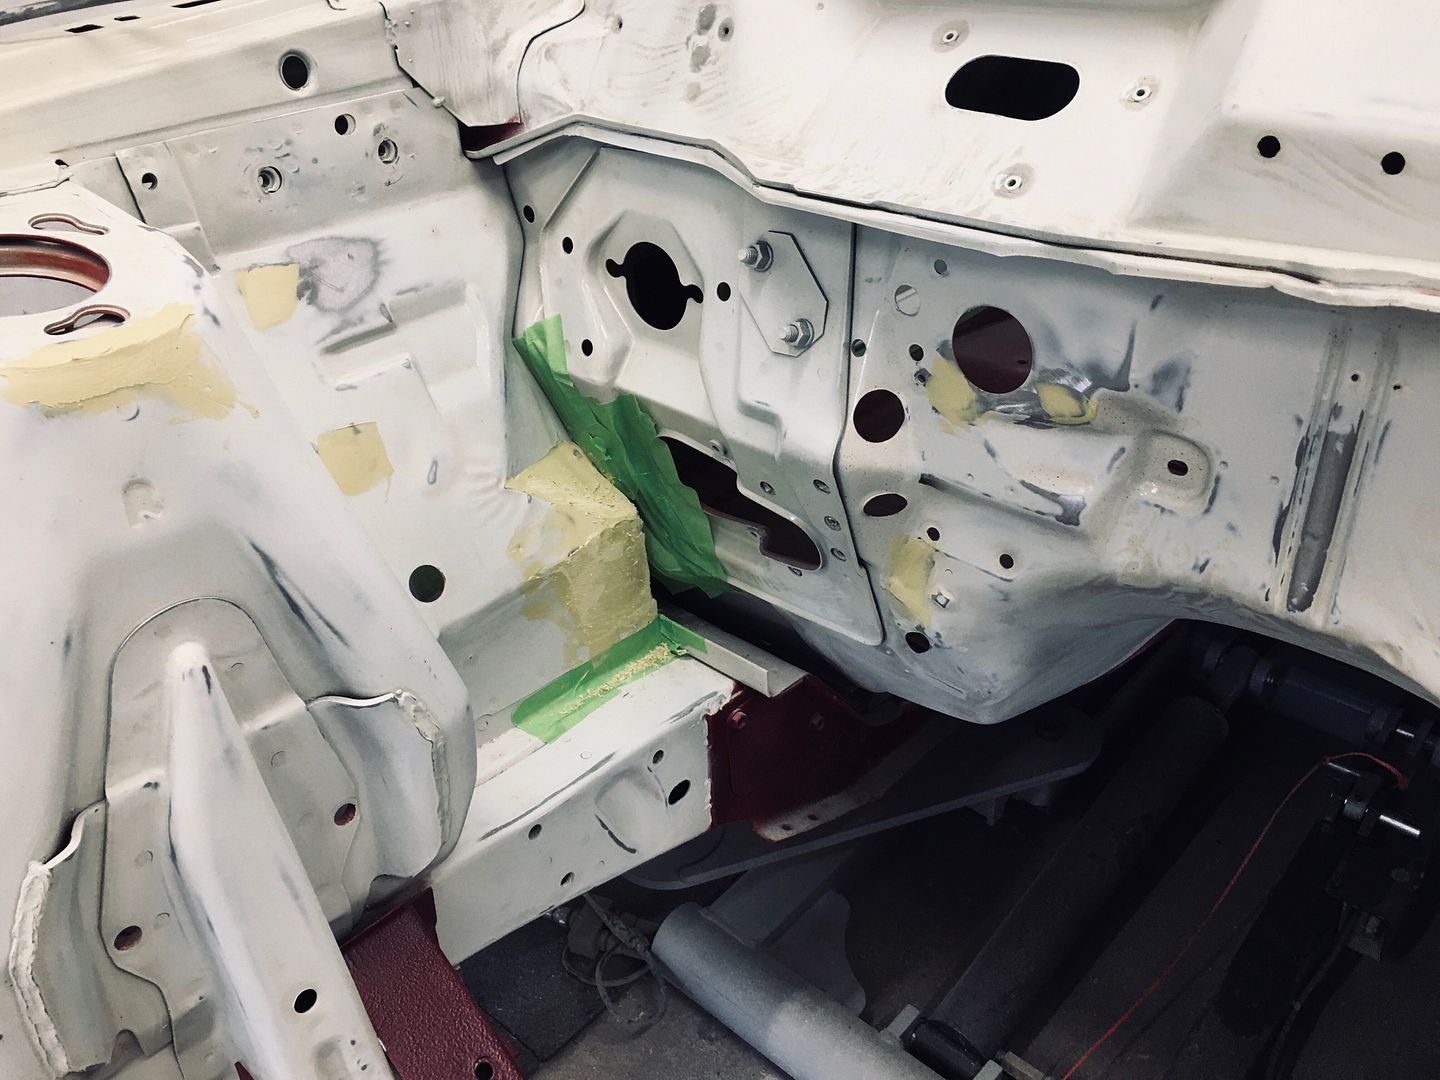
    Now we move onto the engine bay as the last section of the car to be done pre-paint… the lower drivers A pillar section was a mess & now that’s been sorted

    XB104.jpg?width=1920&height=1080&fit=bounds


  • Registered Users Posts: 1,230 ✭✭✭Daved_XB


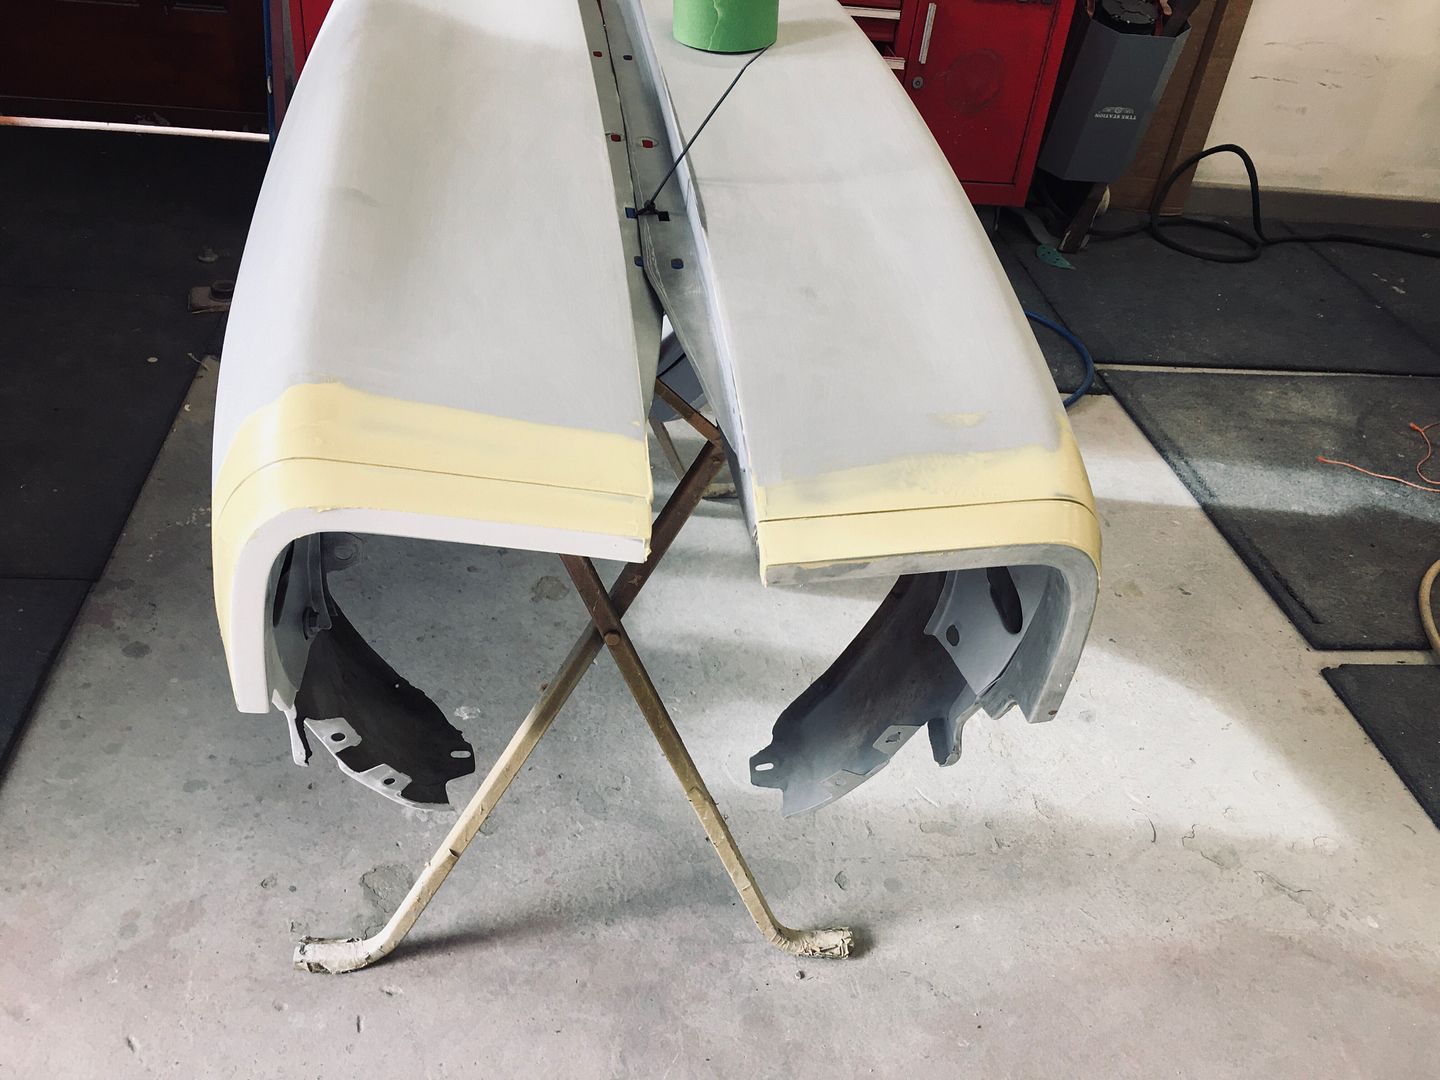
    The eyebrow moulds on the front guards have come up great… no option but to use a thin layer of filler here as they aren’t even close to the shape of the actual guard.

    XB106.jpg?width=1920&height=1080&fit=bounds

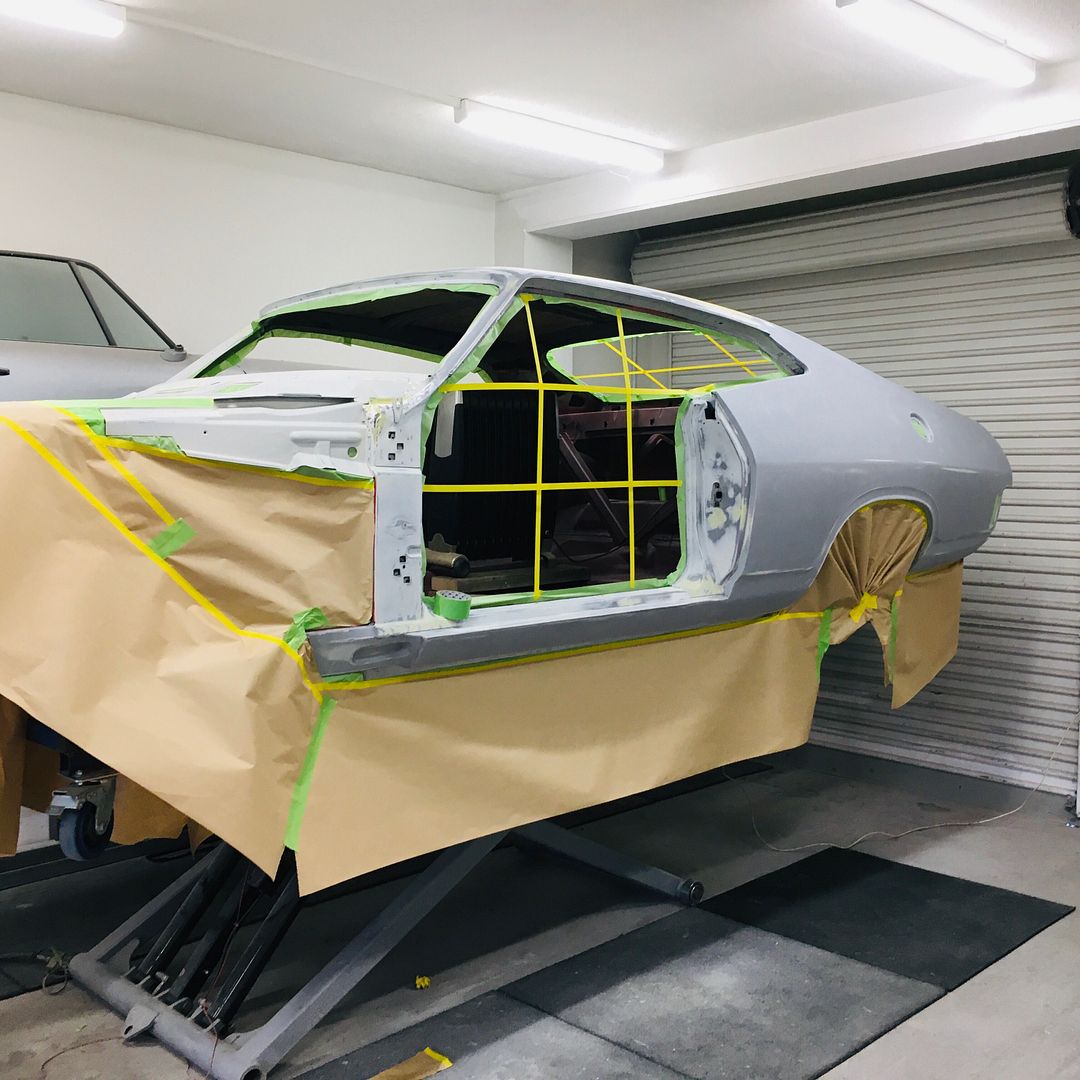
    The shell is being masked up as he wants to get the final coat of primer on by next week now

    XB108.jpg?width=1920&height=1080&fit=bounds

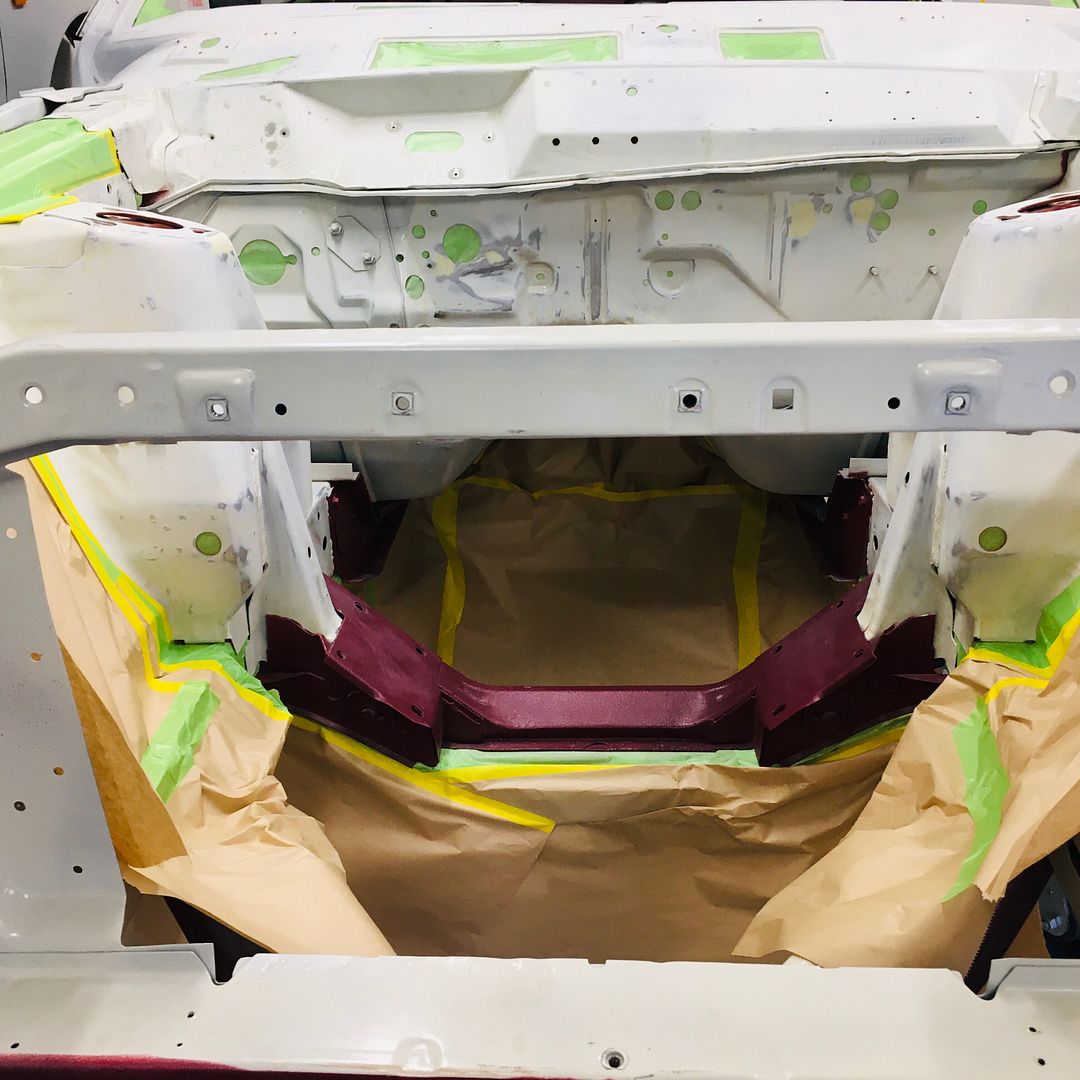
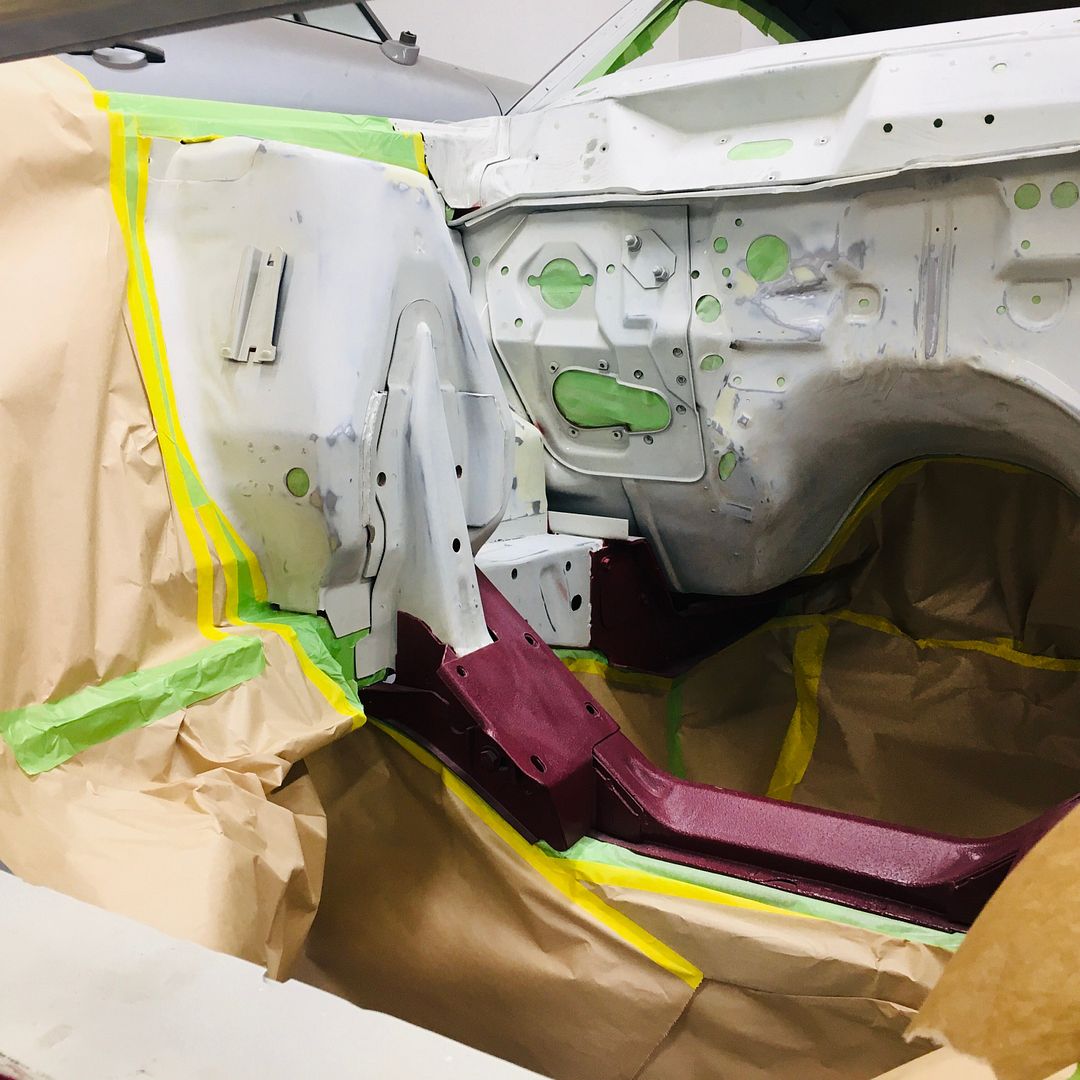
    We’re starting on the engine bay now.. this is where I’m a little freaked out as my painter has said that this is the section he loves to get perfect as it really stands out, if by that definition he doesn’t feel the rest of the car is perfect now then I’ll be mind blown by what he’ll do here.

    XB110.jpg?width=1920&height=1080&fit=bounds

    XB109.jpg?width=1920&height=1080&fit=bounds

    XB107.jpg?width=1920&height=1080&fit=bounds


  • Registered Users Posts: 1,230 ✭✭✭Daved_XB


  • Registered Users Posts: 1,230 ✭✭✭Daved_XB


    Hmmm... they've changed how I upload pics, let me go find out how to do that again now... normal service will be resumed shortly


  • Registered Users Posts: 1,230 ✭✭✭Daved_XB


    Ok.... so it seems that I can't link to my pics that are stored on PhotoBucket anymore & have them displayed in the thread... seems the only way I can get a pic in here is if it's on my local HDD & I upload it. This is actually a bit of a **** for me as I take so many pics I don't normally keep them on my HDD I just upload them to PhotoBucket also the old site allowed me to write up a long post just coping in links to PB & then I could cut & paste the whole update in on the different forums I run these same threads on.. now Boards will need it's own unique way of updating.. I'll give it a day or two to see of they add back in the functionality the old site had for posting images, if they don't I'll download the pics from my camera again to my HDD & upload them all one by one... what a massive backwards step I think that is for the forum.


  • Moderators, Science, Health & Environment Moderators, Social & Fun Moderators, Regional West Moderators Posts: 59,718 Mod ✭✭✭✭Gremlinertia


    Agh that's a pity Daved, it was indeed supposed to be easier, as you say hopefully things will improve over the coming days/weeks


  • Registered Users Posts: 1,230 ✭✭✭Daved_XB


    The underside of the bootlid I’d taken back to bare metal is all primed now

    I said a few posts back that I was going to go with plan B for a transmission for this car….. well plan B is an AOD transmission, that’s fancy Ford speak for Automatic OverDrive (not very inventive with the name). They do two types of AOD’s a mechanical version called an AOD & an electronically controlled on called…. Wait for it….. an AODE.

    AODE’s are common enough here but the earlier AOD’s aren’t & also stock they won’t take any more that 400HP-450HP but I was going to have to find somewhere that sells a tuff built trans that will take over 700HP. I'd been doing my research & I had found the perfect build, but the Aus$ to US$ is crappy right now & shipping times are very drawn out so I was resigning myself to this not being as smooth as I'd like.

    Then this week the car gods decided to shine on me... I was on a FB group & a guy posts up a for sale Ad for the exact build of AOD that I'm after, brand new still in the box & unused & as he bought it from the US back when the $ was parity & he was only looking to get back what he paid for it I've saved thousands... so massive win win for me... got the exact trans I wanted for less that I was expecting & it's only in Sydney so I can get my mate Dru to go collect it & I won't delay the build waiting for a trans to arrive from the US in time… mind you Sydney has just gone back into covid lockdown so who knows when I might get it now.

    The trans is a built wide ration unit with beefed up input shaft, full race shift kit, performance clutches etc.. built for over 700HP so that's perfect for me.

    It comes with everything I'll need too... 2600RPM stall, yoke, linkages, cables, flexplate, spacerplate etc...


  • Registered Users Posts: 1,230 ✭✭✭Daved_XB


    Now with Boards being offline for a week a lot happened.. so the next update is spread over the last week.. We moved on to the final primer coating for the car…

    Ok... I don't get why some of the pics are uploading sideways... they look fine on my laptop prior to uploading


  • Advertisement
  • Registered Users Posts: 1,230 ✭✭✭Daved_XB


    We decided to mix up some of the final colour for the car too & to paint some of sections that will be forever hidden behind other panels etc now, just cause we can & we wanted to finally see some pops of colour on the old girl

    We also decided to use the colour for the final sanding guide coat so that gives her a nice pink hue for now...


  • Registered Users Posts: 1,230 ✭✭✭Daved_XB


    Now these pics don't do the colour any justice... but here is the backside of the rear valance panel, this is just 2 coats straight off the gun & hasn't been wet sanded or polished obviously so this is not a reflection of how good the final colour will pop.. but it gives some idea of the shade


  • Registered Users Posts: 1,230 ✭✭✭Daved_XB


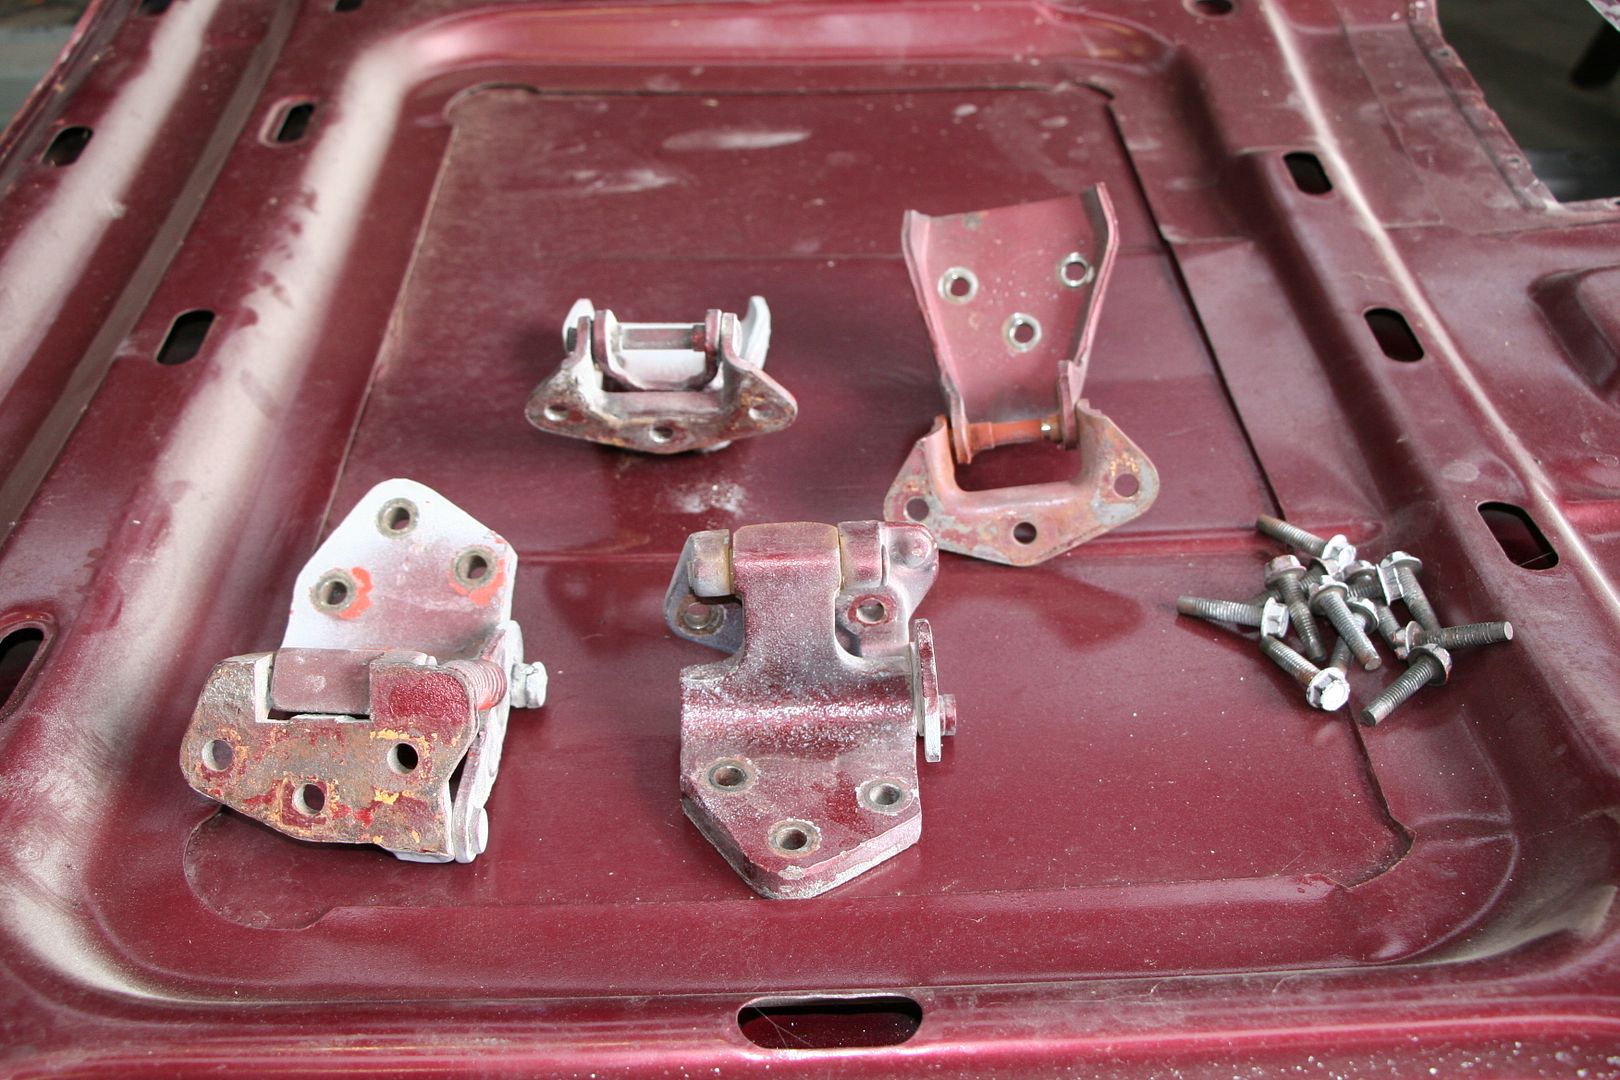
    It was time to rebuild the hinges, you can't get new hinges for the XA-XC yet so a hinge rebuild kit with new bushes, pins & springs is as good as it gets.. The old pins are pressed it & then the ends are mushroomed to make it really hard to ever get them out again... luckily for me there was so much slop in the upper hinges that I could get a cutting blade in-between the two halves of the hinge & cut the pin. 

    Then it was simple to drive out the pin pieces 

    That’s one cleaned up & ready to reassemble

    Pressed in the new bushes

    Then the new pin

    That's one finished then

    Then both


  • Registered Users Posts: 1,230 ✭✭✭Daved_XB


    The lower hinges are a bulkier item & they get a new spring also... of course the trick to installing any new spring that needs a lot of tension put on it during the installation is to use the word ****, fucker & **** prick a lot.... I didn't take a pic of it, but what I actually did was cable-tie the end of the springe thru the hole in the spring so I didn't have to go looking for it every time my hand slipped during installation as it couldn't launch itself across the garage  

    All 4 are done now & ready to be painted before going back on the car


  • Registered Users Posts: 1,230 ✭✭✭Daved_XB


    The hinges some other brackets & the inside of the doors then got their final primer coat


  • Registered Users Posts: 1,230 ✭✭✭Daved_XB


    We're running out of stuff to do now... so paint is going on, all the hinges/brackets above got done & the insides of the doors too got their first coat of shiny red... The colour I've gone for is the one that Alan Moffat used on his racing Mustang here in the 70's & Eric Bana based his off too.... for your reference that colour is called Rosso Formula 1, Ferrari colour code 234143.


    Annoying that the pics load up 90deg out... I can't seem to find how to fix that... sorry ..

    We still have some work to do inside the engine bay, so that'll happen soon & we'll paint the inside of the shell next most likely... then we'll have no option but to pull the pin & paint the bloody thing I guess


  • Registered Users Posts: 1,230 ✭✭✭Daved_XB


    The back side of the front guards & the insides of the doors have been painted now in the same Ute bed liner that I'd painted the underside of the car in. Choose this option as it's tuff & has a sound deadening quality built in.  

    I've had a change of mind now on the red tinted version of this that I had sprayed the underside of the car in before she went to paint... I've decided that that was a bad idea, so now we're going to black all of that out too.. I think this will look much better in the long run.


  • Registered Users Posts: 1,230 ✭✭✭Daved_XB


    Repairs have been carried out to the underside of the bonnet edges, it's odd I really thought that my bonnet was in great condition but turns out it needed the most filler of any panel on the car in the end.


    All coated in primer now...


  • Registered Users Posts: 1,230 ✭✭✭Daved_XB


    With the inside of the doors & the guards done, they have been masked up again & now the next two coats of final colour have gone on..


  • Advertisement
  • Registered Users Posts: 531 ✭✭✭biketard


    That's looking incredible. Massive win on the trans too!


Advertisement