Advertisement
If you have a new account but are having problems posting or verifying your account, please email us on hello@boards.ie for help. Thanks :)
Hello all! Please ensure that you are posting a new thread or question in the appropriate forum. The Feedback forum is overwhelmed with questions that are having to be moved elsewhere. If you need help to verify your account contact hello@boards.ie
Hi all,
Vanilla are planning an update to the site on April 24th (next Wednesday). It is a major PHP8 update which is expected to boost performance across the site. The site will be down from 7pm and it is expected to take about an hour to complete. We appreciate your patience during the update.
Thanks all.

Fiat Ducato camper build

1679111214

Comments

  • Posts: 5,238 ✭✭✭ [Deleted User]


    I'm of the "It's never finished persuasion".
    My last had 365 autonomy.

    My next will be...let's say unique...


  • Registered Users Posts: 6,250 ✭✭✭Buford T Justice


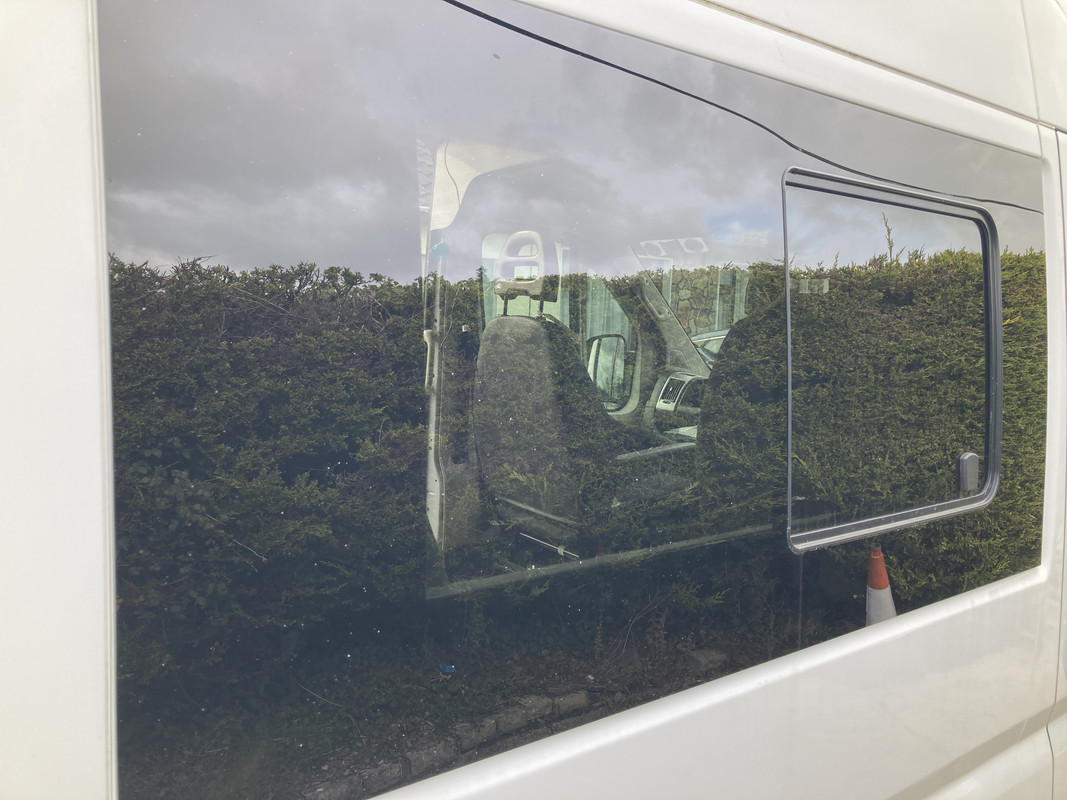
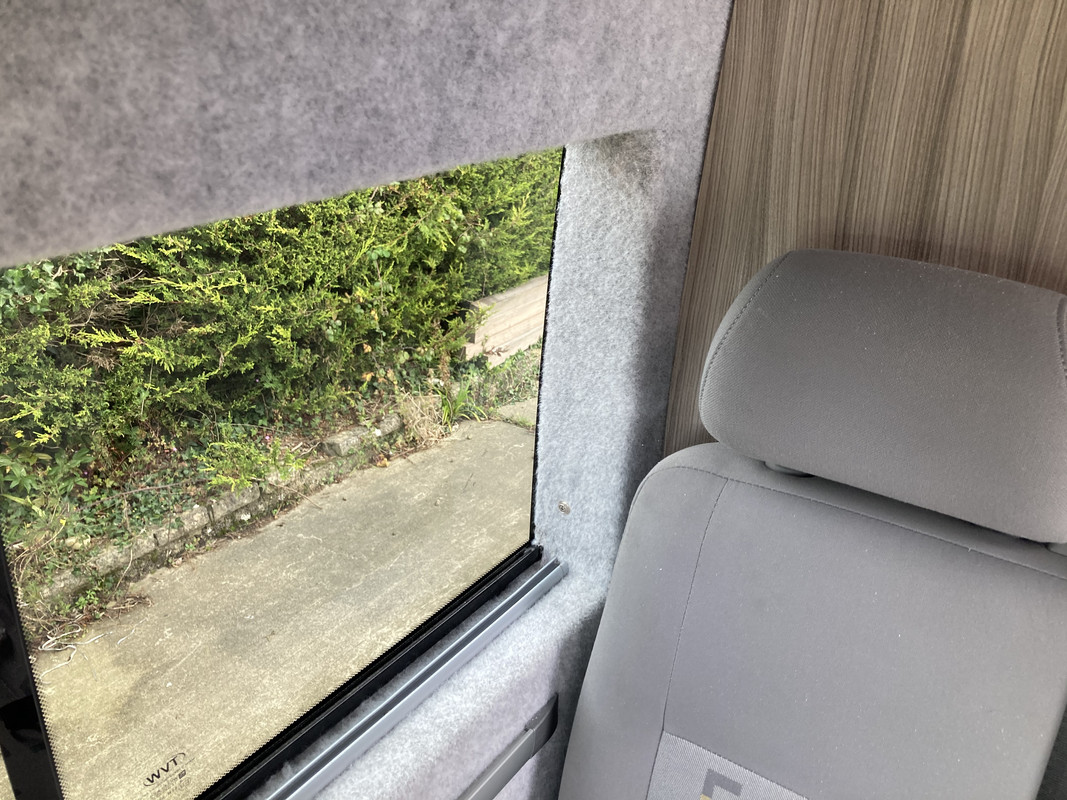
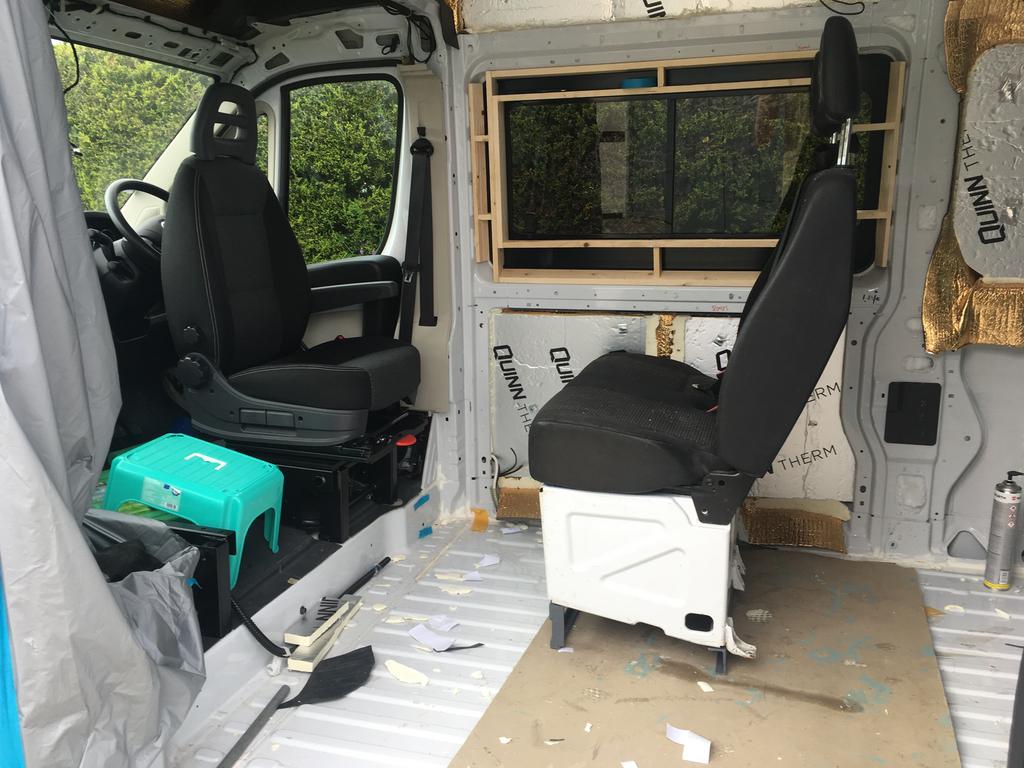
    Can you post some more photos of the drivers side window inside and out? Im curious...
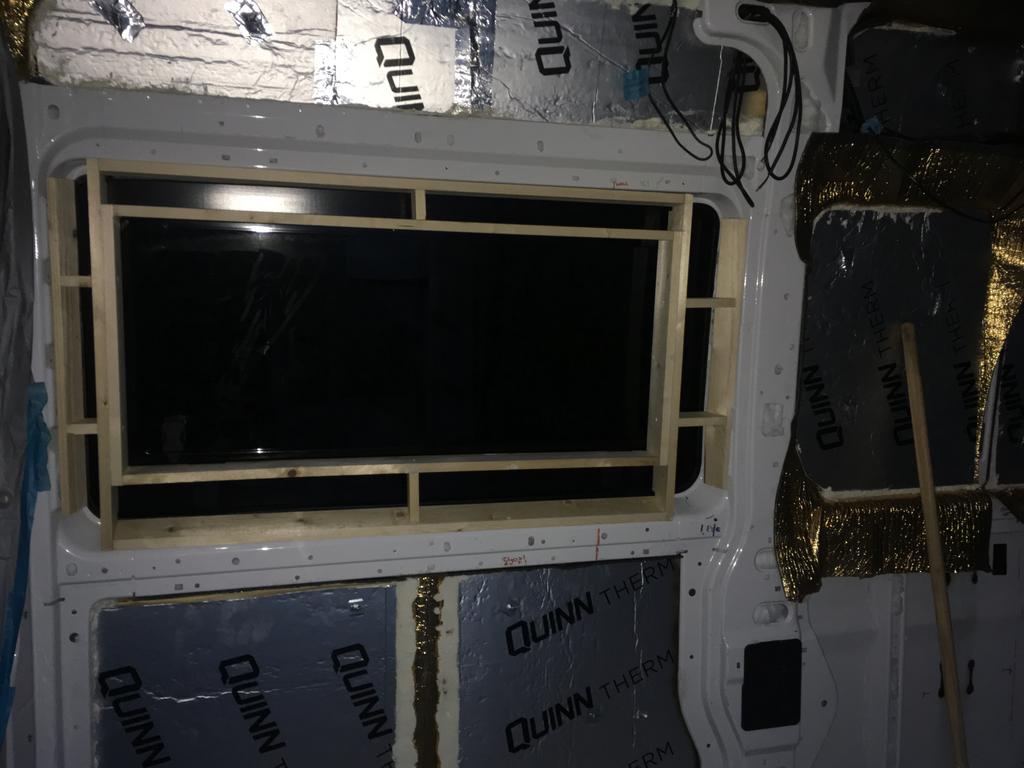
    Looks like the frame you built is smaller than the window opening itself. What's to stop the timber frame from creaking against the glass when the van is moving?
    Also, where did you source the wee curtain rails from?


  • Registered Users Posts: 73,381 ✭✭✭✭colm_mcm


    Ha!
    Quadruple what you thought...


    Good answer


  • Registered Users Posts: 73,381 ✭✭✭✭colm_mcm


    Can you post some more photos of the drivers side window inside and out? Im curious...
    Looks like the frame you built is smaller than the window opening itself. What's to stop the timber frame from creaking against the glass when the van is moving?
    Also, where did you source the wee curtain rails from?

    There’s a section of the window tinted, which covers the fact that there’s wall in front of it.

    The timber frame has a foam edge on it so that it doesn’t contact the glass. I don’t think I have any pictures of it beyond what’s posted. Note that the frame isn’t attached to the glass.

    The curtain is part of a Ducato-specific set which are on the other doors - they were got in Vanderlust in Clare. I chopped the curved ends off for that window, and a local alterations place shortened the curtains to fit the shorter opening.


  • Registered Users Posts: 73,381 ✭✭✭✭colm_mcm


    Can you post some more photos of the drivers side window inside and out? Im curious...
    Looks like the frame you built is smaller than the window opening itself. What's to stop the timber frame from creaking against the glass when the van is moving?
    Also, where did you source the wee curtain rails from?

    3-D521-B9-E-DEBD-4-BCD-A958-792-C07350-E2-A.jpg
    56-D3-DBED-017-F-49-B9-83-A2-FB958-D5331-DB.jpg


  • Advertisement
  • Registered Users Posts: 73,381 ✭✭✭✭colm_mcm


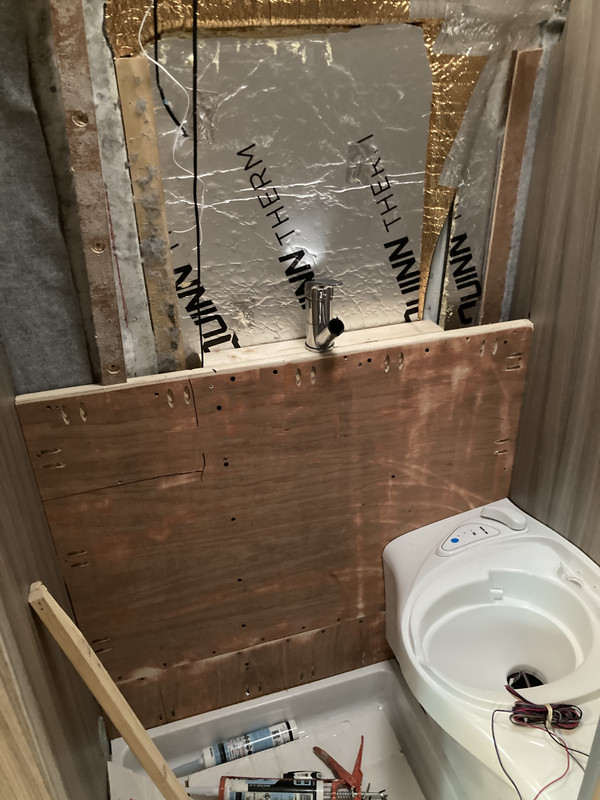
    Made a start on the bathroom wall today.

    Probably looks a bit horrendous now, but this will all be sealed and covered with white pvc board.

    F0-AEECE3-D88-C-4903-A355-E9863944931-F.jpg


  • Registered Users Posts: 6,250 ✭✭✭Buford T Justice


    colm_mcm wrote: »

    The timber frame has a foam edge on it so that it doesn’t contact the glass. I don’t think I have any pictures of it beyond what’s posted. Note that the frame isn’t attached to the glass.

    So the foam rests along the glass yes?


  • Registered Users Posts: 73,381 ✭✭✭✭colm_mcm


    So the foam rests along the glass yes?

    It’s almost touching. it’s just there in case it did hit it for any reason.
    There’s a gap then between the carpeted wall and the glass too as I don’t want it to soak up condensation.

    CE3-A4-A39-91-BA-4-ABD-8-EF8-4-C6-FAB67-BAF5.jpg
    The frame is fixed to the van body only.

    I think I actually took more off the right hand side after that. You can see the part of the window that’s now covered up now.

    FAF70-B31-0557-497-E-BB5-A-5-A92-C73-D7362.jpg


  • Registered Users Posts: 6,250 ✭✭✭Buford T Justice


    I was looking back at your efforts fitting the skylights and I a saw you lucked out on the smaller one. You had to fit it over the ribs in the roof. What did you do to solve this one in terms of sealing it? Looks like I'll have to do the same in my build.


  • Posts: 5,238 ✭✭✭ [Deleted User]


    Don't cut the ribs. They're structural.

    Unless you are willing to weld in a supporting frame move the skylight.


  • Advertisement
  • Registered Users Posts: 73,381 ✭✭✭✭colm_mcm


    I was looking back at your efforts fitting the skylights and I a saw you lucked out on the smaller one. You had to fit it over the ribs in the roof. What did you do to solve this one in terms of sealing it? Looks like I'll have to do the same in my build.

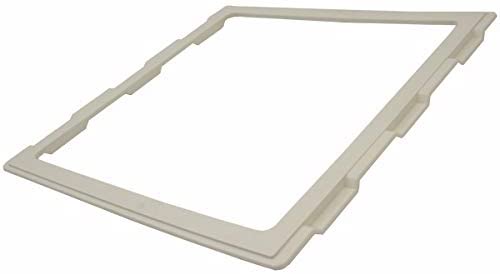
    There are actually adaptors for the Ducato that fill the gaps left by the ribs.

    7-B0840-A5-84-C0-4693-8408-D50738-A50496.jpg

    It’s quite common to just build up a bed of Sikaflex in the lower parts of the roof, but the other fella I’m building this with found these. I’d say they’ll be a safer bet.

    We both agree we would get a bigger rooflight up the front if we were doing it again. Involves a bit of chopping though.


  • Posts: 5,238 ✭✭✭ [Deleted User]


    Ah those ribs...more folds/channels really. I thought yee were talking about the U/hat channel that's supporting the shell.


  • Registered Users Posts: 6,250 ✭✭✭Buford T Justice


    Don't cut the ribs. They're structural.

    Unless you are willing to weld in a supporting frame move the skylight.

    The ribs in the panelwork? Hardly.

    I wouldn't cut the struts in the roof no, only the panel.


    For want of a better phrase, between the joists

    IMG-20200823-165723.jpg


  • Posts: 5,238 ✭✭✭ [Deleted User]


    Carry on!


  • Registered Users Posts: 186 ✭✭IHateNewShoes


    Can I ask an insurance question if you don't mind.

    I'm looking at buying a van but having trouble getting it commercially insured with my own insurance company because of my profession. (Secondary school engineering teacher which I thought would warrant it)

    Any suggestions for me? Either a company that will give me commercial insurance or any other option?

    Thank you in advance!


  • Registered Users Posts: 5 roleary780


    Can I ask an insurance question if you don't mind.

    I'm looking at buying a van but having trouble getting it commercially insured with my own insurance company because of my profession. (Secondary school engineering teacher which I thought would warrant it)

    Any suggestions for me? Either a company that will give me commercial insurance or any other option?

    Thank you in advance!

    Had a similar issue to you myself and many others I’ve learnt, found it very difficult to get a quote for a commercial policy on the basis of my profession (Aviation) Axa were one of the ones who did quote until I told them I planned to convert the van, they then said I wouldn’t be covered.. any company that would quote wanted a small fortune.


  • Registered Users Posts: 186 ✭✭IHateNewShoes


    roleary780 wrote: »
    Had a similar issue to you myself and many others I’ve learnt, found it very difficult to get a quote for a commercial policy on the basis of my profession (Aviation) Axa were one of the ones who did quote until I told them I planned to convert the van, they then said I wouldn’t be covered.. any company that would quote wanted a small fortune.

    What sort of money were you quoted? If you didn't tell axa you were converting would it have been viable?


  • Registered Users Posts: 186 ✭✭IHateNewShoes


    Just to update this, I was able to get a someway reasonable quote with insuremyvan.ie. Would have been a lot cheaper if I had a no claims bonus but anyway. Sorry for hijacking. Loving the build


  • Registered Users Posts: 73,381 ✭✭✭✭colm_mcm


    We did another few bits today

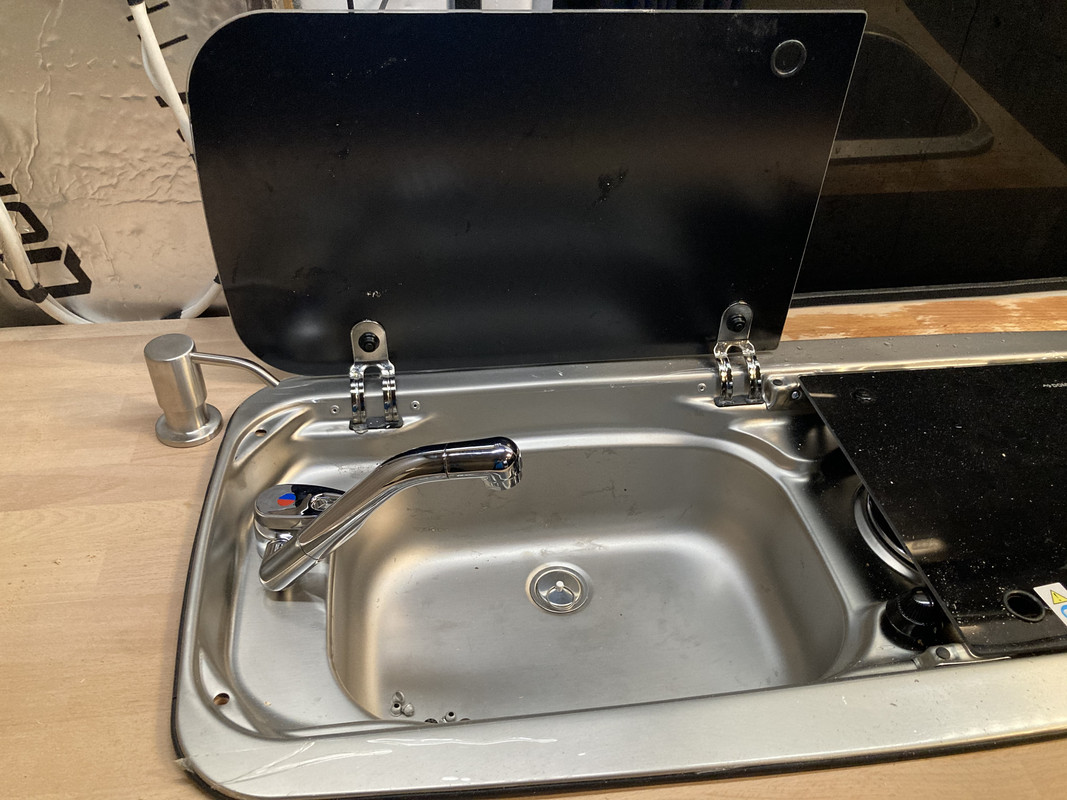
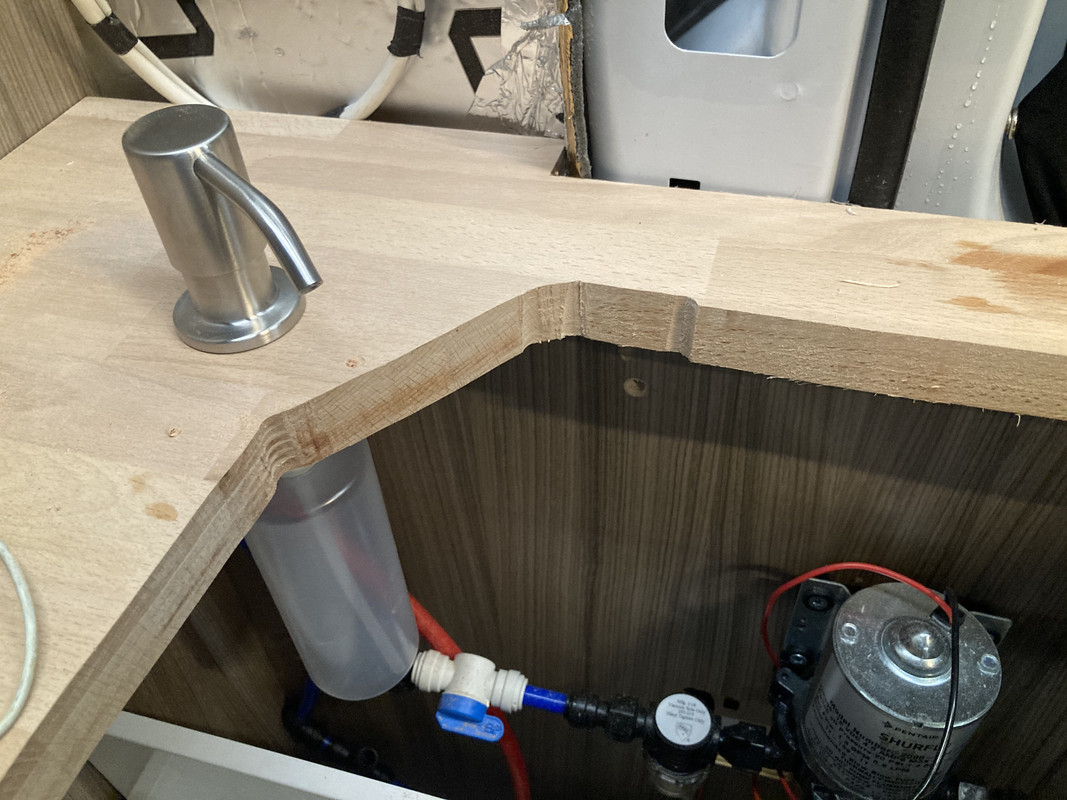
    Installed soap dispenser for the kitchen sink

    D6-E97089-202-D-4146-9005-D3-AB532-B7-EF8.jpg

    Fits nicely behind the drawer
    F41-C2511-A610-4-B29-9-FE1-1-AC6-B930-B46-A.jpg

    No slumming it with bottles here :)


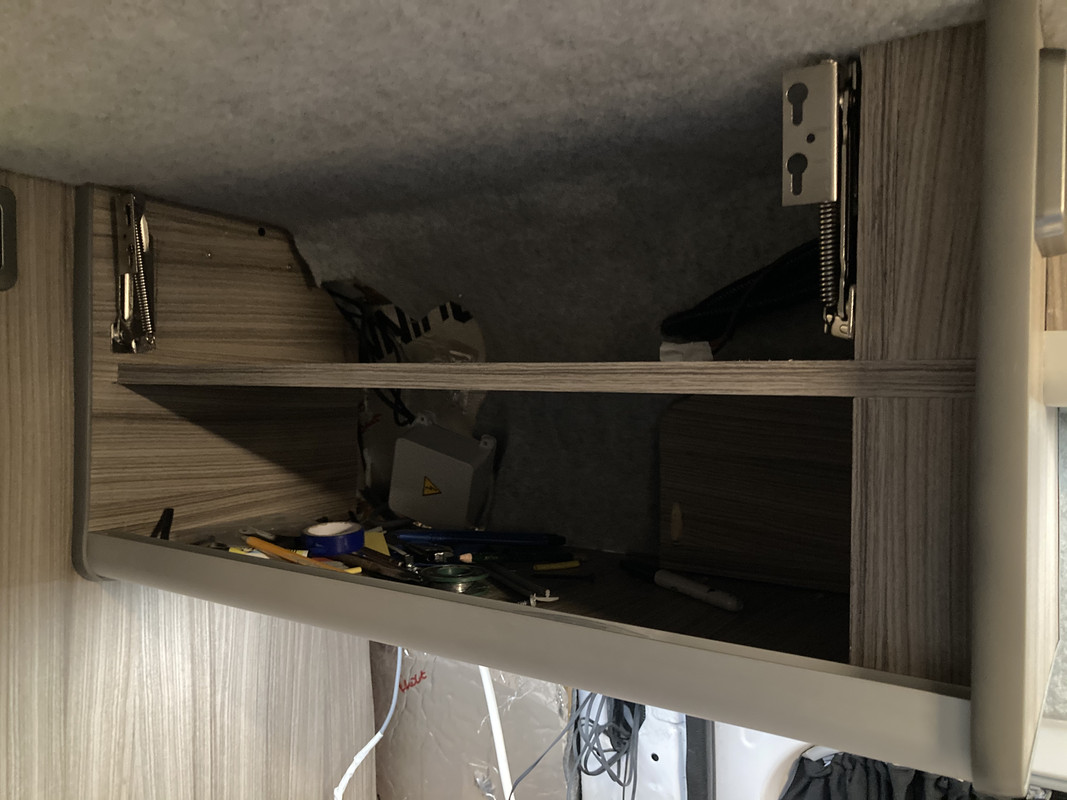
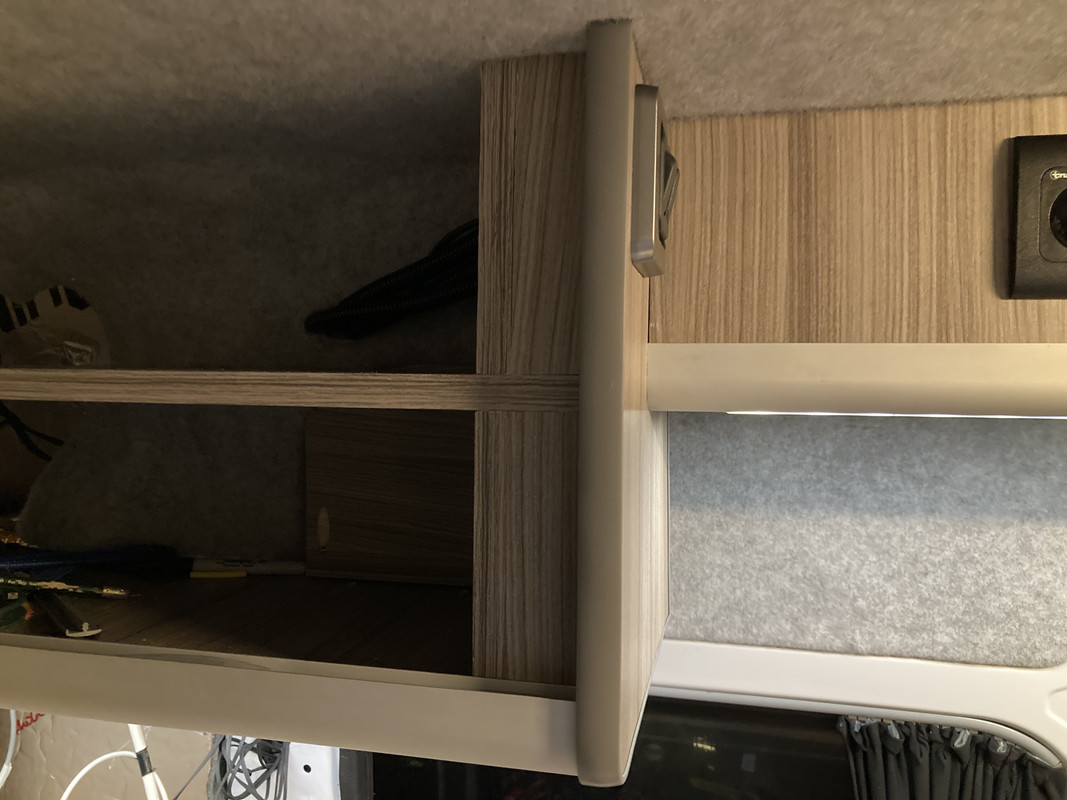
    Made a shelf for the overhead kitchen cupboard and boxed off the rear of the light switch and some electrical gubbins
    03-DA11-E0-A864-4-B5-B-BA42-E7-FB7-AB57-EE3.jpg
    66-A2-EE1-D-7697-48-F0-A015-AC911708-C40-F.jpg

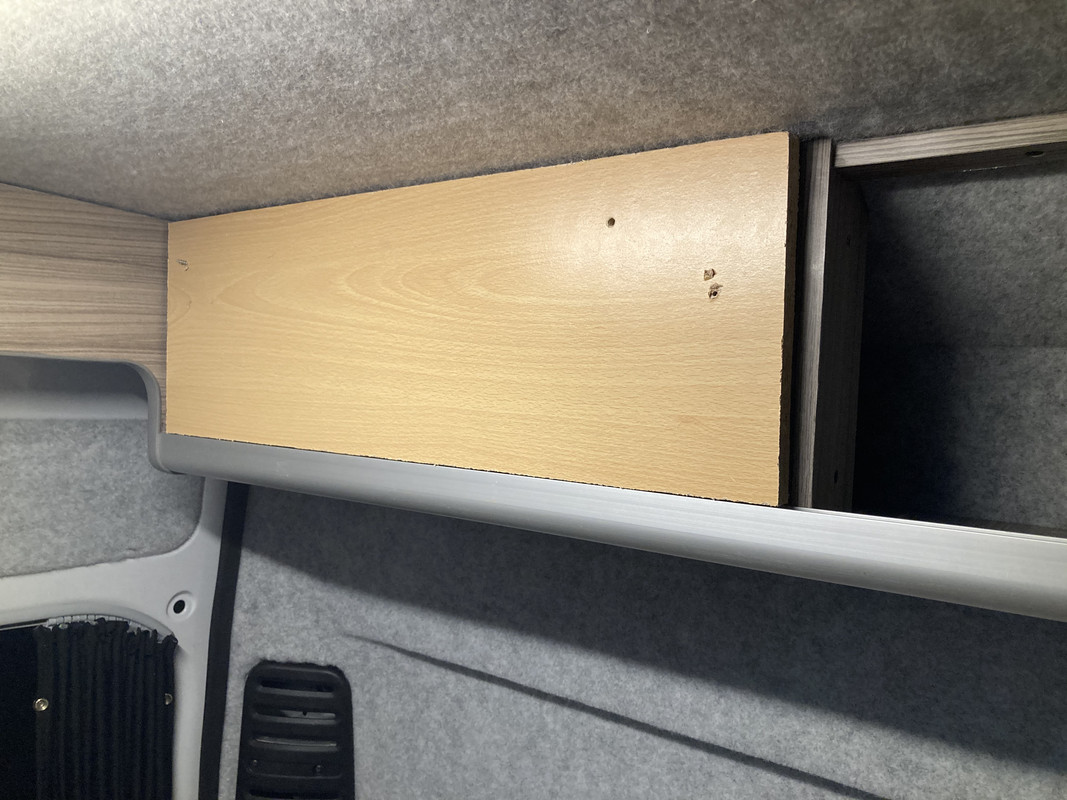
    Test fitting some mock-up doors to make sure unit is fully square before the real doors are cut
    3707-AB11-3443-4111-9-AC0-1-A60-F295-CEE4.jpg
    The doors are gonna be cool :)


  • Registered Users Posts: 73,381 ✭✭✭✭colm_mcm


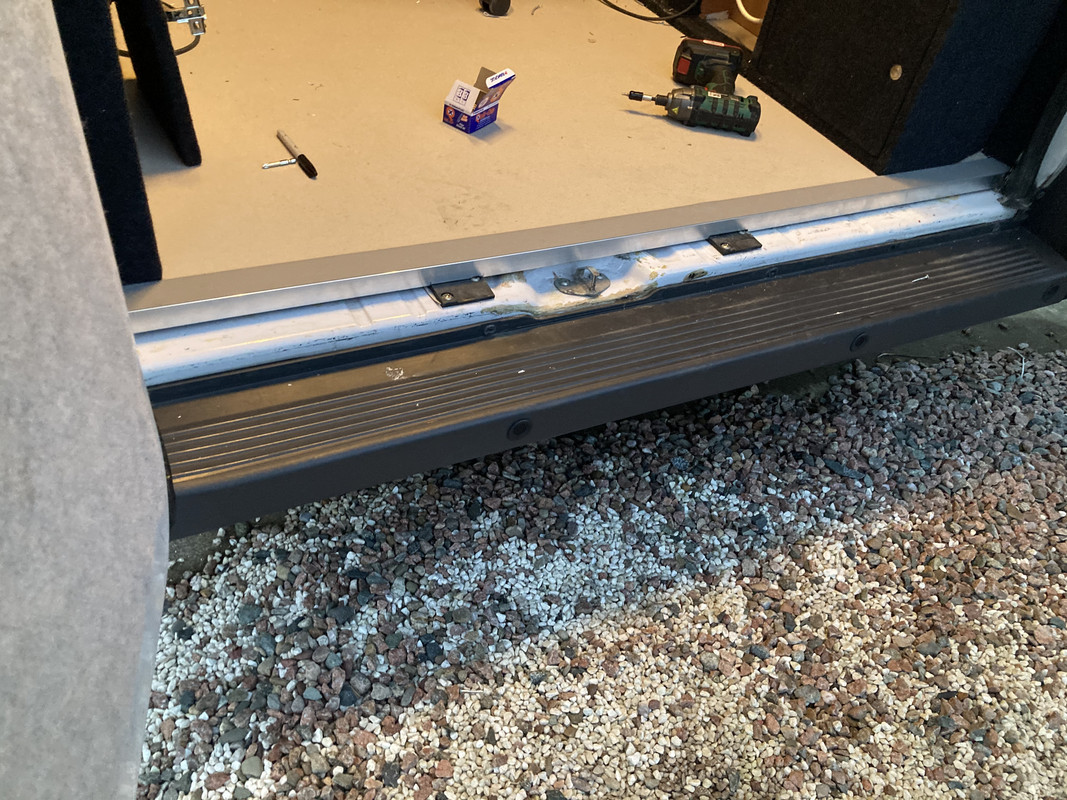
    Fitted a new threshold to the rear door. Much nicer than the old one
    6-DA9908-F-ED41-4-F9-D-AC48-6-A92199-FCB73.jpg

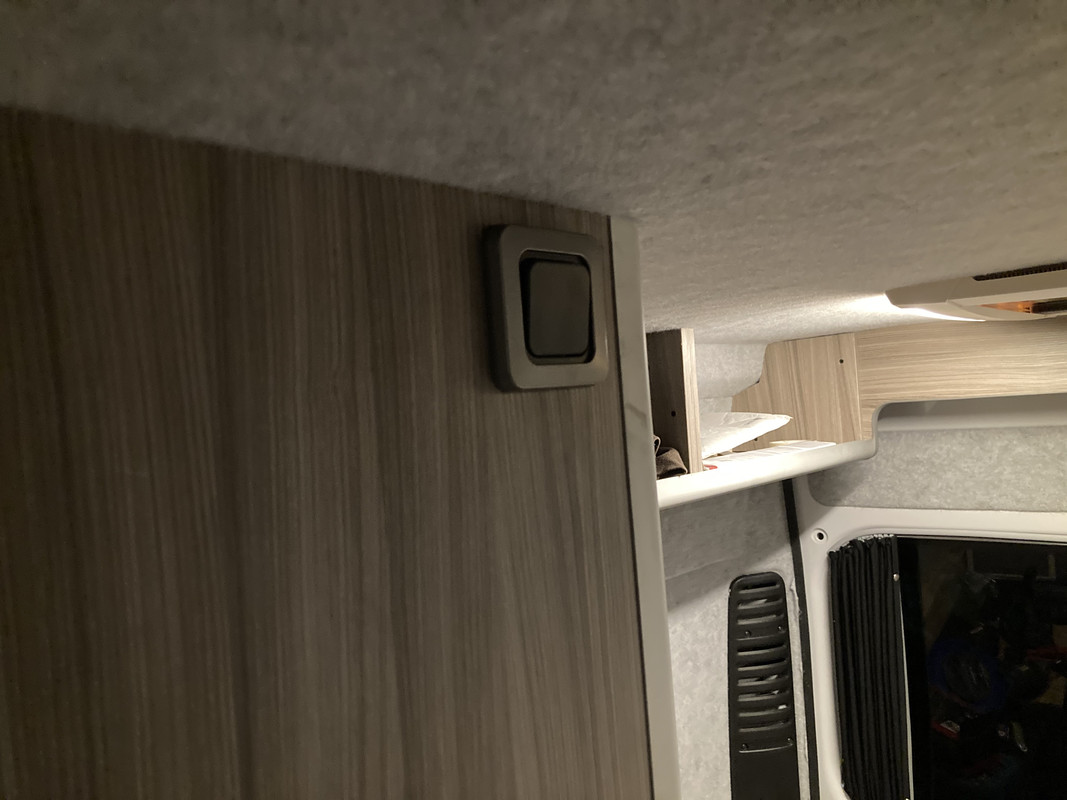
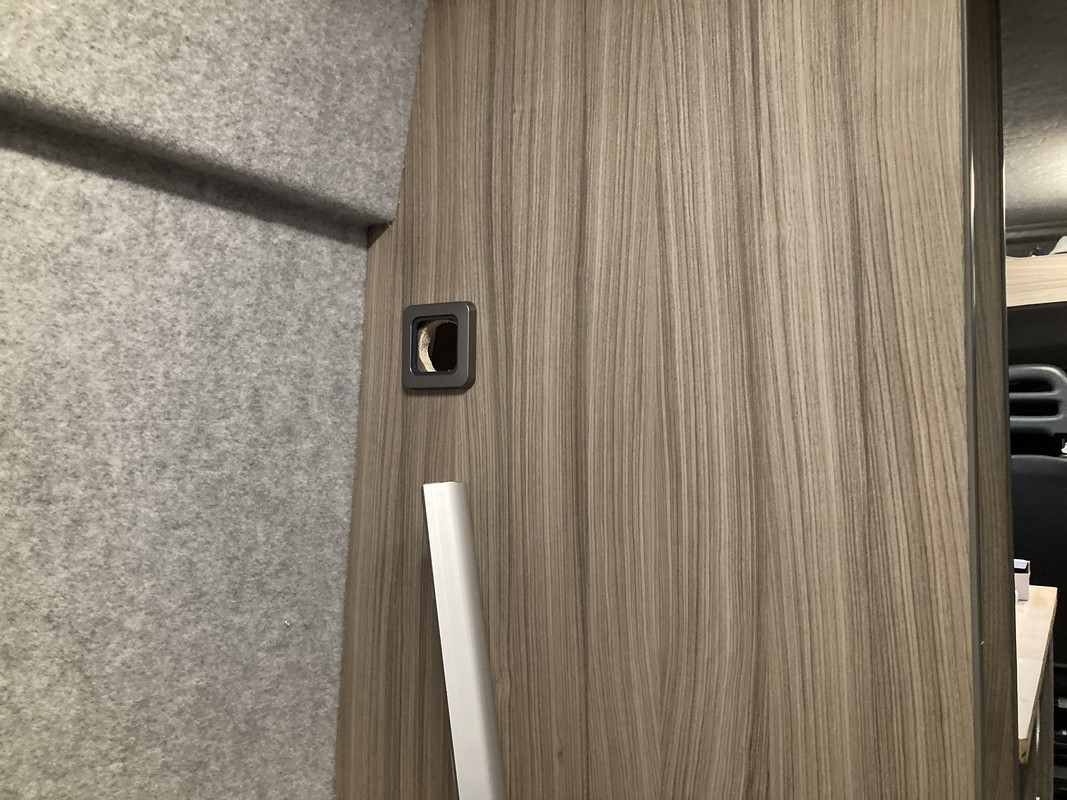
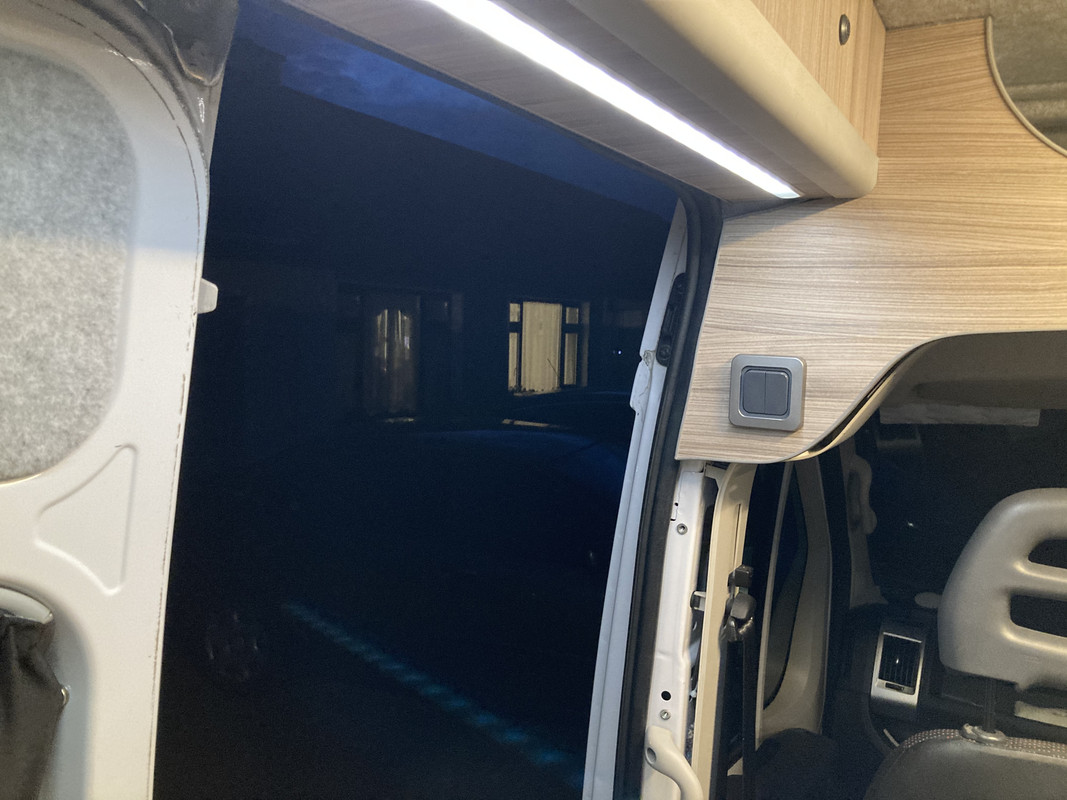
    Few more light switches
    CFE62340-AB9-C-4-A46-AA7-B-9599-D46586-ED.jpg

    ADF1796-A-2842-4-B5-C-AC6-D-CFCD83-A4-C054.jpg

    2-C4-FBFFD-6-FB2-437-F-97-D9-4-A2-FCE0-B3227.jpg

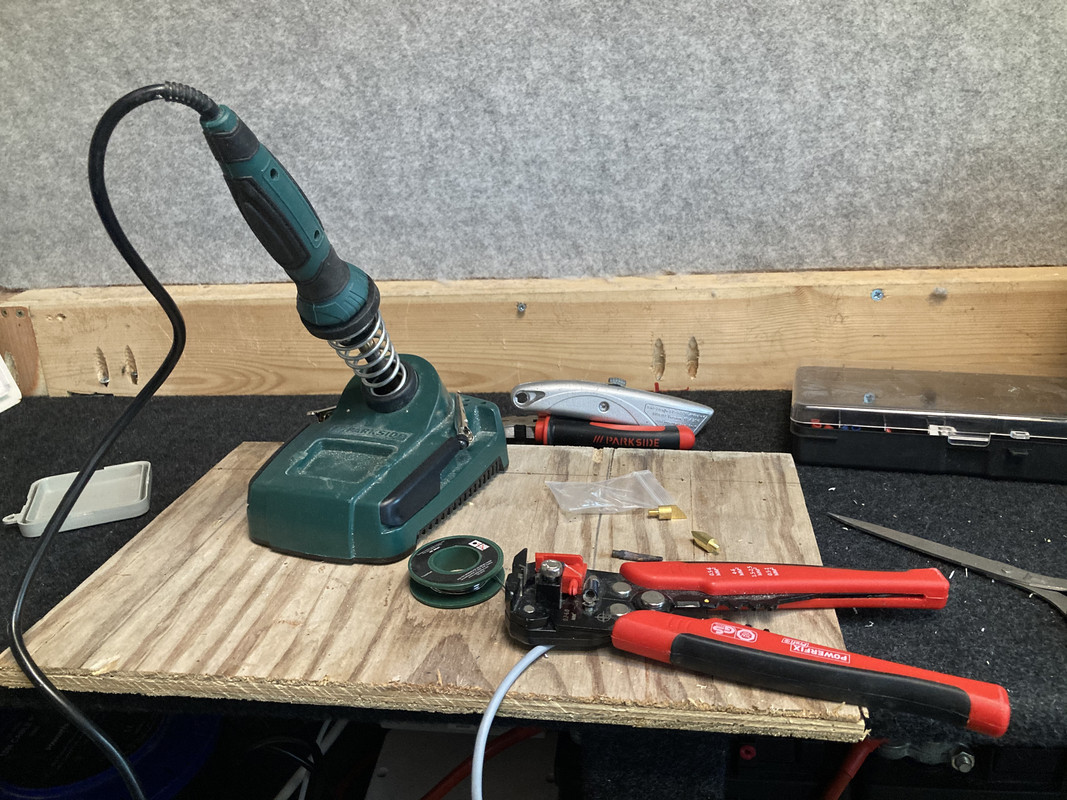
    And a bit of soldering to extend the cables going to the water heater
    97694734-C63-F-4379-A471-38-CE2-C0-F05-E9.jpg


  • Advertisement
  • Posts: 5,238 ✭✭✭ [Deleted User]


    Crimp don't solder. No OE manufacturer solders. Sure it works (before I start a blood feud) but it's not flexible nor vibration tolerant.
    The tips don't last on that soldering iron. This one is really good for the price. Tips last years. It's a rebranded Atten.

    Did I see NYMJ cable in a grey jacket by a cabinet?

    I think I'll put foot switches on my taps. The manual jobbers are just not right but too conventional for anyone to admit it.


  • Registered Users Posts: 33,602 ✭✭✭✭listermint


    Crimp don't solder. No OE manufacturer solders. Sure it works (before I start a blood feud) but it's not flexible nor vibration tolerant.
    The tips don't last on that soldering iron. This one is really good for the price. Tips last years. It's a rebranded Atten.

    Did I see NYMJ cable in a grey jacket by a cabinet?

    I think I'll put foot switches on my taps. The manual jobbers are just not right but too conventional for anyone to admit it.

    I bought these. They are awesome used to solder and heat shrink but these make it so much easier.

    https://www.amazon.co.uk/dp/B07V3QMR3T/ref=cm_sw_r_cp_apa_fabc_HpfQFb8YXYA0N?_encoding=UTF8&psc=1

    I'd do either over crimping any day of the week. OE don't do it because of the time involved and manual effort that's all money.


  • Posts: 5,238 ✭✭✭ [Deleted User]


    I'm running a mile from a solder versus crimp holy war.
    I can do both, I've >€1k of soldering equipment. I crimp everthing on a vehicle that's not a circuit board or a solder terminal.

    The foot switches can control solenoid valves, I think that and a pressure pump is the best way to do it. Yer link didn't show listermint.


  • Registered Users Posts: 1,597 ✭✭✭crasy dash


    Crimp don't solder. No OE manufacturer solders. Sure it works (before I start a blood feud) but it's not flexible nor vibration tolerant.
    The tips don't last on that soldering iron. This one is really good for the price. Tips last years. It's a rebranded Atten.

    Did I see NYMJ cable in a grey jacket by a cabinet?

    I think I'll put foot switches on my taps. The manual jobbers are just not right but too conventional for anyone to admit it.
    That looks like a nice bit of kit might have to treat myself any recommendations for some good solder I only have some rubbish stuff myself haha


  • Registered Users Posts: 73,381 ✭✭✭✭colm_mcm


    Crimp don't solder. No OE manufacturer solders. Sure it works (before I start a blood feud) but it's not flexible nor vibration tolerant.
    The tips don't last on that soldering iron. This one is really good for the price. Tips last years. It's a rebranded Atten.

    Did I see NYMJ cable in a grey jacket by a cabinet?

    I think I'll put foot switches on my taps. The manual jobbers are just not right but too conventional for anyone to admit it.

    For the use I have for a soldering iron, the one I have for the last few years will do fine for now.

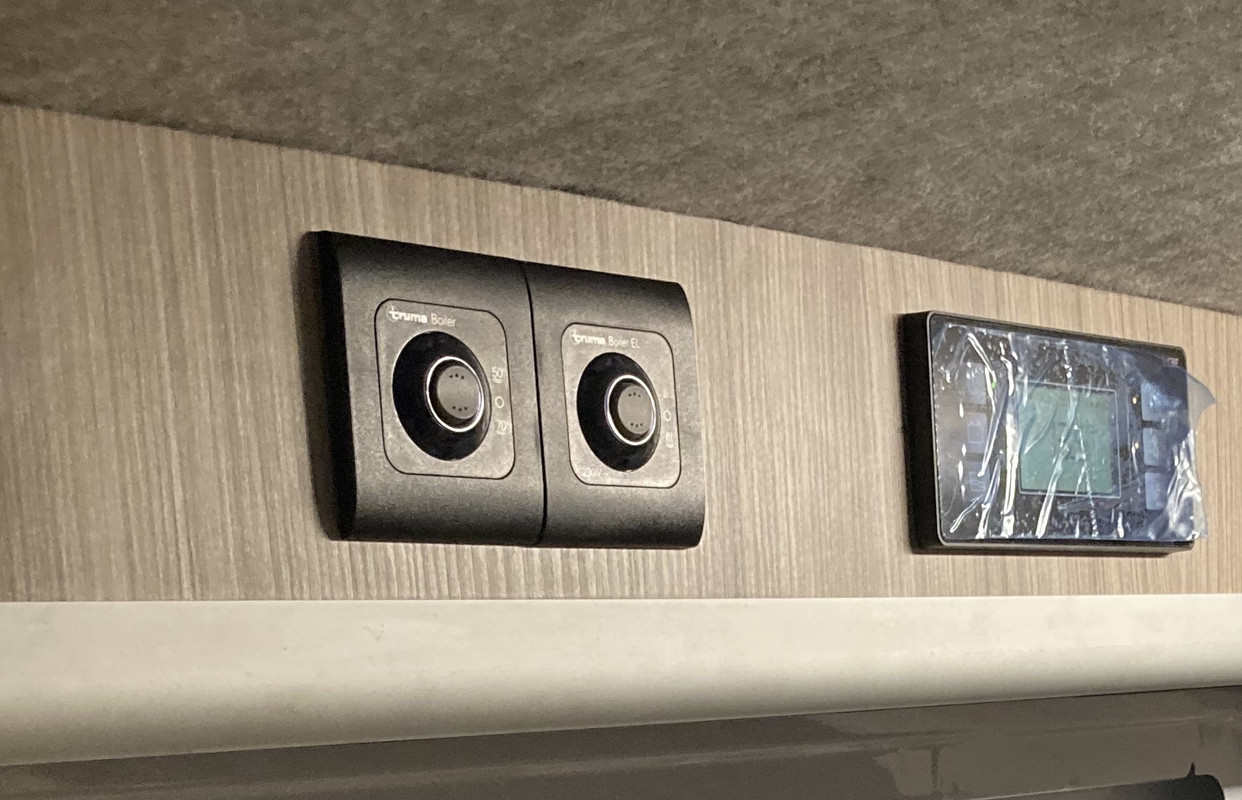
    The NYMJ is part of the Truma water heater system

    Soldering has been kept to a minimum and the ones that are there are mechanically supported so will outlast me.

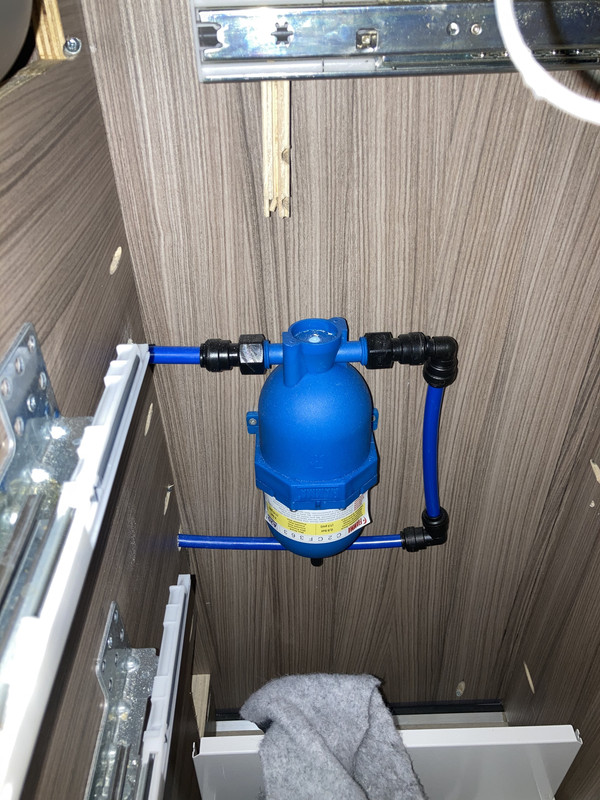
    There are no switches for the pump in this one, there’s a pressure accumulator and a sensor in the pump
    19470-D3-C-10-B7-448-C-8261-83373829-CE17.jpg


  • Posts: 5,238 ✭✭✭ [Deleted User]


    crasy dash wrote: »
    That looks like a nice bit of kit might have to treat myself any recommendations for some good solder I only have some rubbish stuff myself haha


    It's a great unit (for the price). The heat-up time is super quick too. I use tin - lead solder (not rosin core). You can still get lead solder in the likes of radionics.

    It's the flux is bad for you which lead-free solder has a higher content of. So arguably lead-free is unhealthier to work, flows shyte but is better in a landfill.


    colm_mcm wrote: »

    The NYMJ is part of the Truma water heater system


    Not recommended practice, it's very low vibration tolerance. Building regs specify a thinly stranded flex. I see it all the time and it's fine most of the time, but I won't use it myself and it's frowned upon.


    H07-RN is what you want (heavy duty grade 7, Rubber jacket, Neoprene insulant) , aka TRS (tough rubber shielded) and pond flex. Most elec .wholsalers will have it. It's tough enough to not require conduit.


  • Posts: 5,238 ✭✭✭ [Deleted User]


    crasy dash wrote: »
    any recommendations for some good solder


    I've been using this the last year. It's pretty good. No spatter, flows nices, low melting temp. You'll probably want thicker than 0.5mm. I prefer small diameter for circuit boards. Anything high mass you'll be feeding a lot in.


  • Registered Users Posts: 73,381 ✭✭✭✭colm_mcm


    It's a great unit (for the price). The heat-up time is super quick too. I use tin - lead solder (not rosin core). You can still get lead solder in the likes of radionics.

    It's the flux is bad for you which lead-free solder has a higher content of. So arguably lead-free is unhealthier to work, flows shyte but is better in a landfill.


    Not recommended practice, it's very low vibration tolerance. Building regs specify a thinly stranded flex. I see it all the time and it's fine most of the time, but I won't use it myself and it's frowned upon.


    H07-RN is what you want (heavy duty grade 7, Rubber jacket, Neoprene insulant) , aka TRS (tough rubber shielded) and pond flex. Most elec .wholsalers will have it. It's tough enough to not require conduit.

    Sorry, I’ve got my terminology wrong, it’s not actually NYM-J
    what you’re looking at is the grey cable that came with the Truma system.


  • Posts: 5,238 ✭✭✭ [Deleted User]


    Thought not, the roundy white one looks like the mains. Still best not get carried away with solid core.
    I can't understand it myself. Solid core + conduit costs more time and money than HD flex that's rugged on it's own. Sparkies always claim it's cheaper cable.
    NYMJ is cement proof....

    Actually I've seen PVC jacket insulation being attacked by that filled ball insulation they're injecting into house cavity walls). Something to be aware of because all that (over-spec-ed, under-coppered) thin-wall automotive is PVC jacket.


  • Advertisement
  • Registered Users Posts: 73,381 ✭✭✭✭colm_mcm


    There’s no solid core cable there, it’s all stranded.

    Thanks for the tip ref the insulation, we’ve ran all the wiring within conduits and didn’t get the walls pumped so we’re safe enough :D

    I’ve seen wiring that’s been attacked by insulation beads before, scary stuff.

    The roundy white cable is indeed mains, but is also part of the truma system - it turns on the electric water heater instead of the gas.
    E878-C7-E9-D510-41-CA-B2-FA-5-C829794-B495.jpg


Advertisement