Advertisement
If you have a new account but are having problems posting or verifying your account, please email us on hello@boards.ie for help. Thanks :)
Hello all! Please ensure that you are posting a new thread or question in the appropriate forum. The Feedback forum is overwhelmed with questions that are having to be moved elsewhere. If you need help to verify your account contact hello@boards.ie
Hi all,
Vanilla are planning an update to the site on April 24th (next Wednesday). It is a major PHP8 update which is expected to boost performance across the site. The site will be down from 7pm and it is expected to take about an hour to complete. We appreciate your patience during the update.
Thanks all.

Painting a fibreglass boat

Options
2»

Comments

  • Closed Accounts Posts: 5,108 ✭✭✭pedroeibar1


    breghall wrote: »
    ........ you don't want to be bouncing around at sea, with a bad transom and a big four stroke.

    Nope Breghaal, not correct.;) He'd be bouncing around on a raft, the back end fallen off and the engine gone with it.:eek:
    Old boats and old houses have a lot in common.


  • Registered Users Posts: 93 ✭✭mikesvr6


    Not a great start to a summer of boating!! I'd rather keep the outboard and both ends of the boat together if at all possible:D


  • Moderators, Motoring & Transport Moderators, Sports Moderators Posts: 6,320 Mod ✭✭✭✭fergal.b


    mikesvr6 wrote: »
    Thanks fergal, i have been reading threads about dory restorations from before and have watched that video, i was wondering if anyone knew of the different foam types, because it is strange to me that the bits that come out are dry.

    It maybe a semi closed cell foam where some of it has broken down and is holding water and some of the cells have stayed intact, it might also be that gravity is holding water at the bottom of the foam but the top is dry, there is also a chance that the chambers are full of water and the foam is ok if so you could try and tilt the boat up as high as you can and drill some holes in the lowest part of the transom and let it run out if it's the foam thats socked maybe cut some vent holes in the deck and park it up in a glasshouse to dry it out it might take a while but could work failing that the foam will have to be replaced :(


    .


  • Registered Users Posts: 93 ✭✭mikesvr6


    Of the holes i made i took the water out and the level has not risen again. This leads me to believe two things, like fergal said it must be a semi closed foam and the water is trapped in between the closed cells and the other is that it will not drain out because if it was free to drain out then the holes would of refilled.

    Bottom line is a deep conversation with the family on whether to restore the boat(belonged to my father who has passed away) or to consider another boat.

    I am leaning on the restore side, i would like to get used to working with fibreglass and from the many projects i've read through it seems that if you are prepared for the hard work that you can "eventually" come out with something to be proud of.


  • Moderators, Motoring & Transport Moderators, Sports Moderators Posts: 6,320 Mod ✭✭✭✭fergal.b


    If your willing to learn put in the work and spend money on epoxy you could have a boat thats as good as new and when your sitting back out on the water maybe in the same place that your Dad did you can think to your self "I did this":)


    .


  • Advertisement
  • Registered Users Posts: 93 ✭✭mikesvr6


    Thanks fergal. If we do go ahead with it I'm sure I'll be on here a fair bit. Just a quick question from the off. When putting in the new floor ribs excetera would you use epoxy for all the work or could you do the floor with polyester and keep the epoxy for the transom work?
    I only ask to make up a rough cost estimate. Thanks.


  • Moderators, Motoring & Transport Moderators, Sports Moderators Posts: 6,320 Mod ✭✭✭✭fergal.b


    mikesvr6 wrote: »
    Thanks fergal. If we do go ahead with it I'm sure I'll be on here a fair bit. Just a quick question from the off. When putting in the new floor ribs excetera would you use epoxy for all the work or could you do the floor with polyester and keep the epoxy for the transom work?
    I only ask to make up a rough cost estimate. Thanks.

    I would do it all in epoxy it's a lot stronger than polyester and will bond to anything where the polyester is more for bonding to fiberglass fibers it's not great at bonding to wood and is not as waterproof.


    .


  • Registered Users Posts: 605 ✭✭✭breghall


    fergal.b wrote: »
    I would do it all in epoxy

    Oh you wooden boat builders are perfectionists :rolleyes: ....:D

    I personally would ( and have more than once ) use polyester, sure the boat itself is made from a poly resin.

    A good key to the original glassfibre and good workmanship when laying the cloth,would make the boat very strong. If worried about water penetration then maybe coat the timbers in epoxy before glassing them in using polyester.


  • Registered Users Posts: 93 ✭✭mikesvr6


    Thanks breghall and fergal. I have been searching for others who have done similar projects and reading through dnme's thread and there sure is a lot of different thoughts on fibreglassing with the different resins and whether to use csm or to layer csm or to buy combi mat to begin with.

    One project I found was basically the same as what I'll have to do, one aspect of it was interesting. The new stringers(if that's what there called, where the deck will sit) were built with insulation capped by marine ply slats. These were then glassed in ill try and get a photo up it'll be easier than describing it


  • Registered Users Posts: 93 ✭✭mikesvr6


    Another update, cut out a bigger section of the deck to see what was underneath

    As you see below, the the deck was free from the foam and a layer of water was inbetween. The foam is spongy and damp
    2014-05-29172624_zpsaef1ae64.jpg
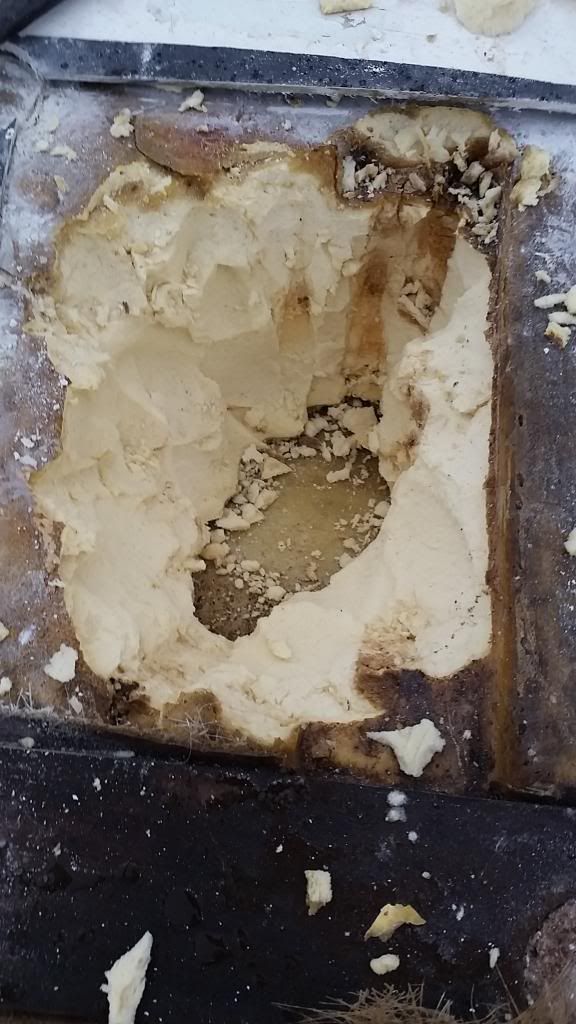
    I inspected further to see how damp the foam was and found that

    The foam is dry....well past the first cm or so, and at the outerskin it sits about 1cm from it (i.e. not supporting it)
    2014-05-29173810_zps103c01ee.jpg

    I assumed the foam would be saturated through, so kinda confused with that one. The gap between the foam and the outer skin(which is wet) is worrying.


  • Advertisement
  • Moderators, Motoring & Transport Moderators, Sports Moderators Posts: 6,320 Mod ✭✭✭✭fergal.b


    That looks ok maybe it's the chambers that are holding water.


    .


  • Registered Users Posts: 93 ✭✭mikesvr6


    I'll cut another section to see if its consistent. I still have reservations about the transom being saturated so might have to do that yet


  • Moderators, Motoring & Transport Moderators, Sports Moderators Posts: 6,320 Mod ✭✭✭✭fergal.b


    mikesvr6 wrote: »
    I'll cut another section to see if its consistent. I still have reservations about the transom being saturated so might have to do that yet

    Yep I'd say the transom should be done, in the meantime drill some holes low down on it through the wood then tip the boat up and see the water drains out.


    .


  • Registered Users Posts: 93 ✭✭mikesvr6


    Would you do the transom from the outside then? i drilled one for a drain plug before and water did come out.
    I've just found out that there was a hole on the deck at one stage that was repaired(on the starboard side)

    Wish i knew that before i cut the deck( inspection spot is on the port side)


  • Moderators, Motoring & Transport Moderators, Sports Moderators Posts: 6,320 Mod ✭✭✭✭fergal.b


    mikesvr6 wrote: »
    Would you do the transom from the outside then?

    I'm not sure what way would be best it might be easier to hide the repair on the inside but the work might be easier to do from the outside:), what have other guy's done.


    .


  • Registered Users Posts: 93 ✭✭mikesvr6


    Most of what i've found is a deck + transom job, so they leave the outer skin as is and use it as a template for the new transom.

    One thread had the transom done from the outside but he admitted it was more difficult.


  • Moderators, Motoring & Transport Moderators, Sports Moderators Posts: 6,320 Mod ✭✭✭✭fergal.b


    Up to you so :) Make sure you cover up well when cutting fiberglass the dust off it can drive you mad with the itch:eek: I use a painters suit and a dental face mask :cool:


    890411.jpg


    face-shields-interchangeable-shields_MED.jpg


  • Registered Users Posts: 93 ✭✭mikesvr6


    TOO LATE....... AGH


  • Registered Users Posts: 605 ✭✭✭breghall


    your lucky enough if the foam isn't saturated through. Some of those types of boats are simply stapled and sealed behind the rubrail. Maybe it might be easy enought to remove the rubrail and staples and lift the top half off, this may give you full access to the transom and foam.

    My tip of the day:

    I find if you get fibreglass on your skin don't wash it off with hot water, use cold first as it won't open the pores as much.


  • Registered Users Posts: 93 ✭✭mikesvr6


    Another update,
    got a few evenings with the boat in between the showers and actual work!
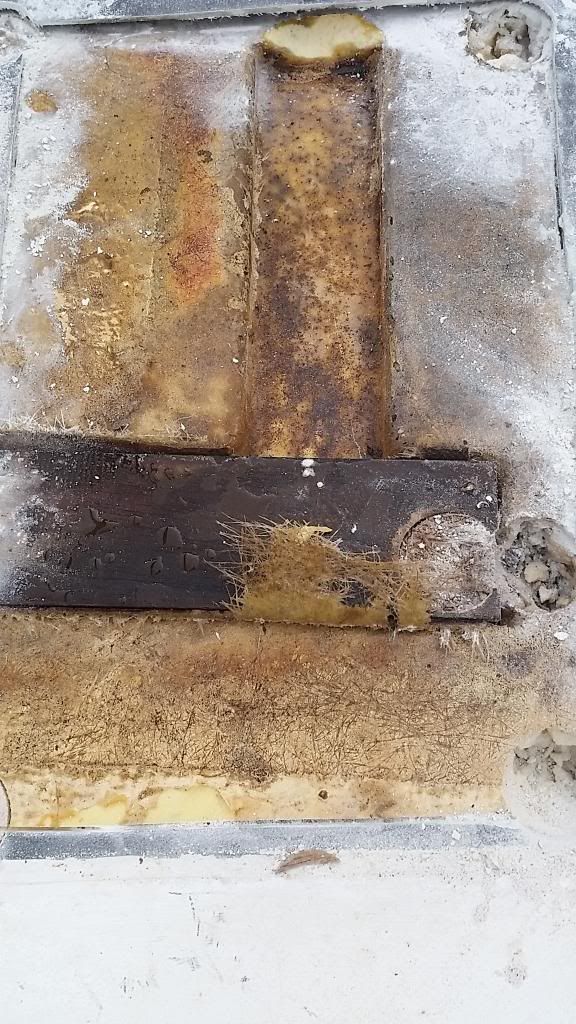
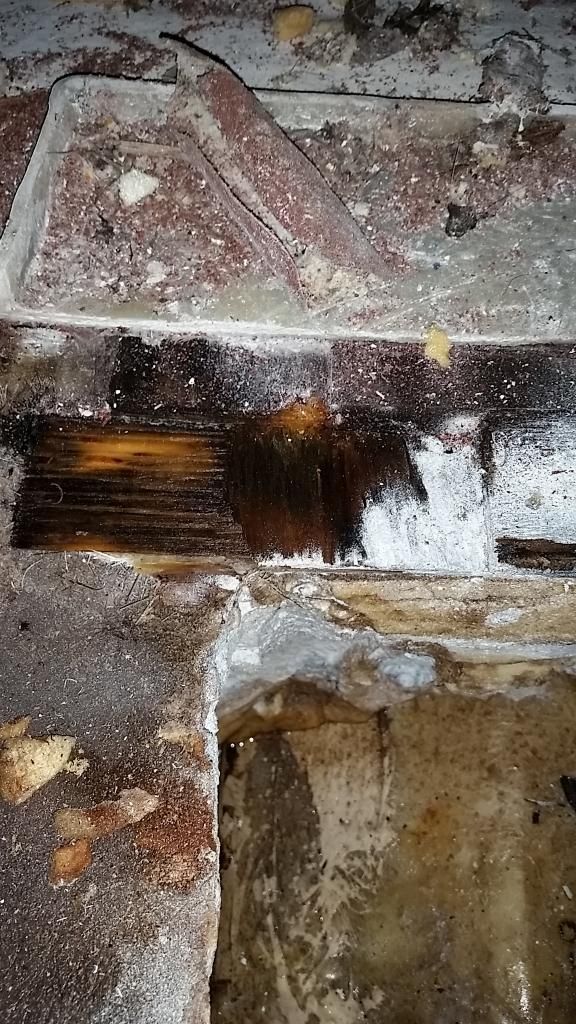
    More saturated boards+foam
    2014-06-03221820_zps1818cd5f.jpg

    Some saturated and broken up ply hiding a section of foam that was removed.
    2014-06-03224314_zps3fbc284b.jpg

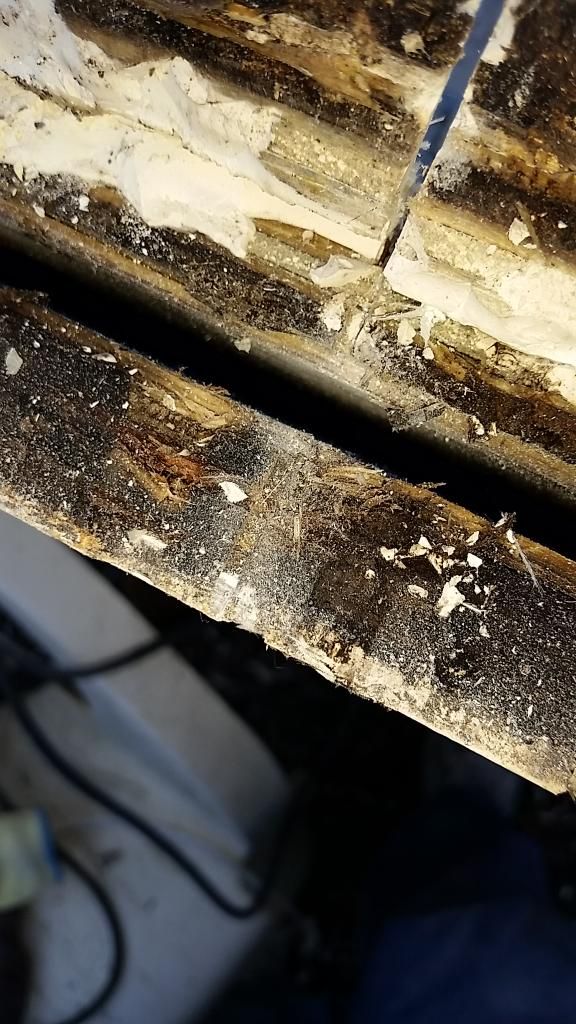
    More foam and wood saturated
    2014-06-03224517_zps99be1285.jpg

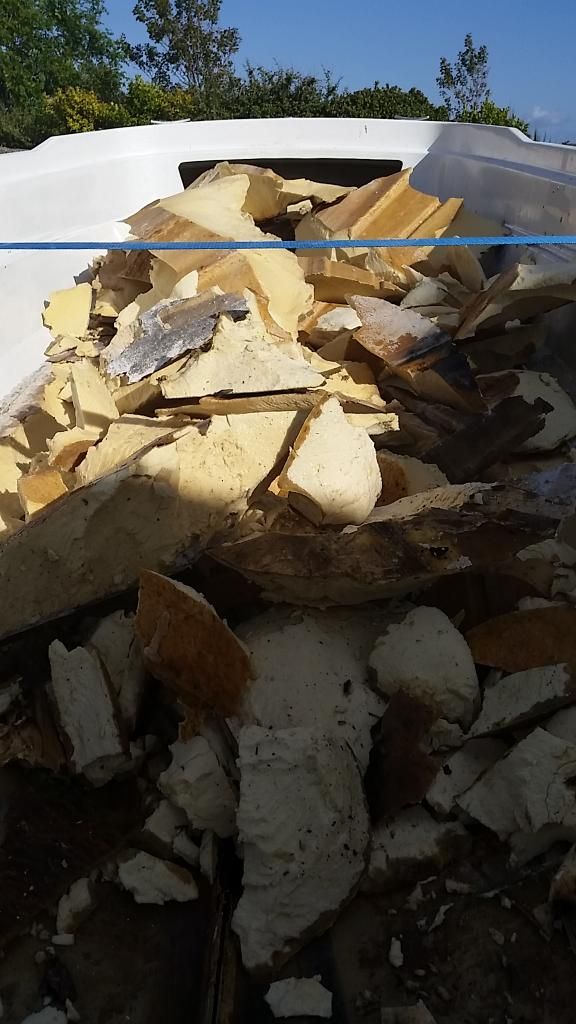
    Foam up about 30% saturated
    2014-06-04182016_zpsdd0e4086.jpg

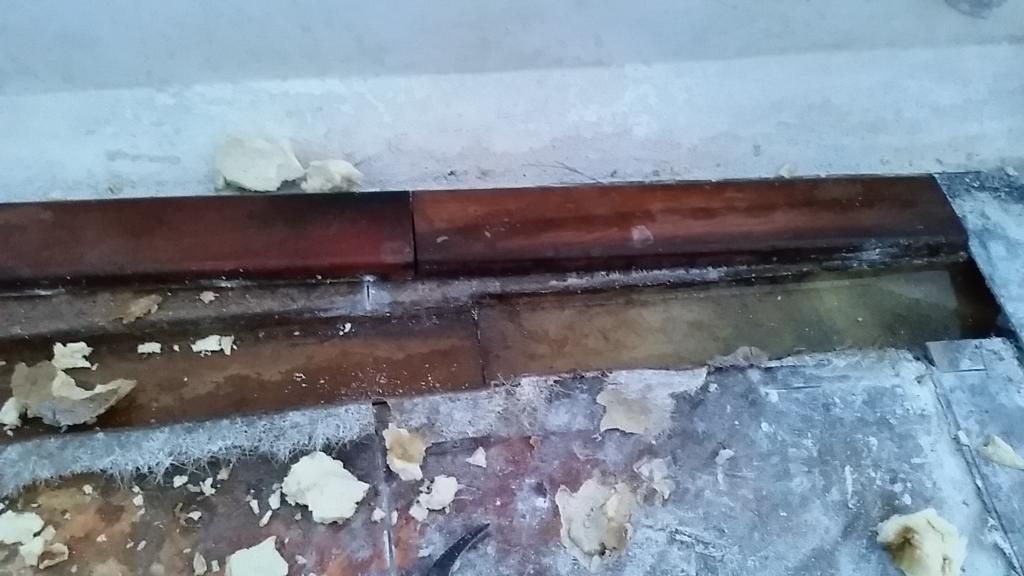
    Lower of transom soaked and exposed ply is spongy
    2014-06-04182024_zpsd73599fd.jpg

    2014-06-04182031_zps98115854.jpg
    Transom boards seperated(probably due to the water)
    2014-06-04190411_zps1418104d.jpg
    Getting there
    2014-06-10143747_zps0b26cd1d.jpg


  • Advertisement
  • Moderators, Motoring & Transport Moderators, Sports Moderators Posts: 6,320 Mod ✭✭✭✭fergal.b


    Your doing a great job she will be like a new boat when she is done and worth the effort.


    .


  • Registered Users Posts: 93 ✭✭mikesvr6


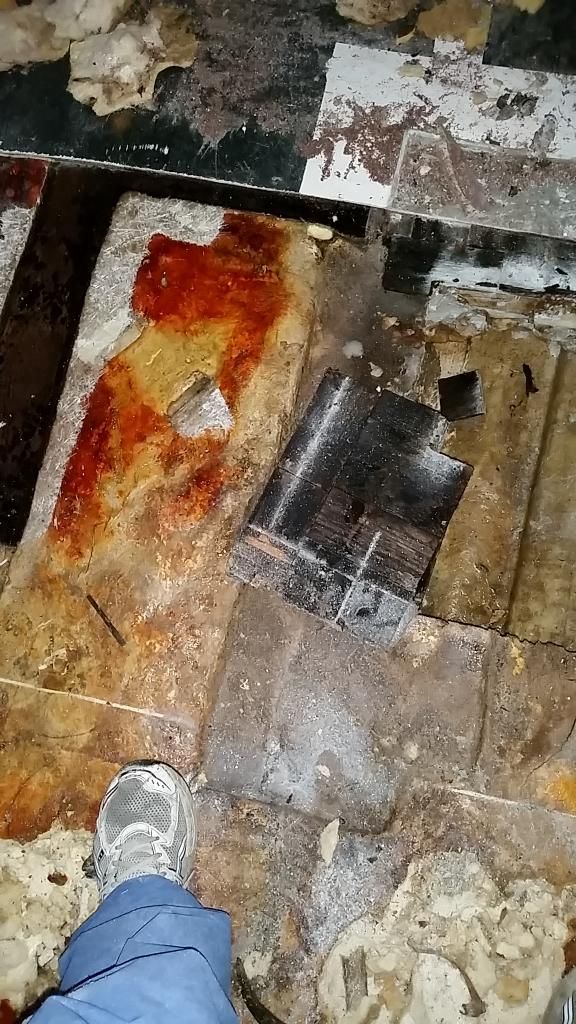
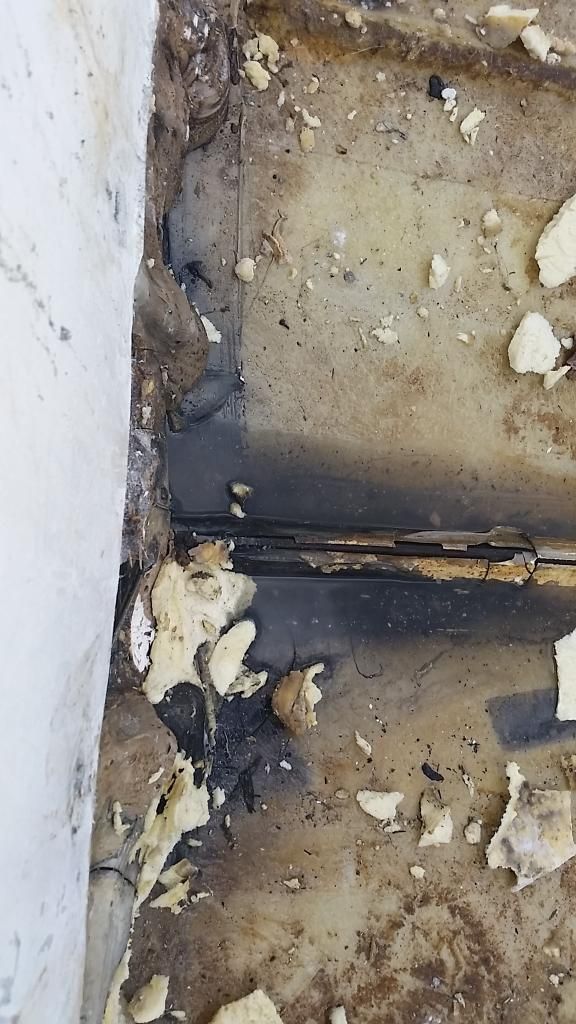
    Getting a bit more done Transom cleared(HELL OF A JOB)
    2014-06-11195614_zps4685b809.jpg
    2014-06-12160006_zpsfee98261.jpg
    Starting on the inner hull, getting a good key down.
    2014-06-12195759_zps880c1743.jpg

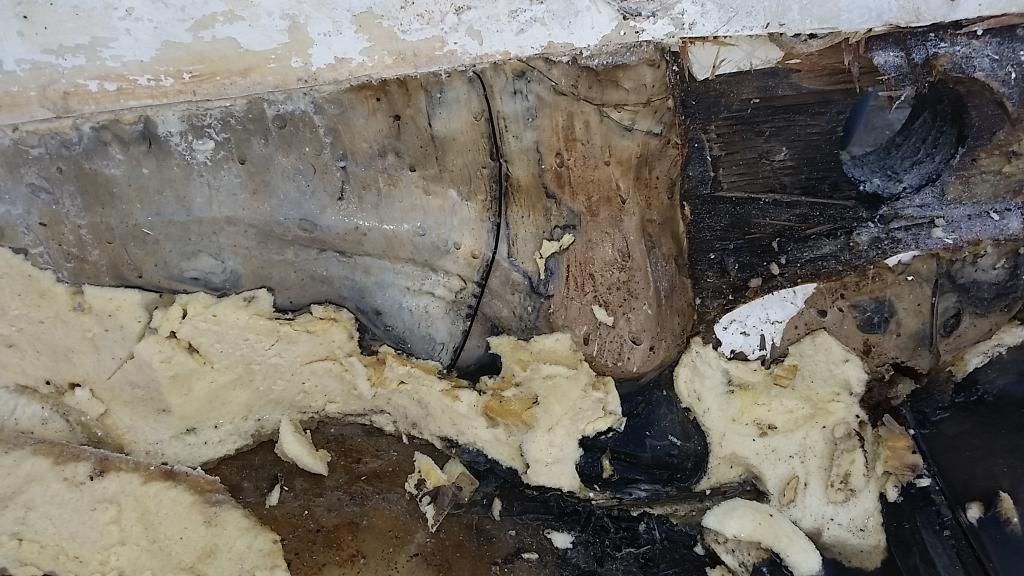
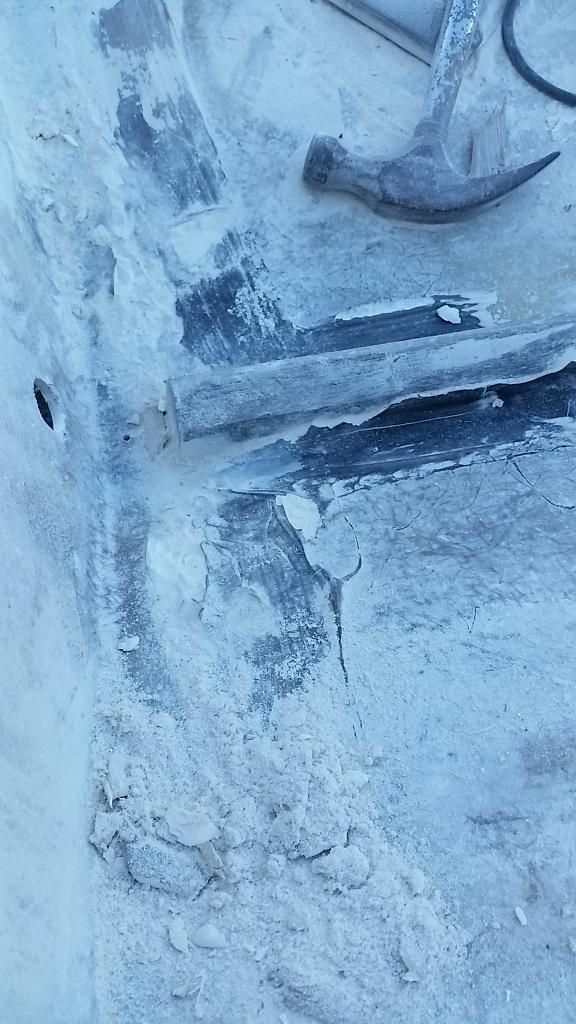
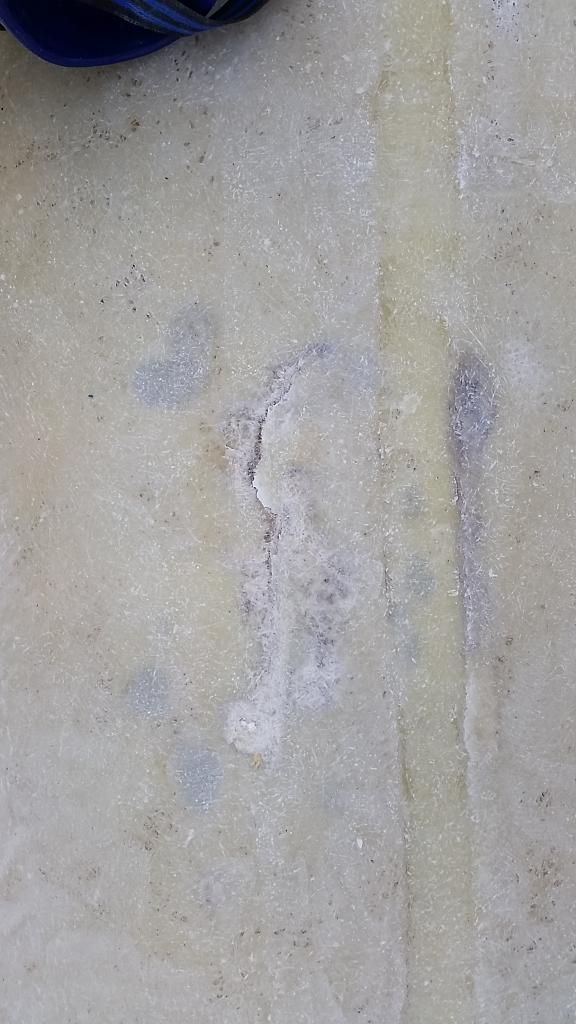
    Found some damage though grrr....
    2014-06-12195819_zps52cec296.jpg

    Looks like a very messy patch on the outside. Any ideas whats best to do with this?? I plan on putting down two layers of glass on the floor once its cleaned so if i'm going to do anything to the damage it will have to be done NOW!!


  • Moderators, Motoring & Transport Moderators, Sports Moderators Posts: 6,320 Mod ✭✭✭✭fergal.b


    For a hole like that I would sand away all of the loose and damaged fiberglass and then build it back up by cutting cloth in the shape of the hole, if you go right through the hull then force a smooth bit of plastic up against the hull on the outside this will conform to the shape of the hull and give you a nice smooth finish when you remove it.
    This video might help.


  • Registered Users Posts: 605 ✭✭✭breghall


    You're doing great work there mike, it'll be worth the effort in the end...


  • Registered Users Posts: 93 ✭✭mikesvr6


    More than a year later, but i have updates for anyone interested.
    Sorry for the long post.
    Work ceased shortly after the last post due to work and college commitments there was just no time.

    But now with college finished i had a month before my new job so got as much as i could with the weather(finally squeezed her into a garage/shed for the last couple of days)

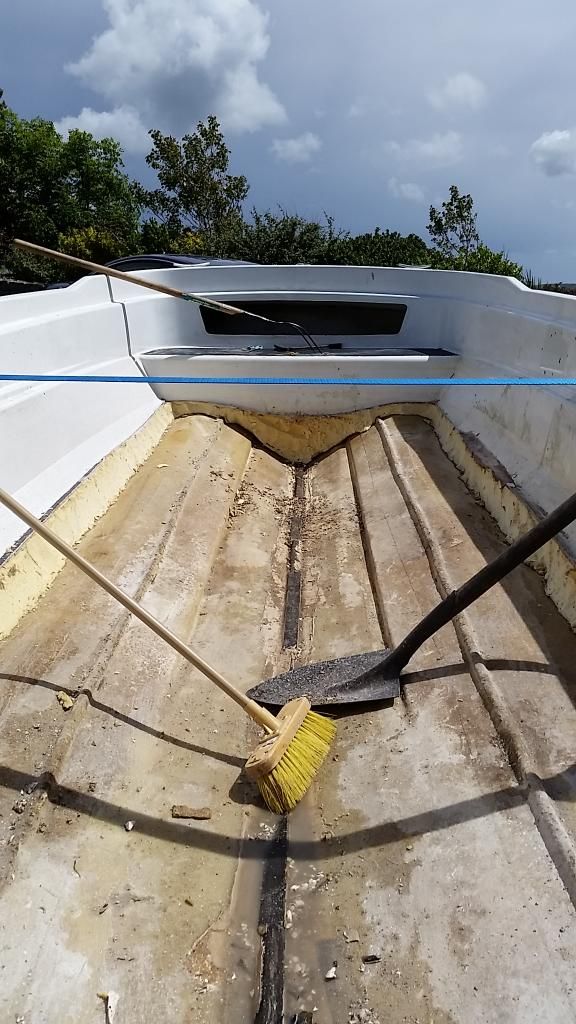
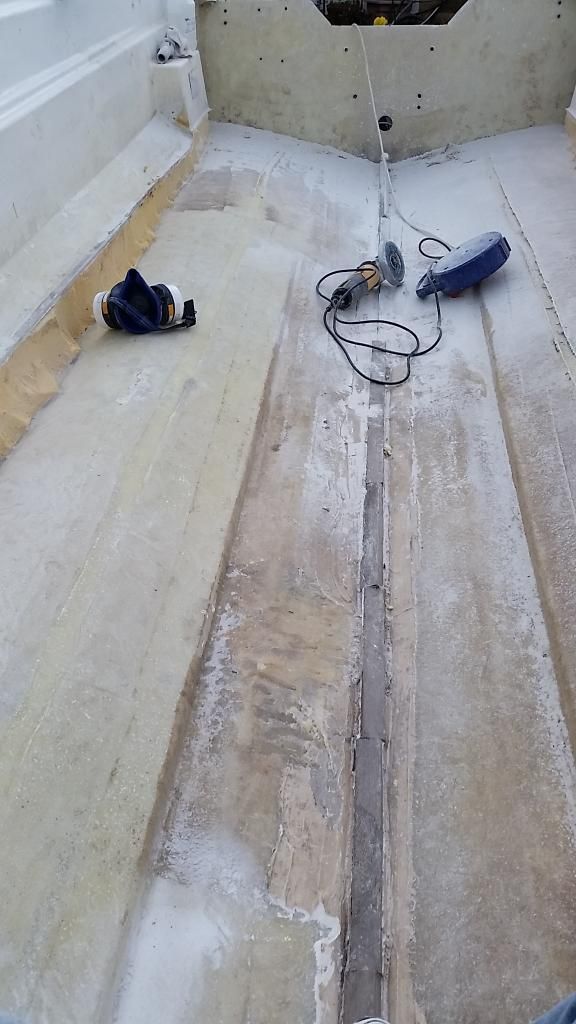
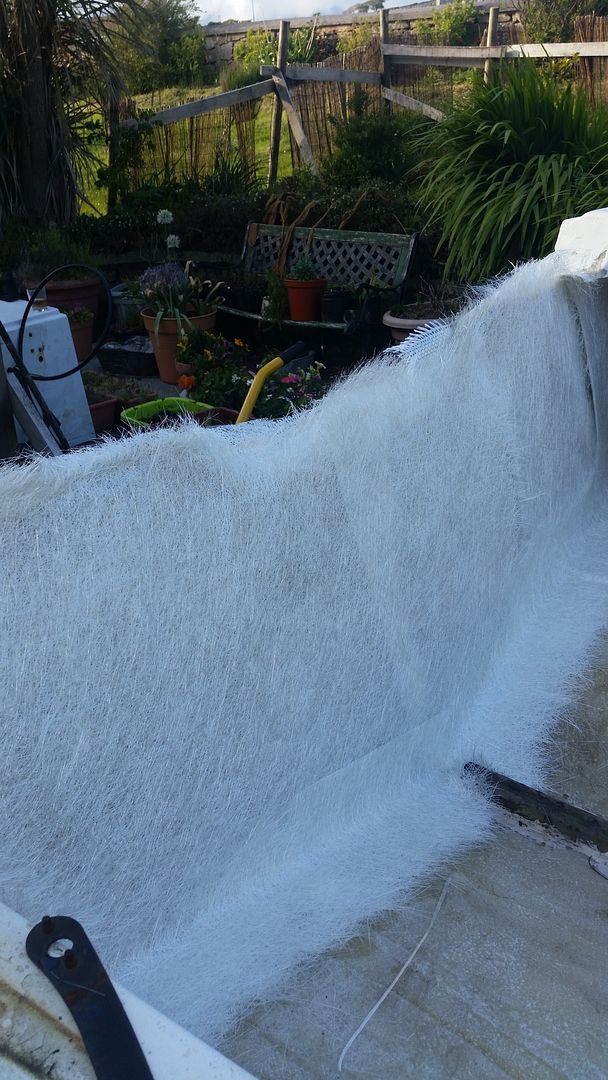
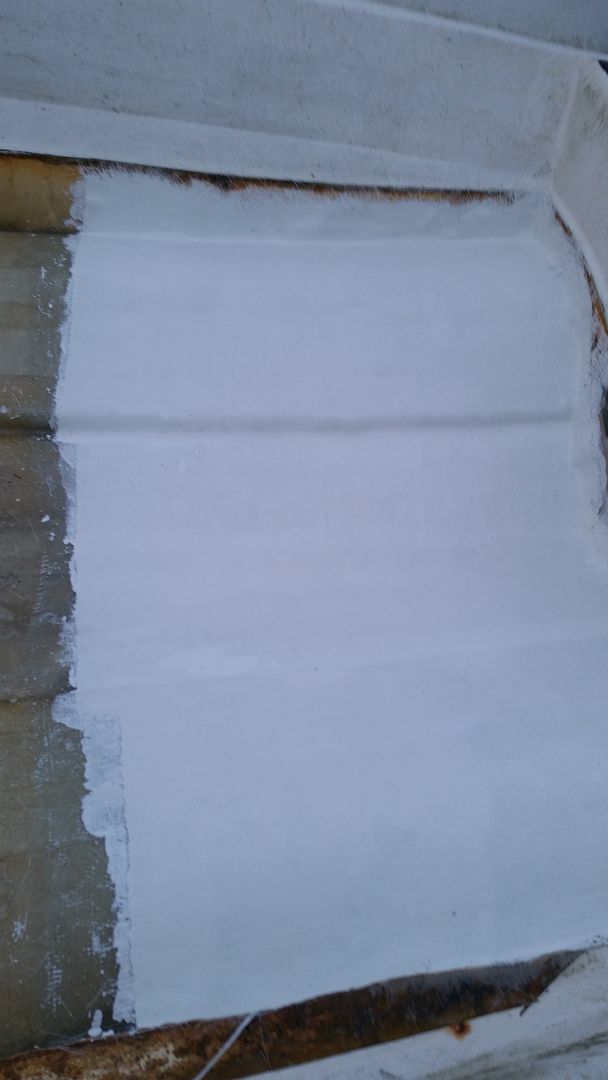
    Sanded the whole inner hull down and immediately noticed how flimsy it had become, which changed my plan of two FG layers to three, CSM then woven roving then CSM again.

    This strengthened the hull no end, the same combination was used on the transom.
    2015-06-03%2019.33.32_zpswxmn09by.jpg
    2015-06-03%2016.33.51_zpszsxdeped.jpg
    2015-06-24%2021.55.28_zpsg9kowq1g.jpg
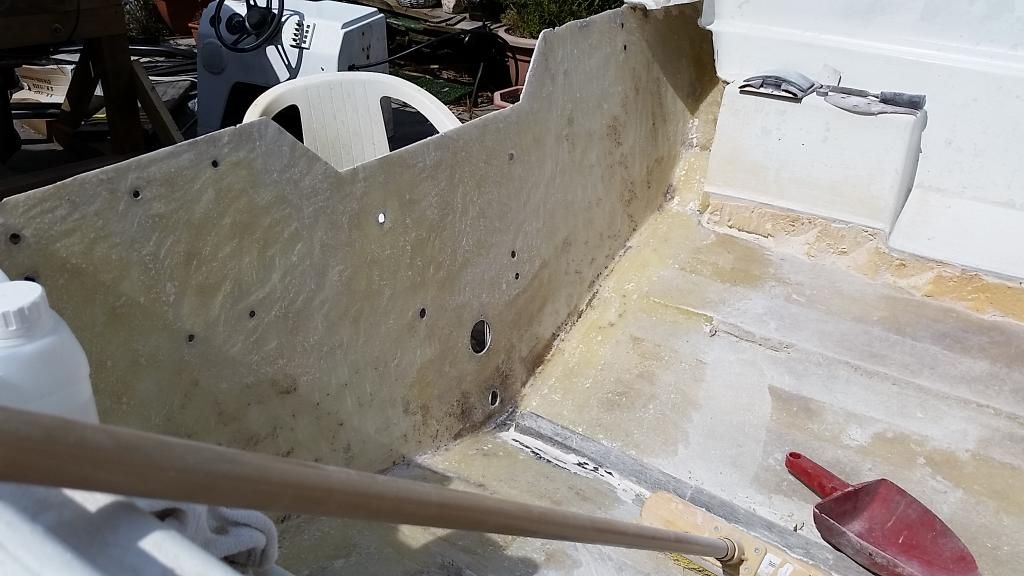
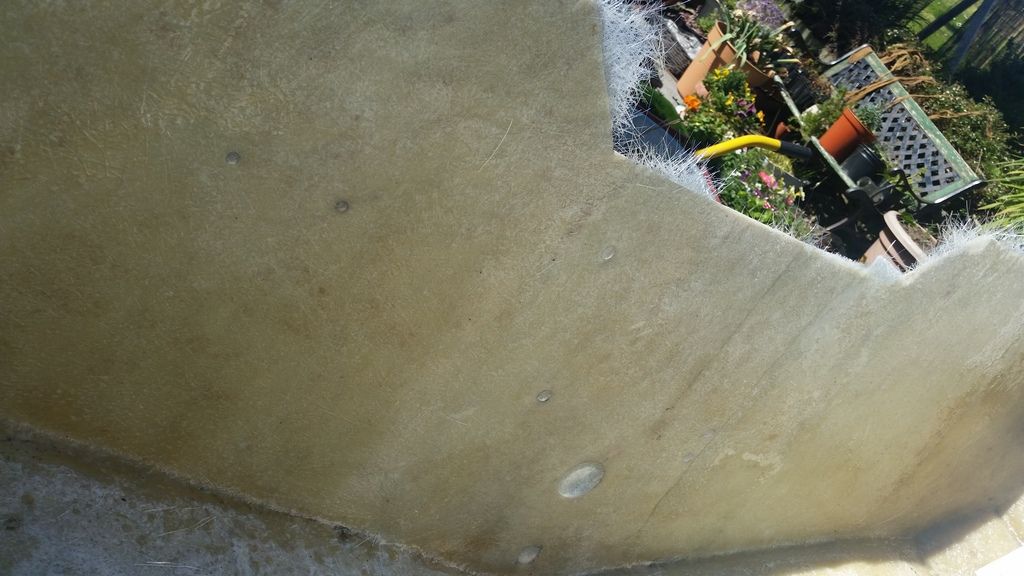
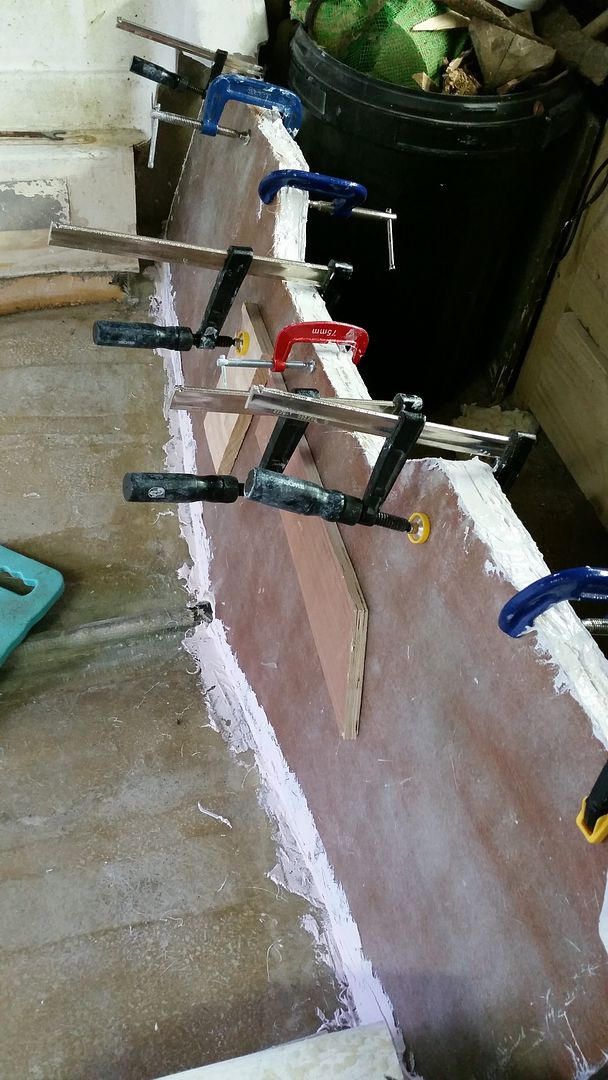
    Sealed exterior ply was then used for the transom 2x 18mm bonded in and then tabbed onto the hull with more CSM.
    2015-07-10%2011.14.35_zpsr8h4p44l.jpg

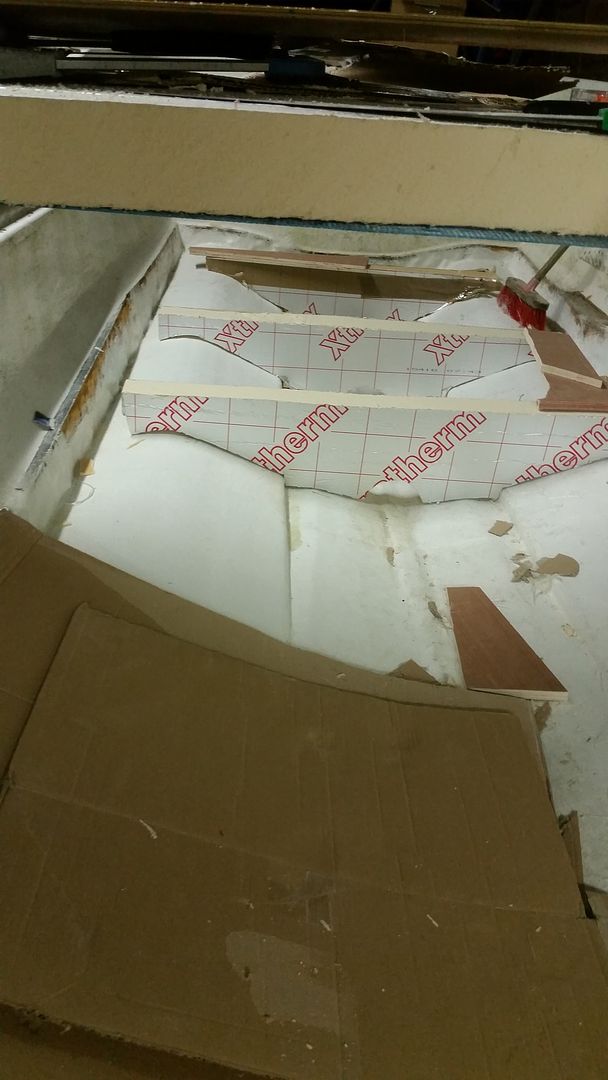
    Currently doing the "ribs" out of 75mm kingspan capped with more ply and fibreglassed onto the deck.
    2015-07-11%2022.24.03_zpslfigvwhr.jpg
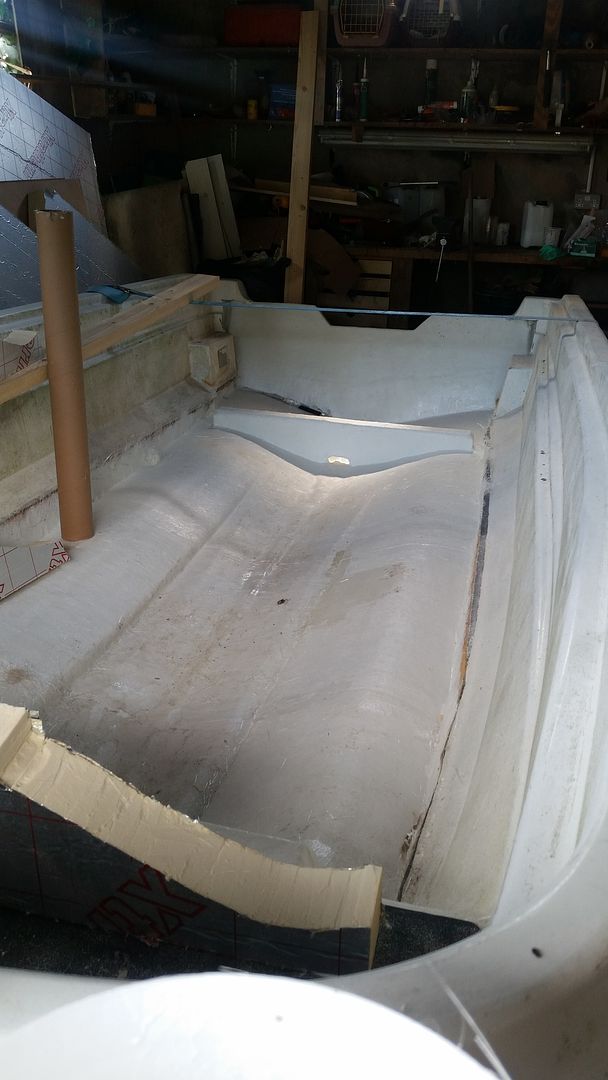
    This is taking the longest to do, from making the templates to bonding to the hull is arduous.
    2015-07-13%2015.14.28_zpsg3kyirhf.jpg
    Back at work now for a few days so next update should be next week! when more CSM is due


  • Moderators, Motoring & Transport Moderators, Sports Moderators Posts: 6,320 Mod ✭✭✭✭fergal.b


    Looking good, if you miss cutting out old fibreglass,foam and rotten wood your welcome to come and do mine :)
    Keep up the good work you will be on the water in no time.


    .


  • Registered Users Posts: 93 ✭✭mikesvr6


    fergal.b wrote: »
    Looking good, if you miss cutting out old fibreglass,foam and rotten wood your welcome to come and do mine :)
    Keep up the good work you will be on the water in no time.


    .
    Ha I think I'm ok for the time being. Hope this weather stays until next week, itching to get back to work on the boat now.


  • Registered Users Posts: 93 ✭✭mikesvr6


    So got a bit more done this morning, but am now at a stage where decisions have to be made. Firstly the wiring/cabling. The choices are above deck or below.

    To put them above is the simplest and as I am considering a centre console it would mean something like a half pipe over them for protection(trip hazard).

    To go below would mean having two openings in the deck. One at the console and one at the rear. Then a path such as a pipe or downpiping would have to be installed. This setup would be the most aesthetically pleasing but also leaves your new deck with 2 openings.

    If I go below deck should two pathways be use to separate fuel lines from the other cables?

    Thanks for the assistance.


Advertisement